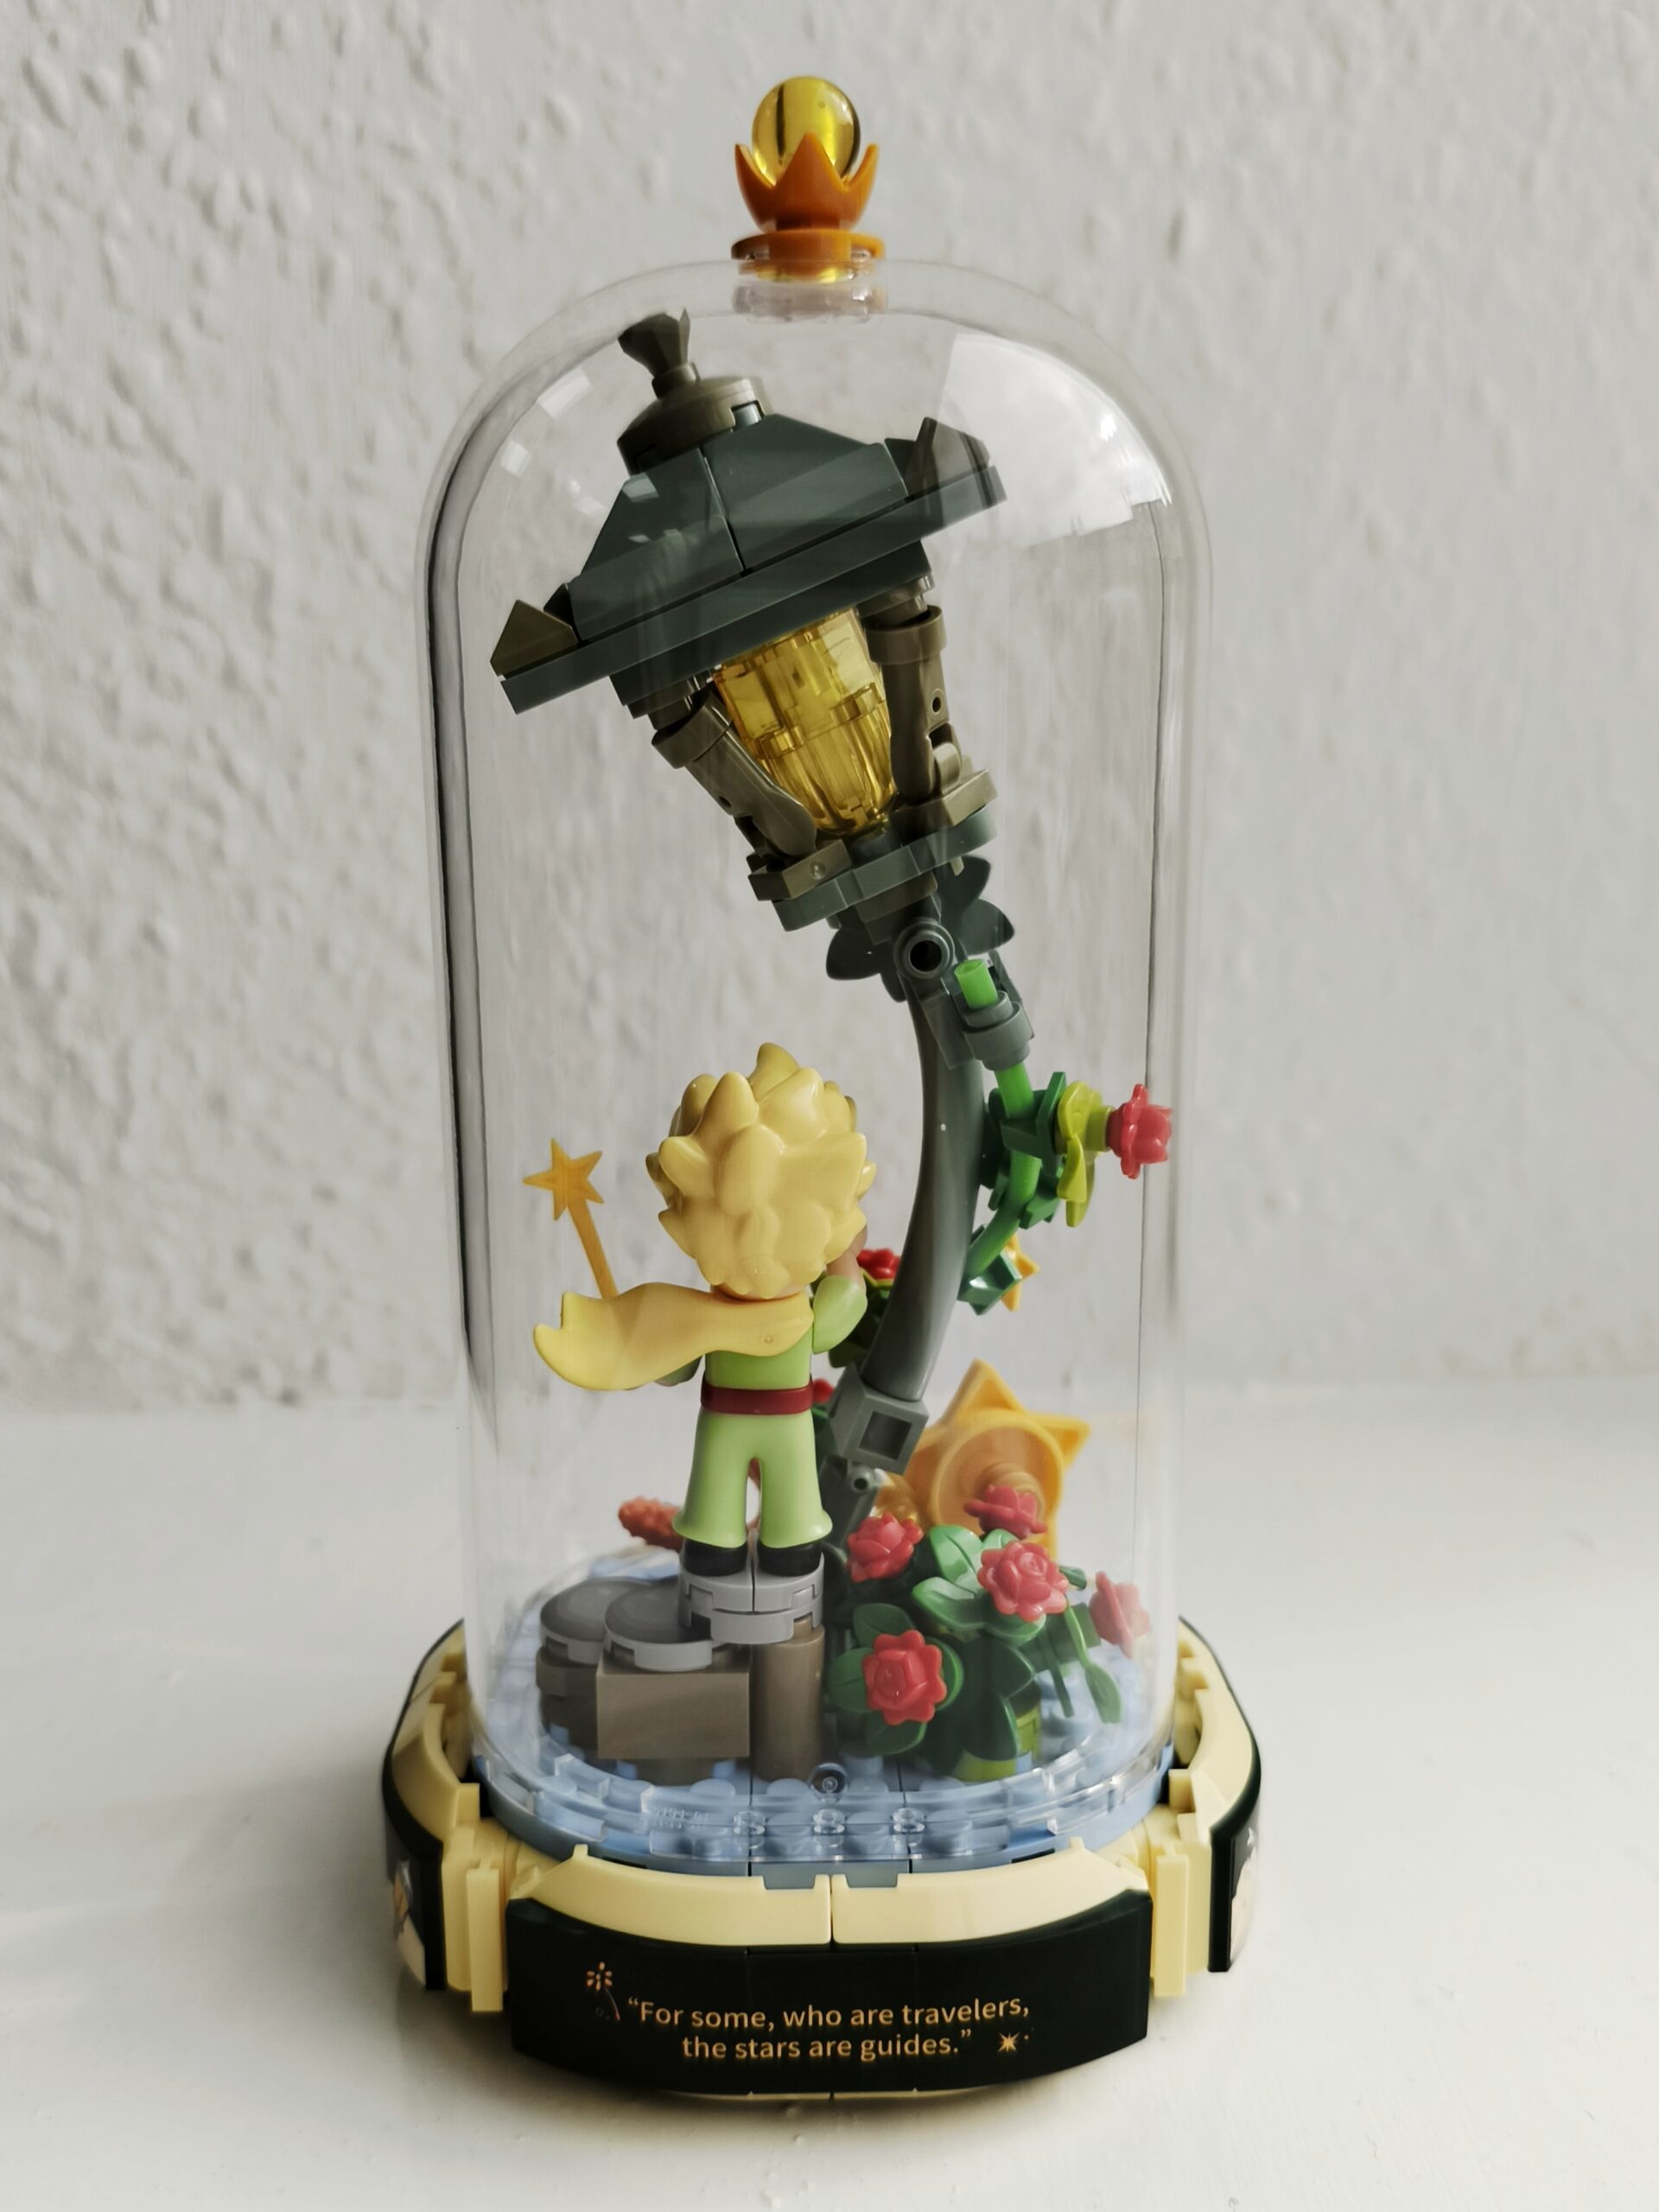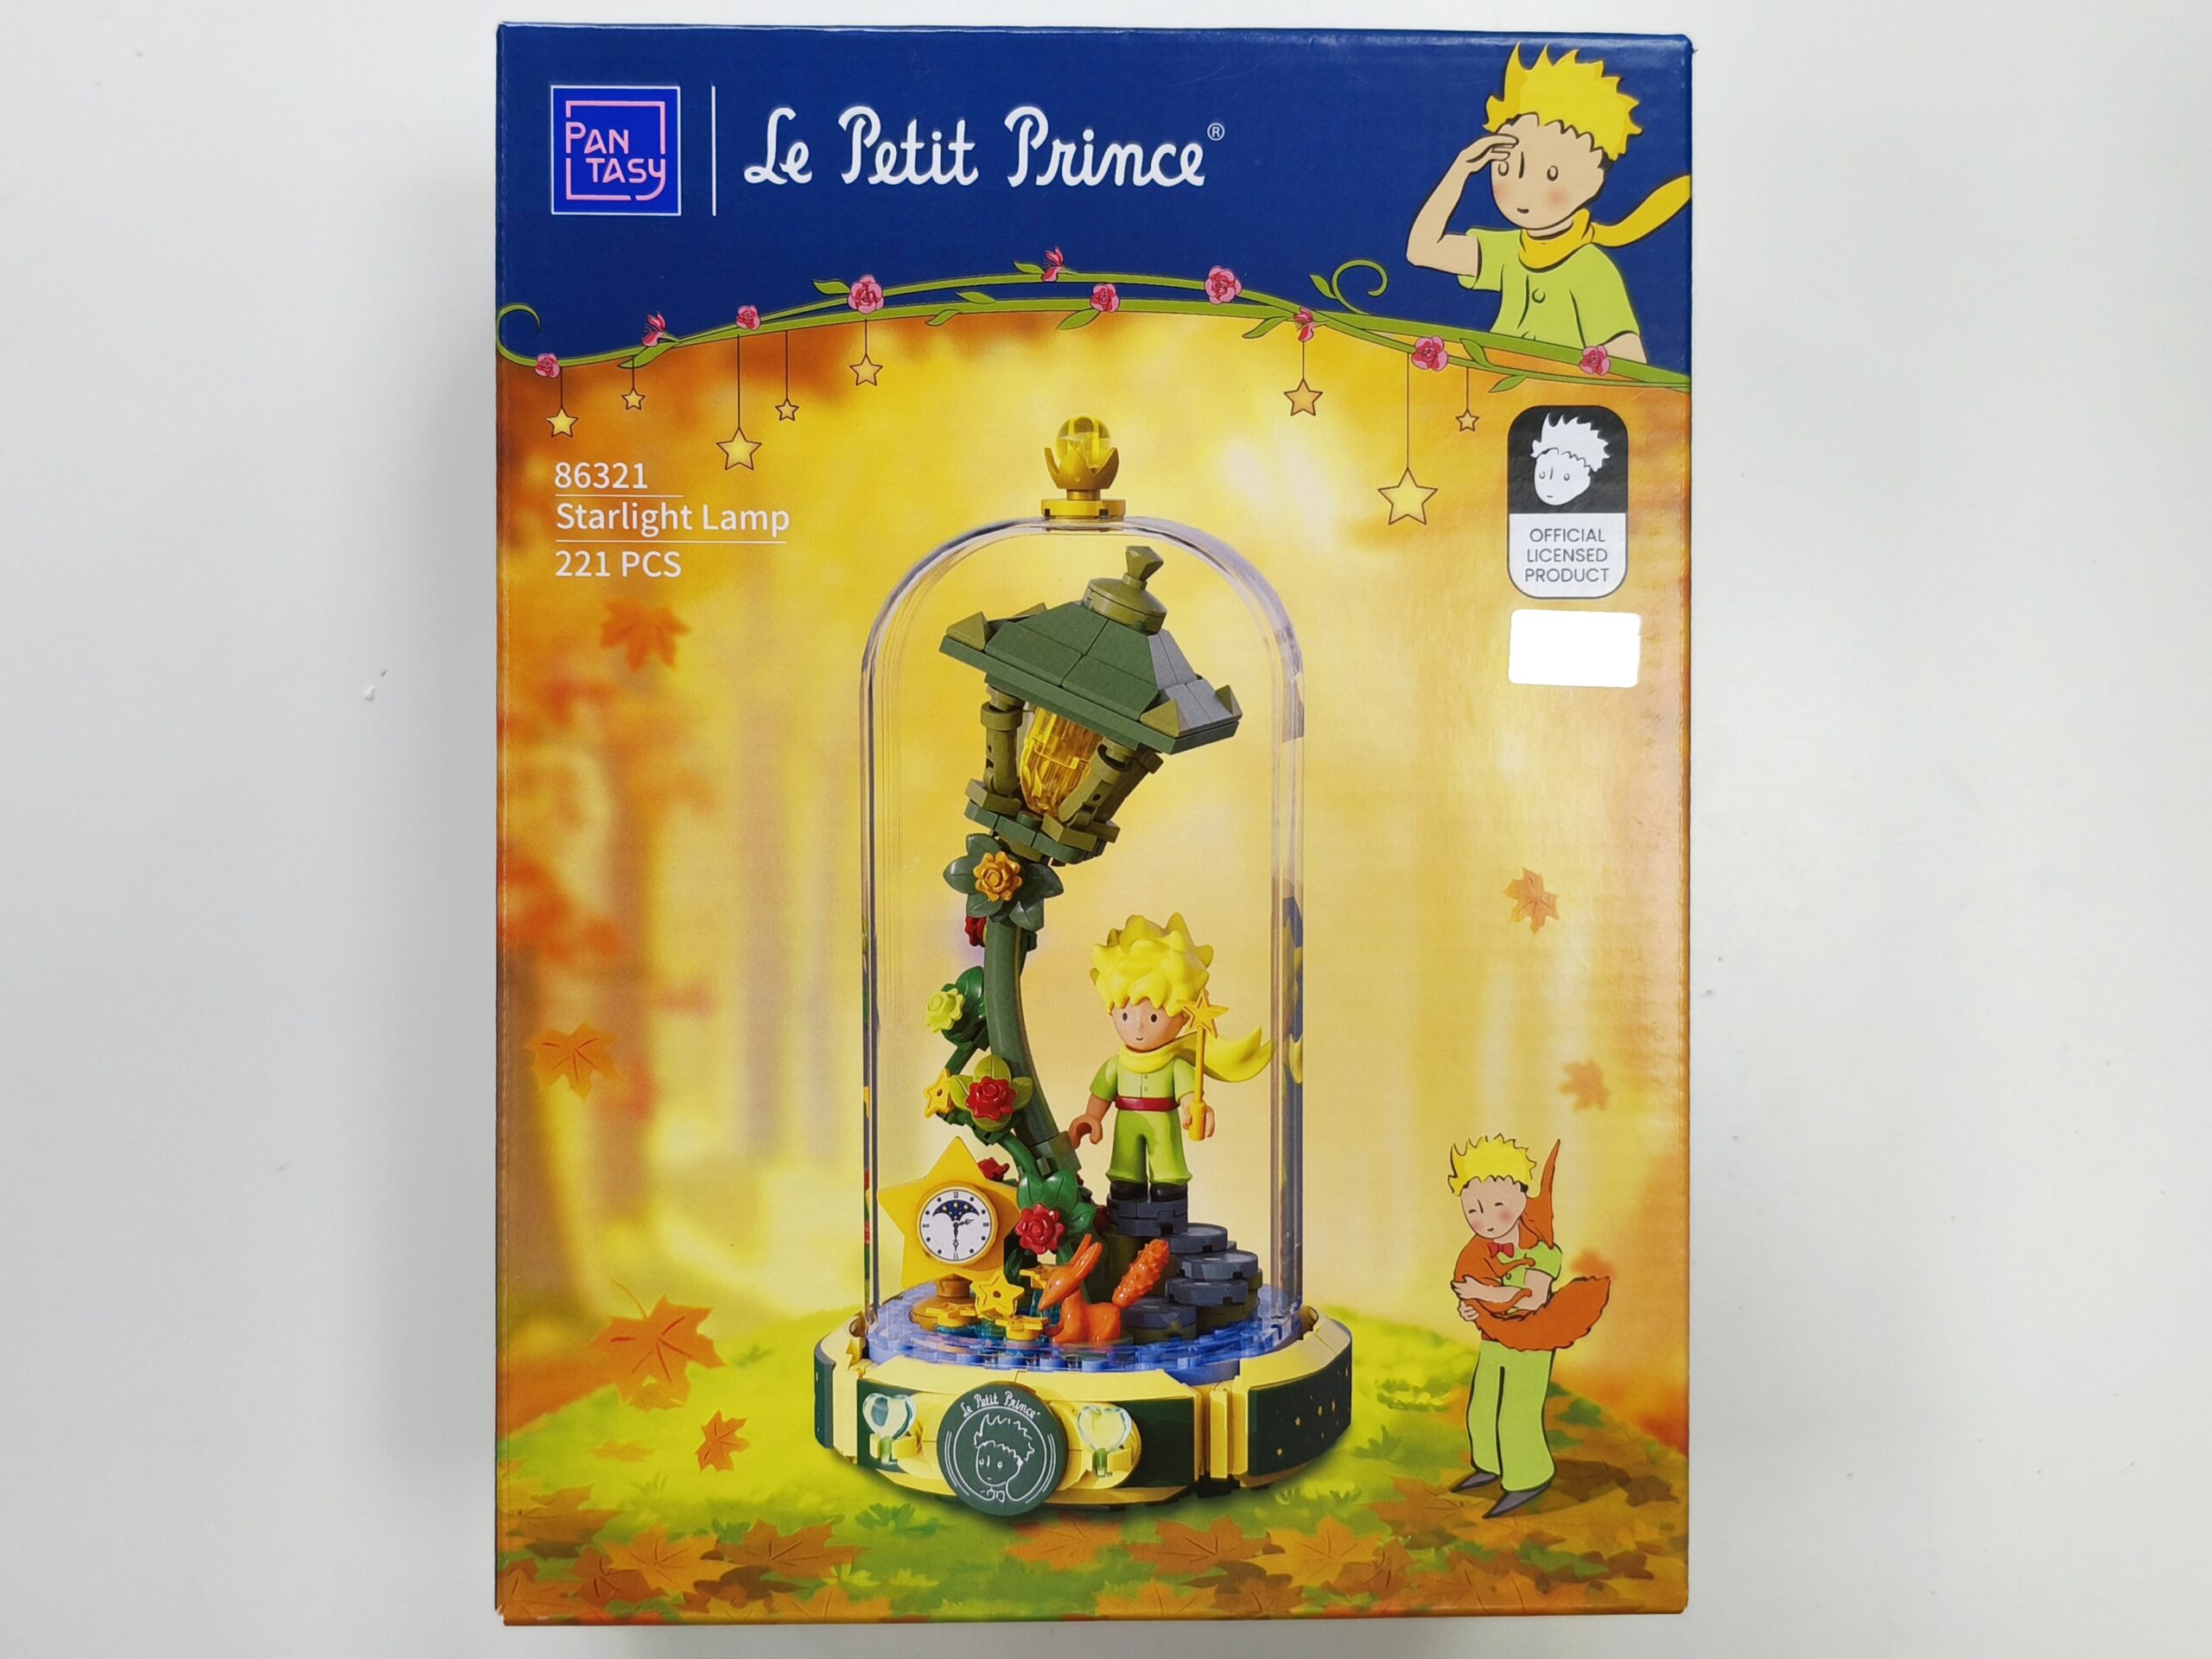
Construction of Pantasy Le Petit Prince Starlight Lamp

Pantasy Le Petit Prince brick kits are the latest addition to our shop. Today we will be building one to see what they are like!
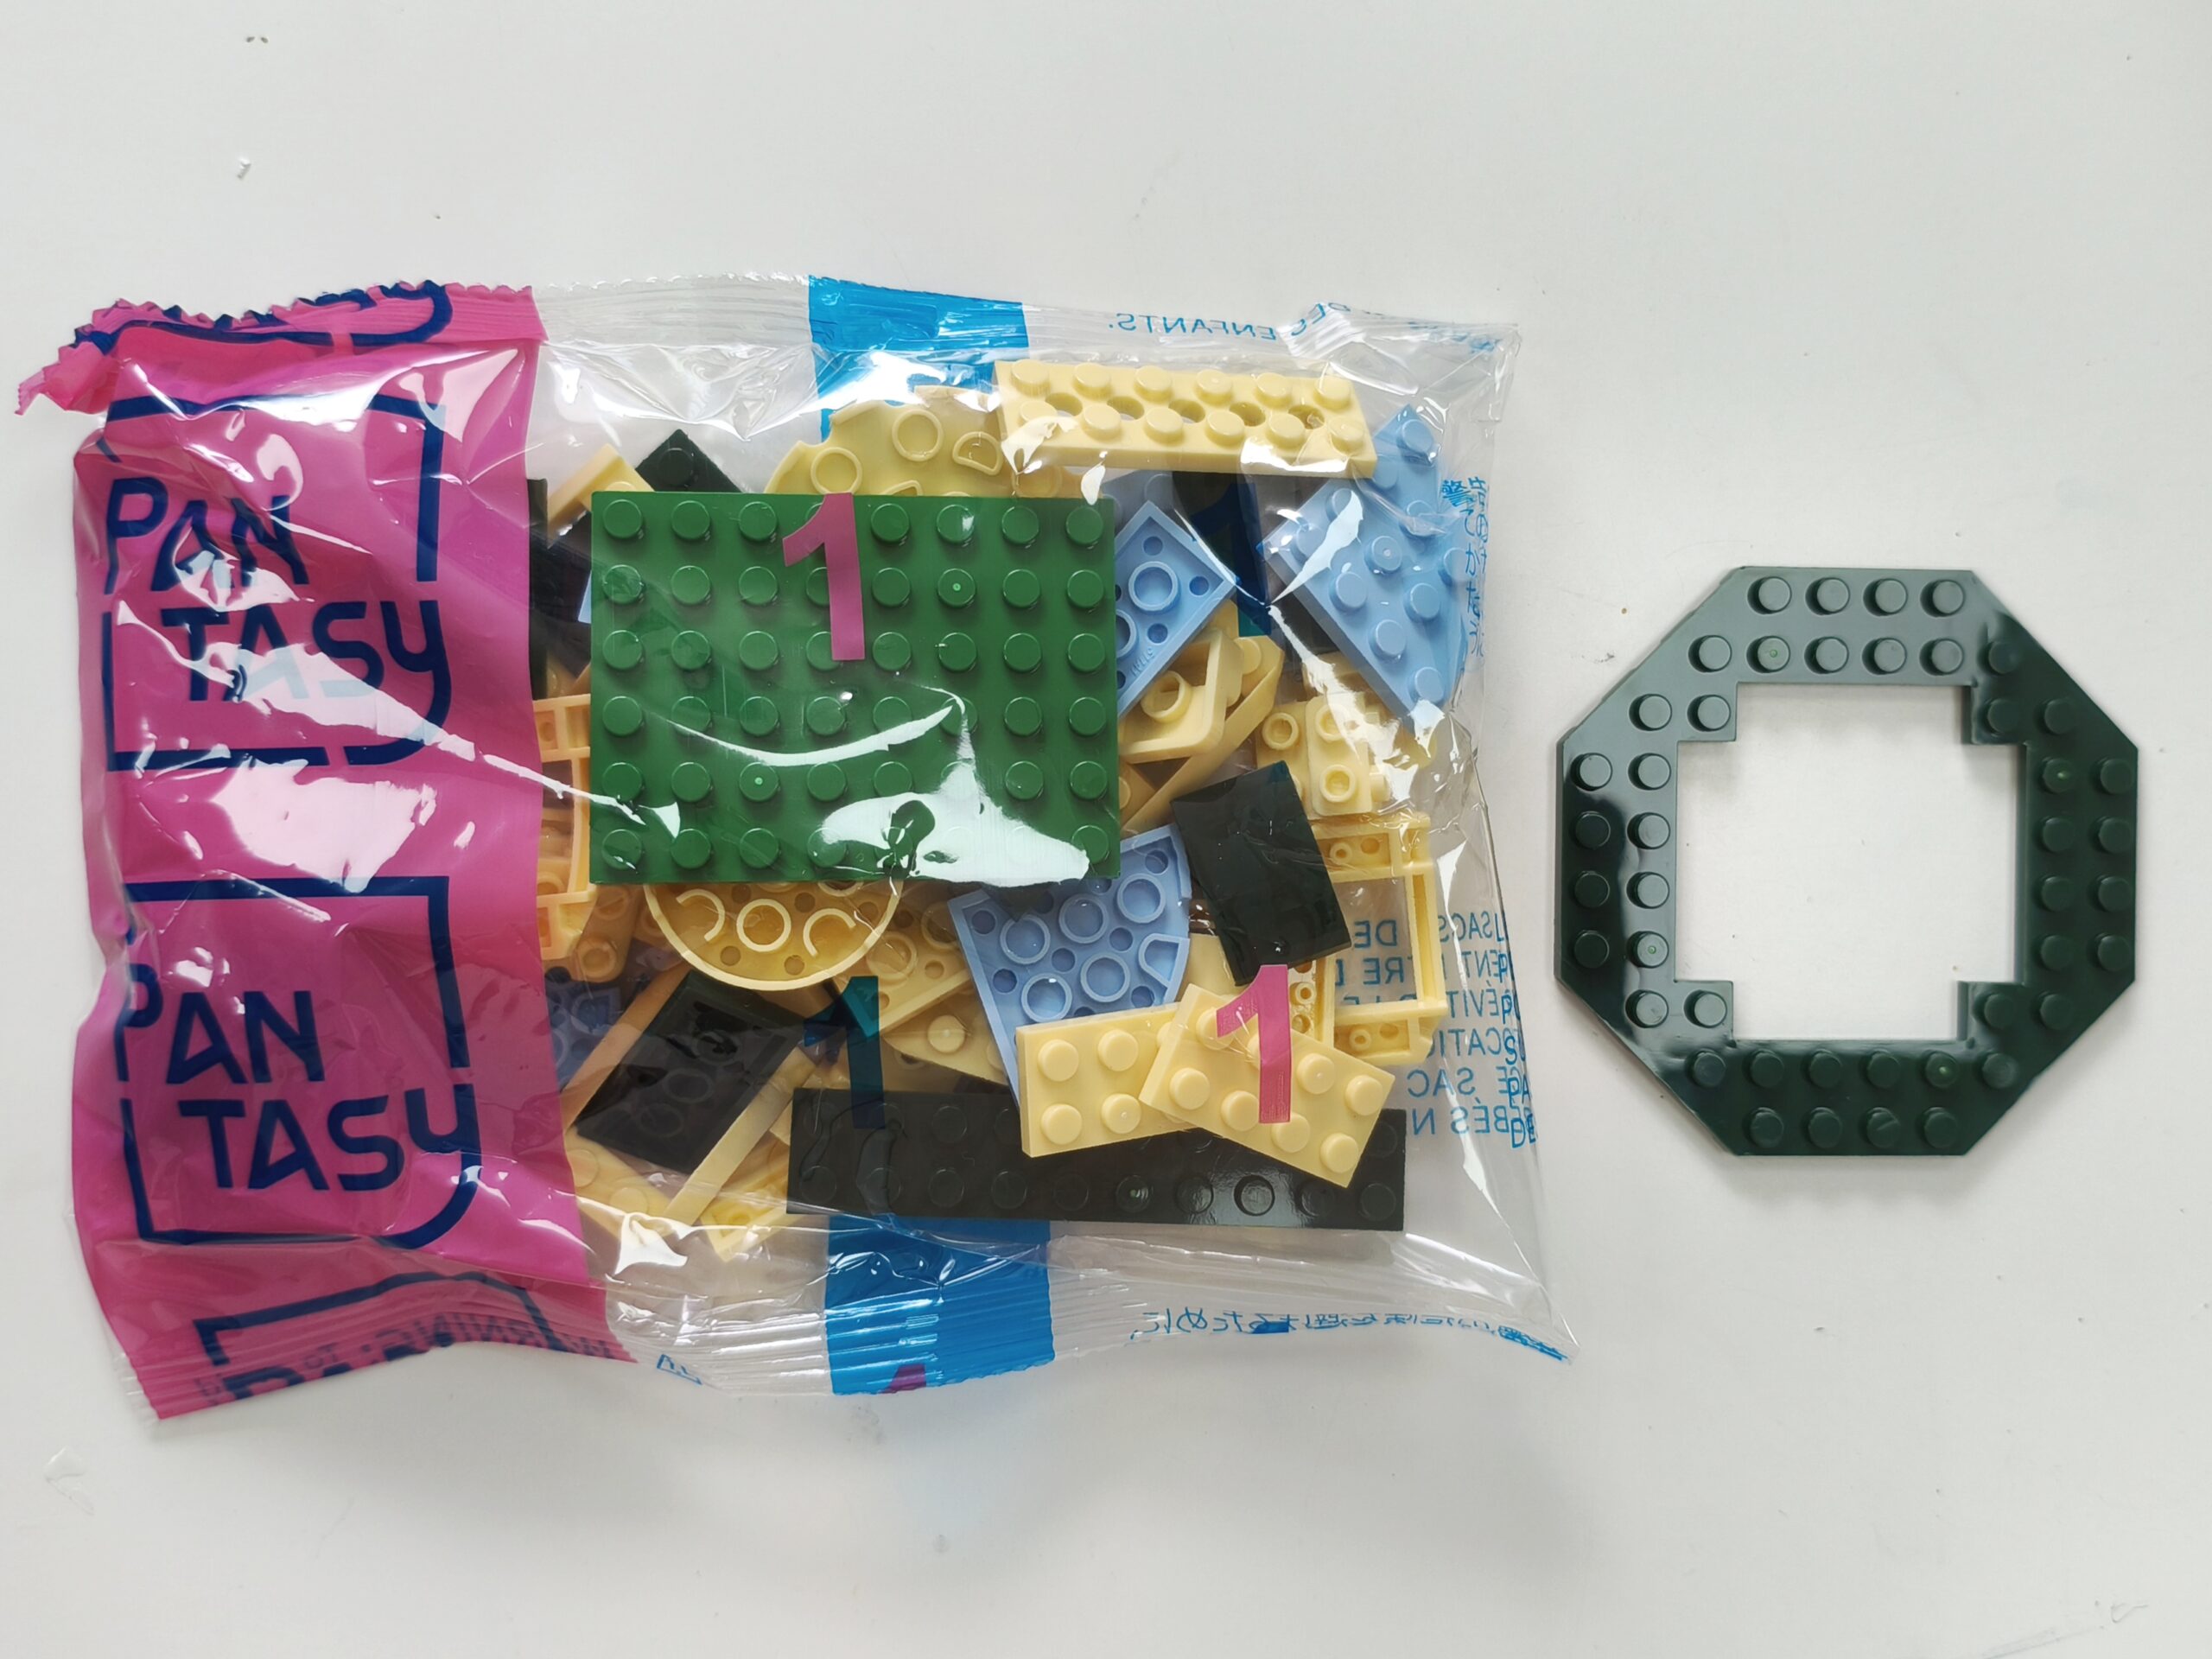
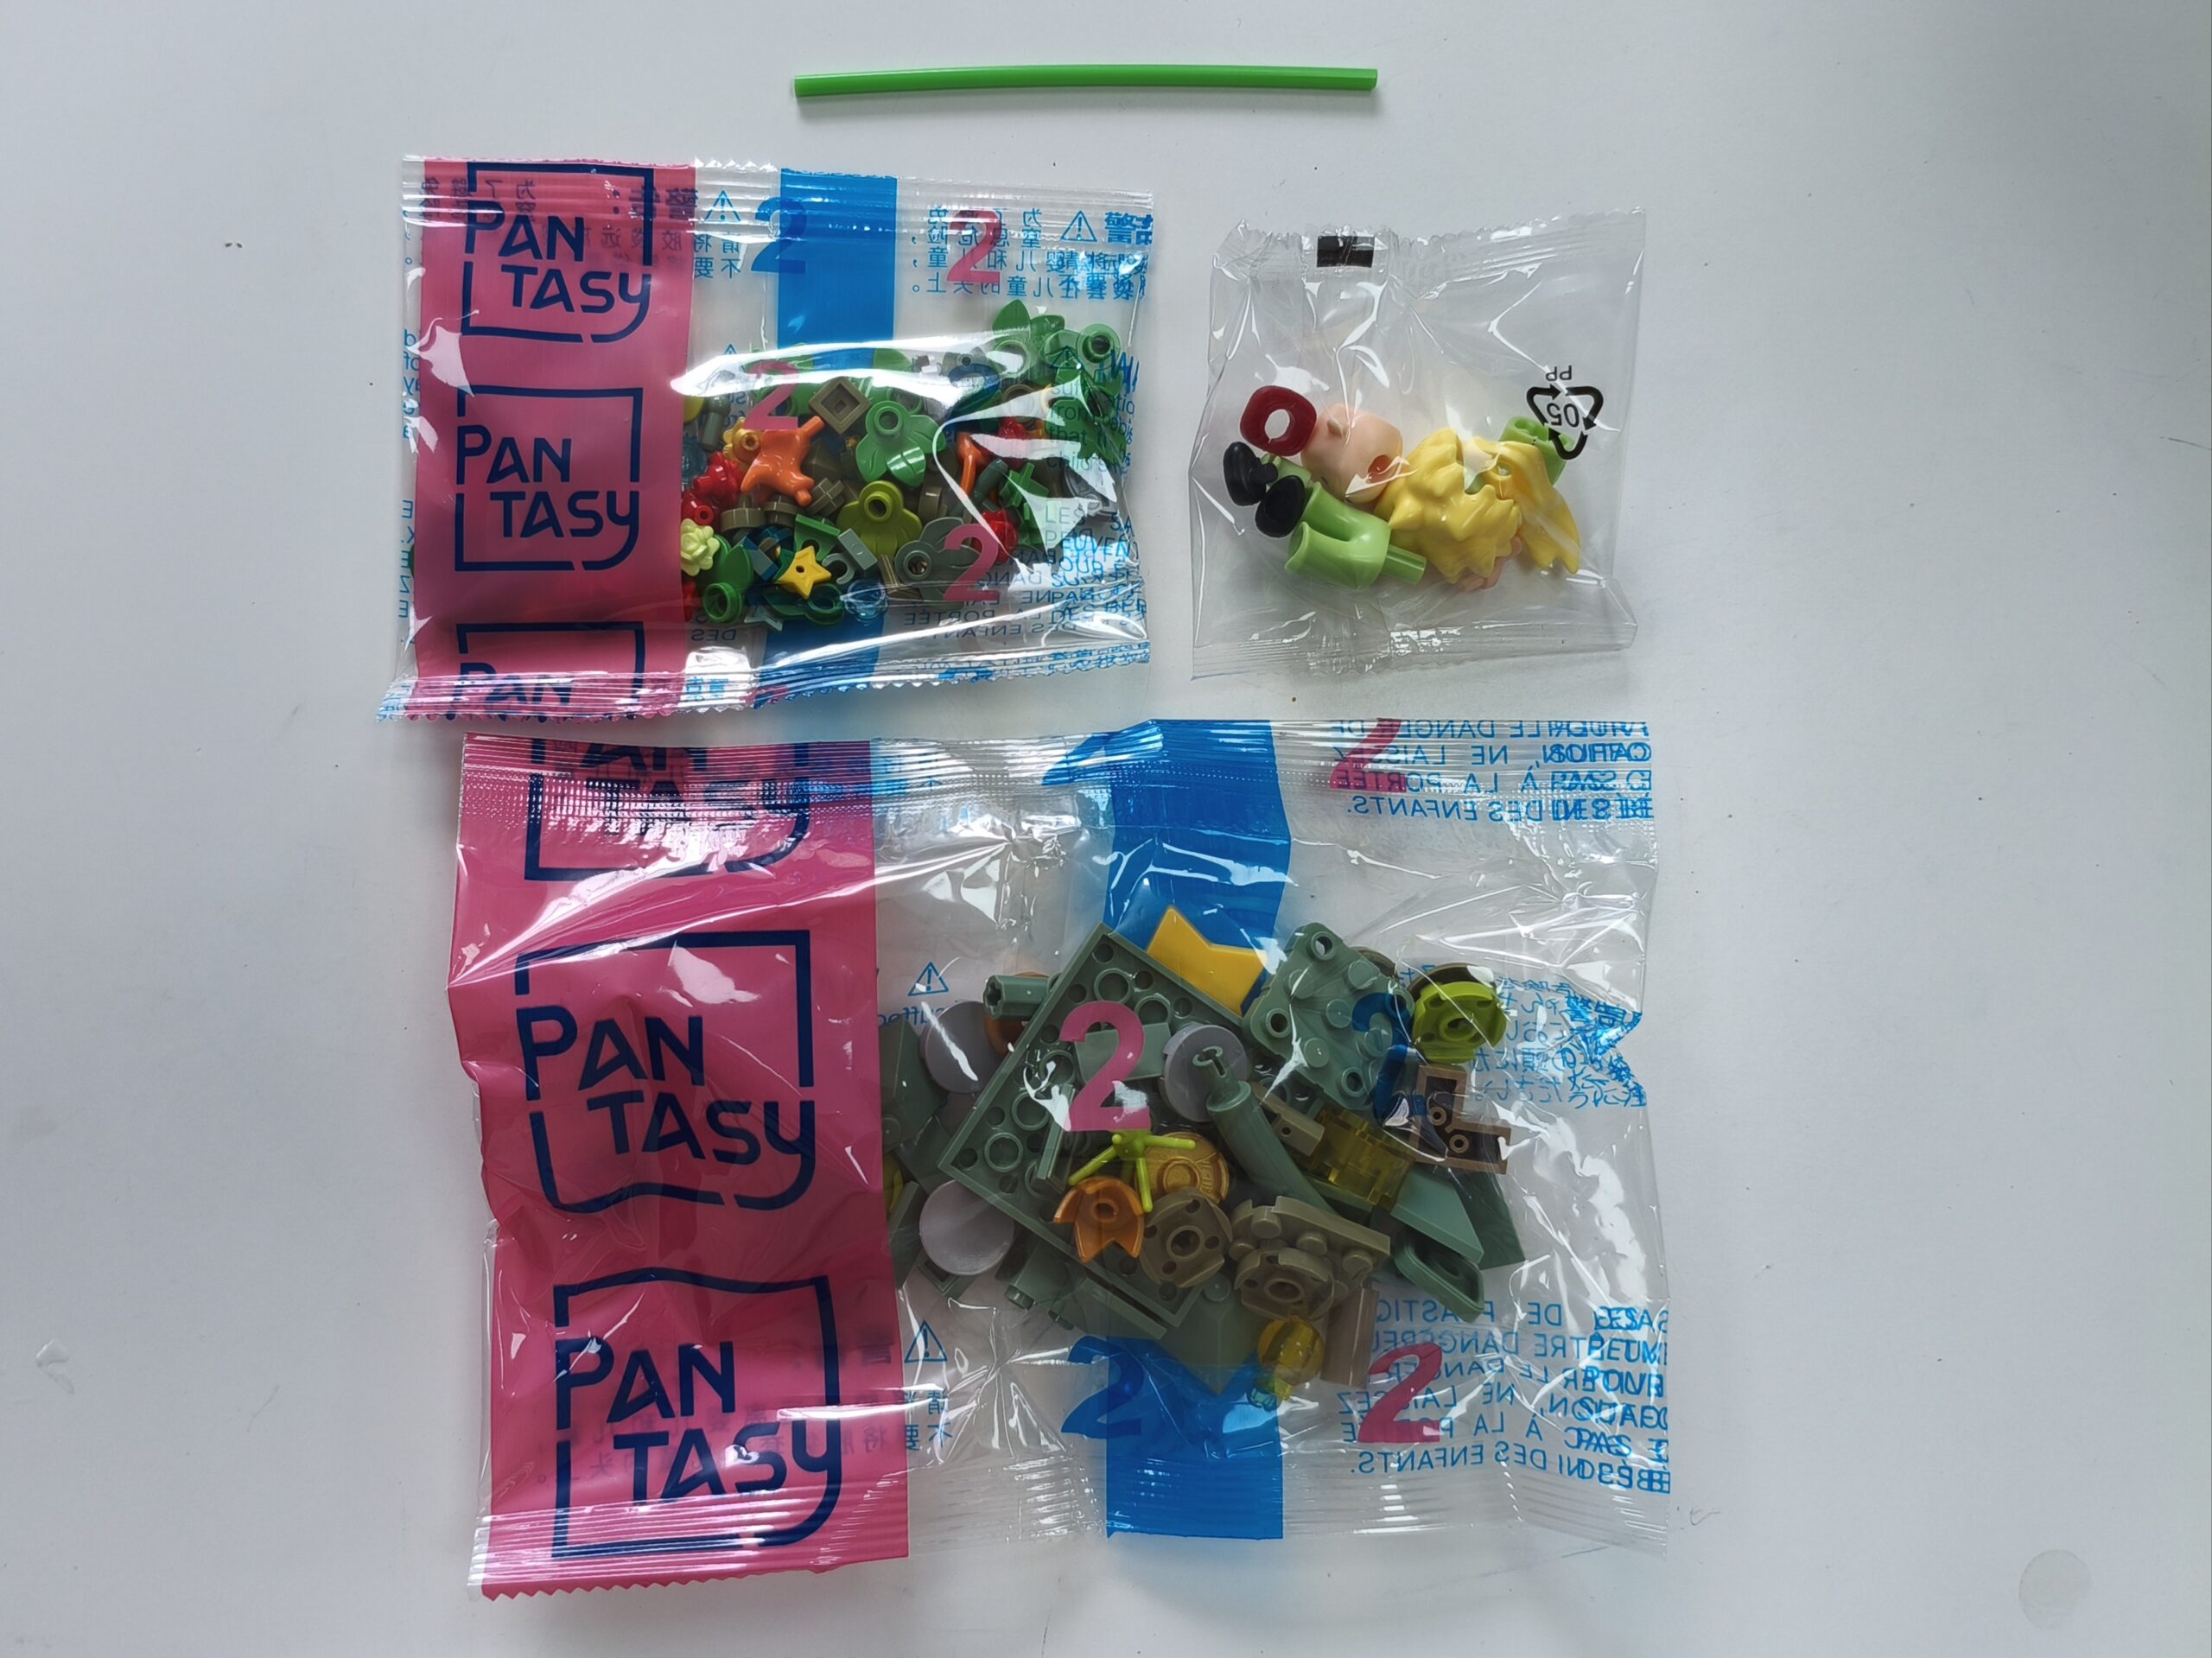
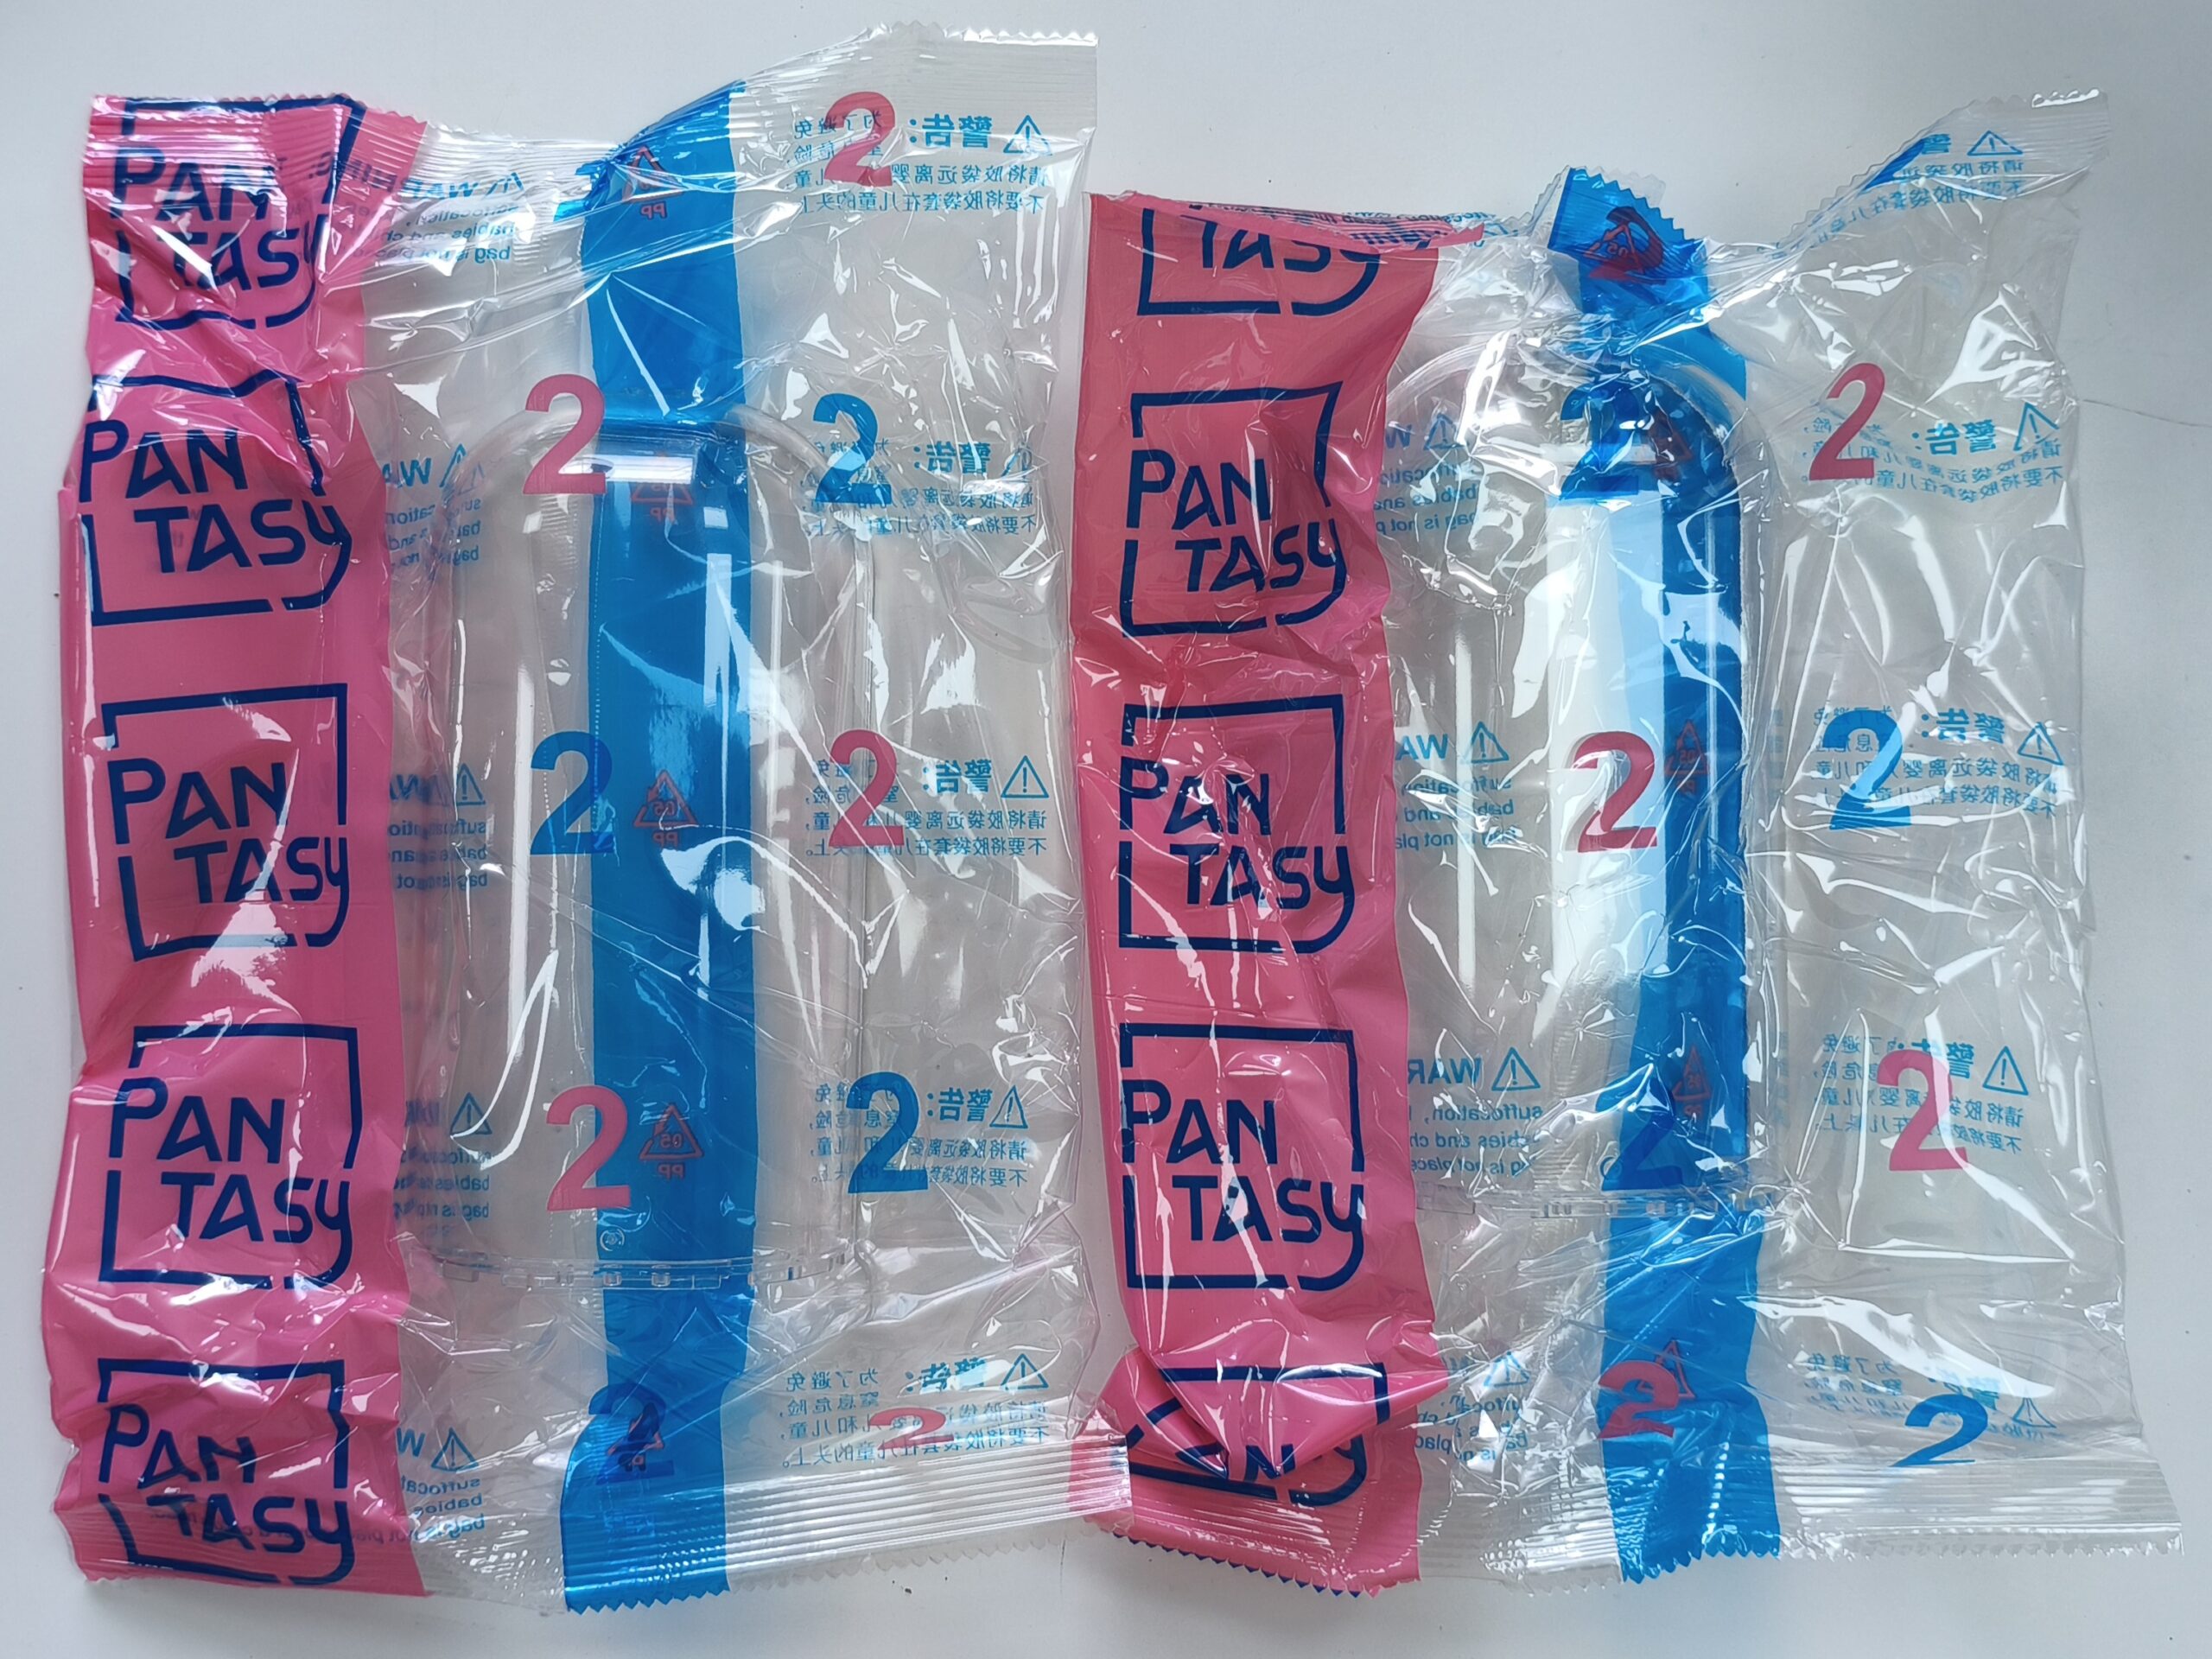
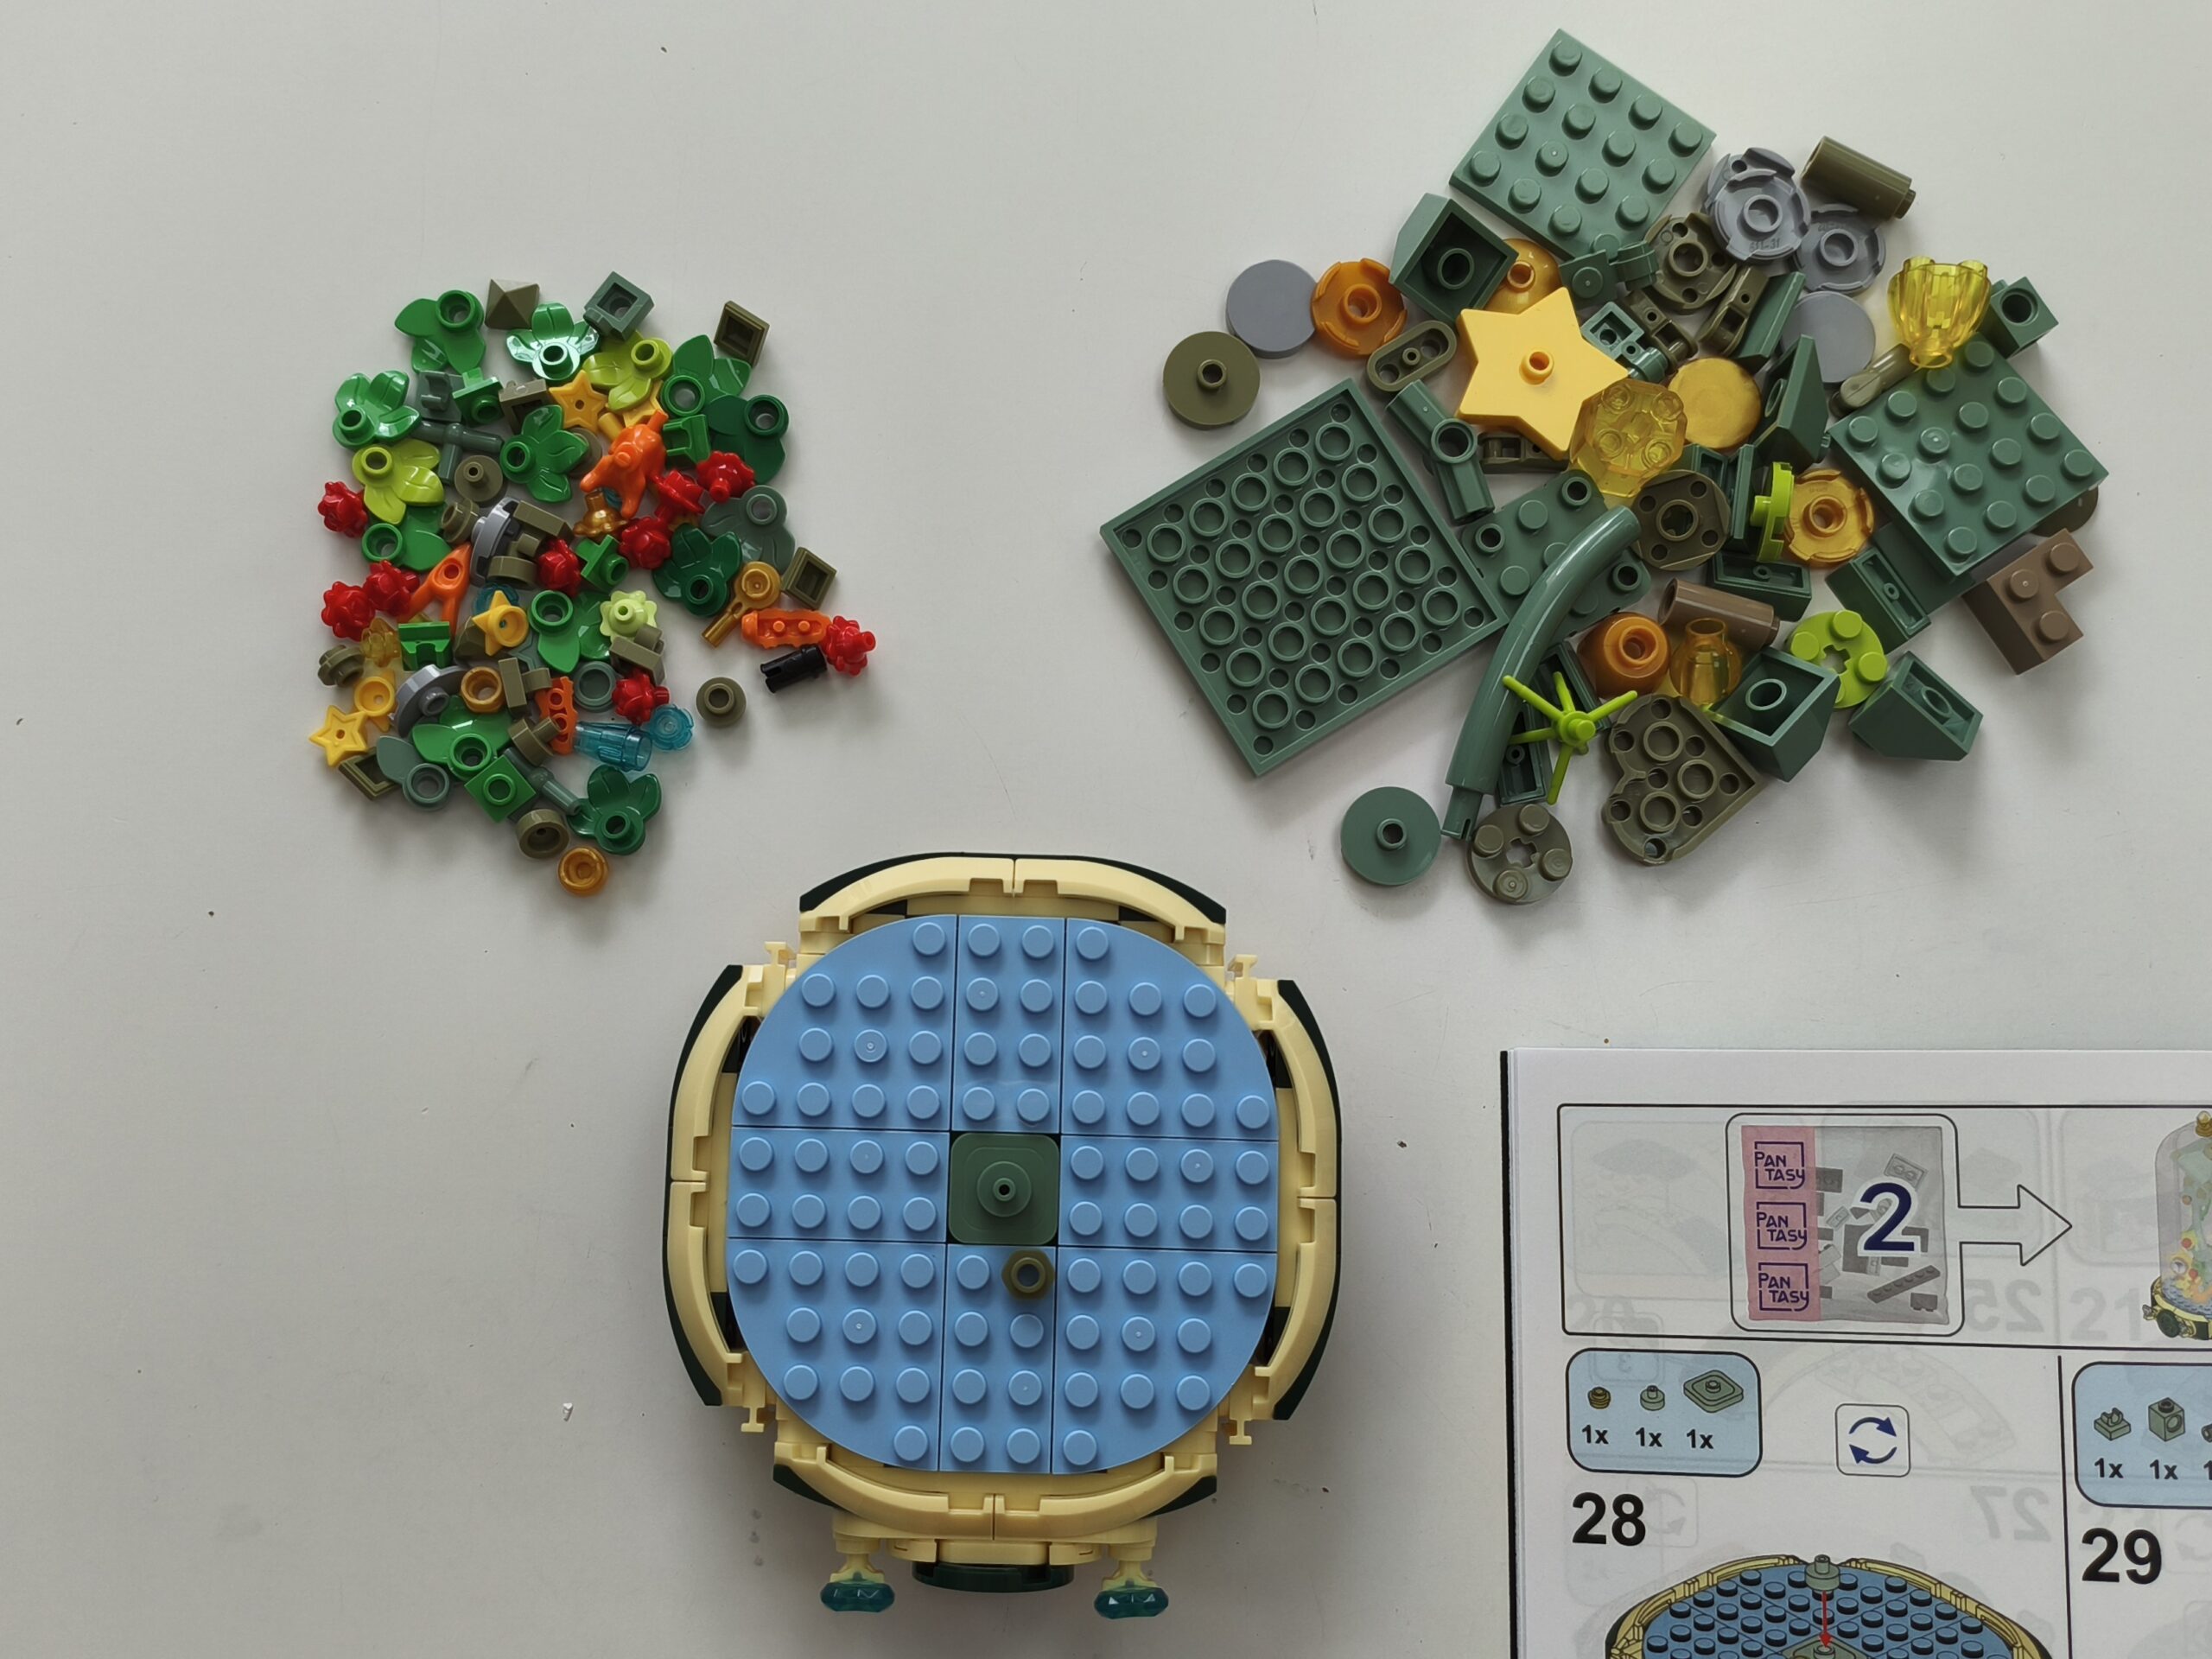
The bricks are packaged into bags labelled ‘1’ and ‘2’. Bag ‘1’ contains all the parts for the base.
The bags labelled “2” contains everything that goes on top of the base – the main scene.
The clear case comes in two parts.
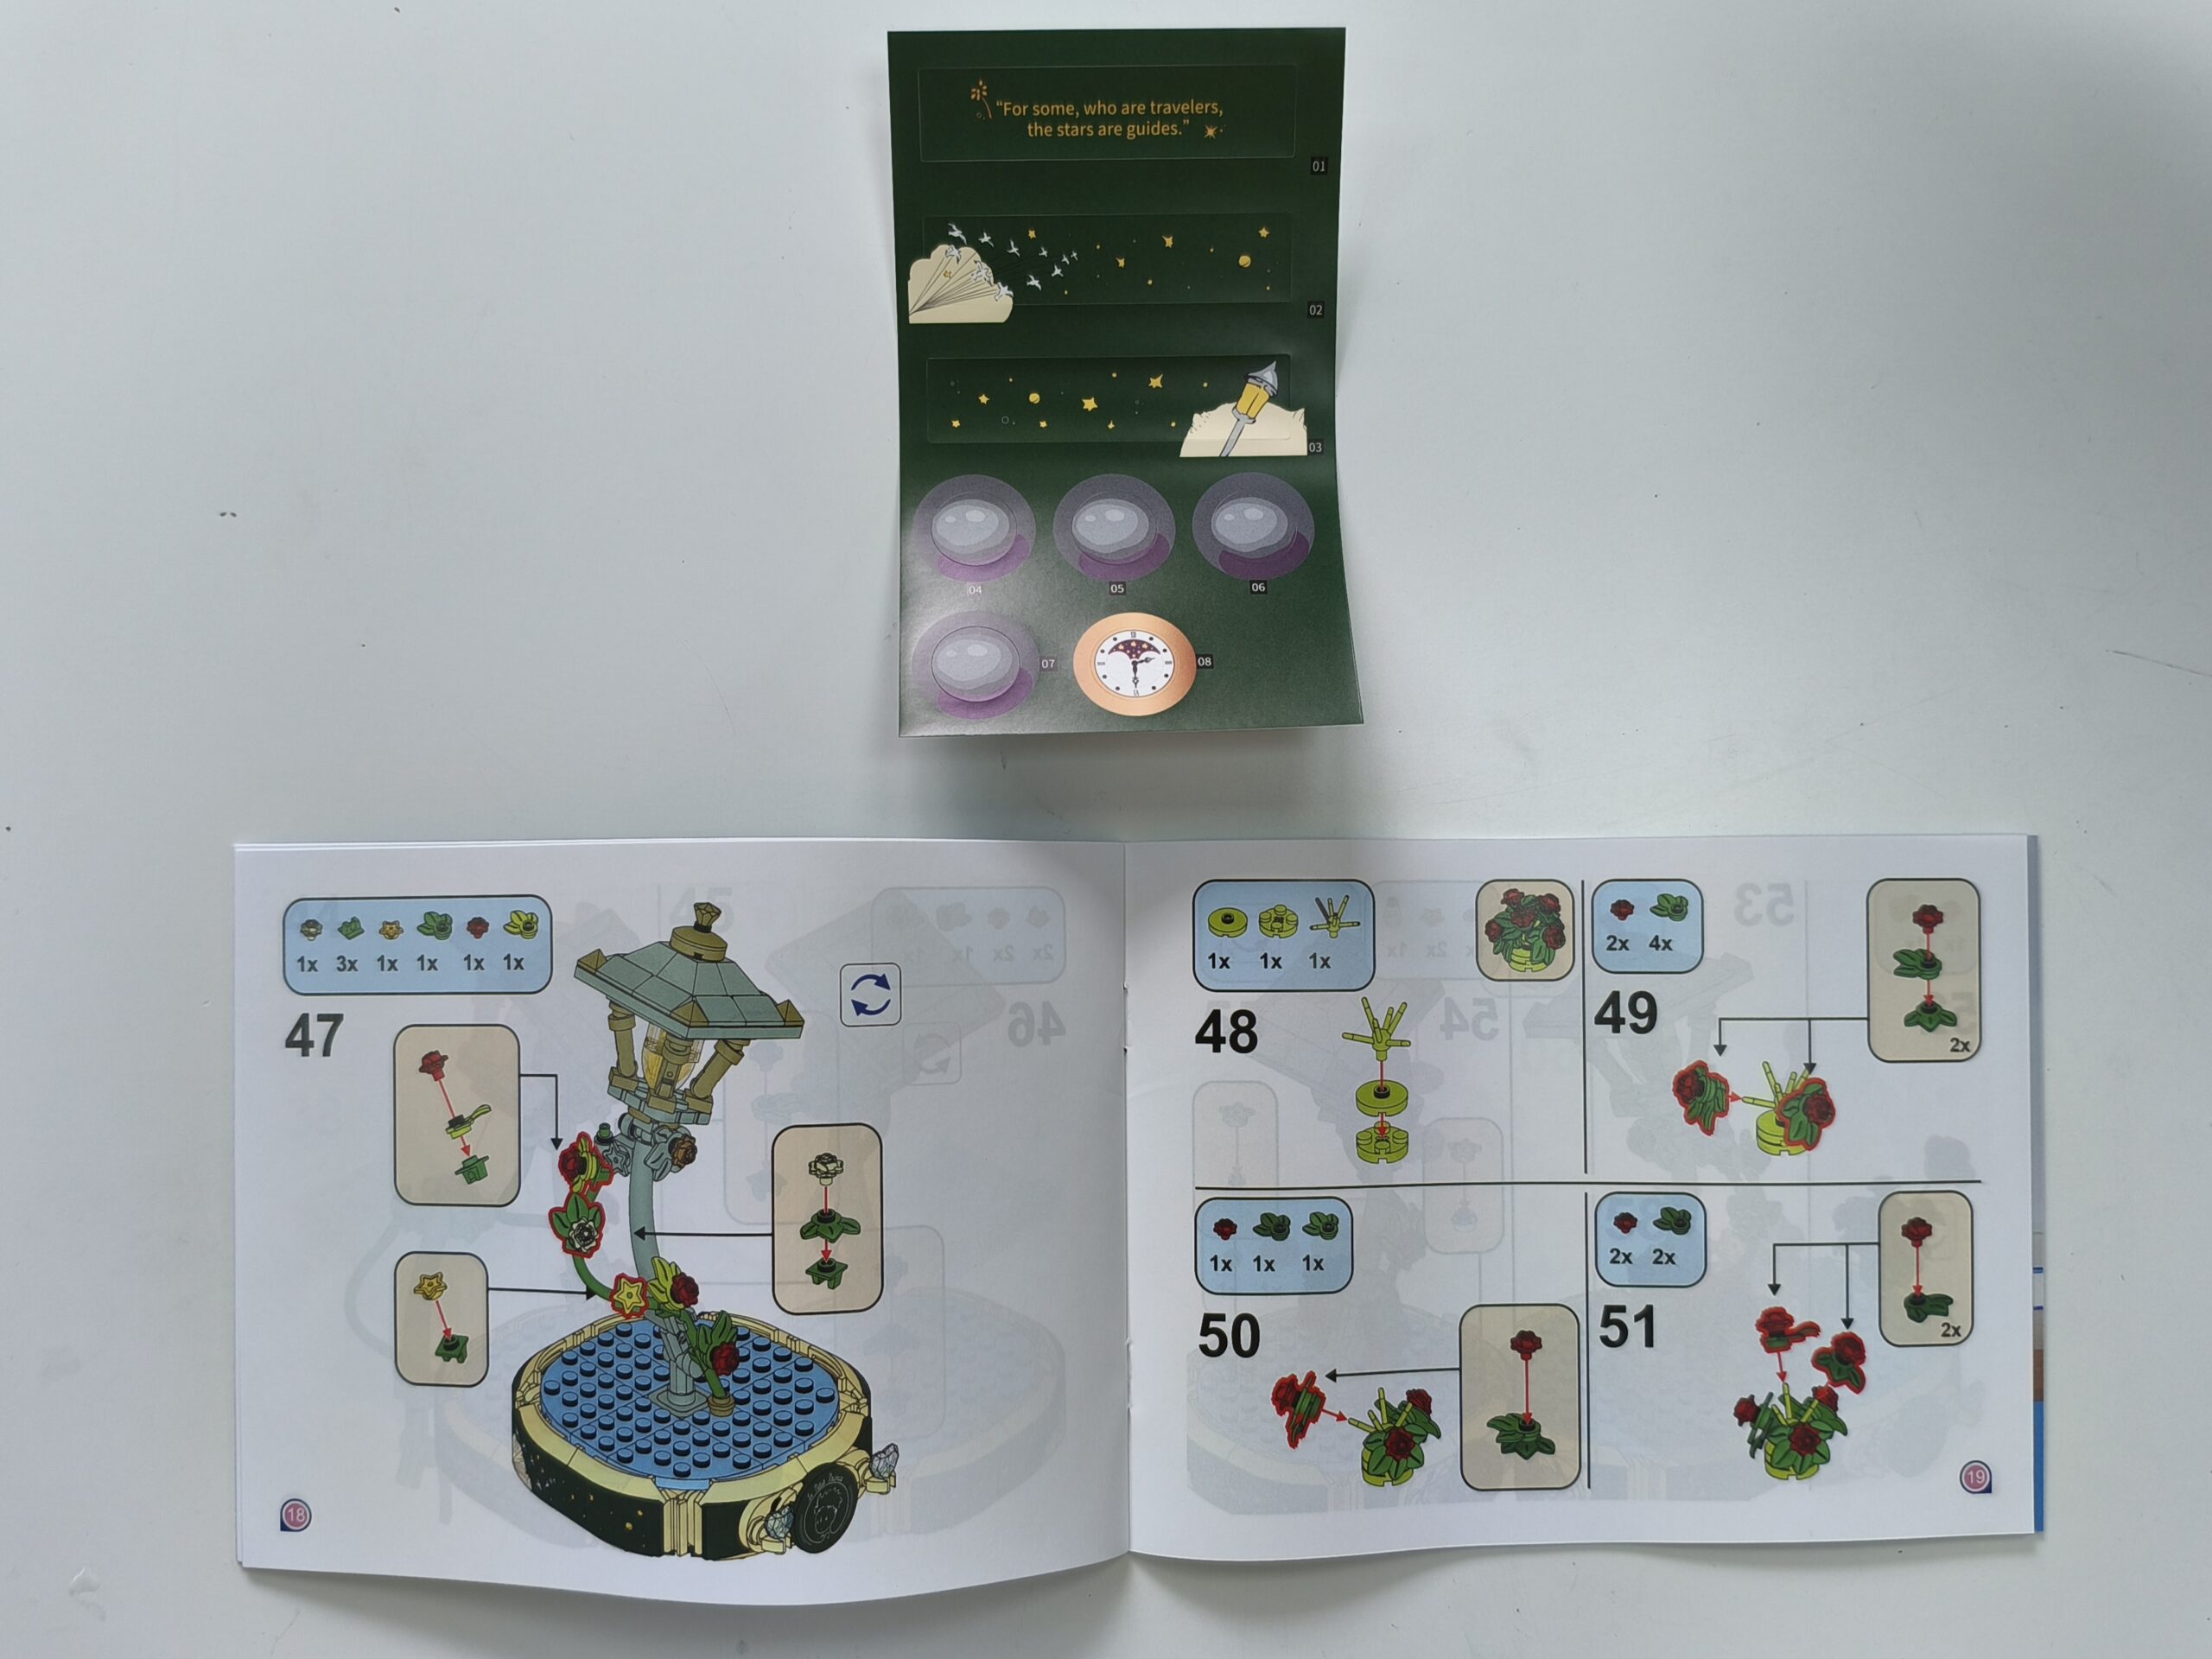
Stickers and a coloured instruction guide are included.
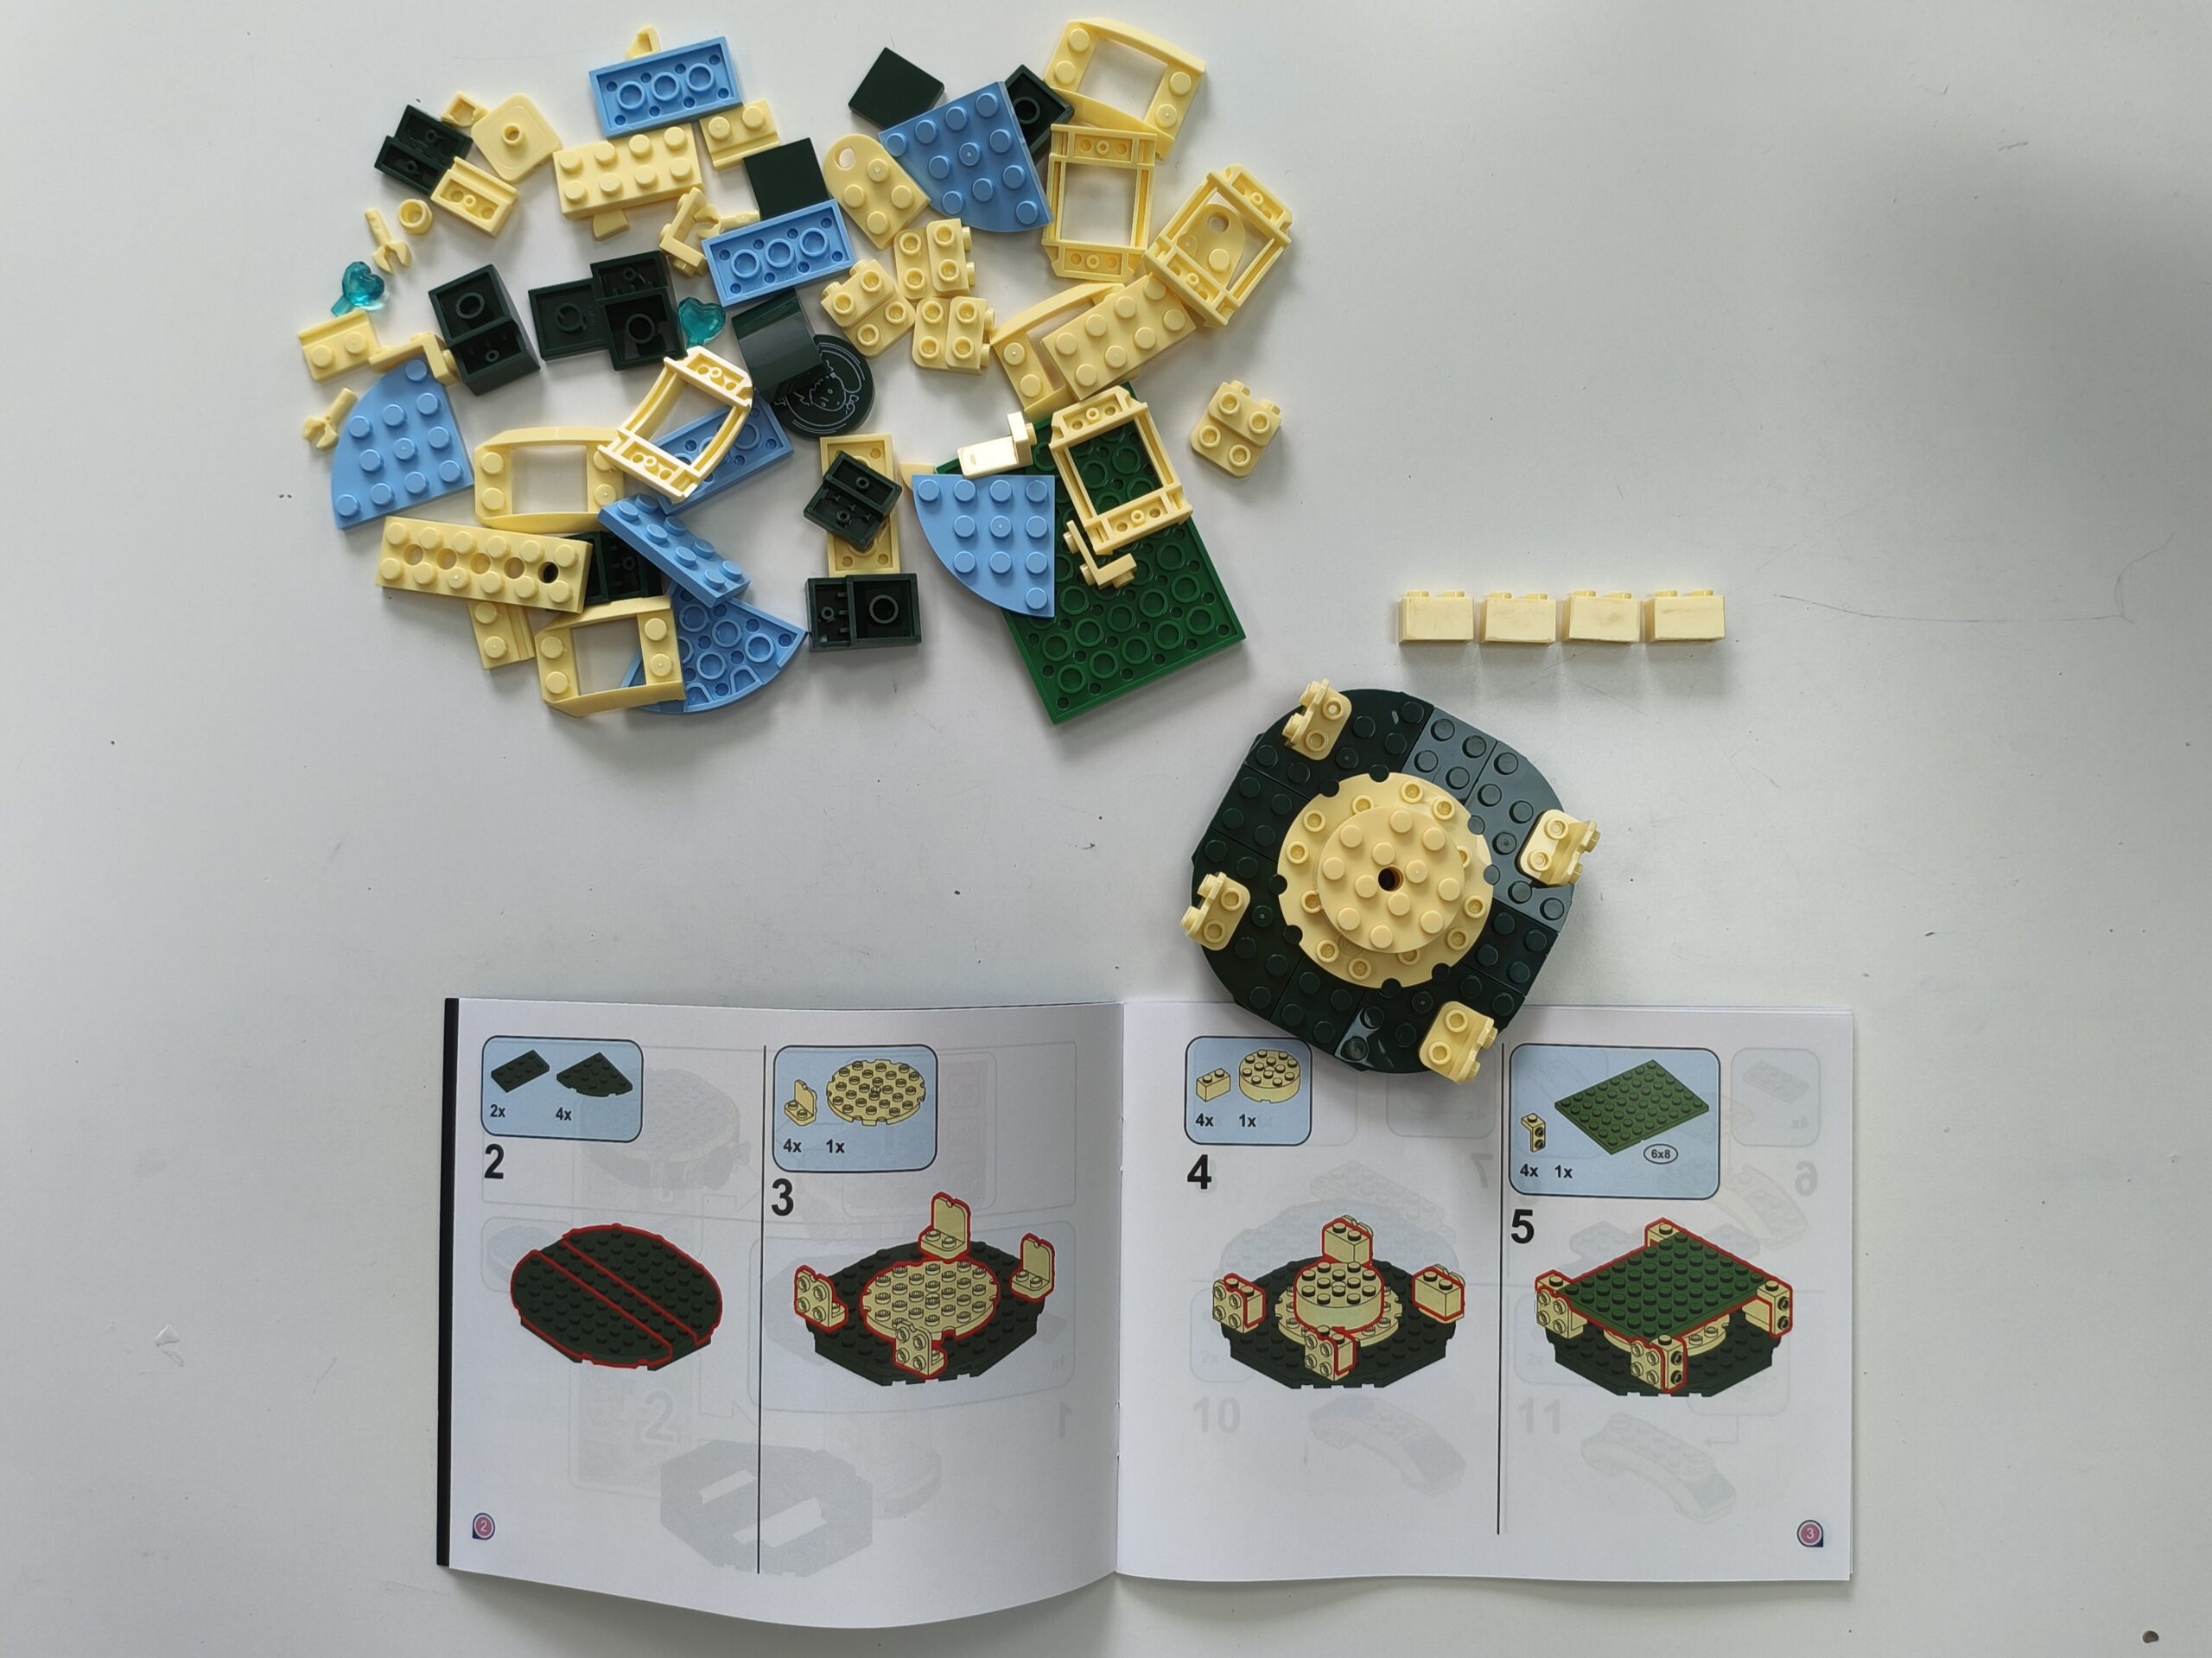
First we open bag ‘1’ to construct the base. The instructions are easy to follow. The bricks required for each step are listed at the top. The new bricks introduced are framed in red in the diagram.
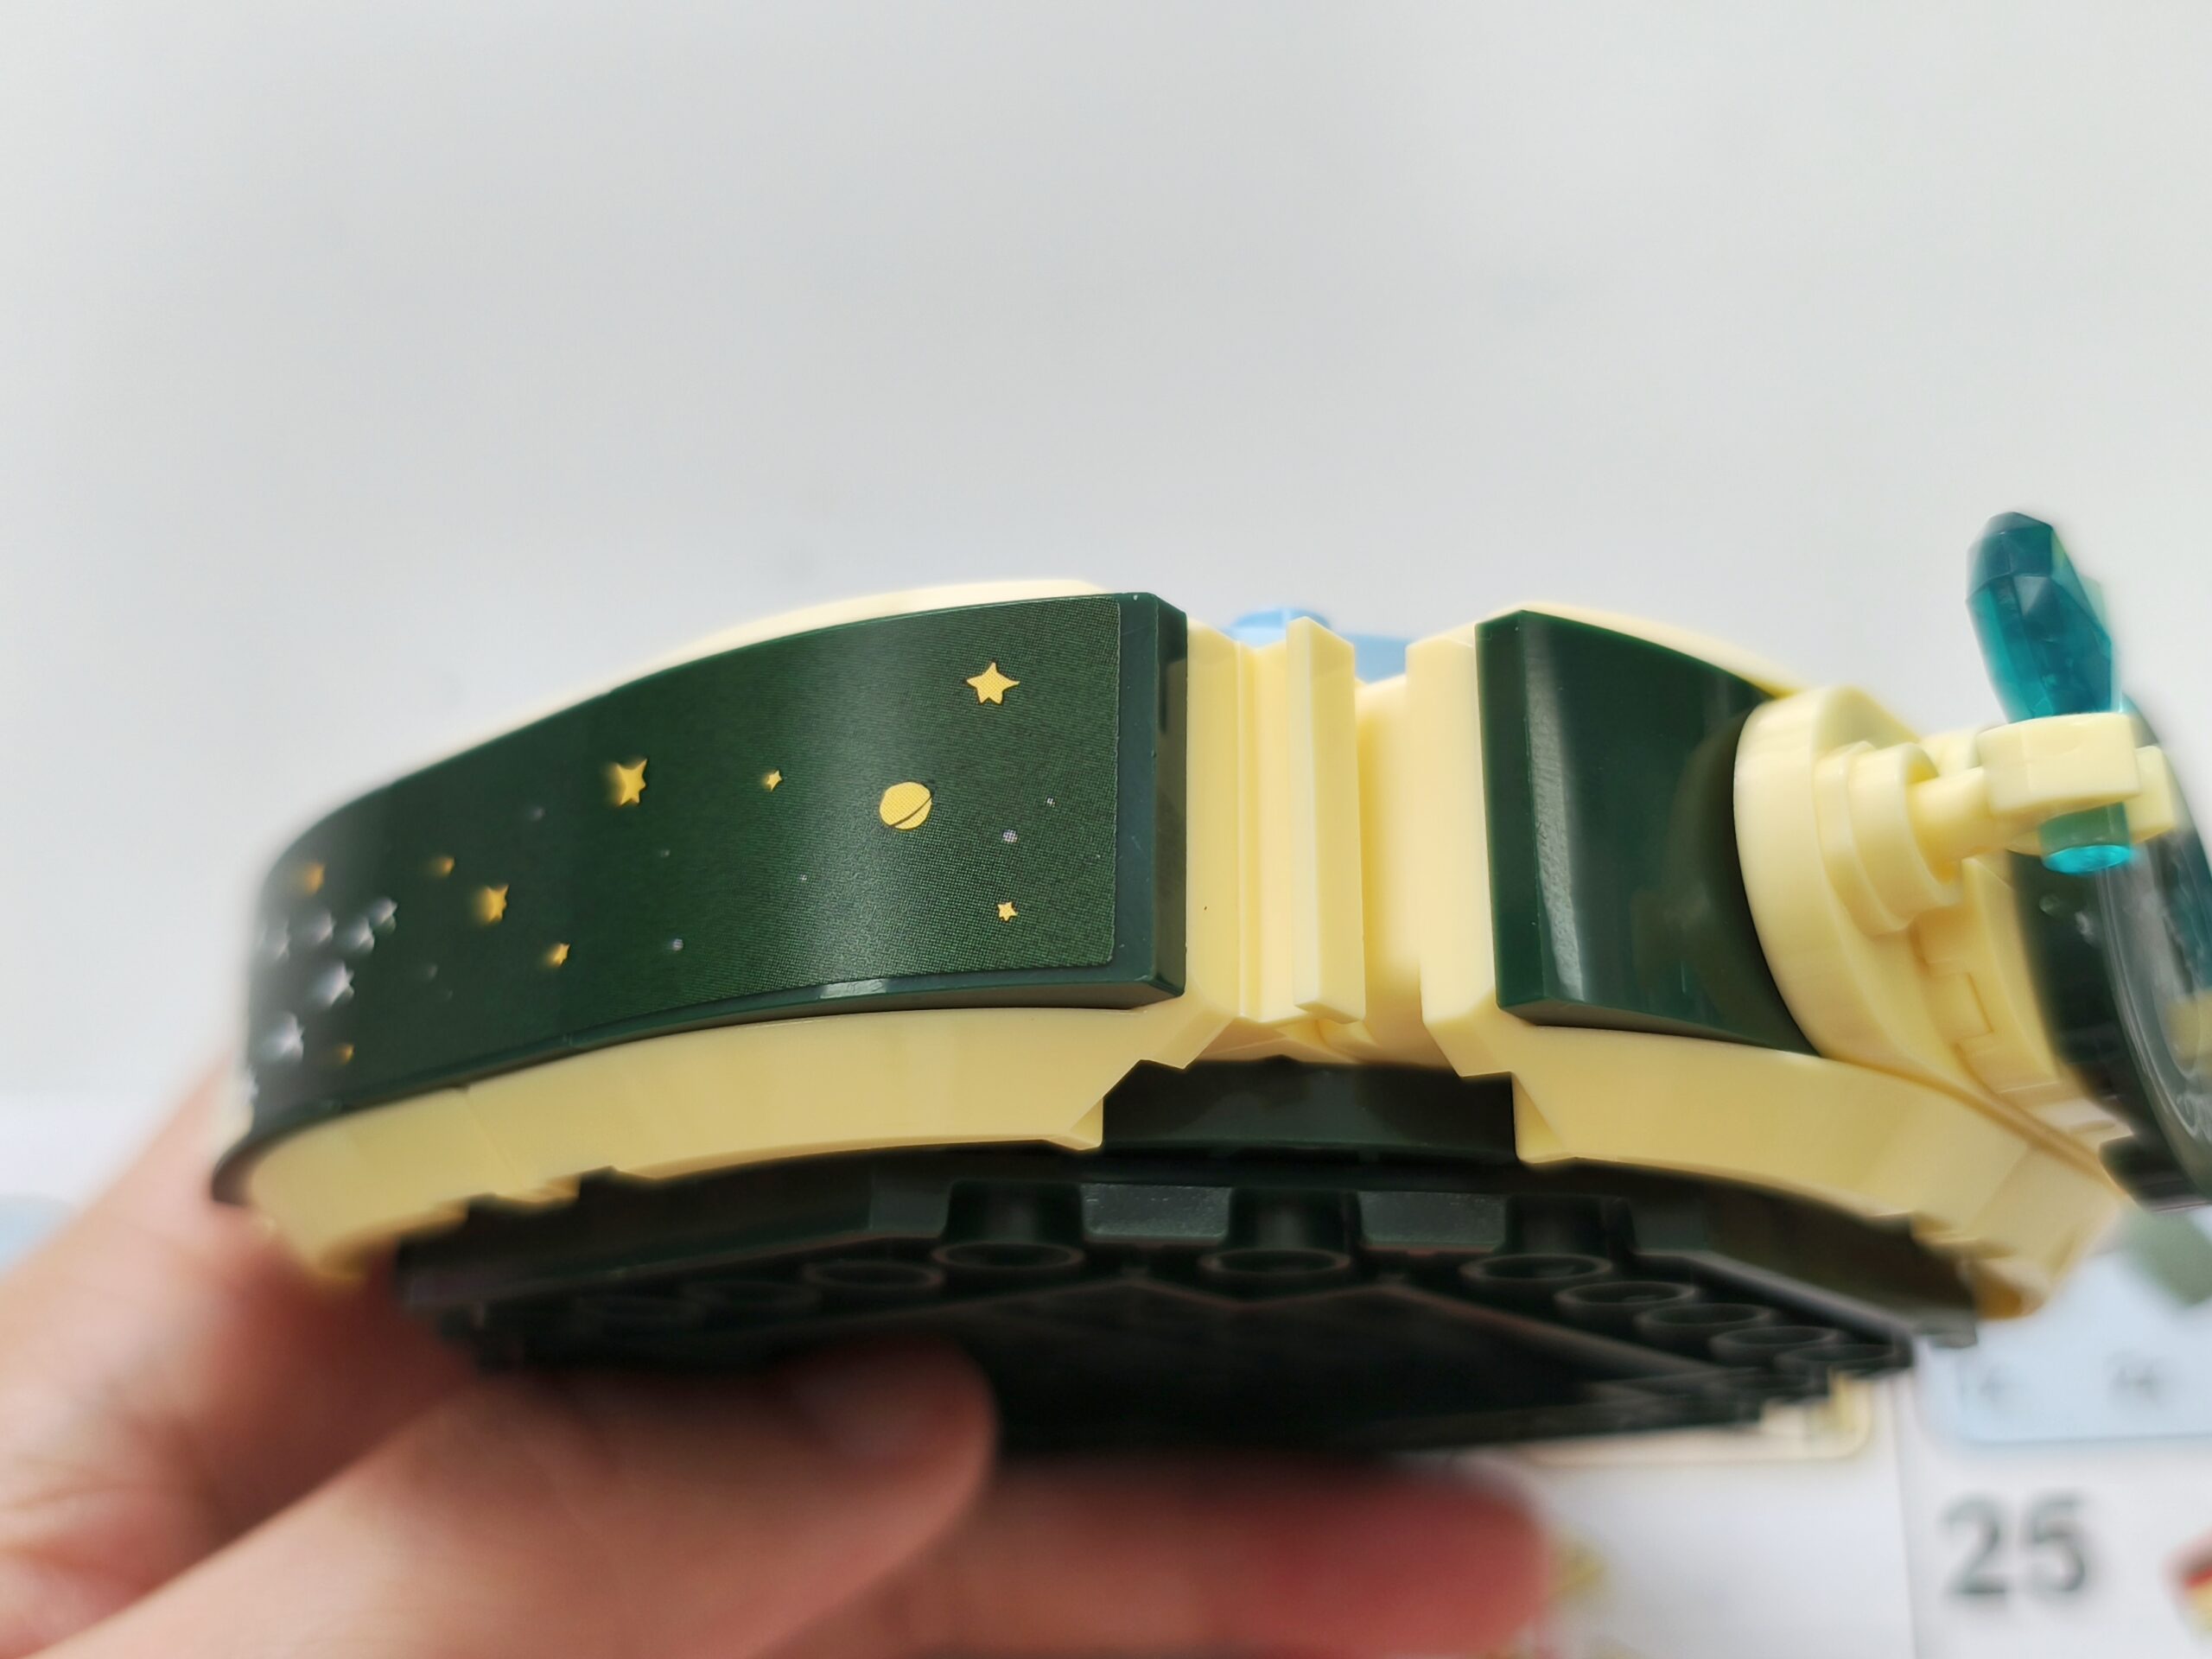
The stickers are a little smaller than the area it goes onto, which gives you some leeway to manoeuvre them in place. Here you can see the colour of the sticker matches nicely with the brick.
Onto the main scene. You do need to open both bags labelled ‘2’. The bricks are bagged according to size, but you do need pieces from both bags as you build the main scene.
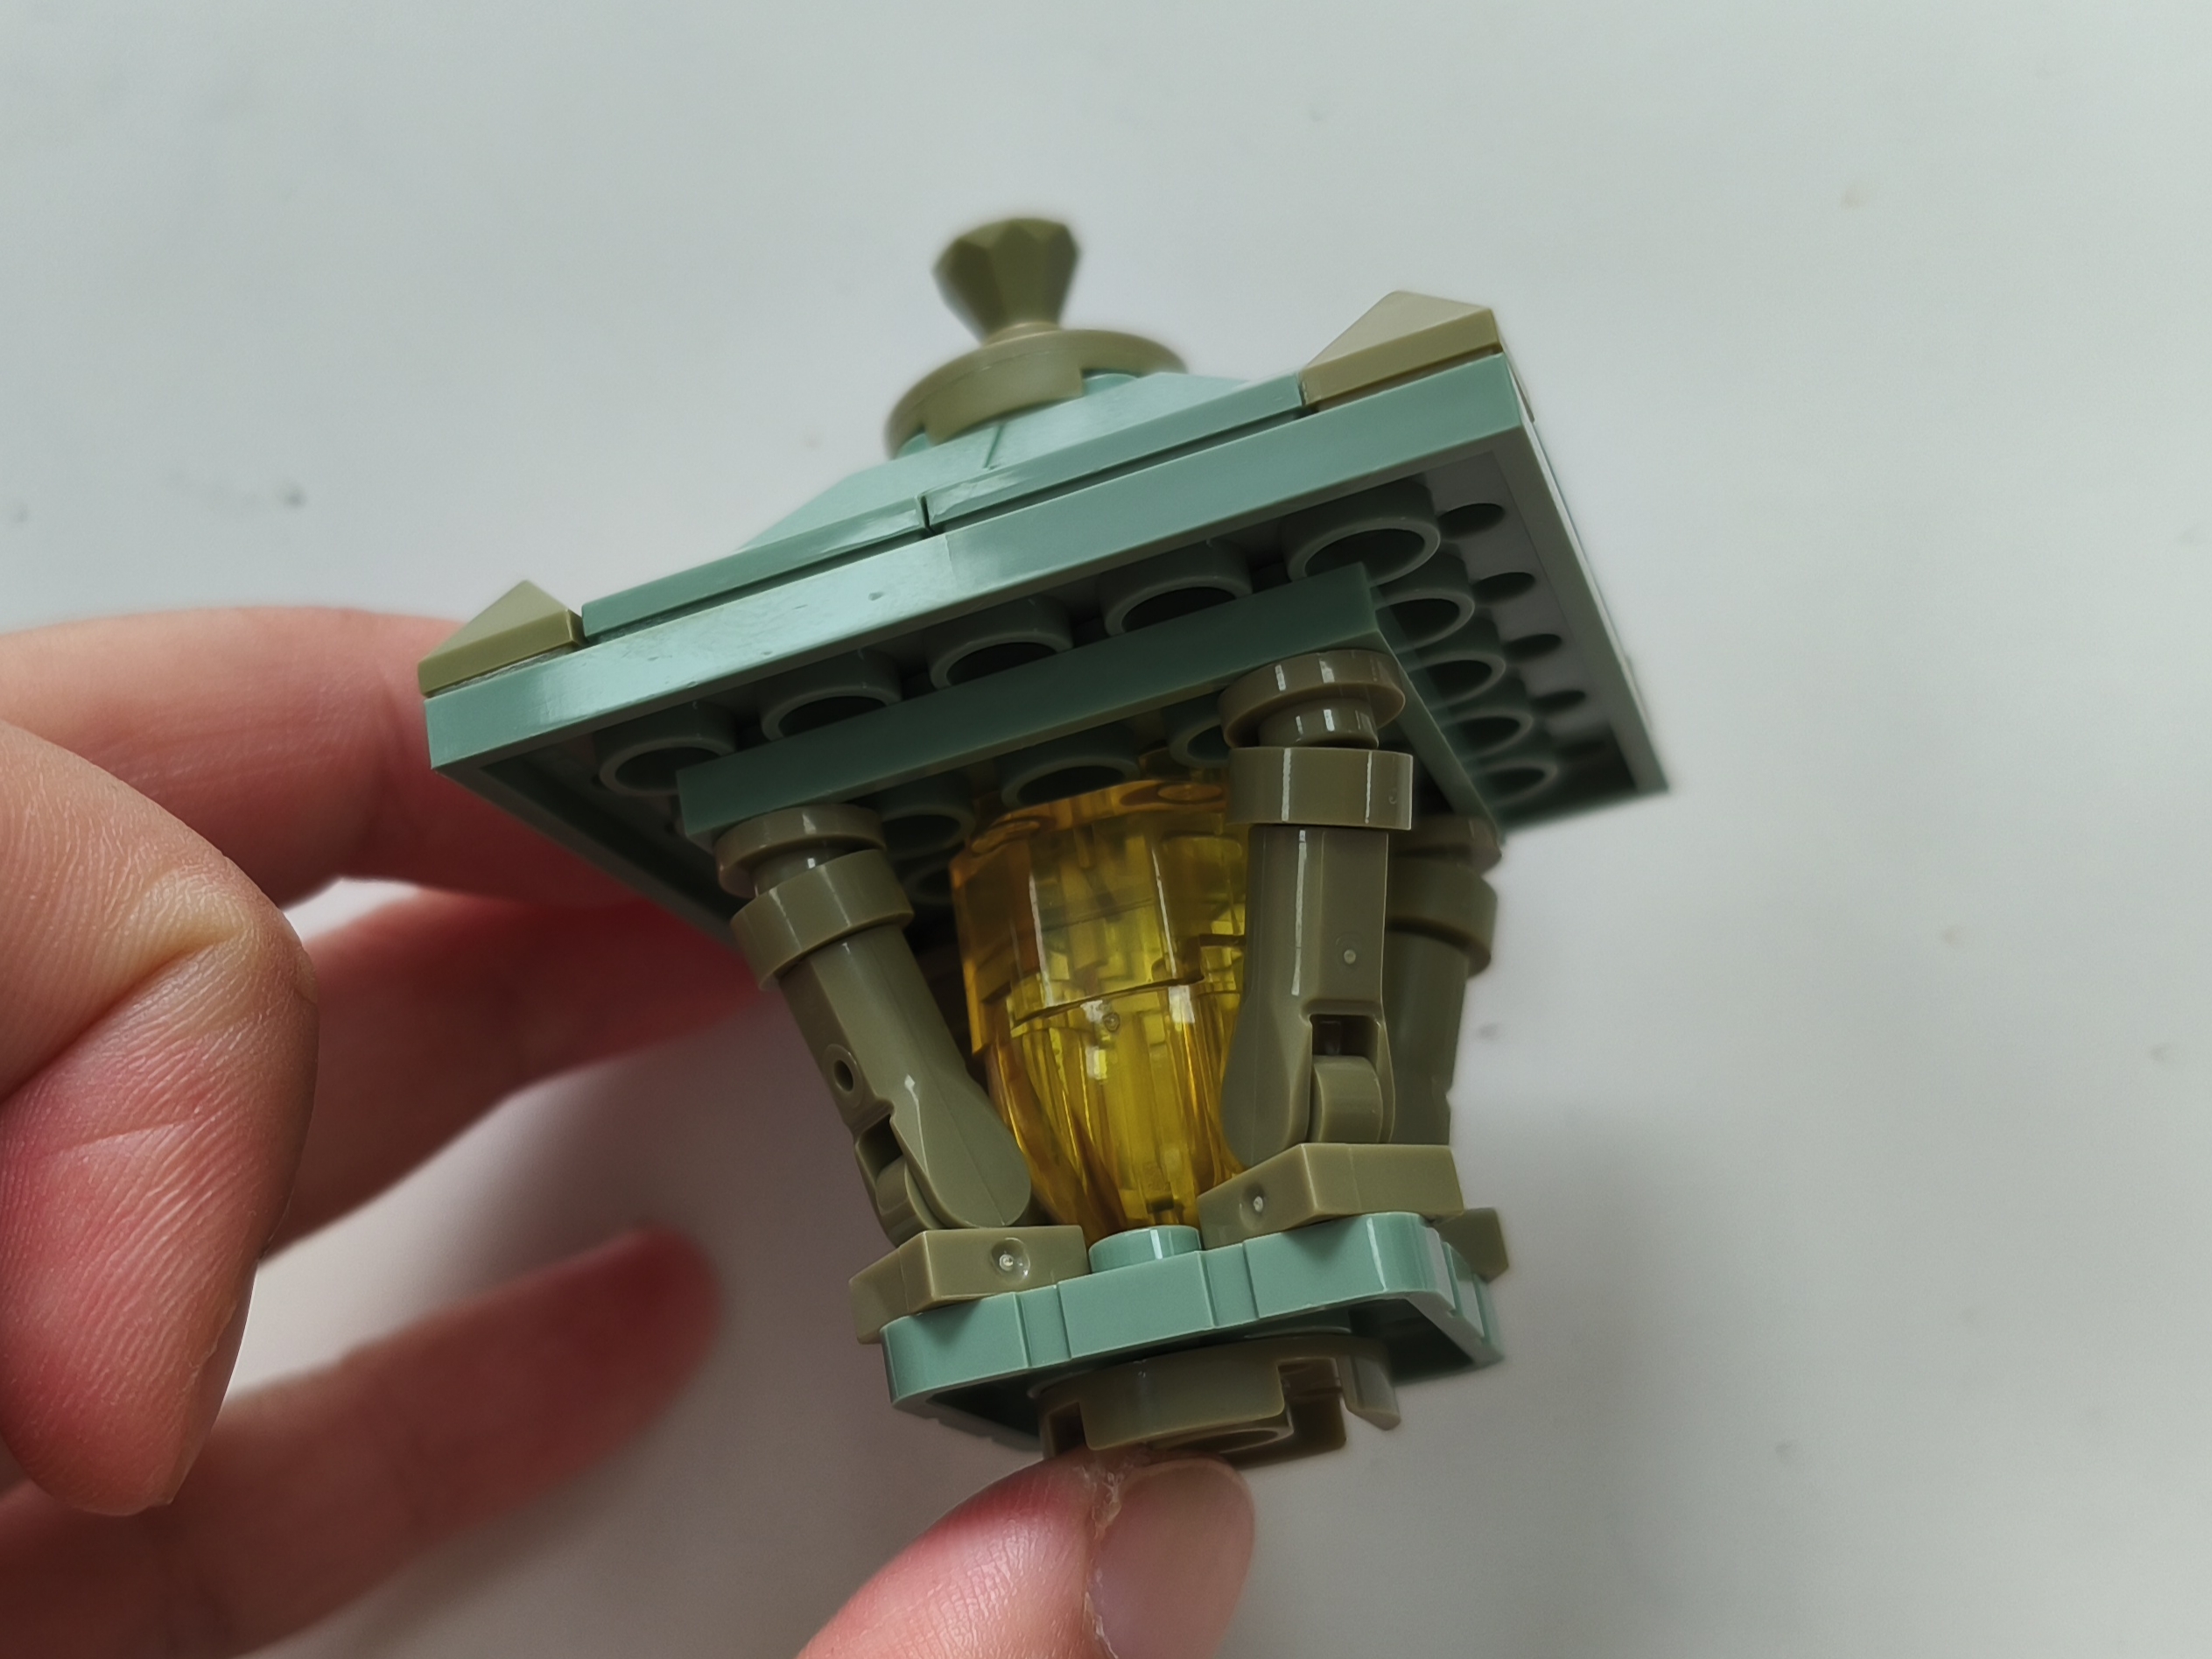
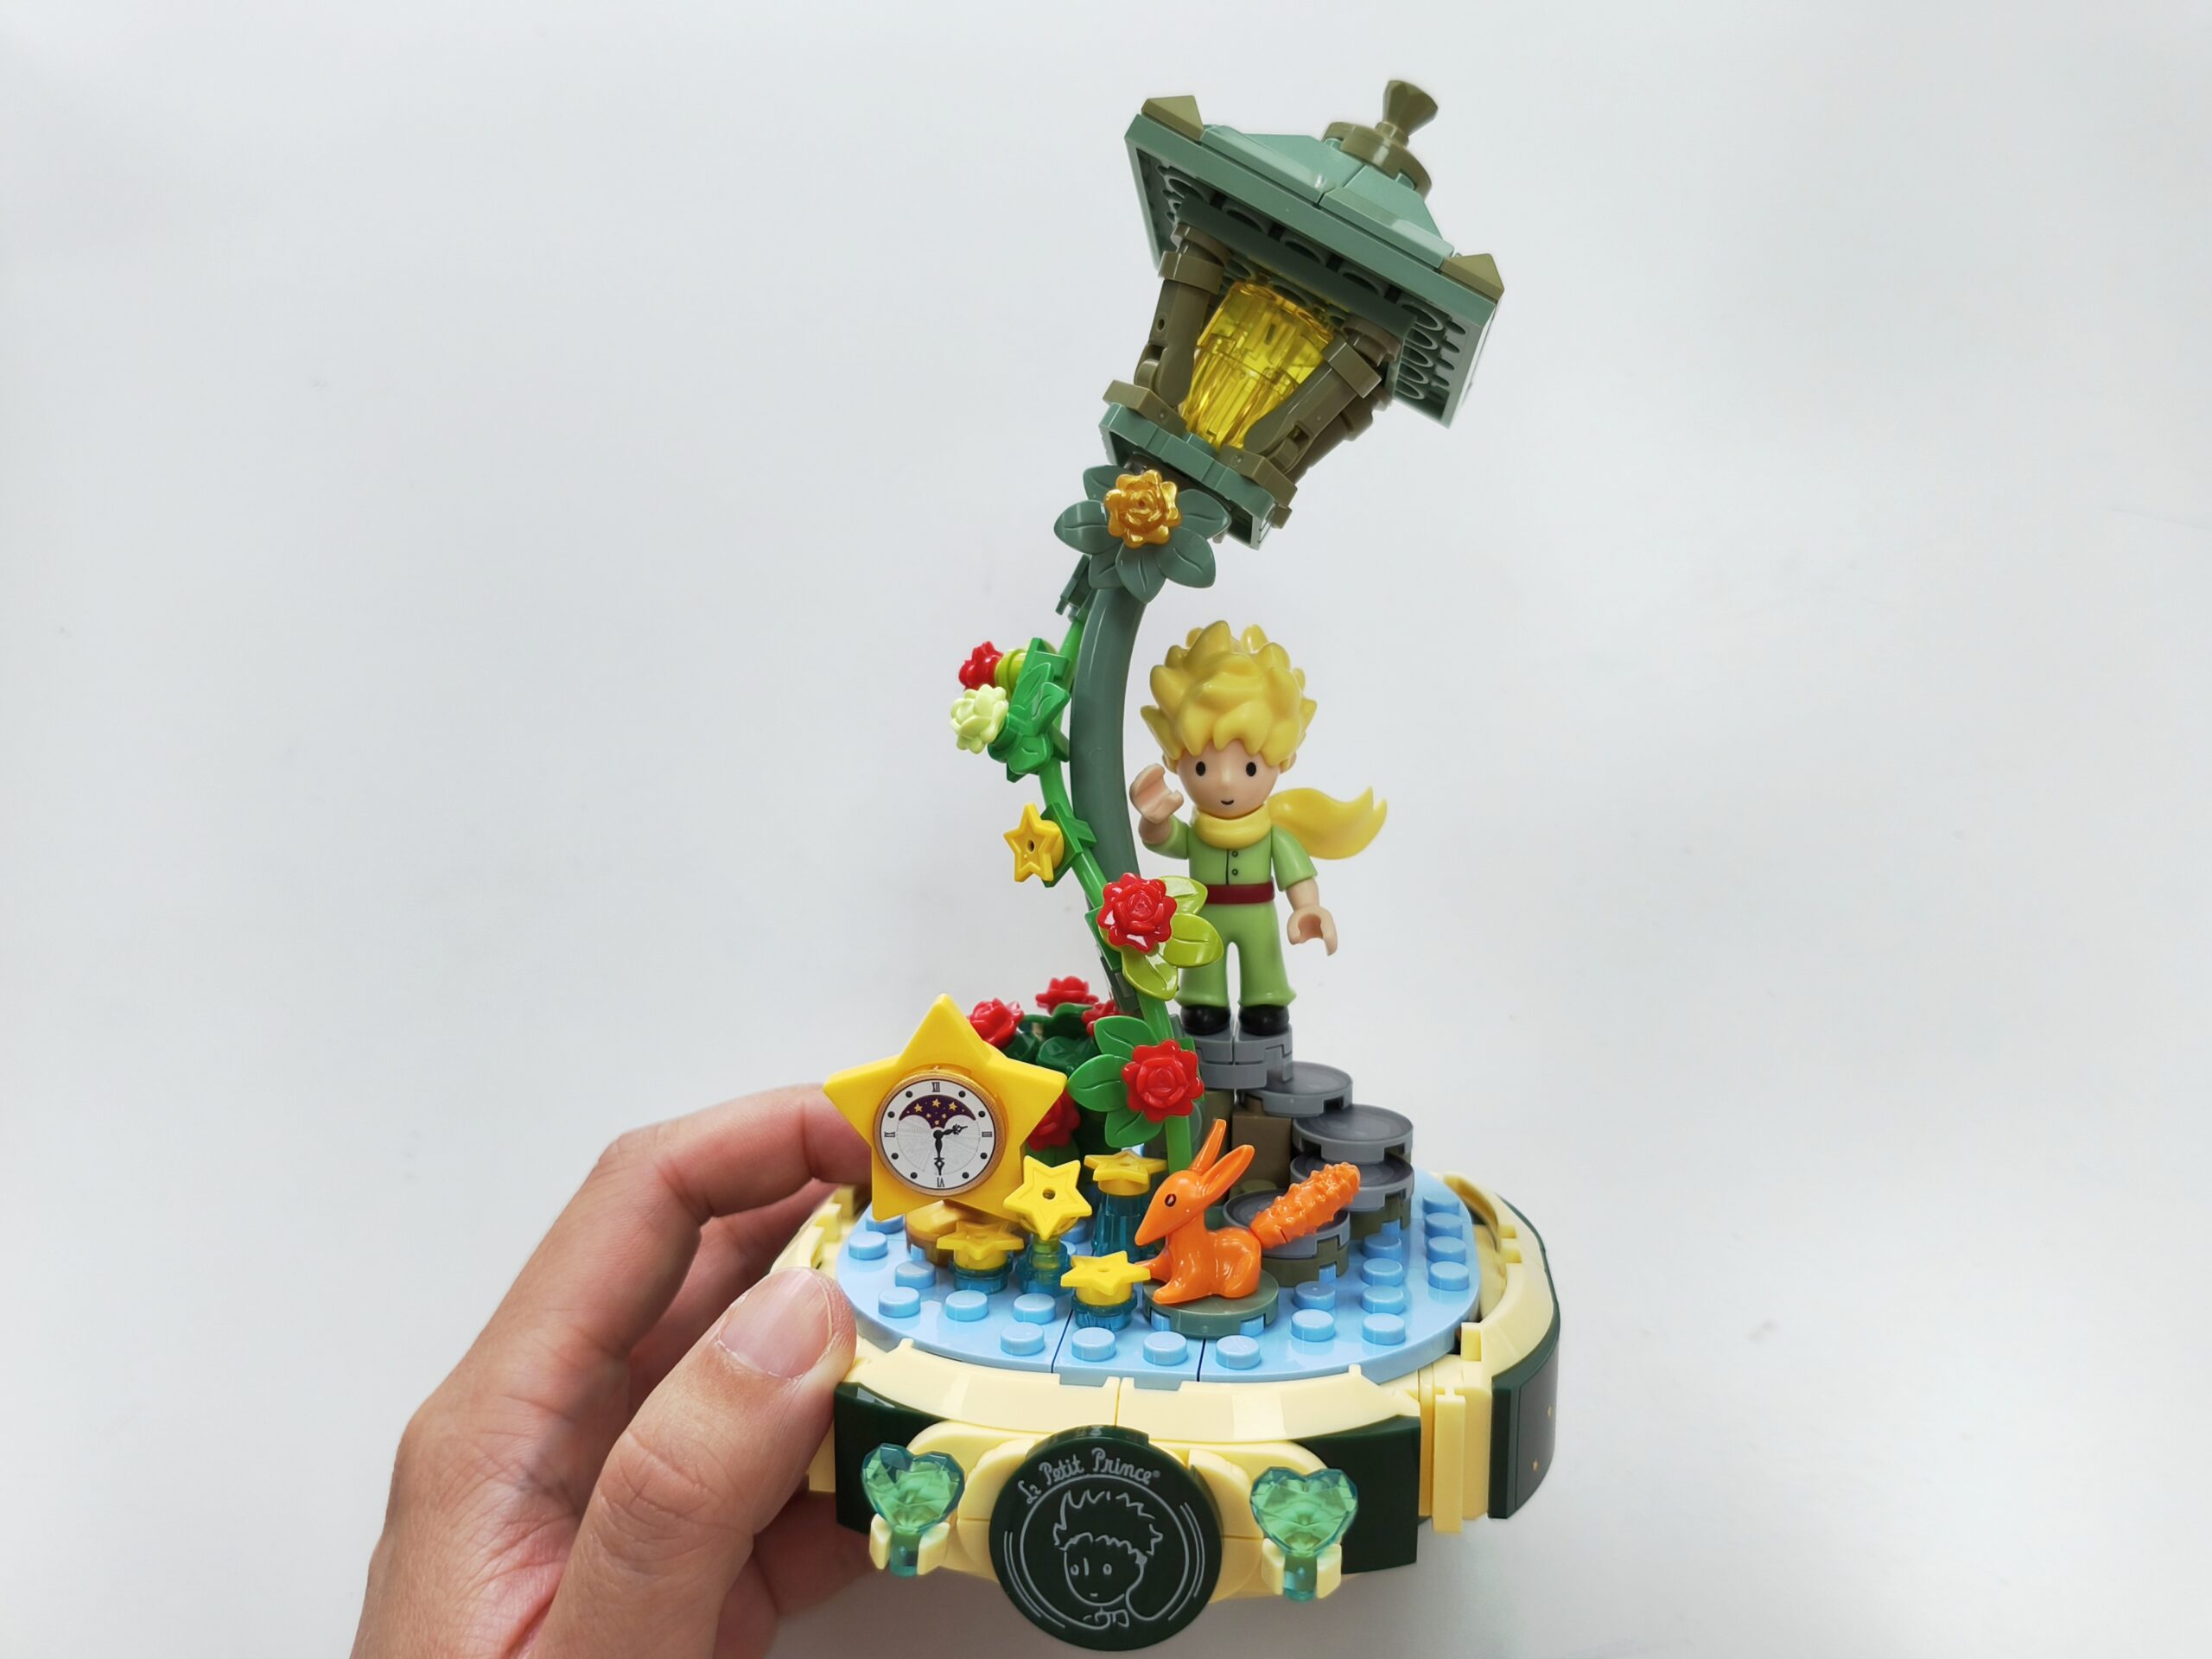
The lamp is a little tricky to build. It is the light (translucent yellow brick) that joins the lid and base together. The frame (brown brick) loosely touches the lid but doesn’t snap on to it.
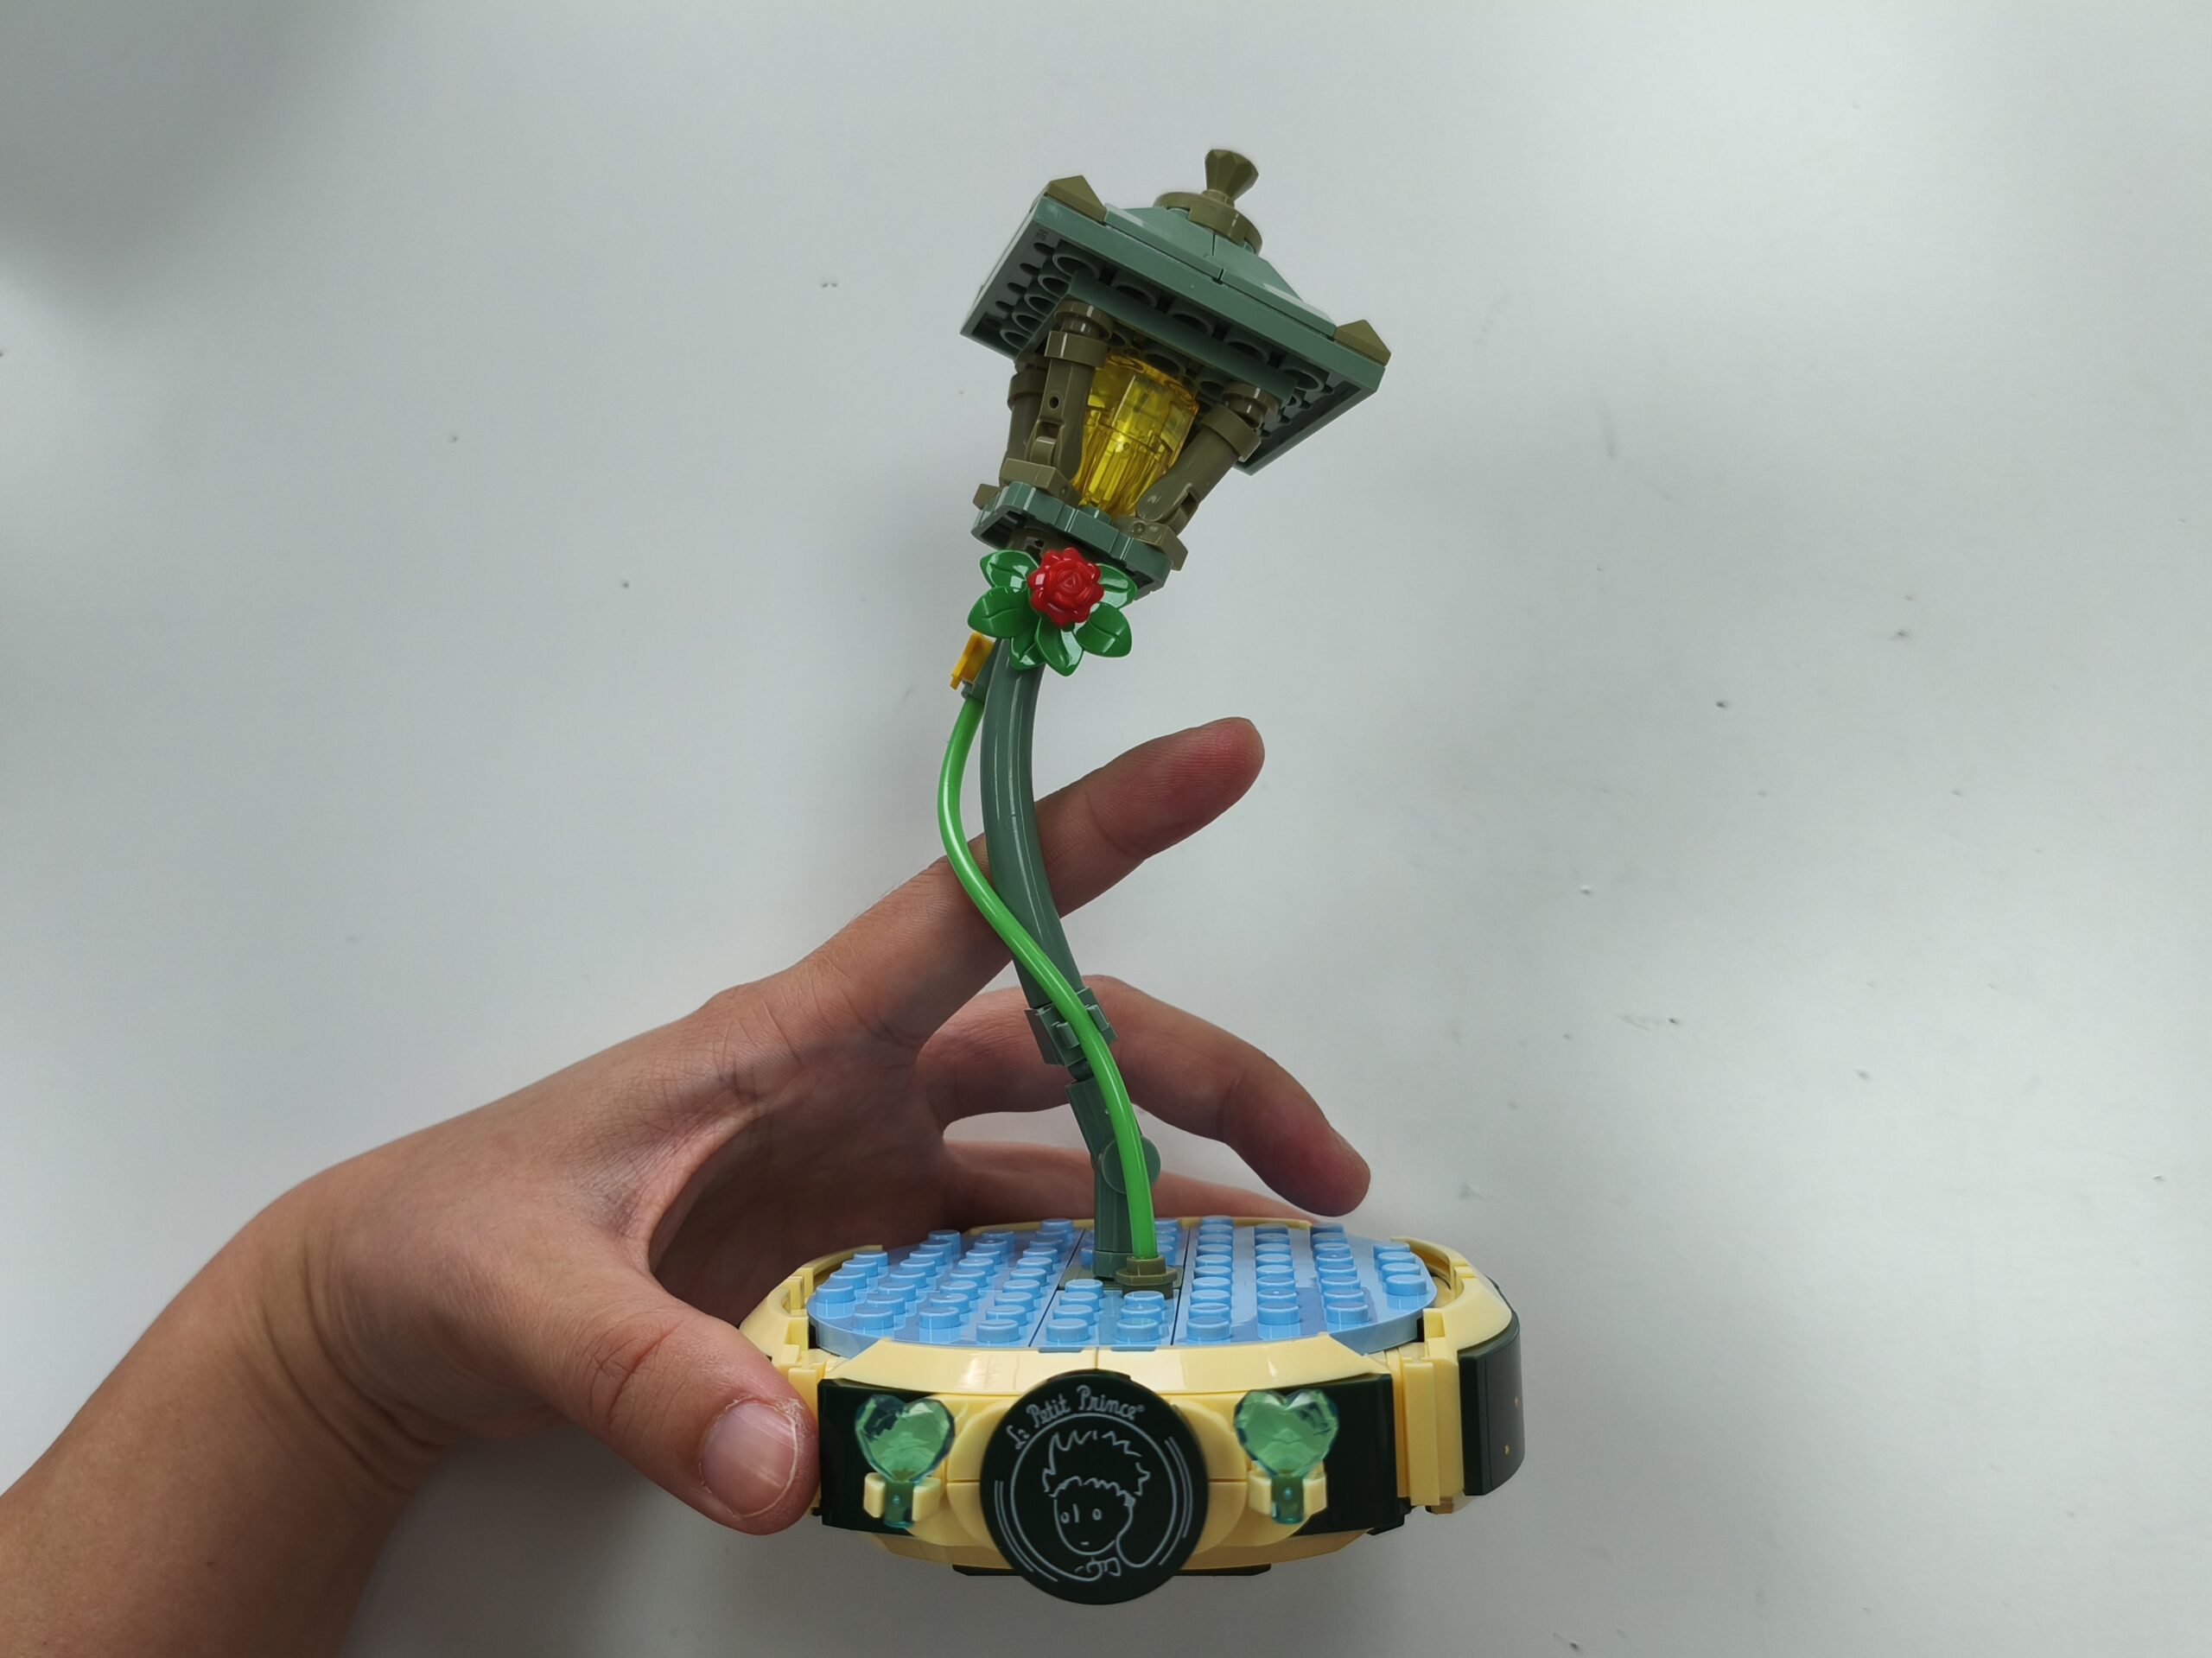
The lamp post does stand up on its own but it is a little fragile.
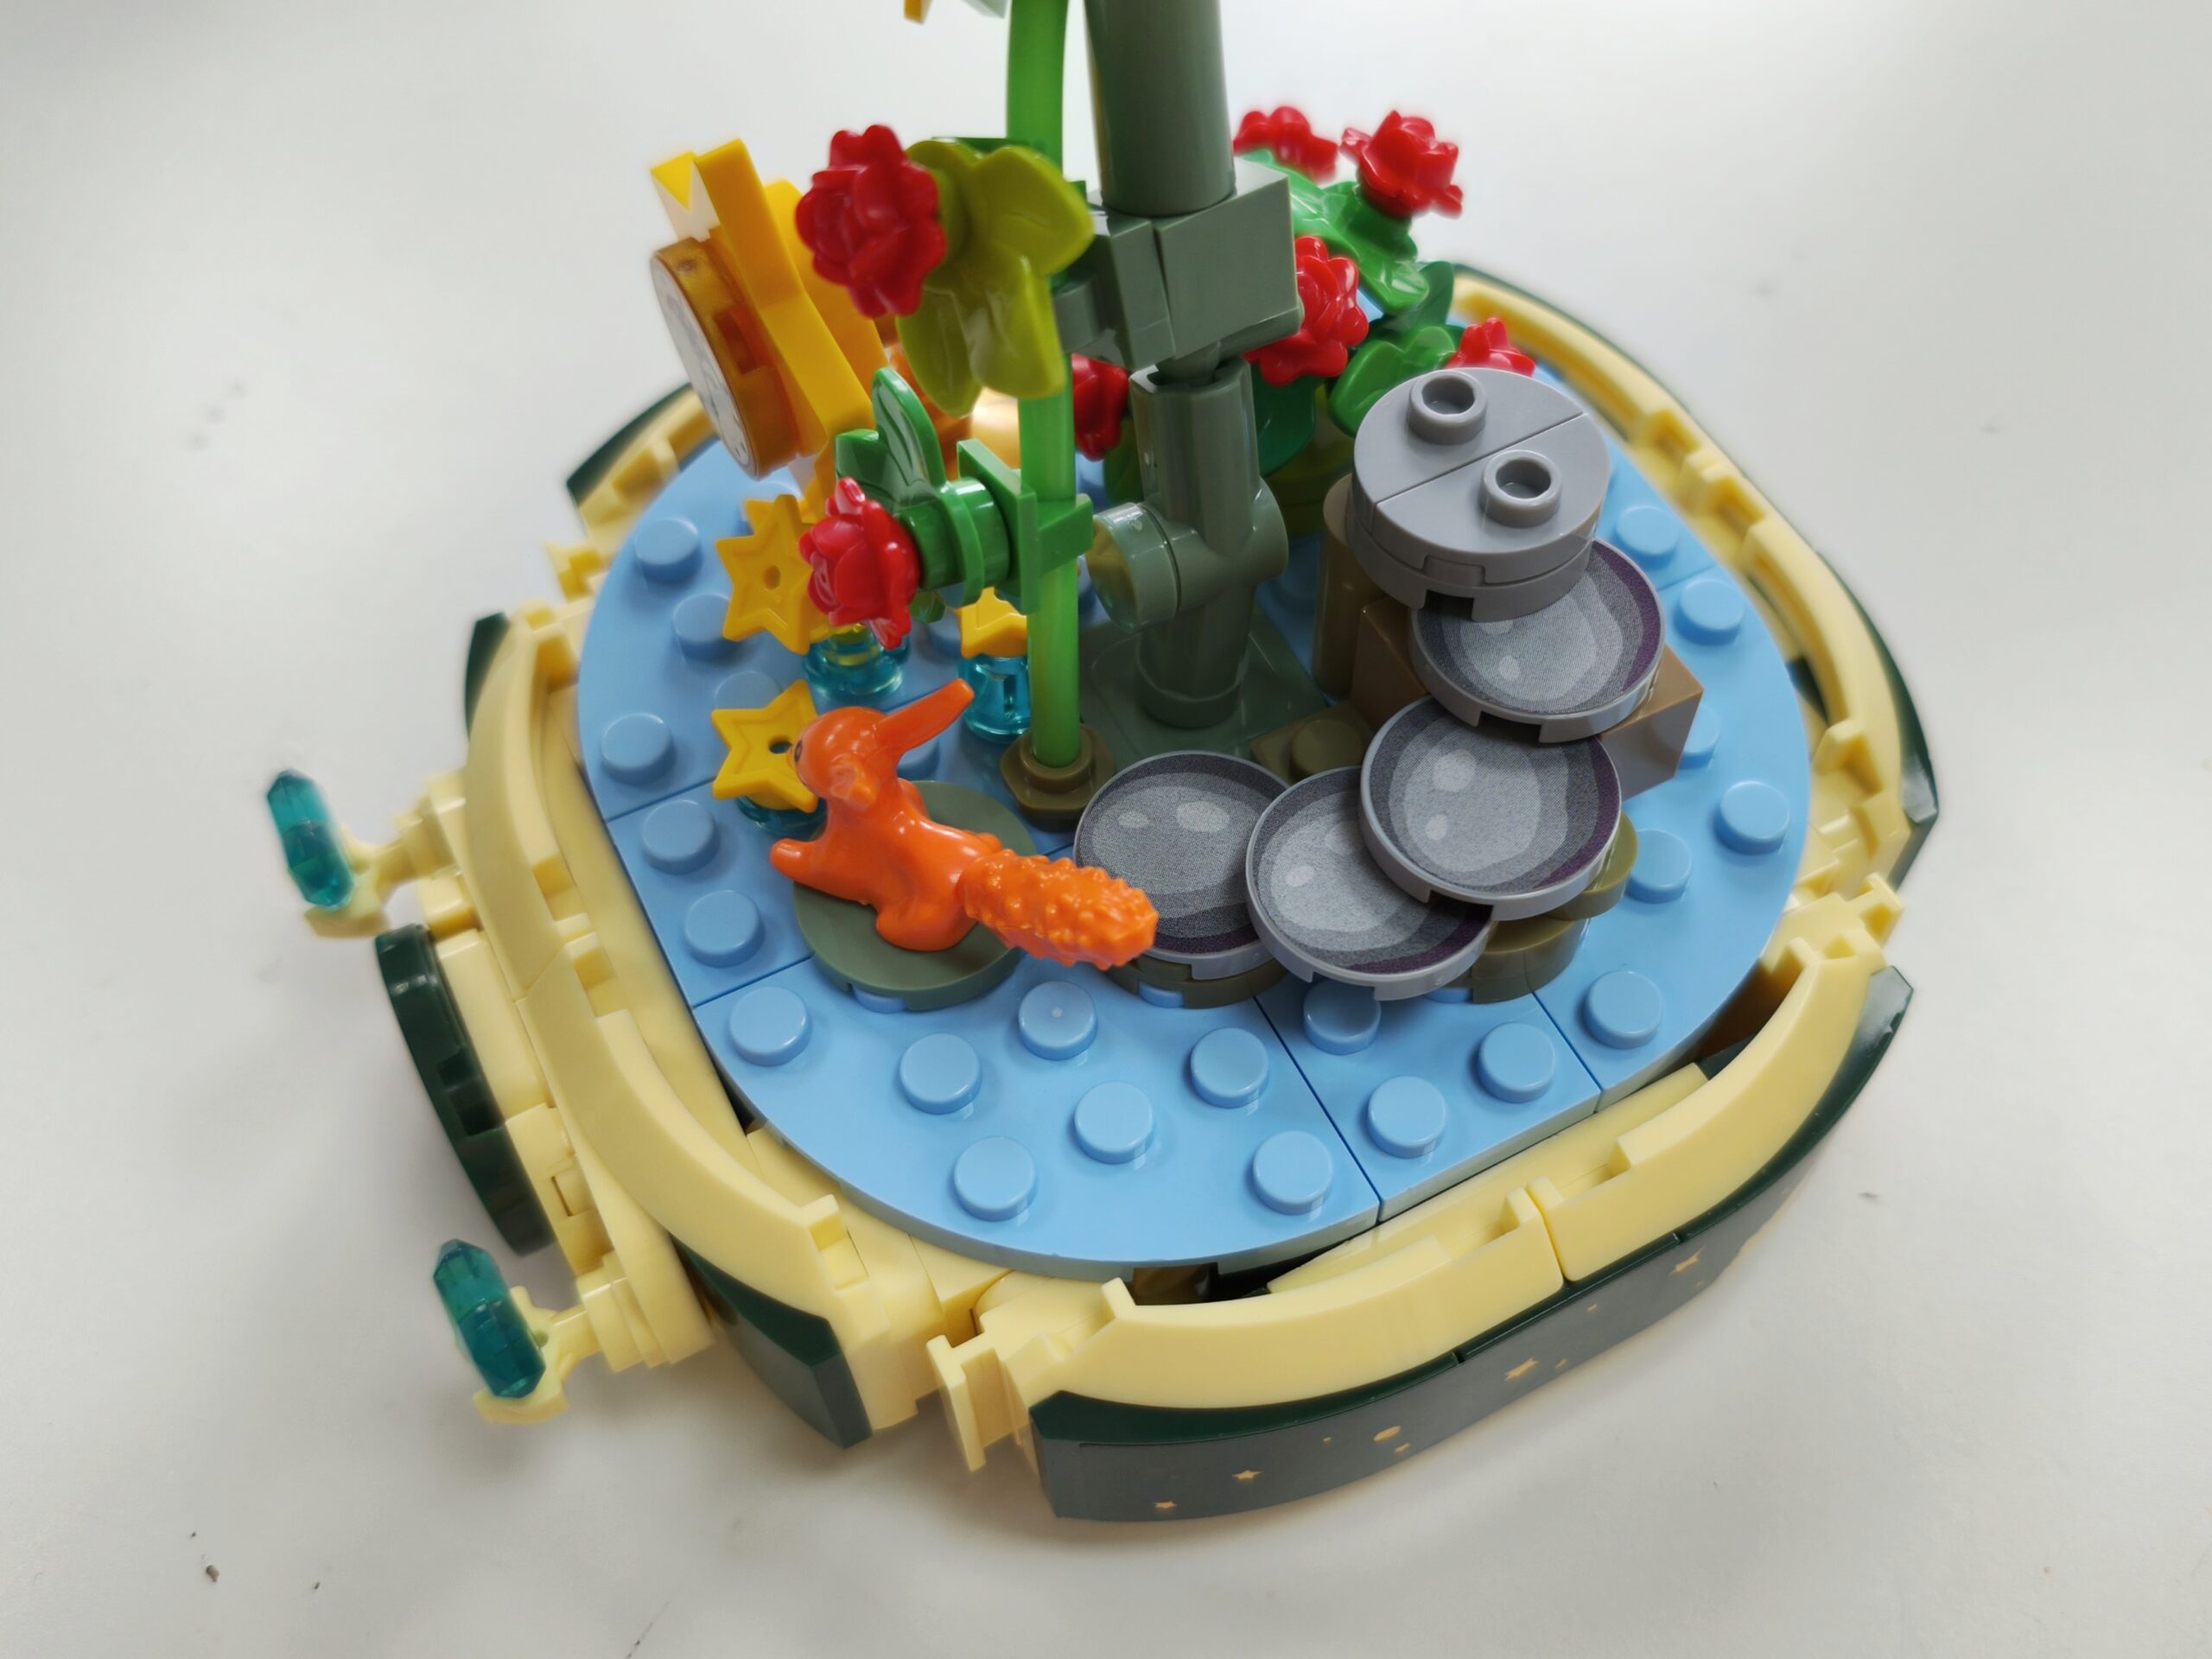
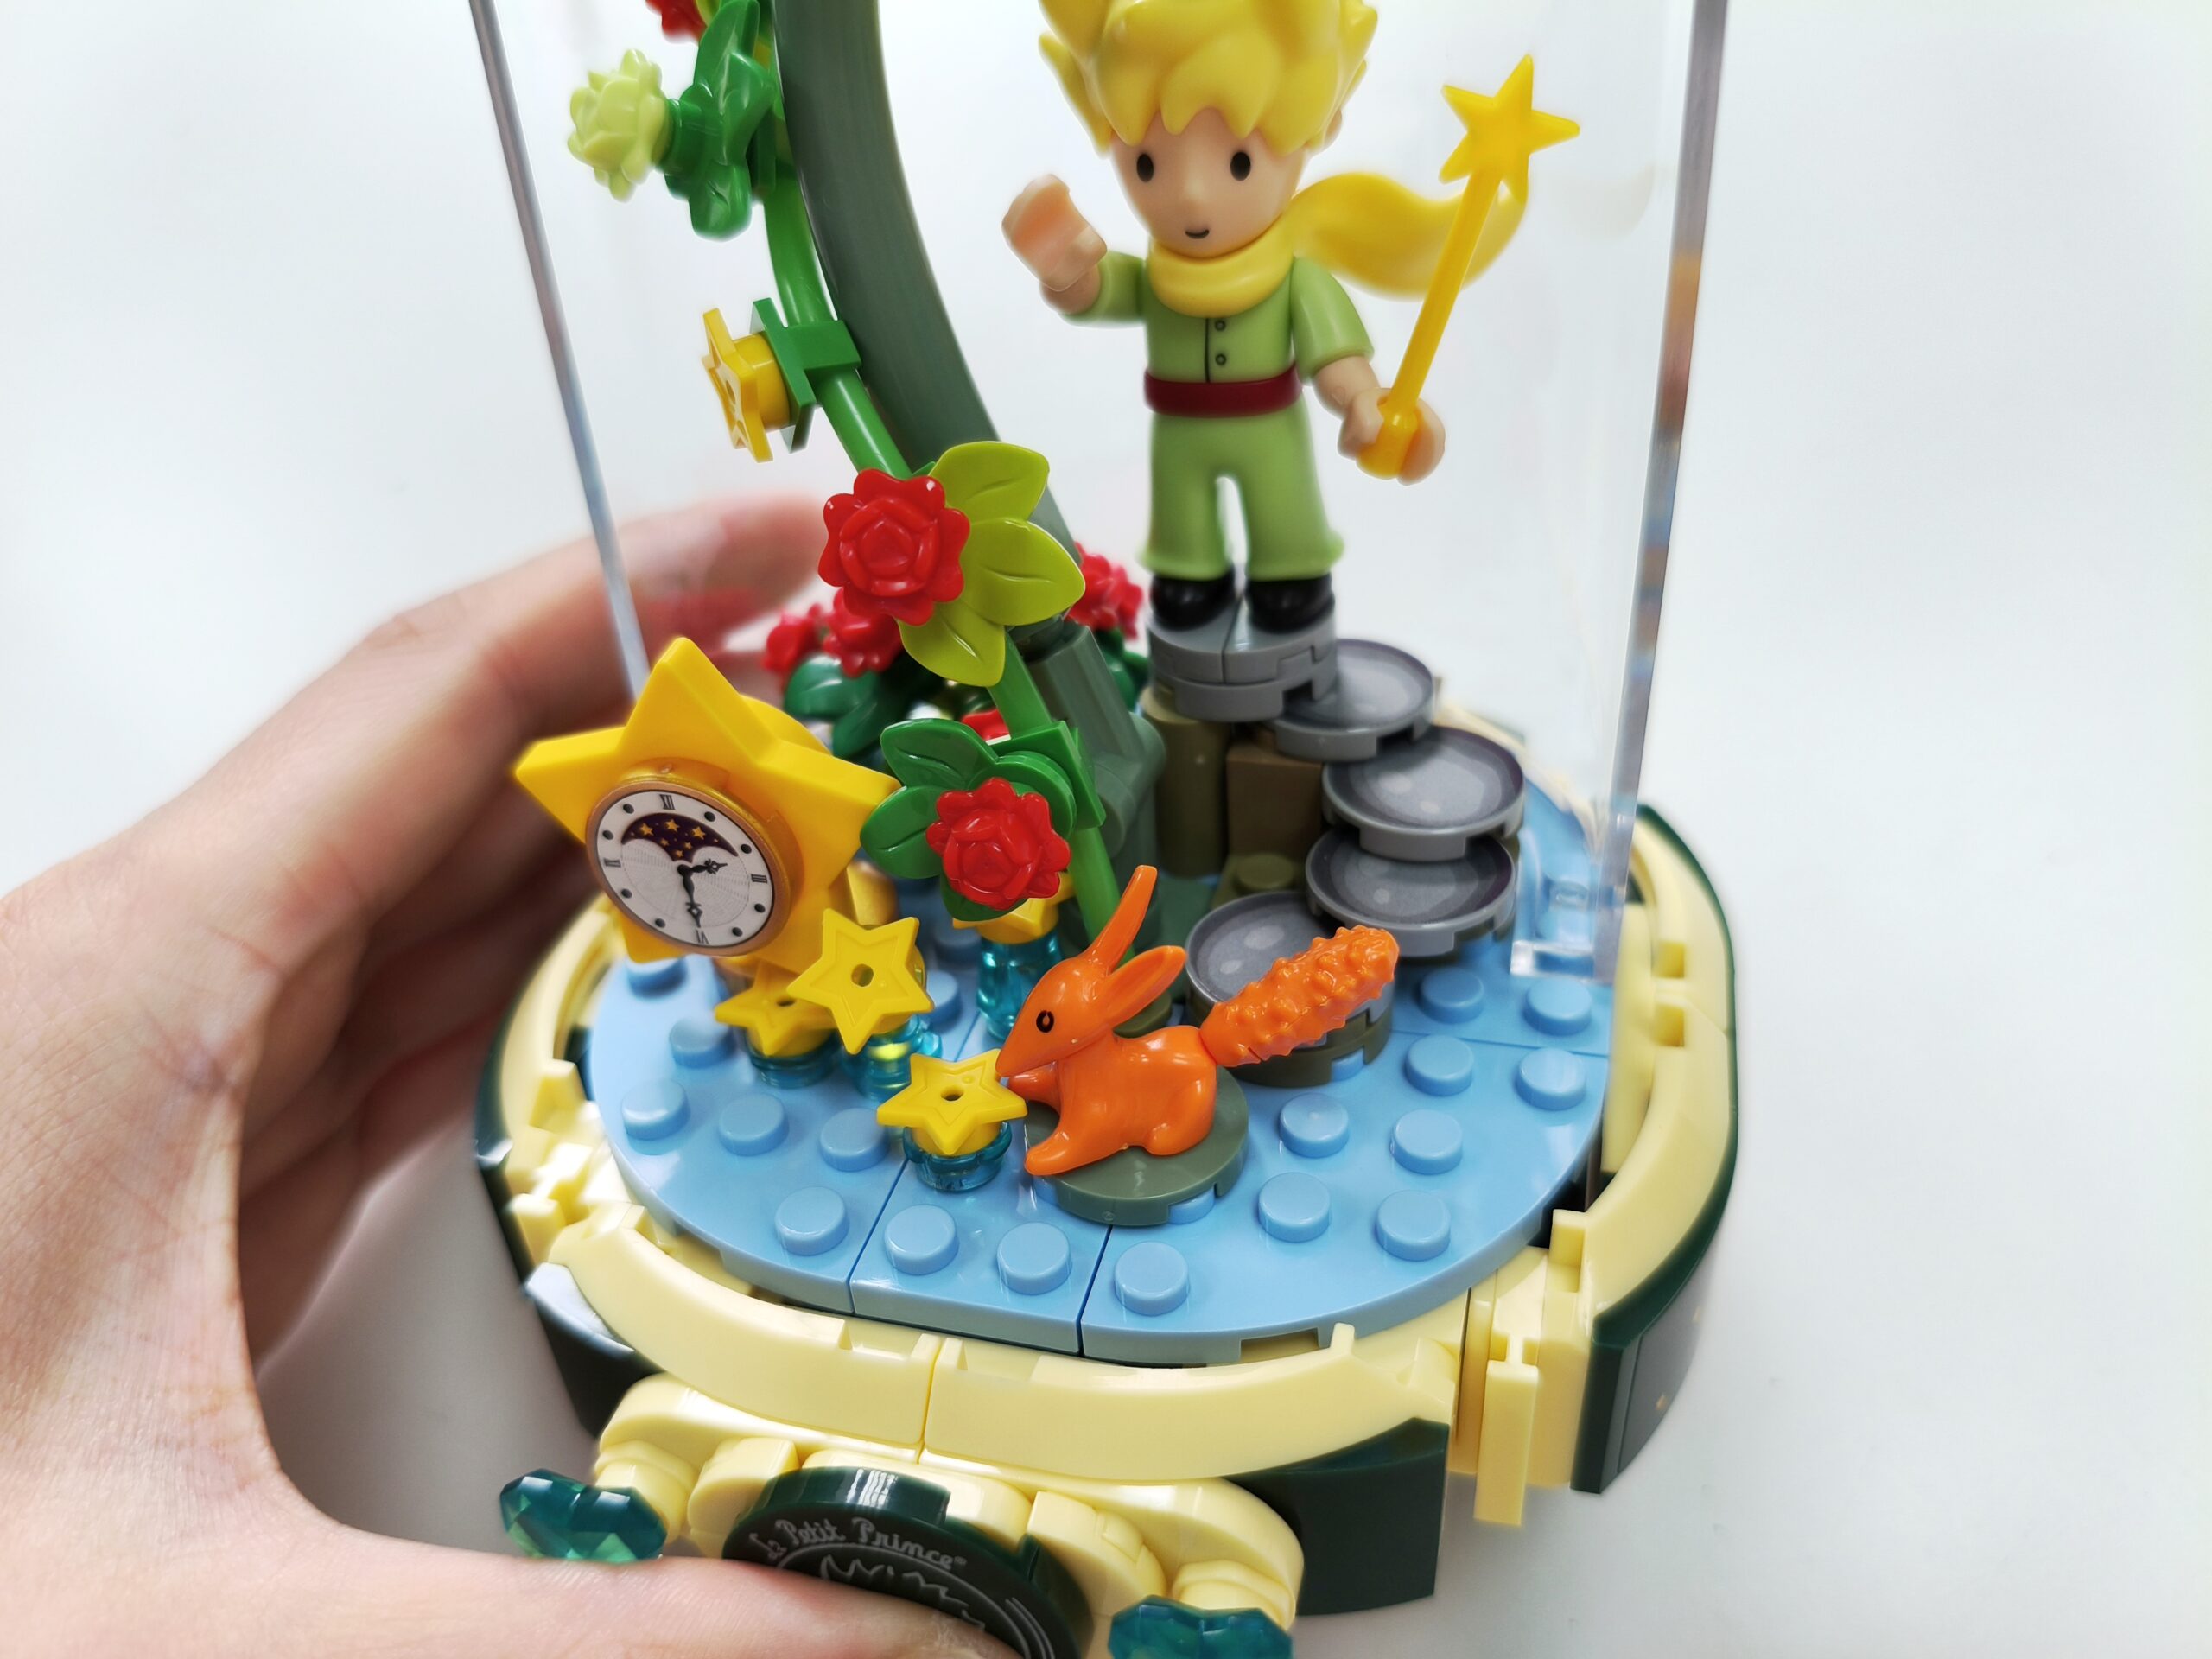
Once the lamppost is in place, the flowers, stars, and stepping stones are added.
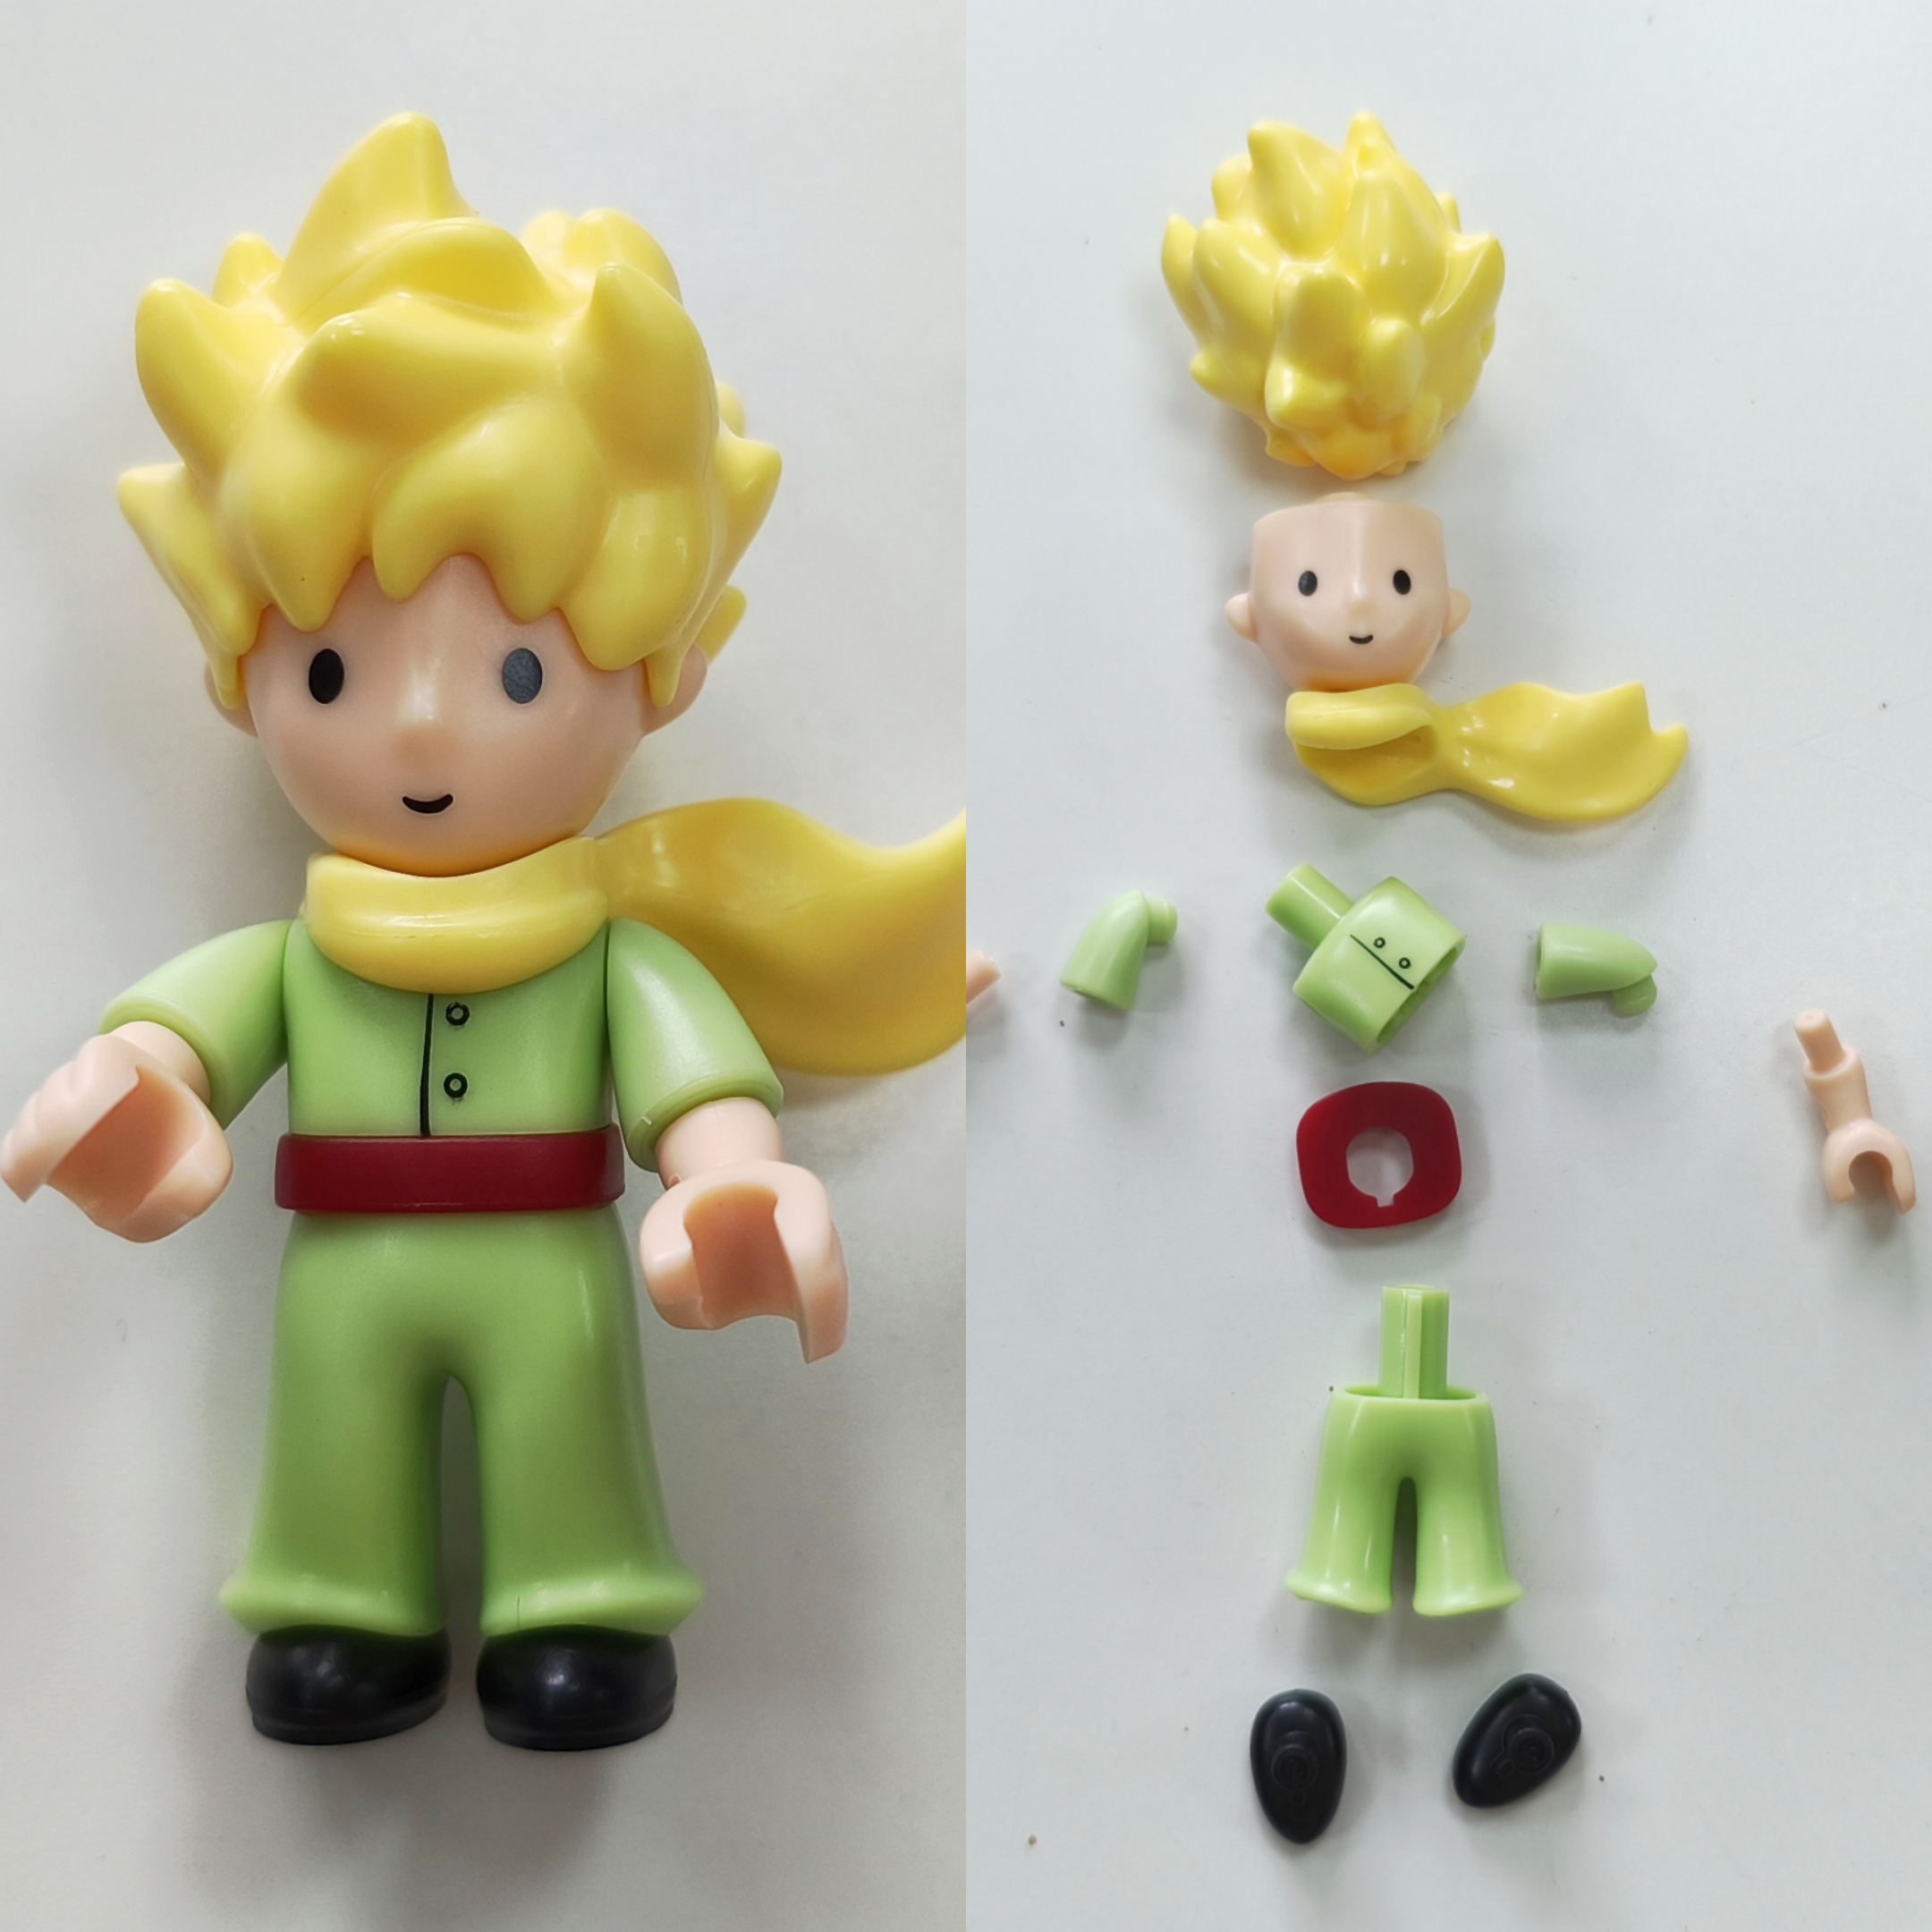
Next, the little prince is built. The hair and scarf is made of soft plastic and everthing fits together perfectly.
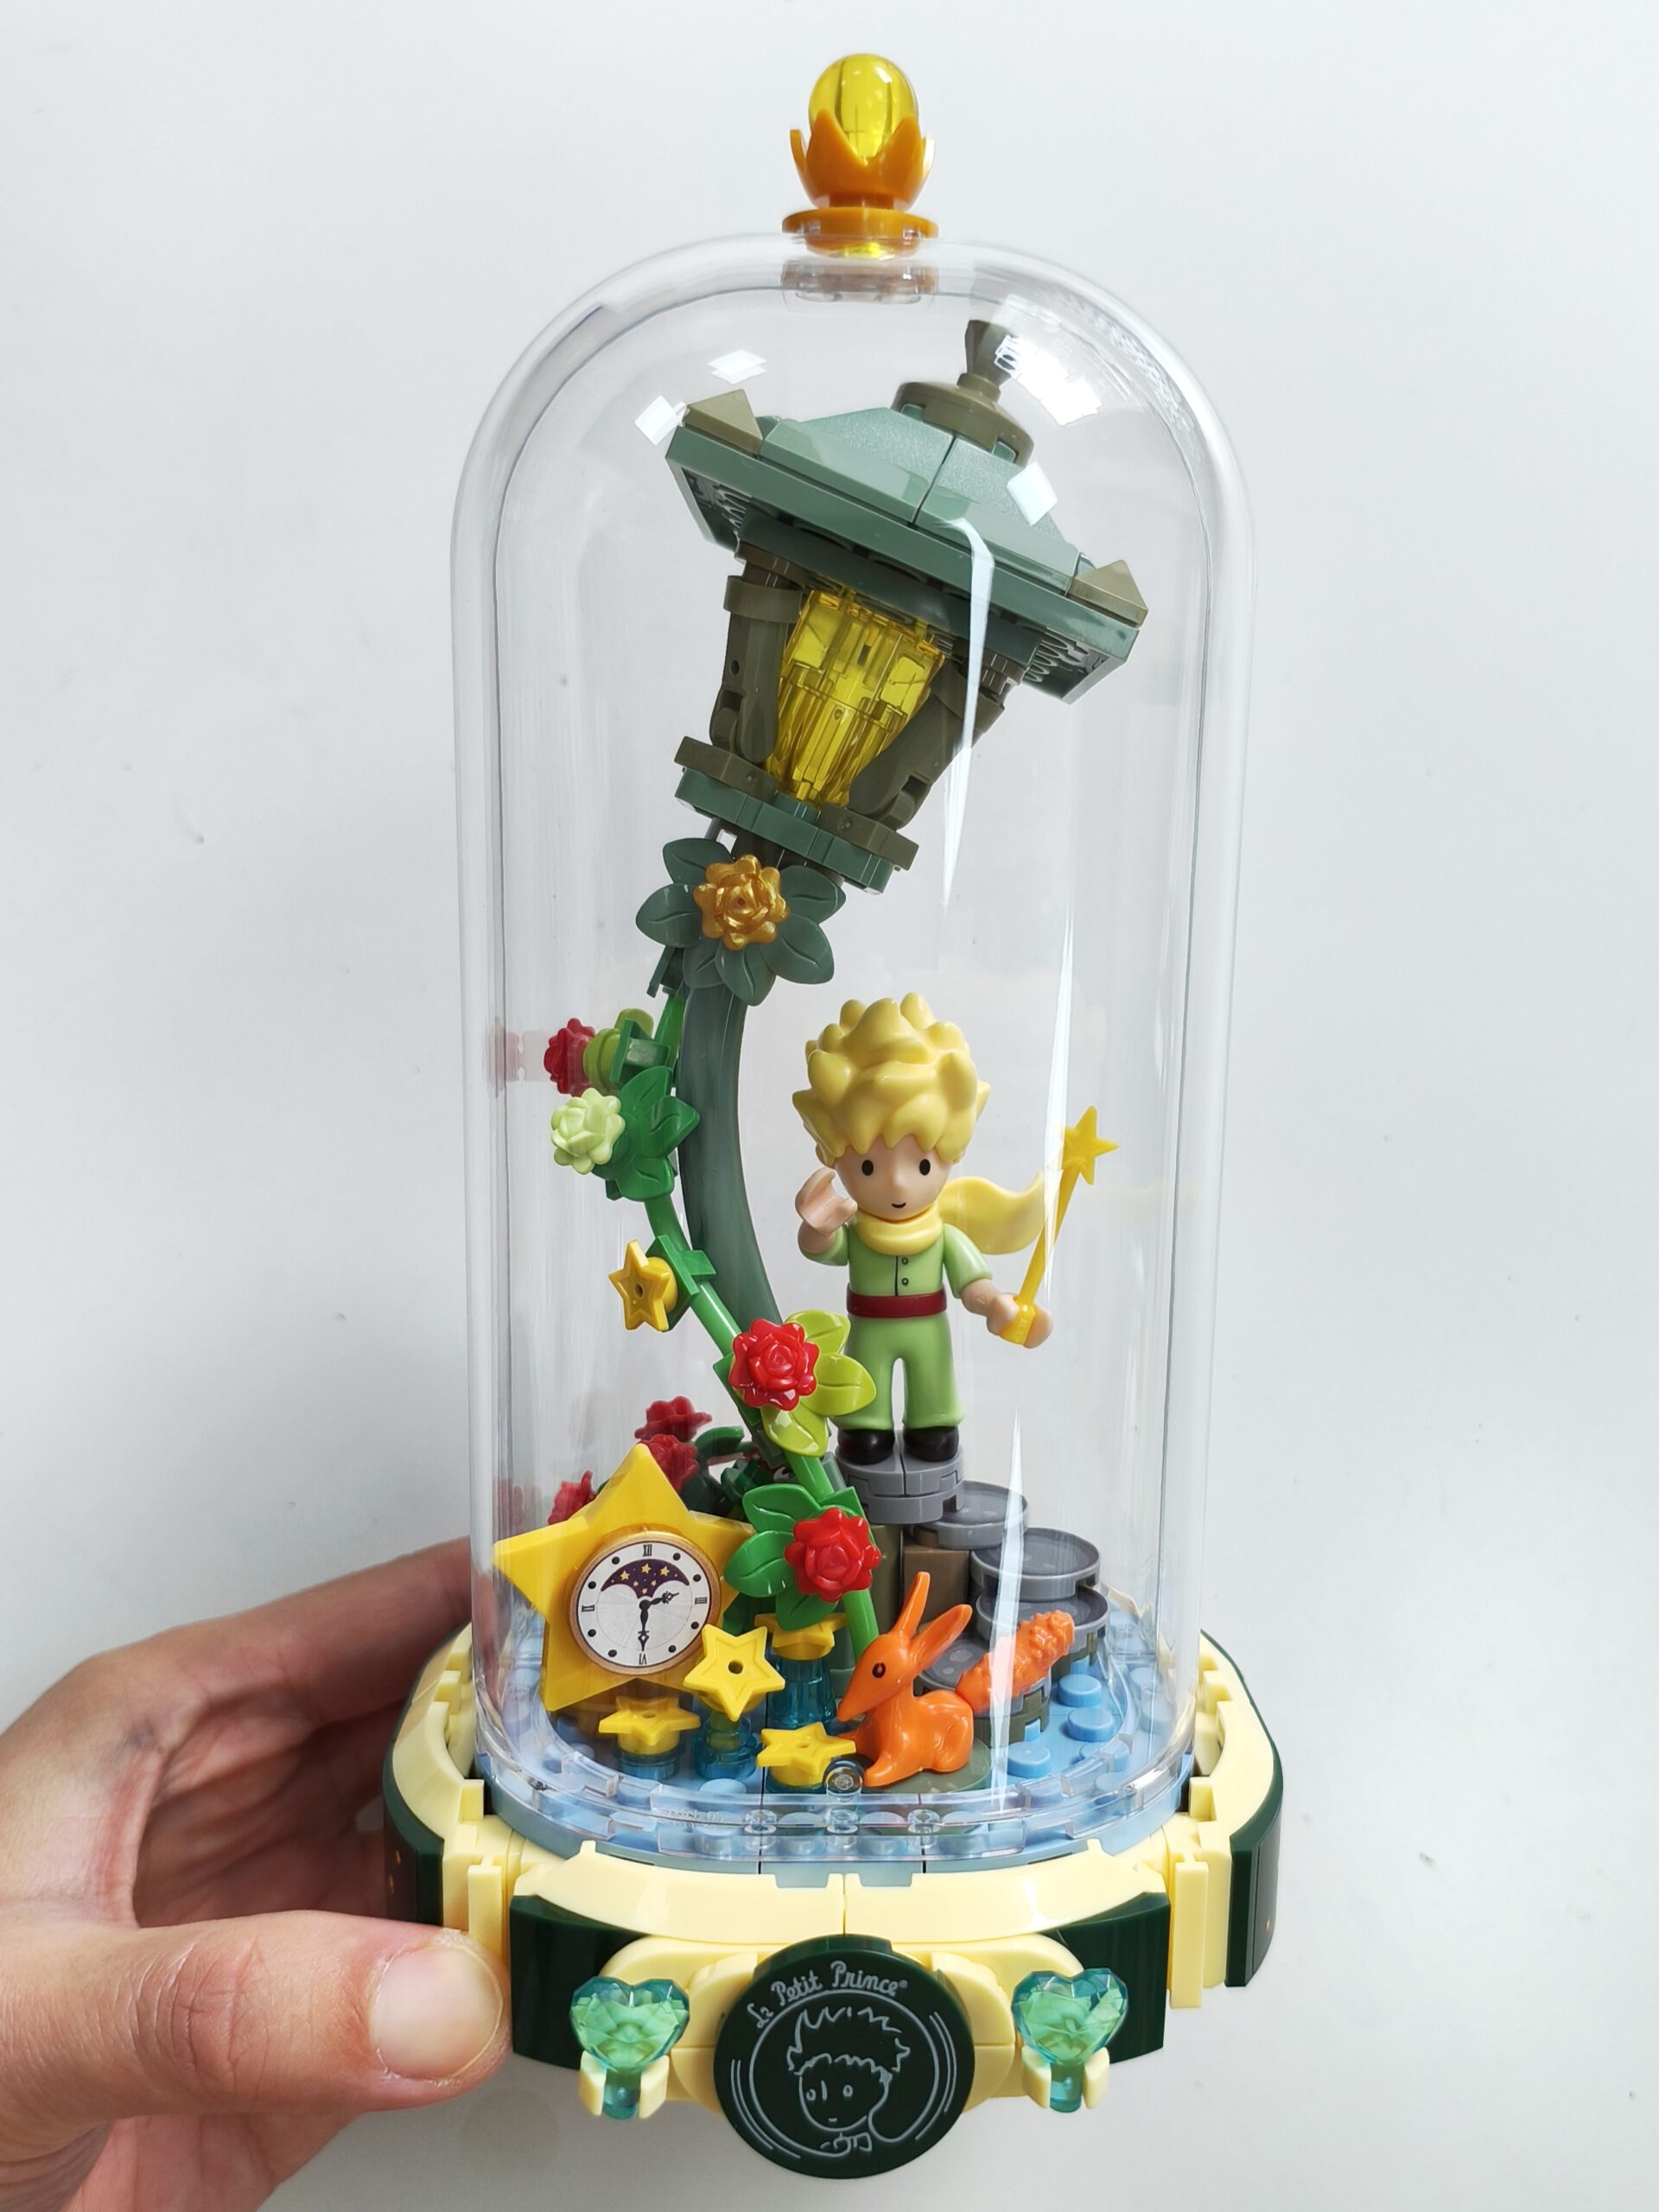
All the main contents are added, next we will add the display case to protect it.
Each half of the display case are pushed on to the blue bricks.
The accessory on the top joins the two halves of the display case together, further reinforcing it. And we are done!