Model and Hobby Shop in Broughty Ferry, Dundee


Gundam is a Japanese anime series where the featuring mechas (piloted giant robots) are referred to as ‘Gundam’. The anime has been around since forever (40-50 years) and so have the plastic kits!
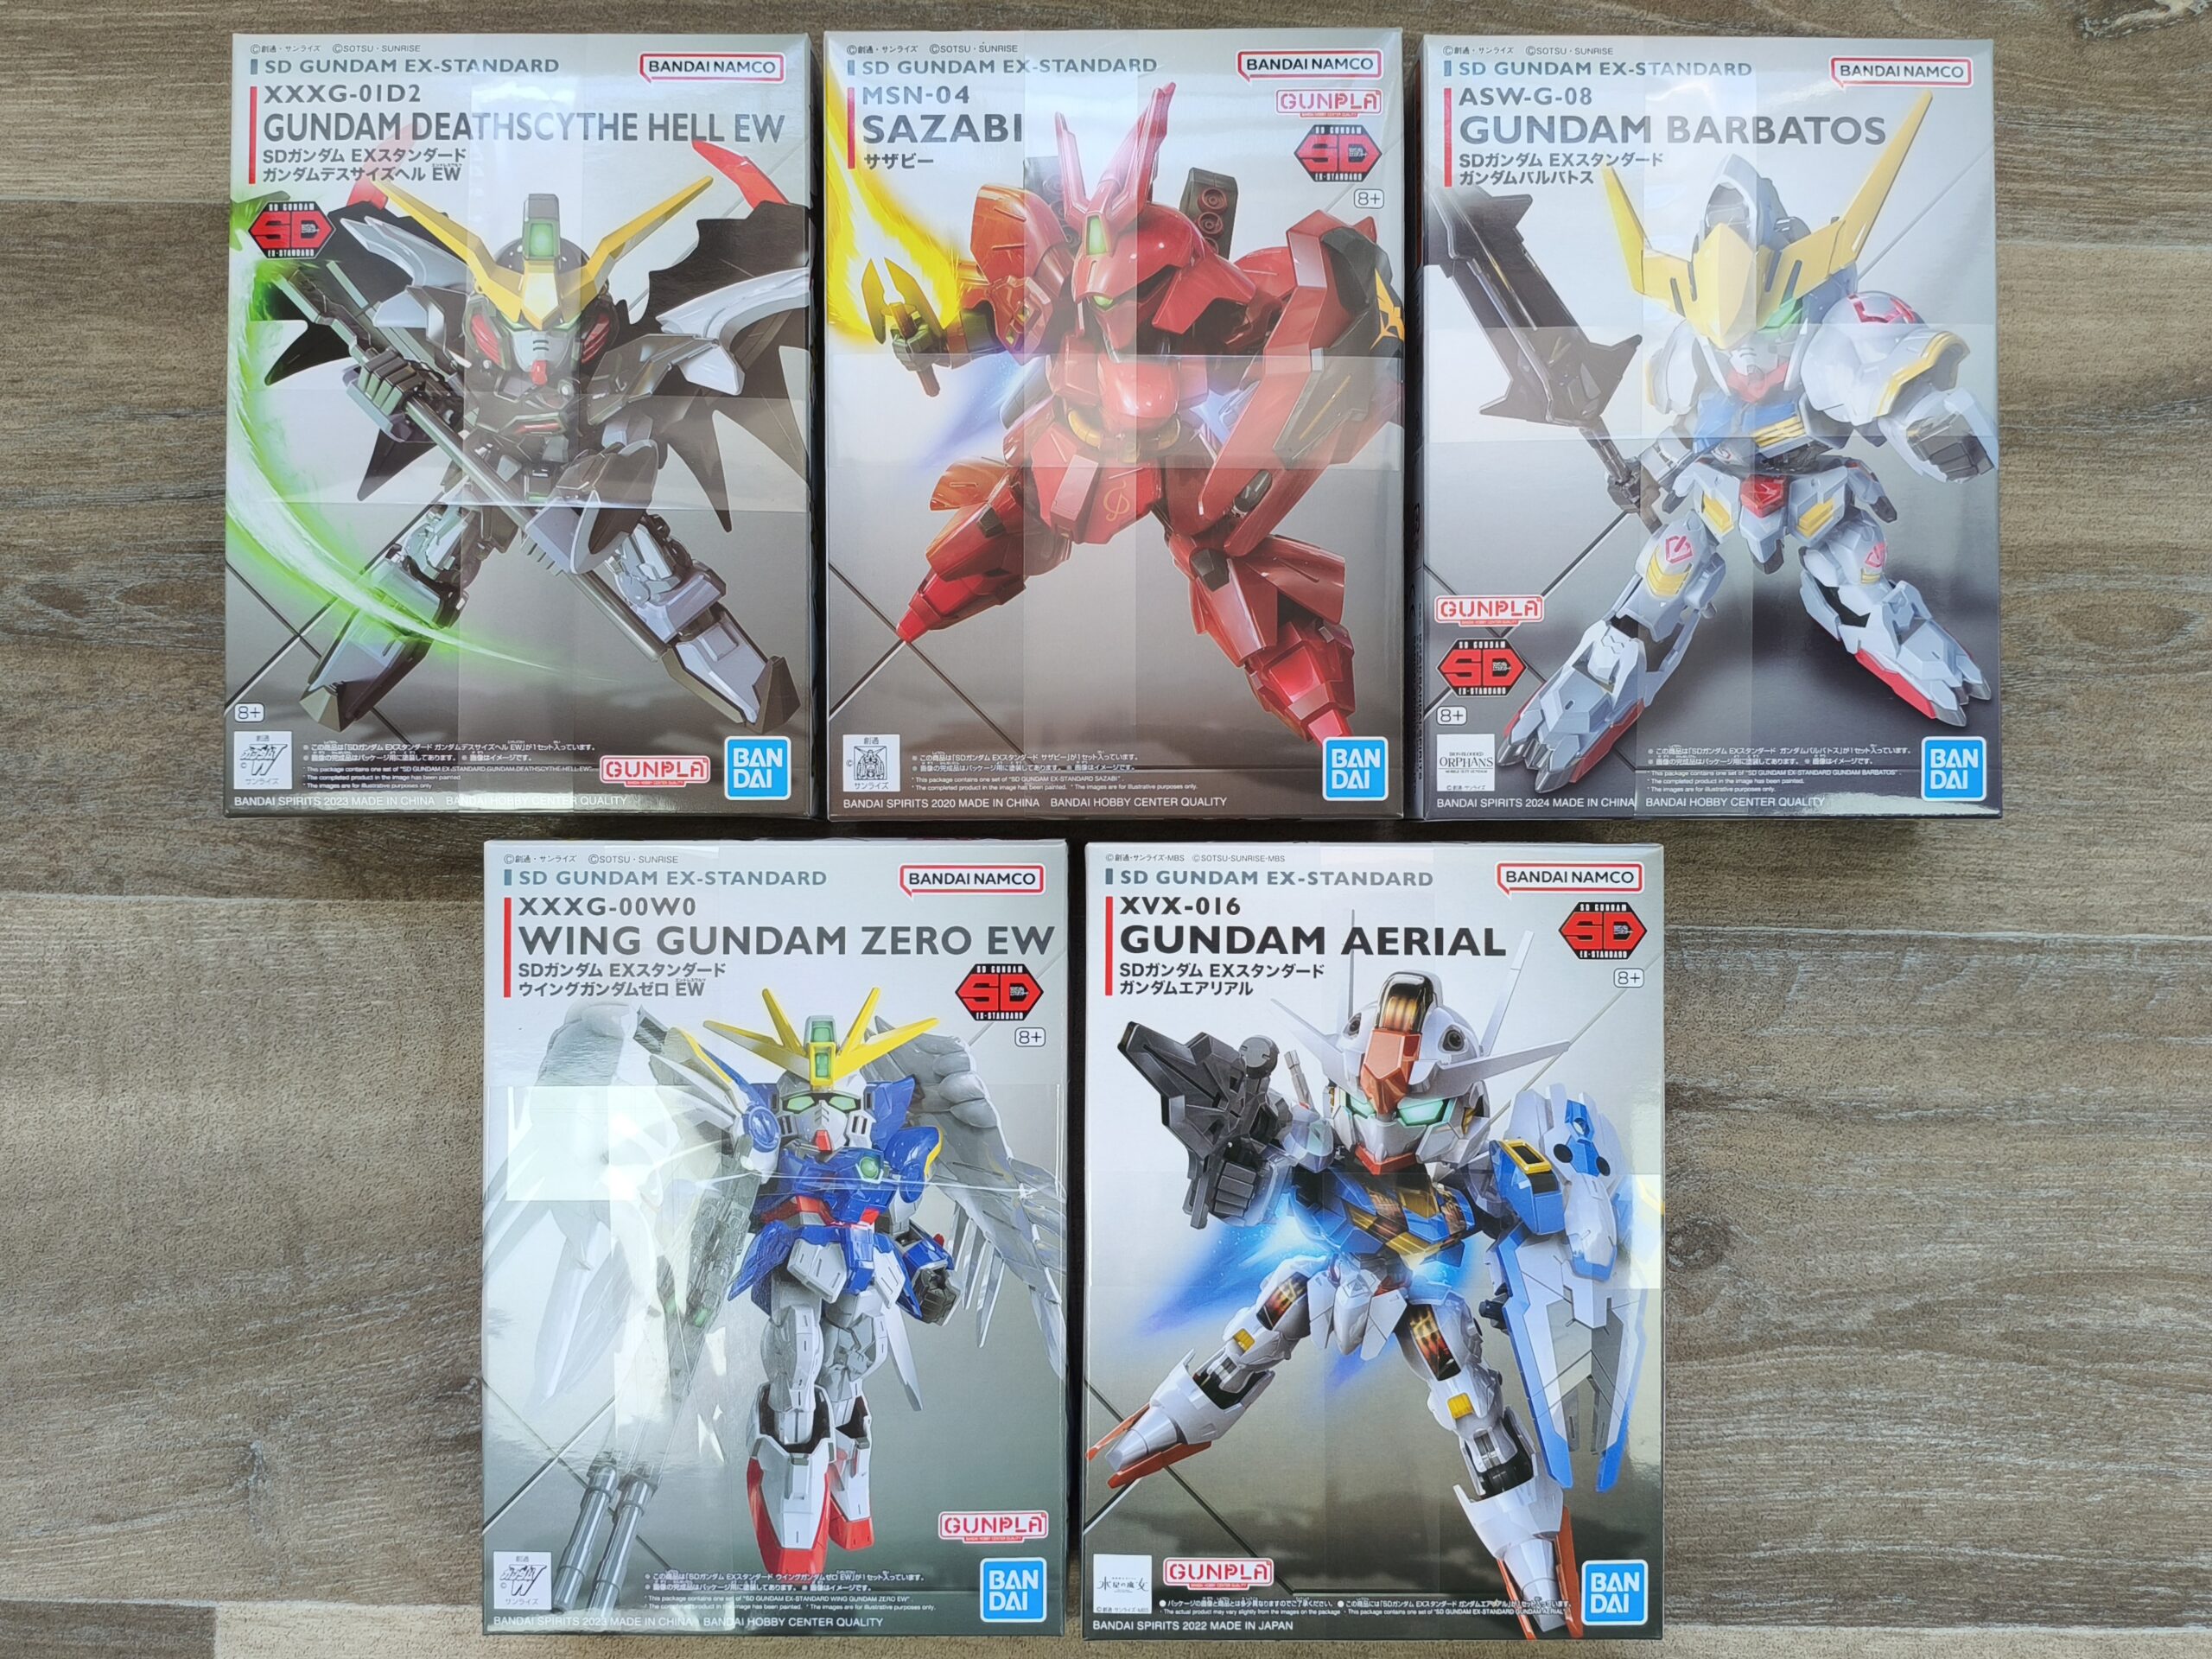
In the Gunpla world (all plastic kits from the Gundam Universe), the Gundams are available at different grades. In short – the more detailed and realistic the model, the more difficult it is to build and the higher the price. The following grades are available:
| GRADE | DESCRIPTION |
| SD Mini (SD – Baby Gundam) | Baby versions of the normal models that are fun and quick to build. Perfect for those new to the hobby. |
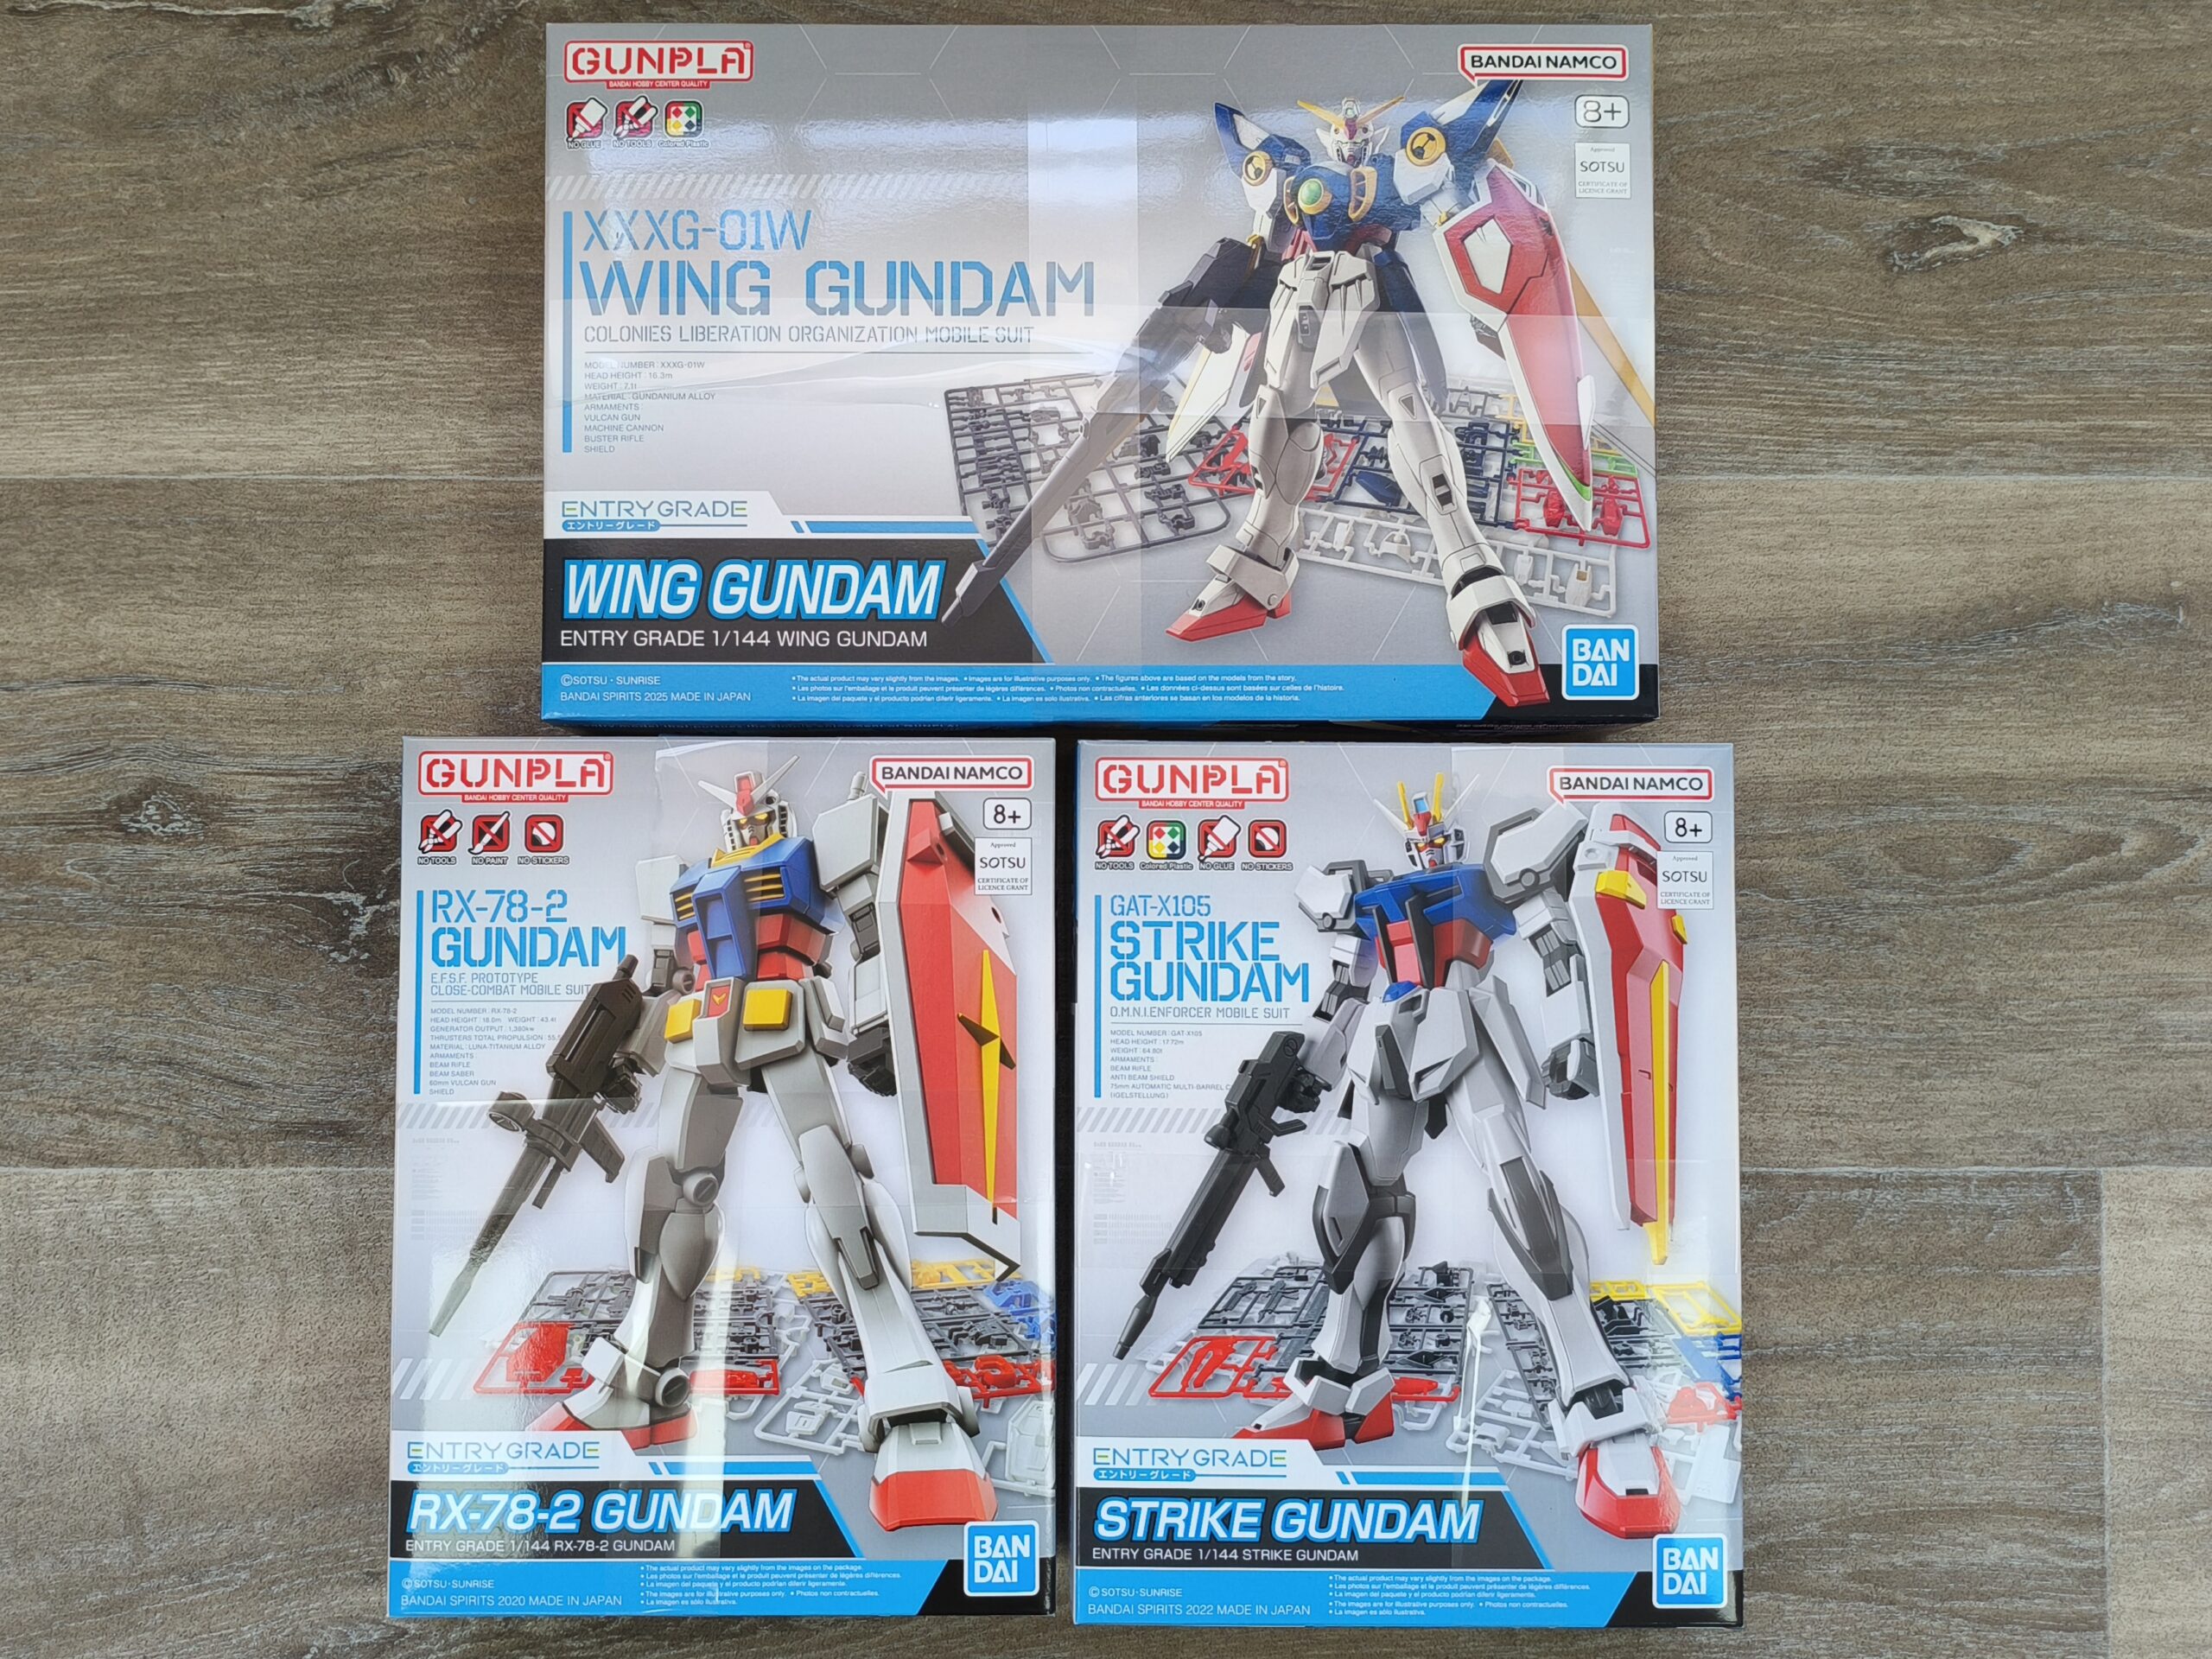
| Entry Grade (EG) | 1/144 scale entry level kits that are beginner friendly. |
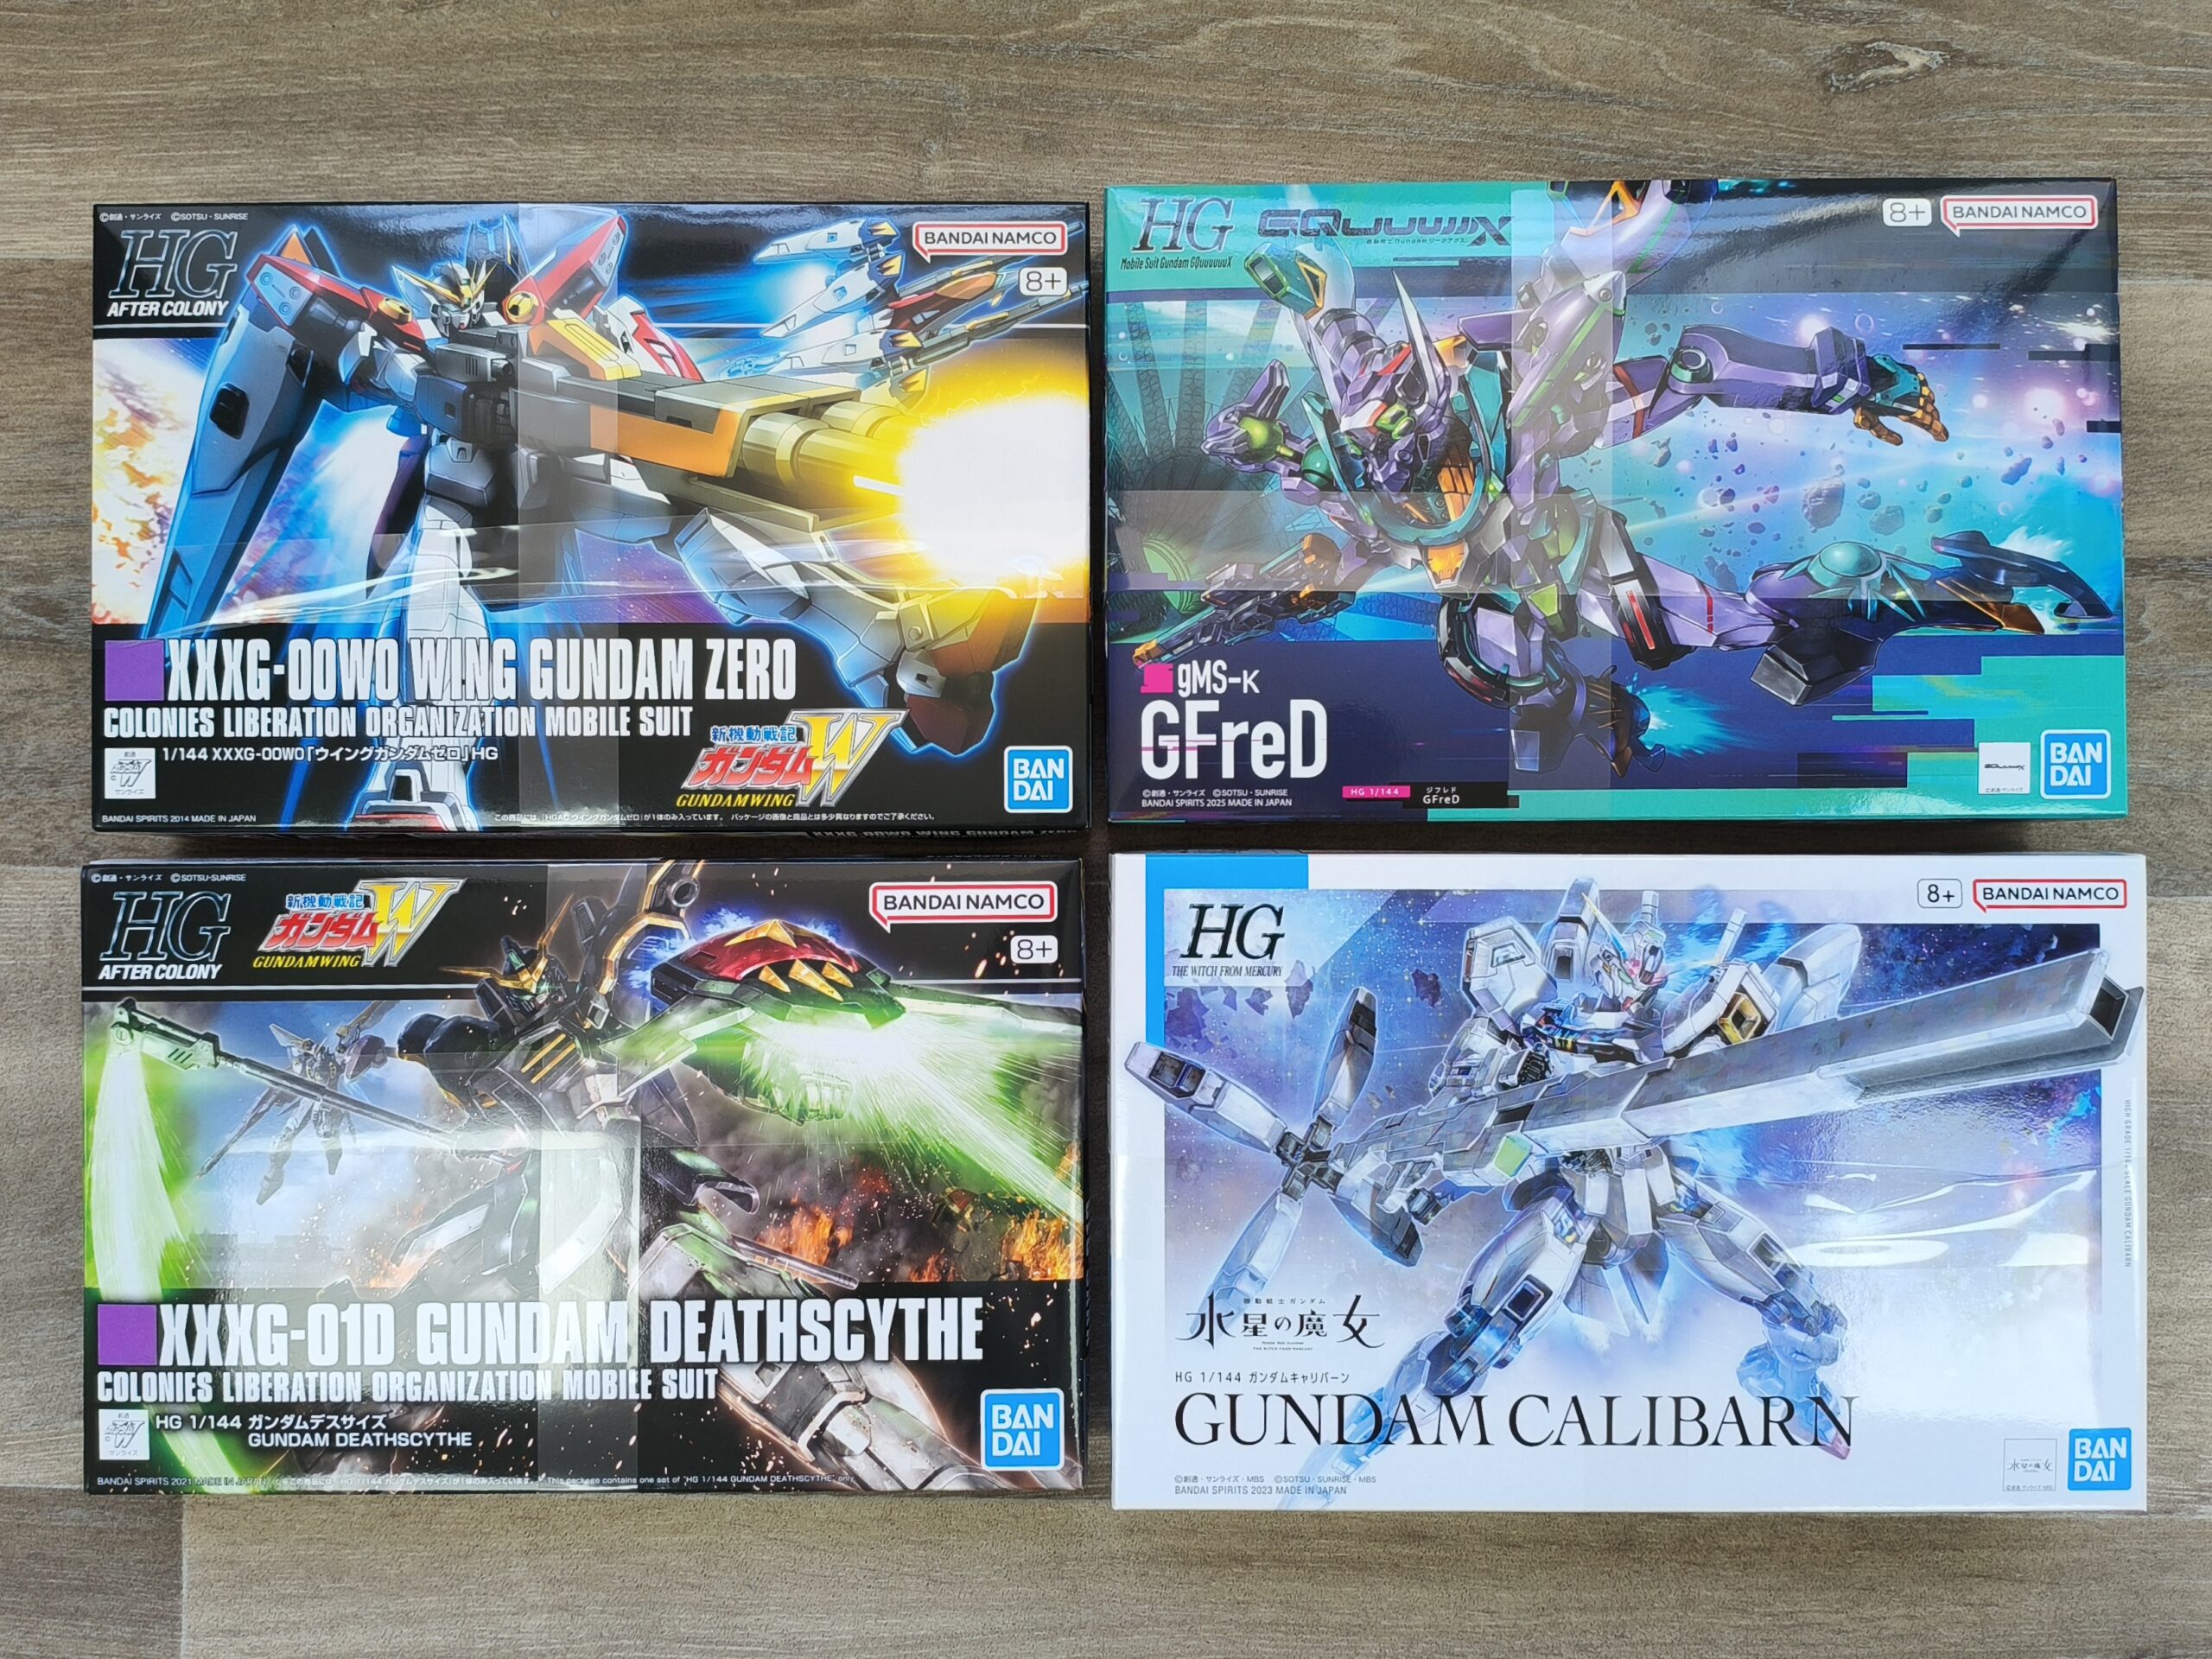
| High Grade (HG) | 1/144 scale, more parts and details compared with EG. This grade has the most extensive lineup. |
| Real Grade (RG) | 1/144 scale, highly detailed Gundams with richer colours, more movement, and texture giving a realistic finish. |
| Master Grade (MG) | 1/100 scale, larger scale models featuring more intricate details with greater posability. |
| Perfect Grade (PG) | 1/60 scale, the most advanced line of Gunpla offering exceptional detail and realistic articulation. |
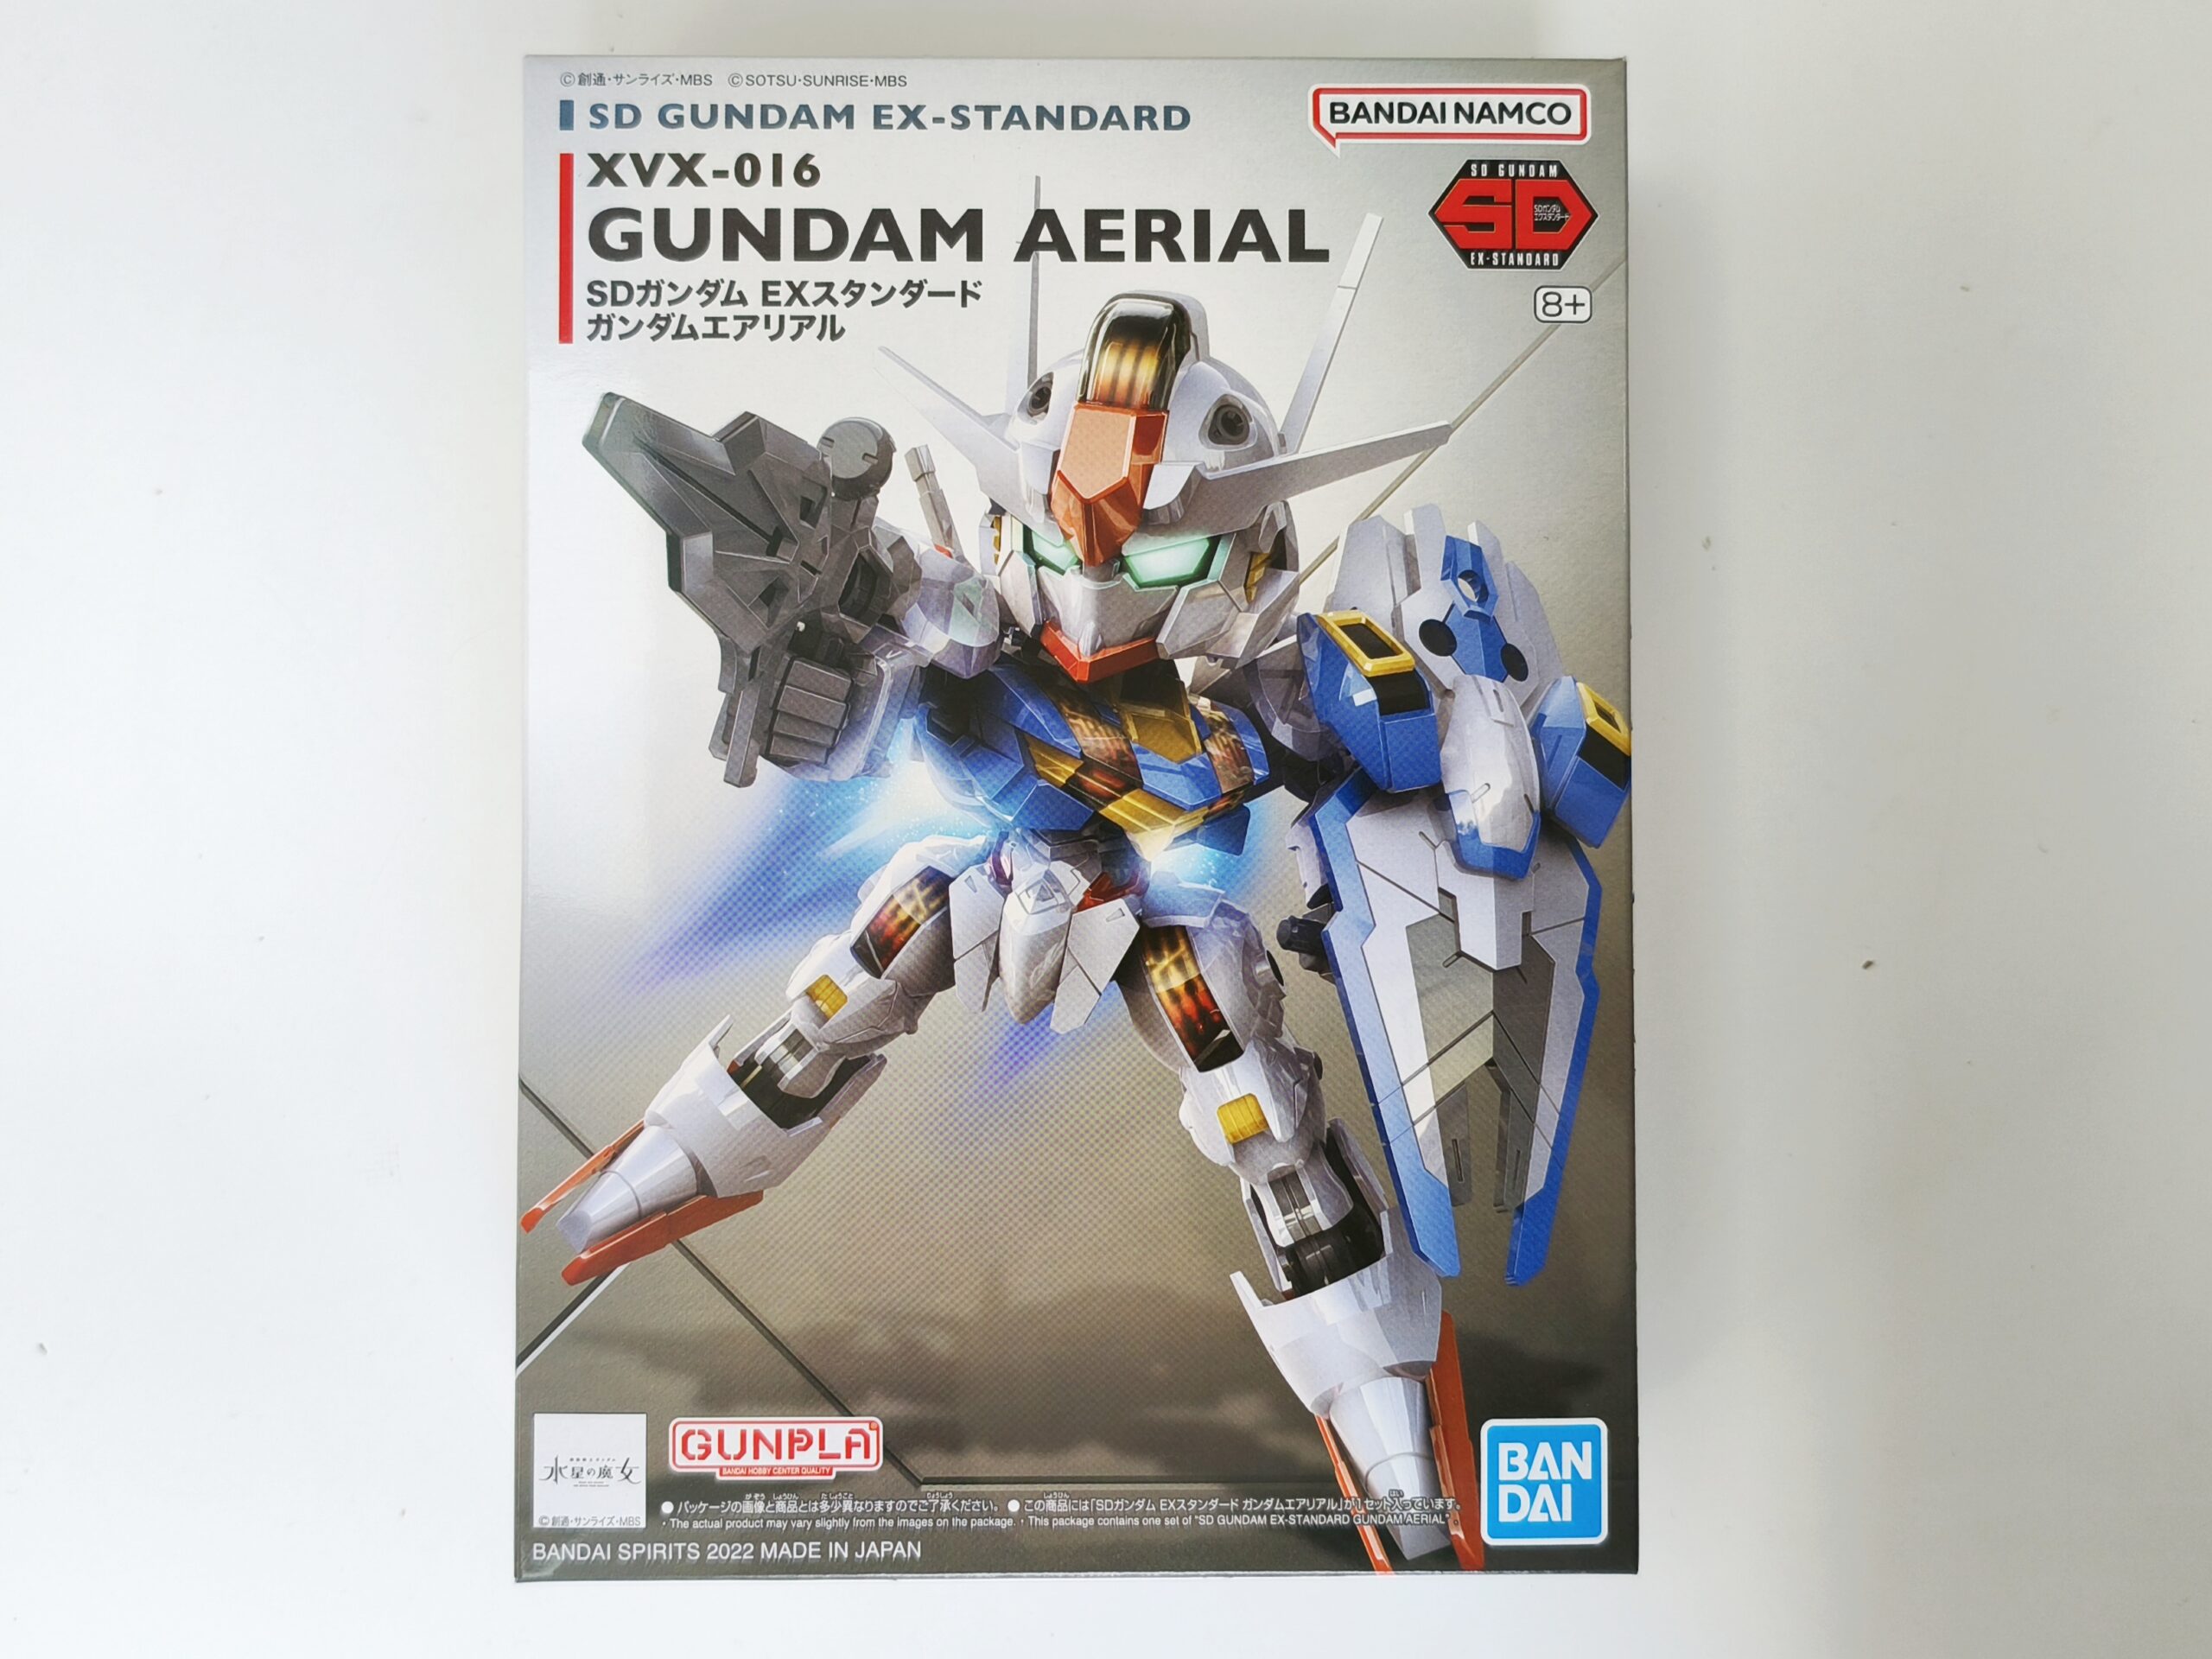
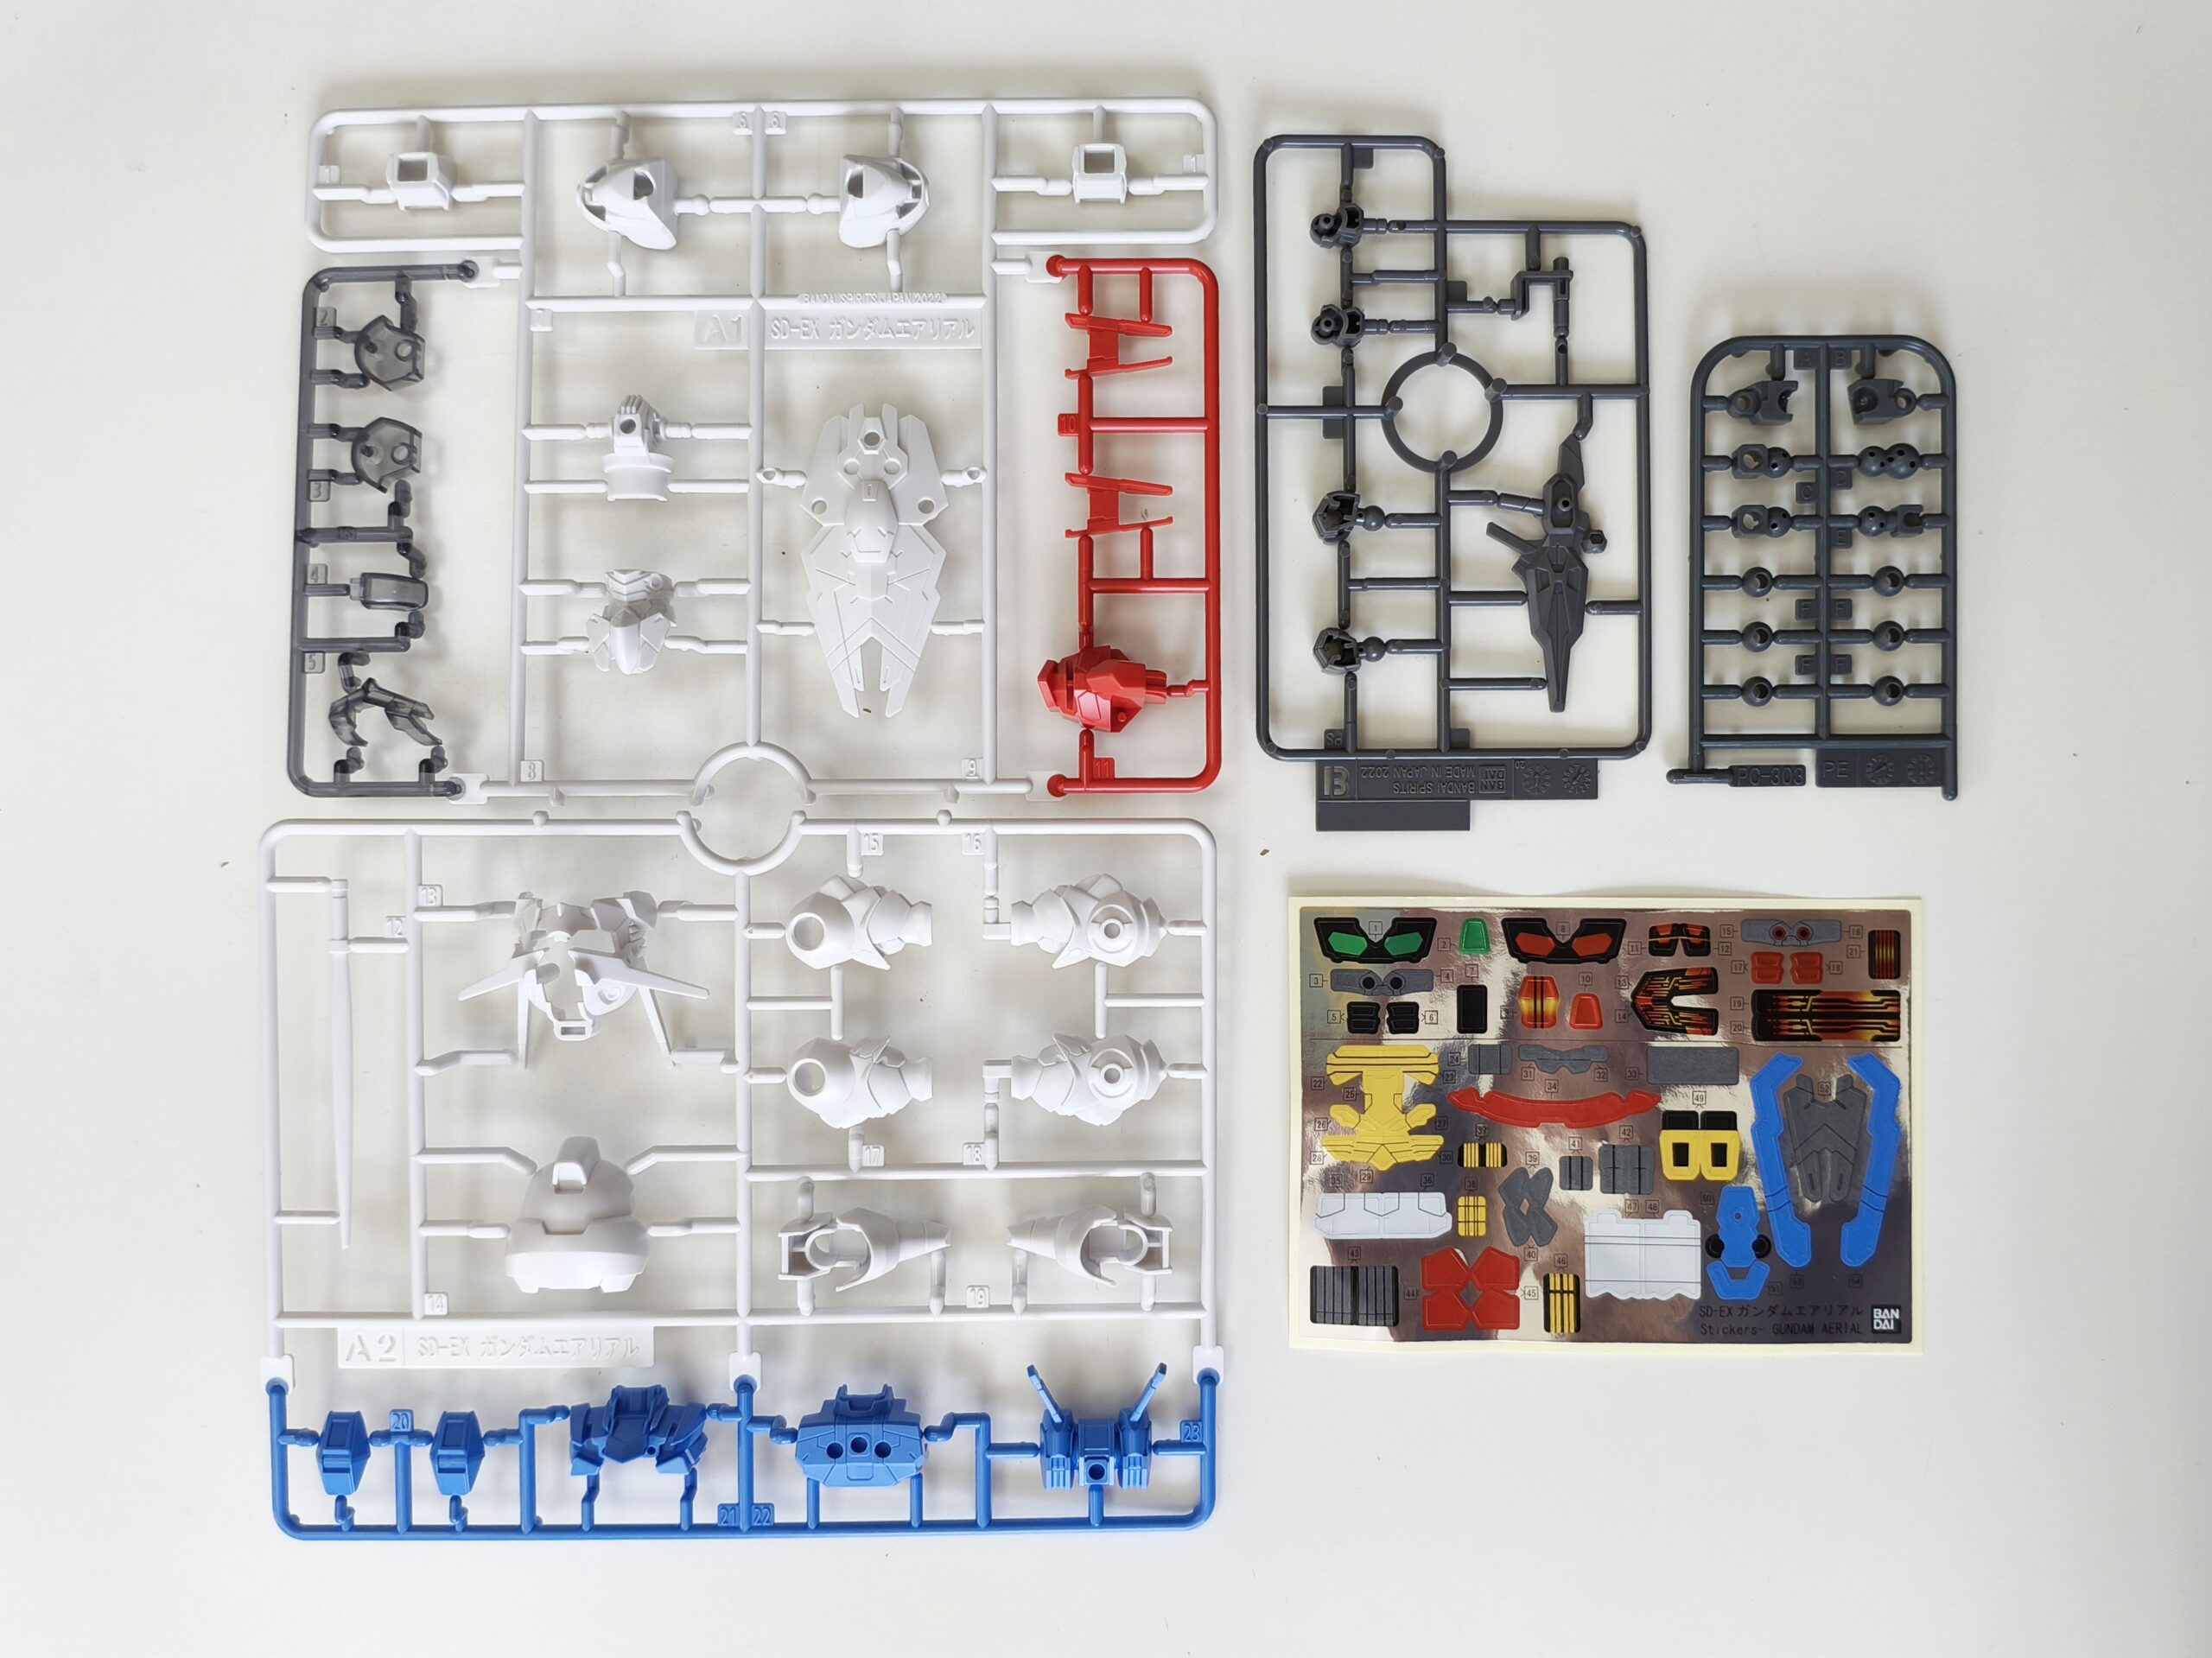
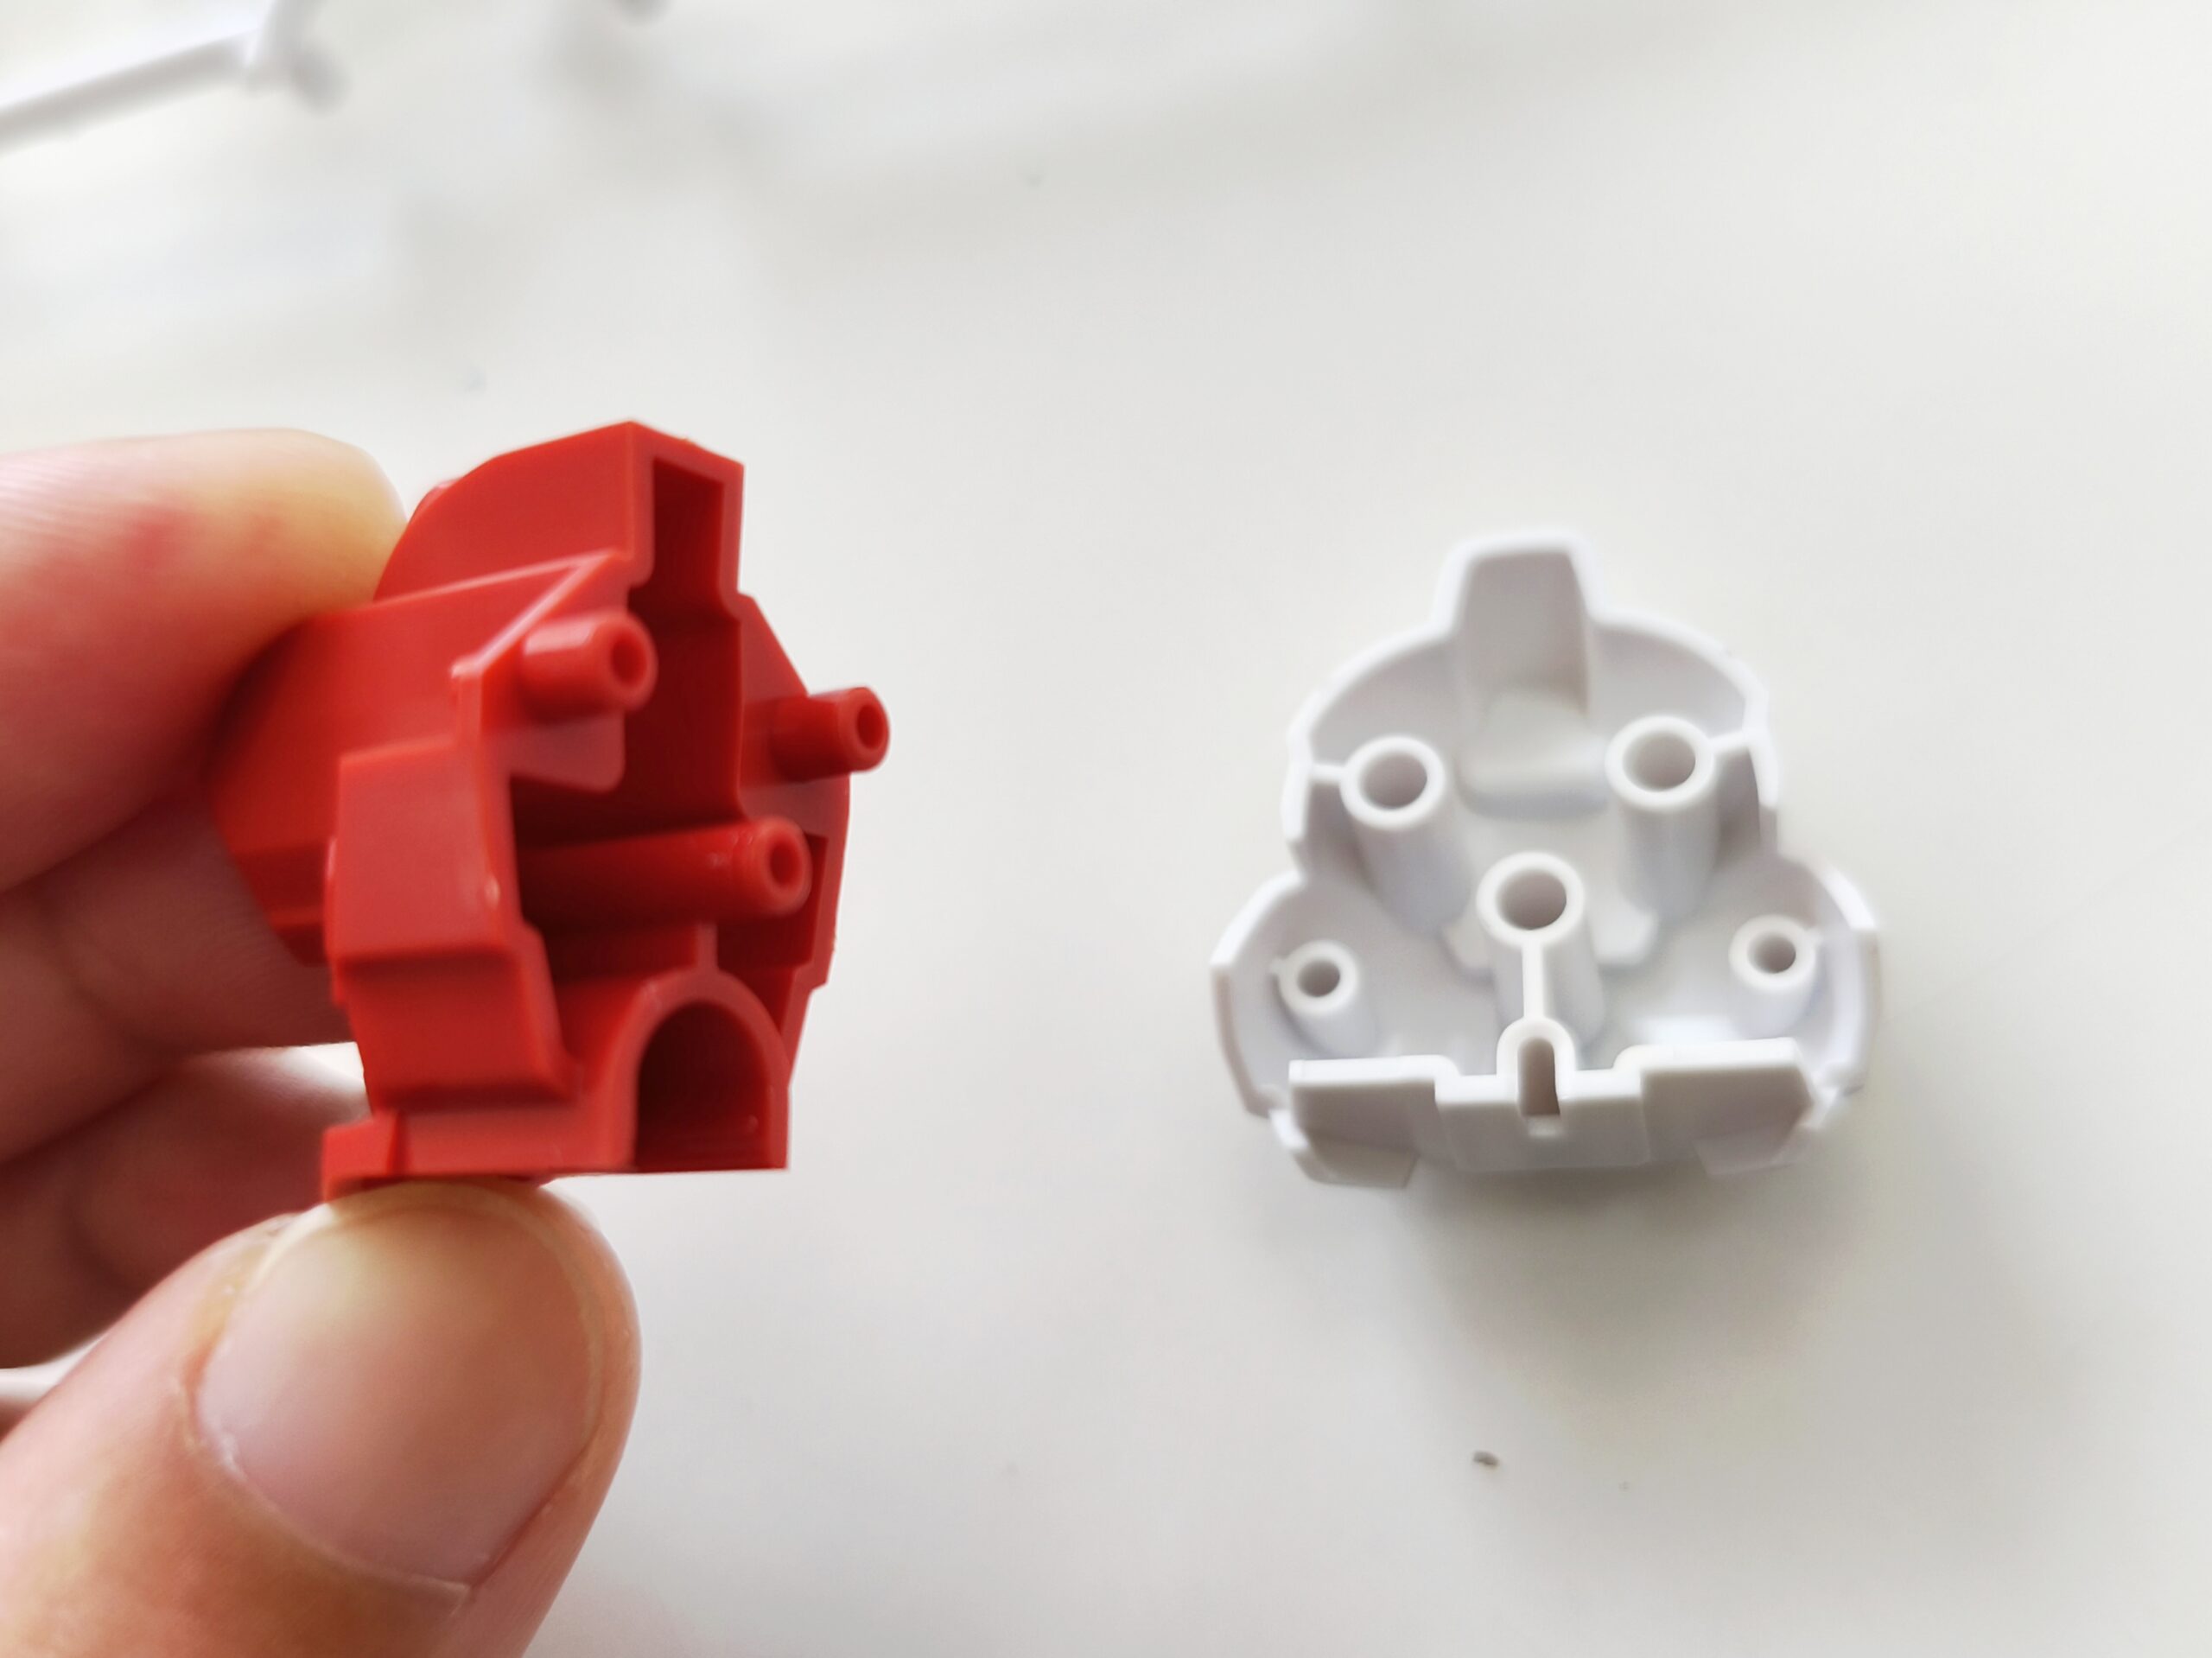
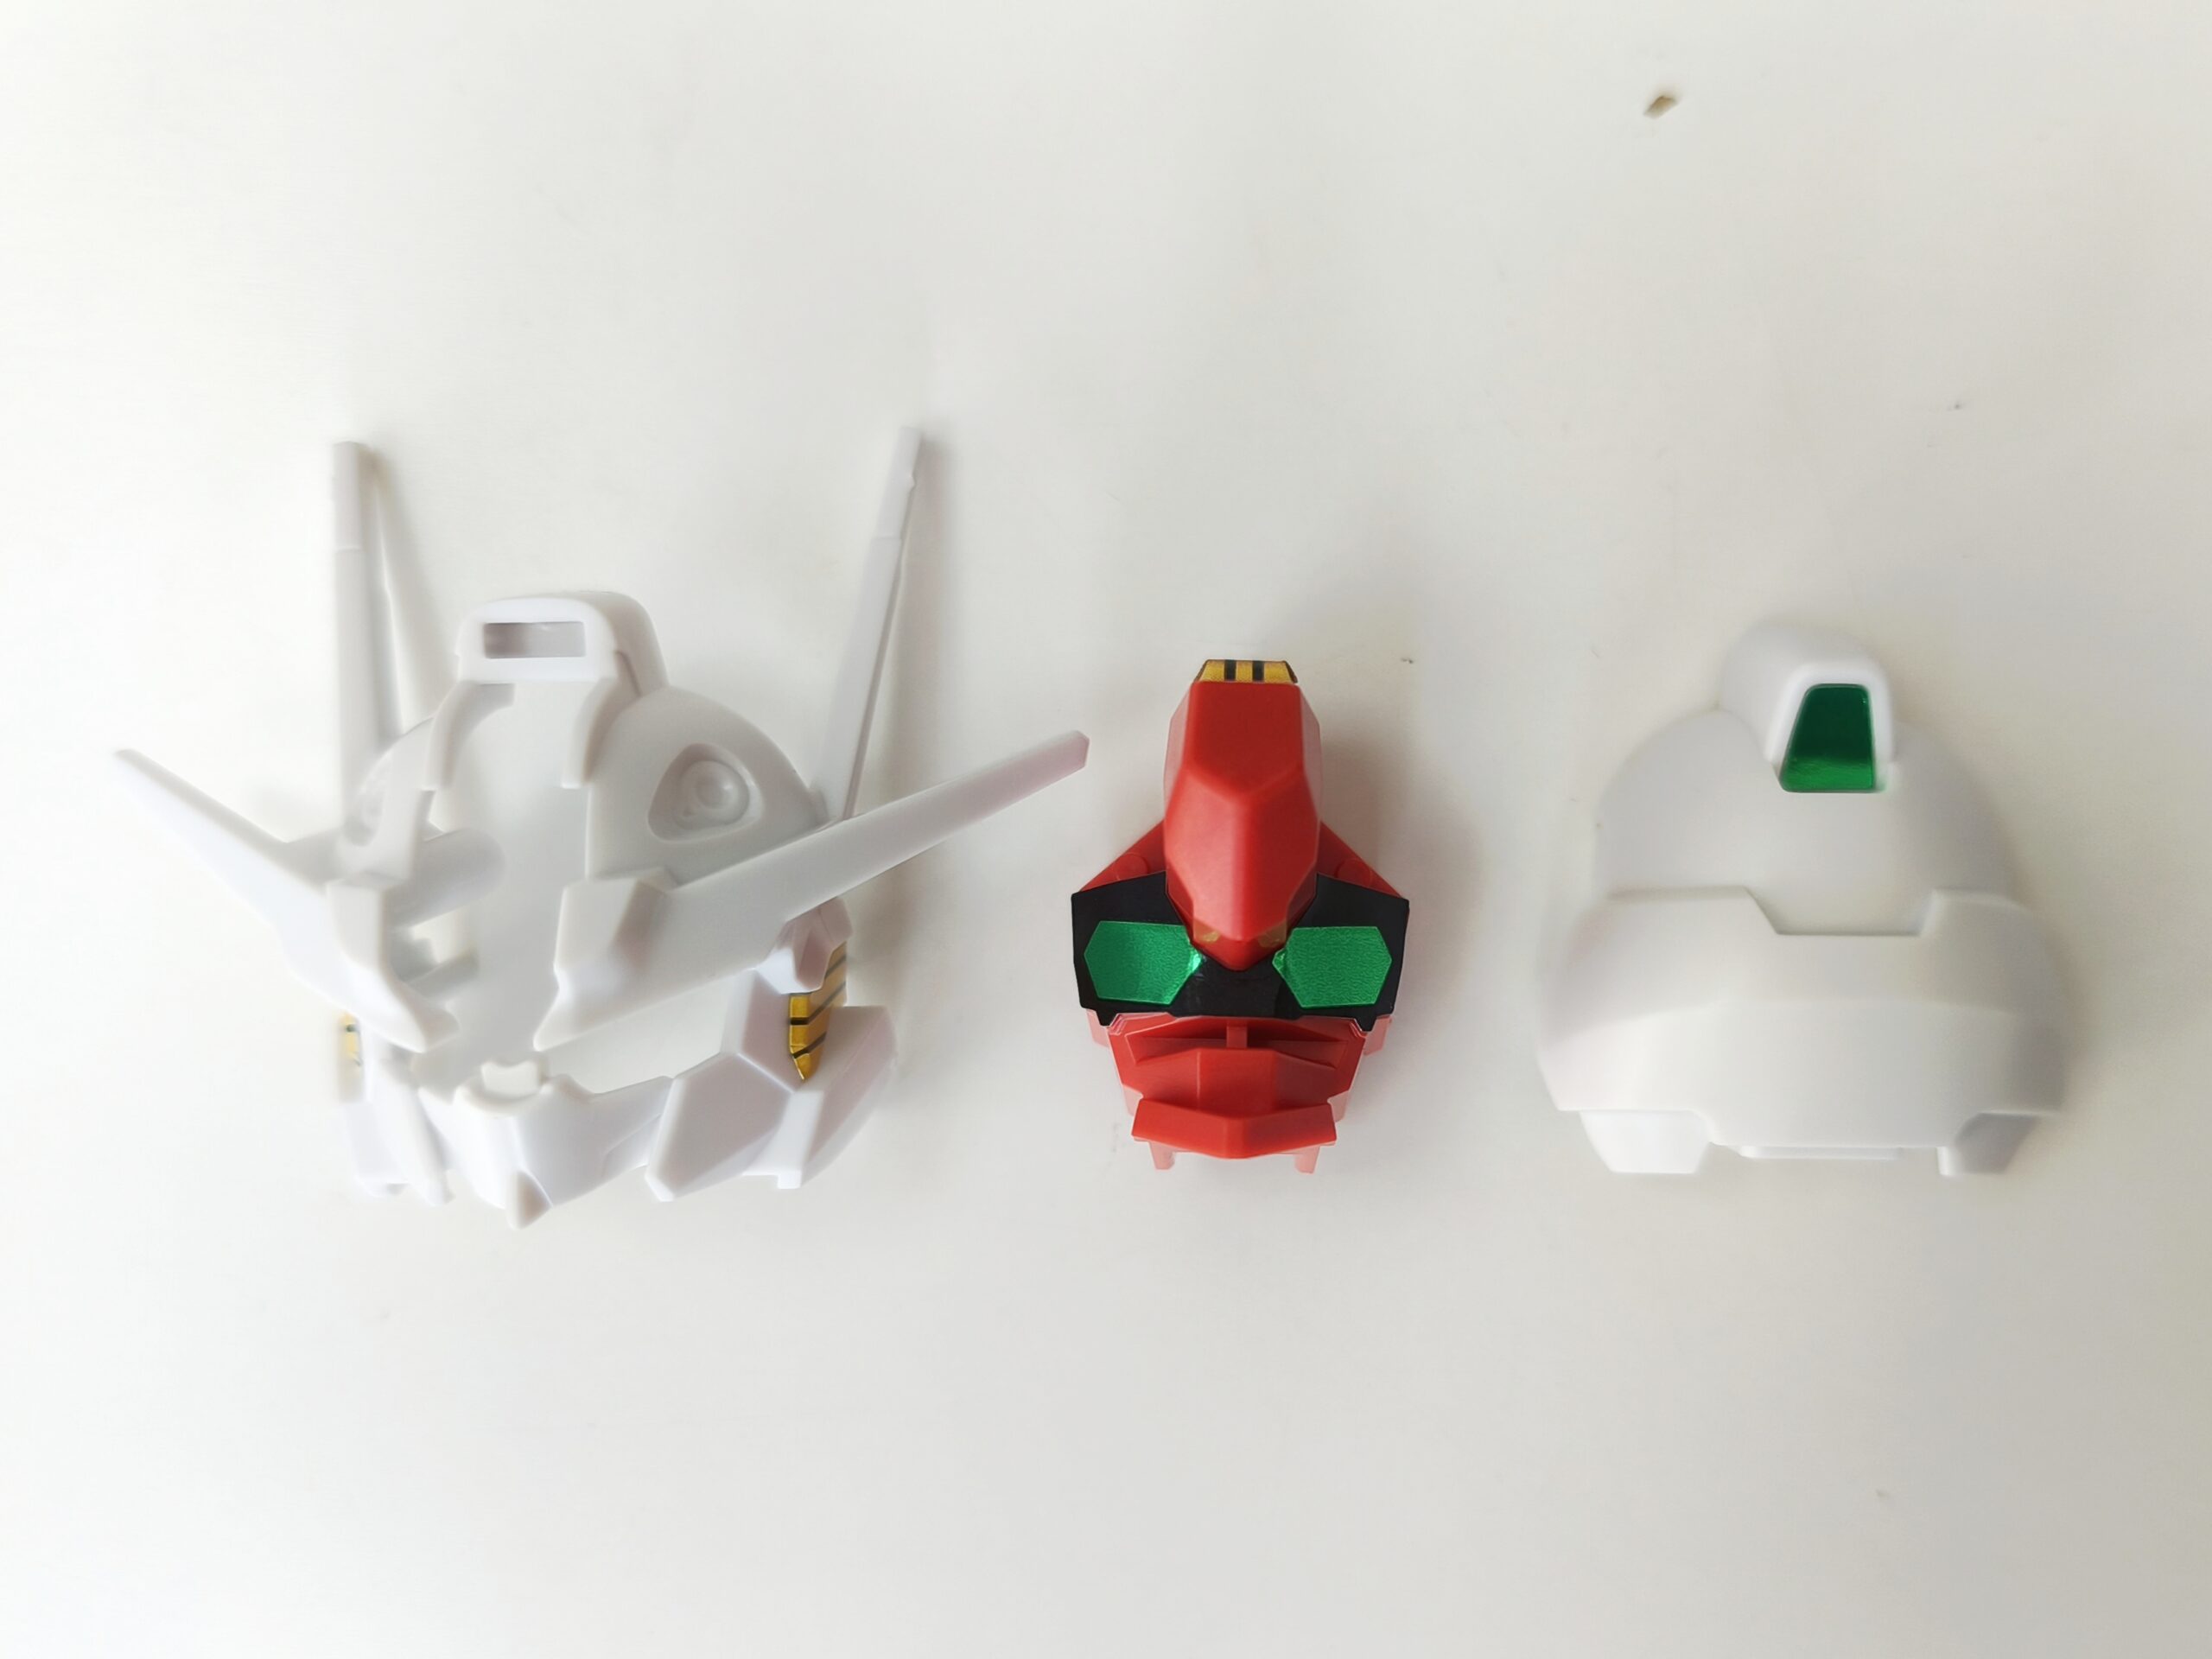
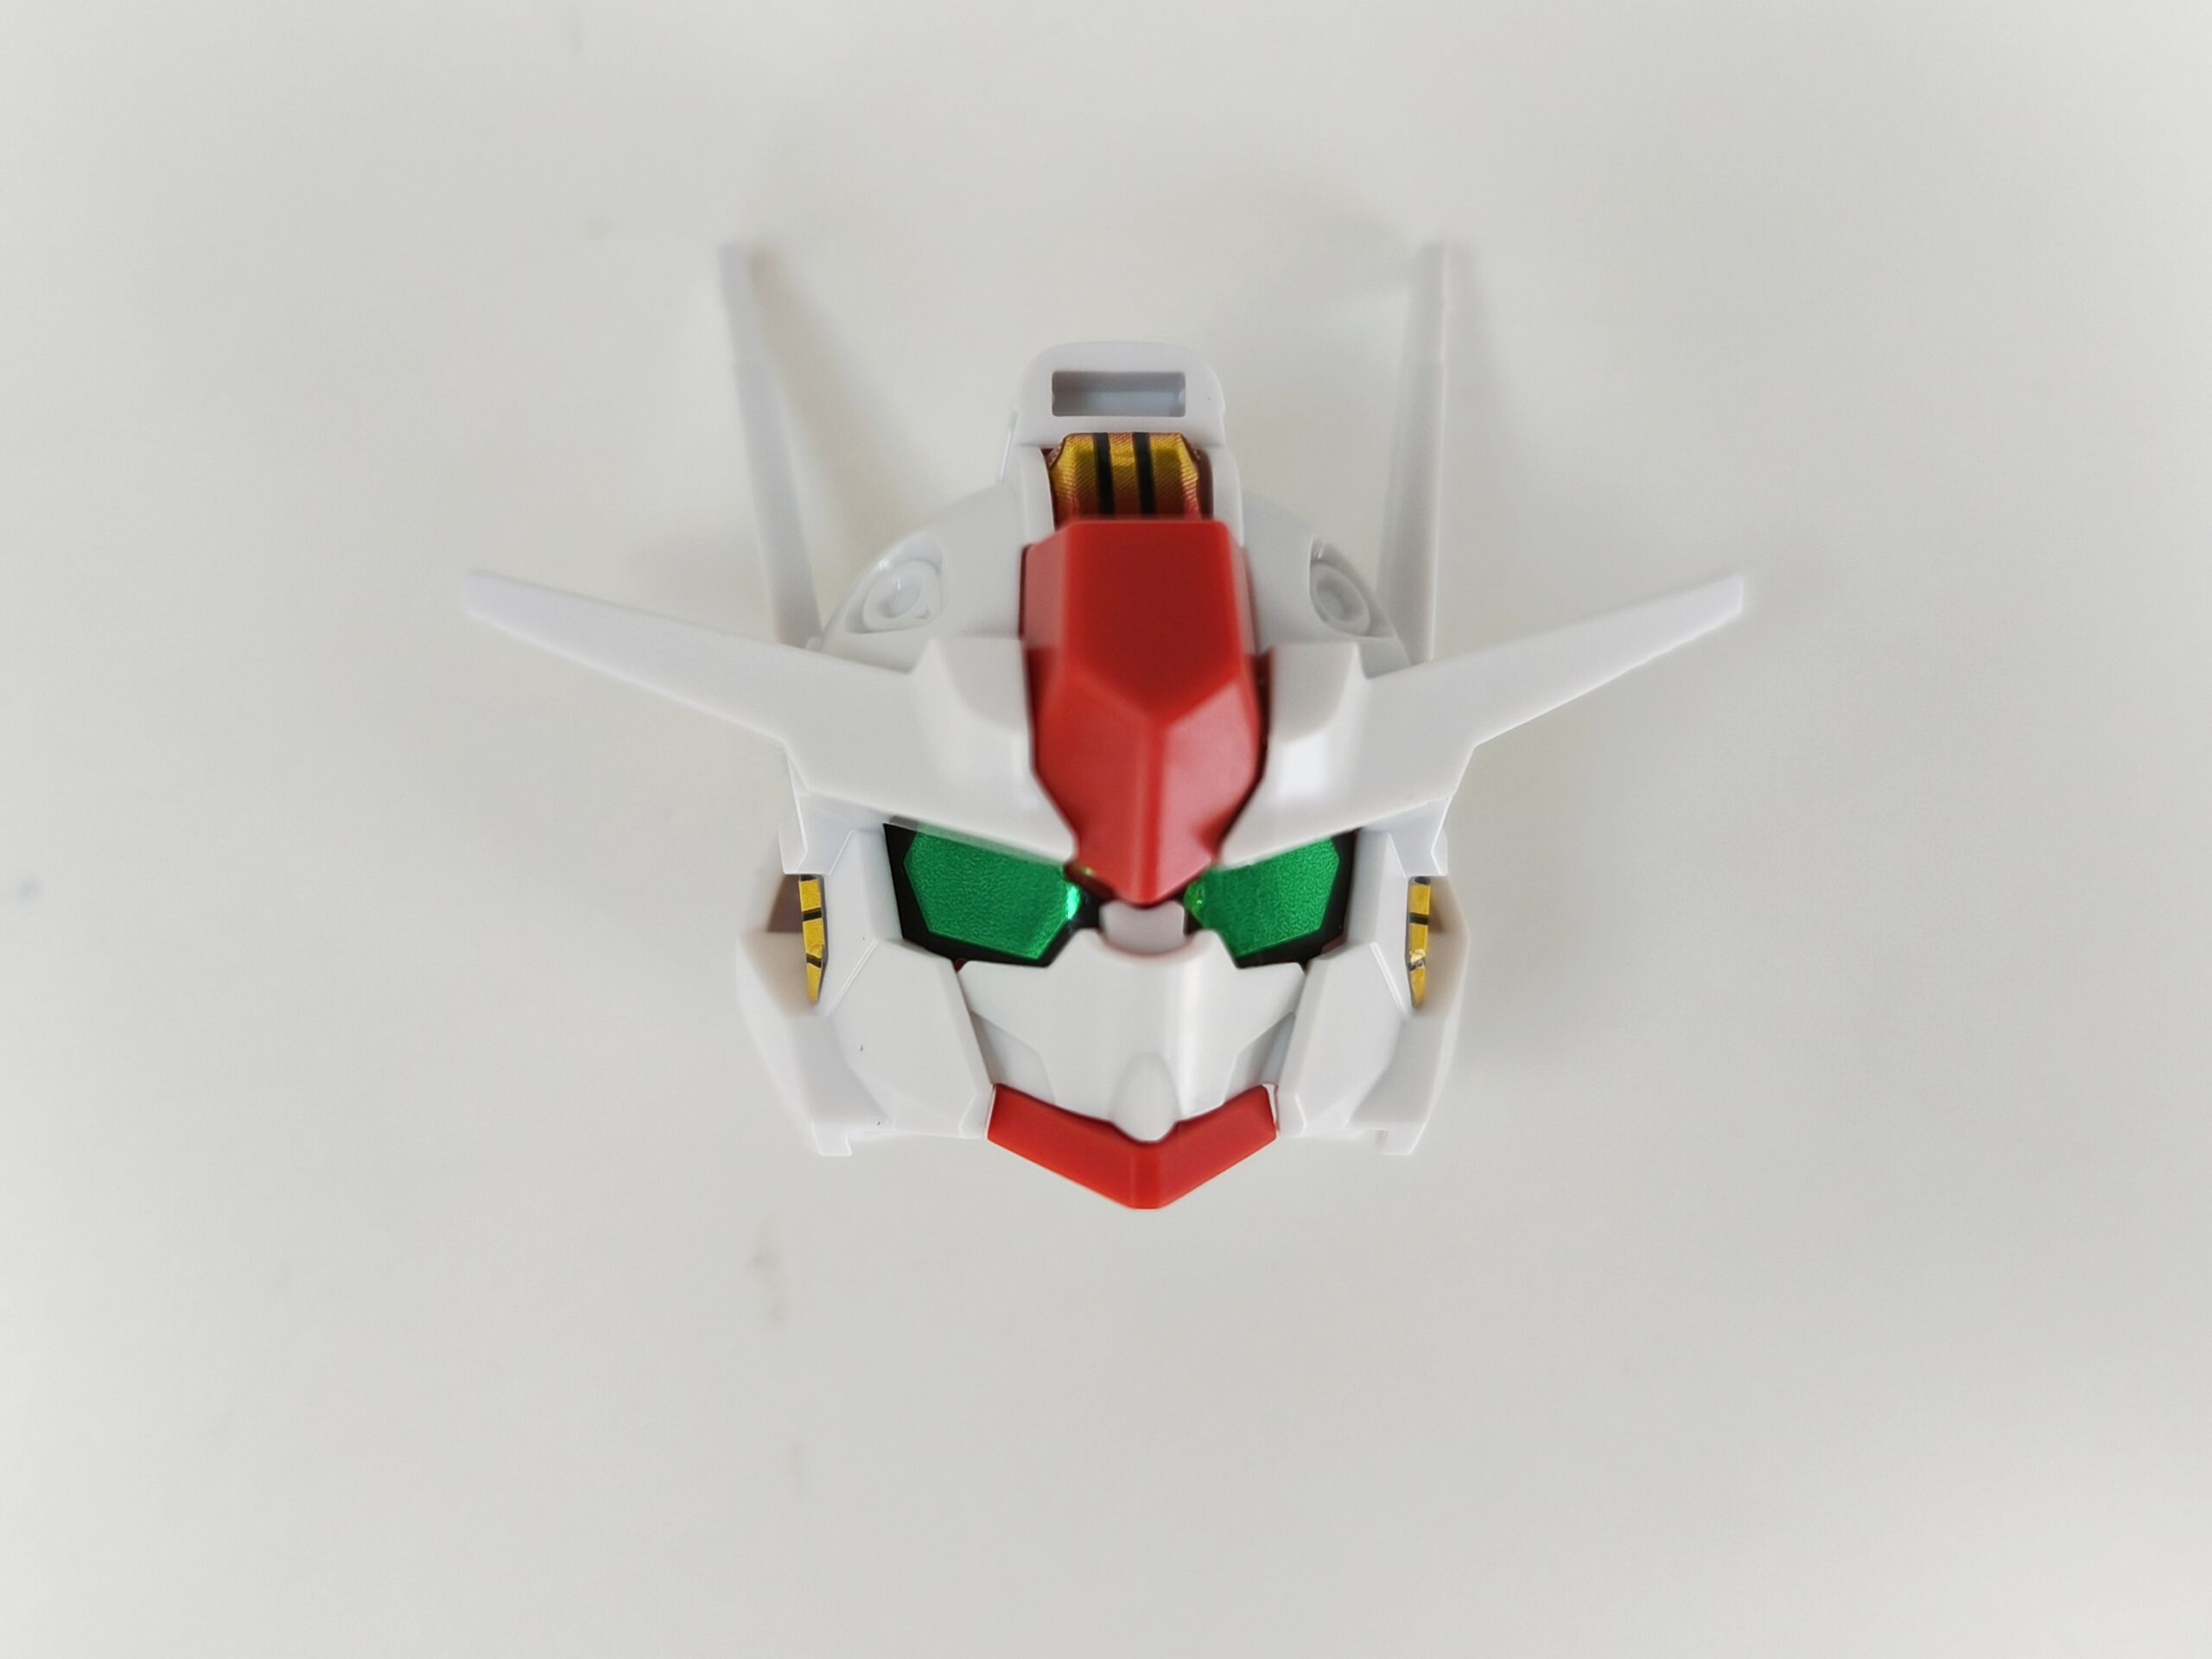
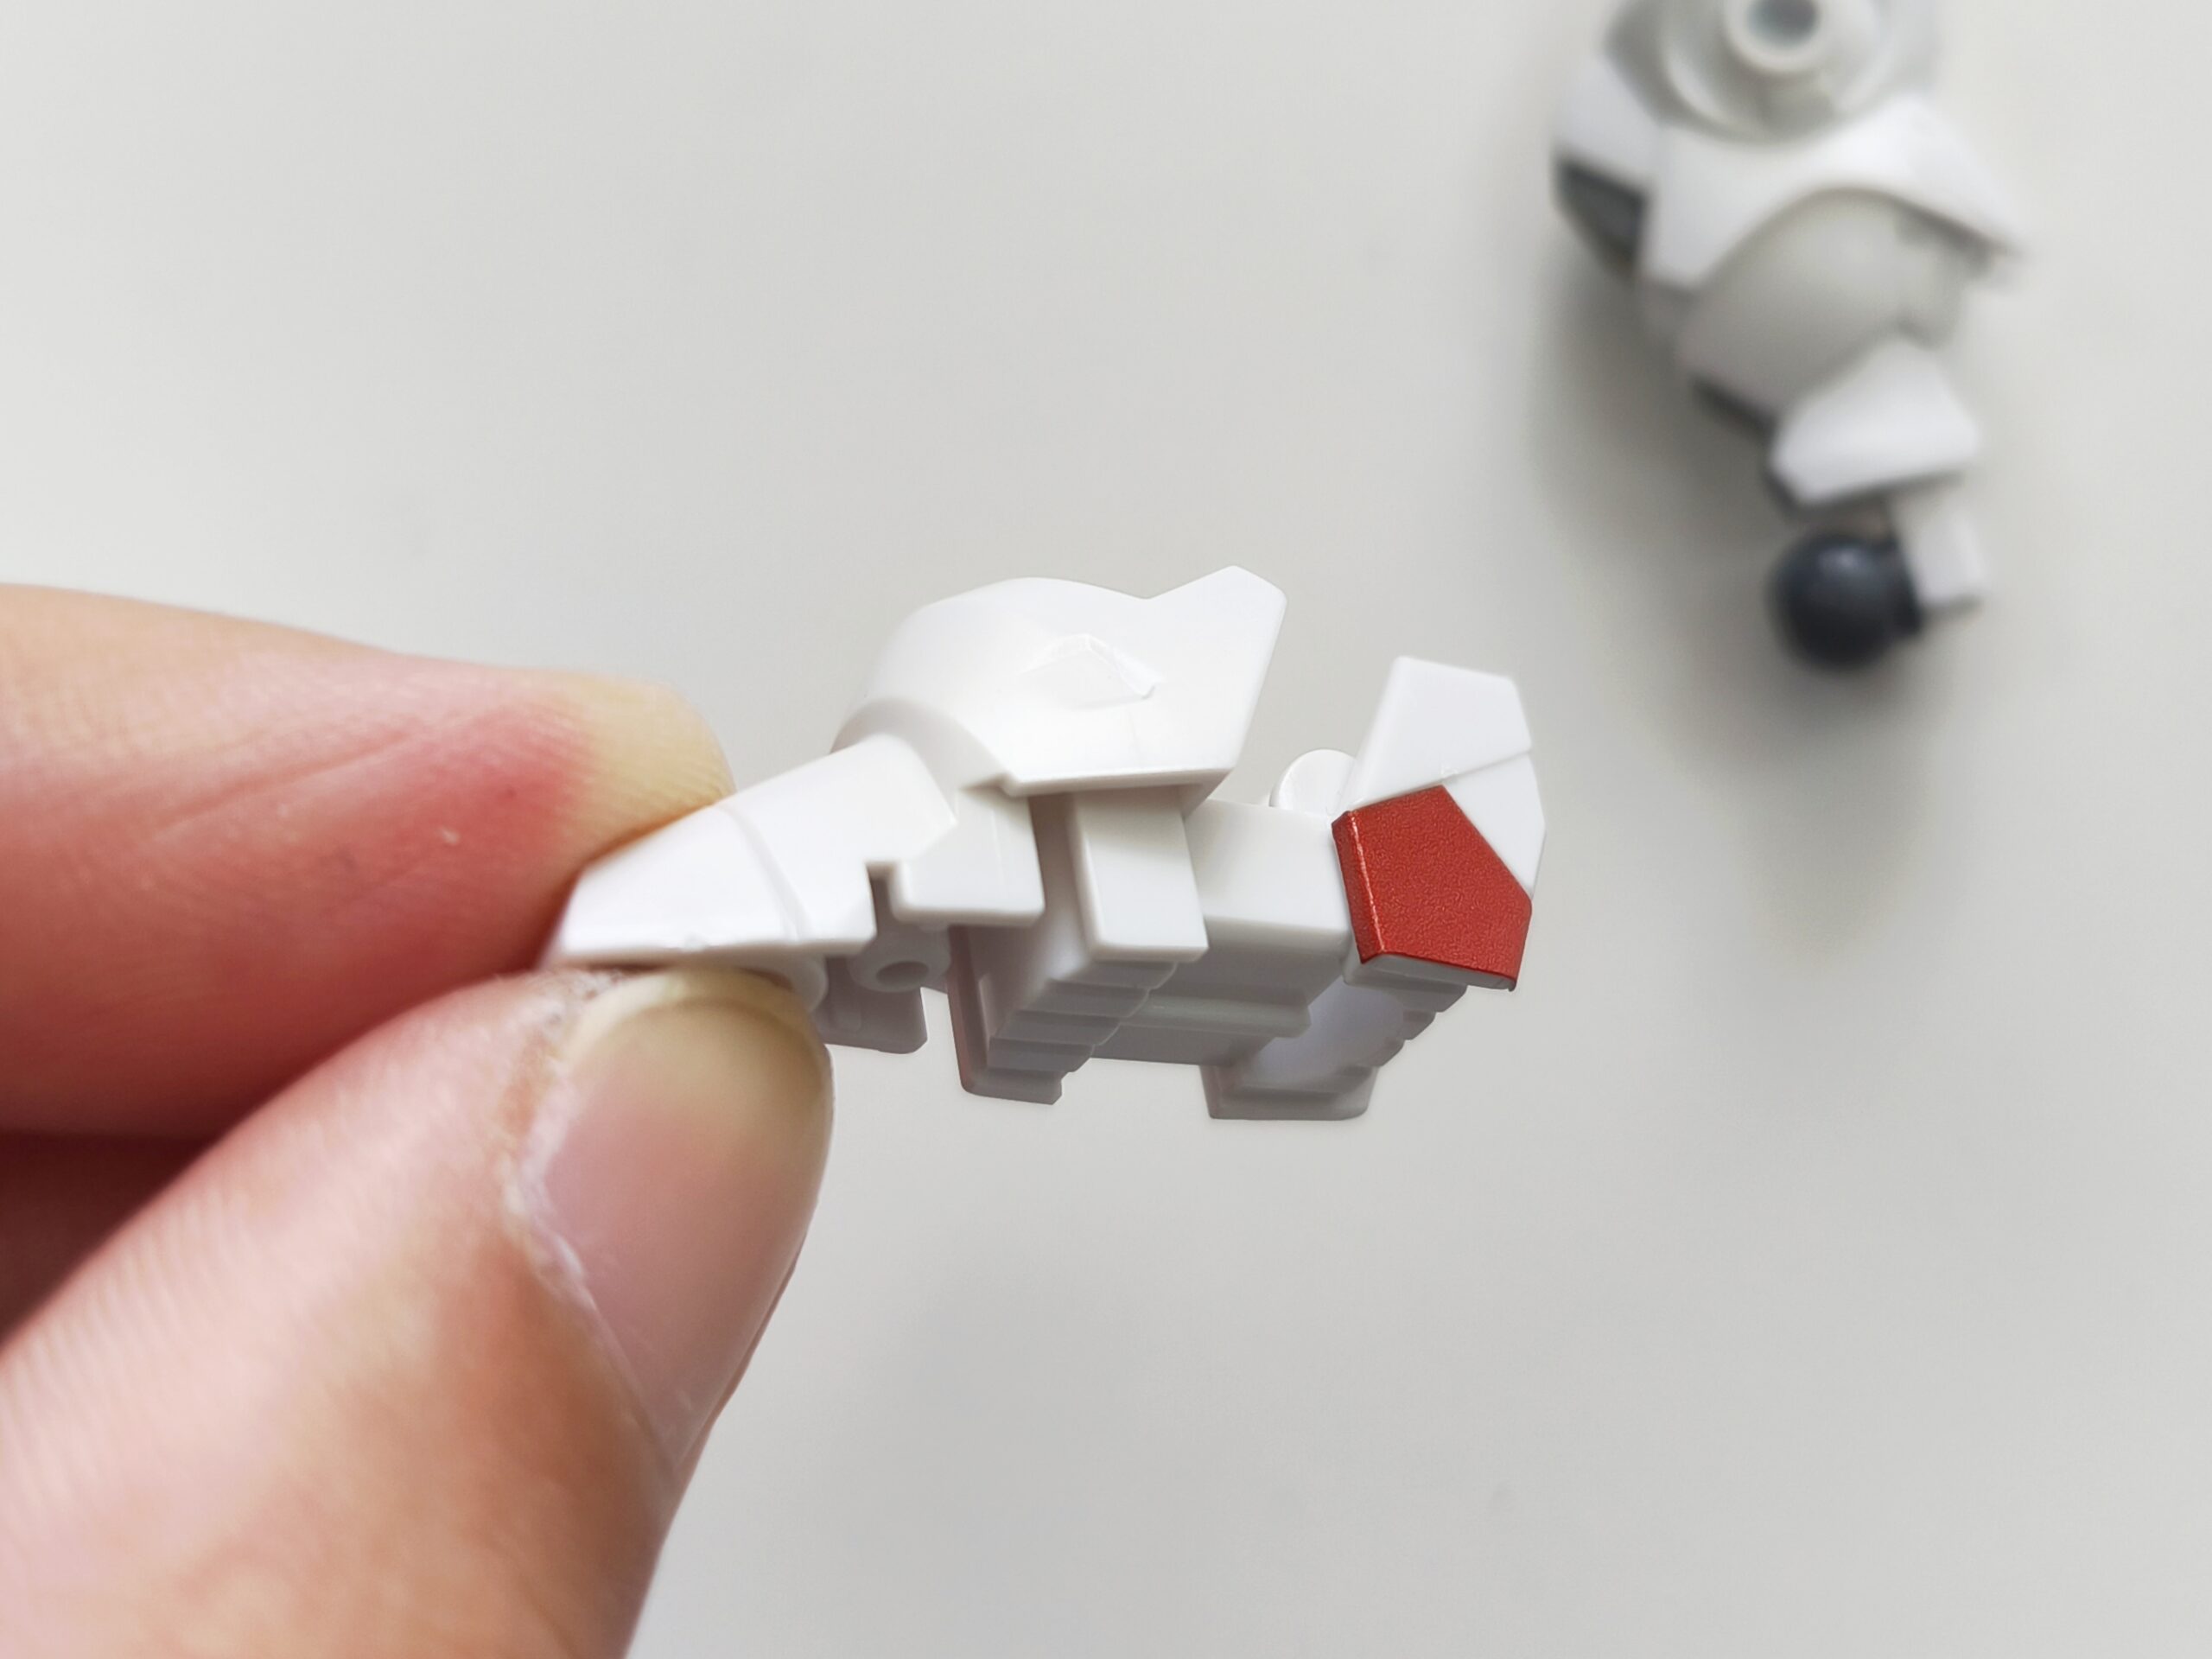
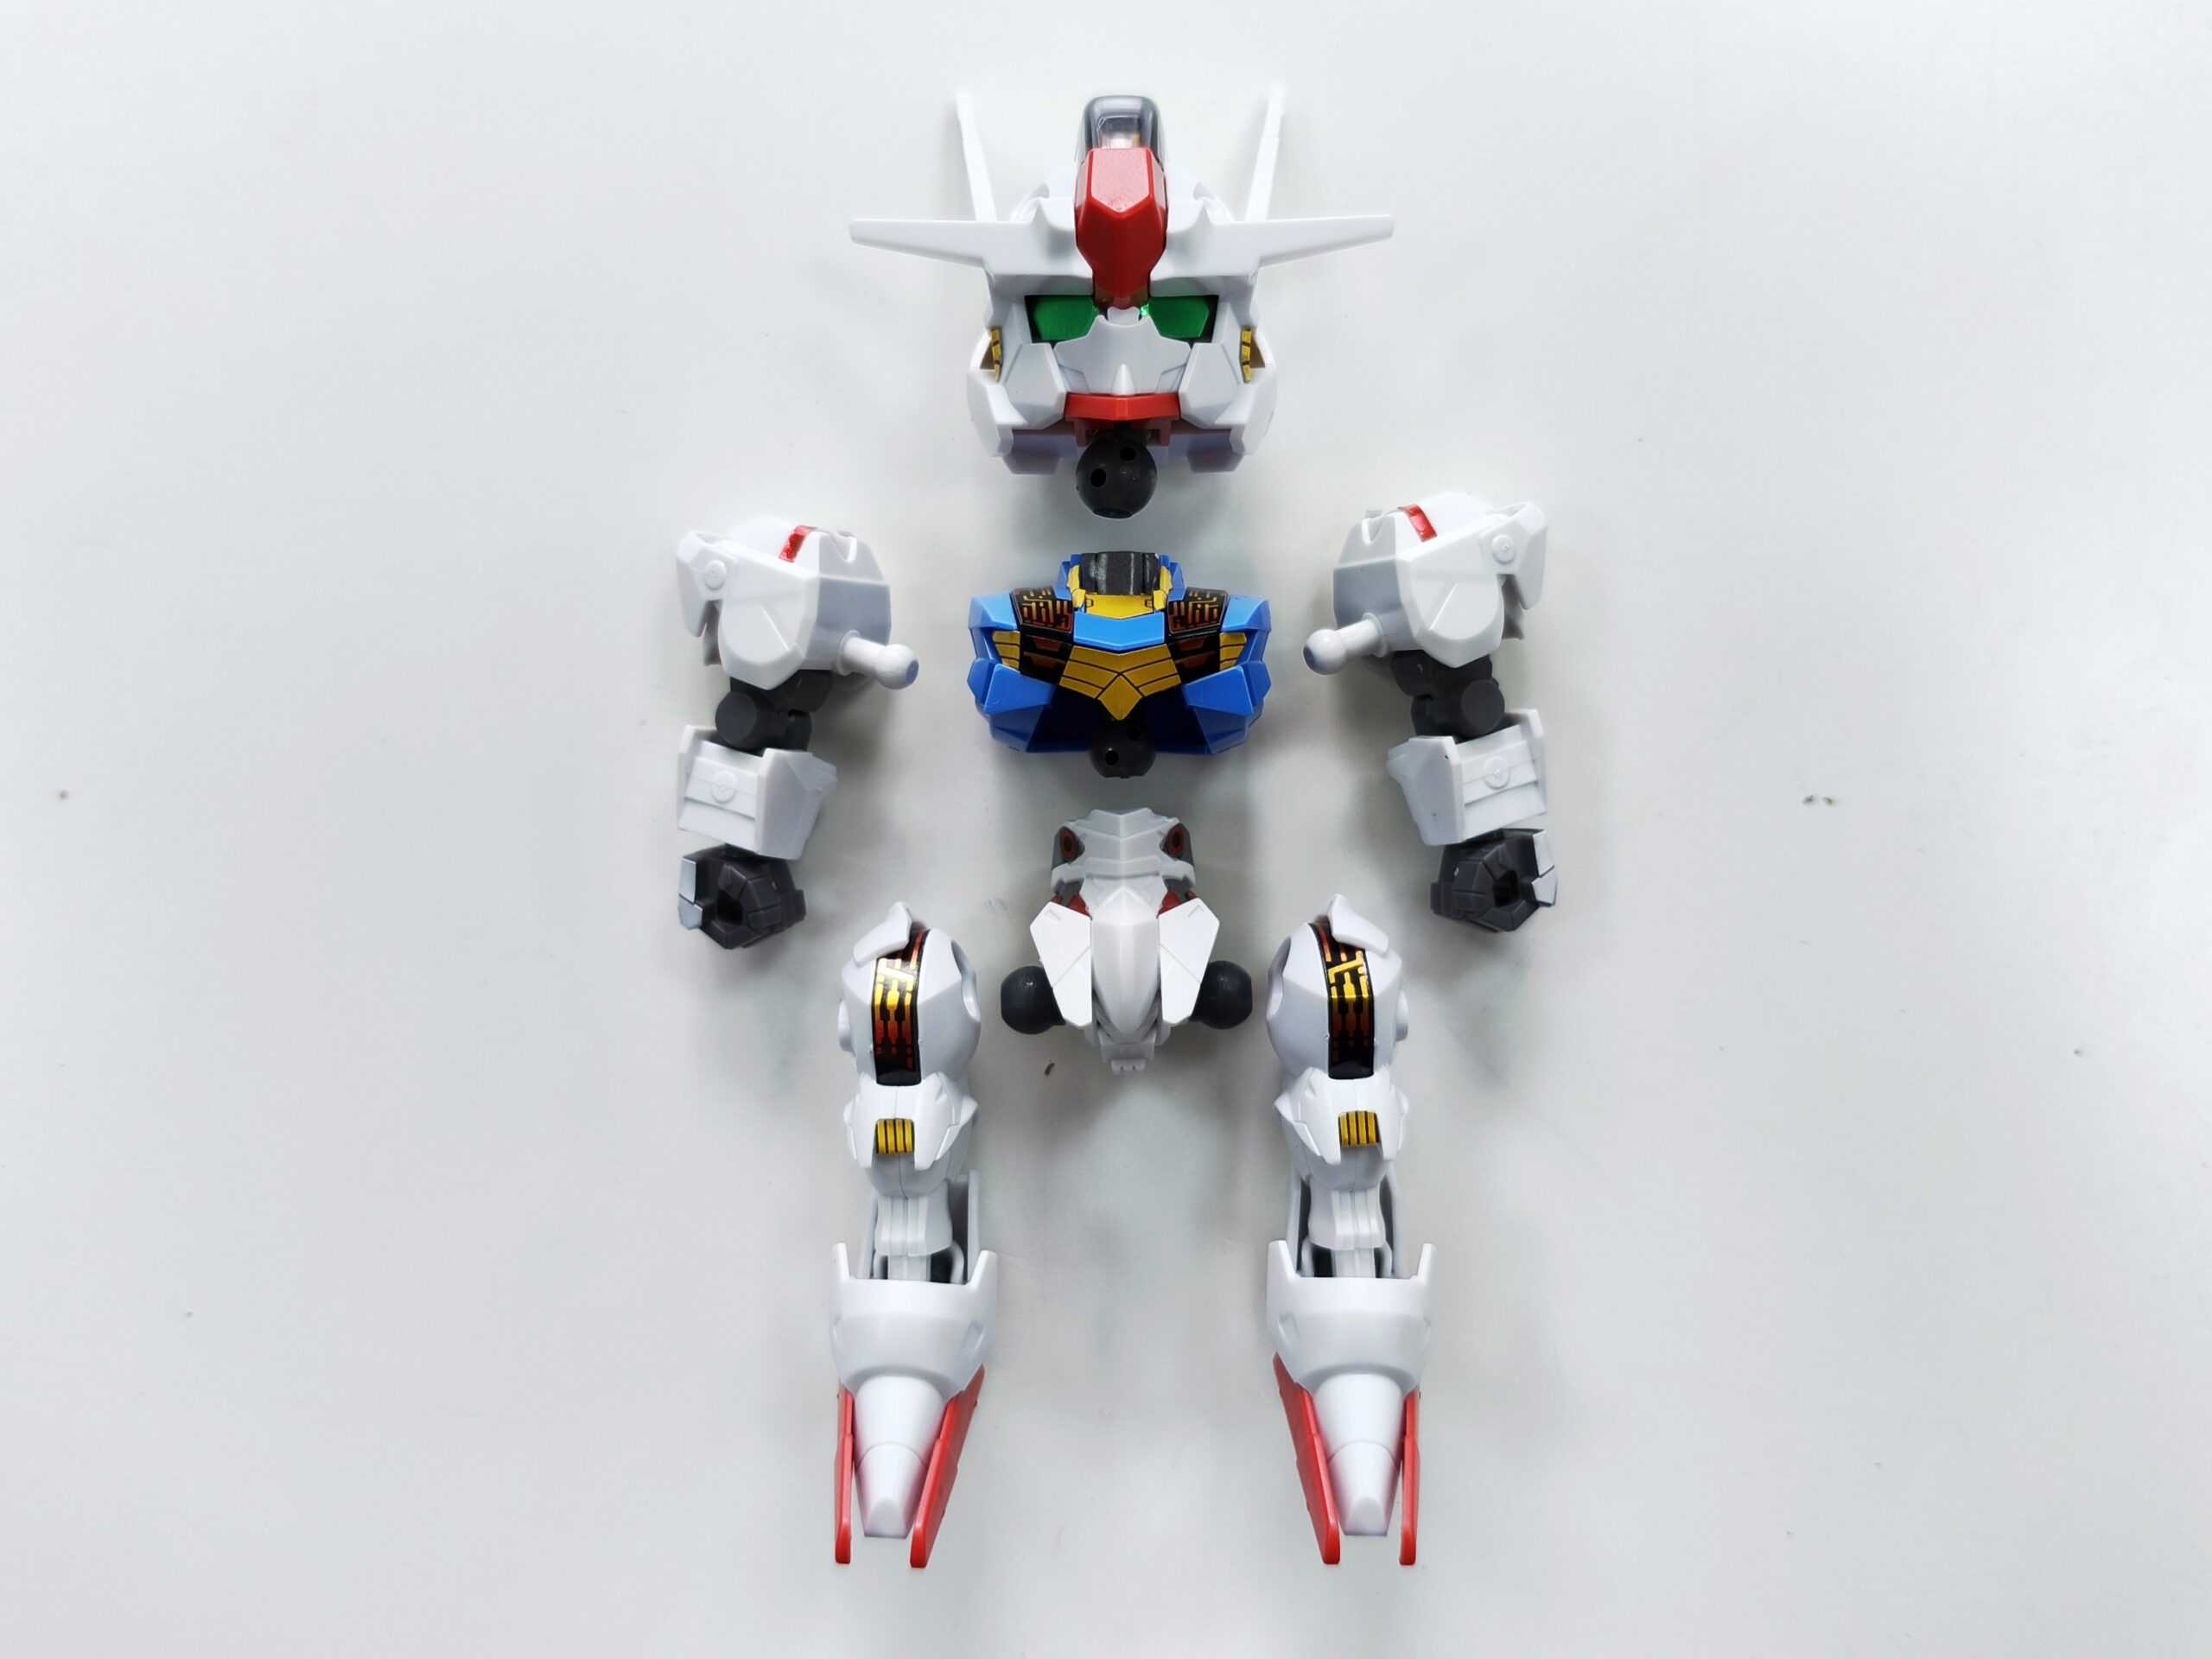
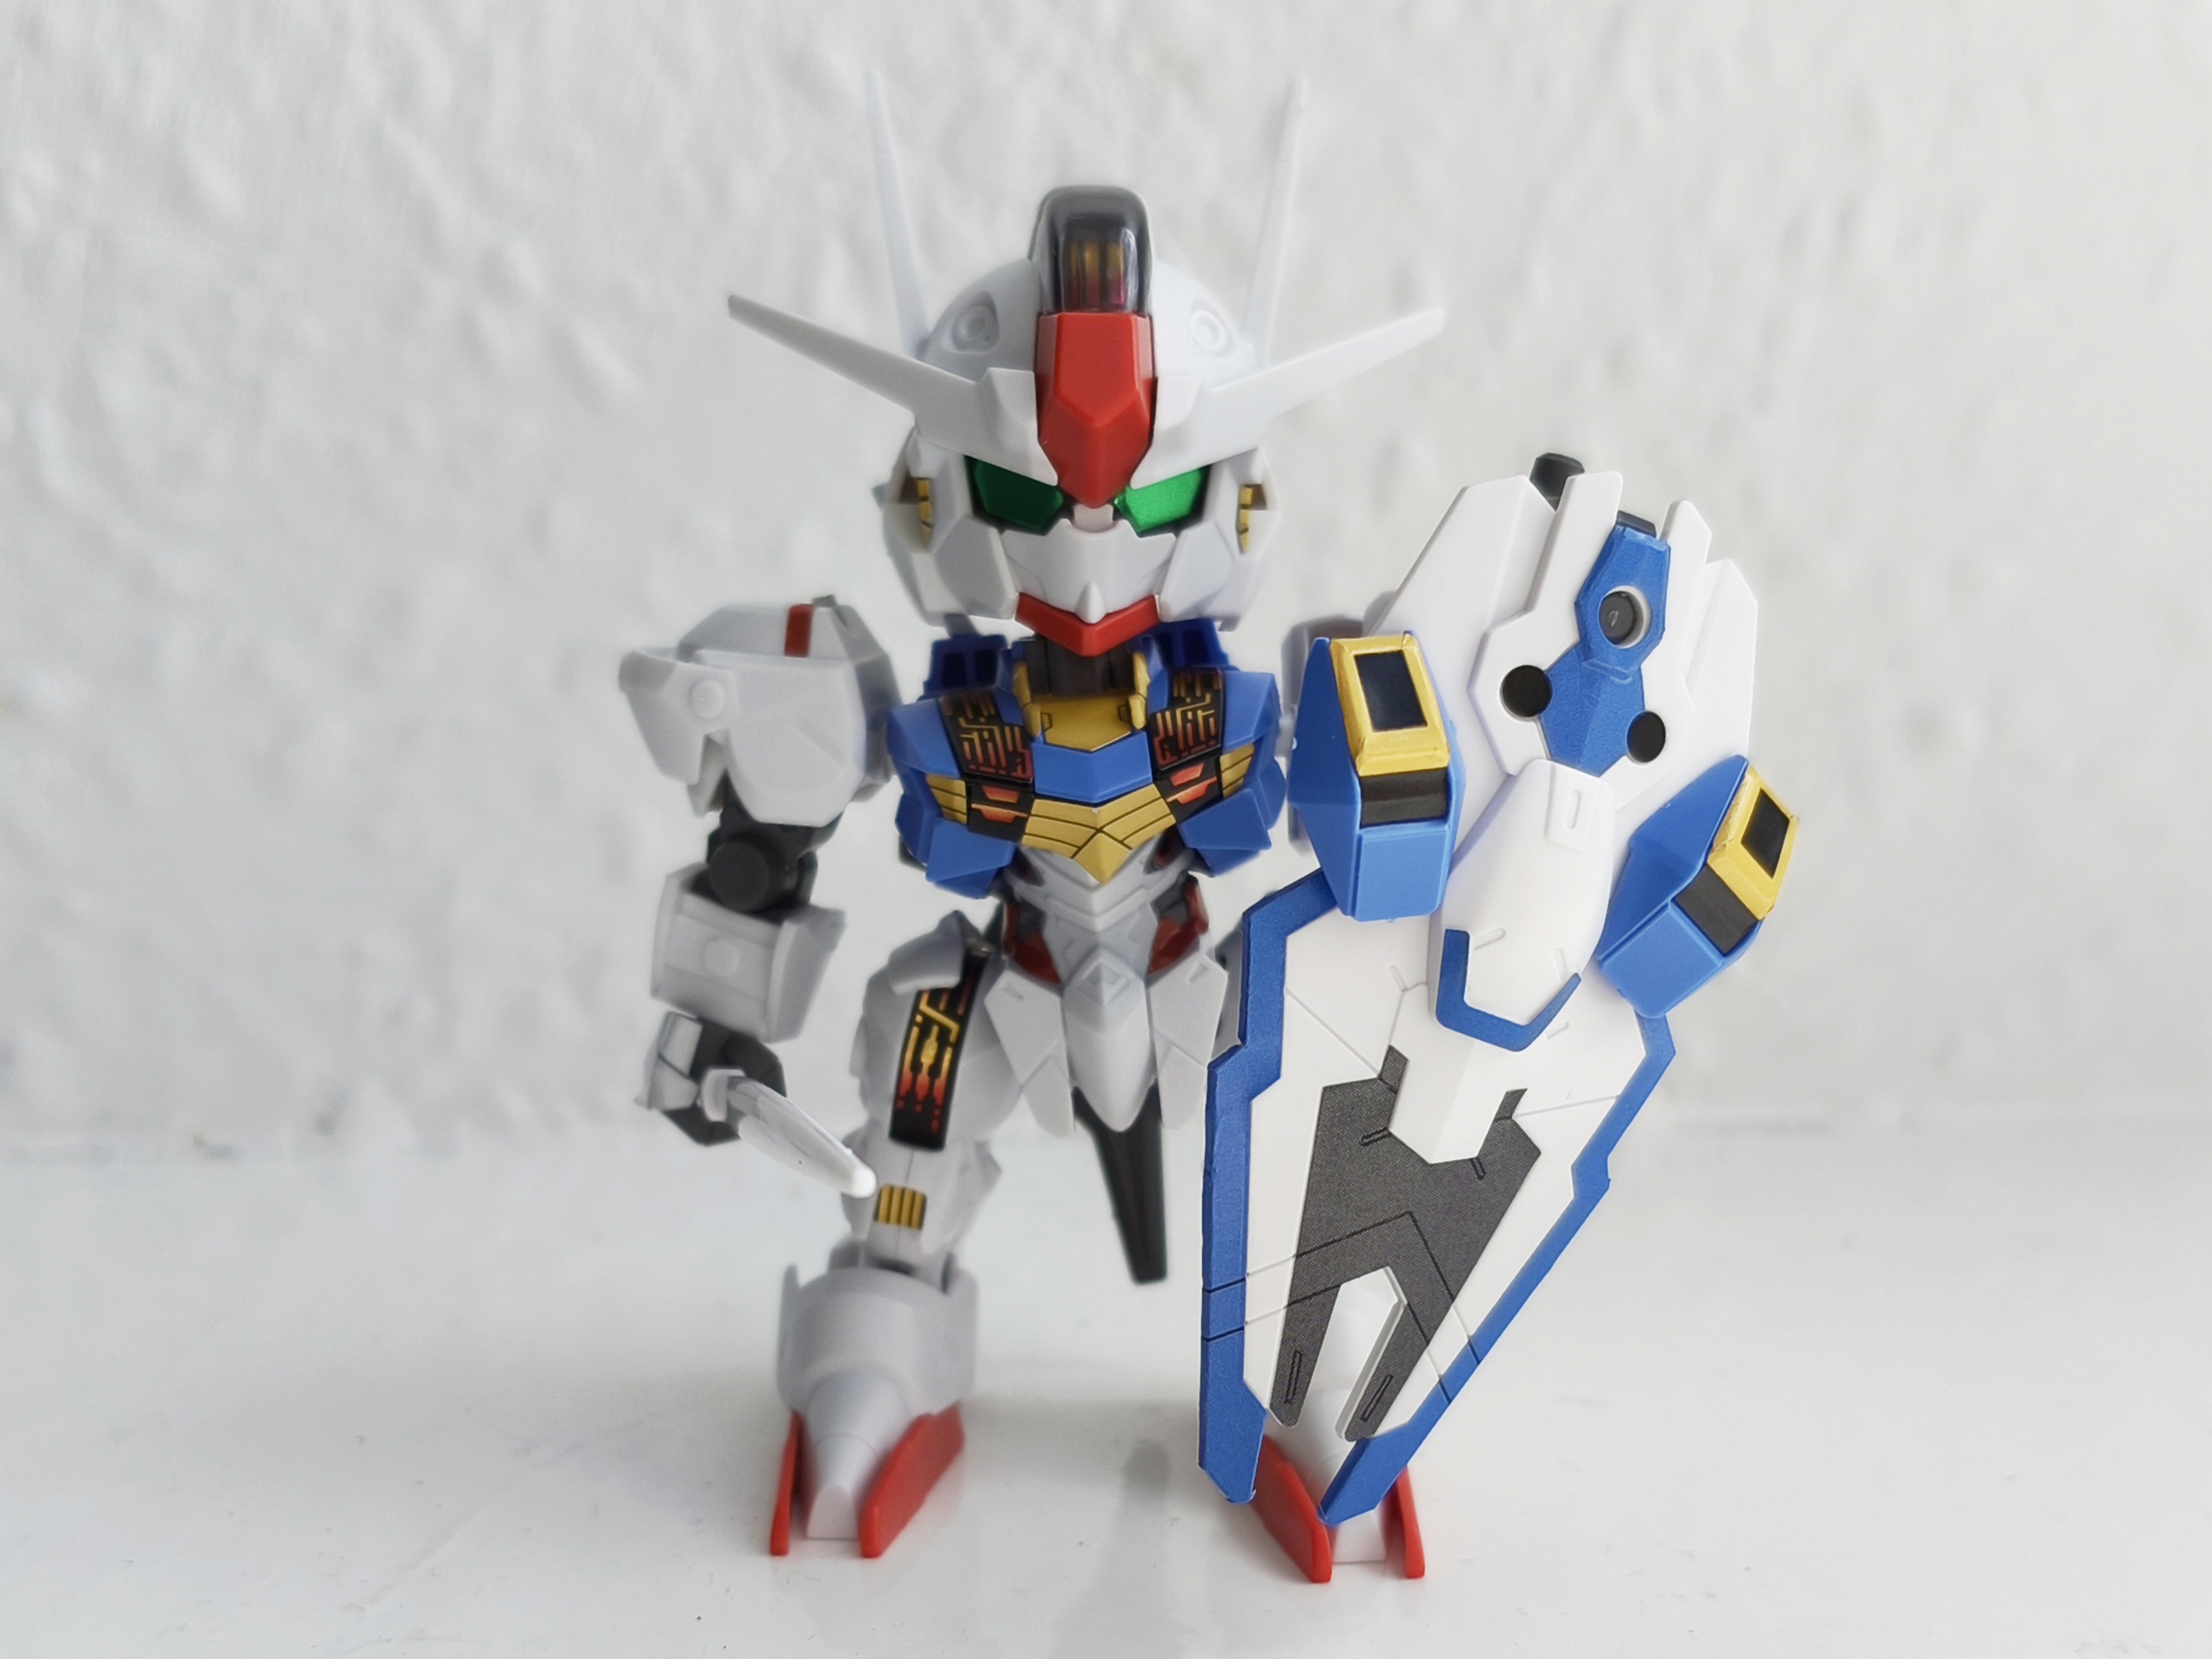
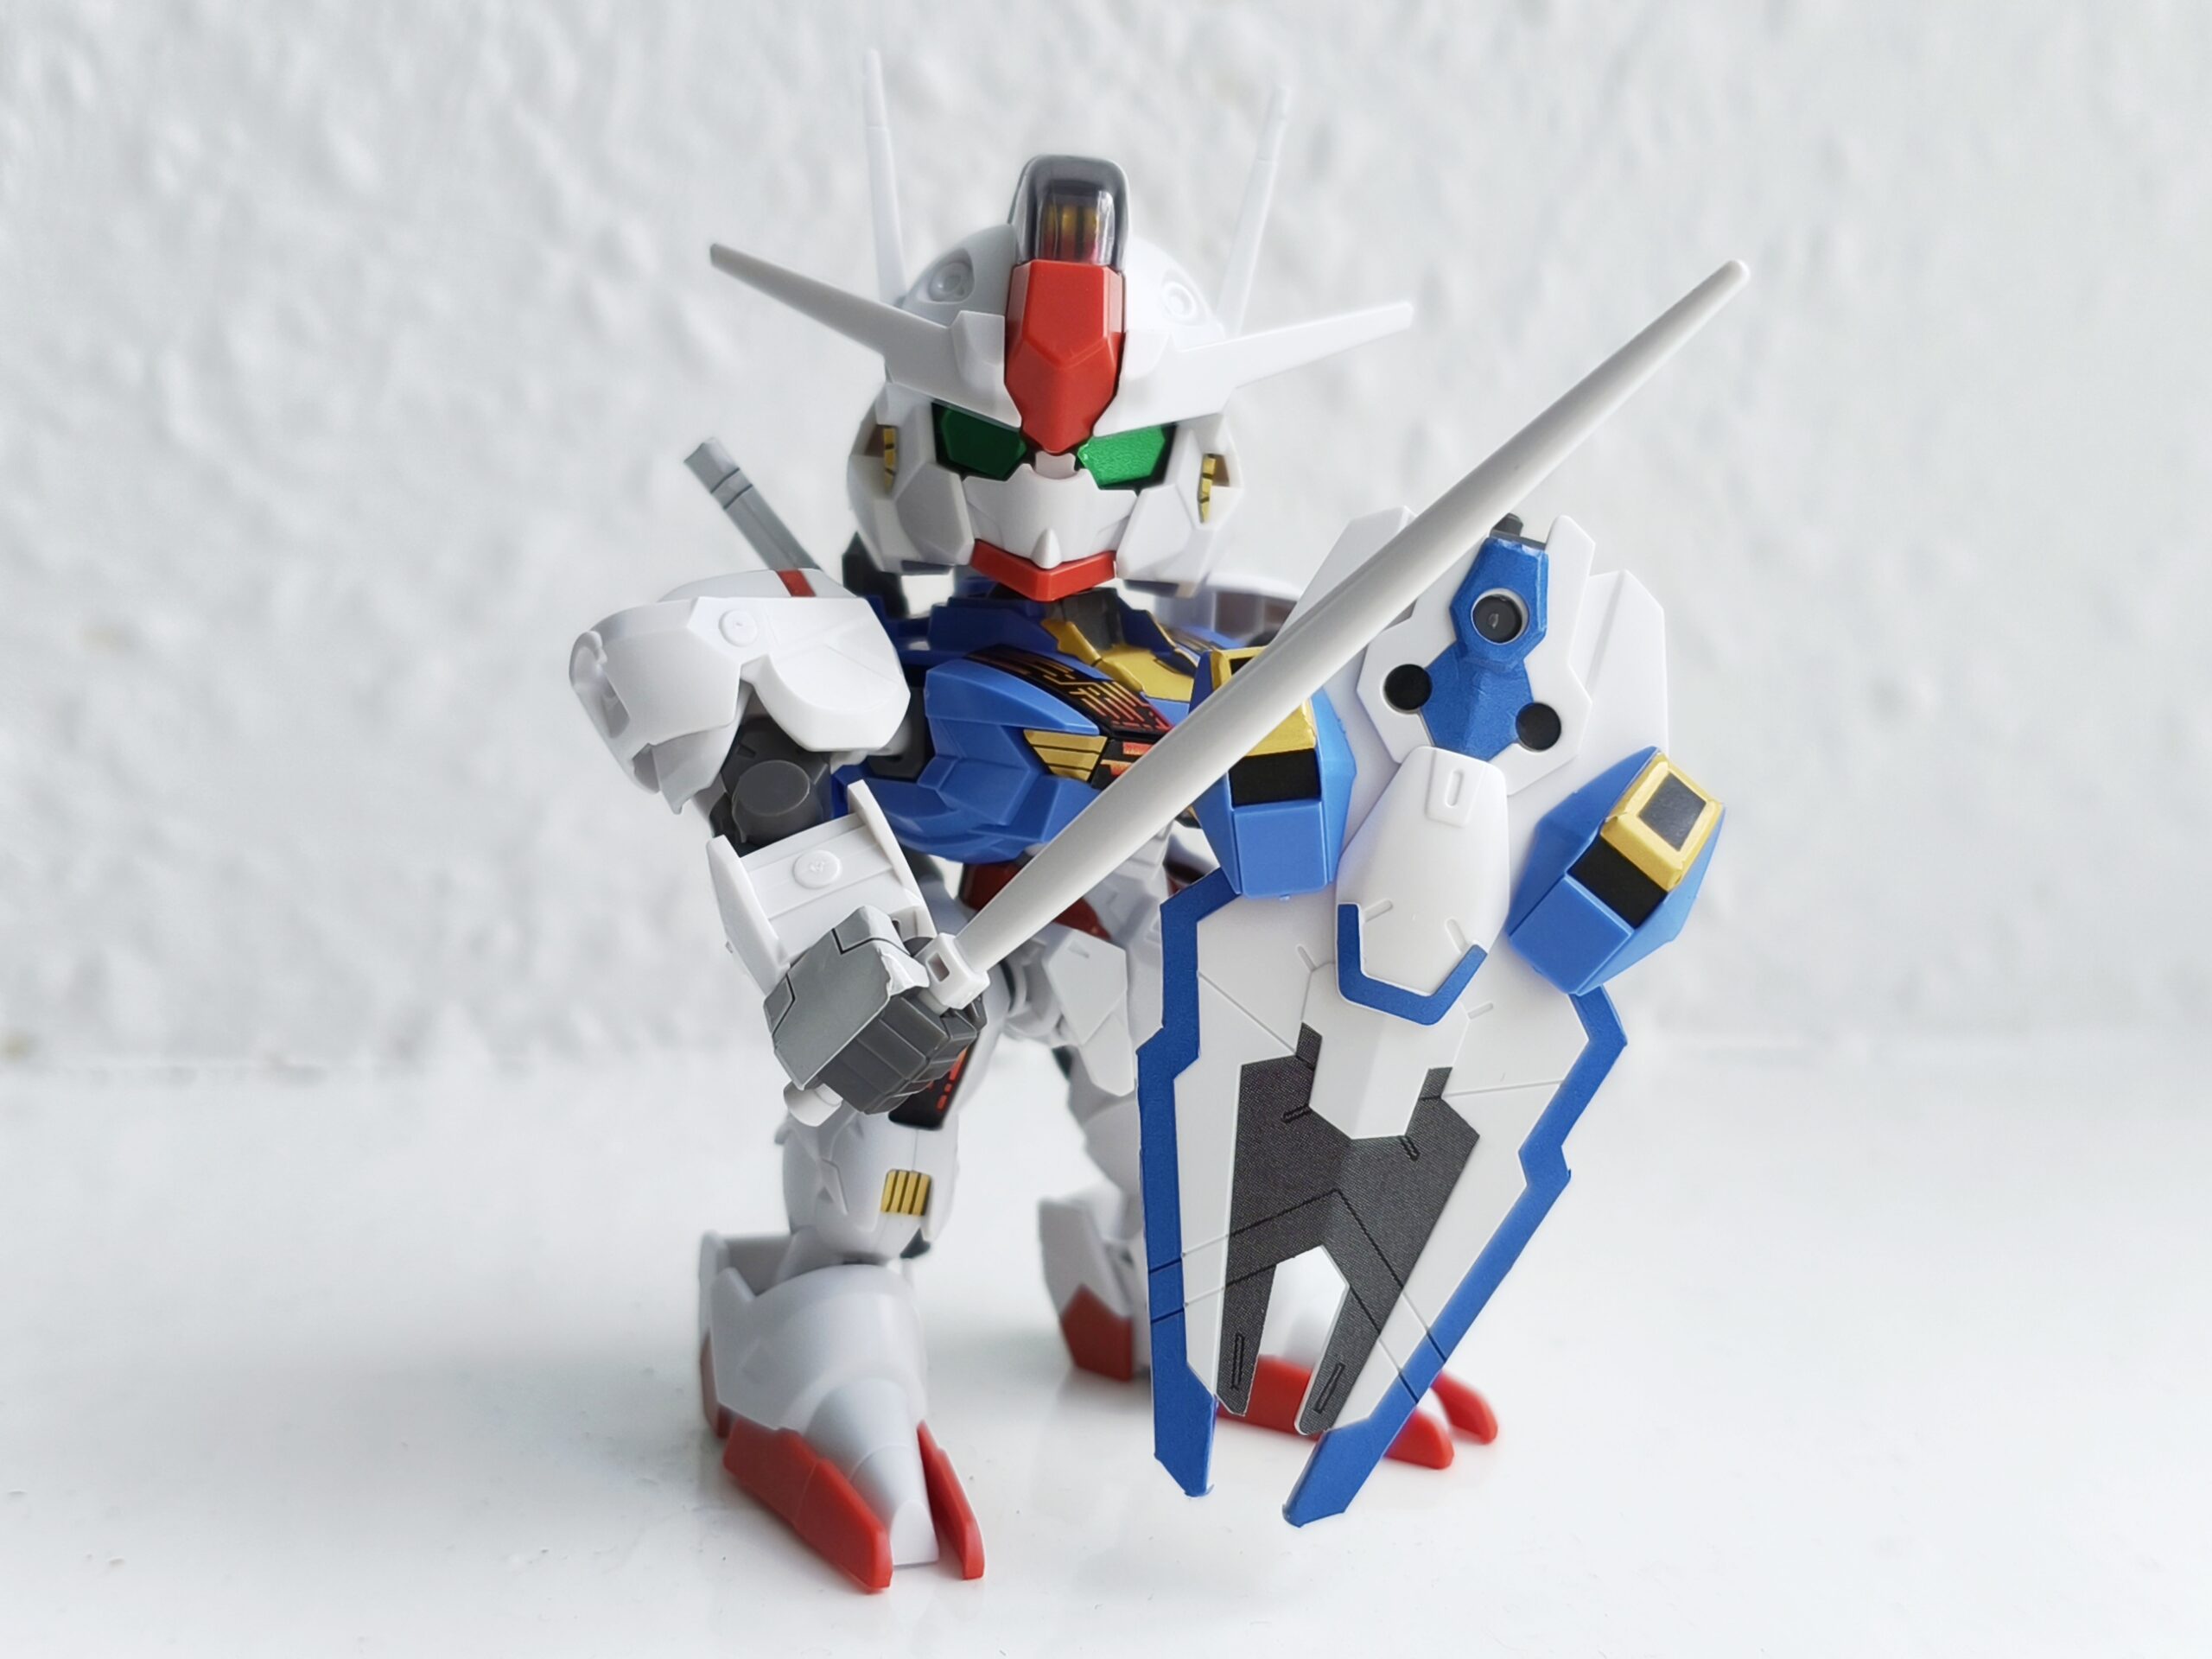
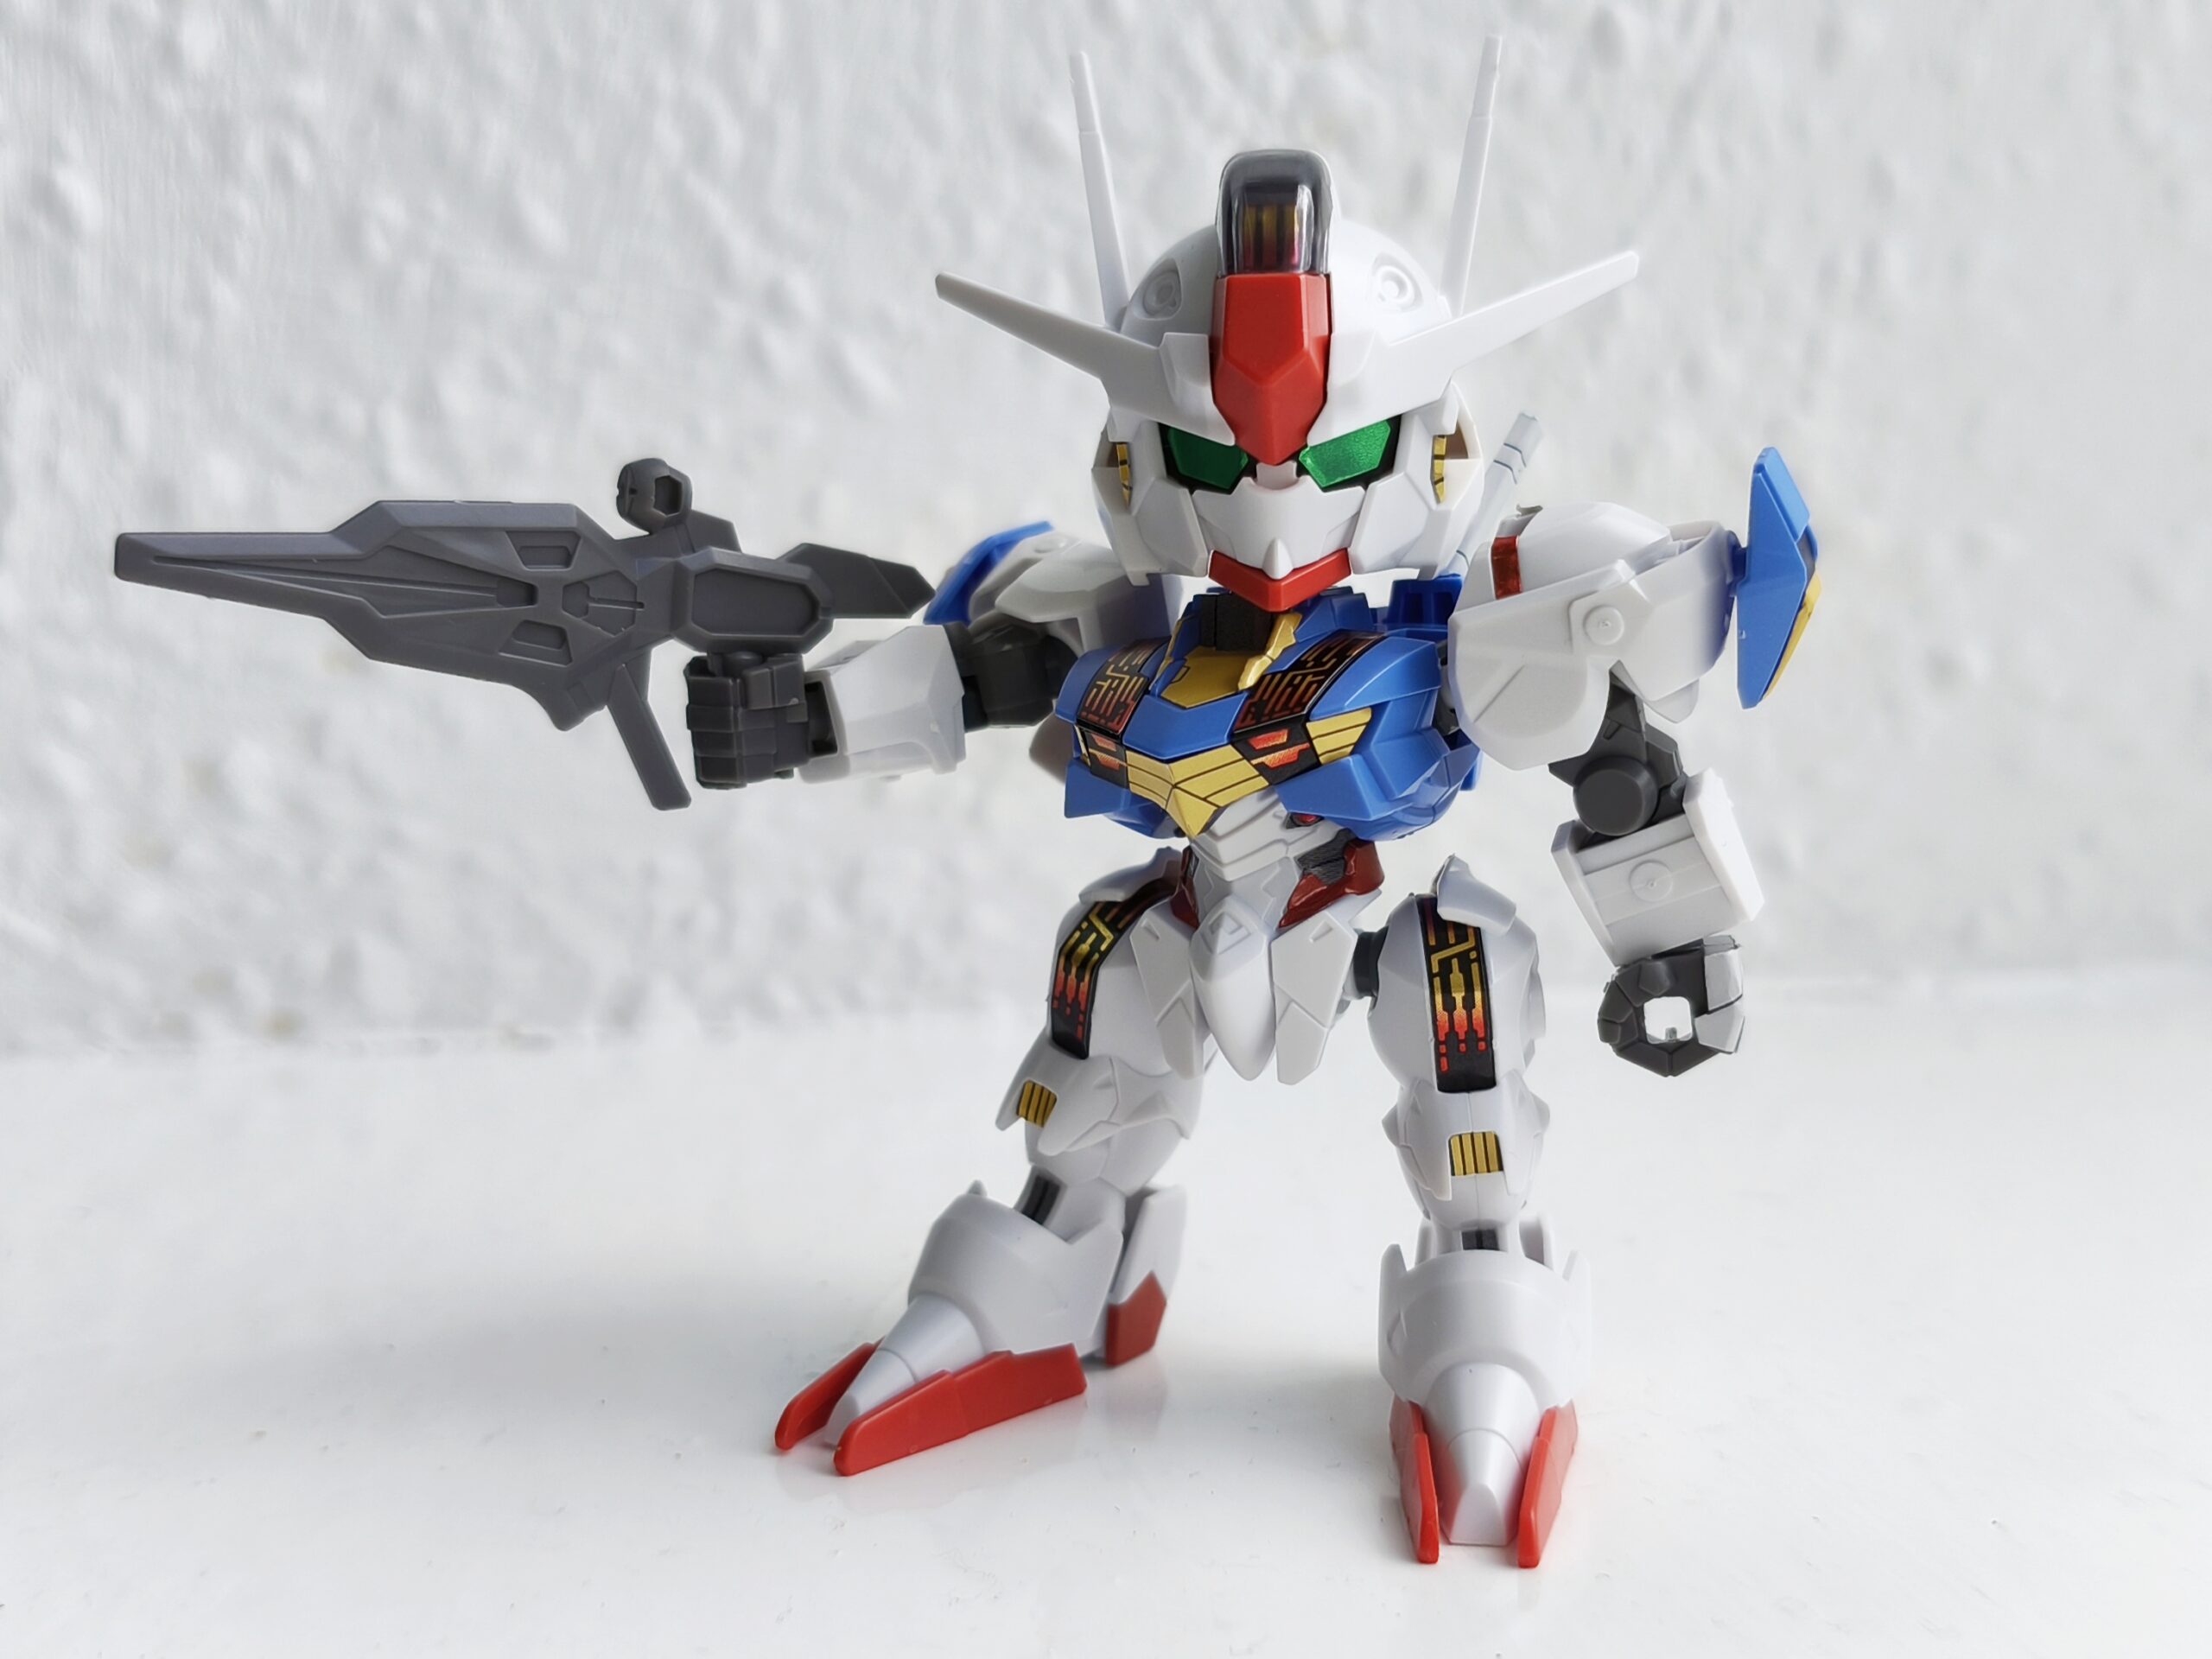
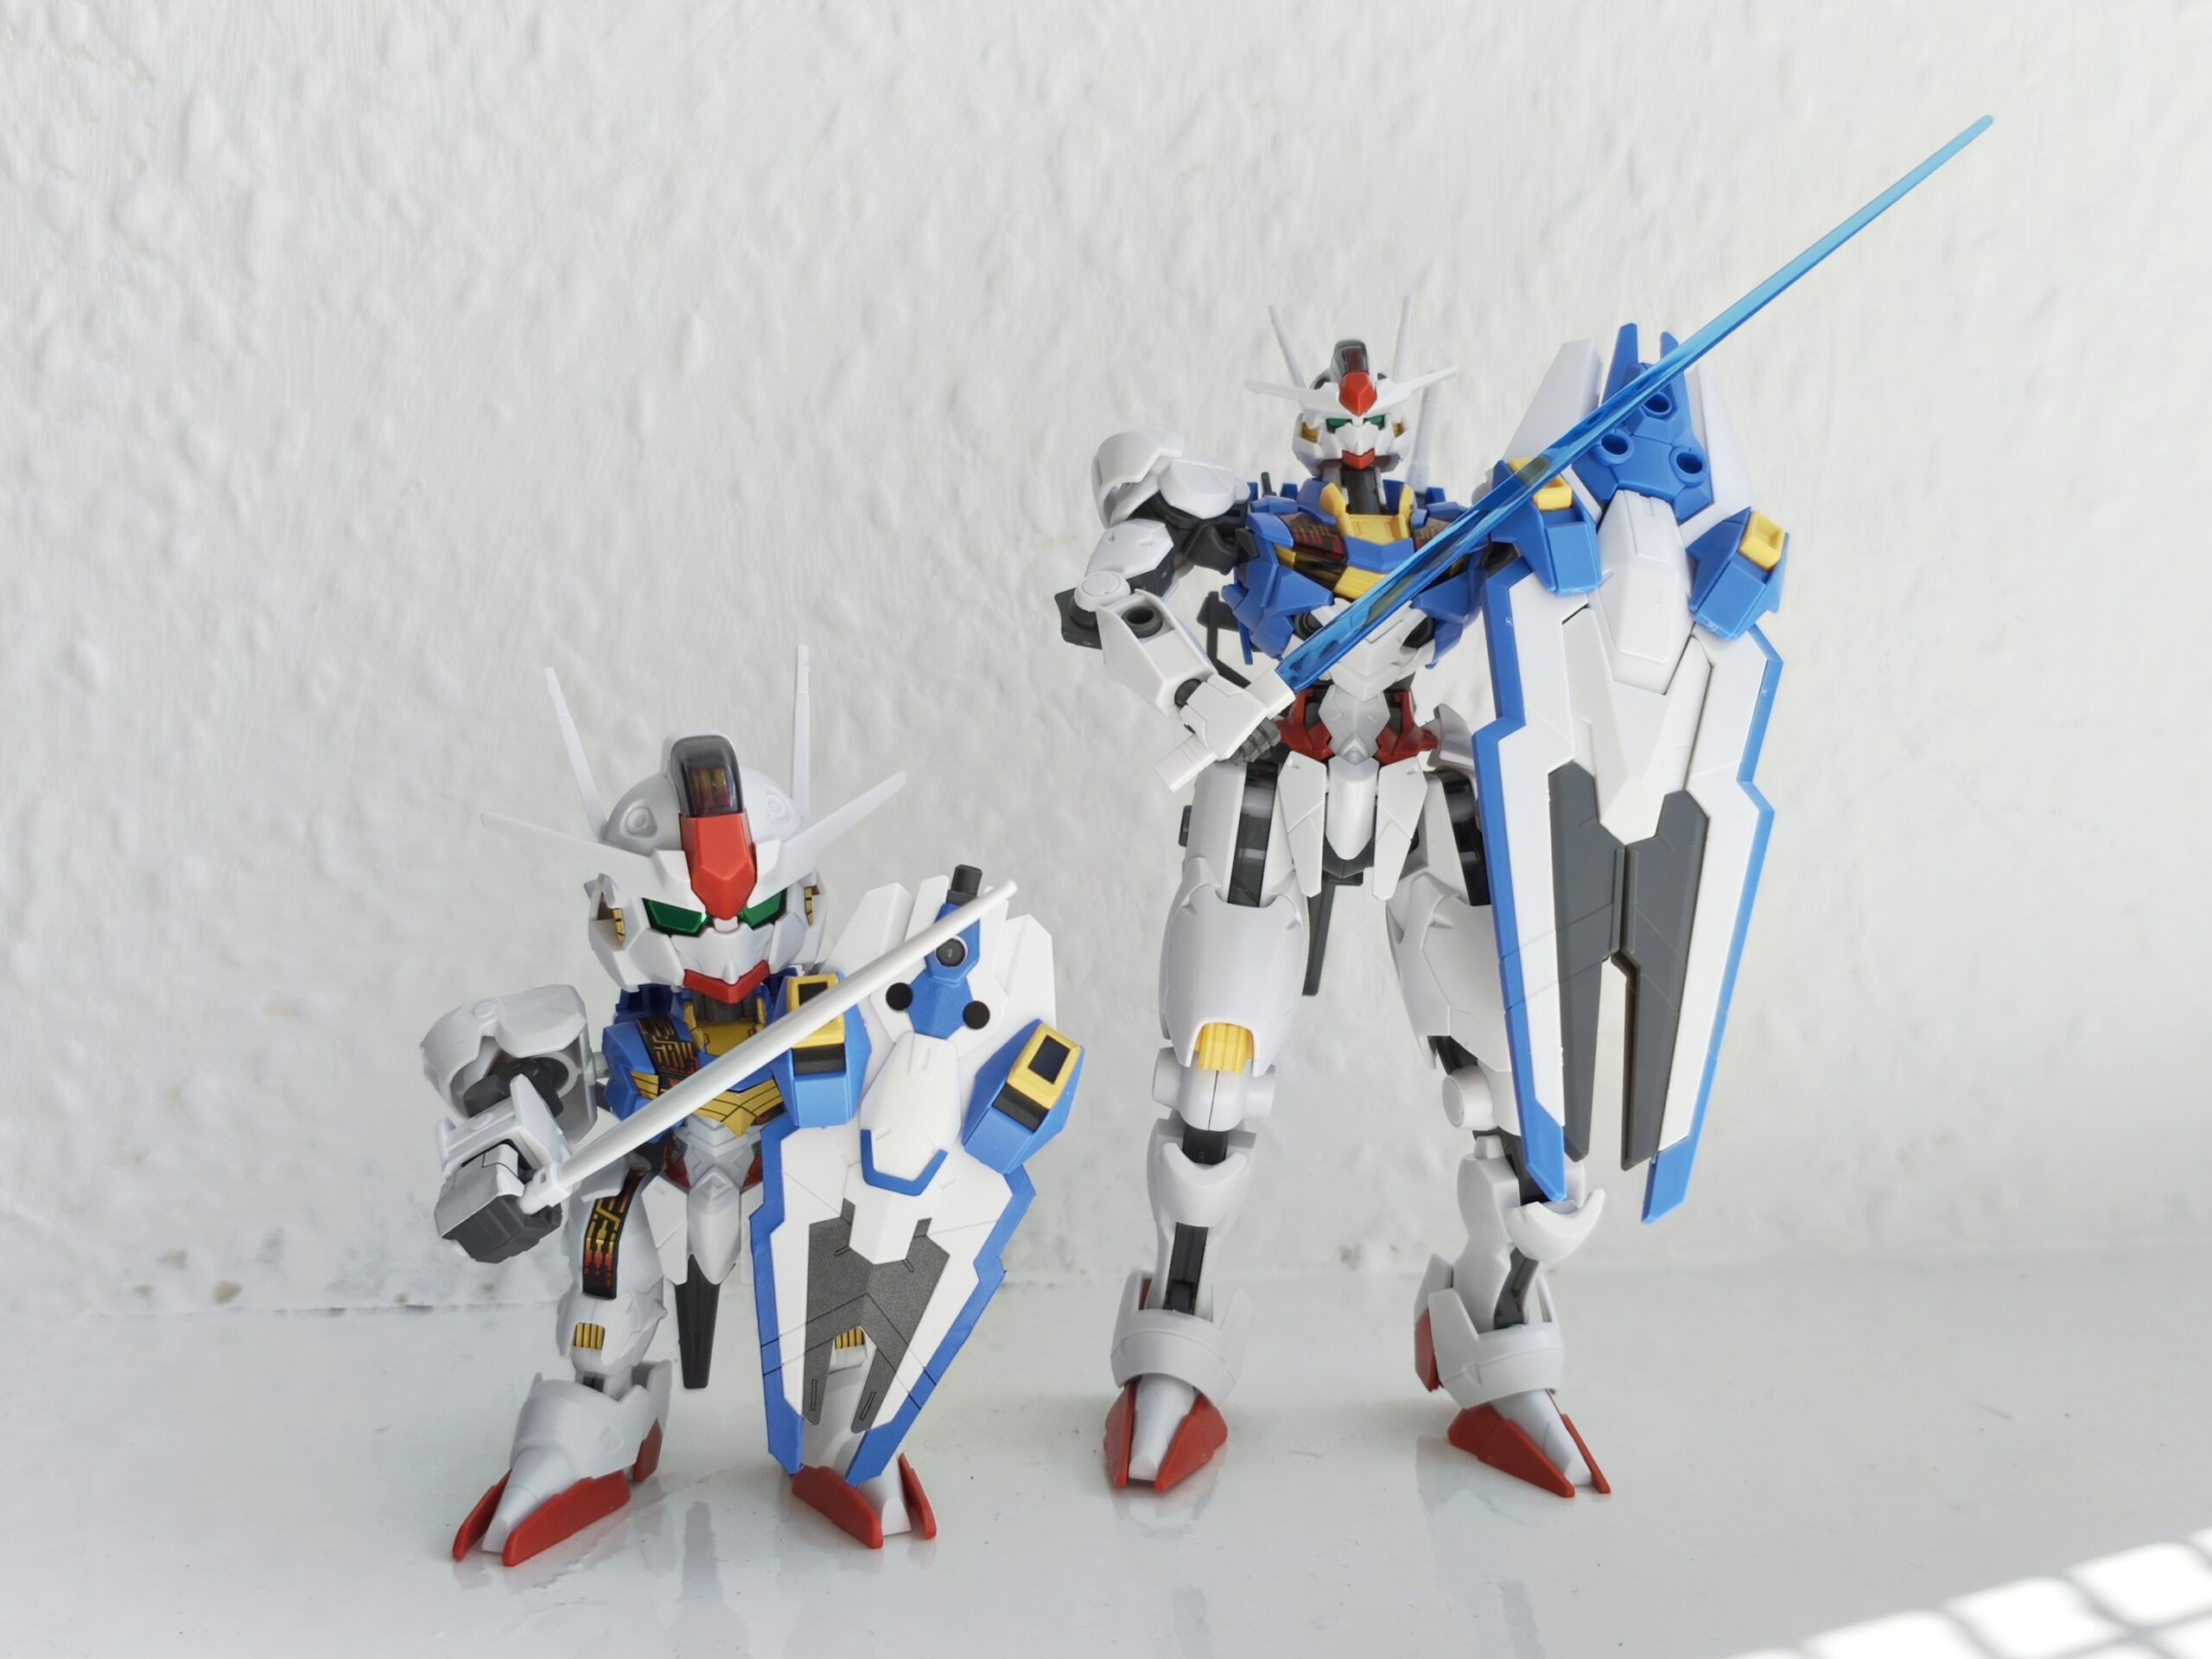
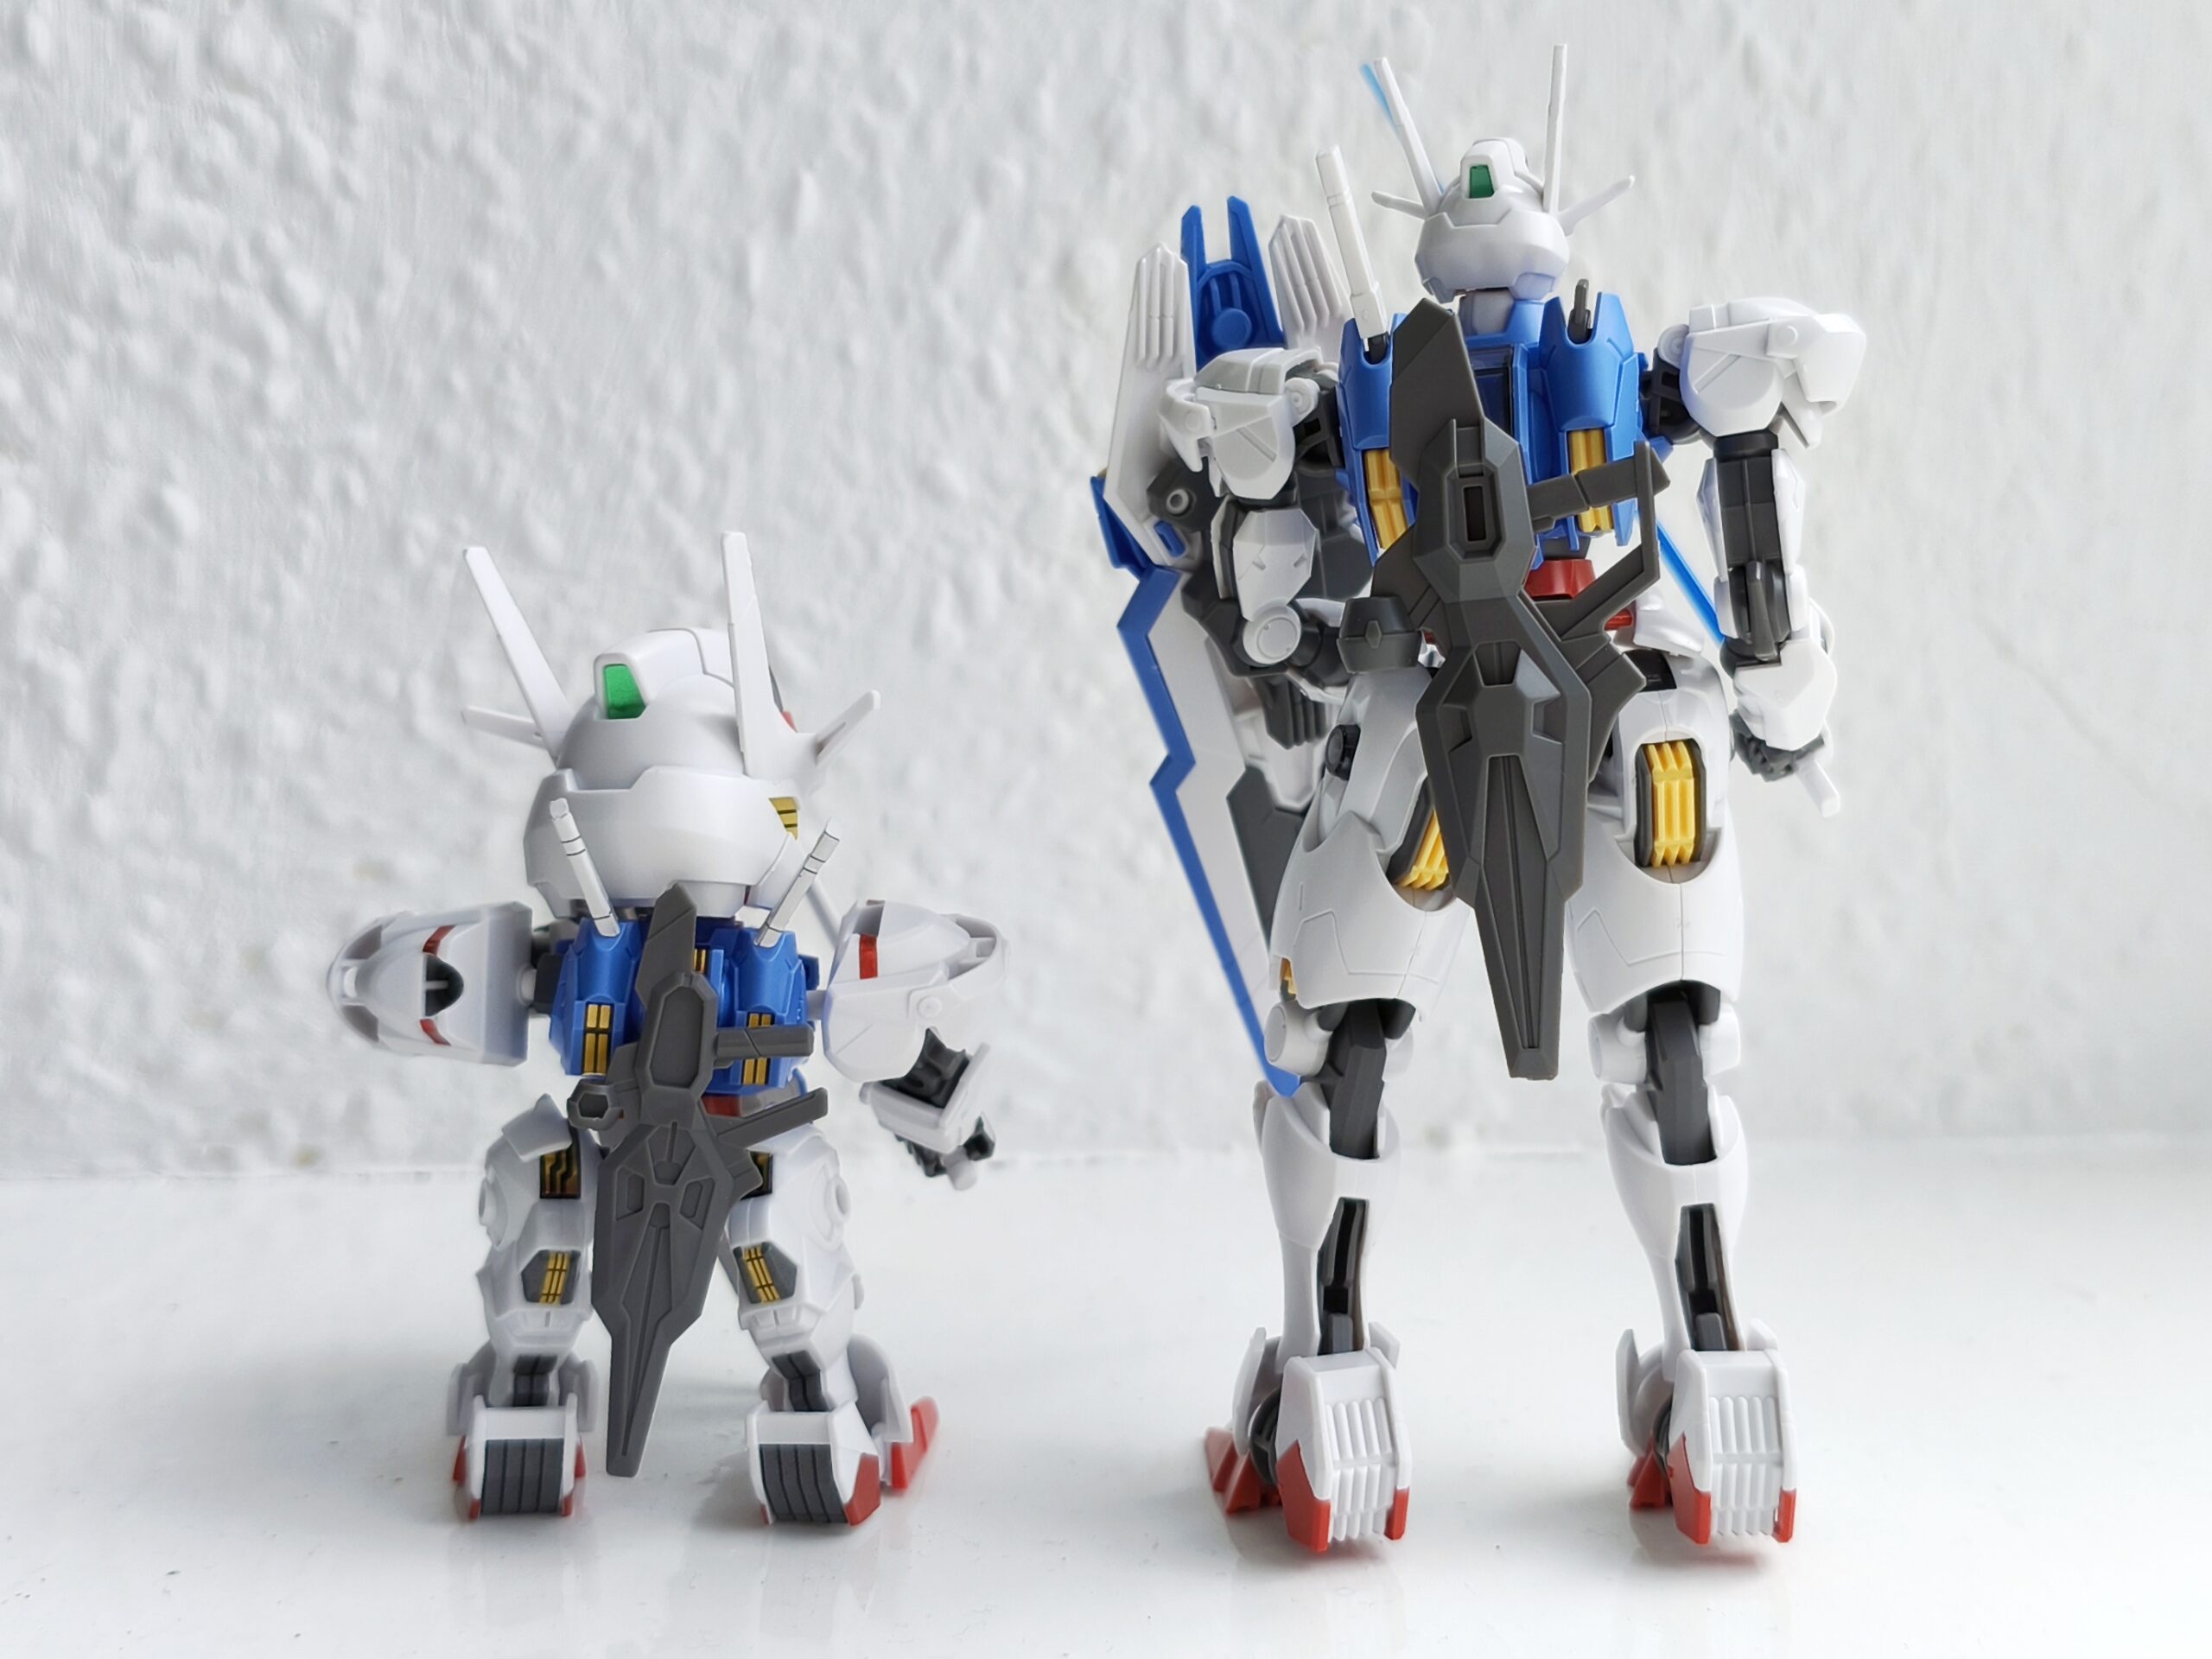
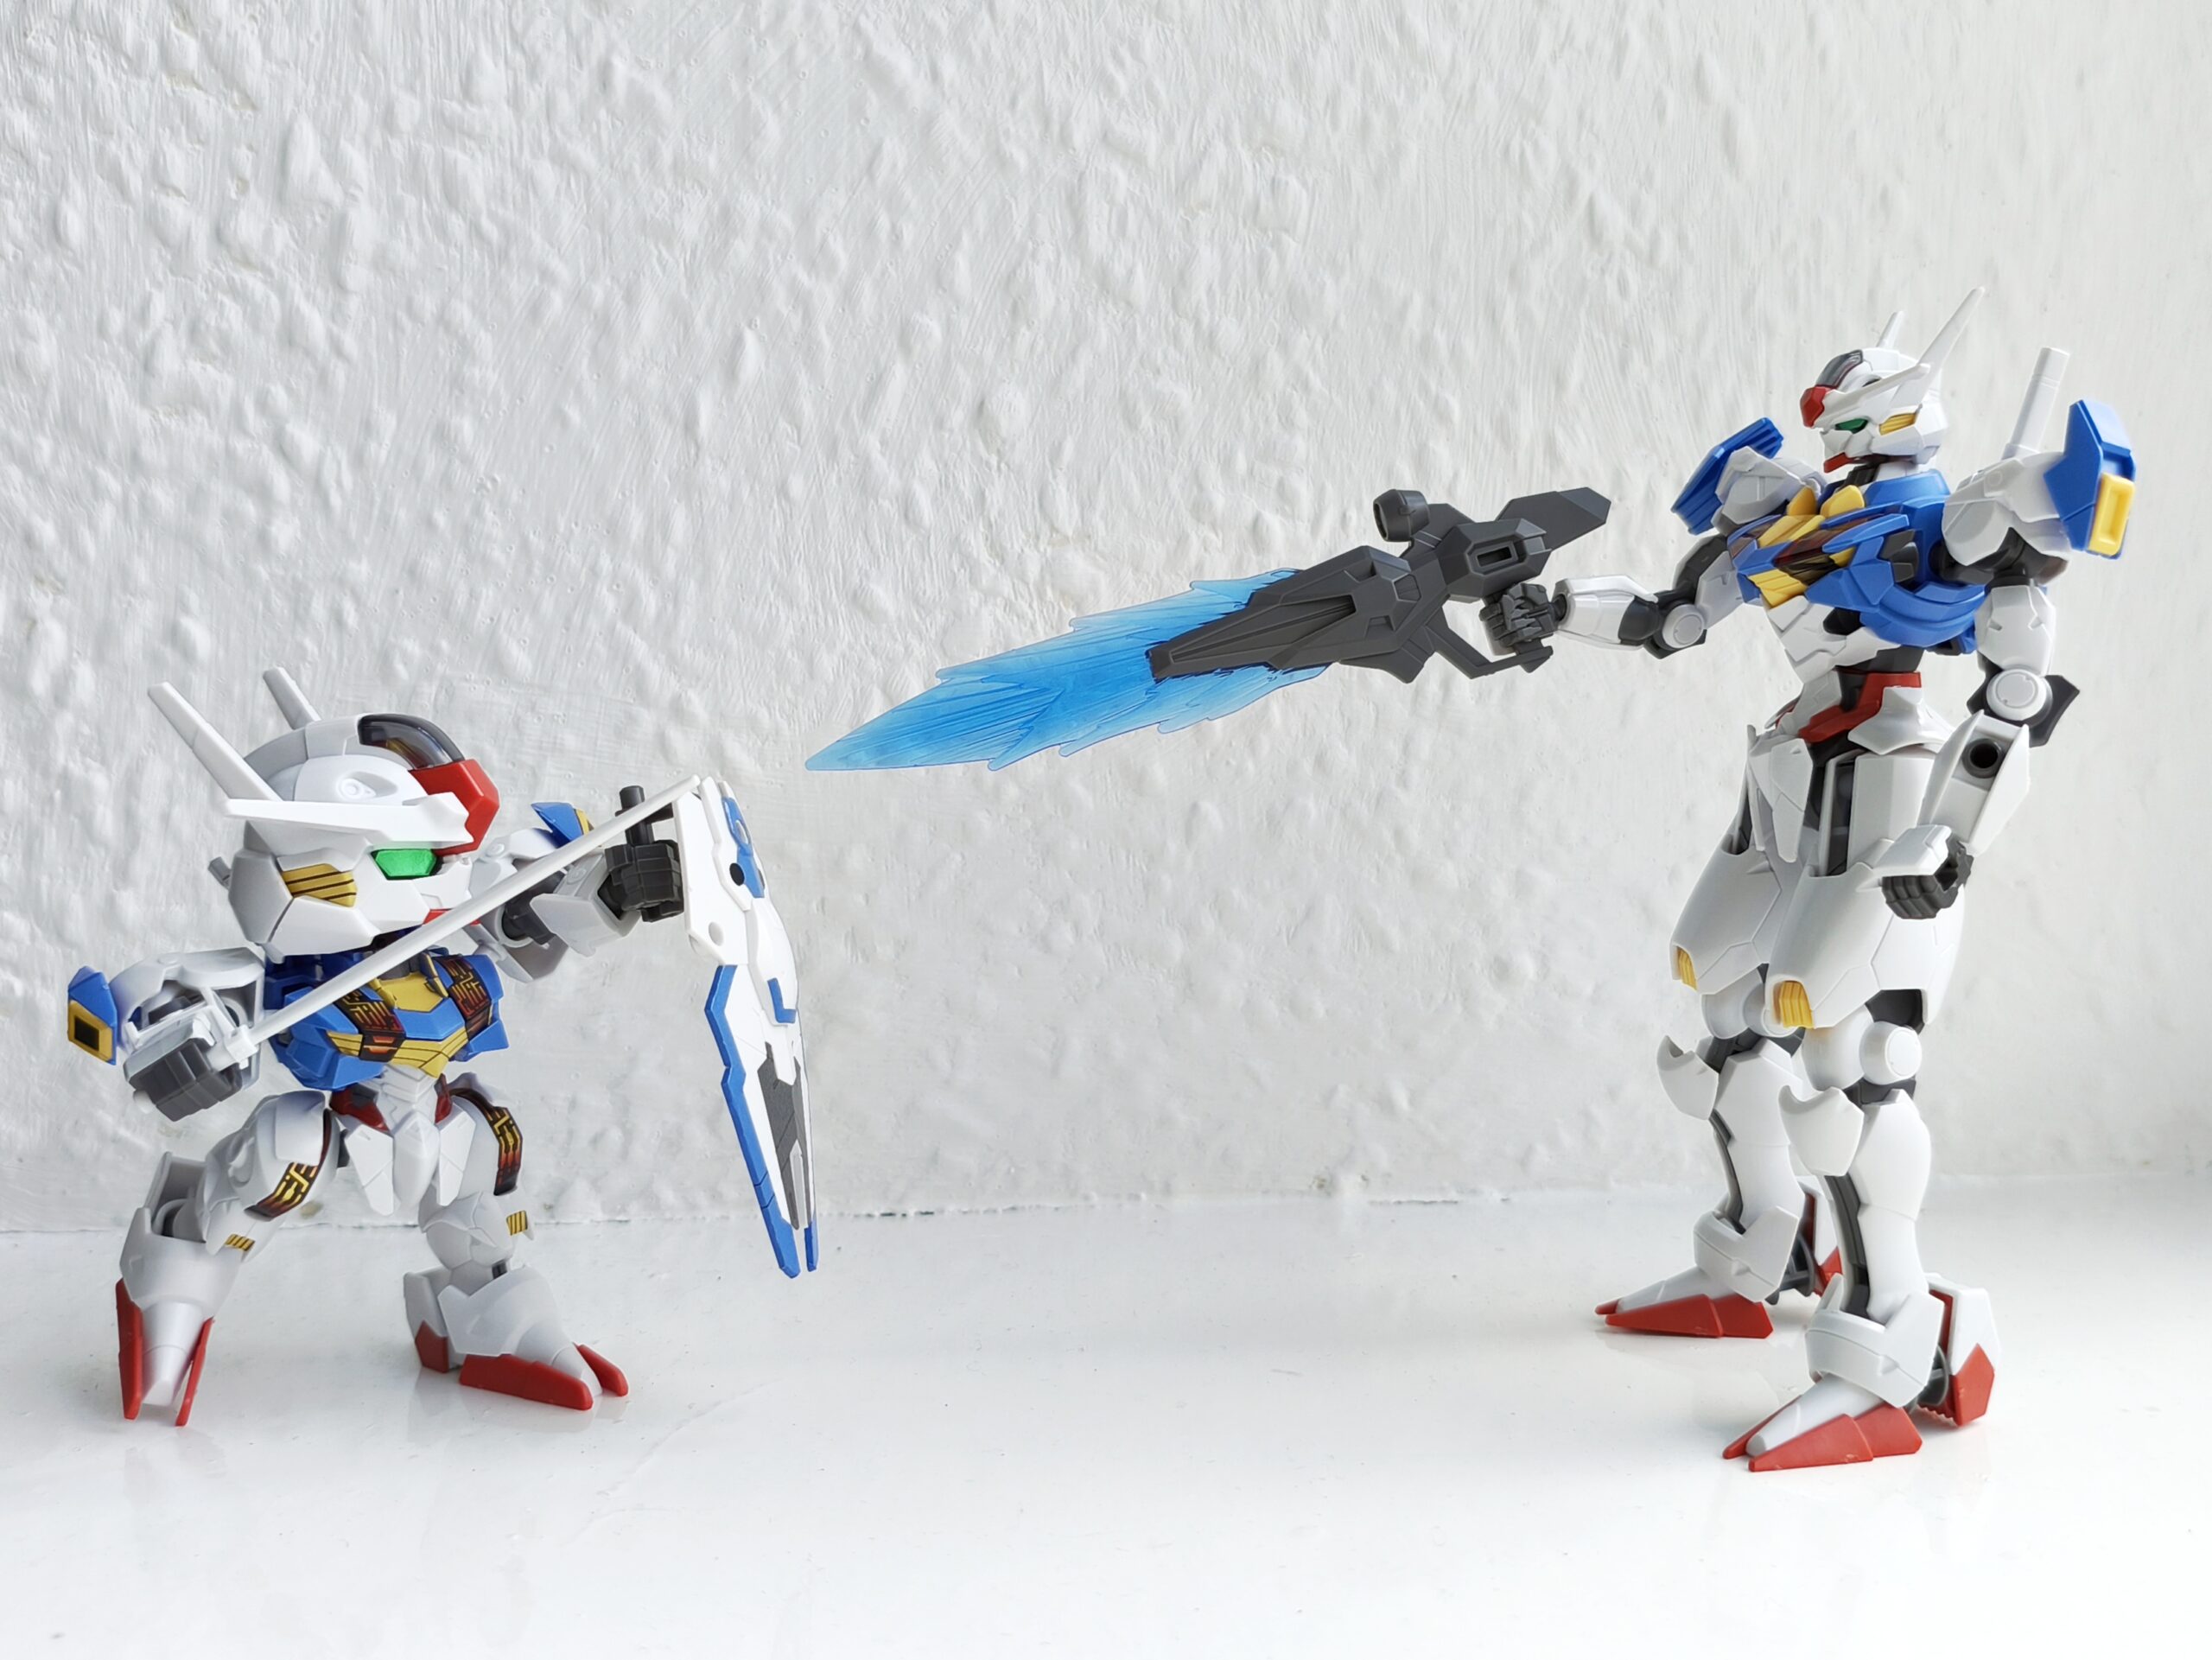
Today, we are building the baby (SD) version of the Aerial Gundam.
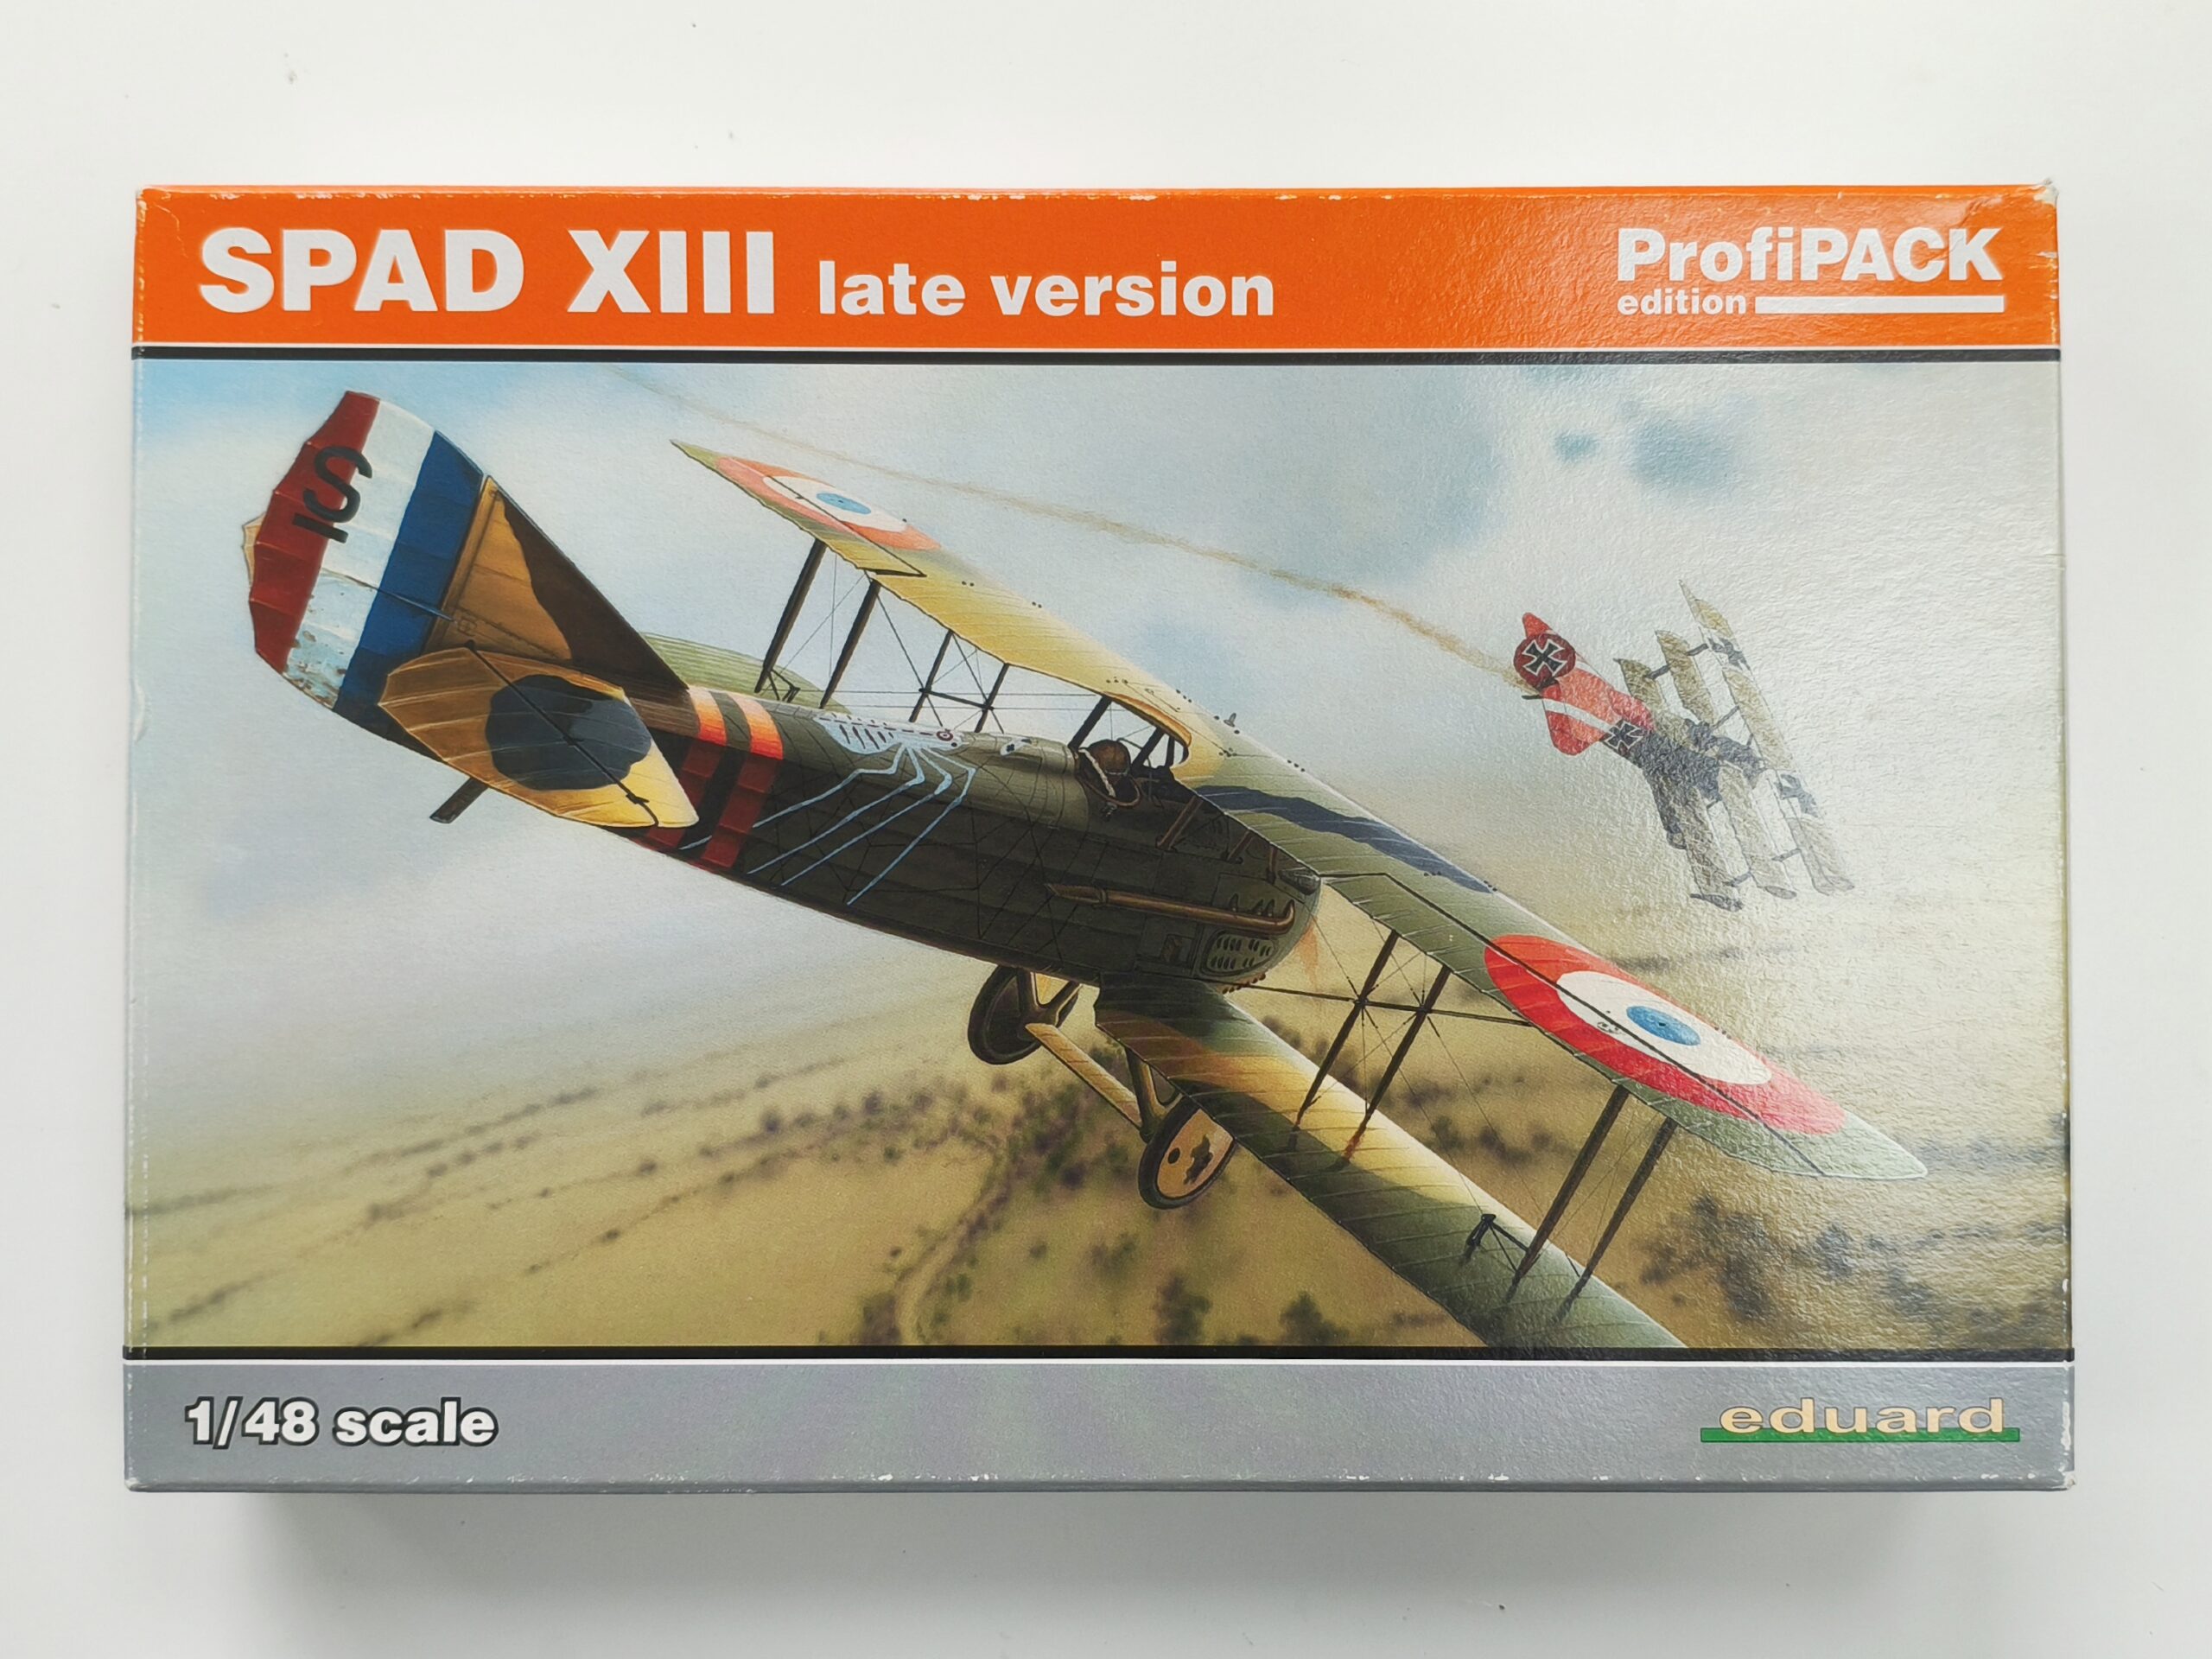
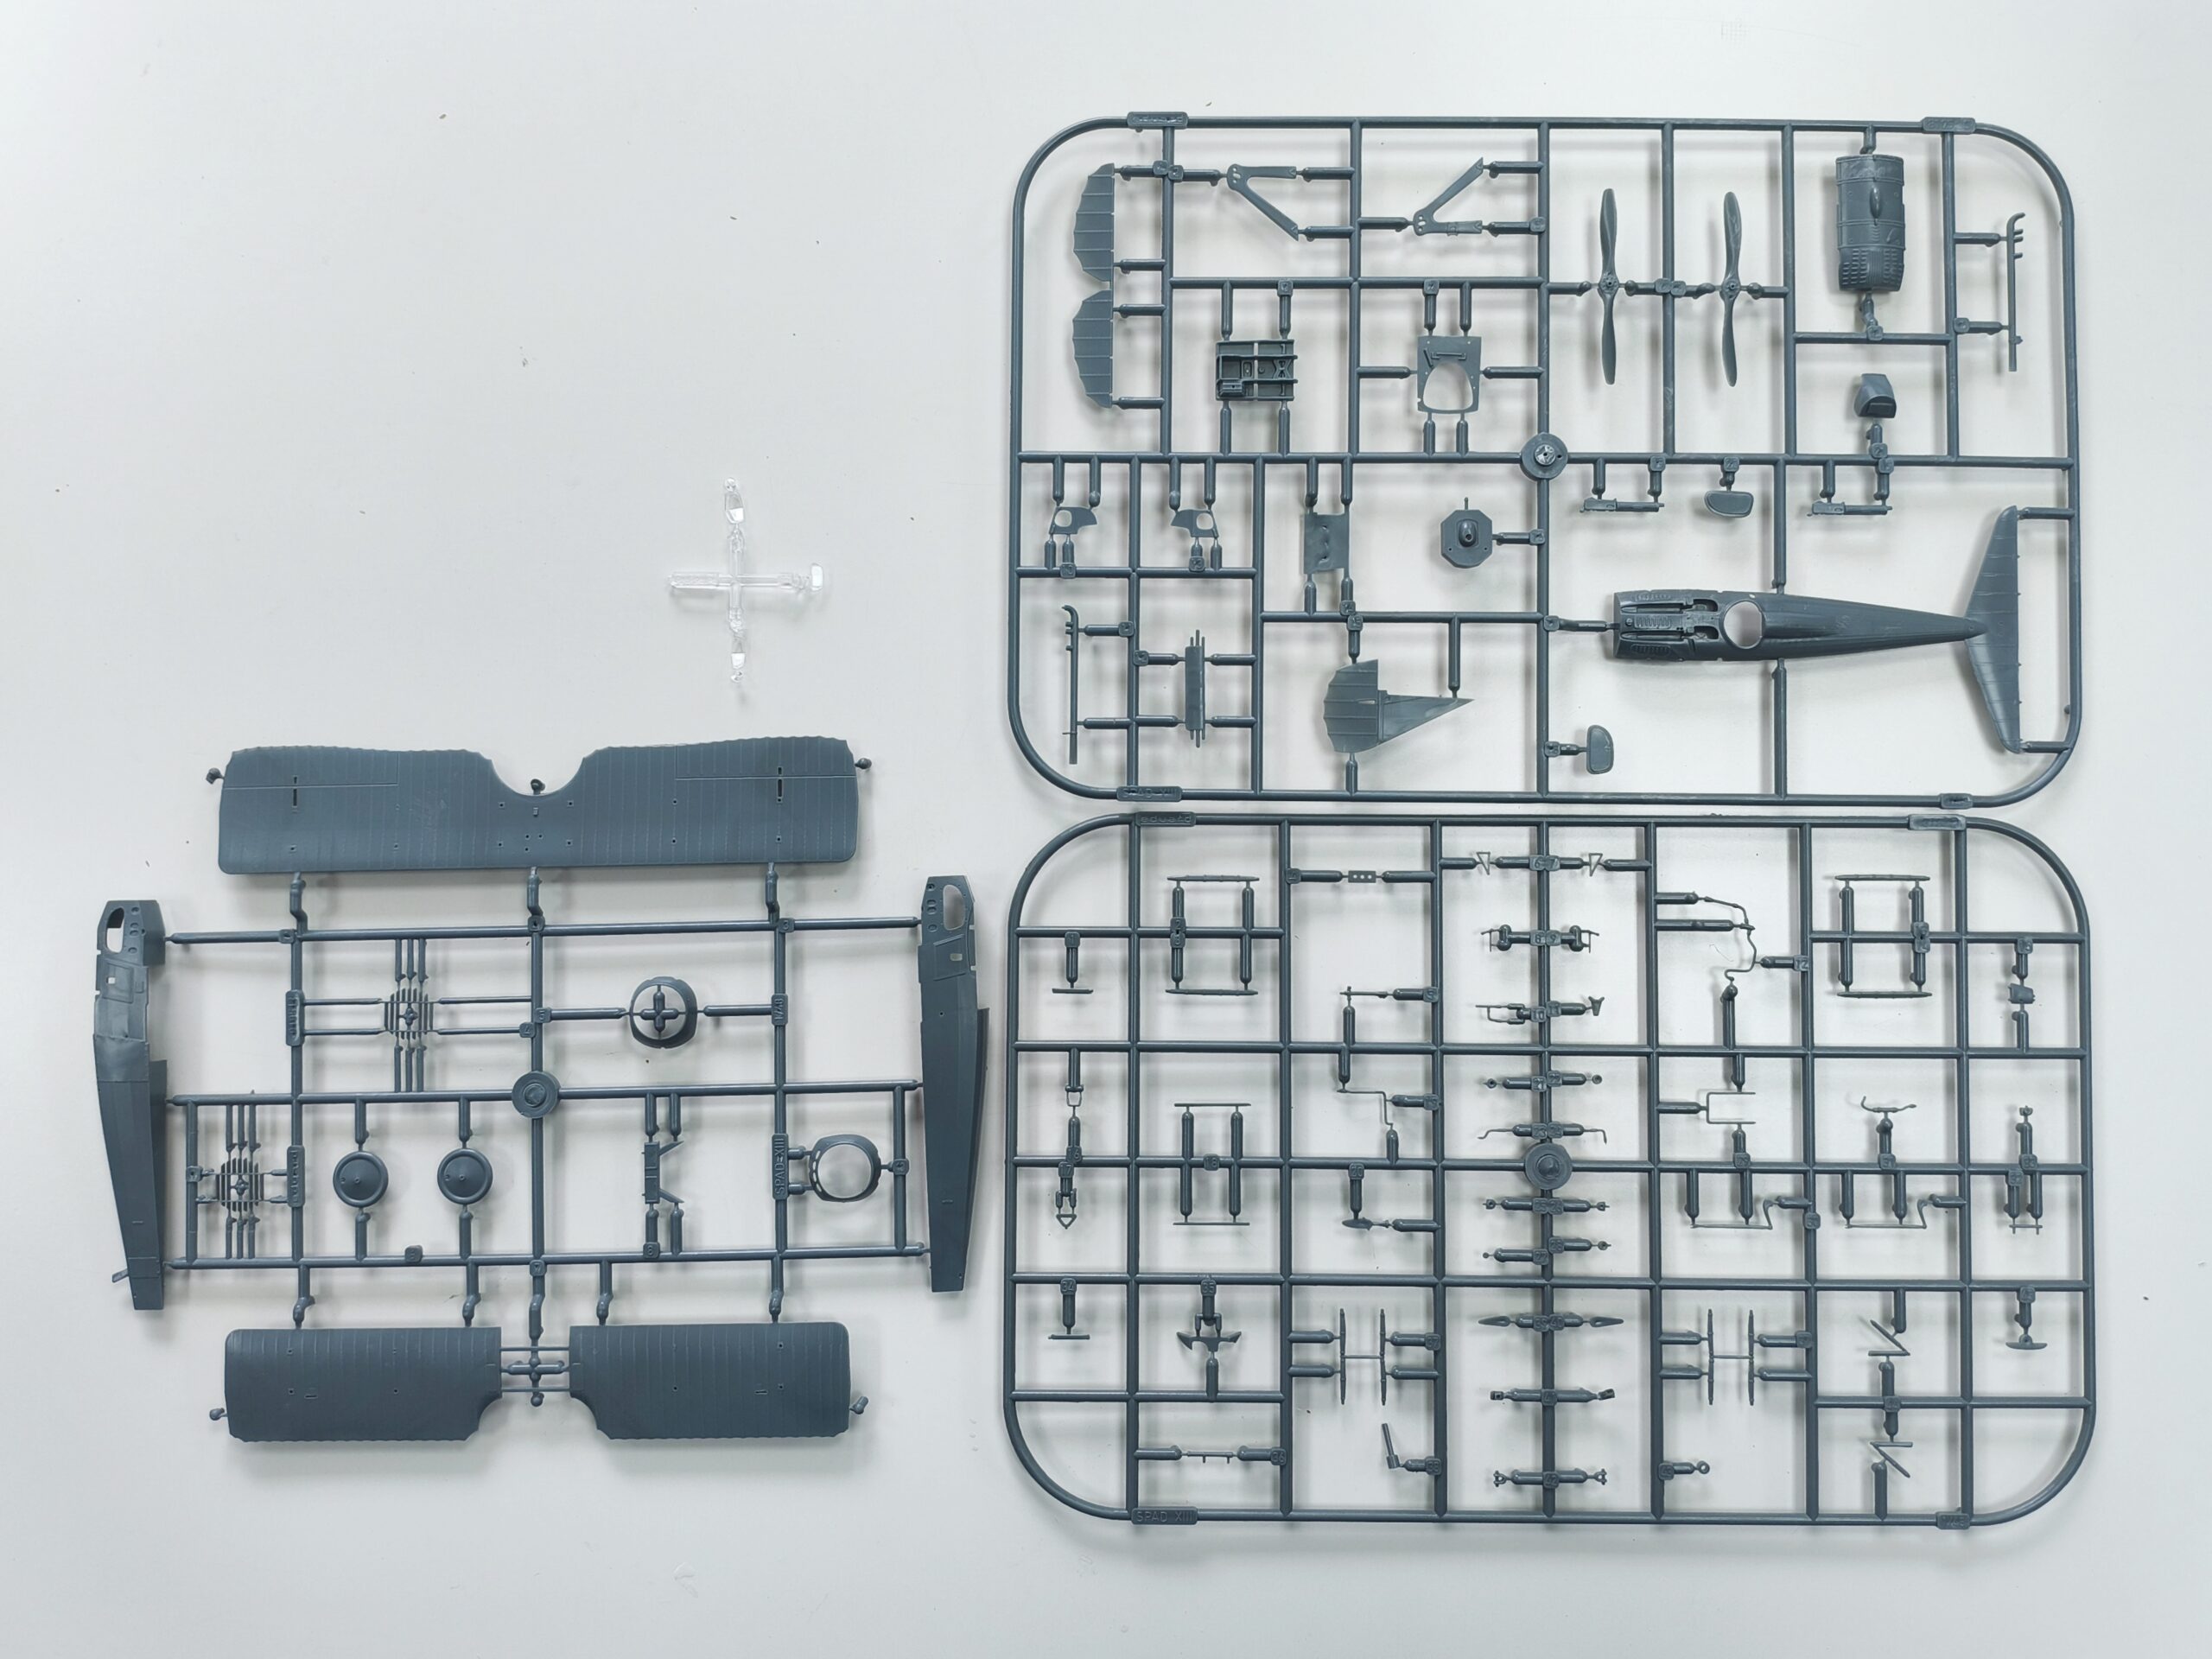
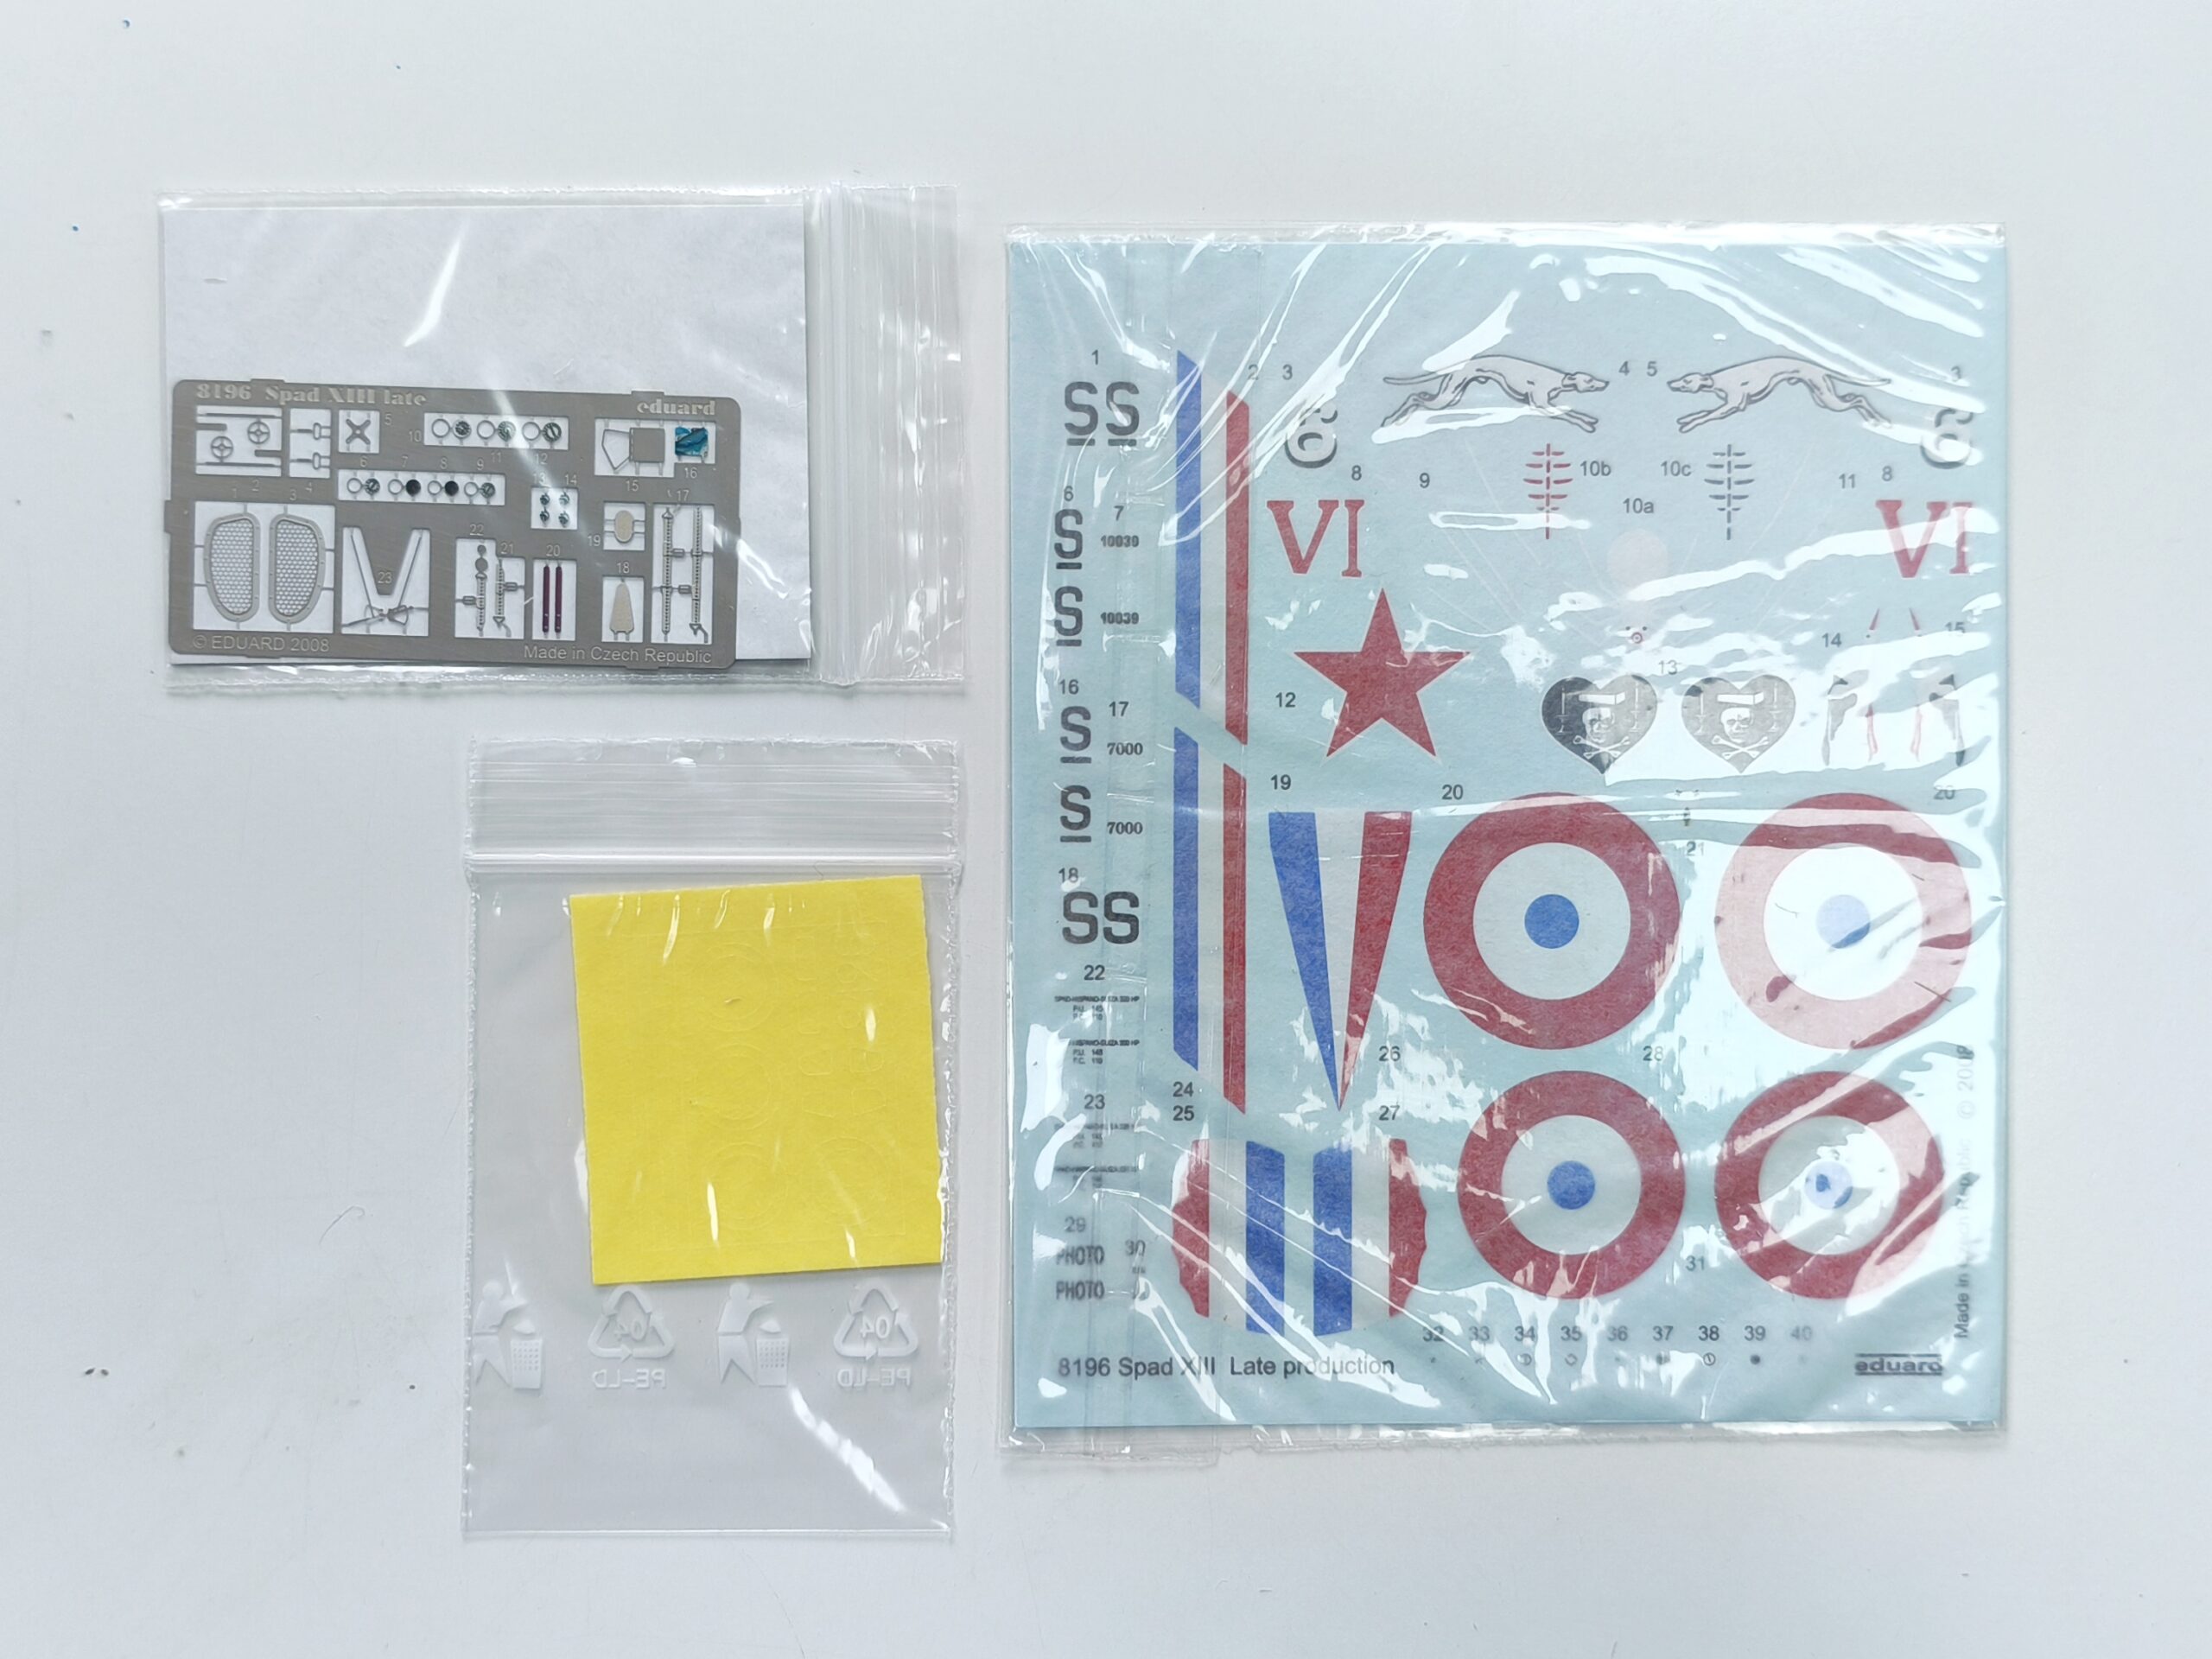
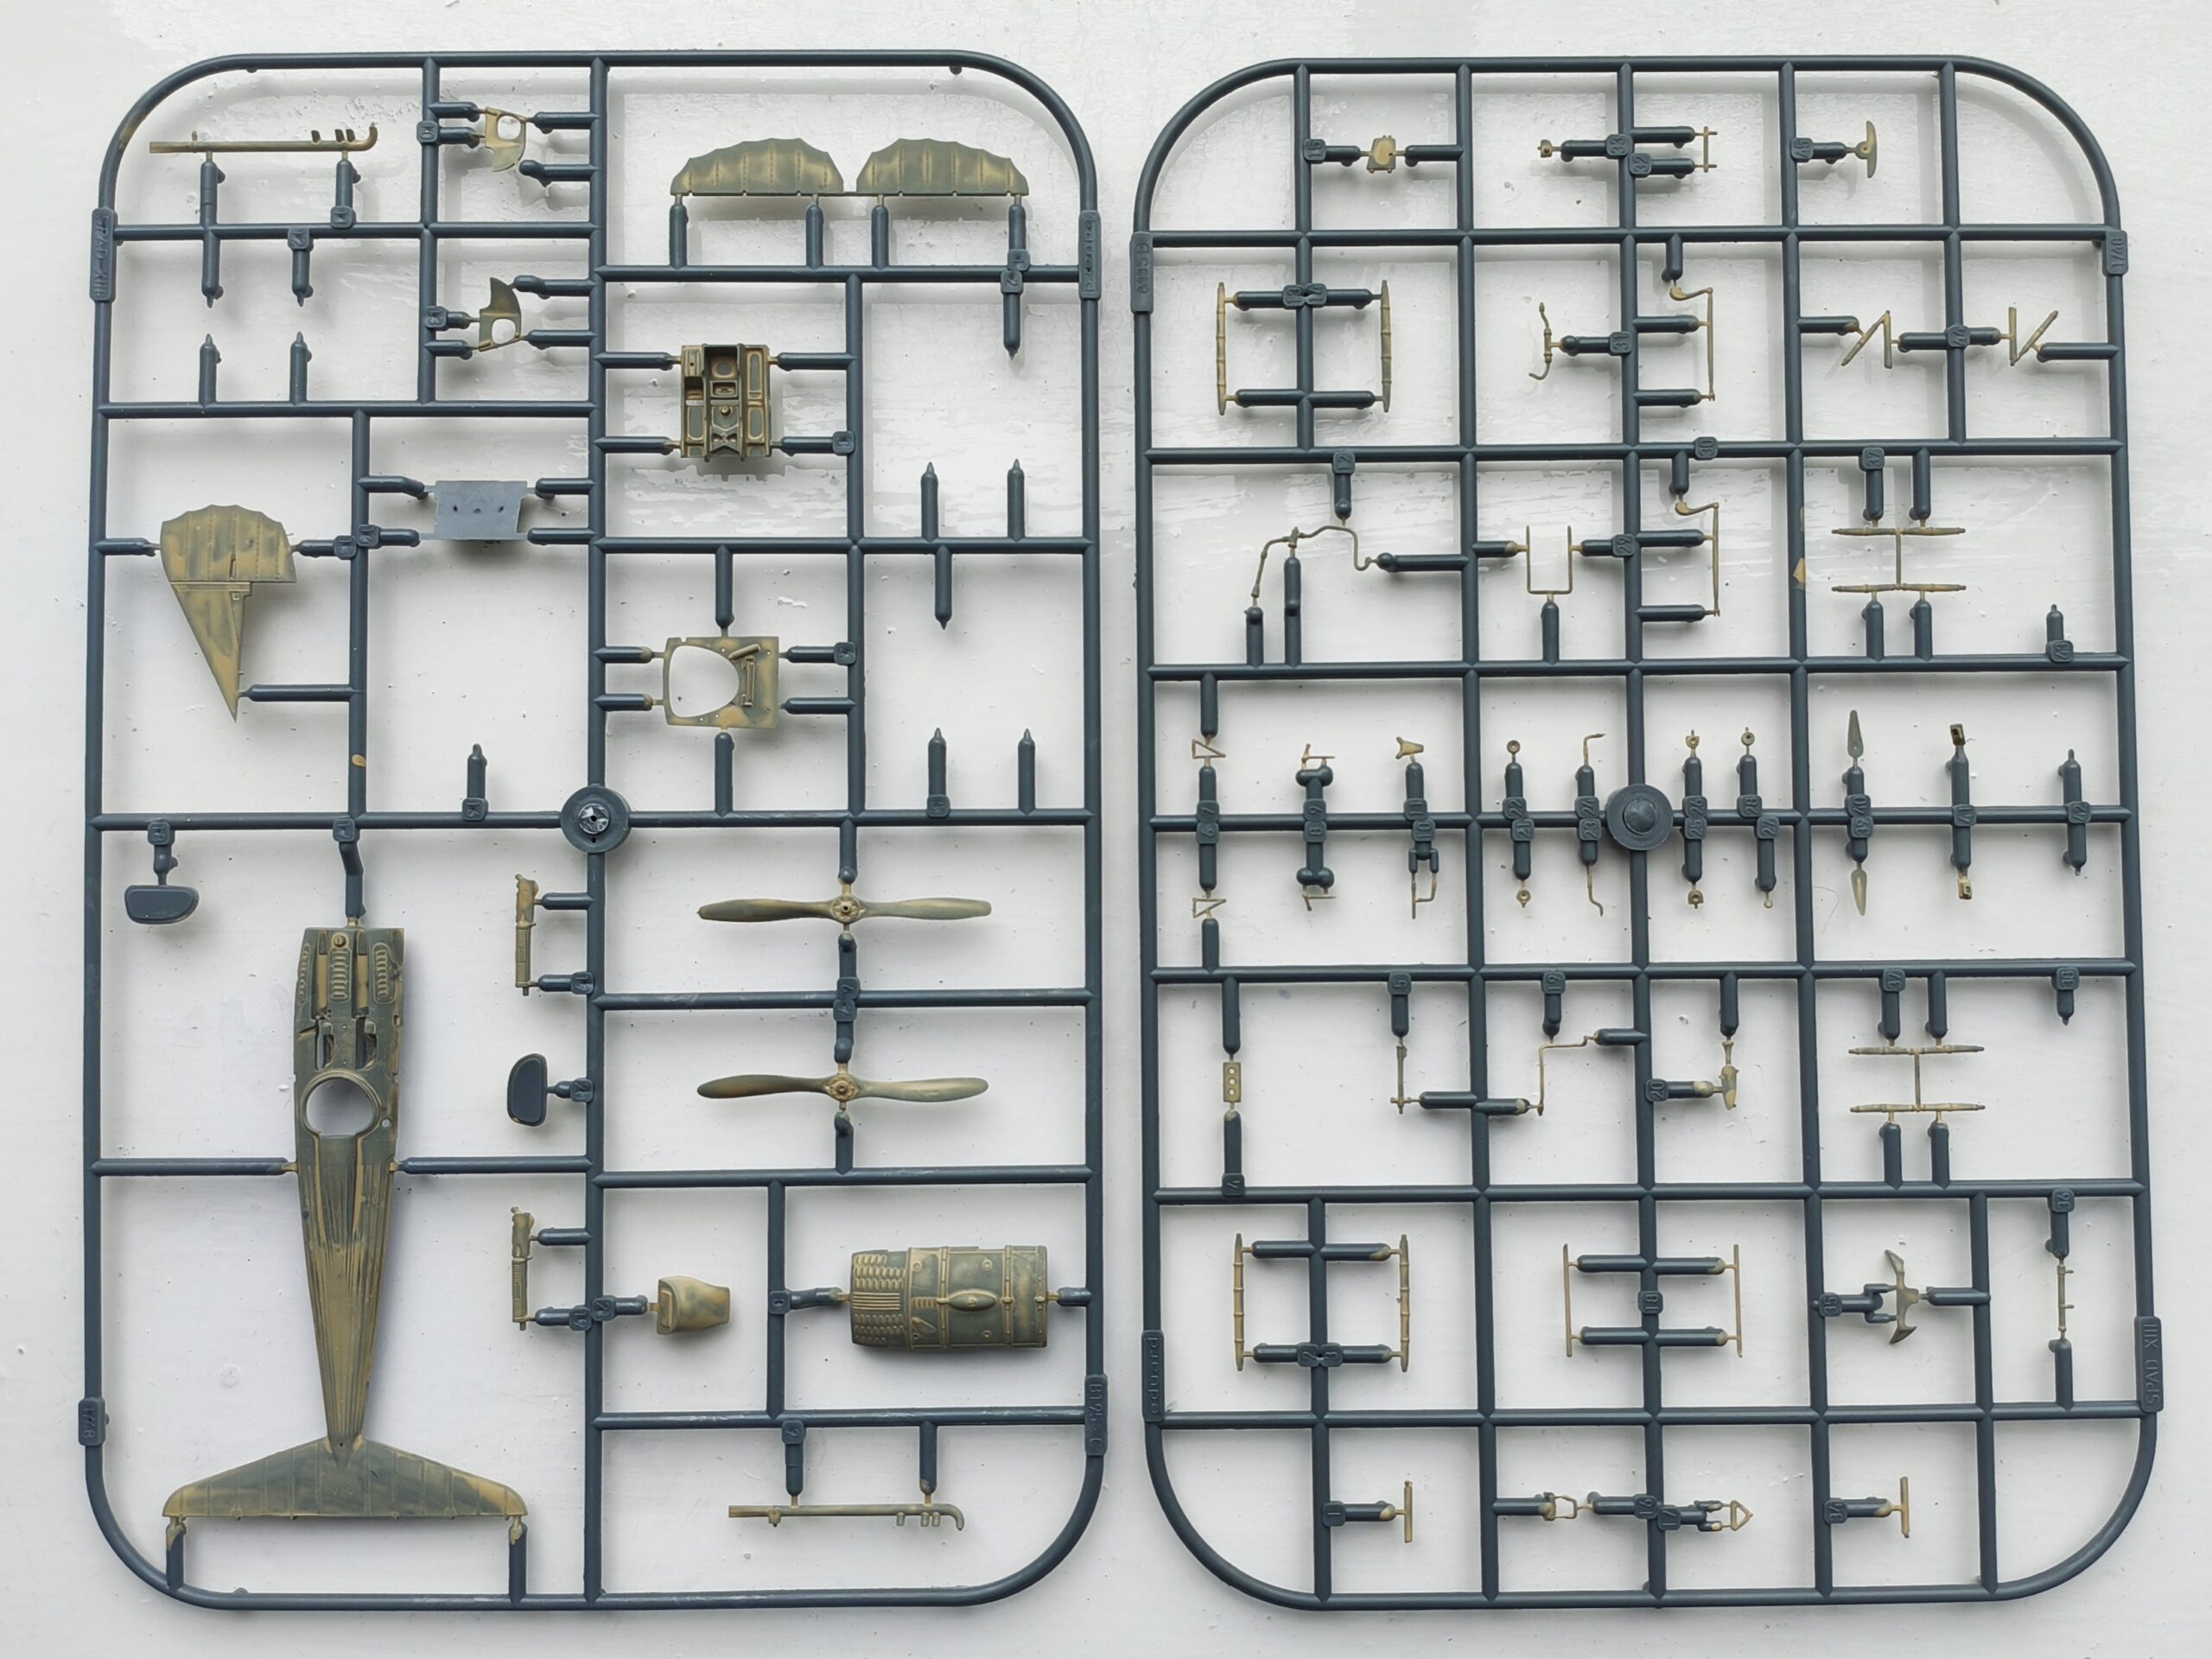
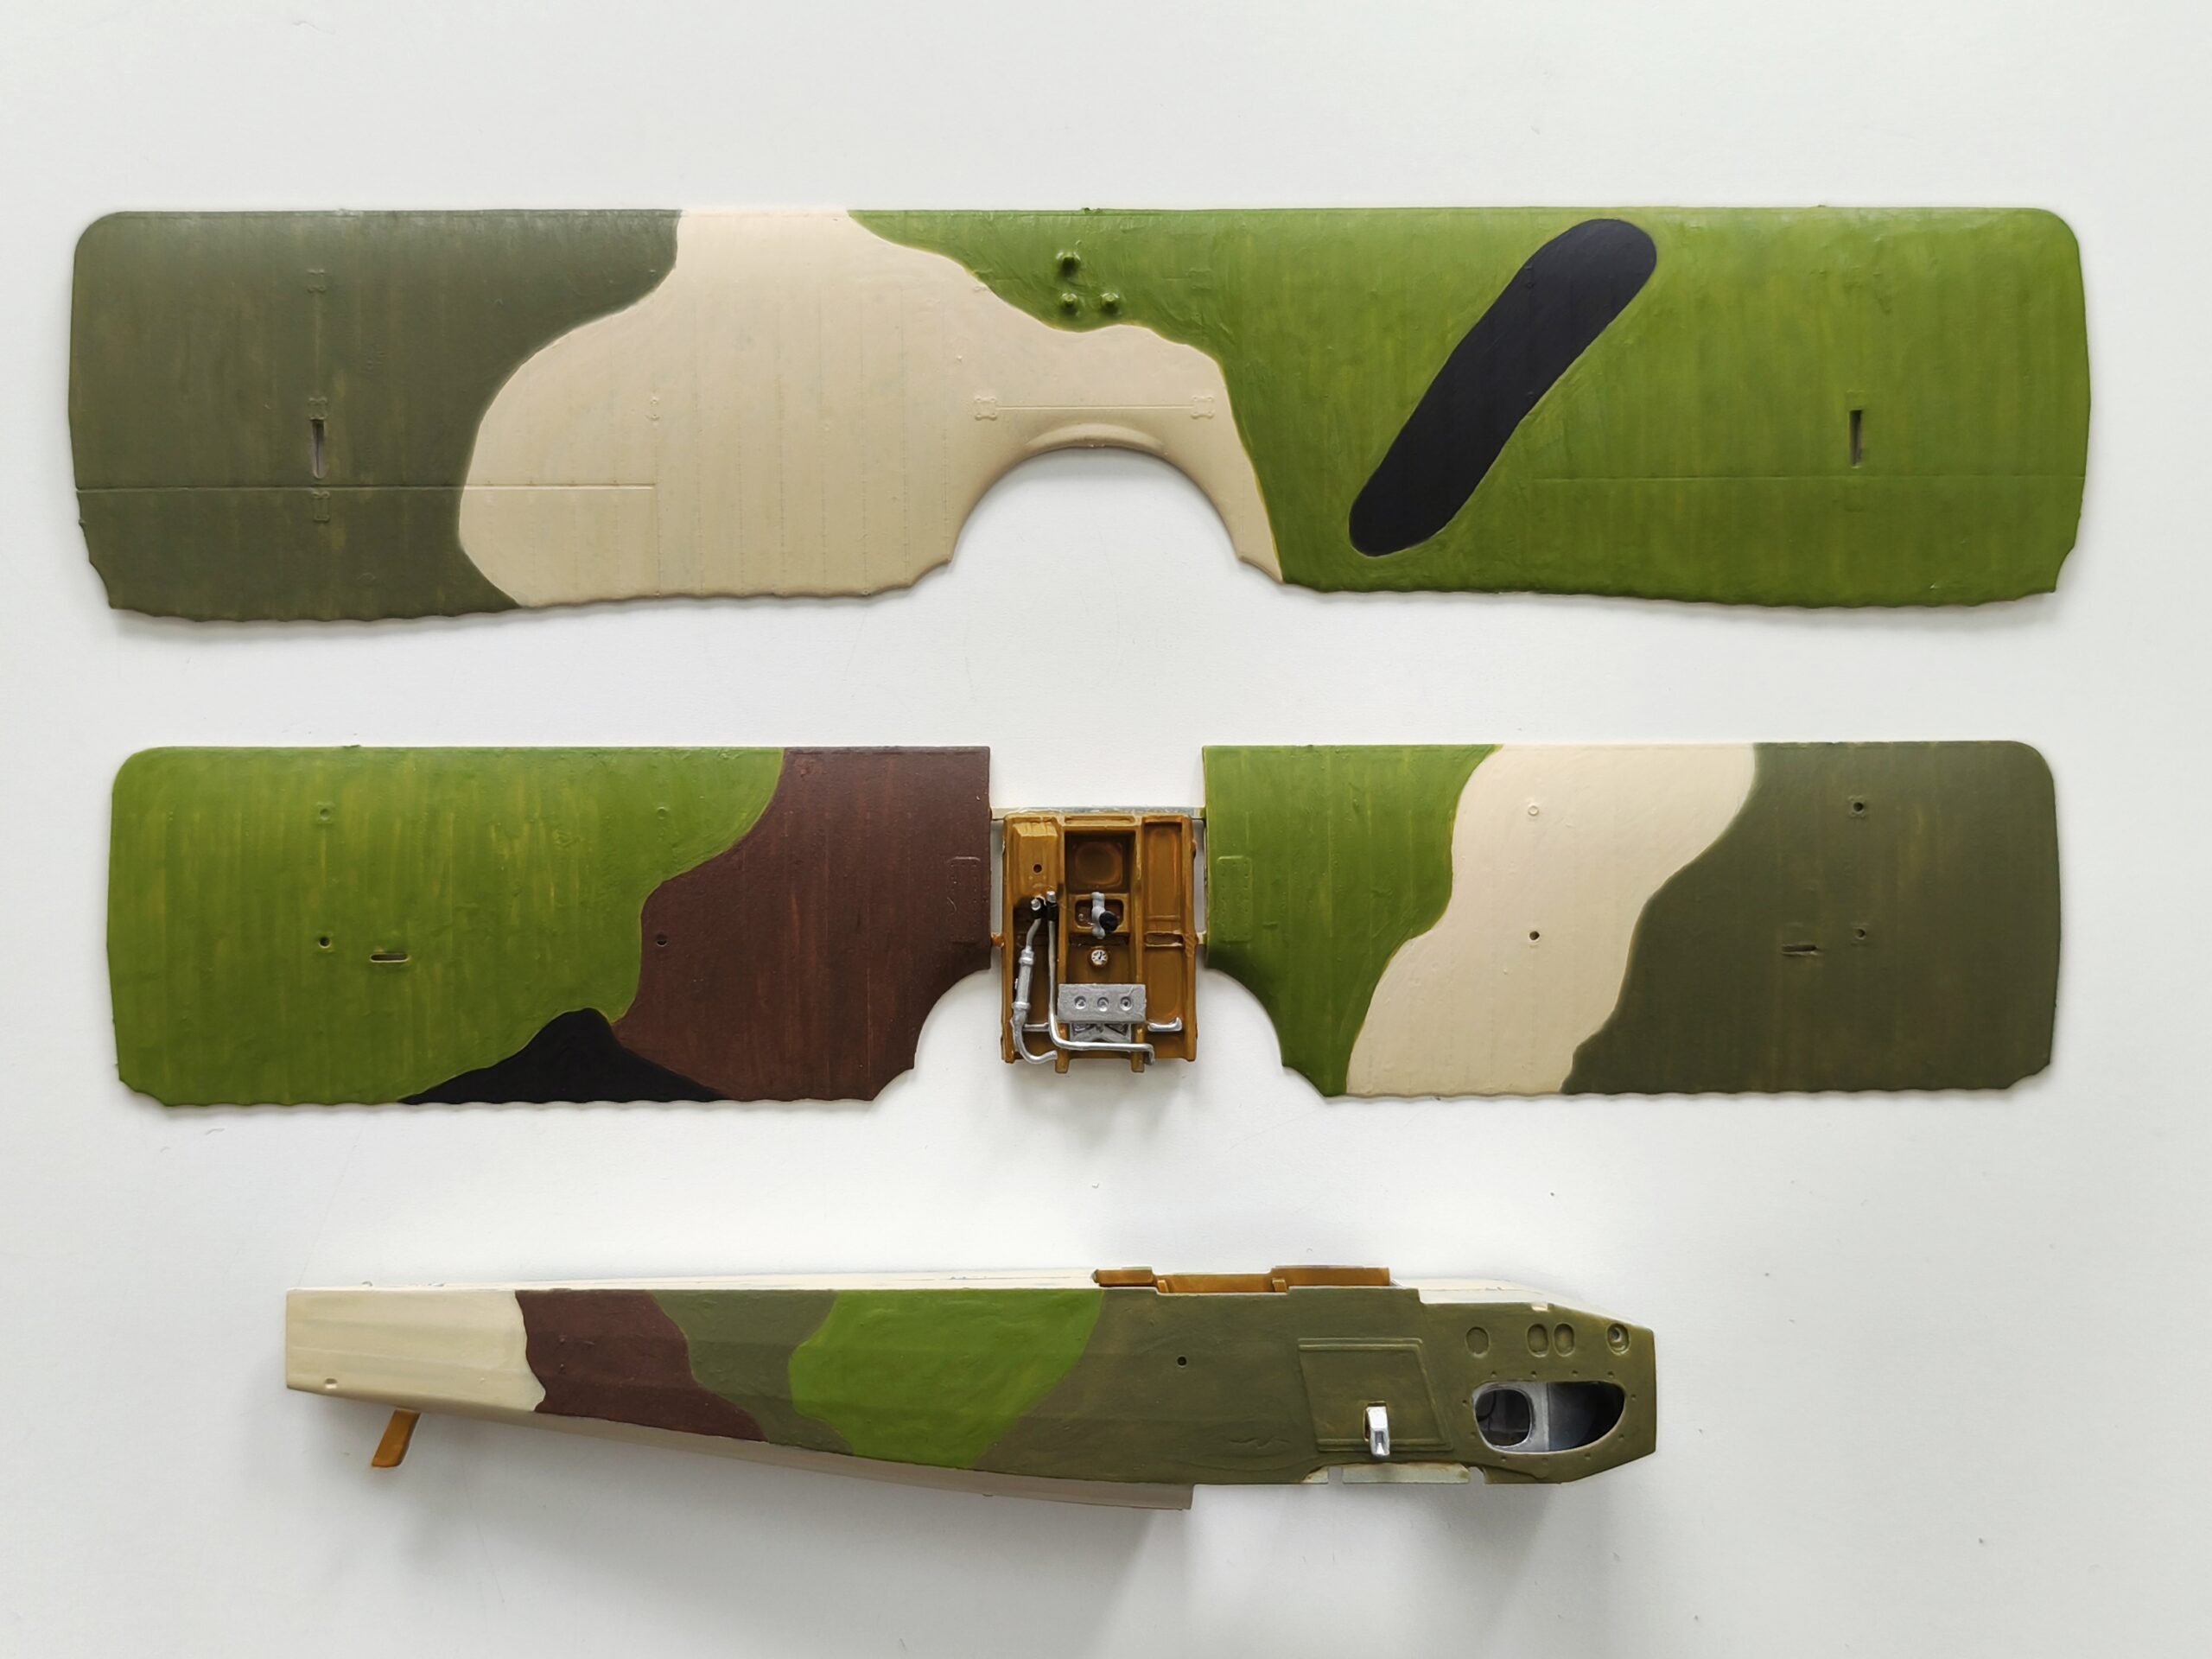
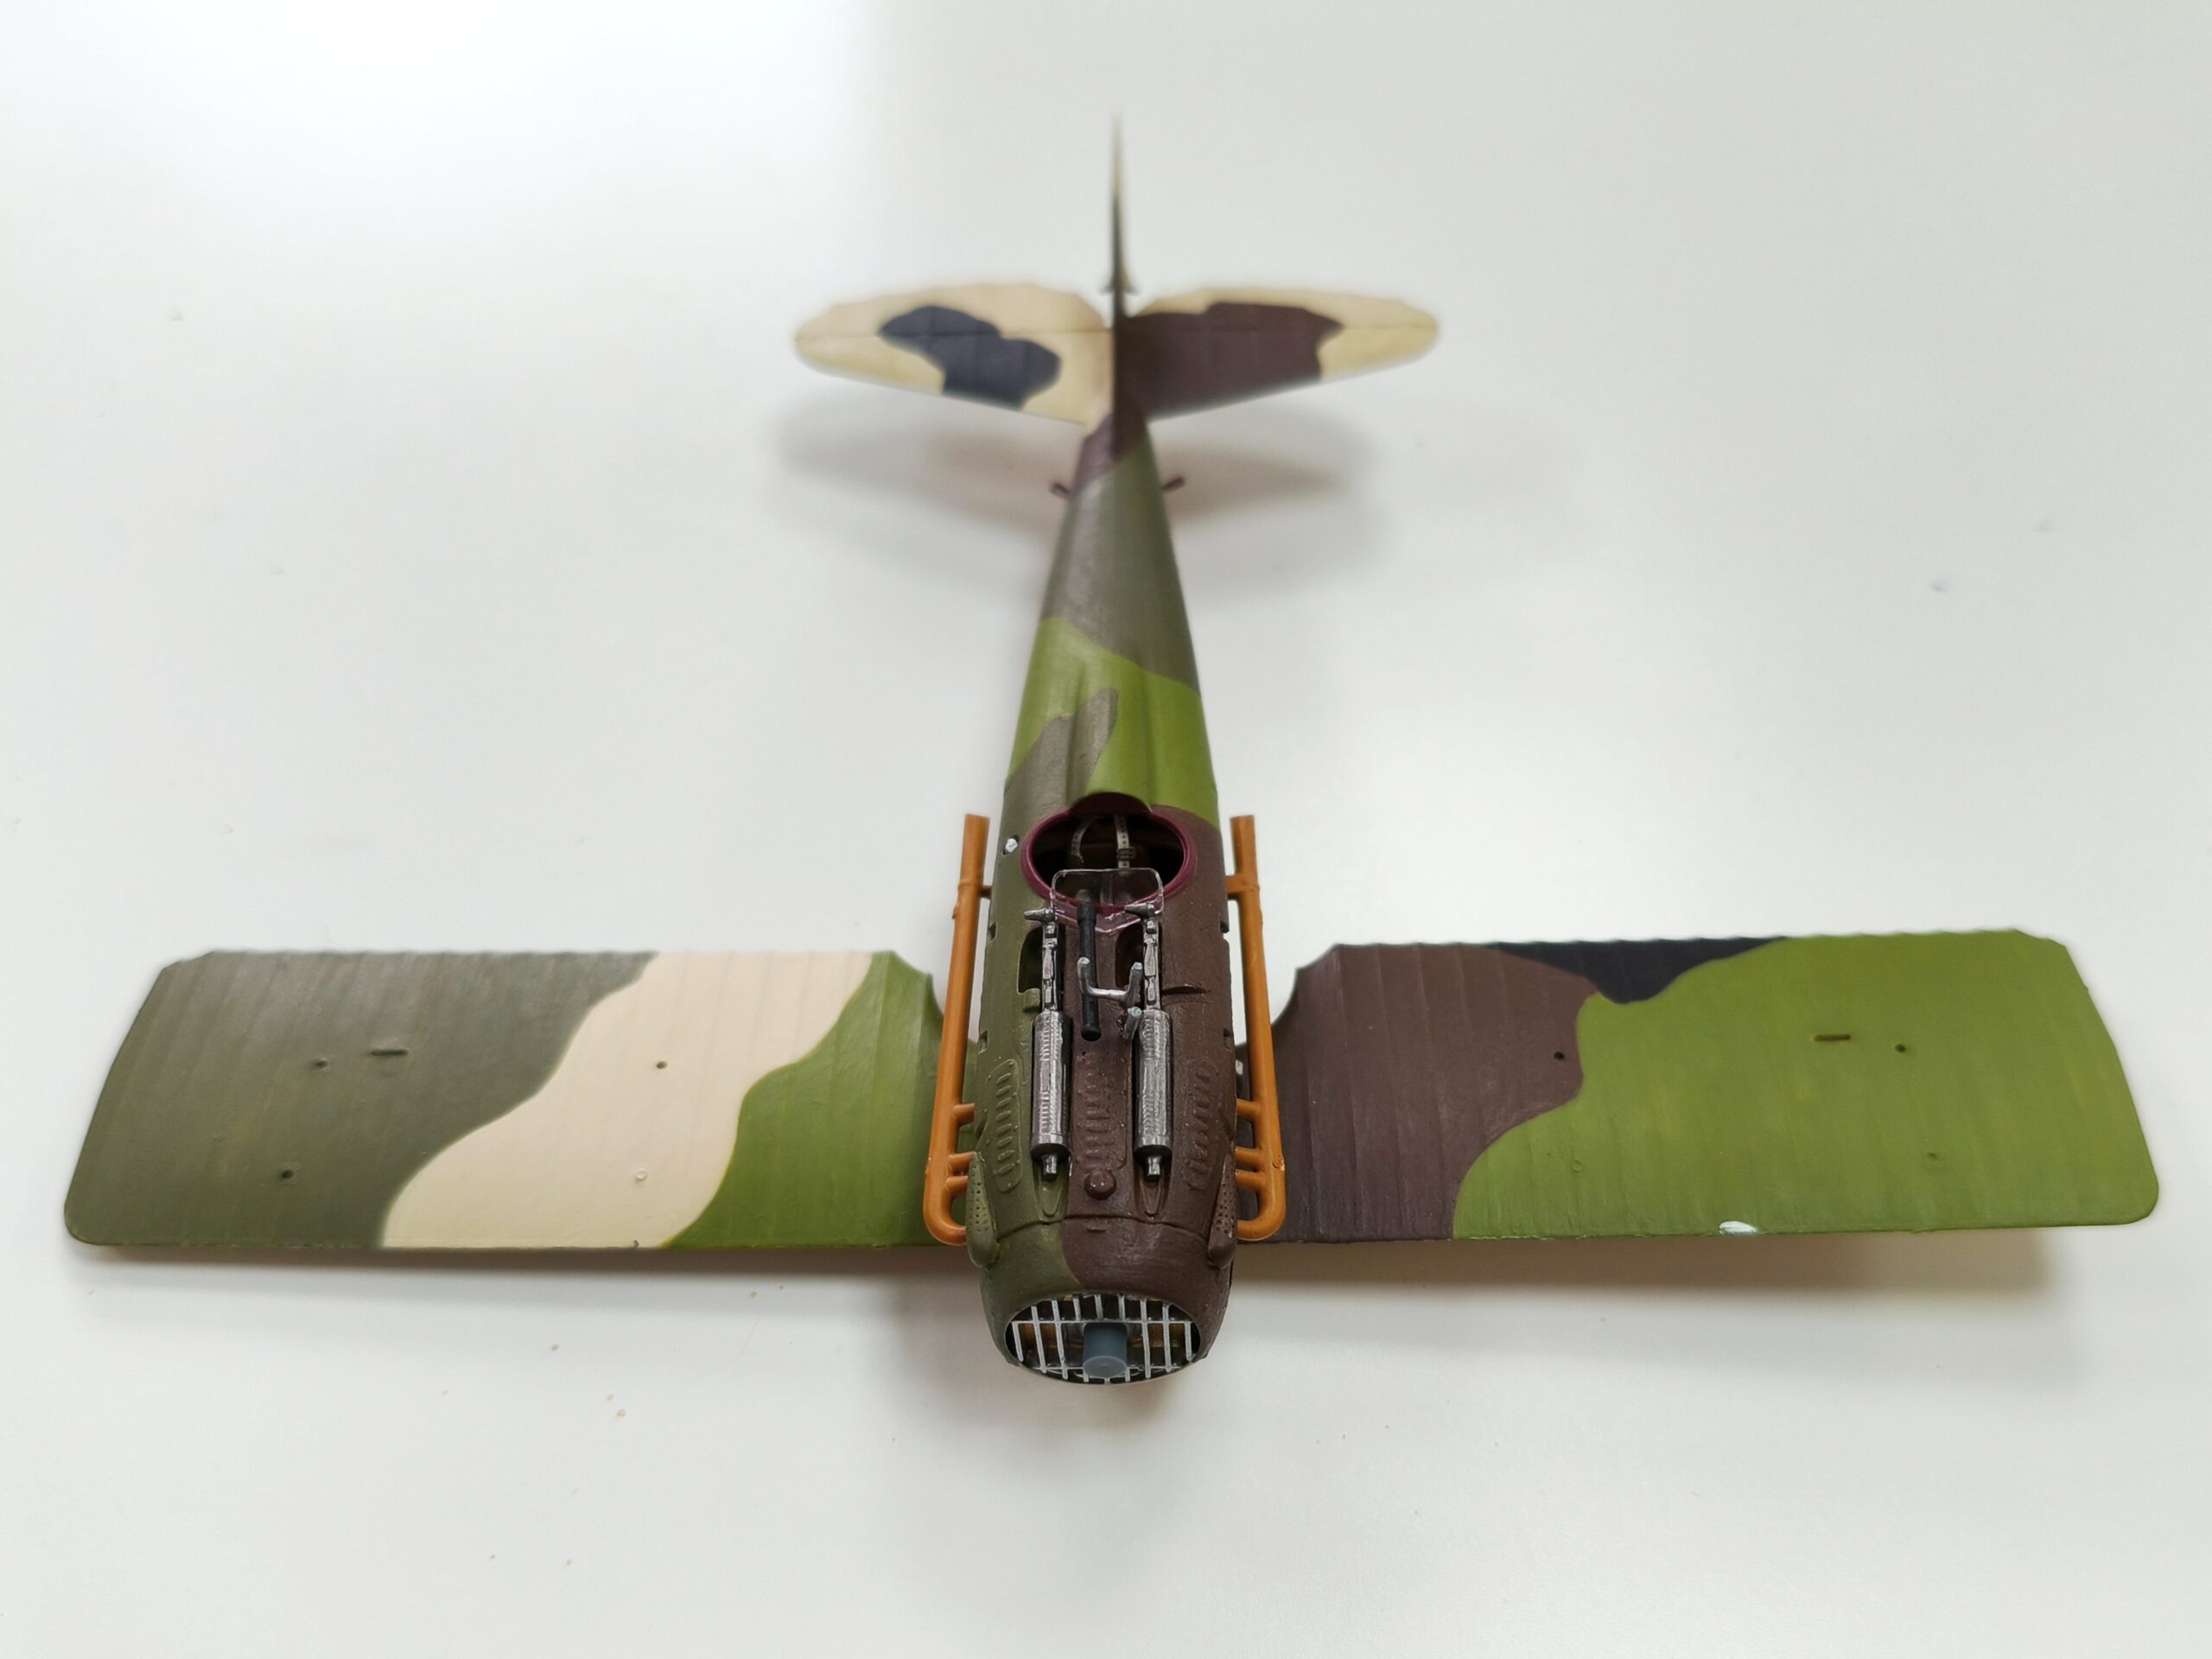
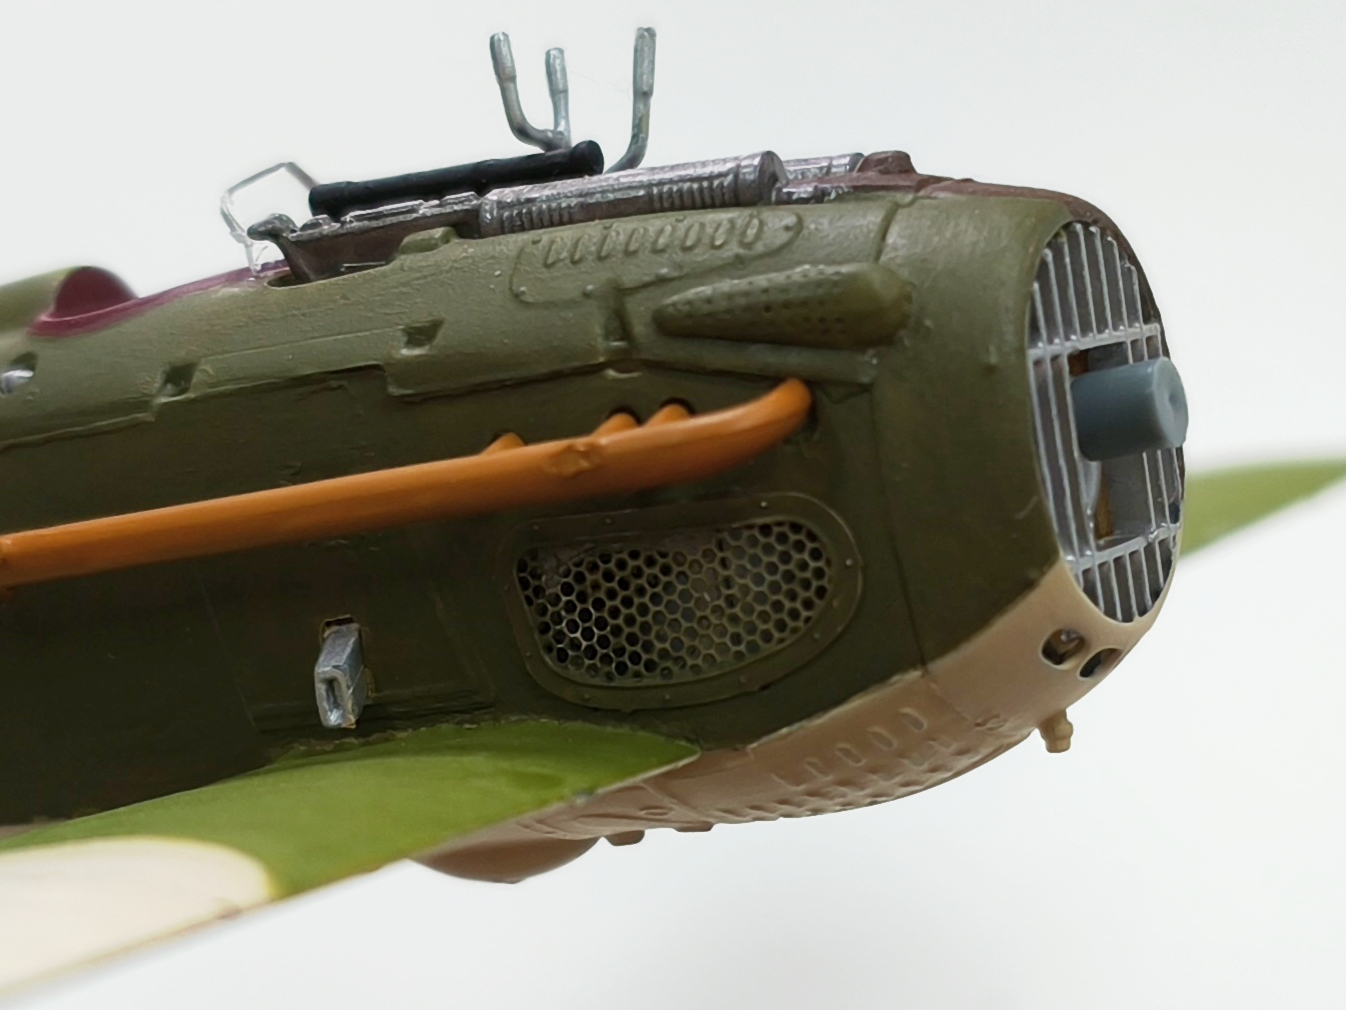
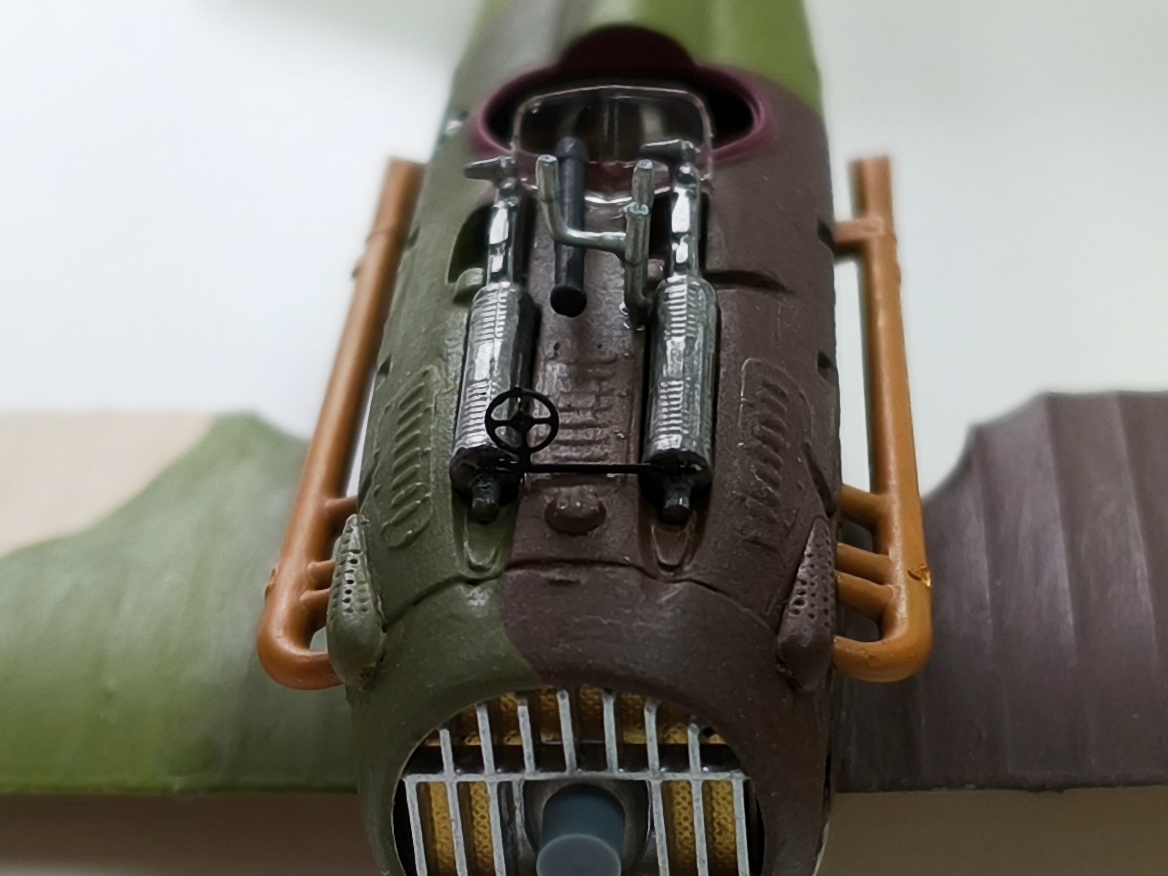
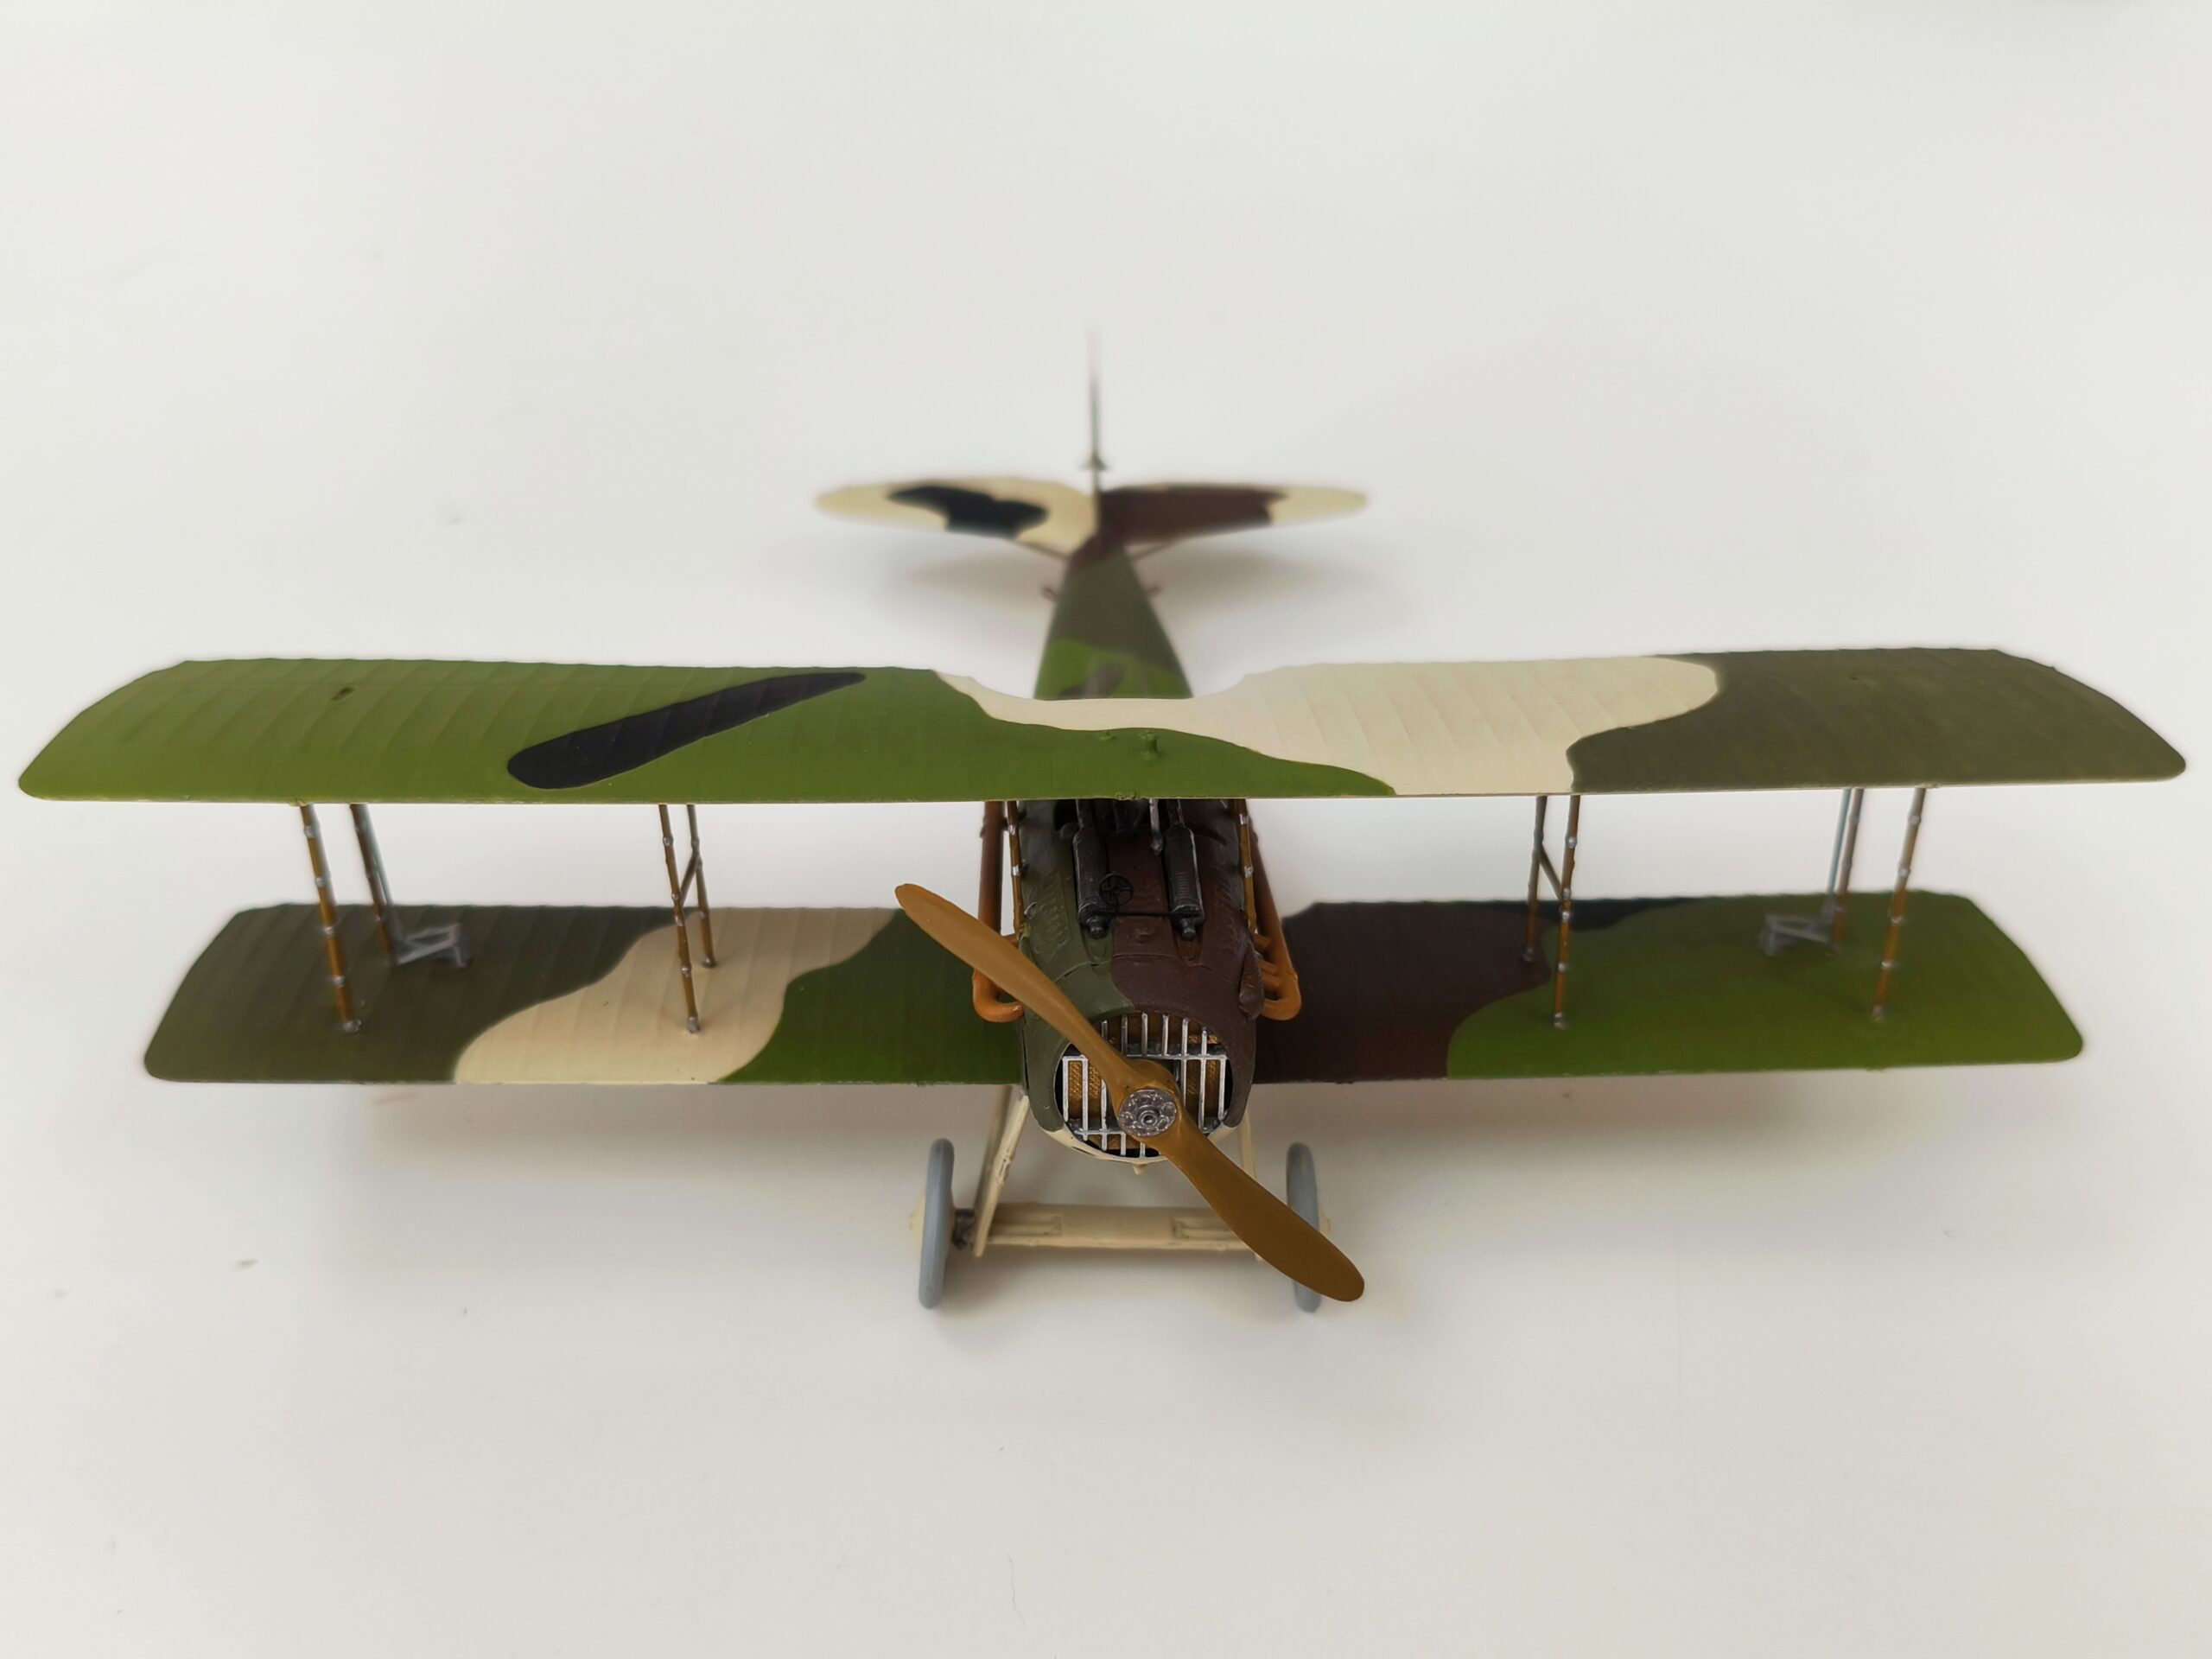
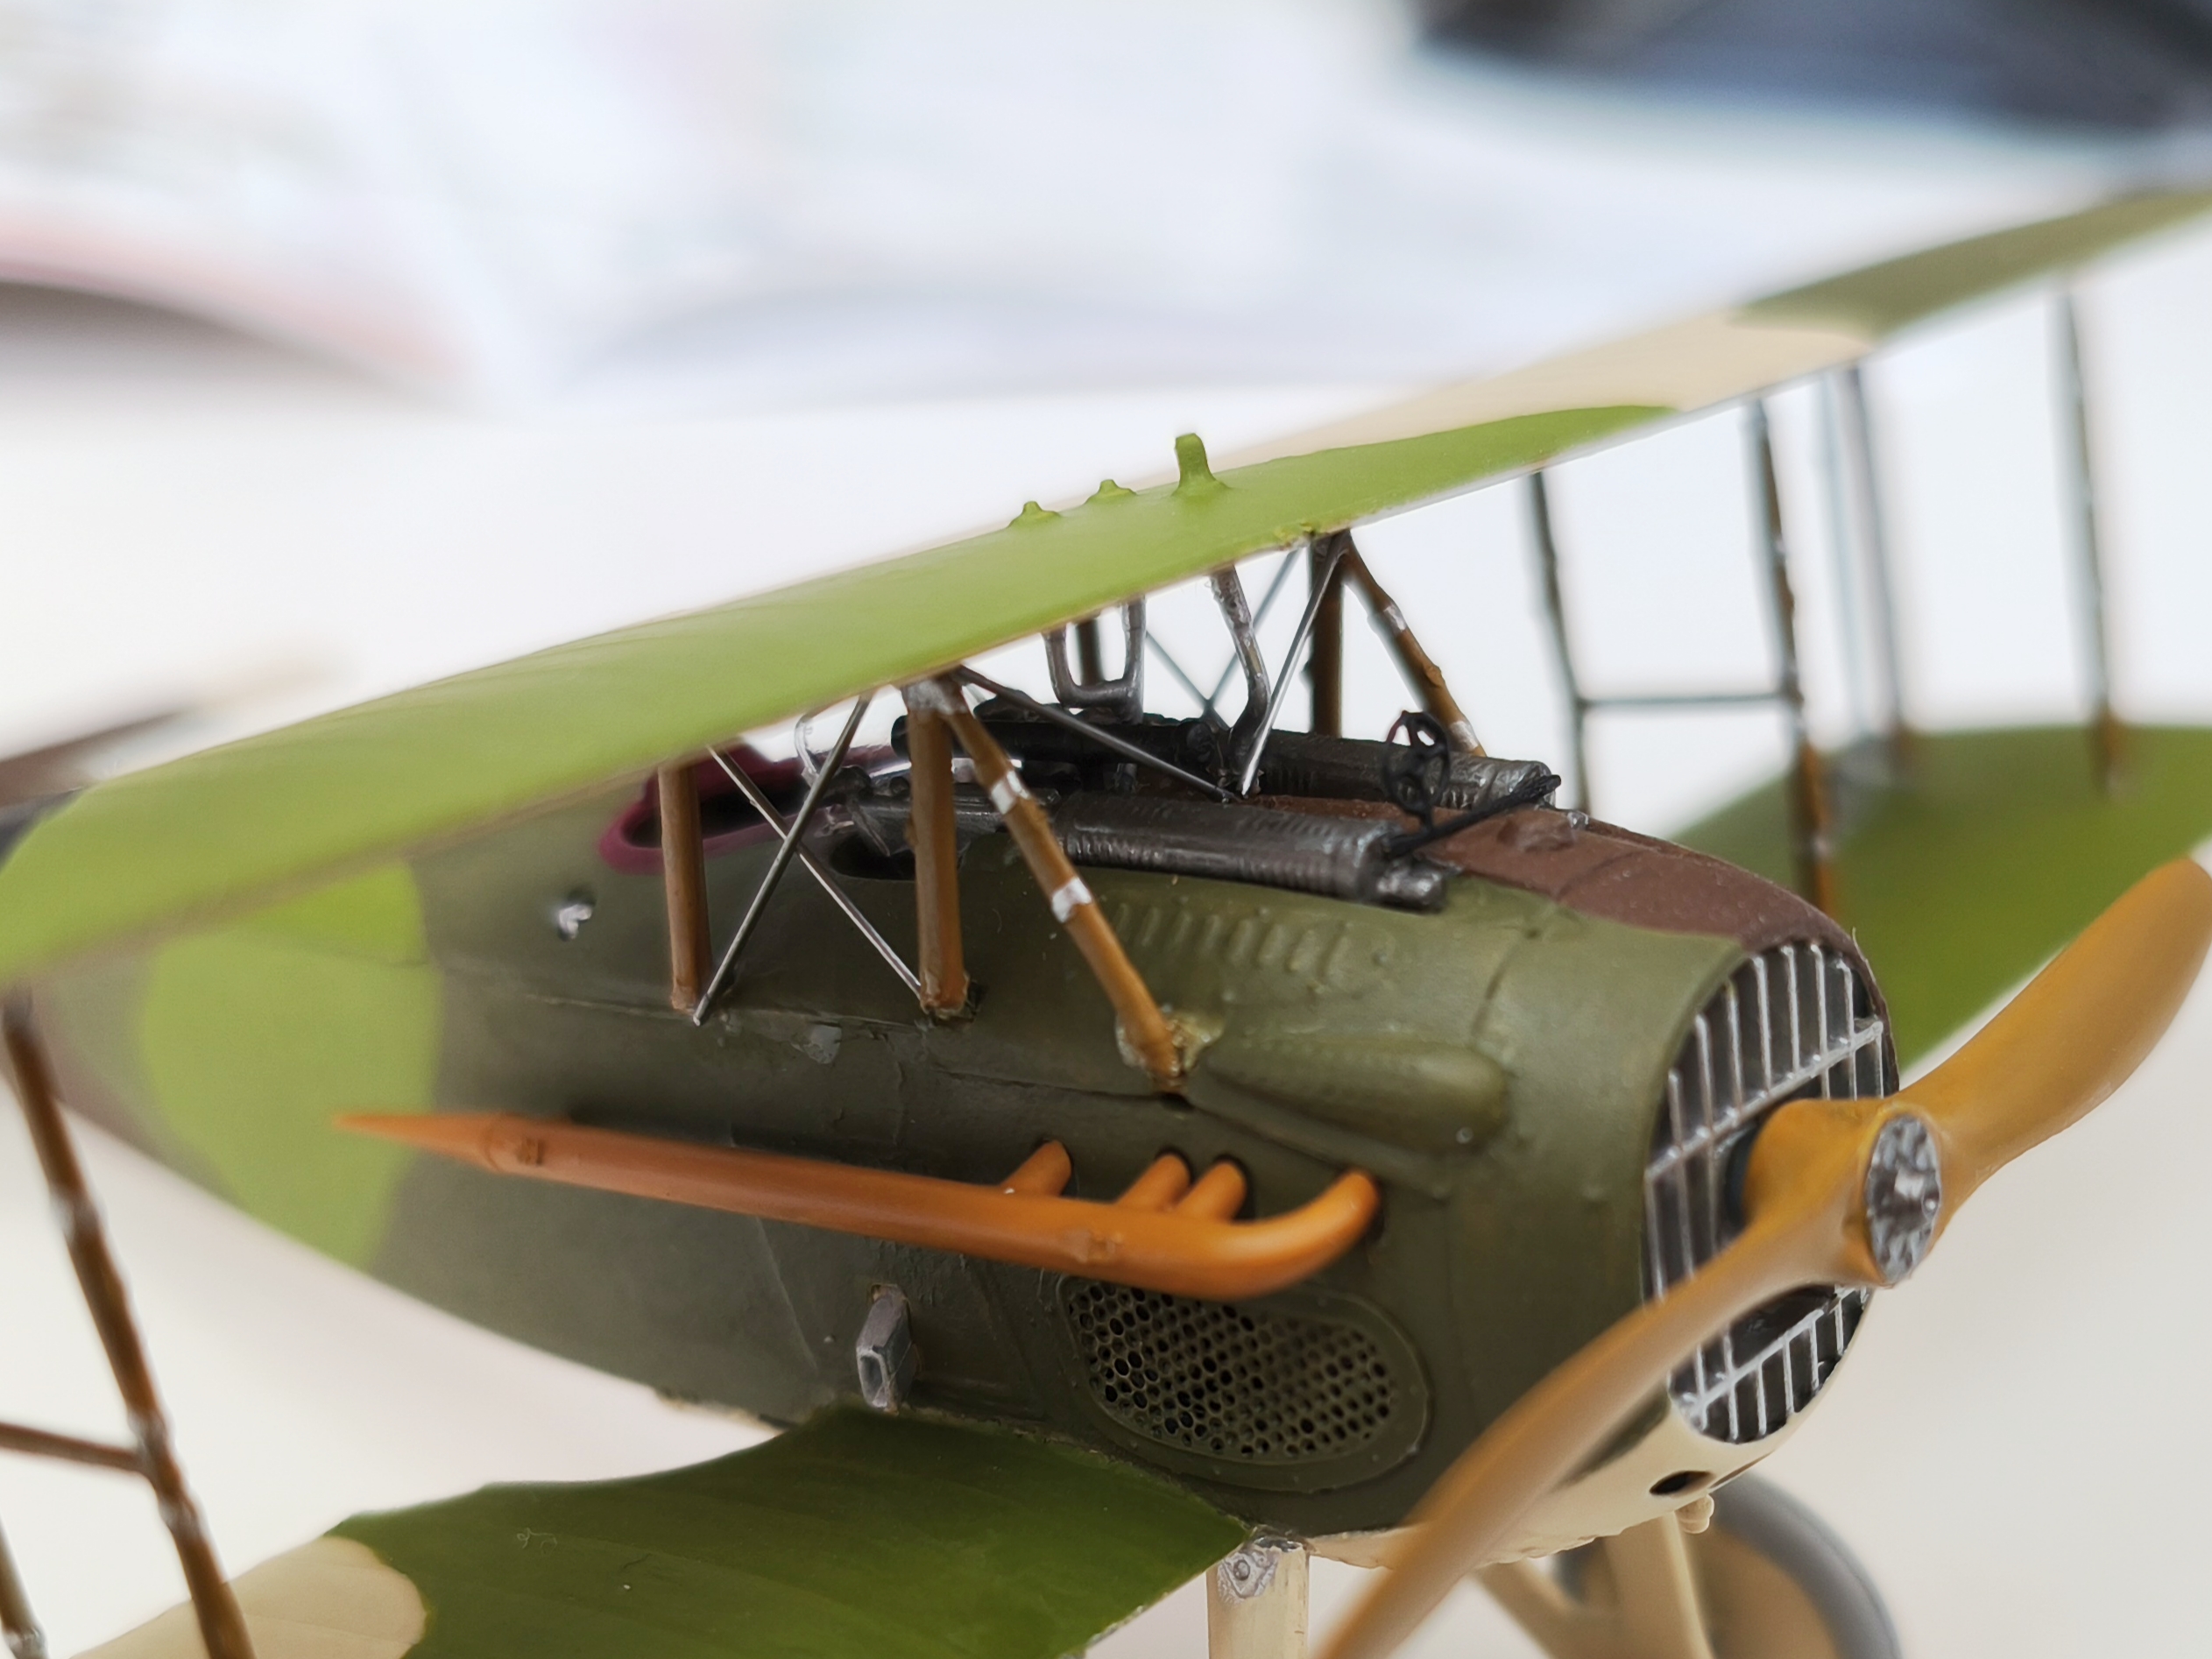
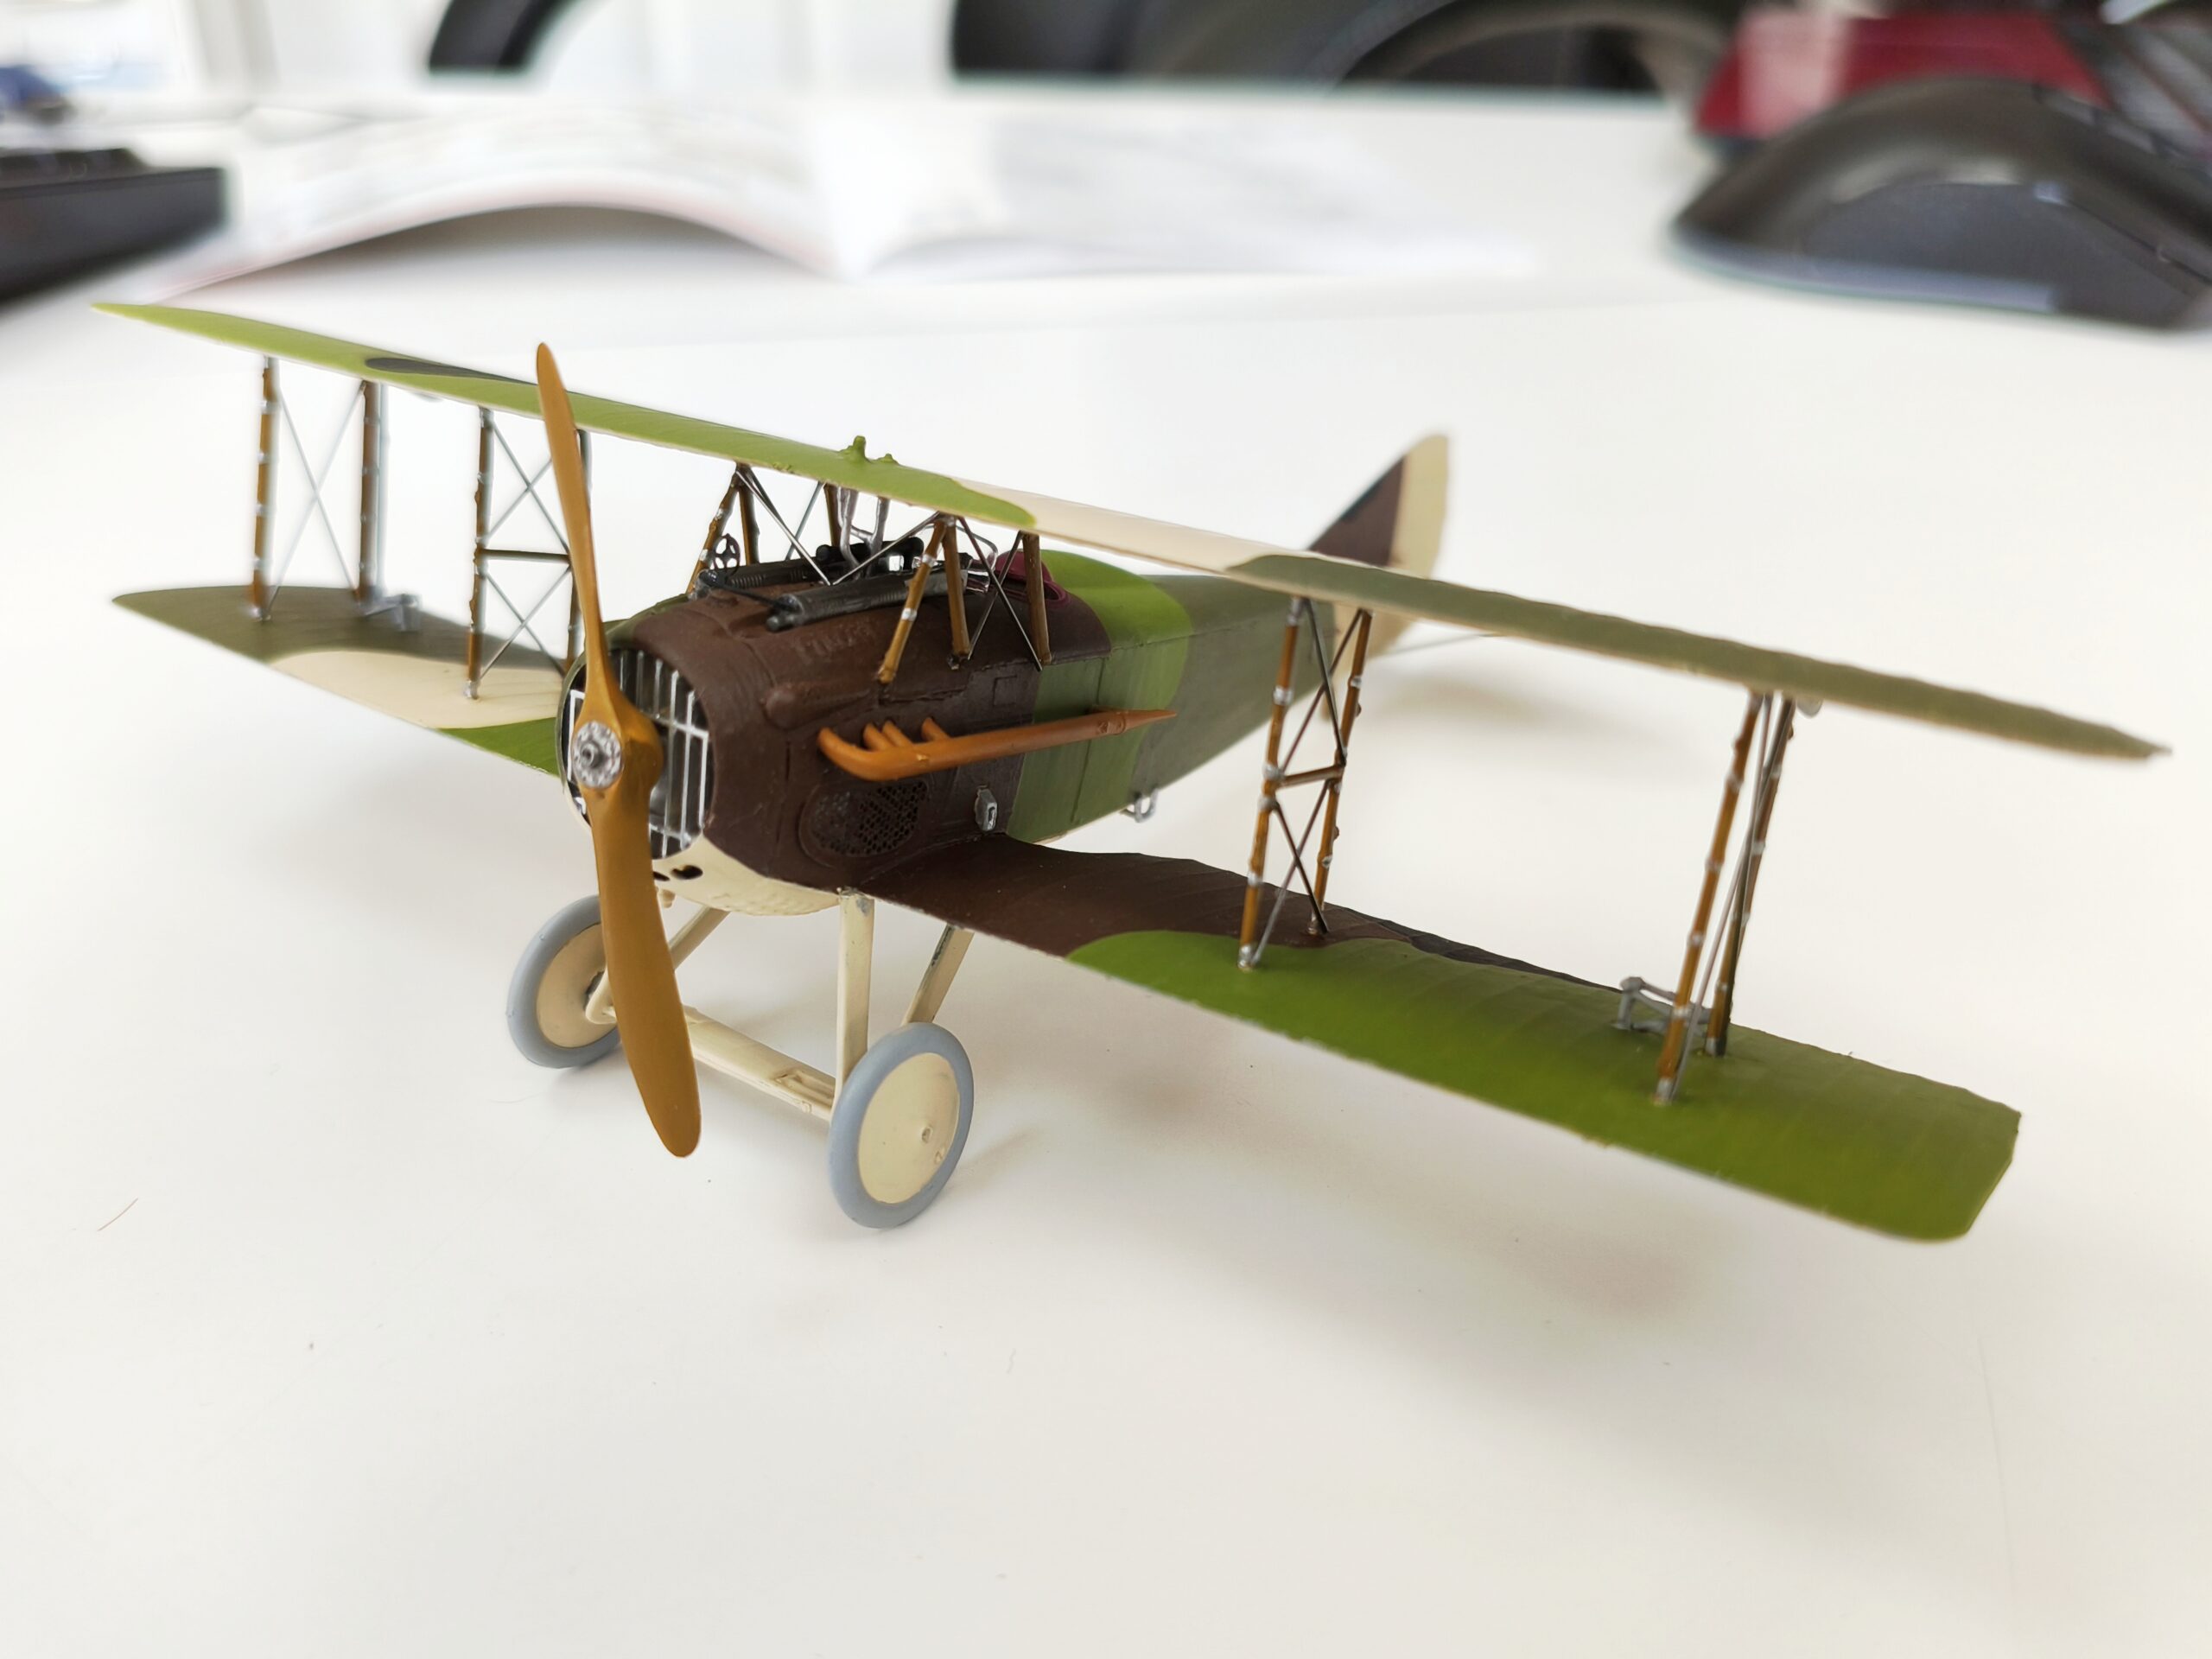
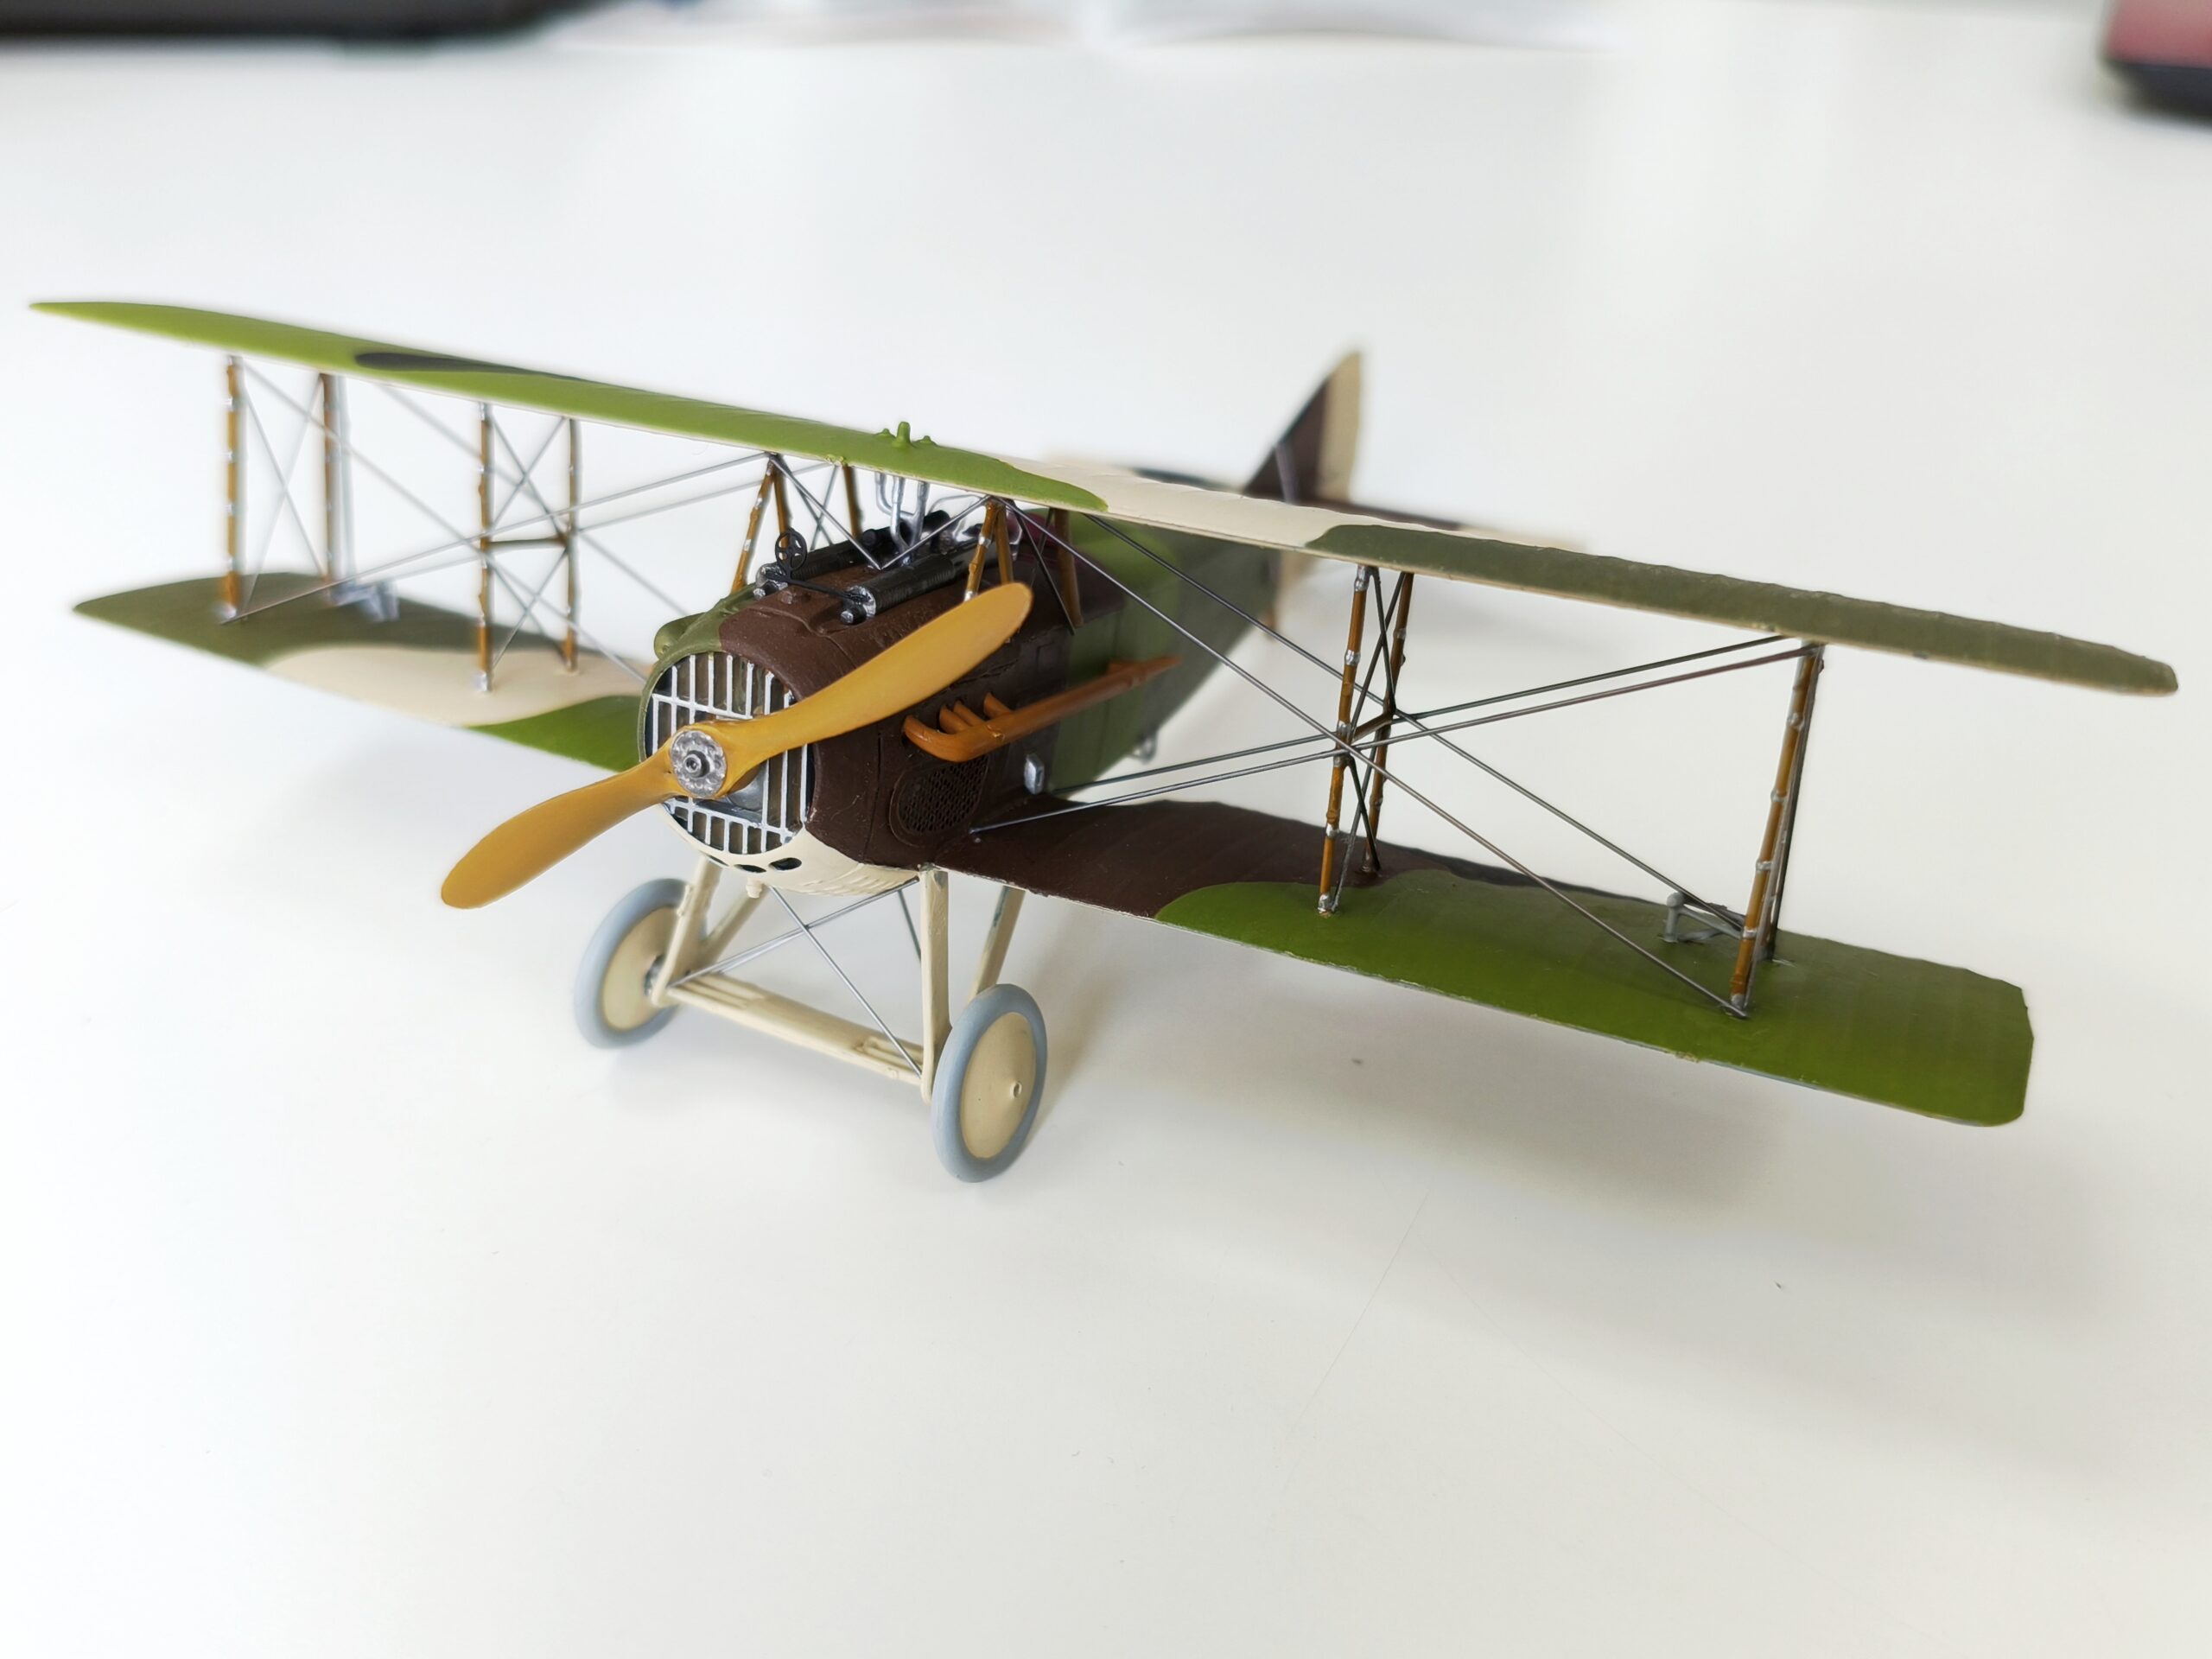
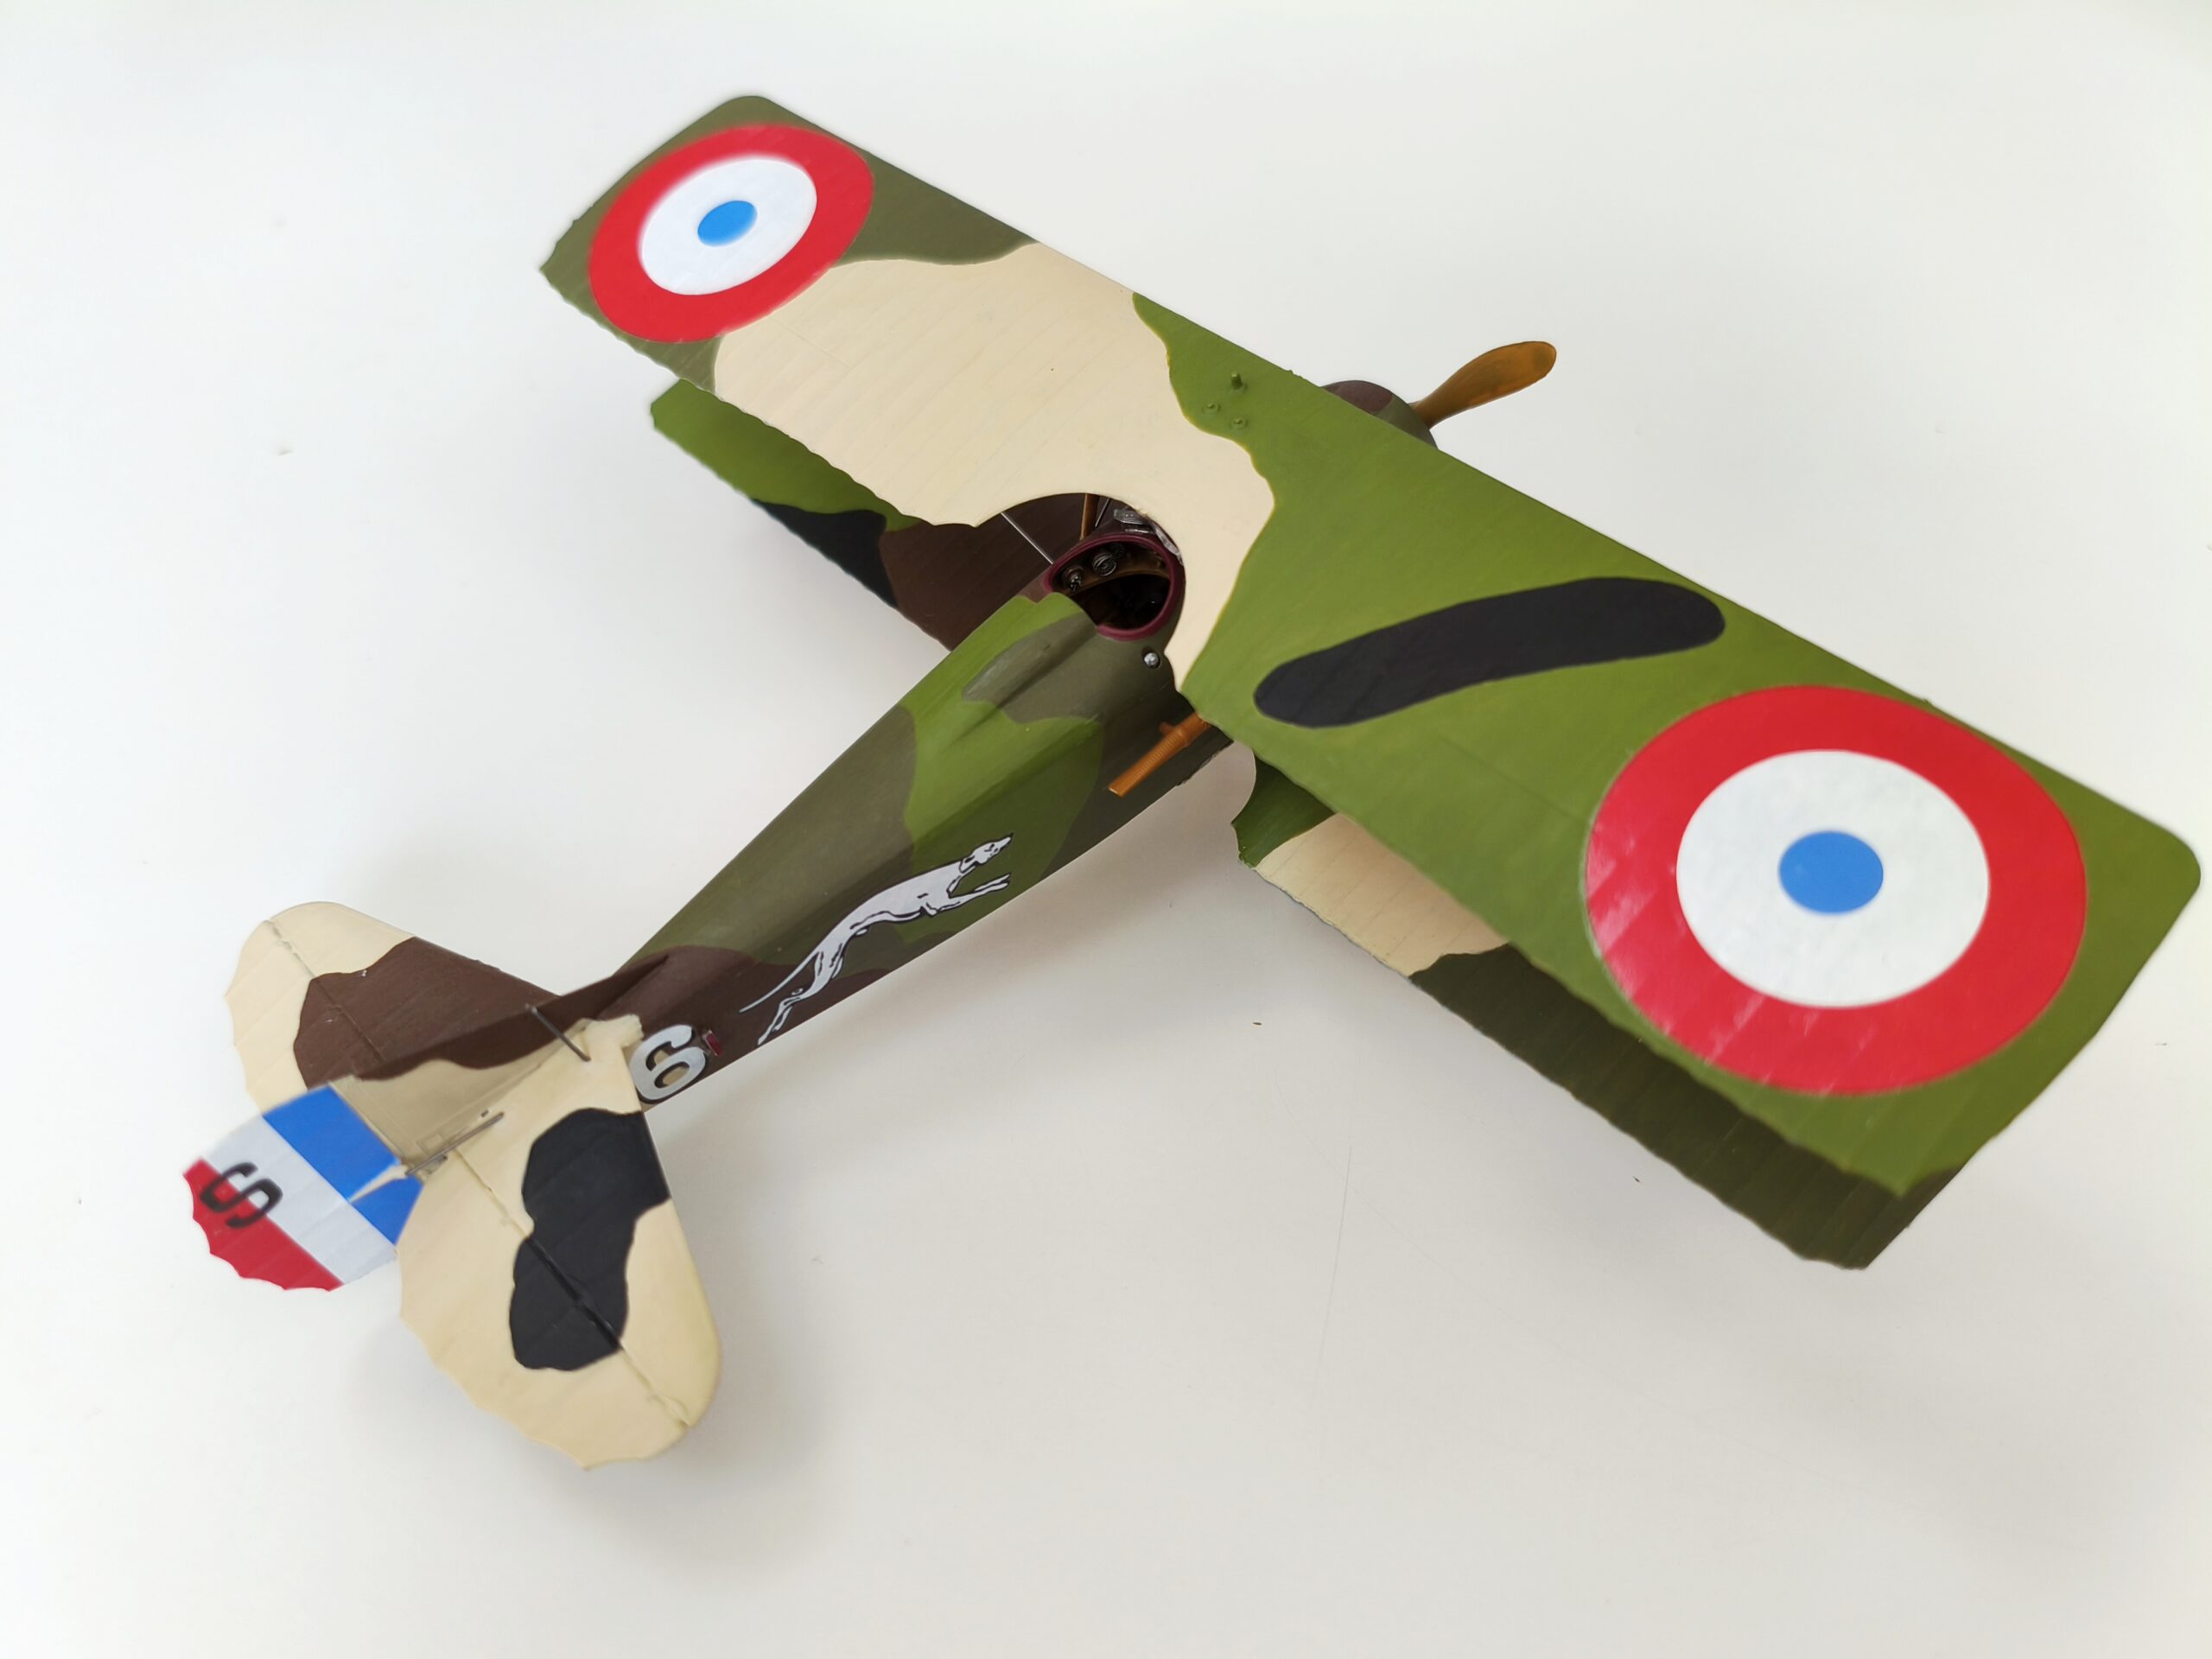
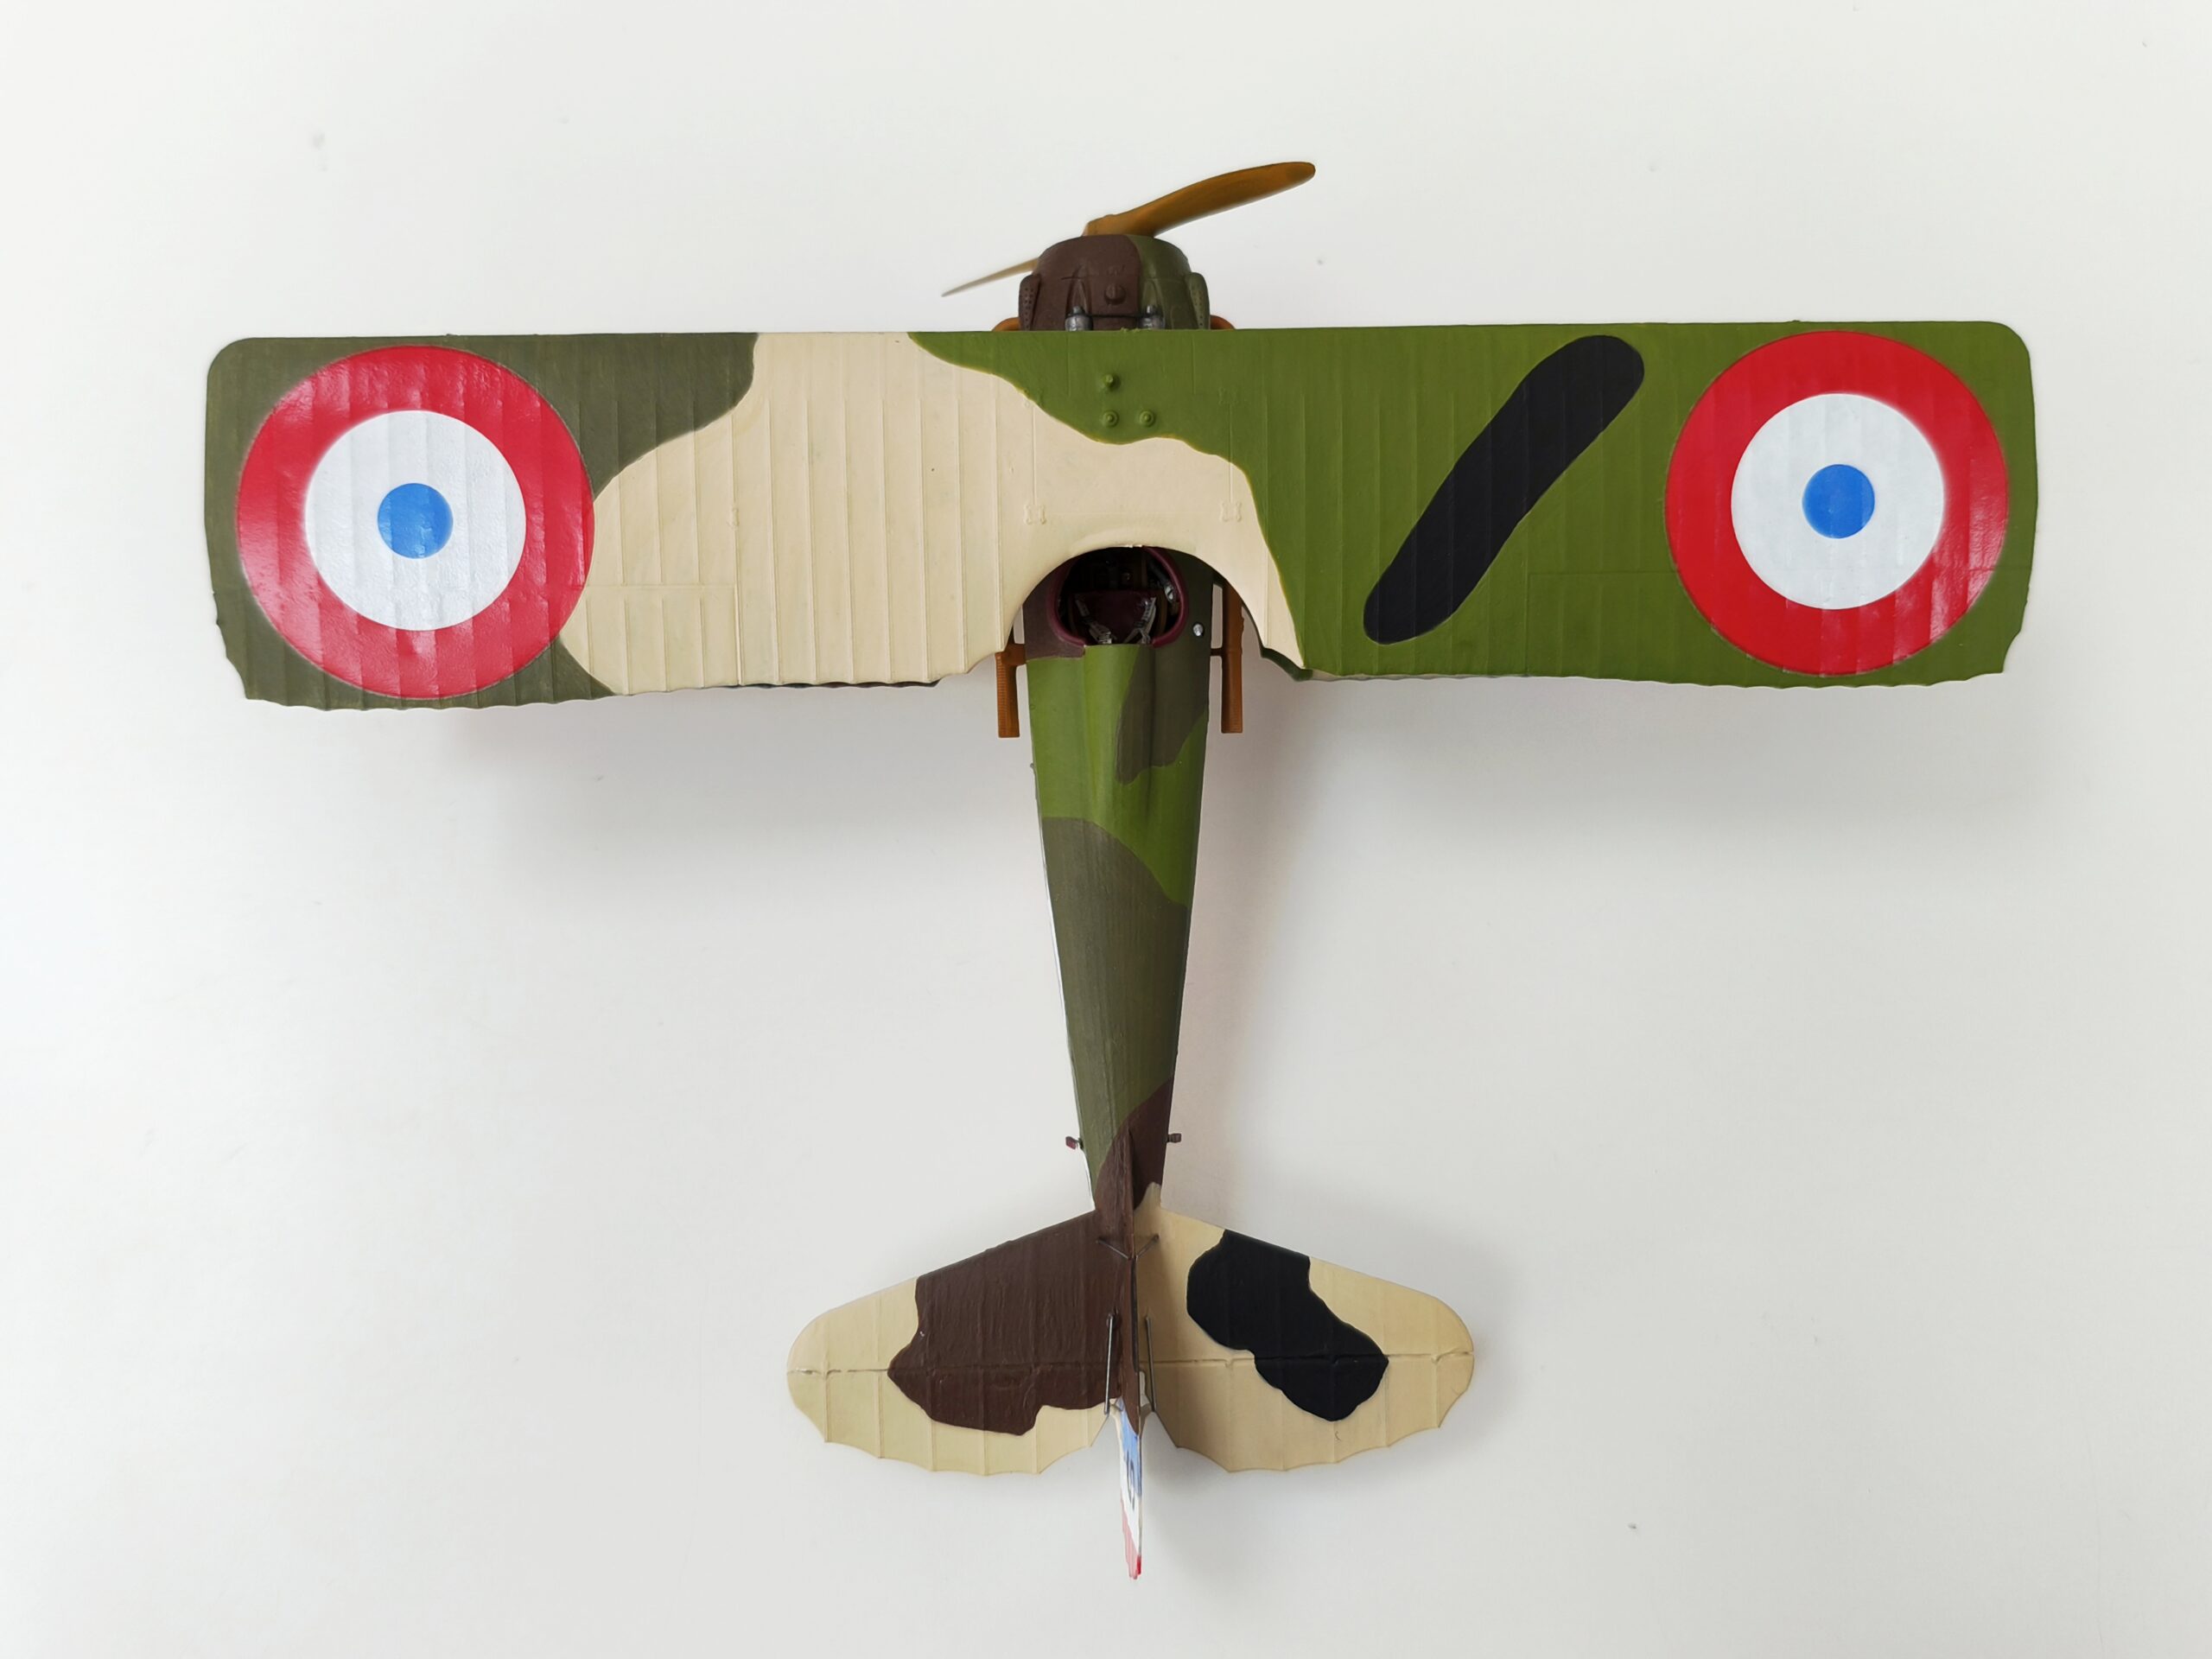
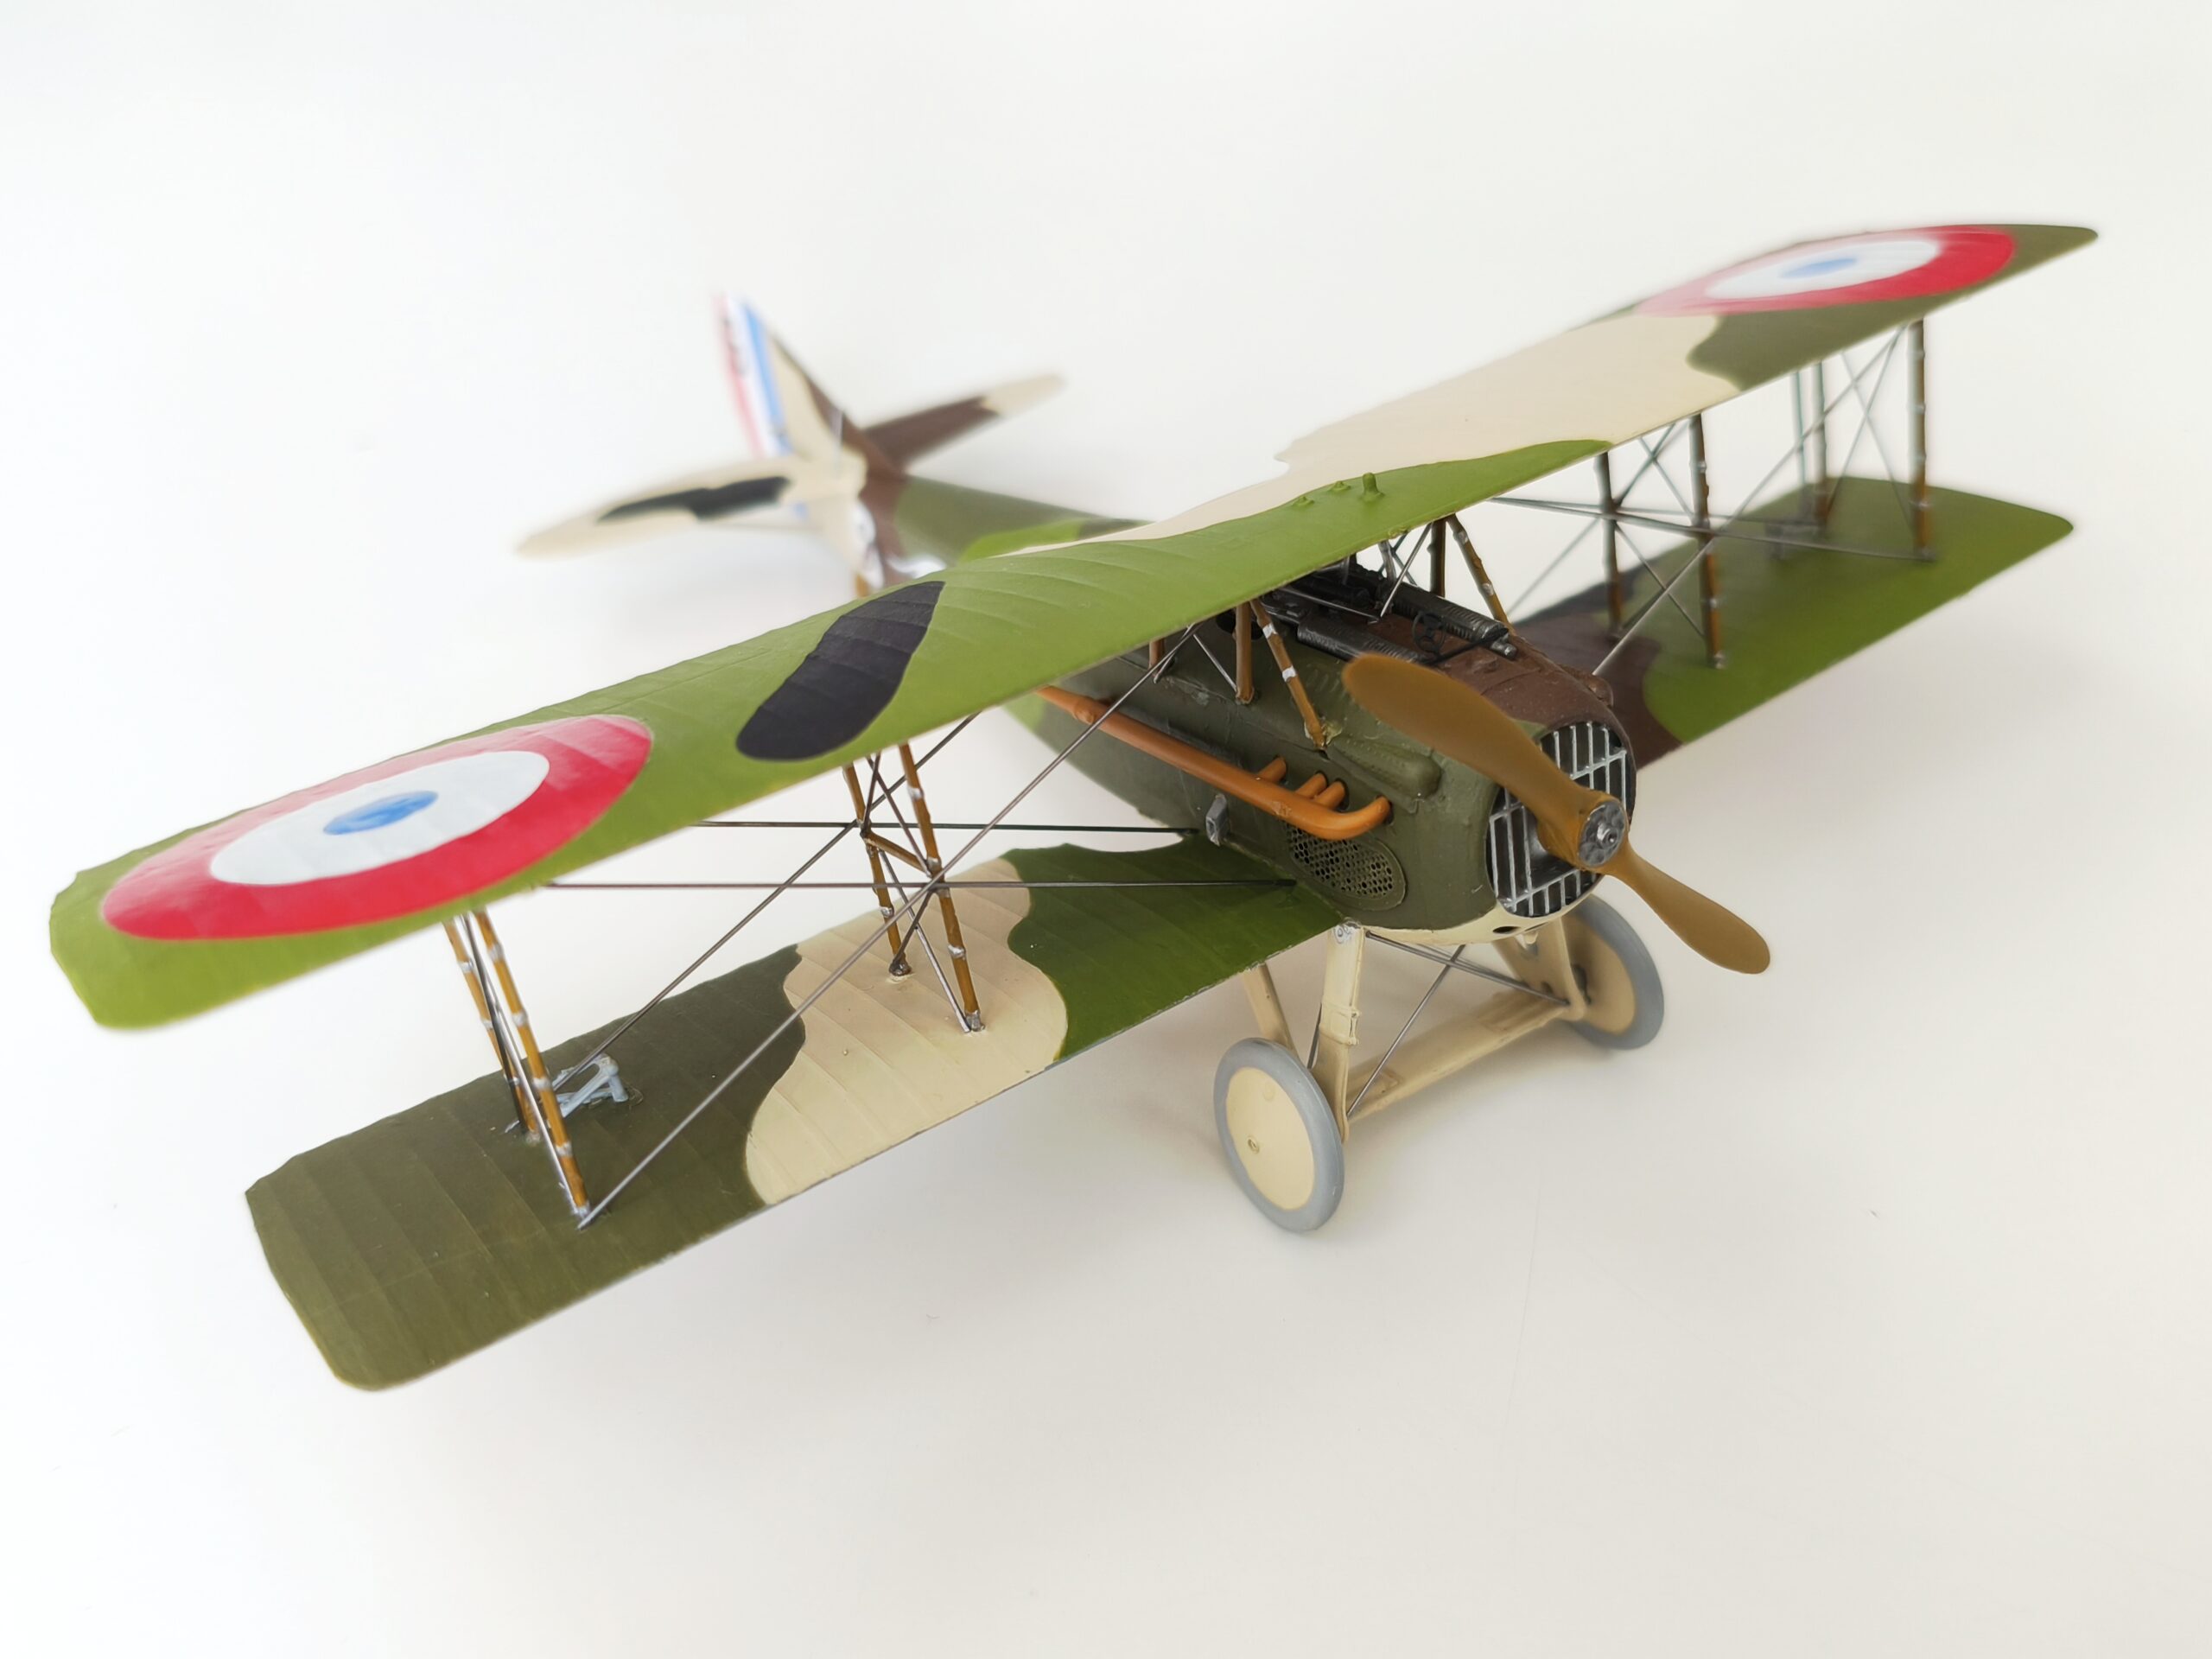
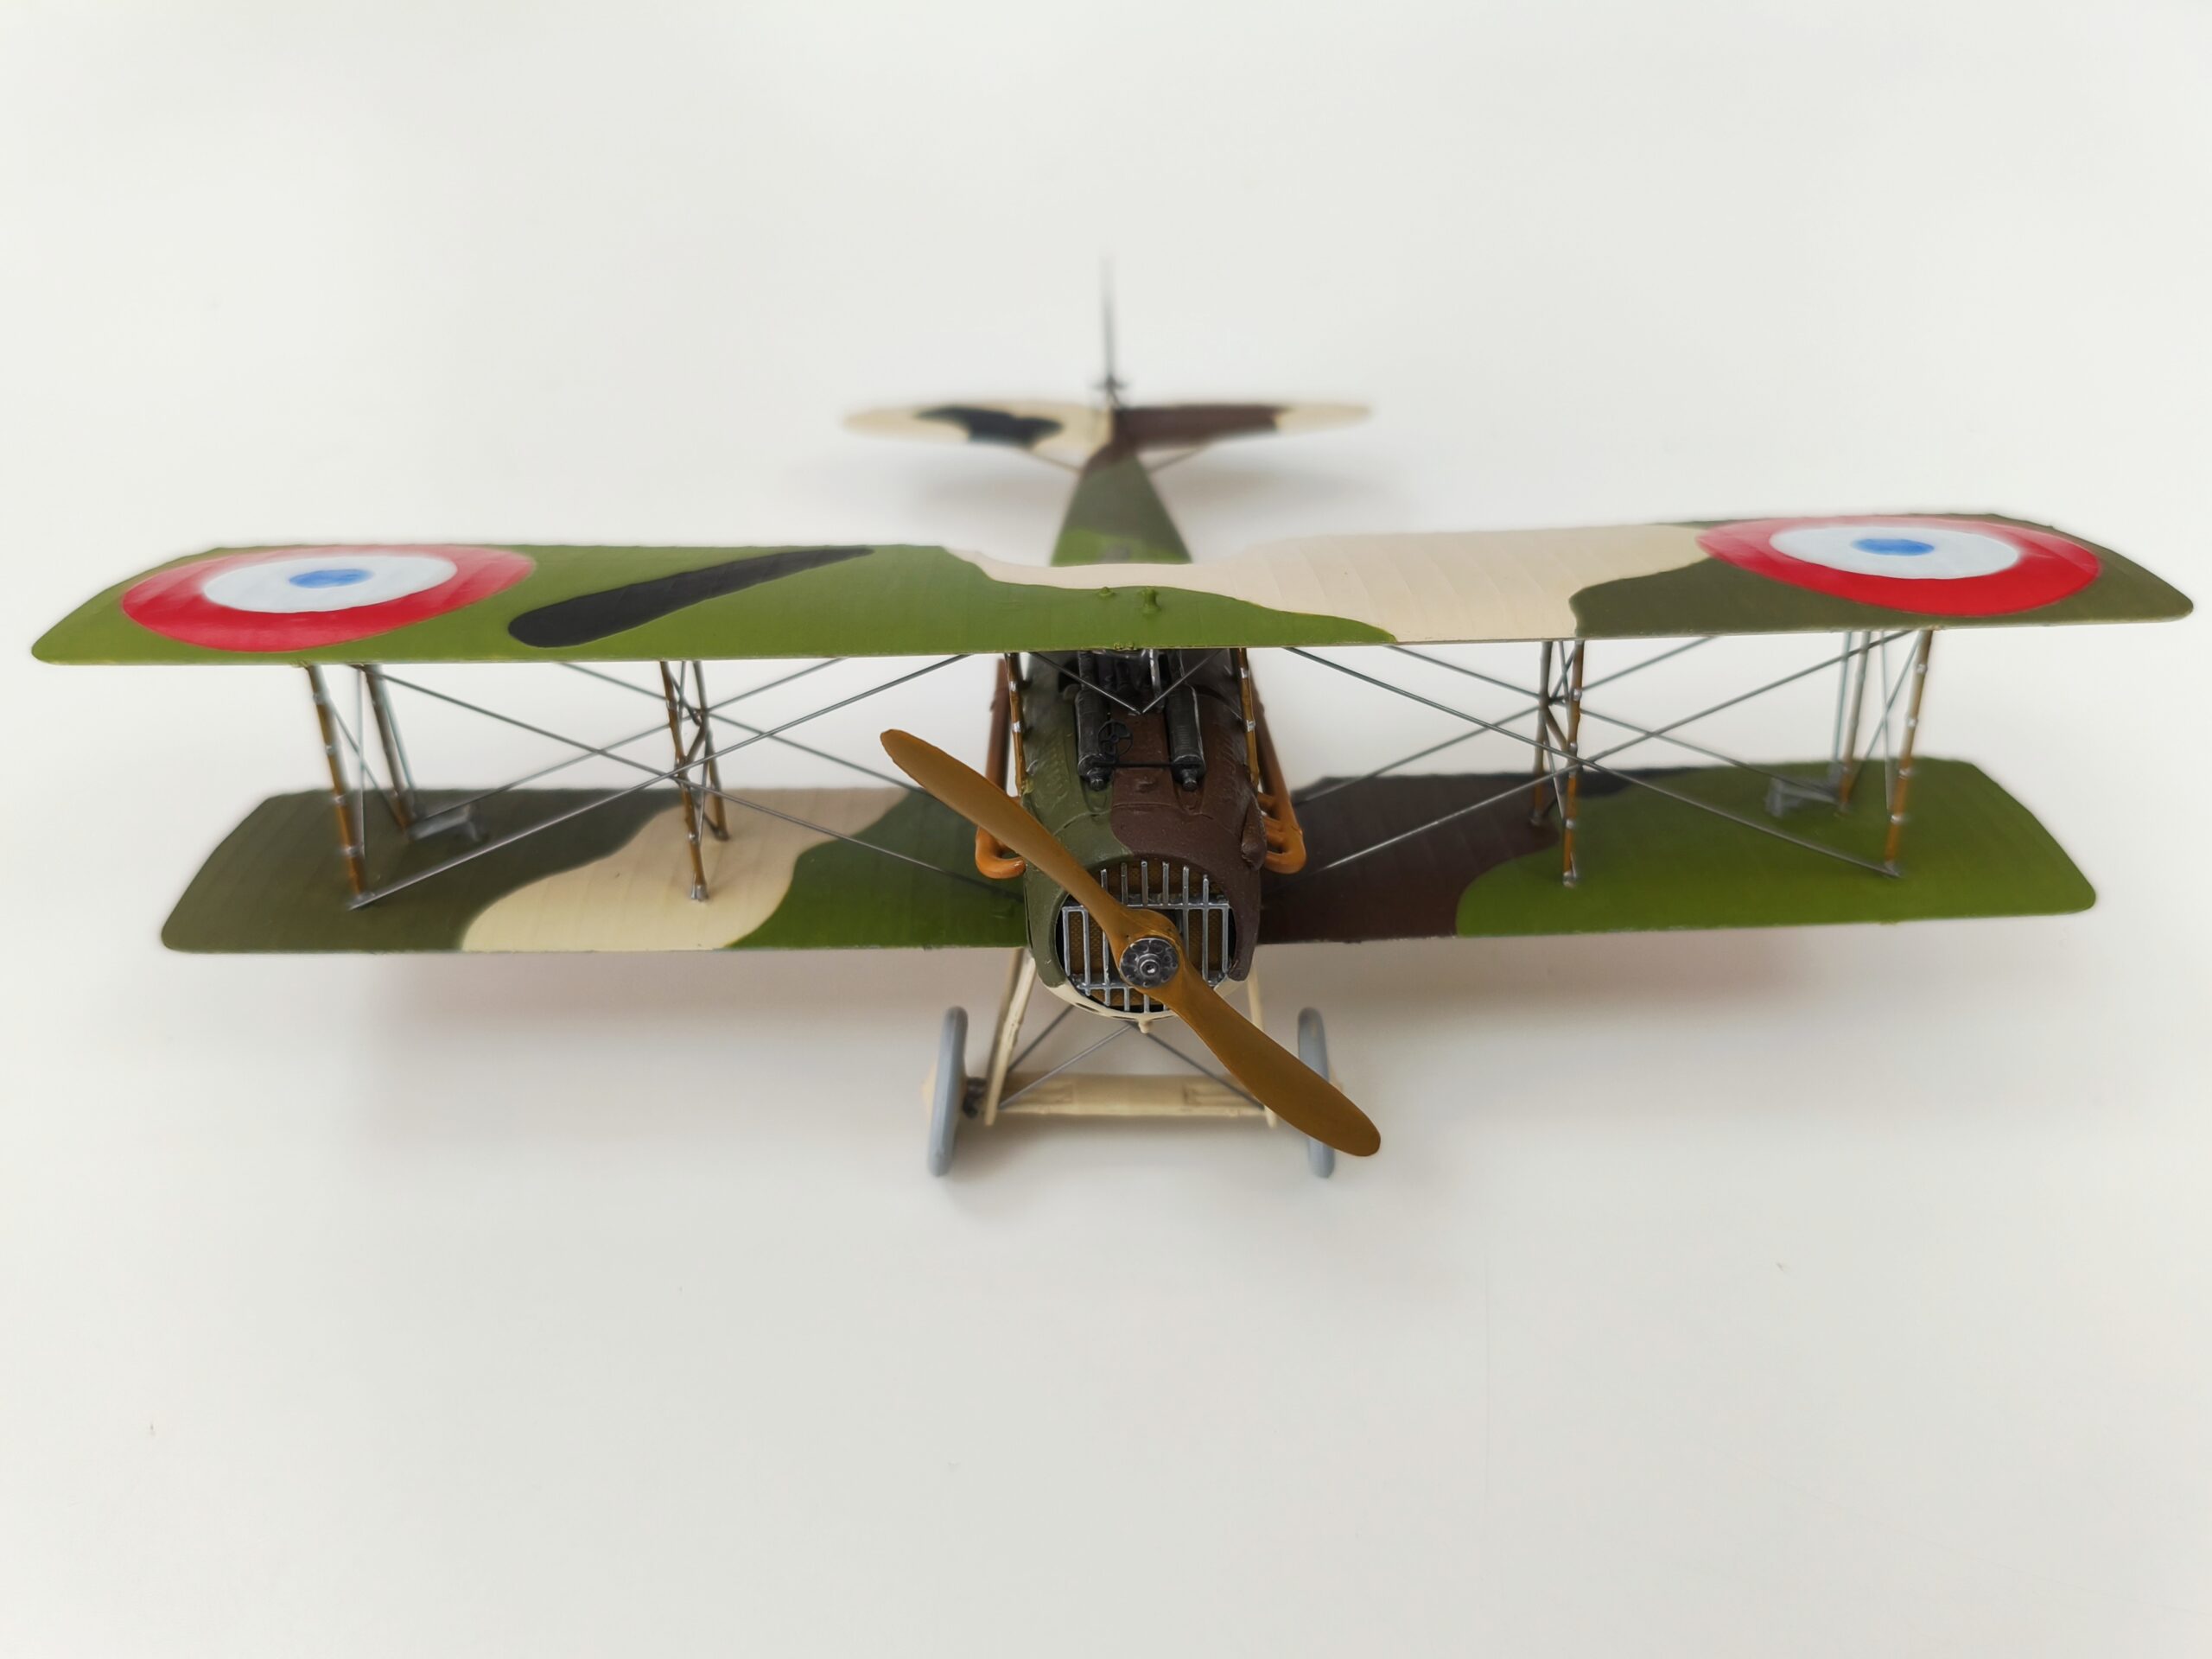
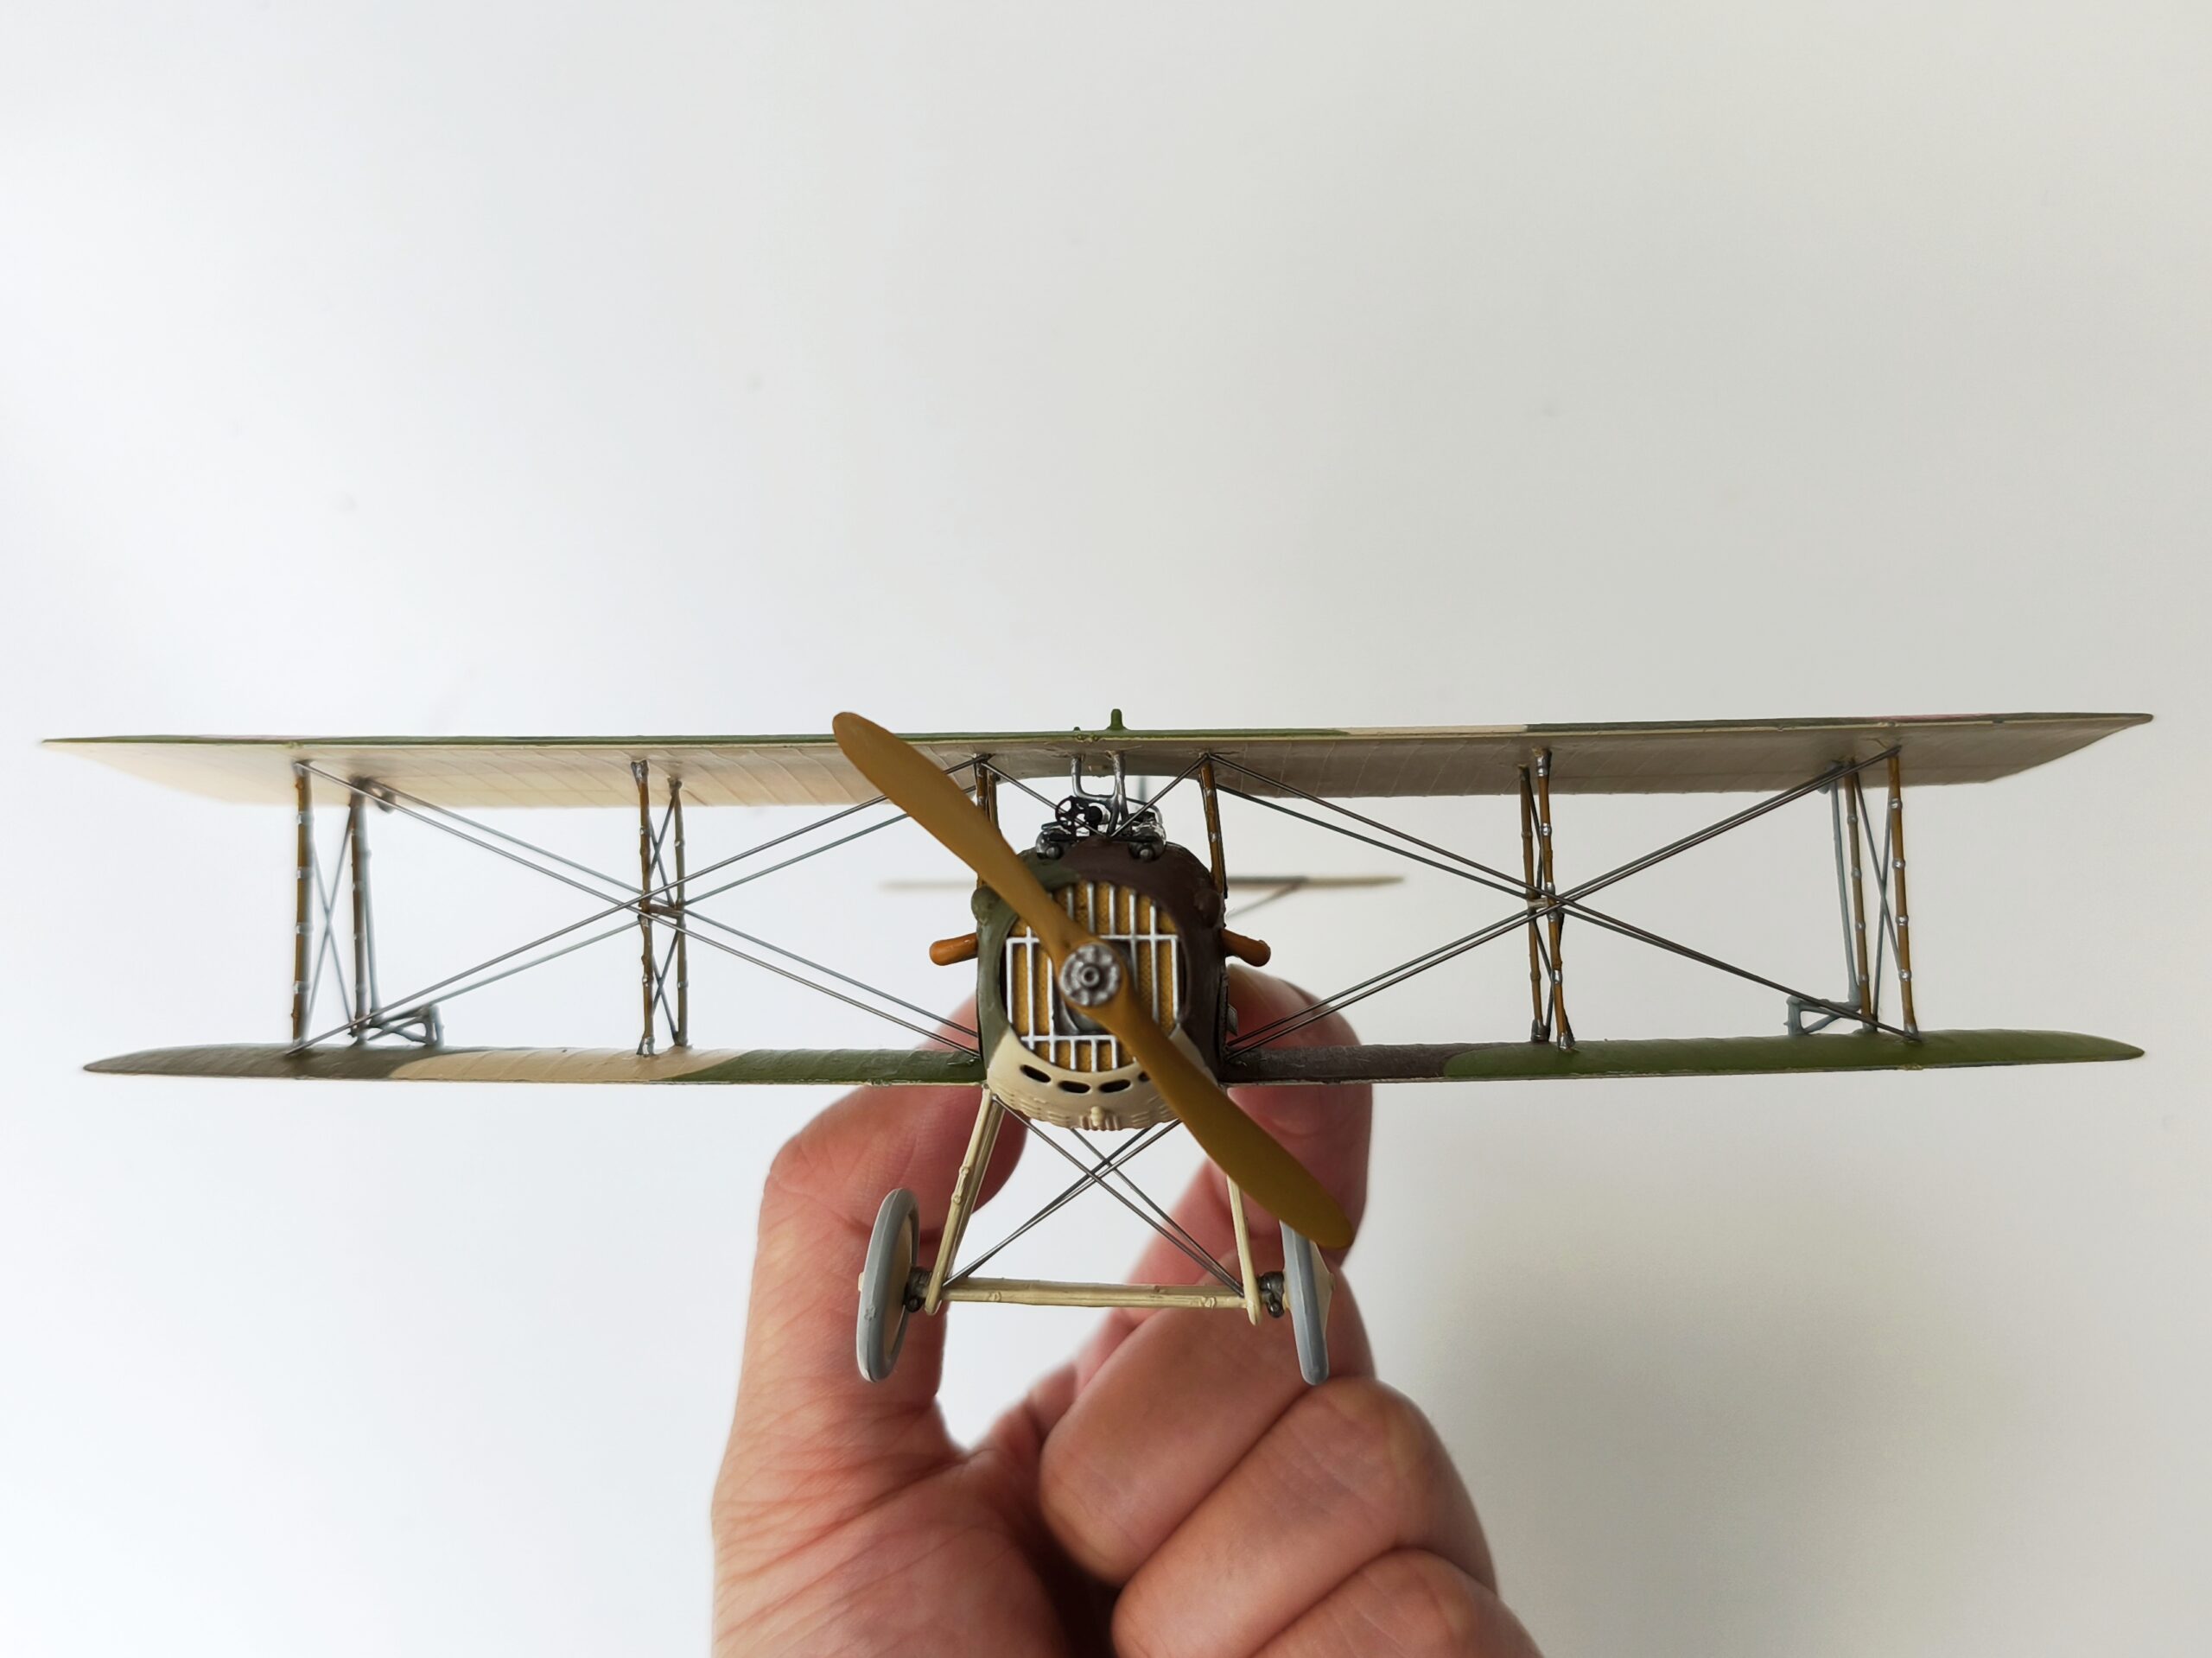
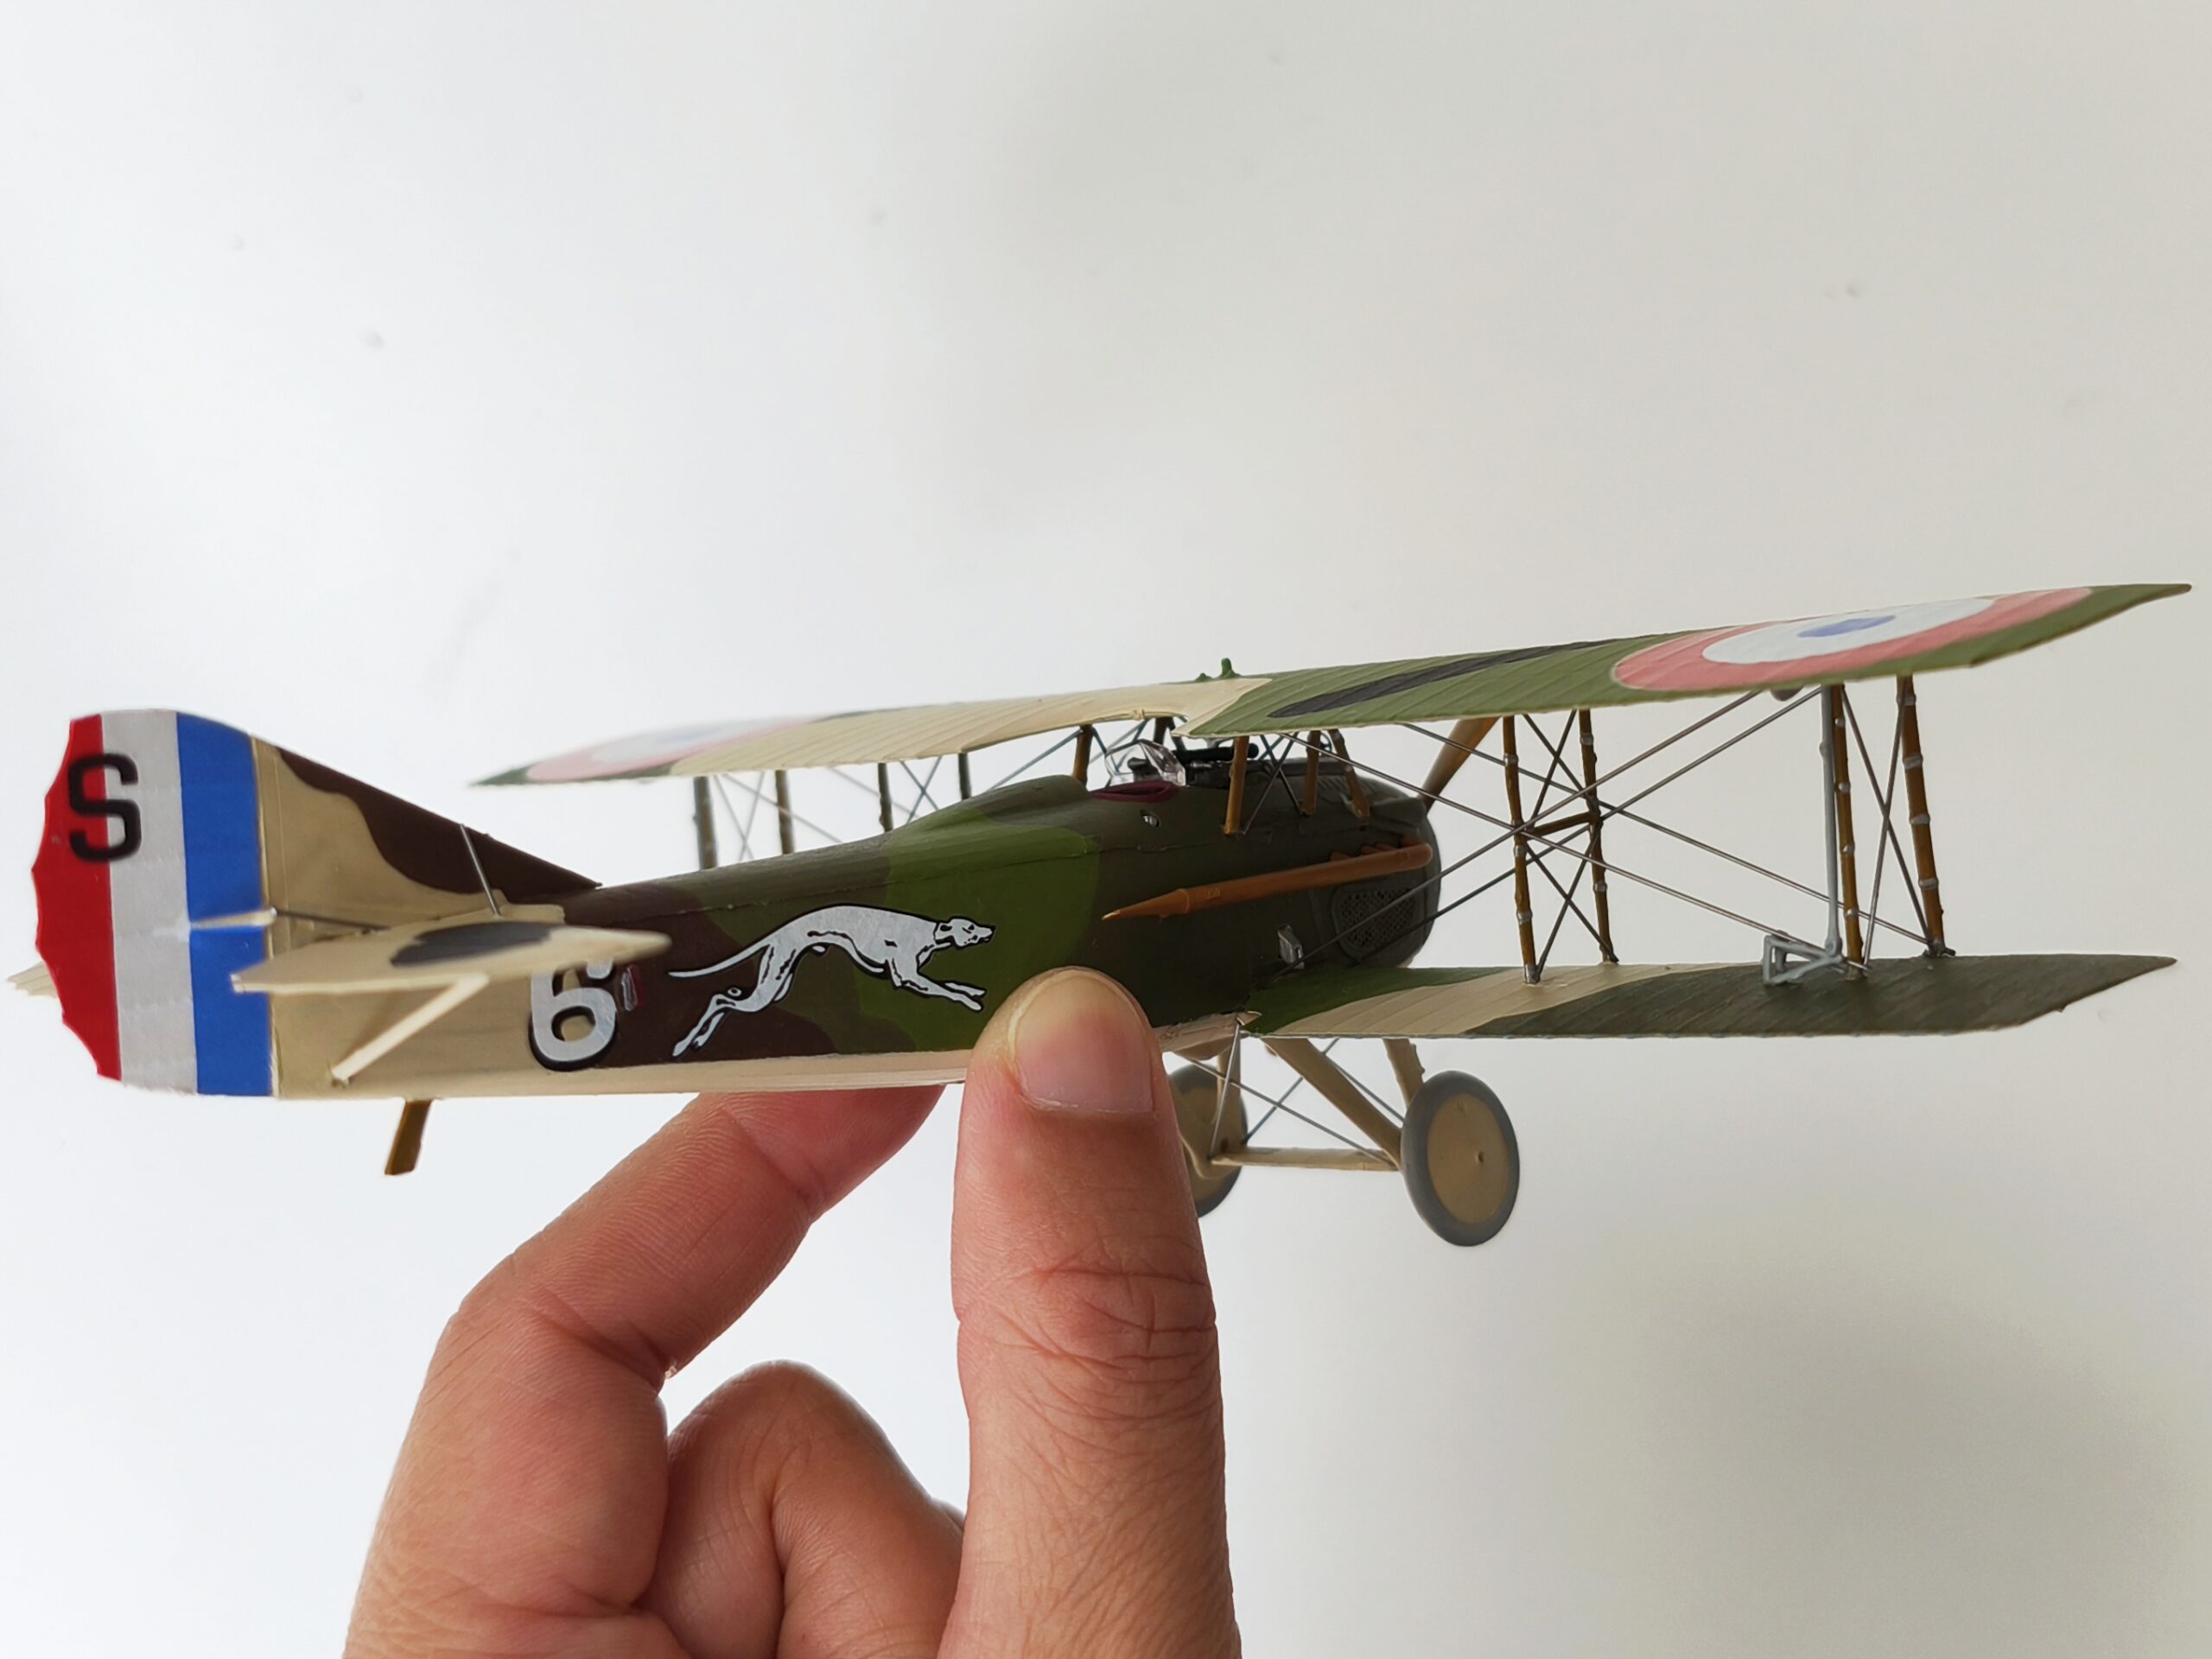
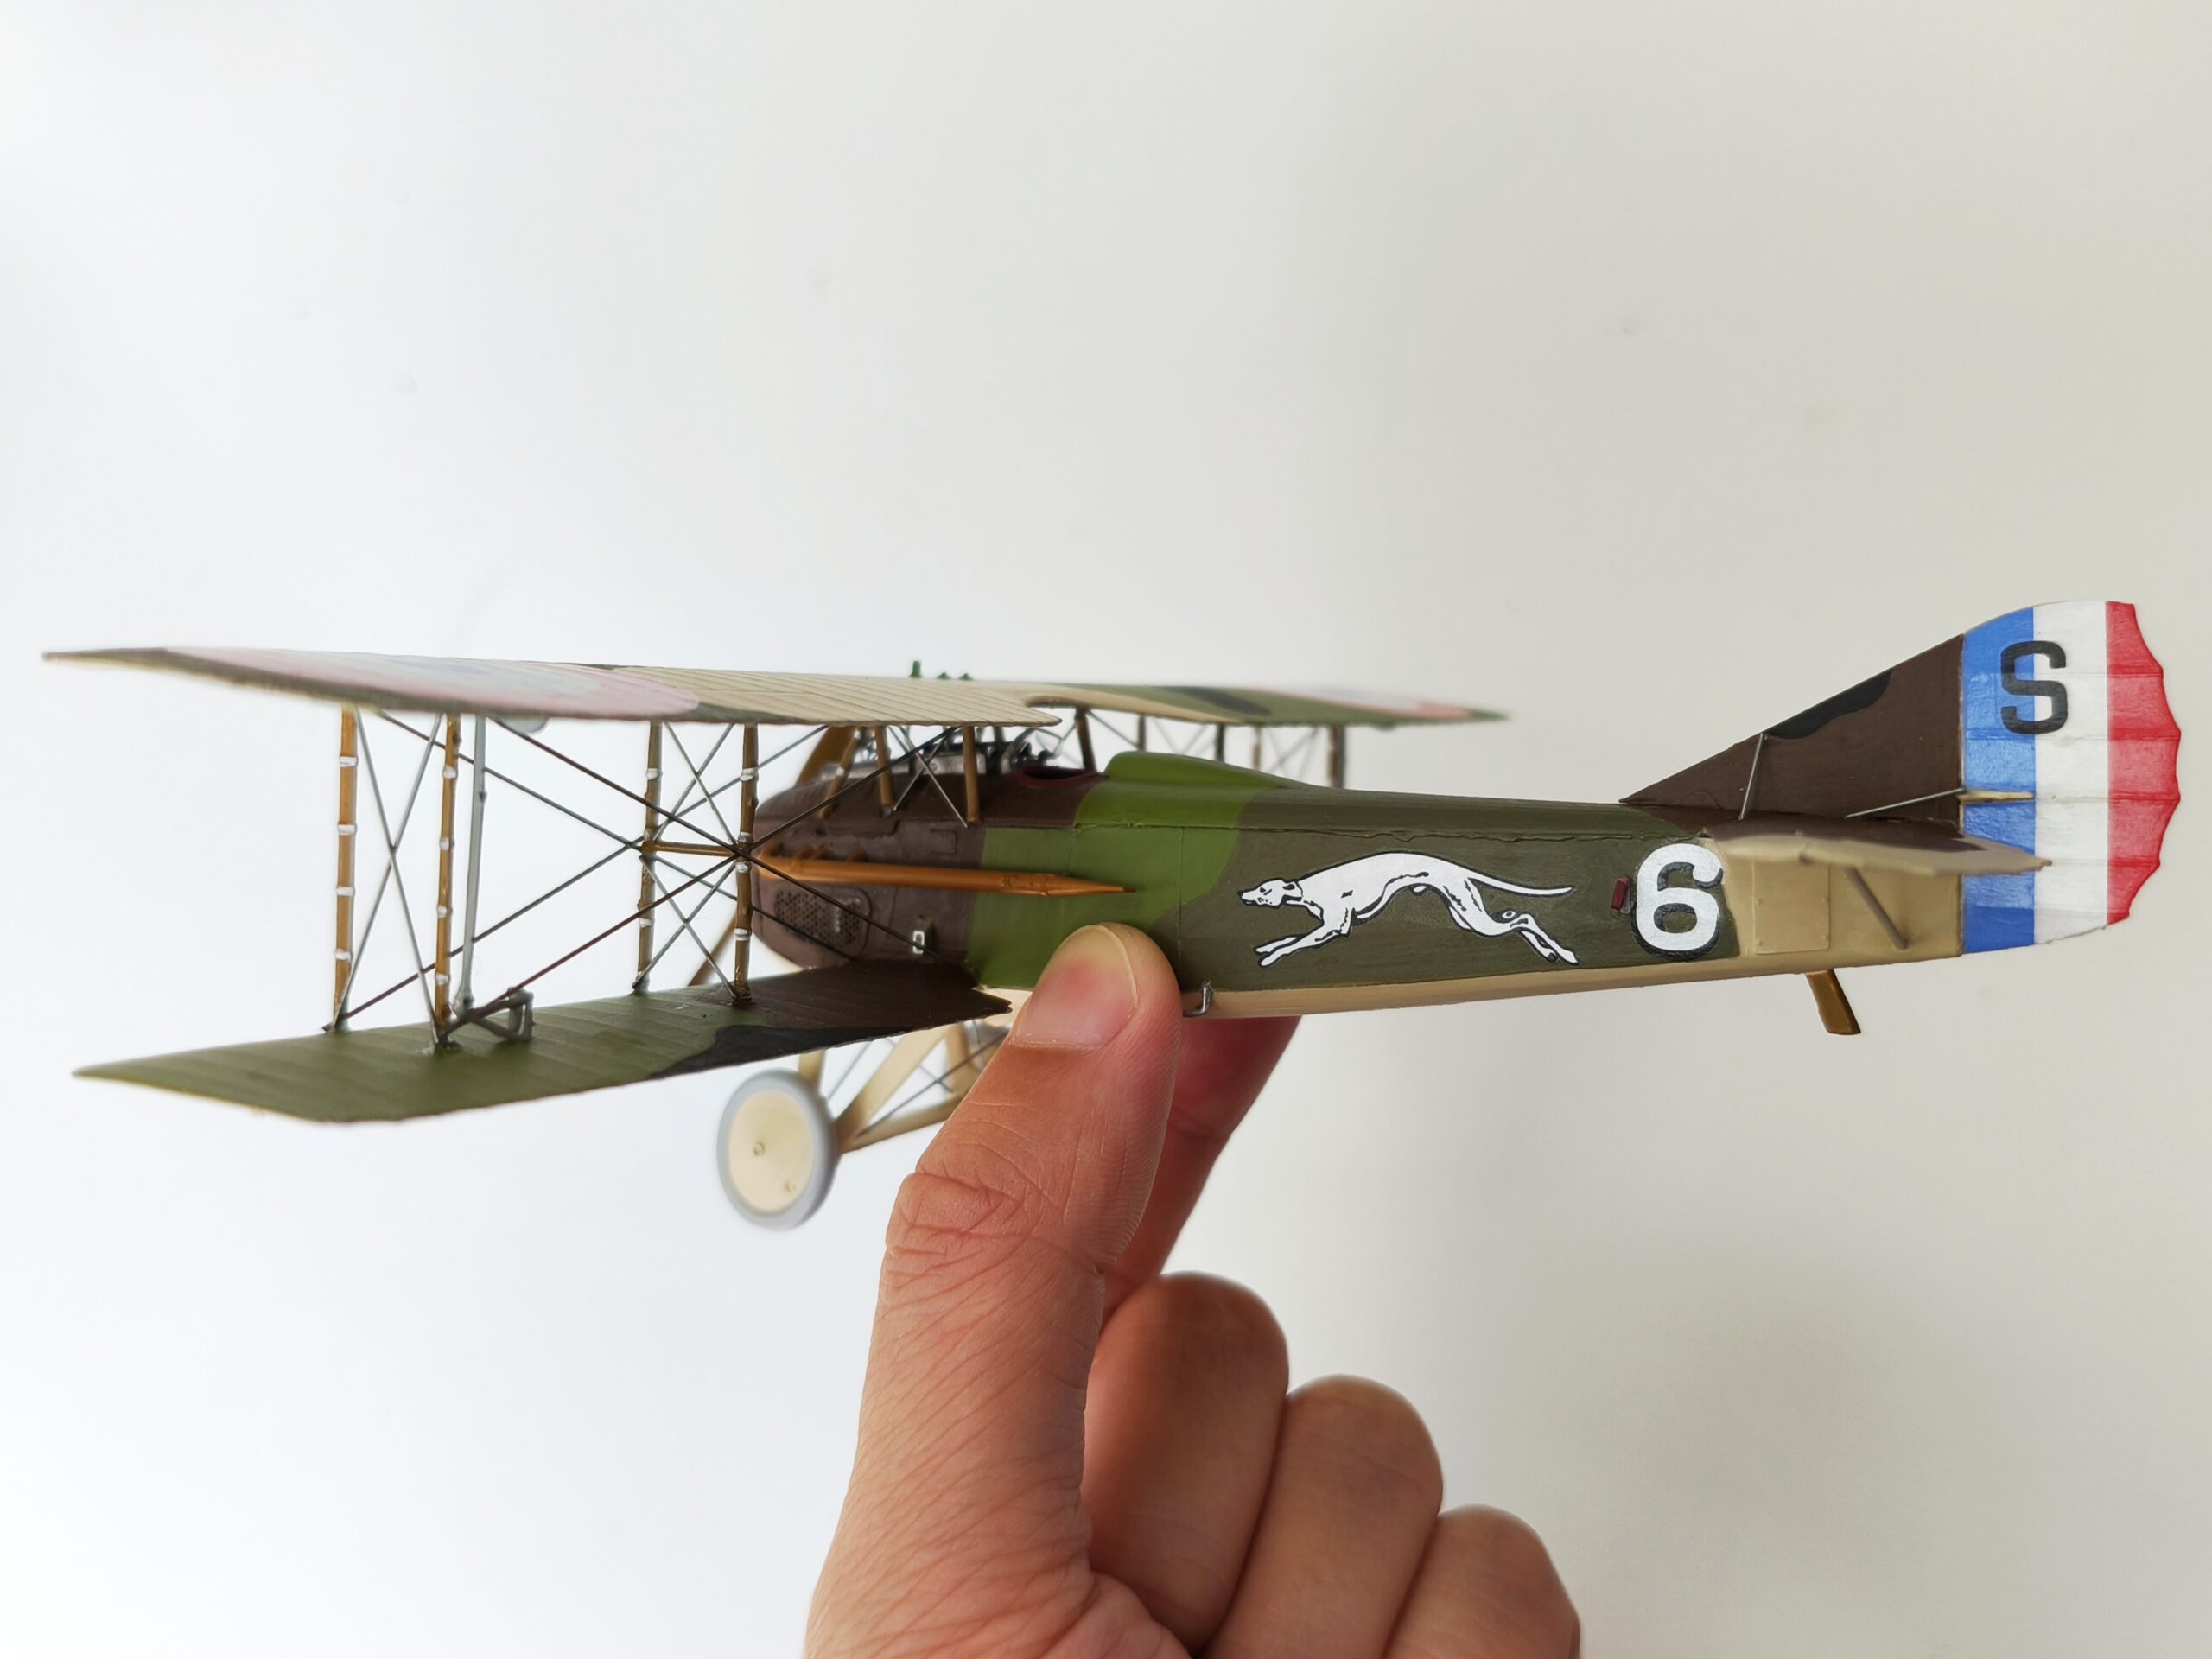
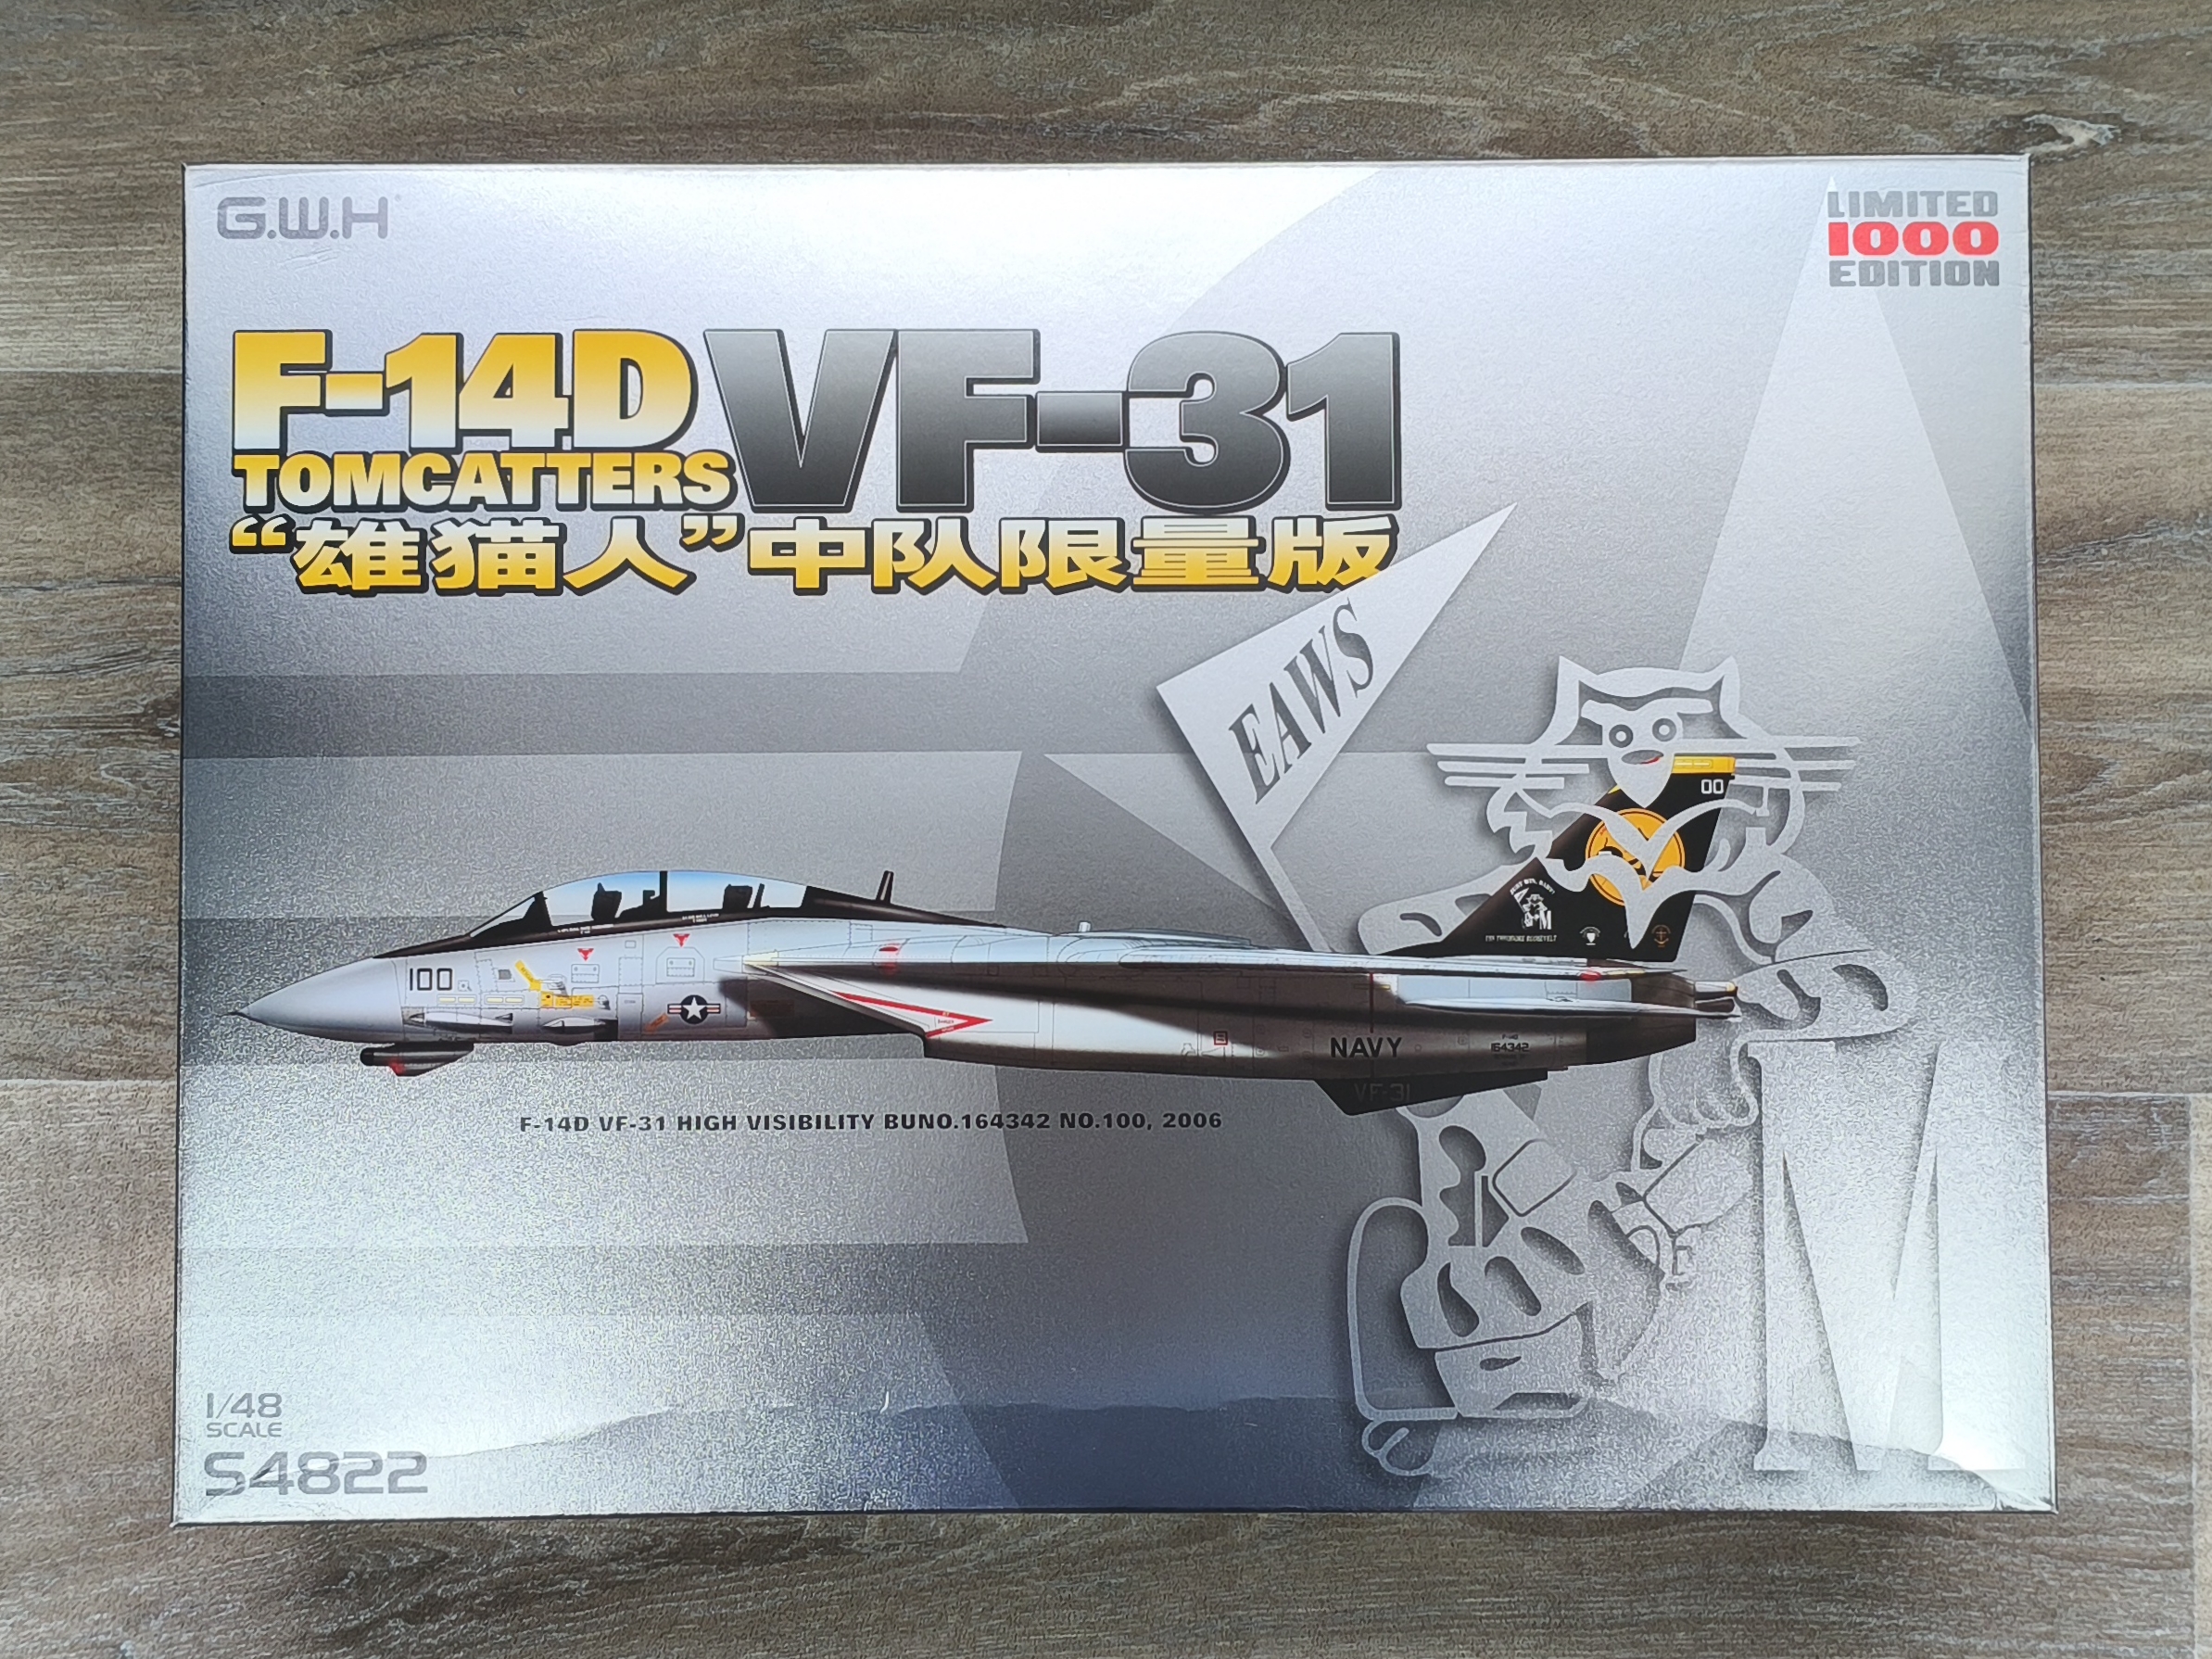
SPAD XIII, a successful French biplane fighter aircraft of WWI, the heavier and faster improvement of SPAD VII, and also the plane that we keep mispronouncing as a potato.
Our first ever model kit was a biplane – 1/72 Stearman. During that build, we lost the canopy, the decals were tear apart, and we were completely ignorant that there was rigging involved. Armed with a few more years in model-making, we are not making the same mistakes on this 1/48 SPAD!