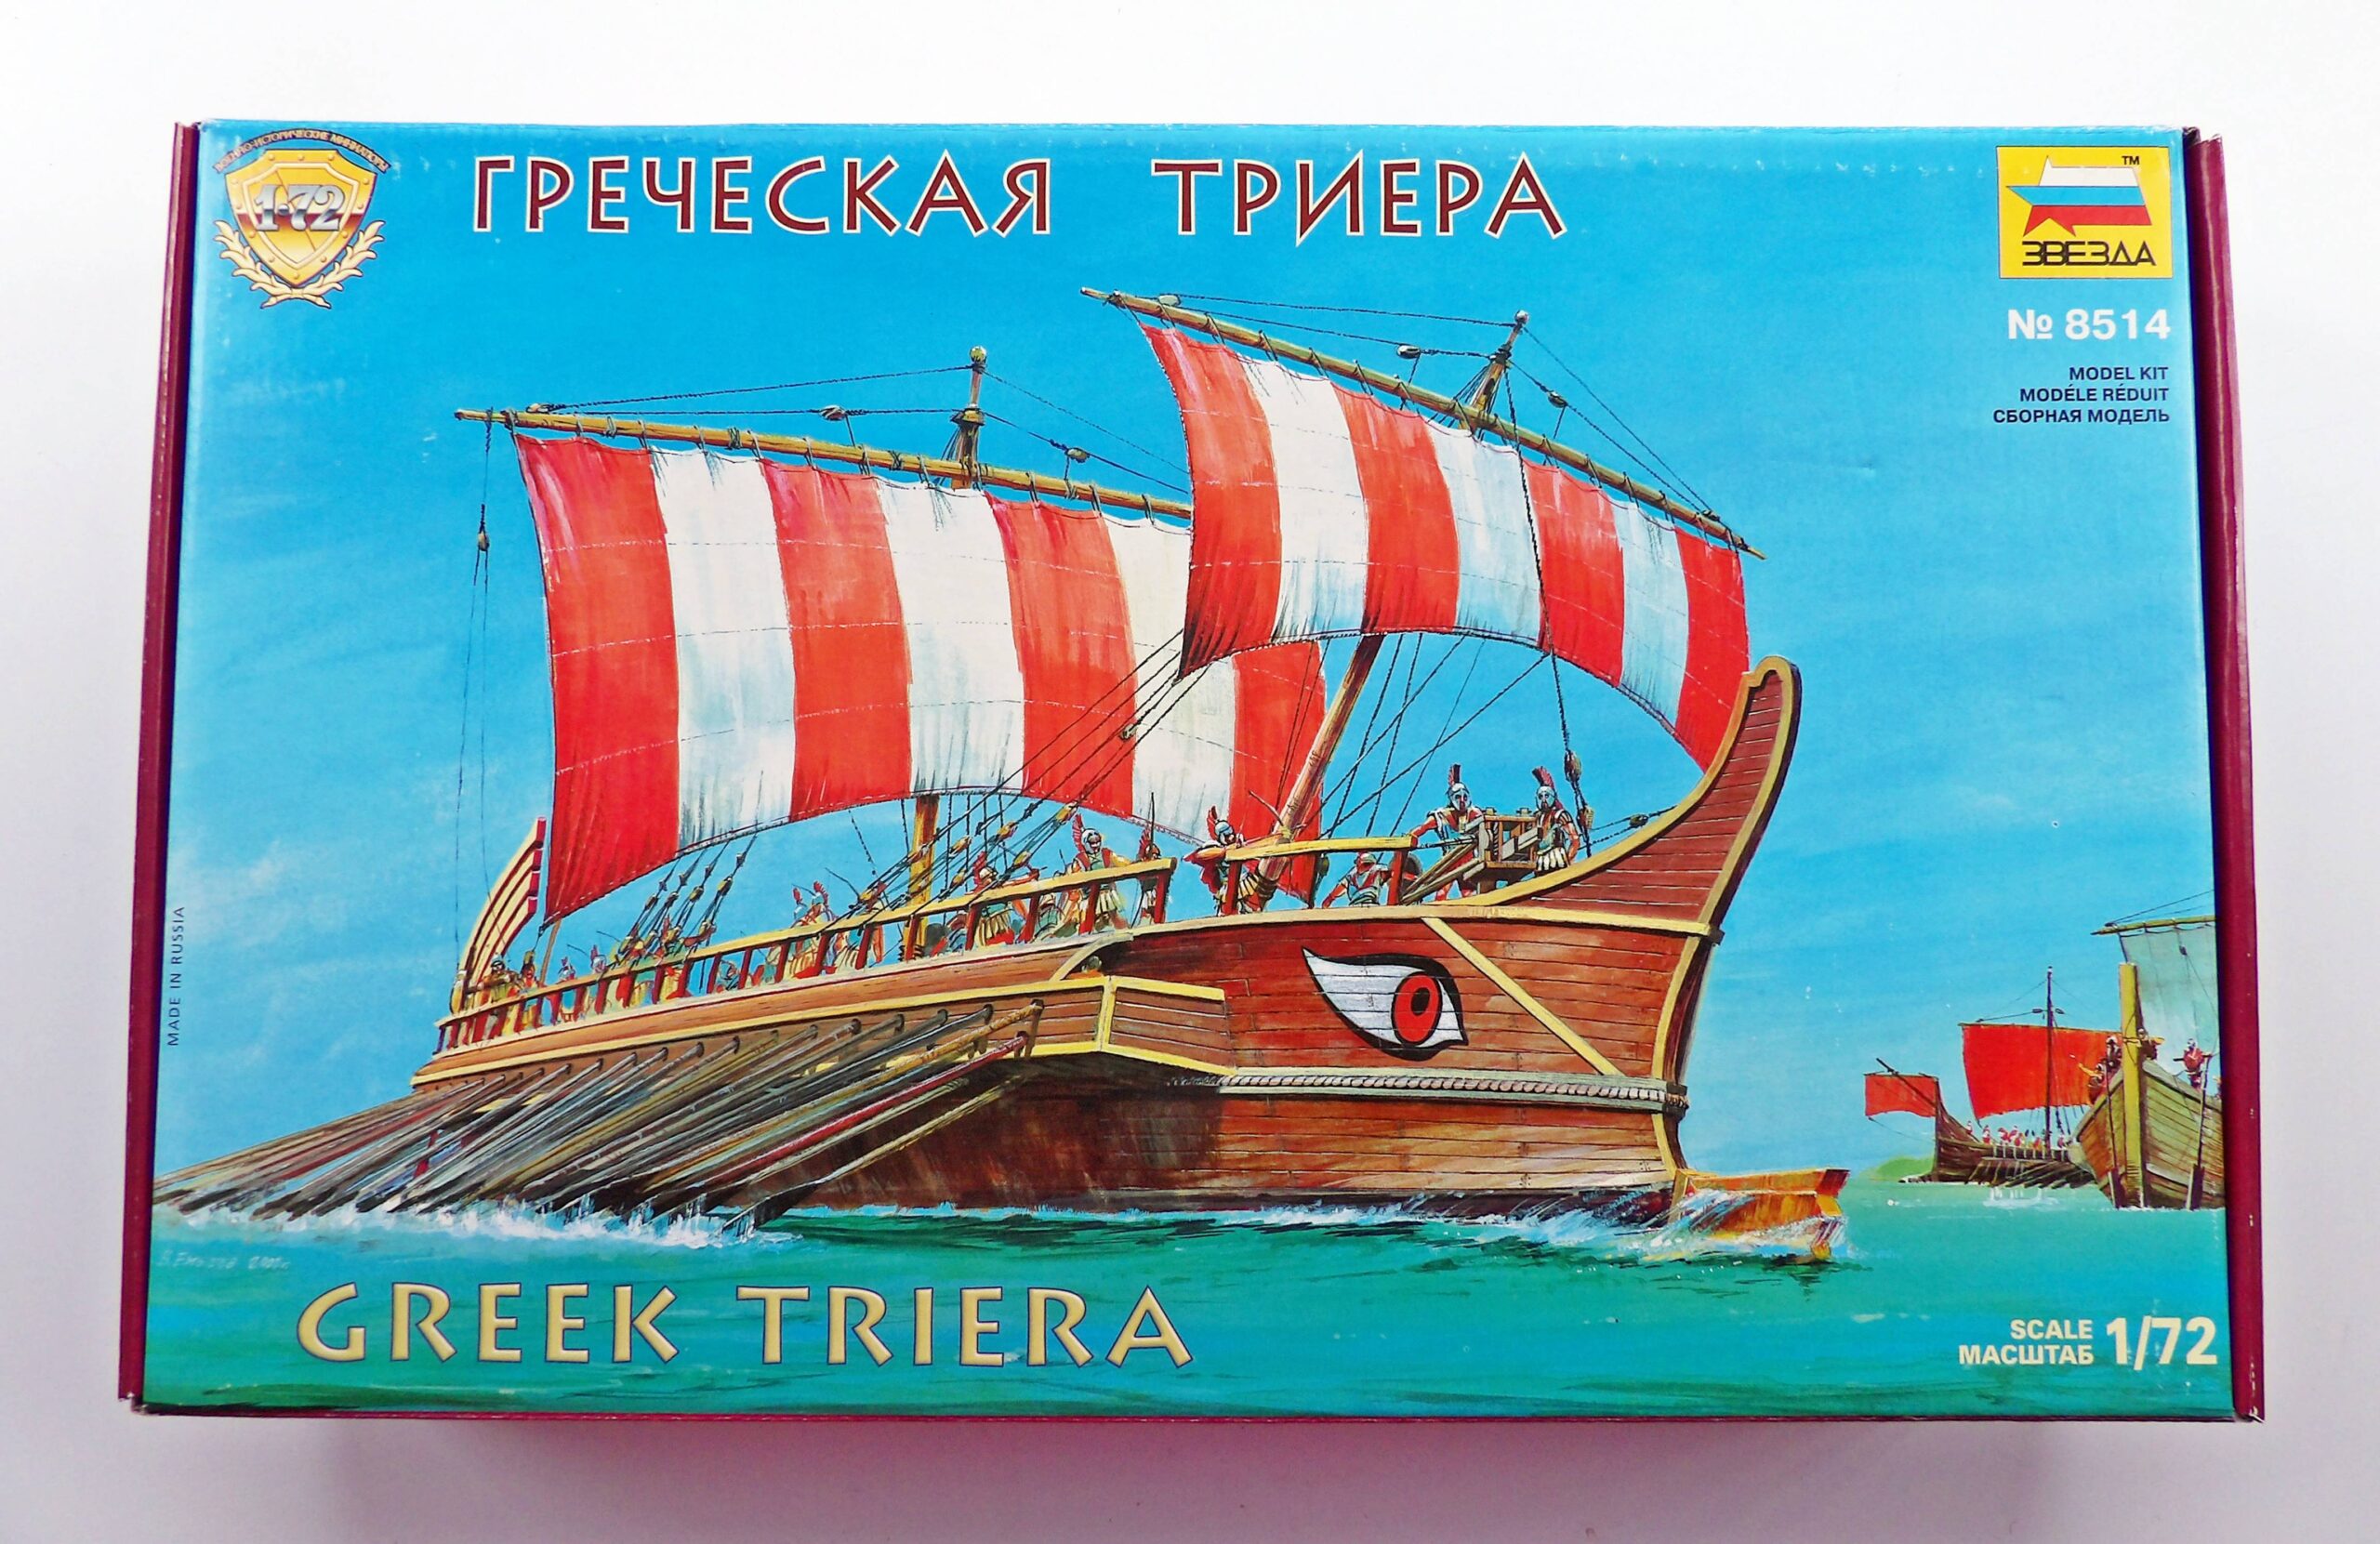
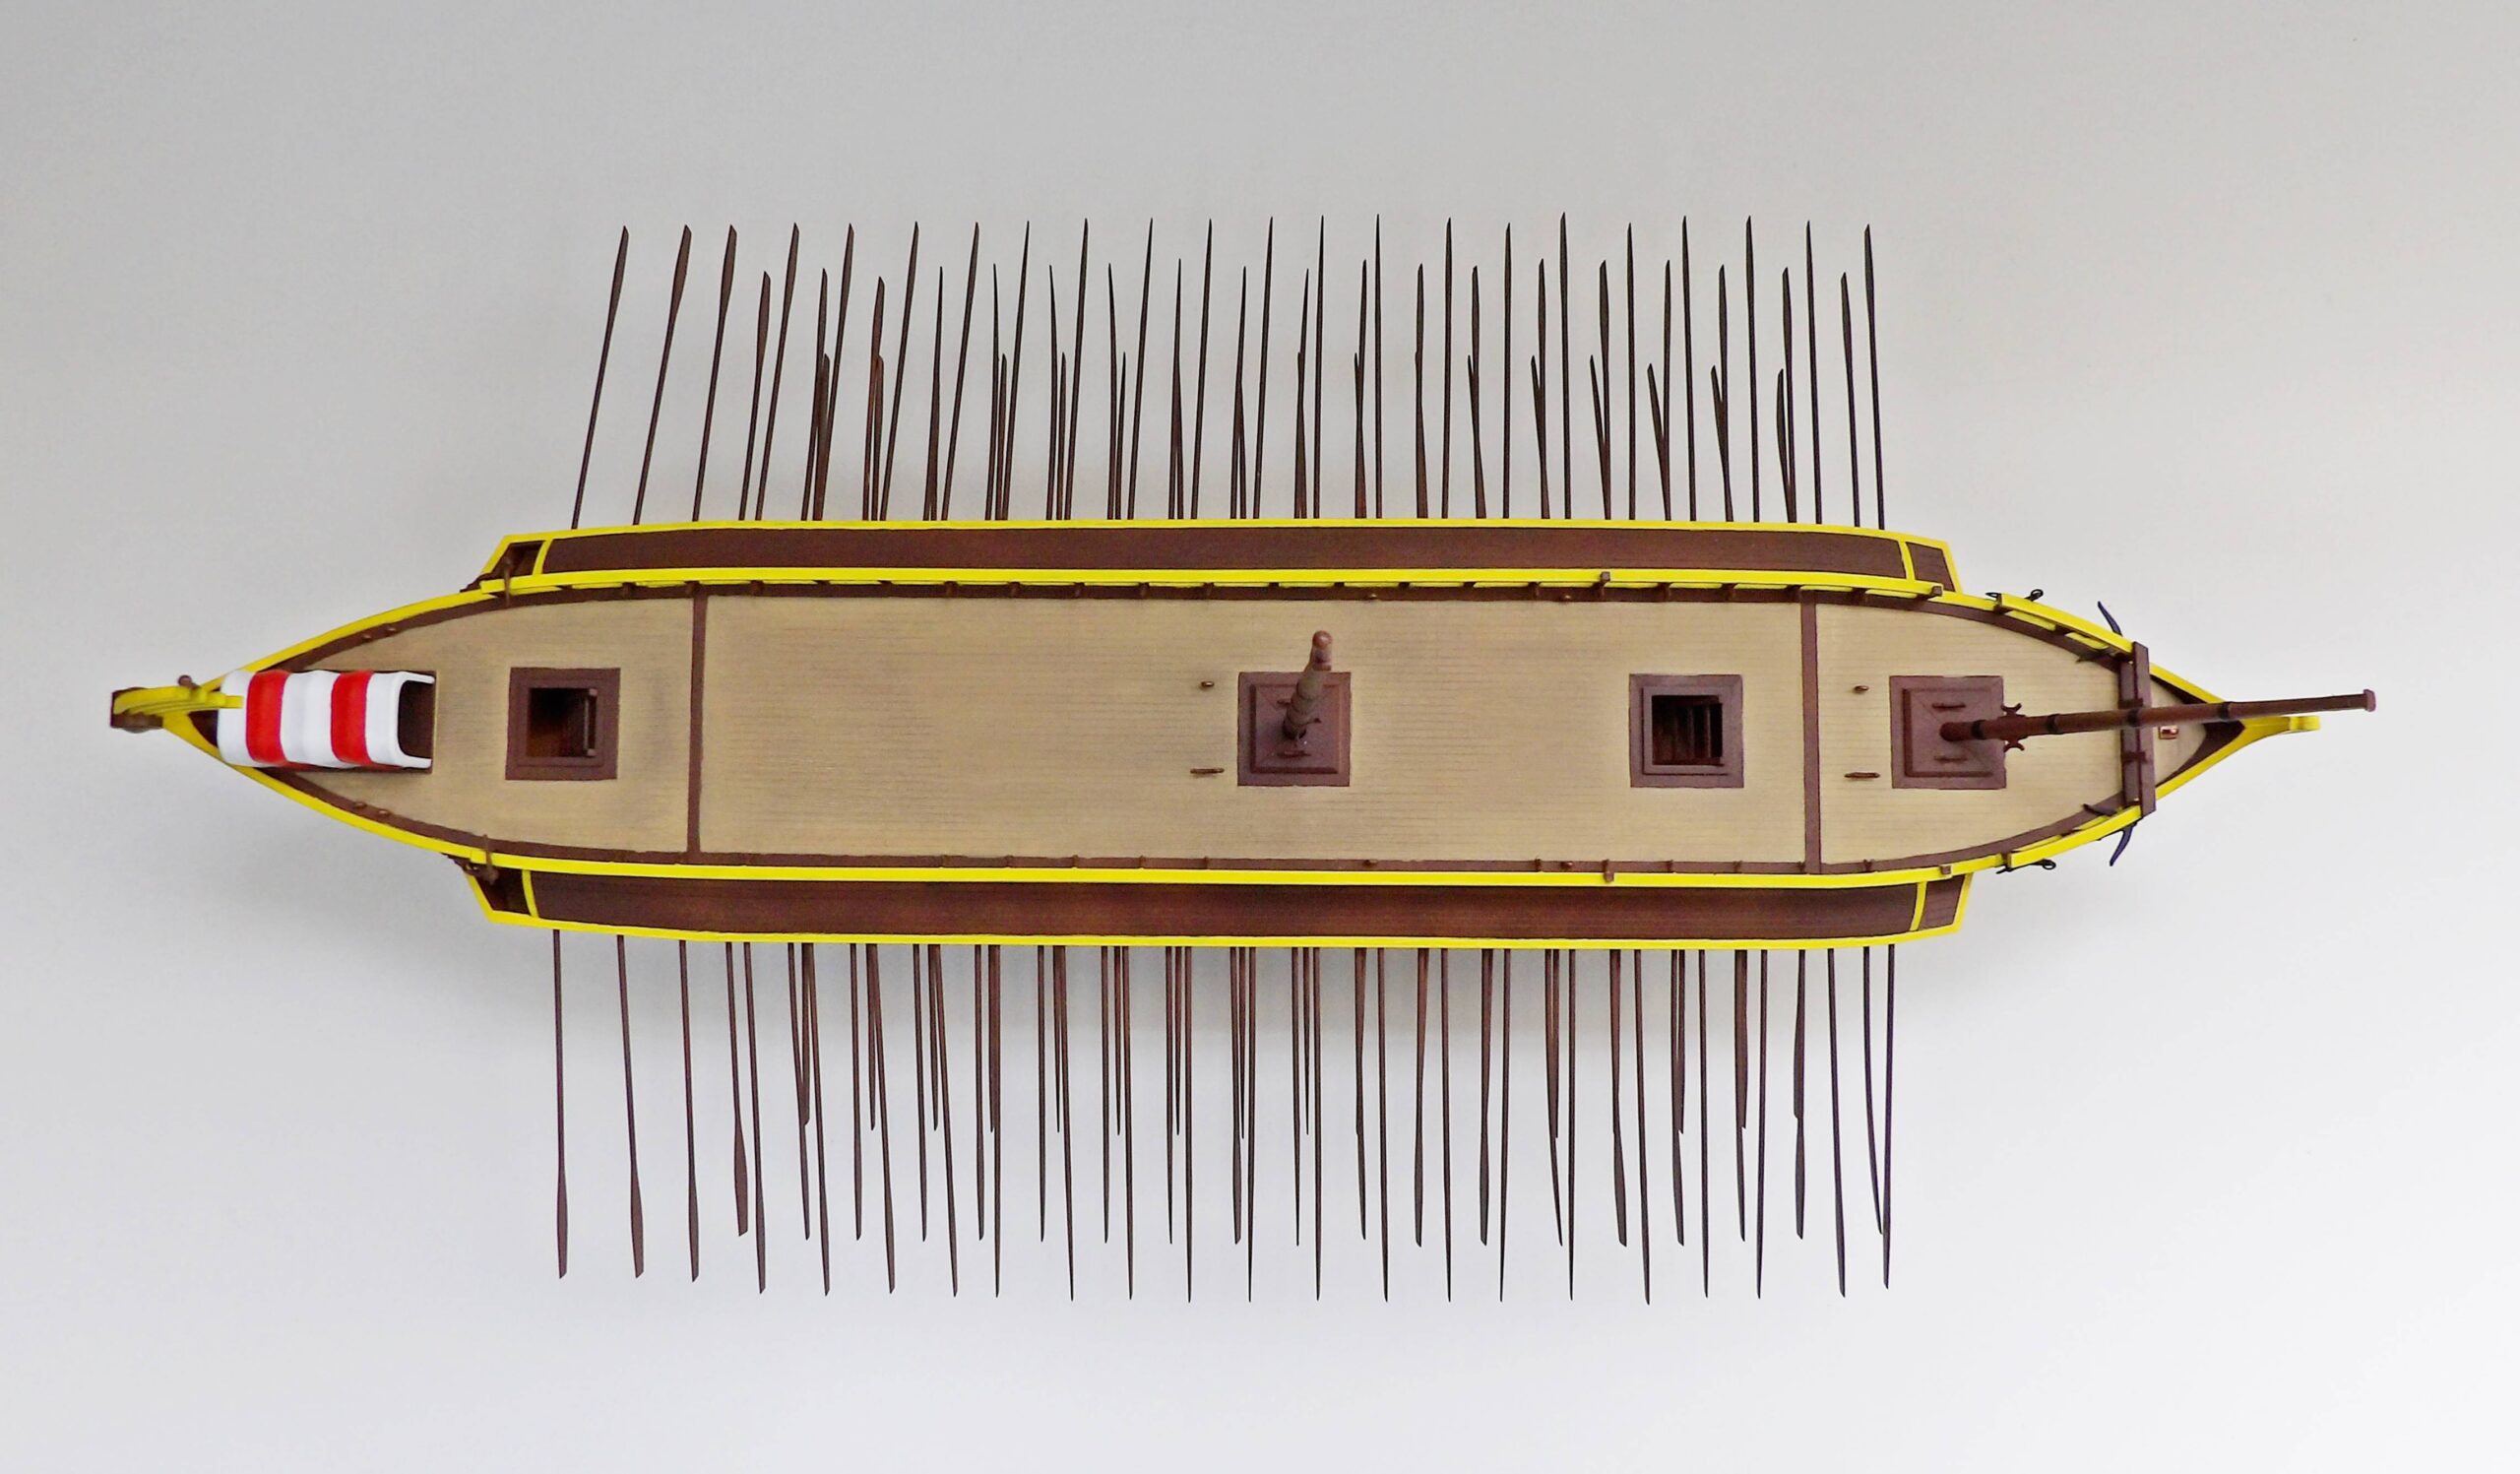
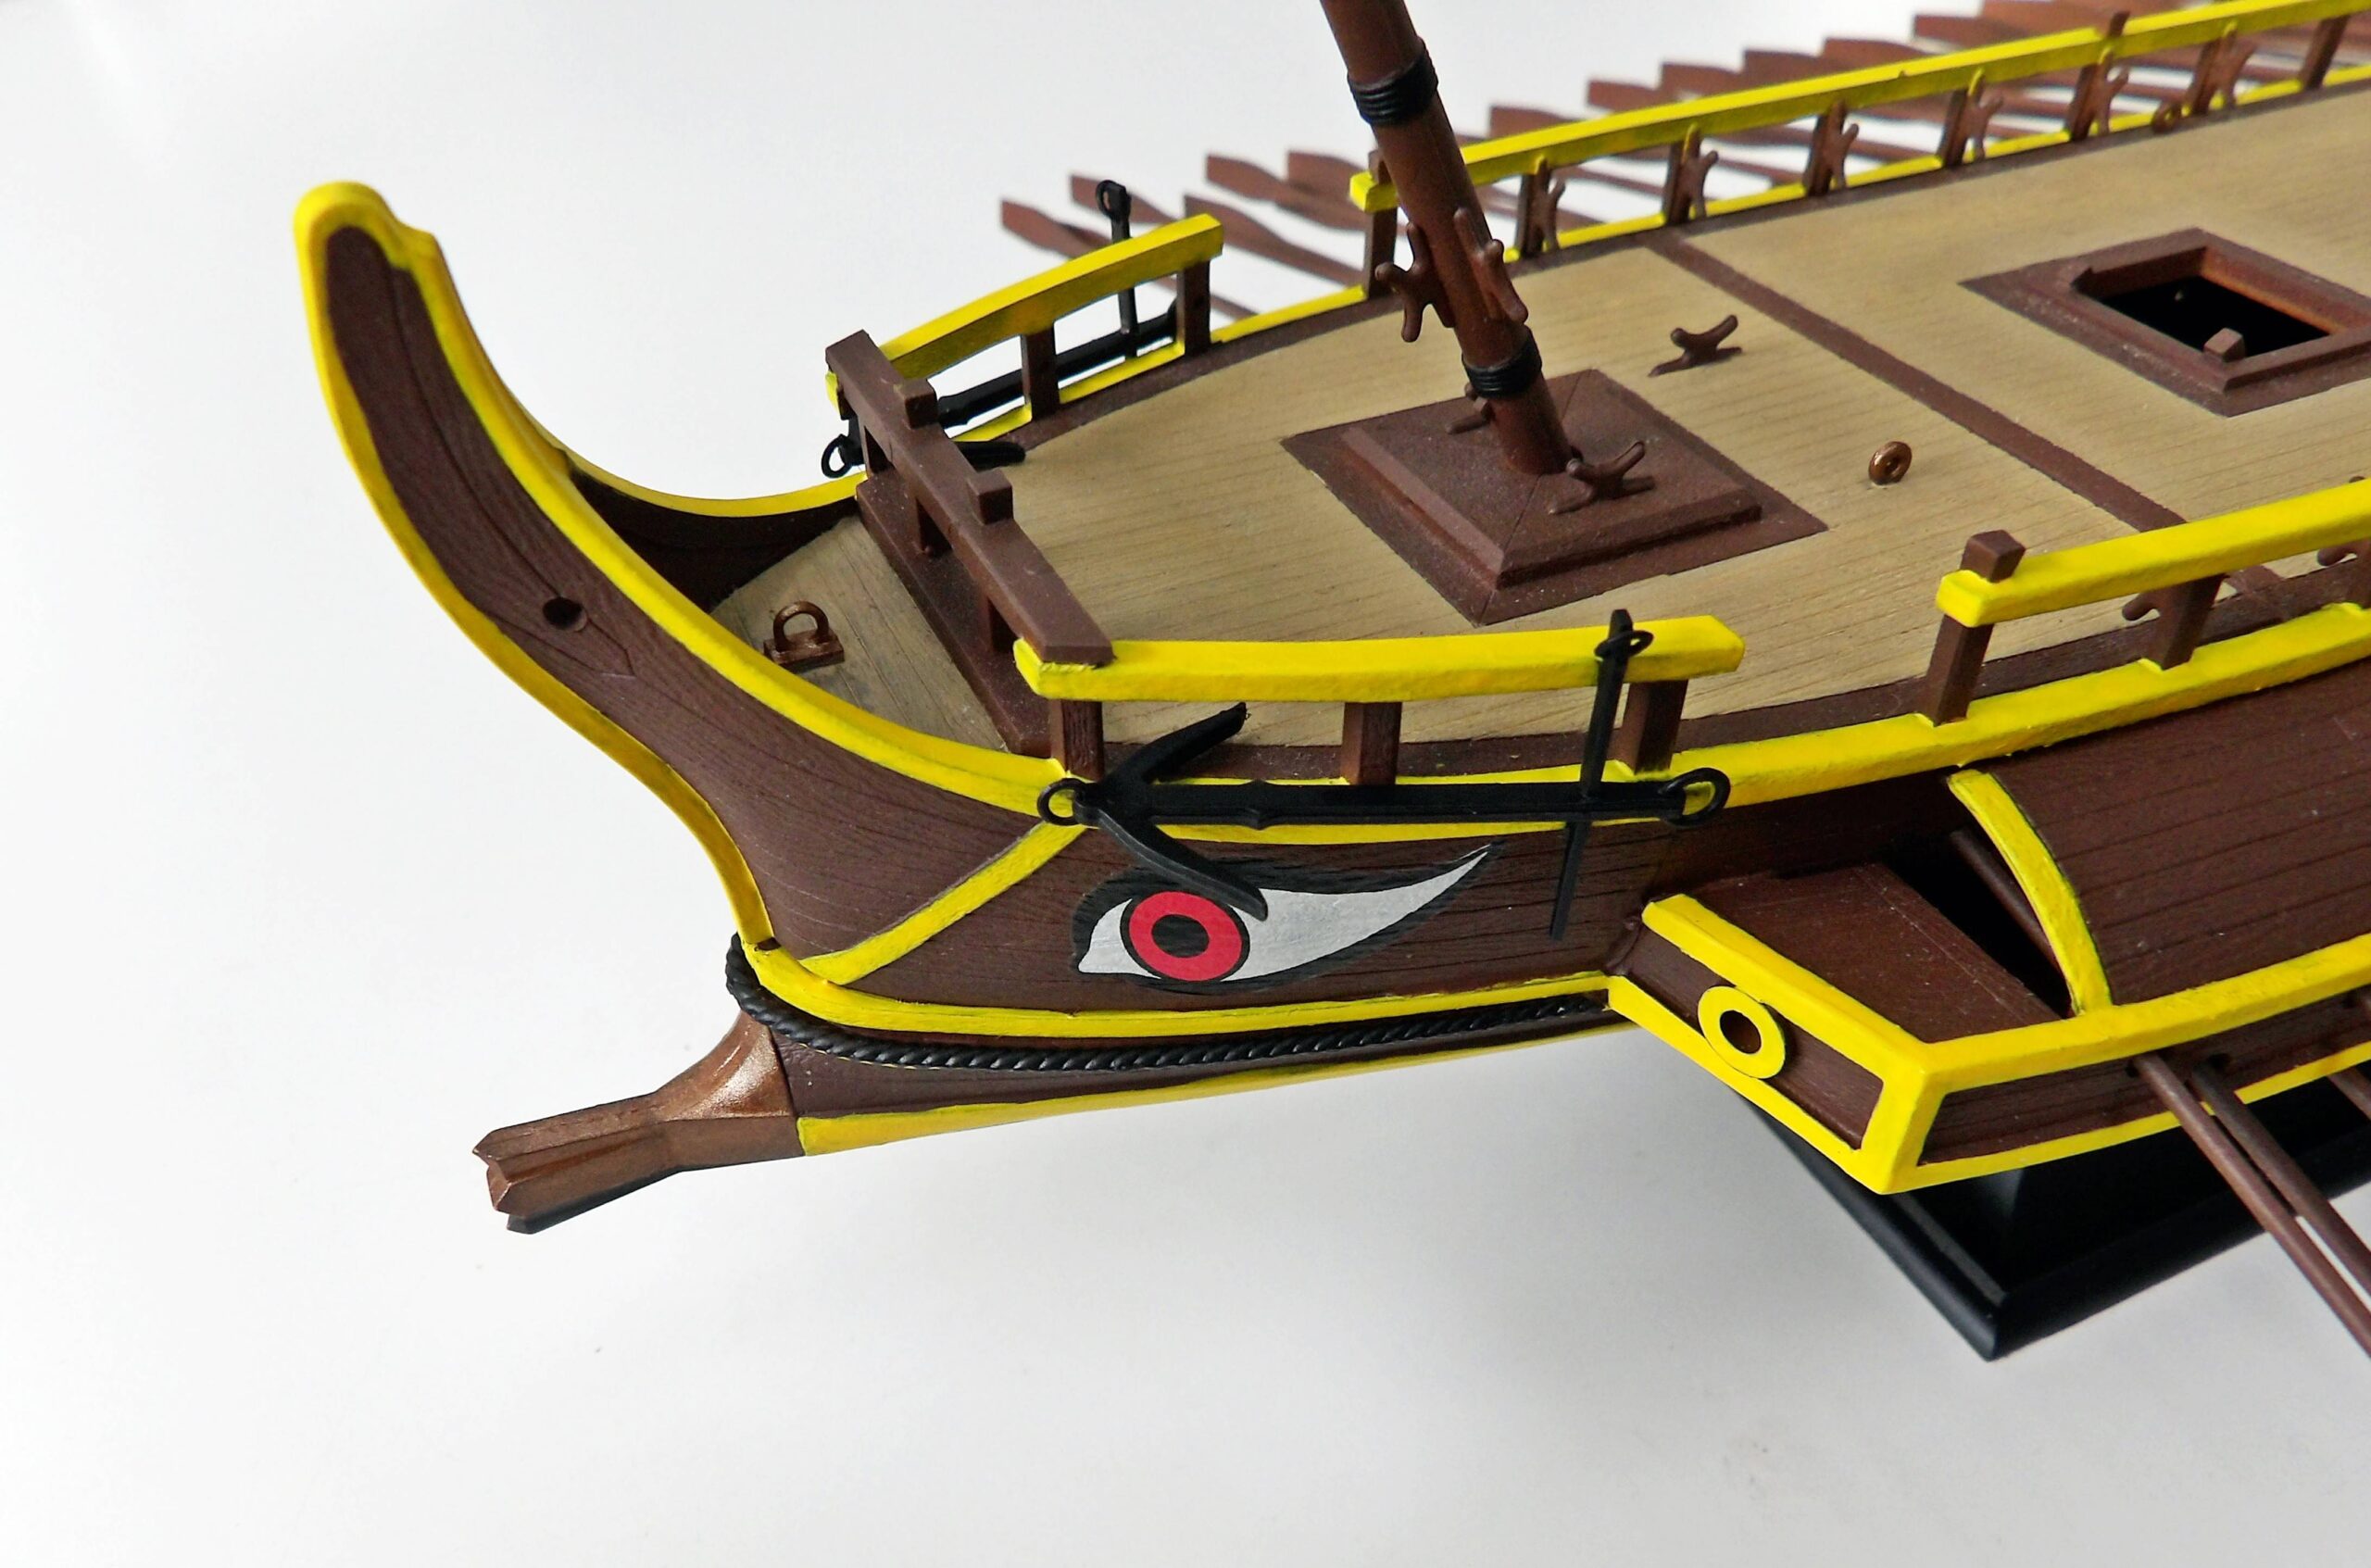
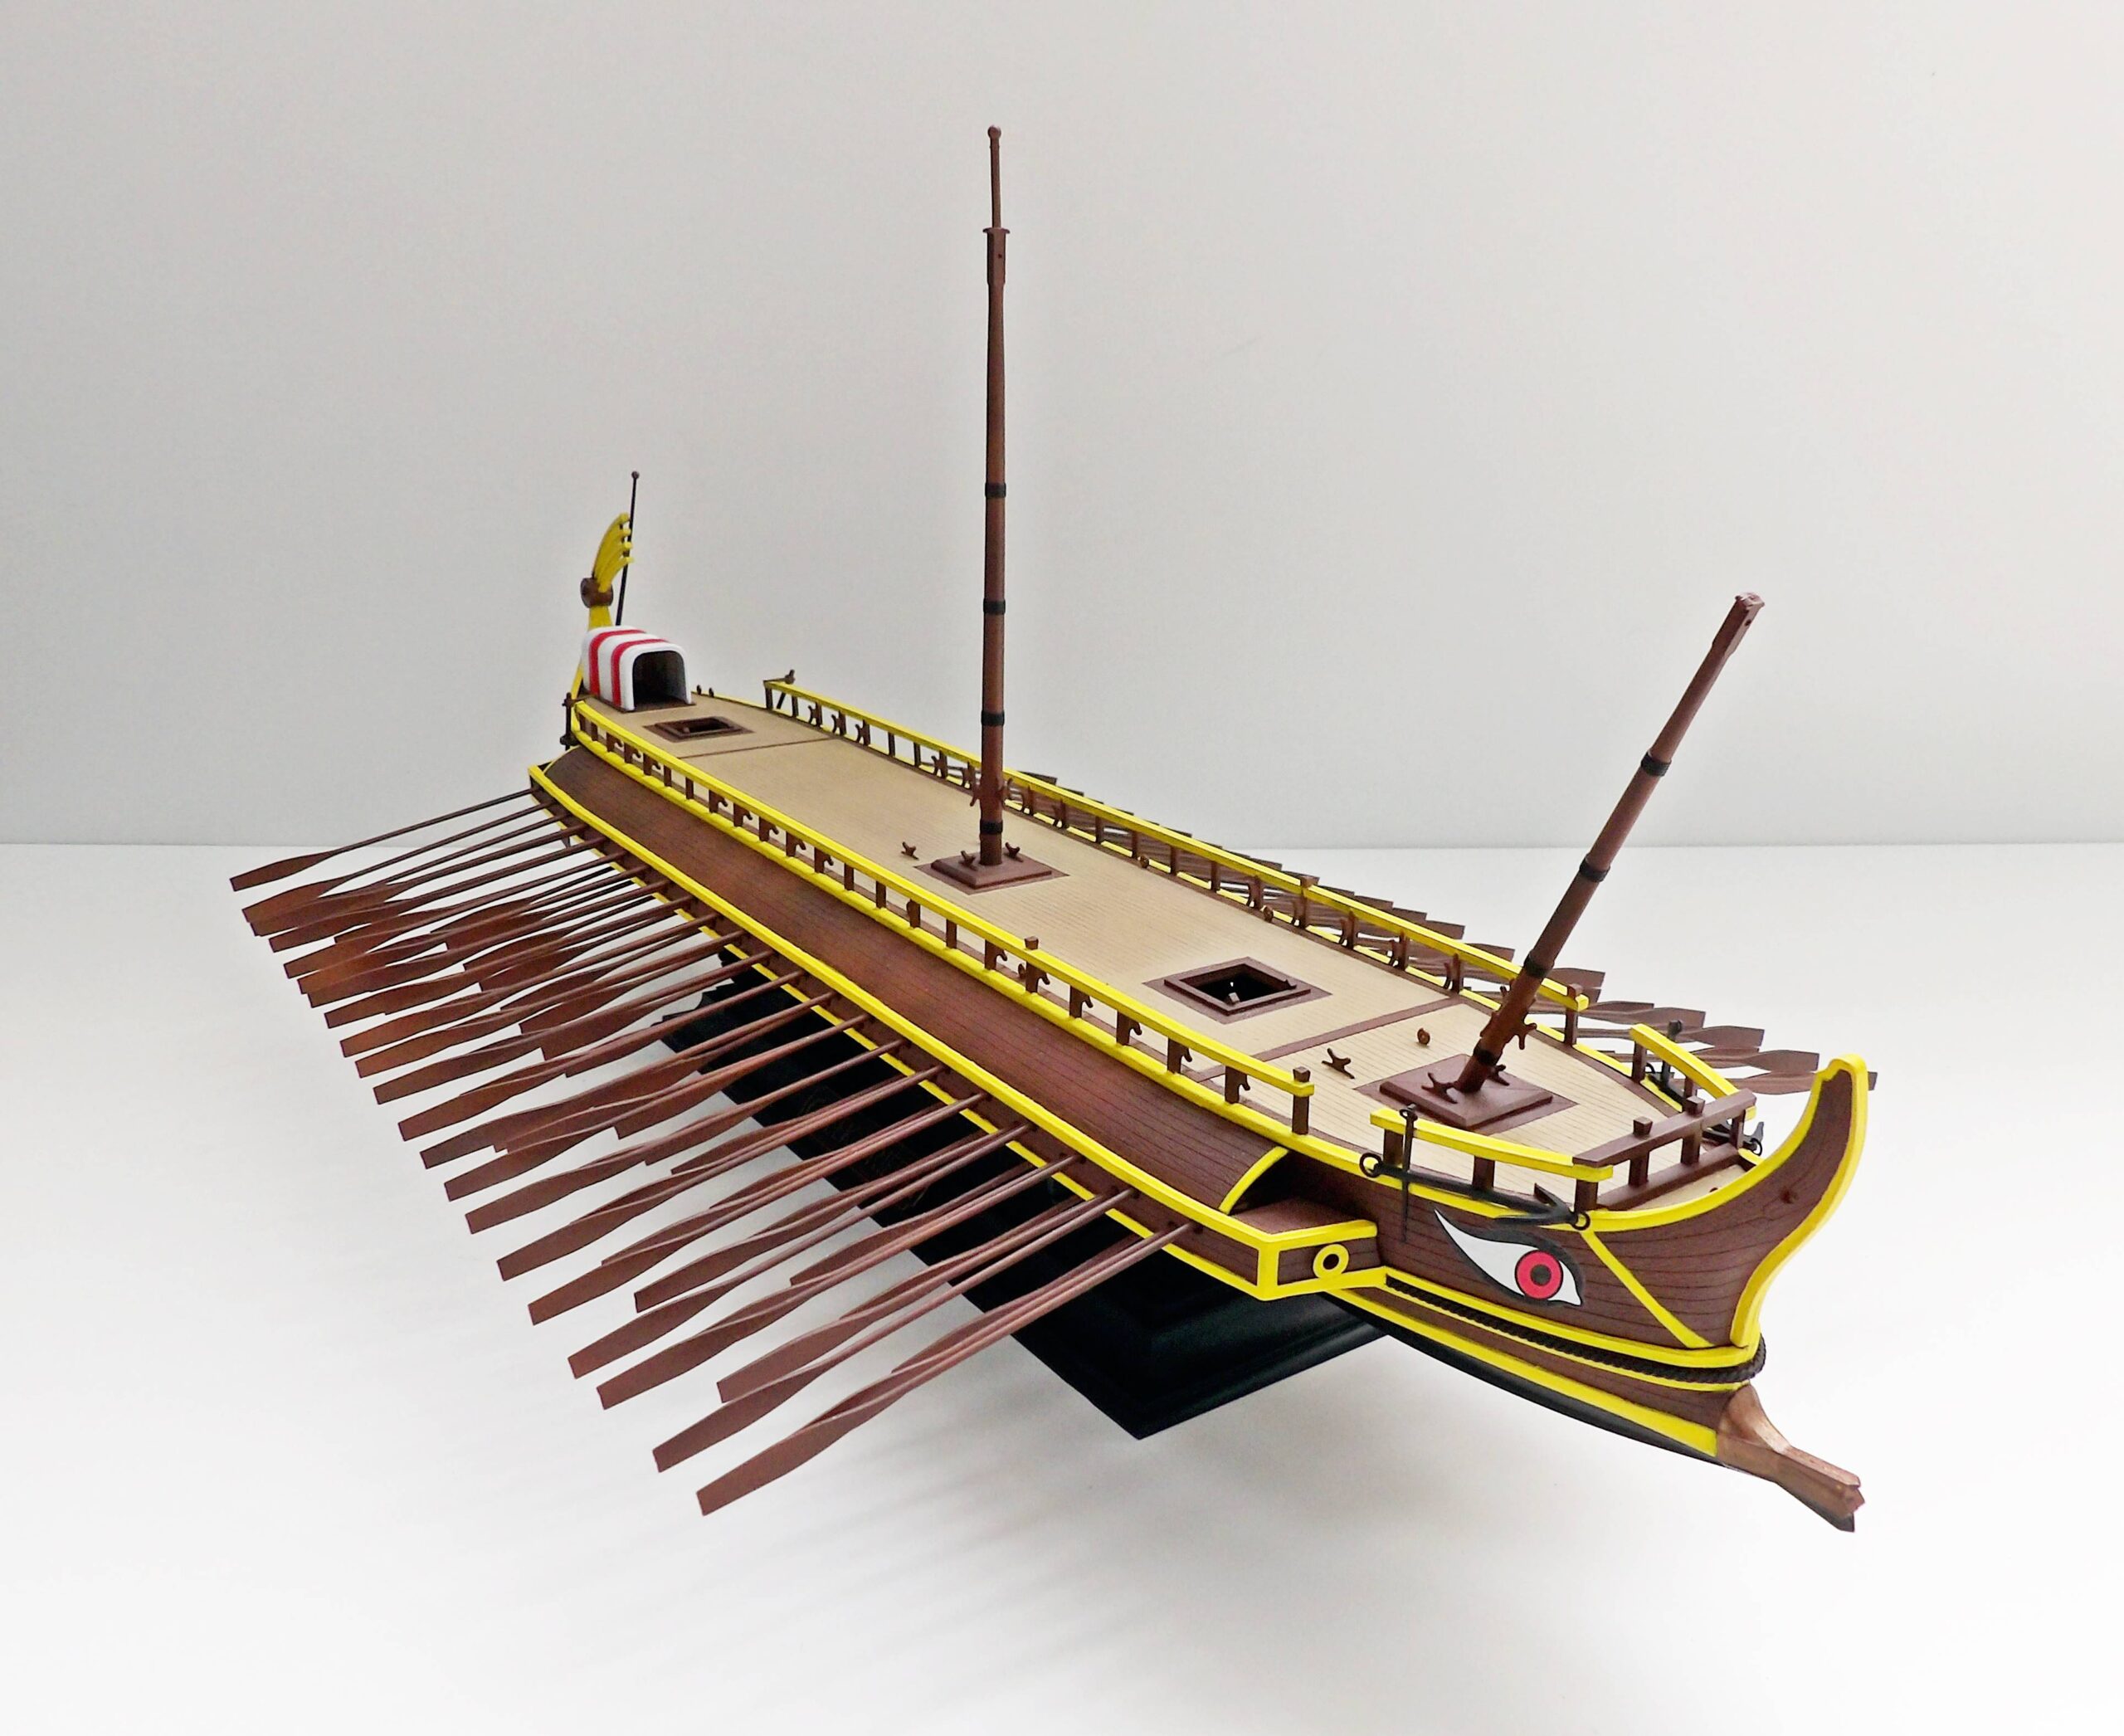
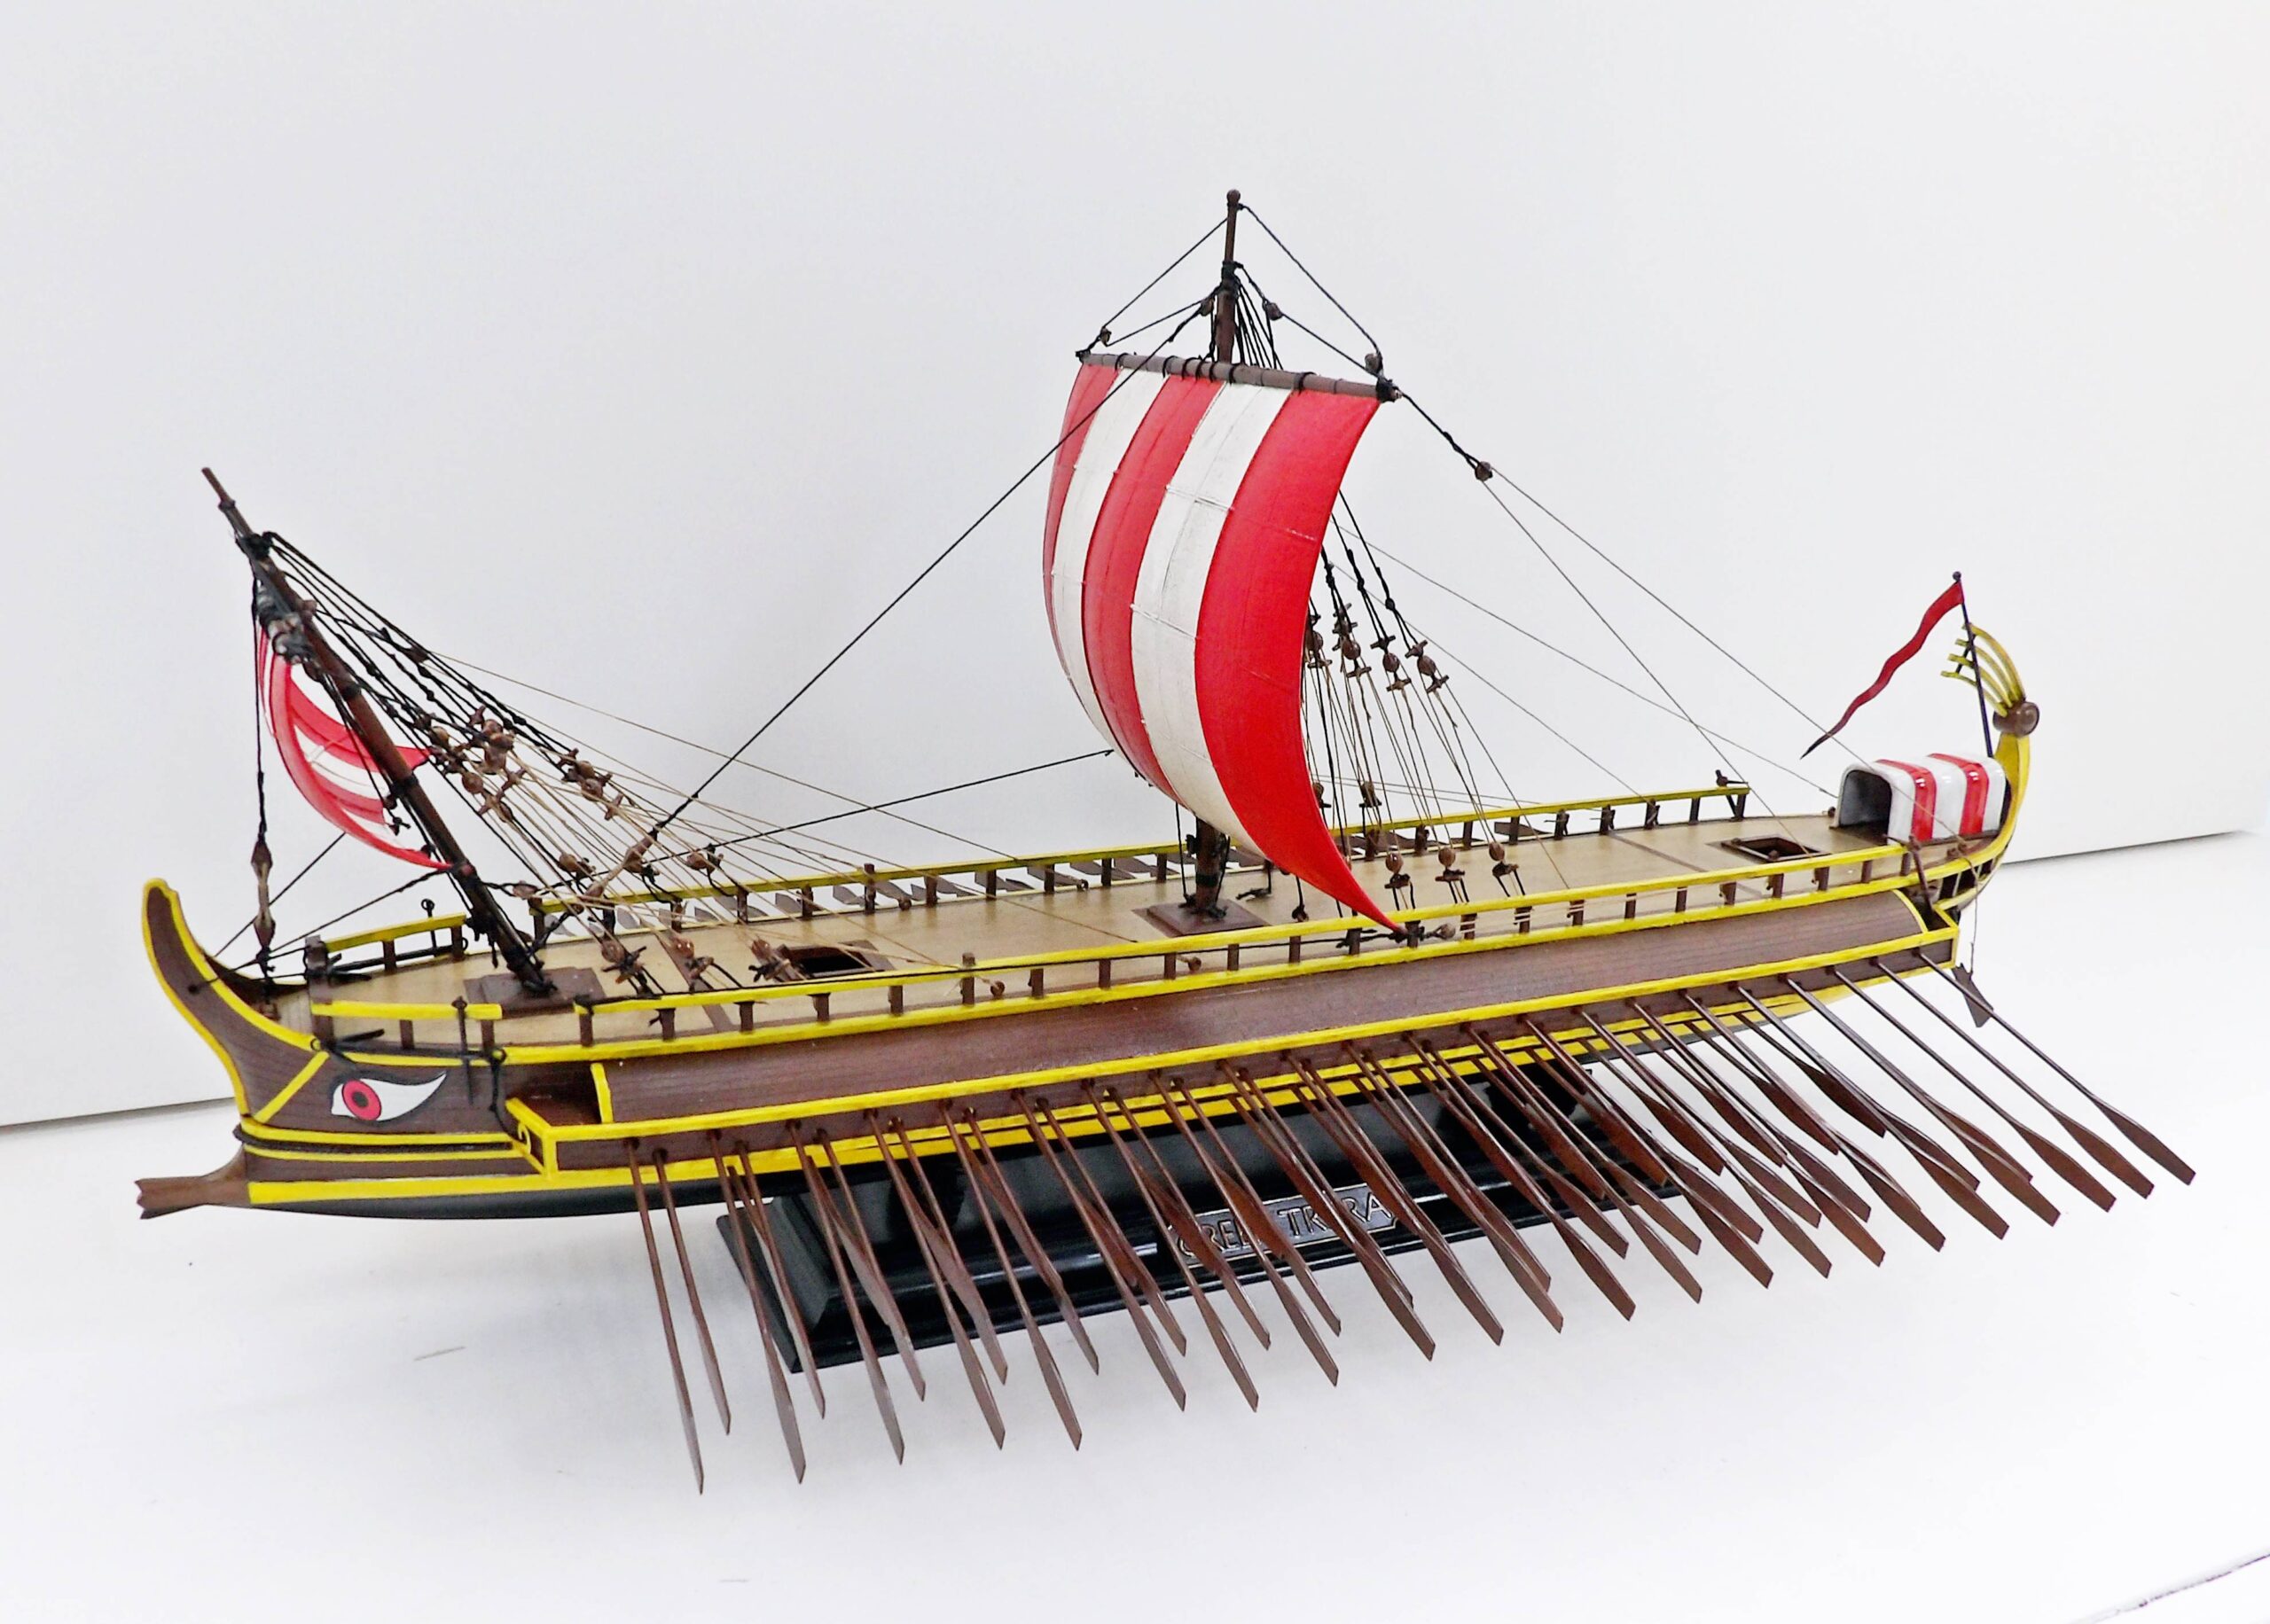
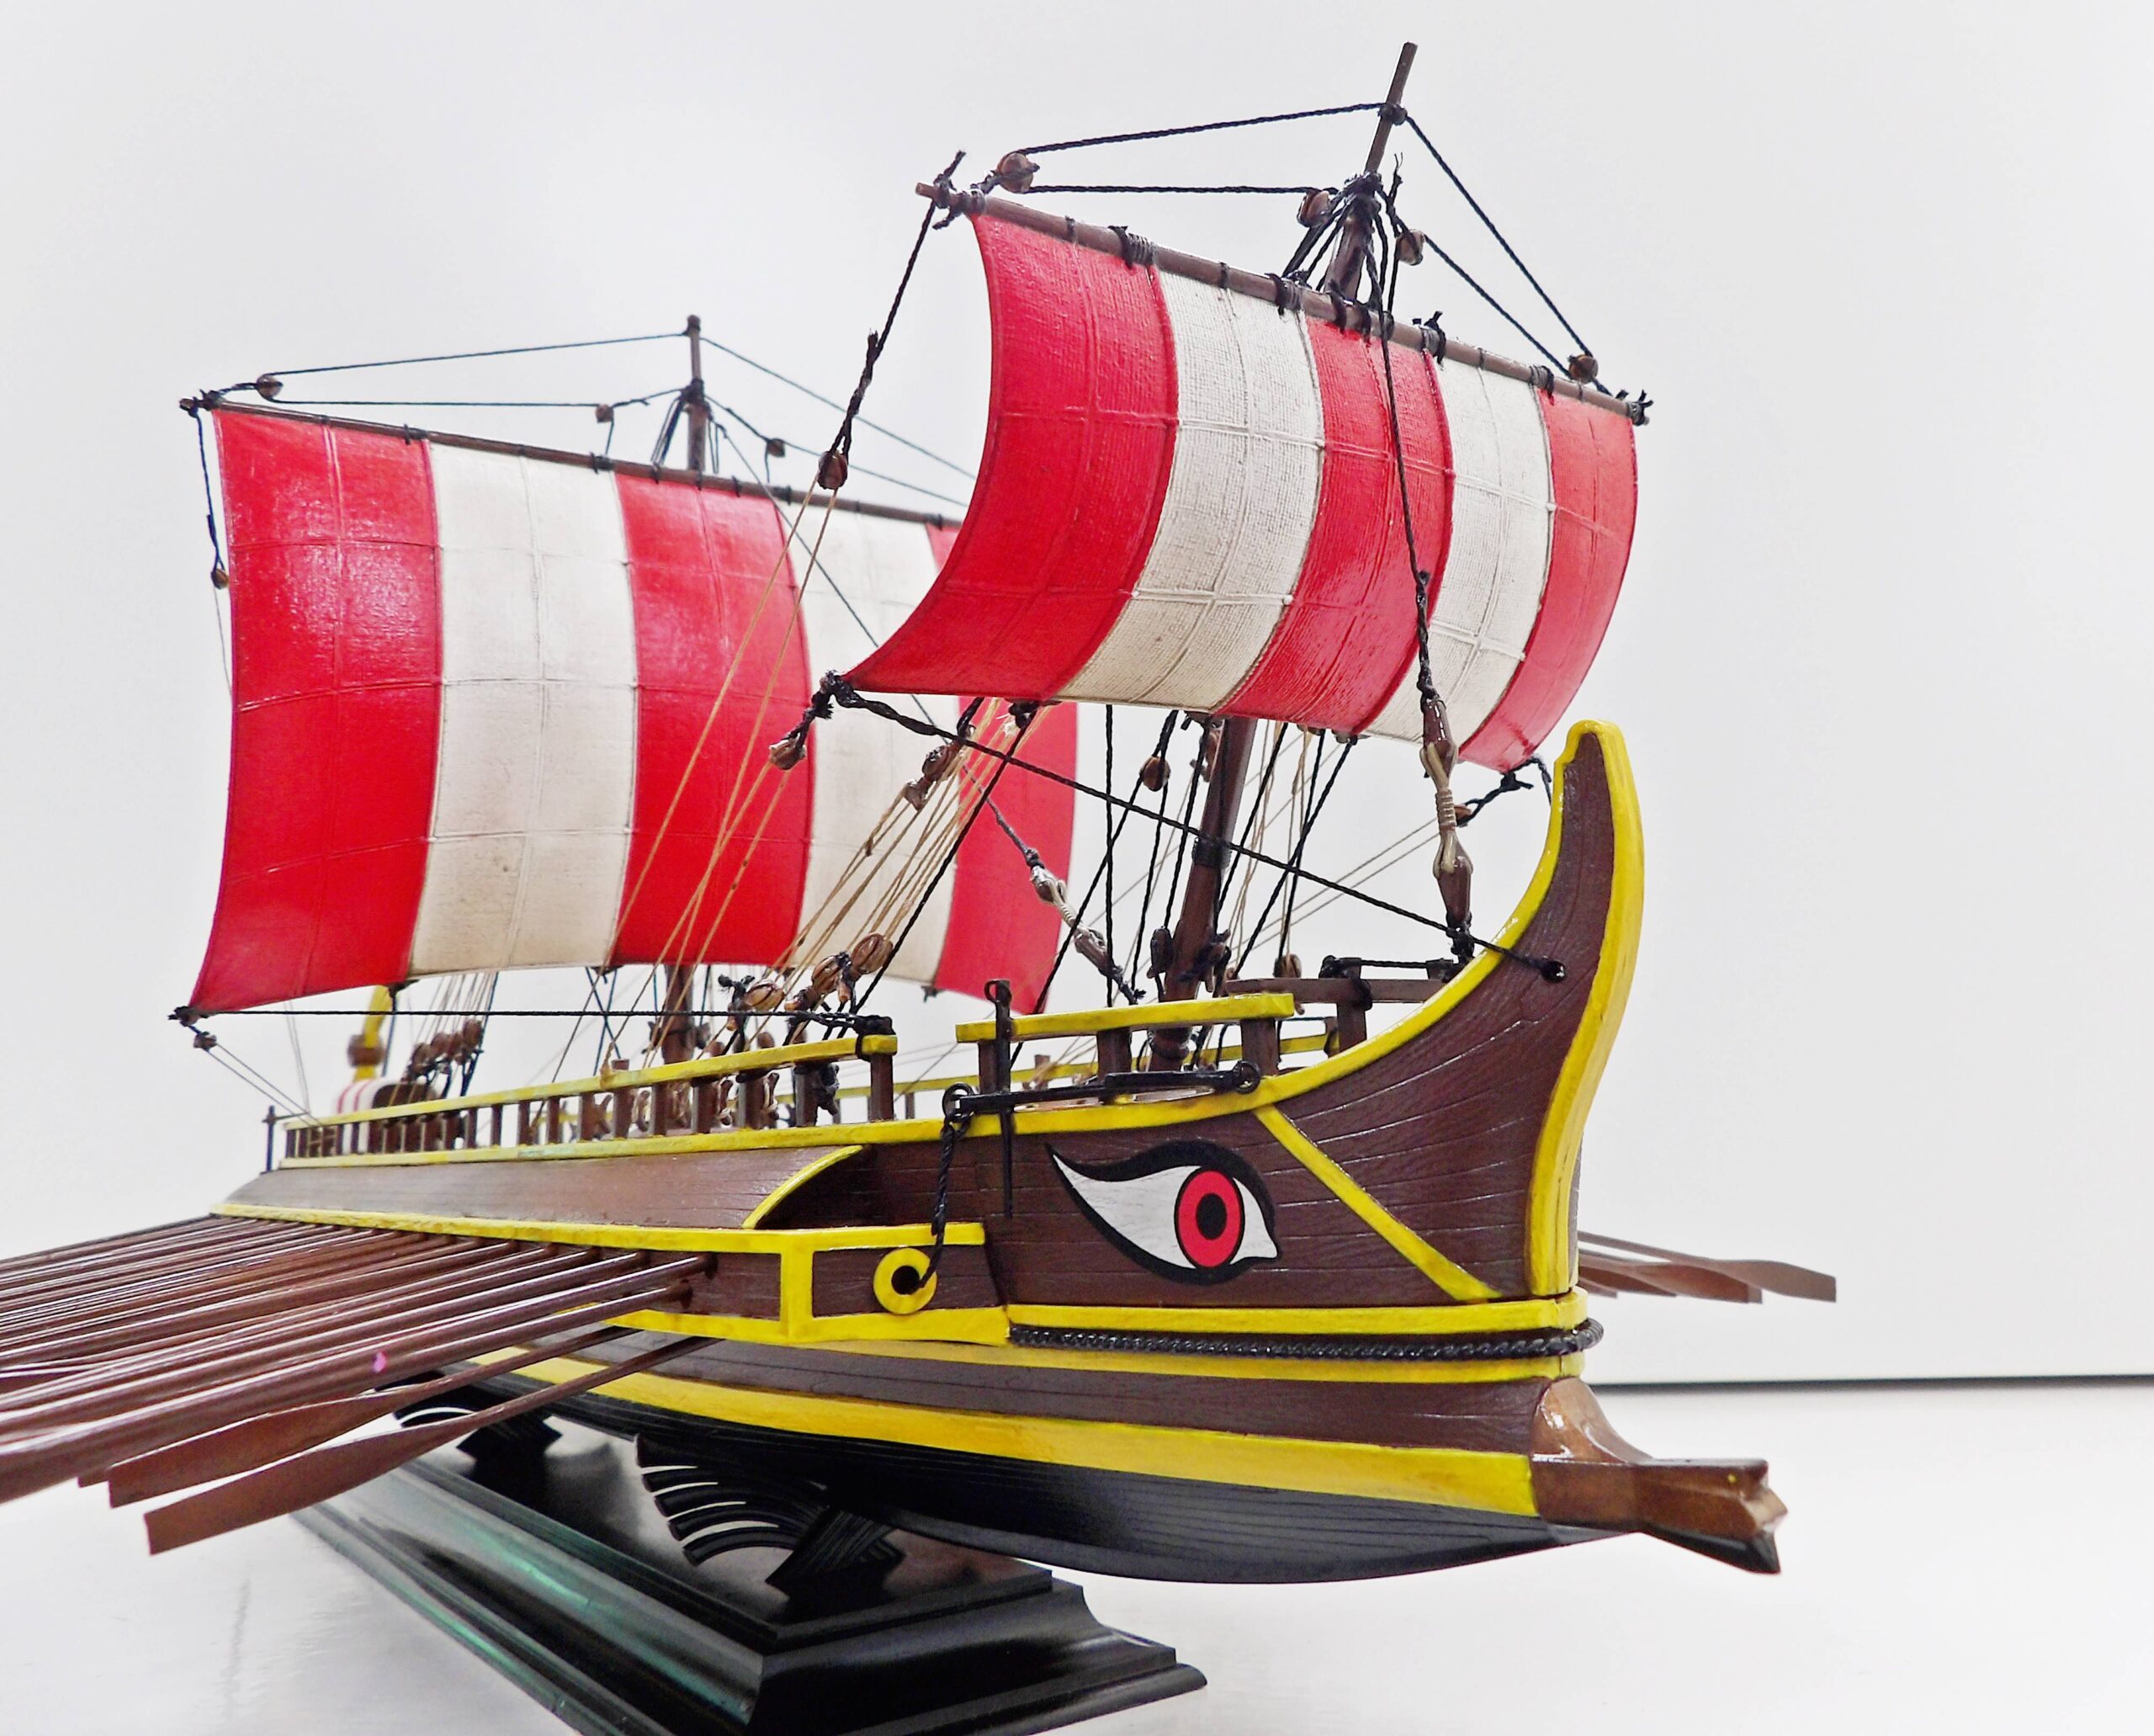
After building this ship, we can safely say that the ancient Greeks would never have employed us. It turns out this project, which we began in May 2021, took two whole years to finish! The part that we thought we would enjoy the most was the rigging. It was quite fun to bein with, until we realised we’ve completely misread the instruction and had to redo it again and again. Nevertheless, we persevered and here is the building process in all its glory.
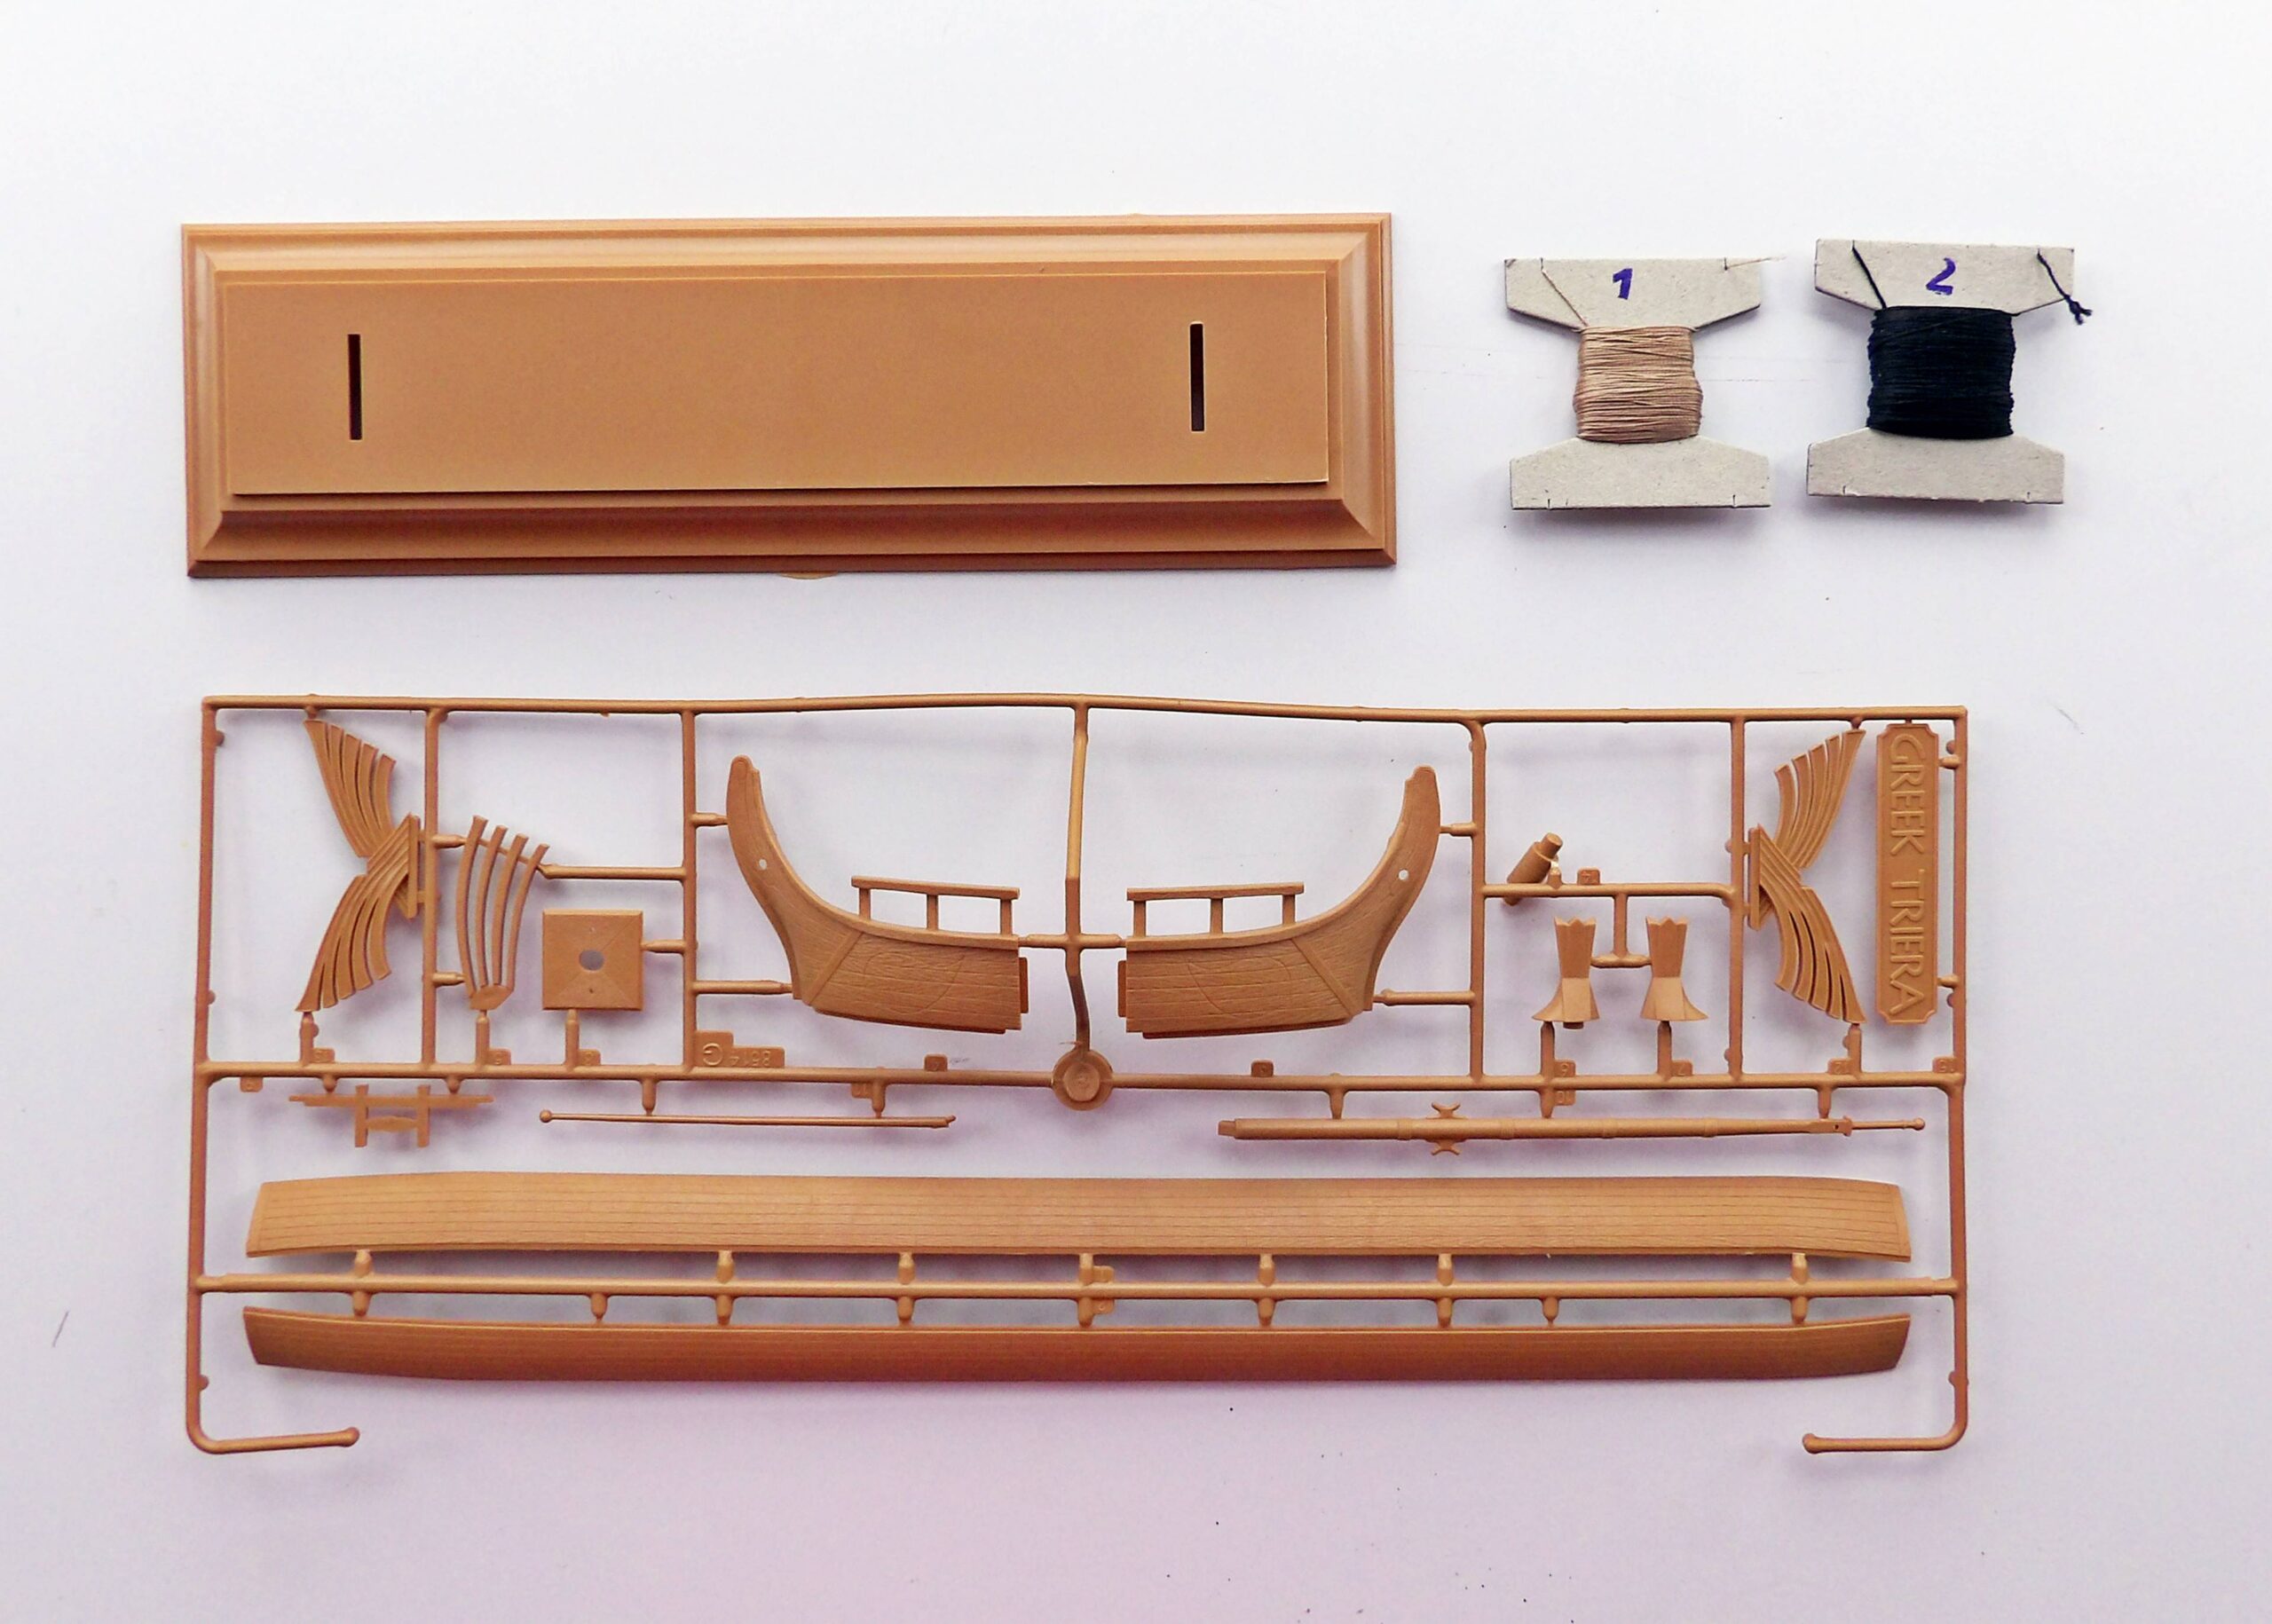
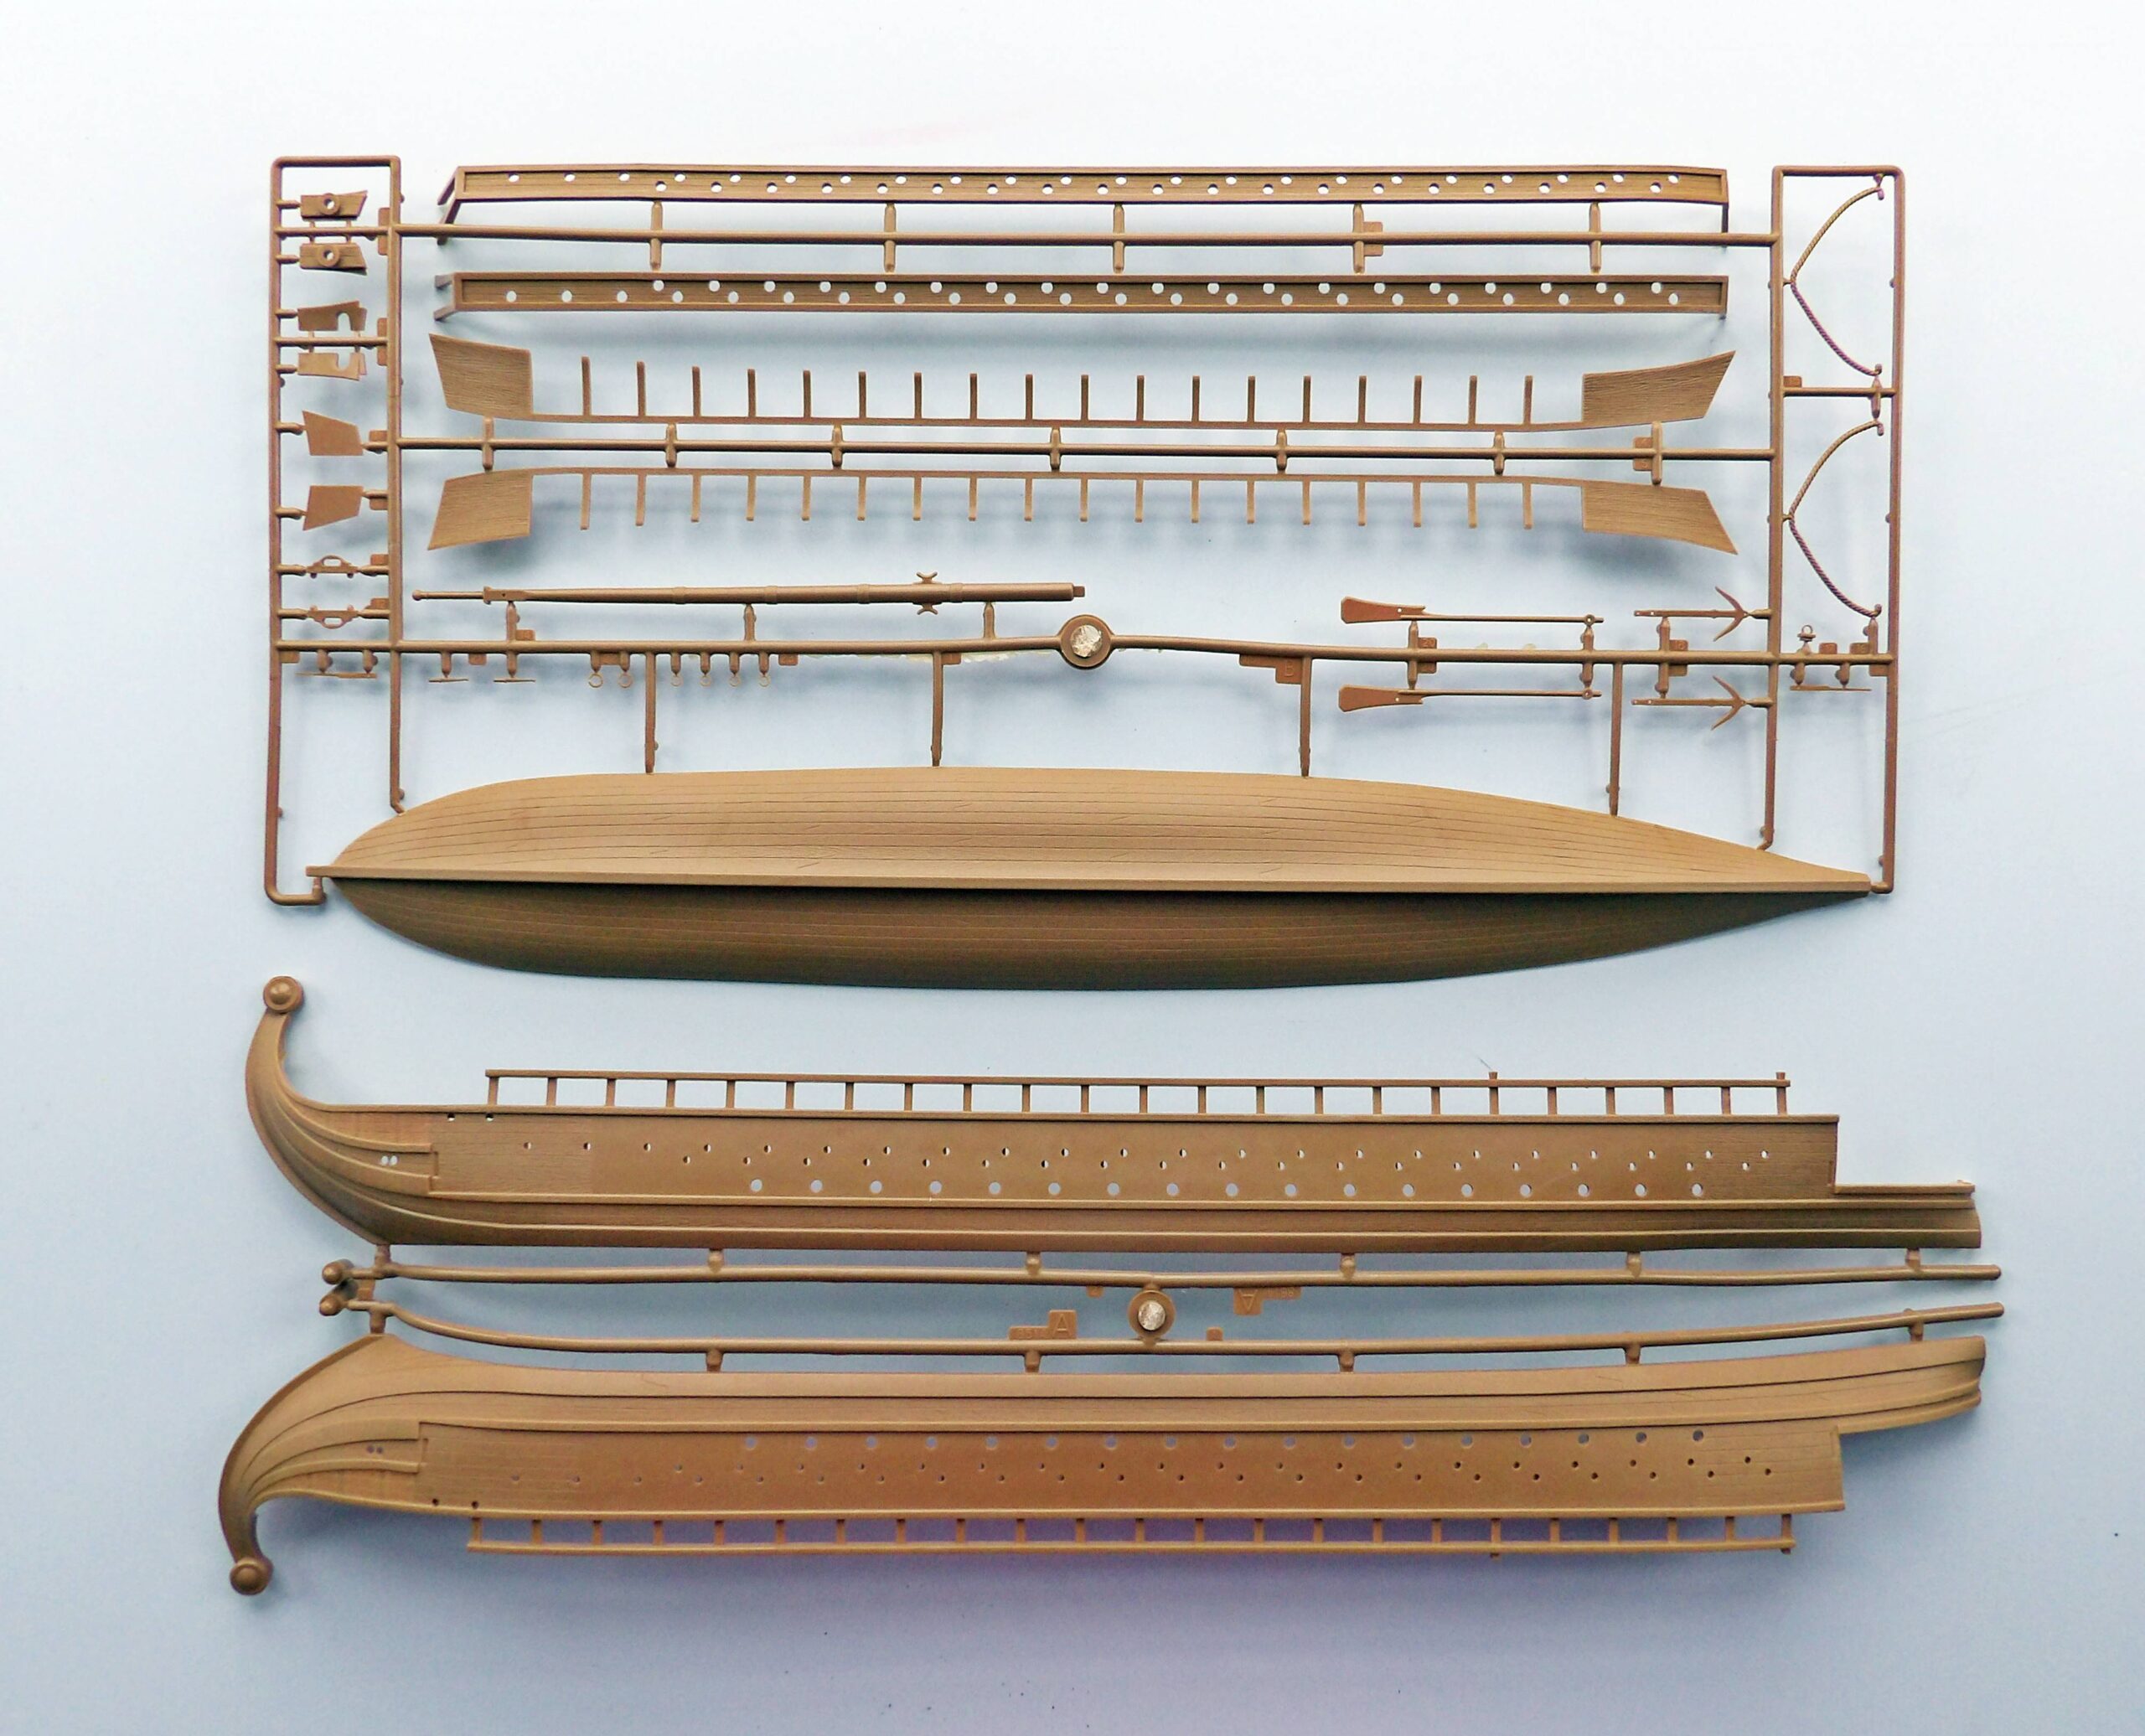
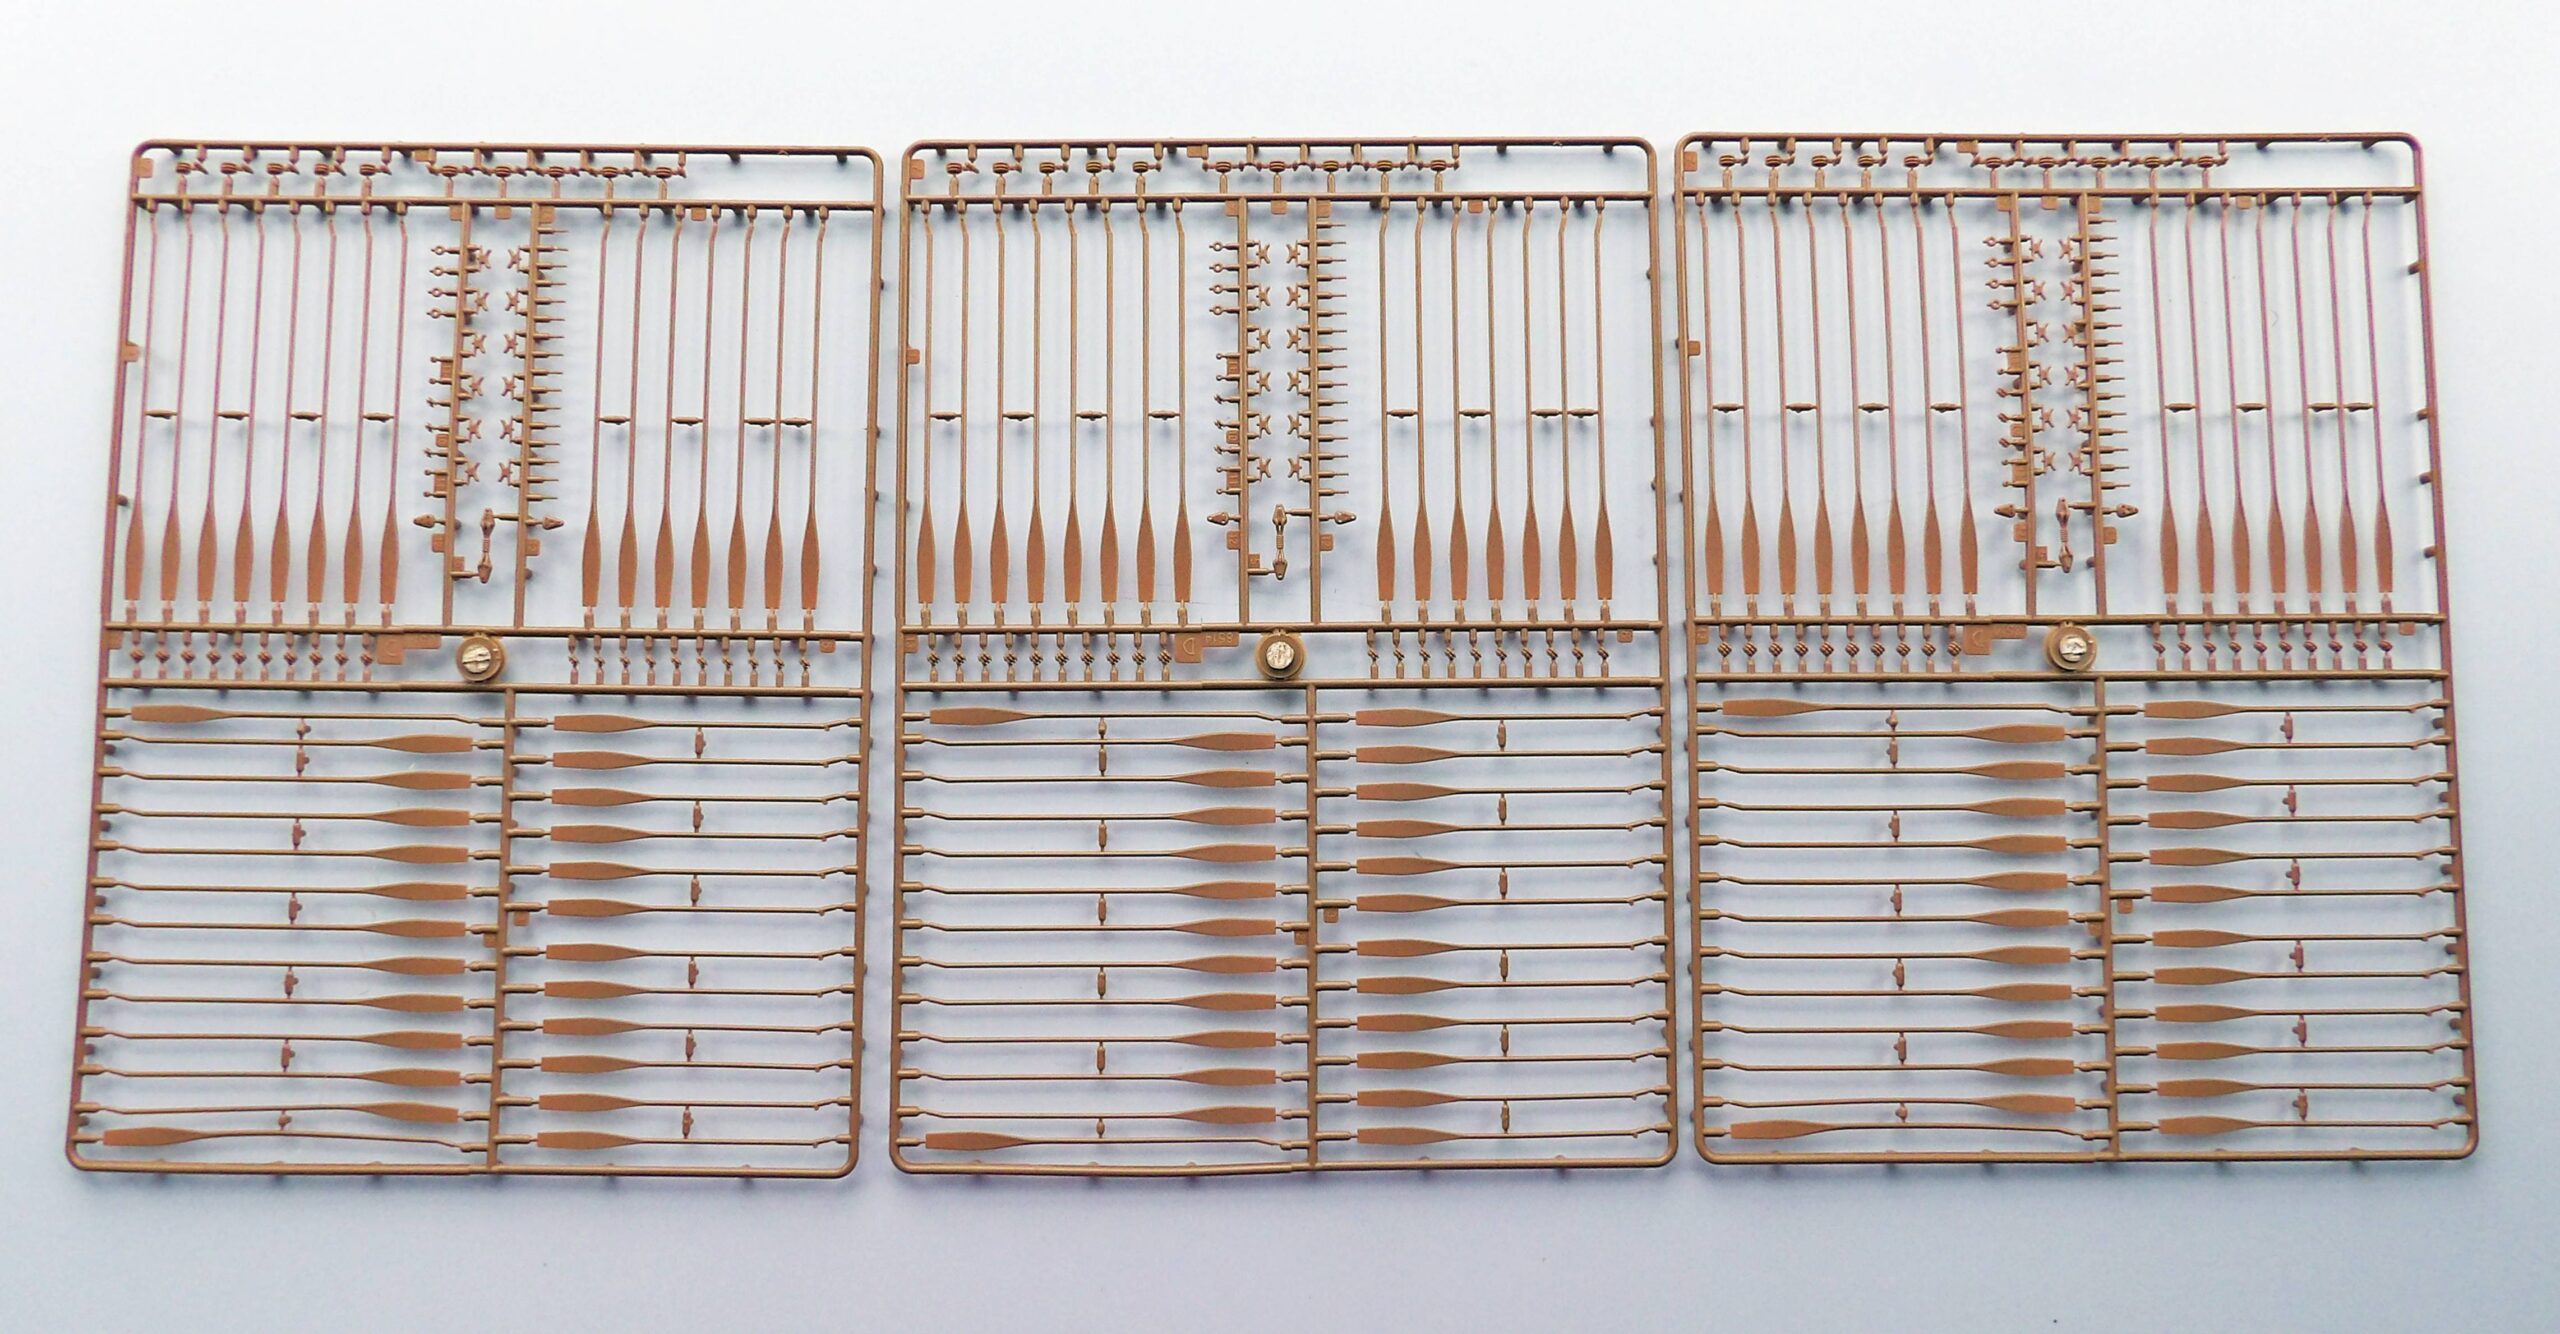
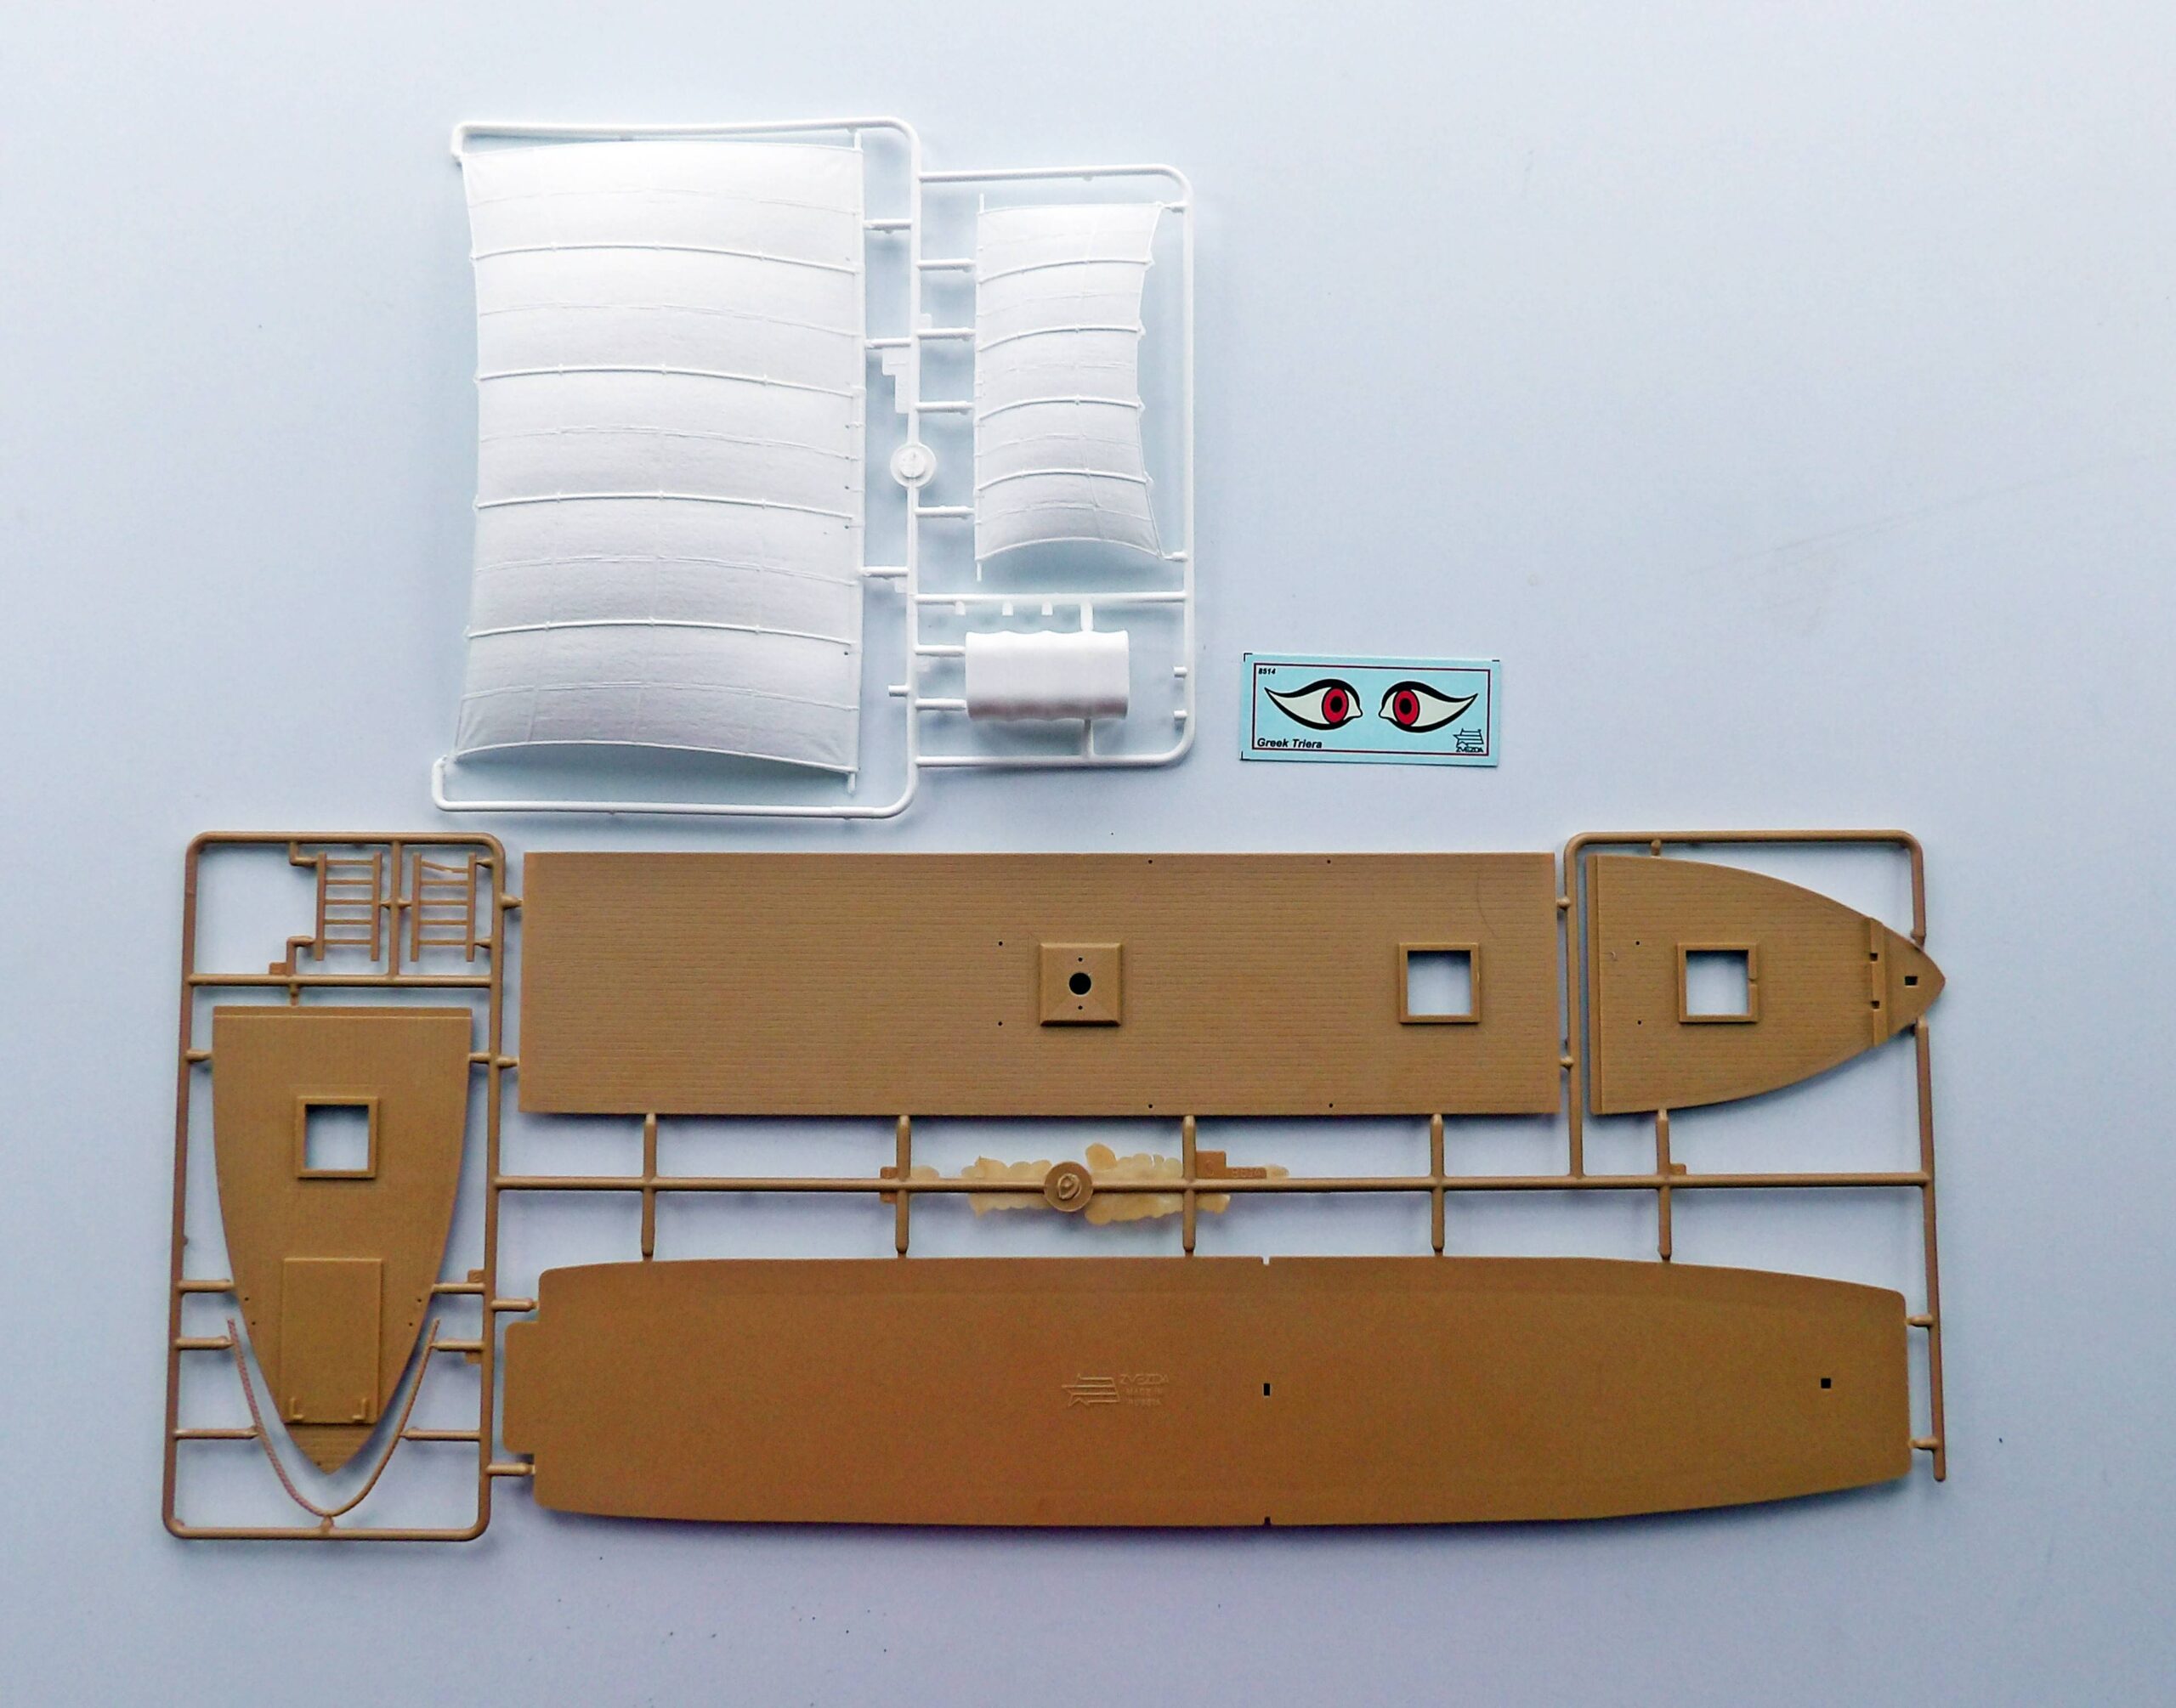
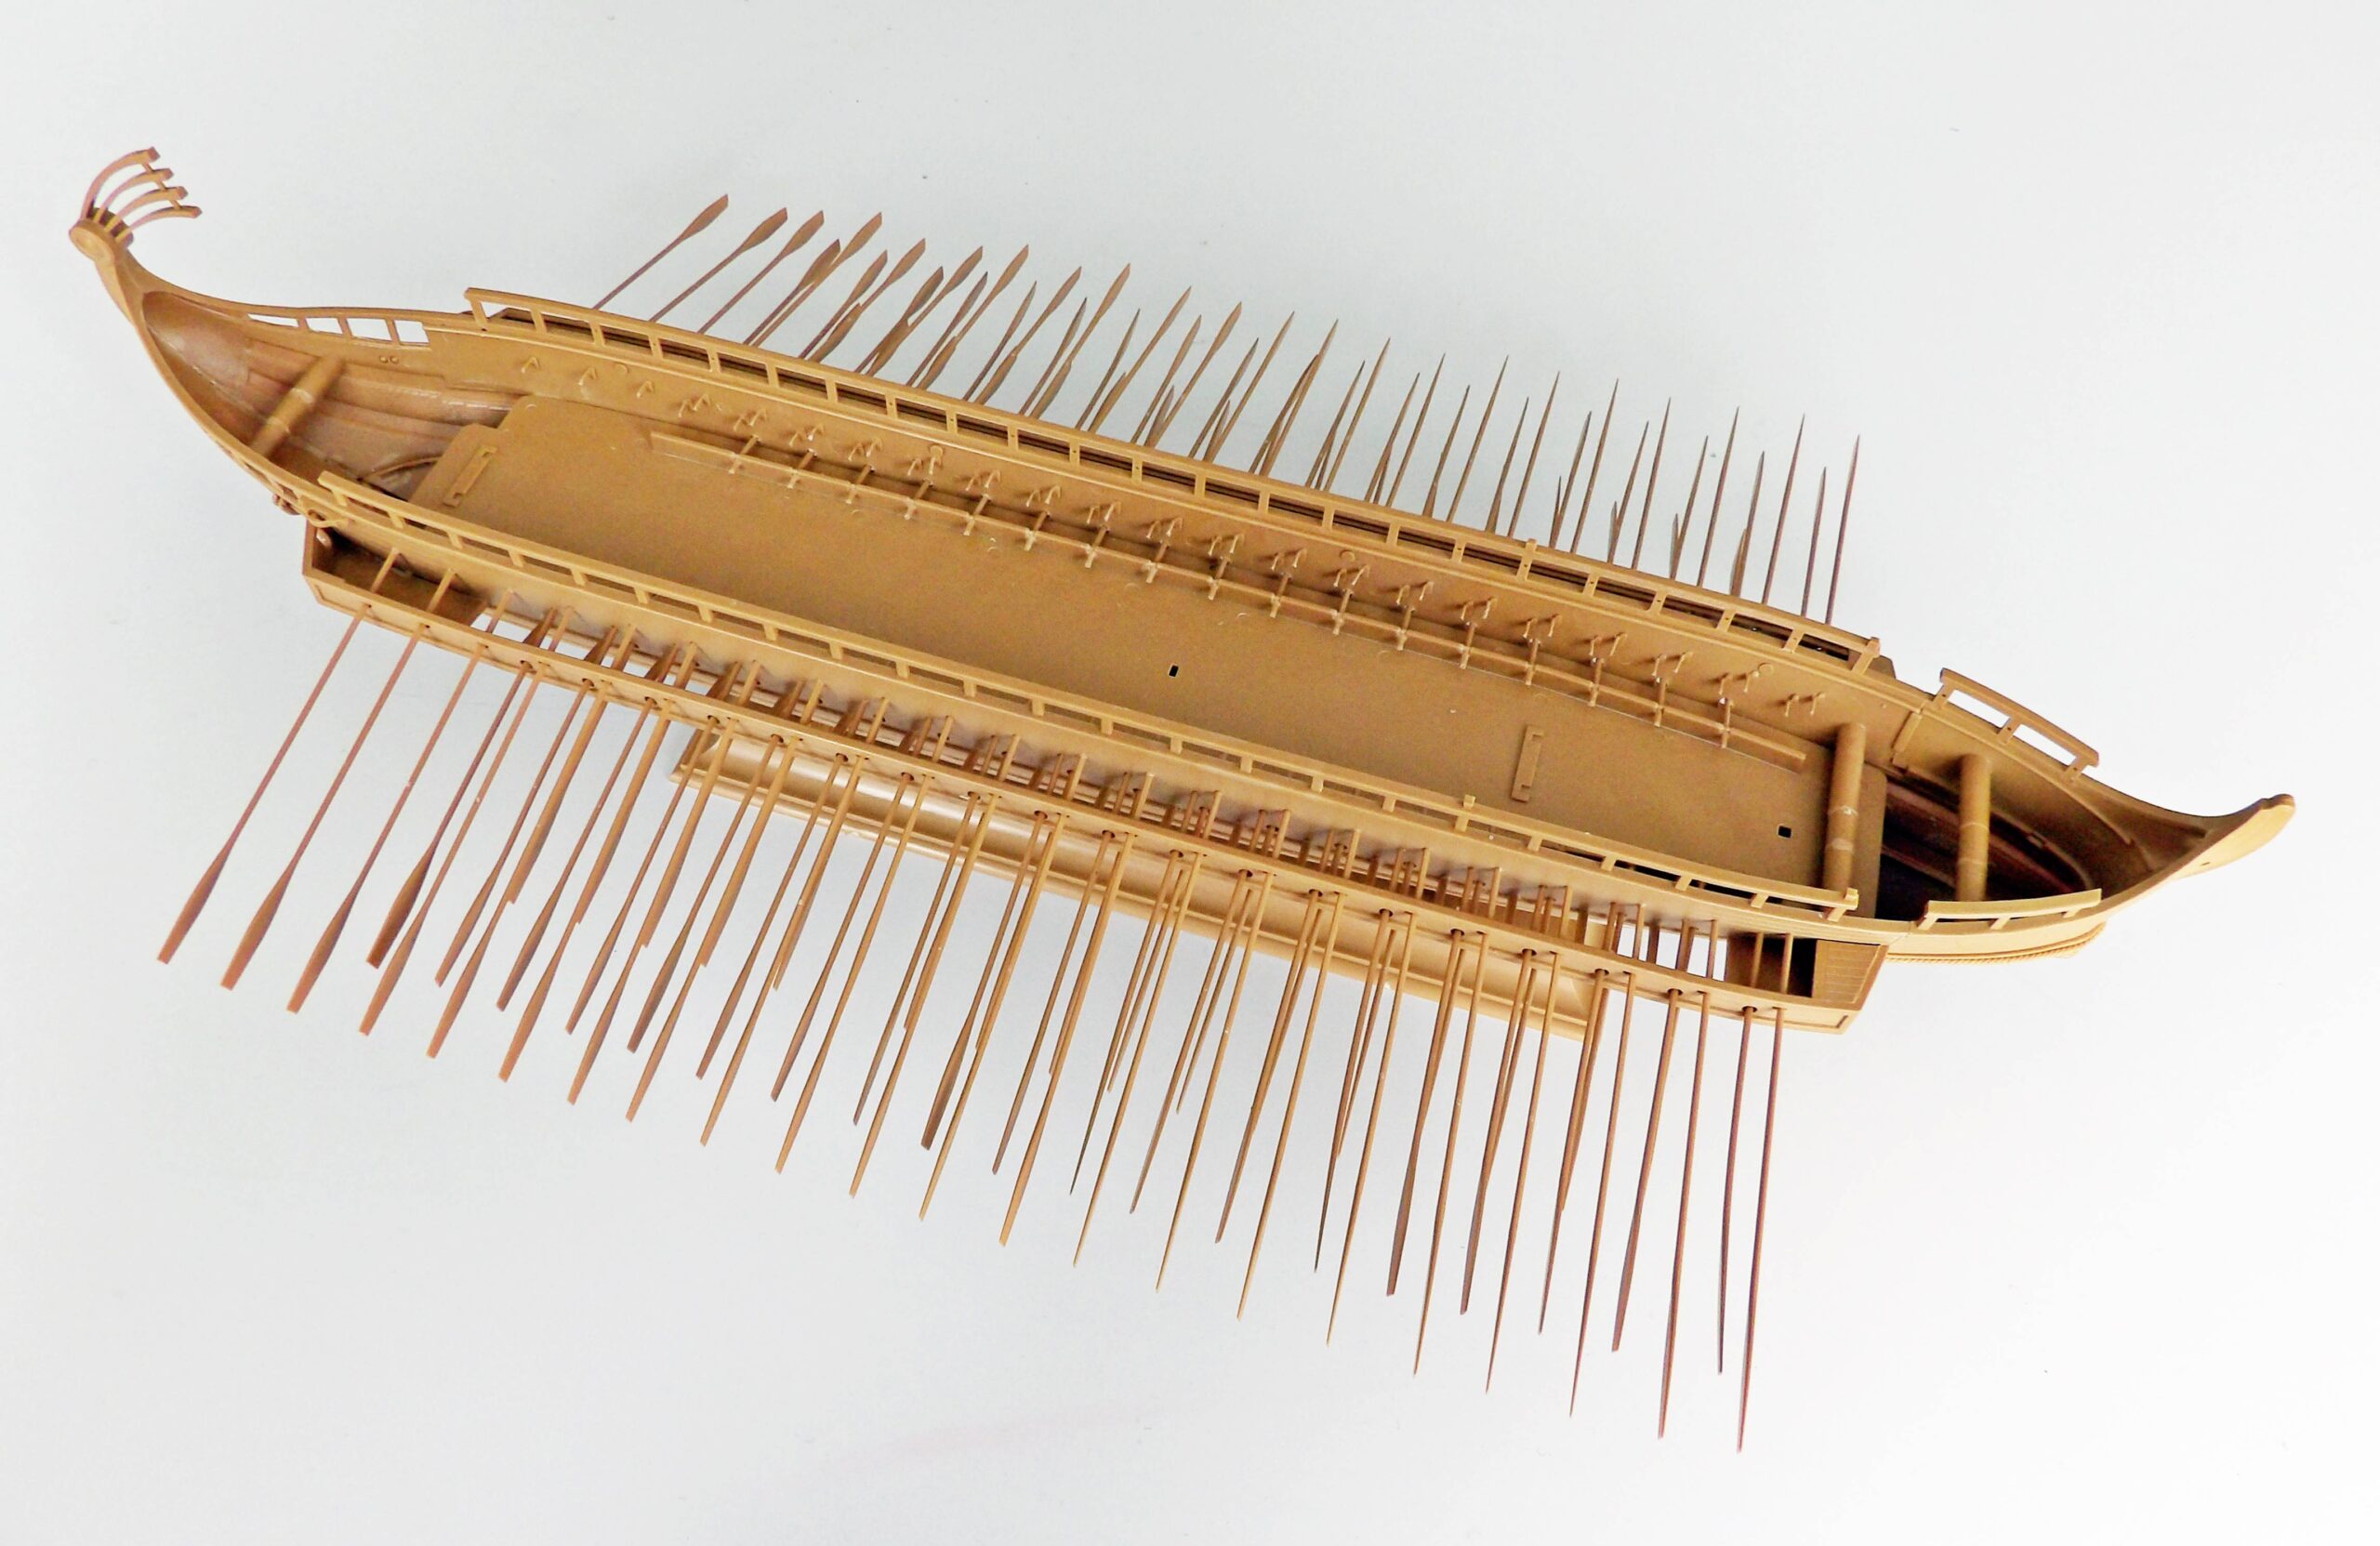
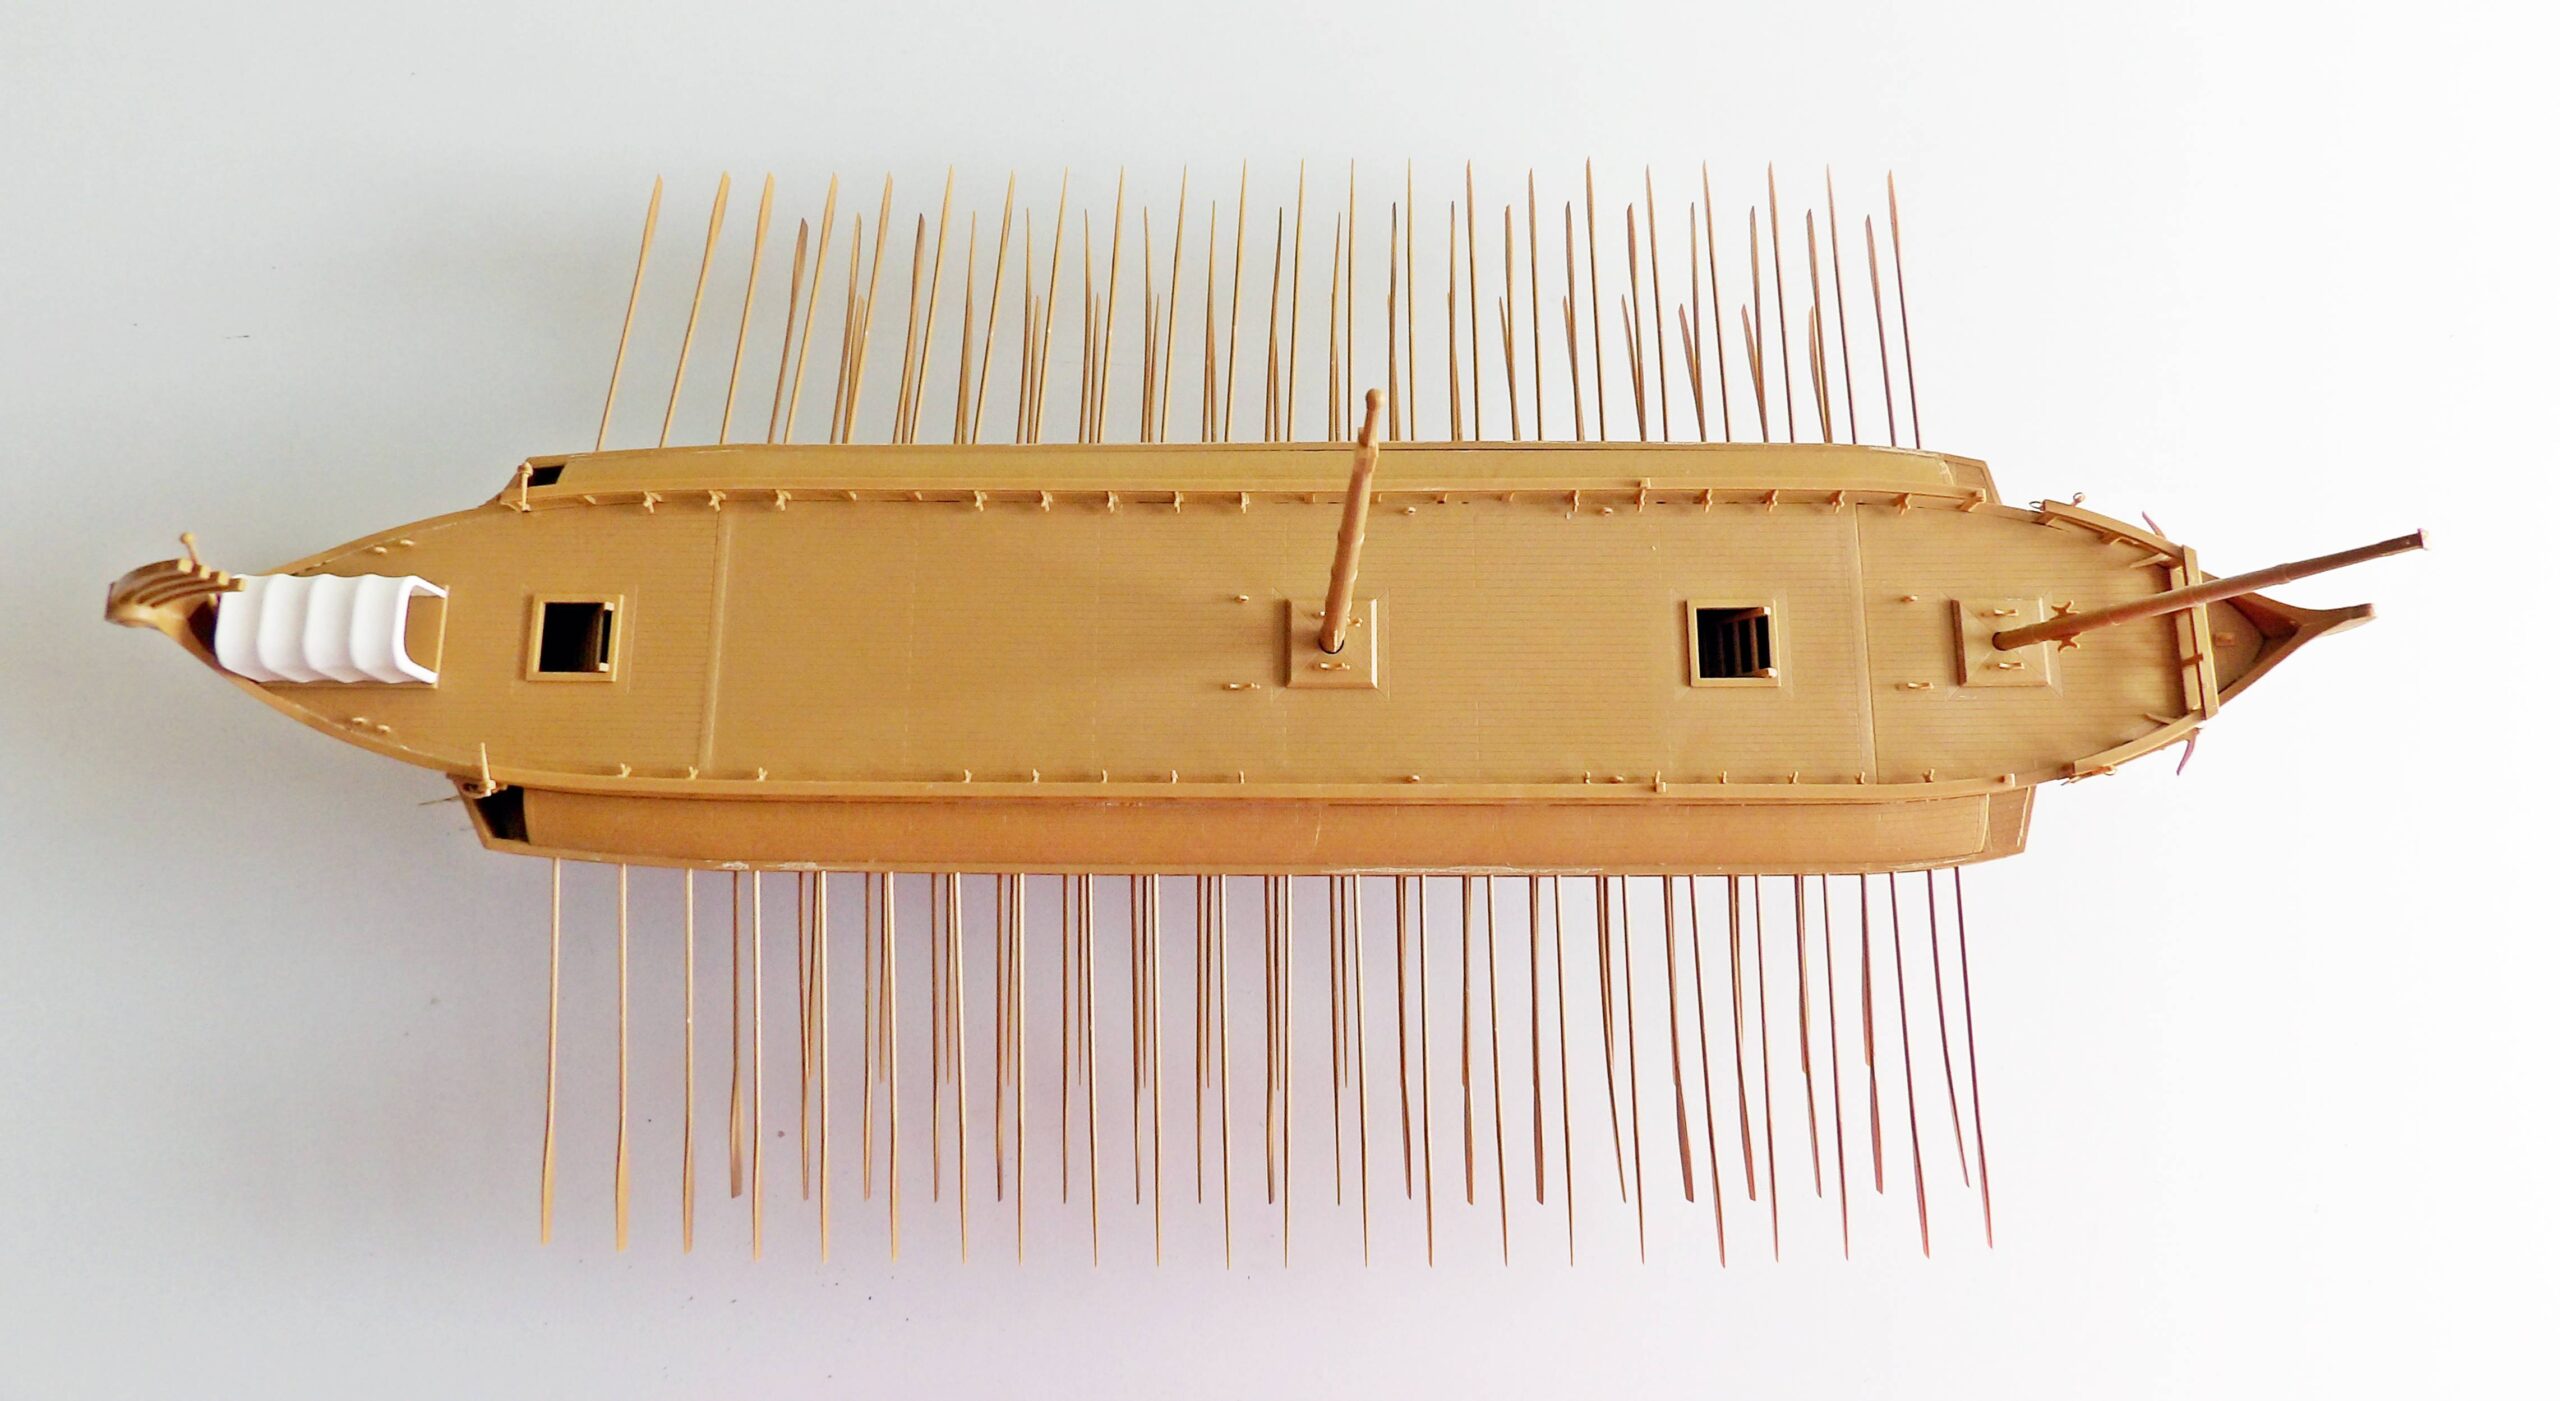
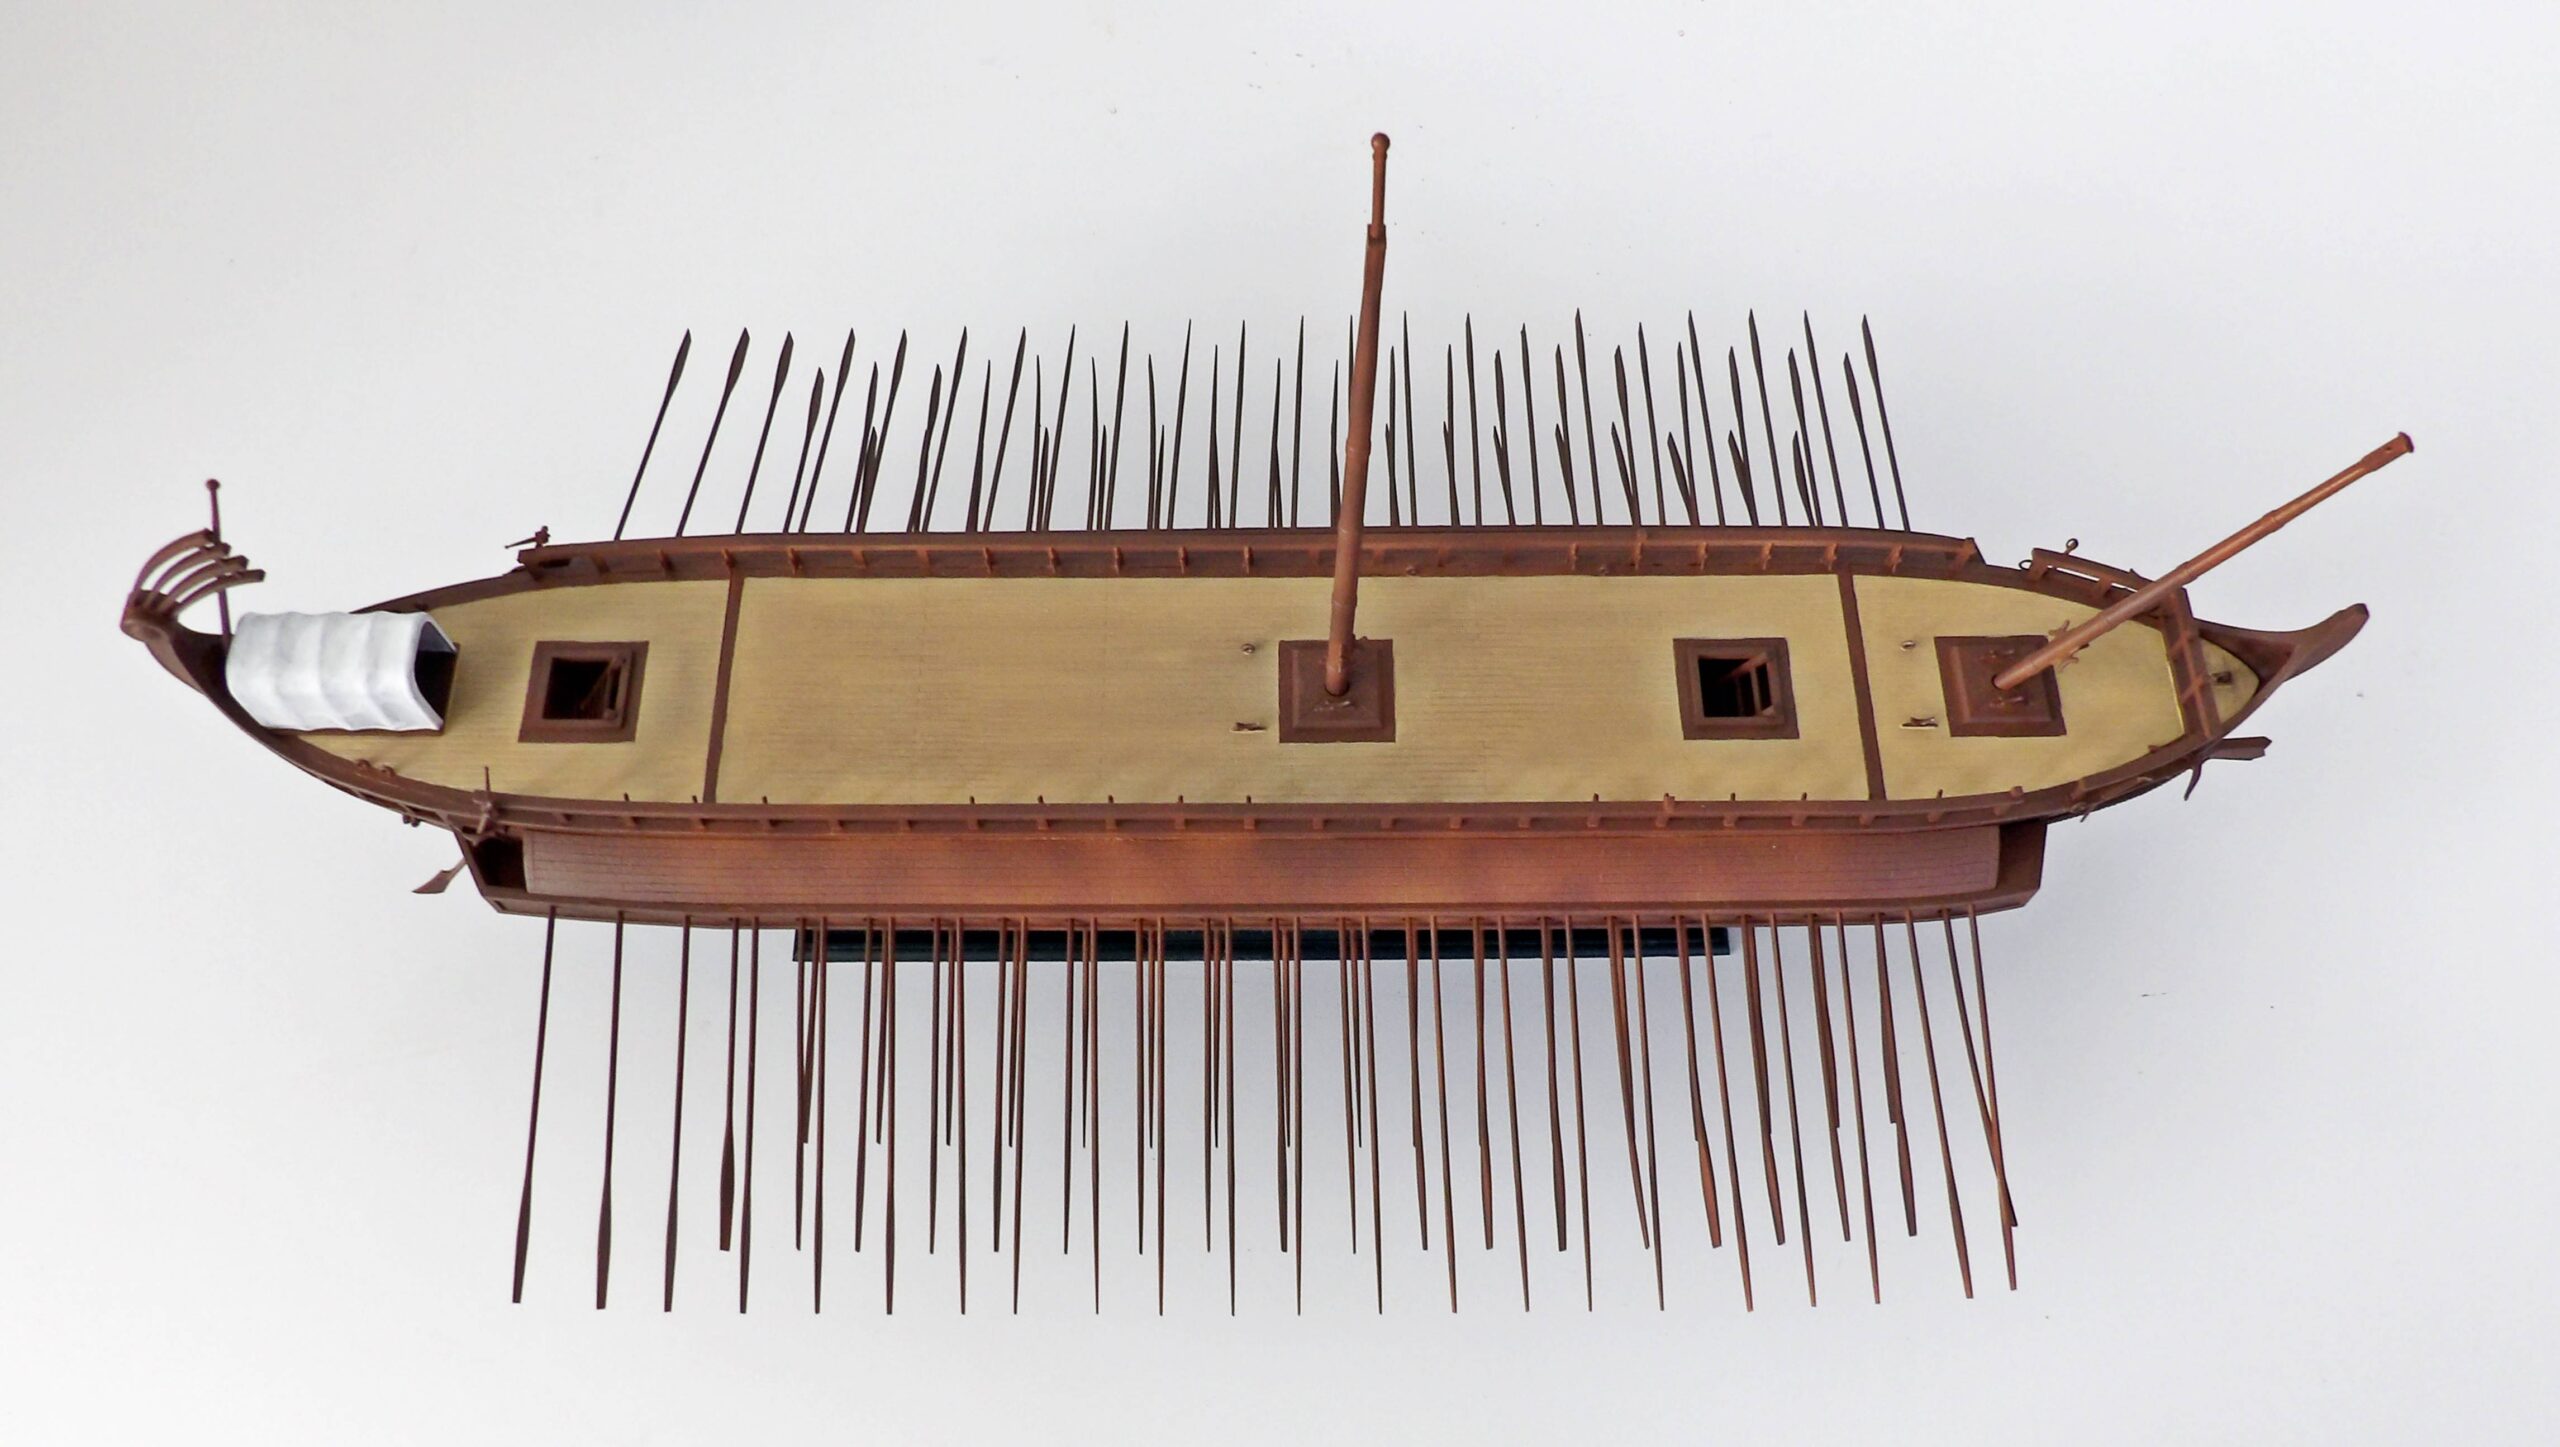
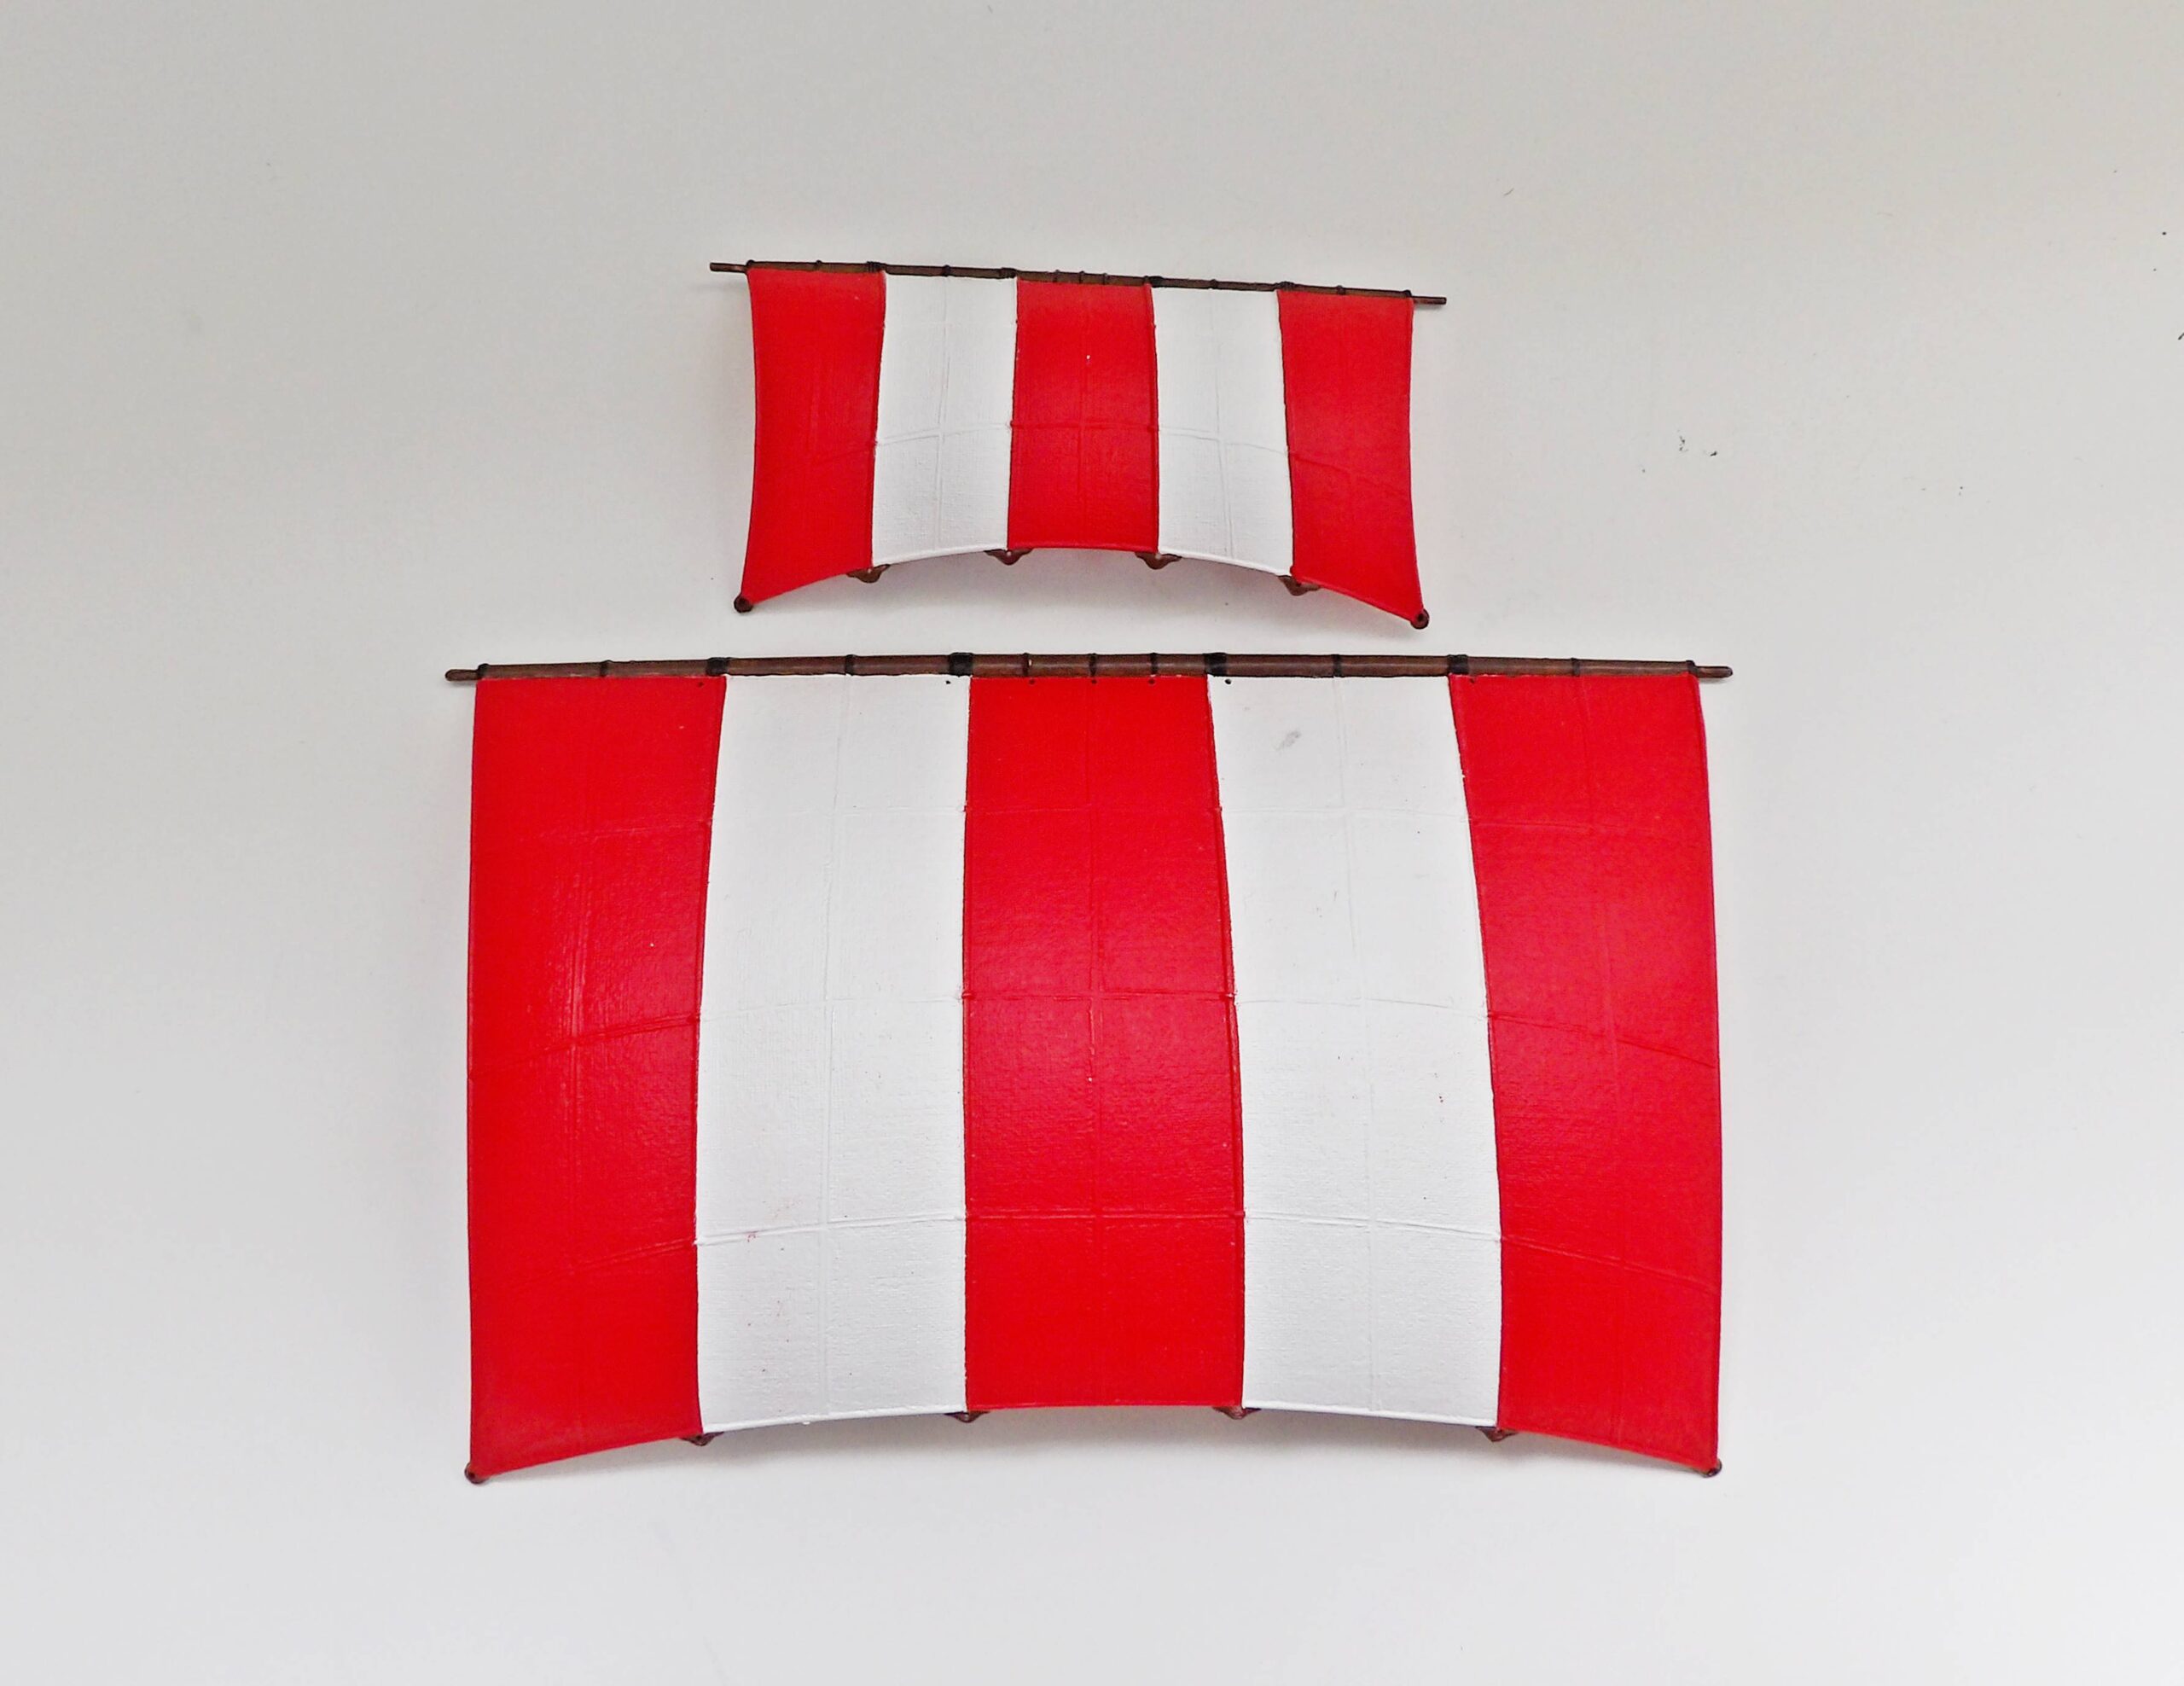
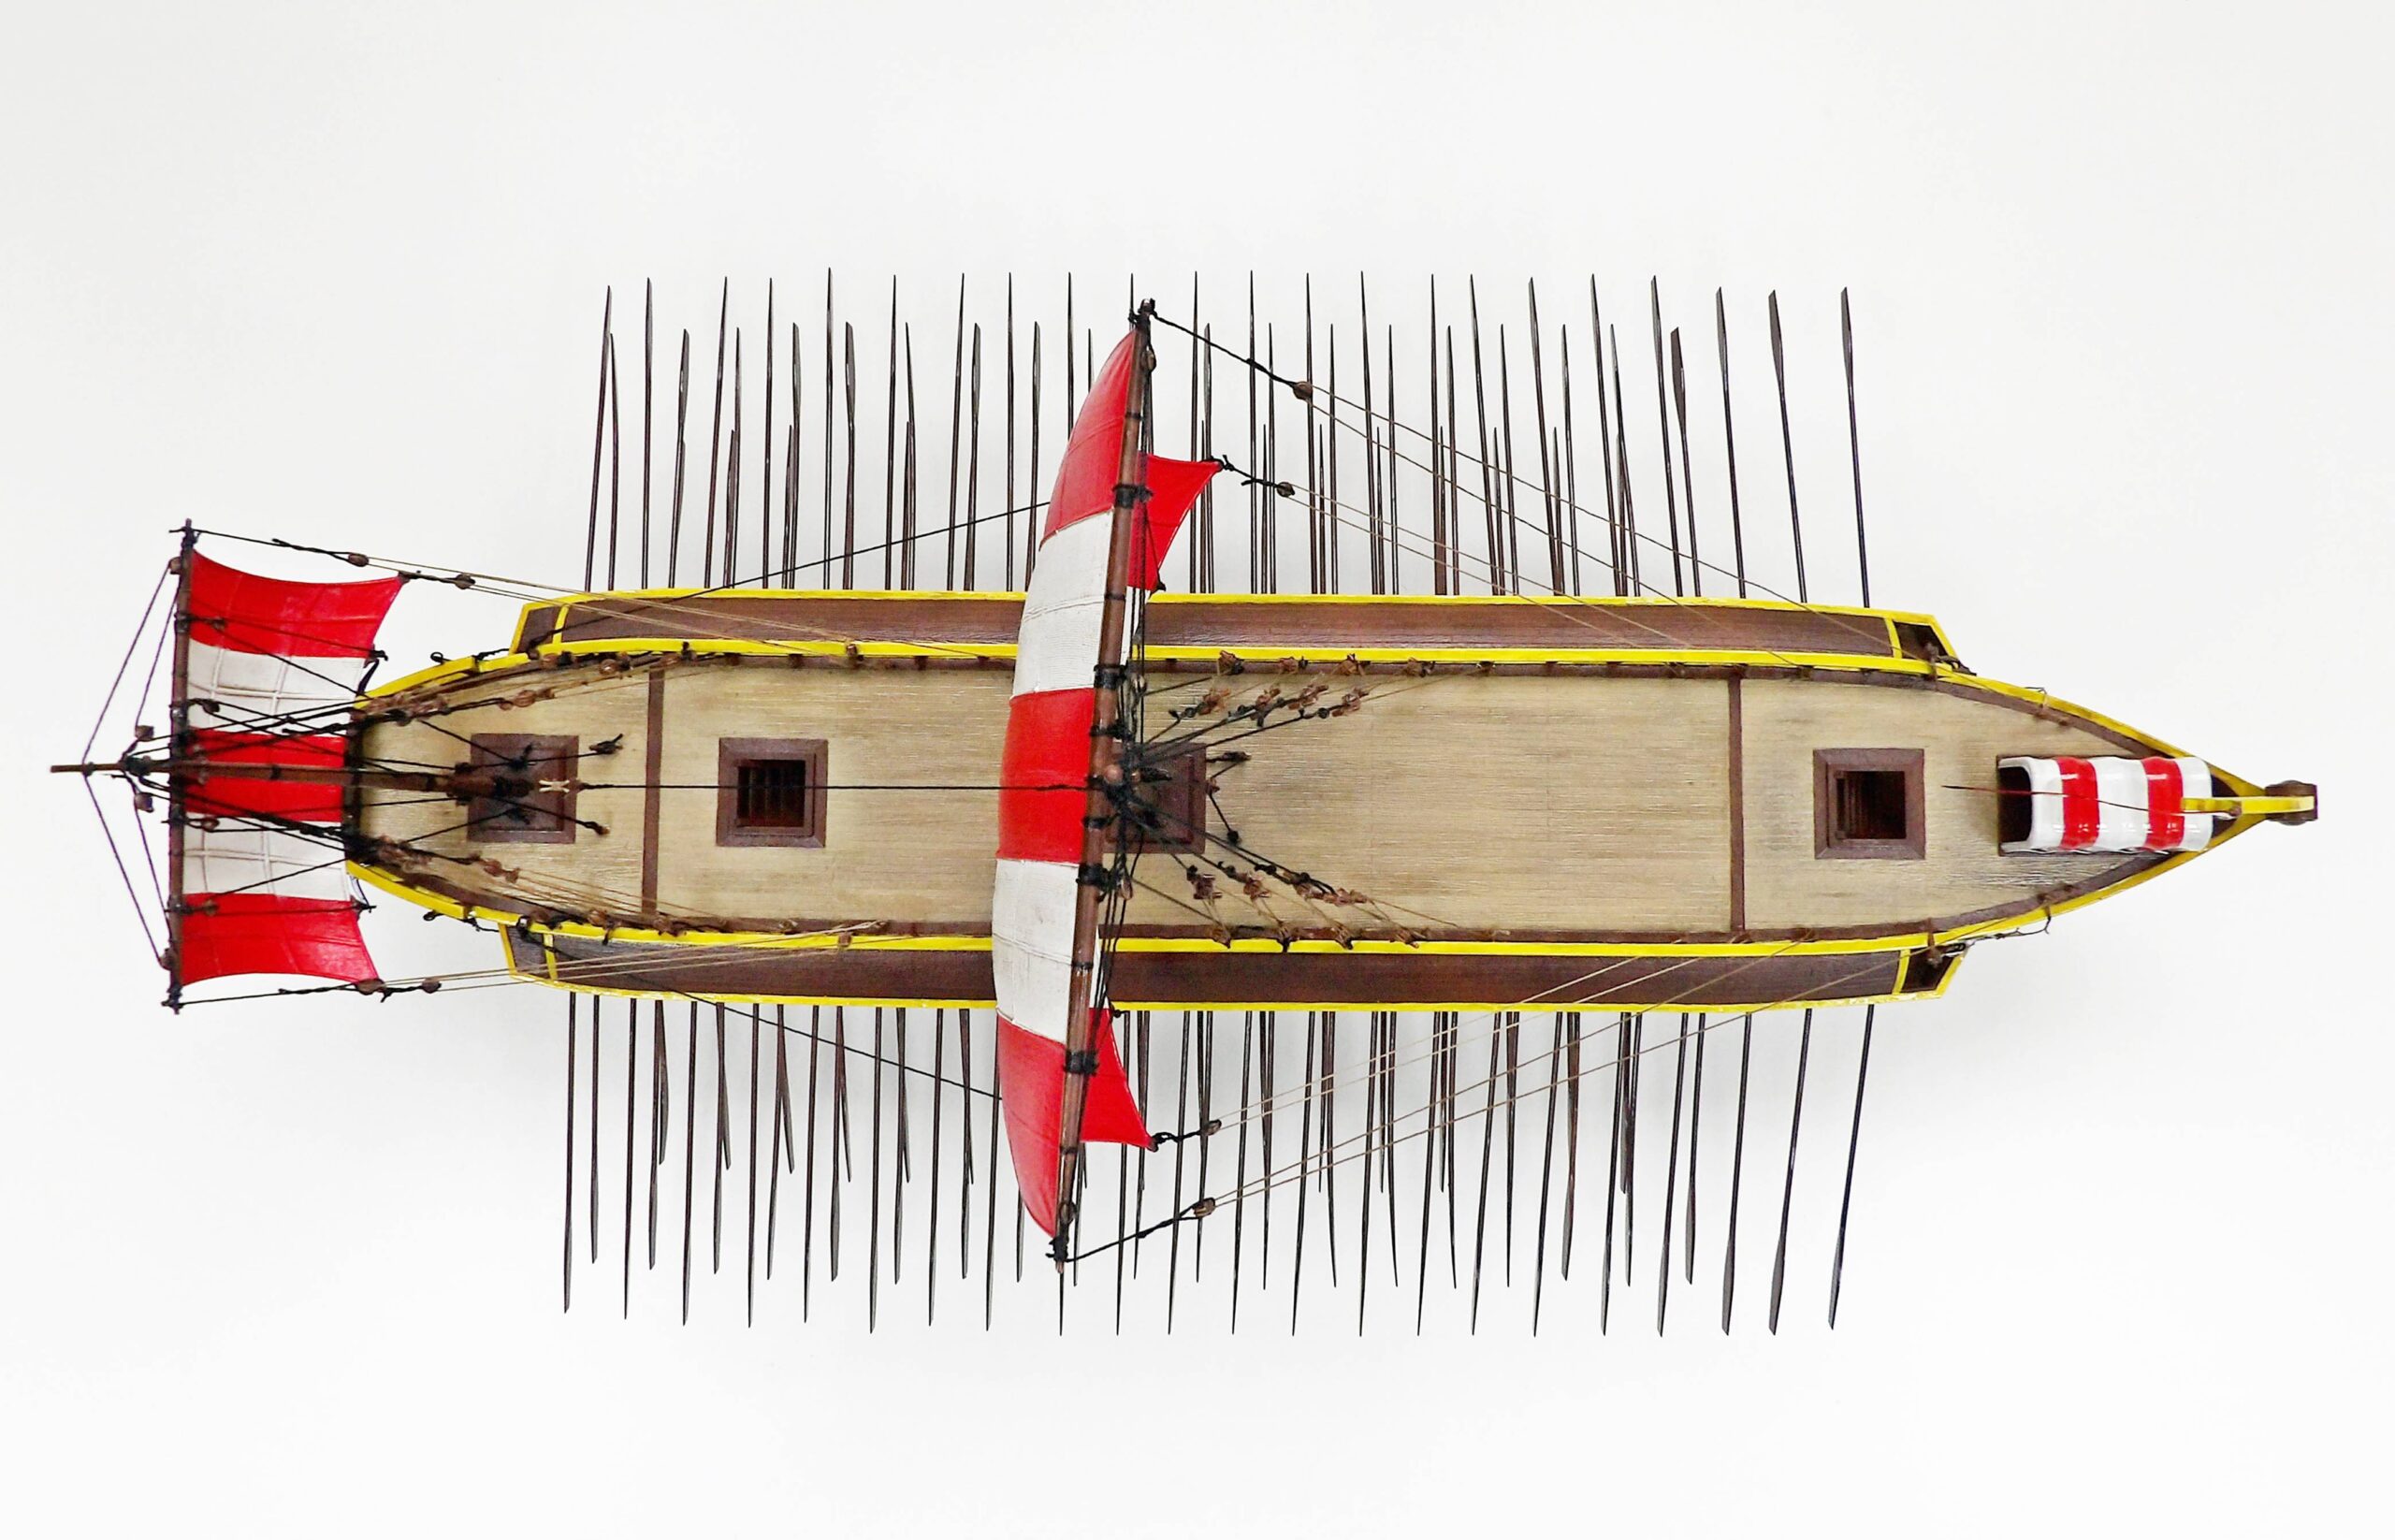
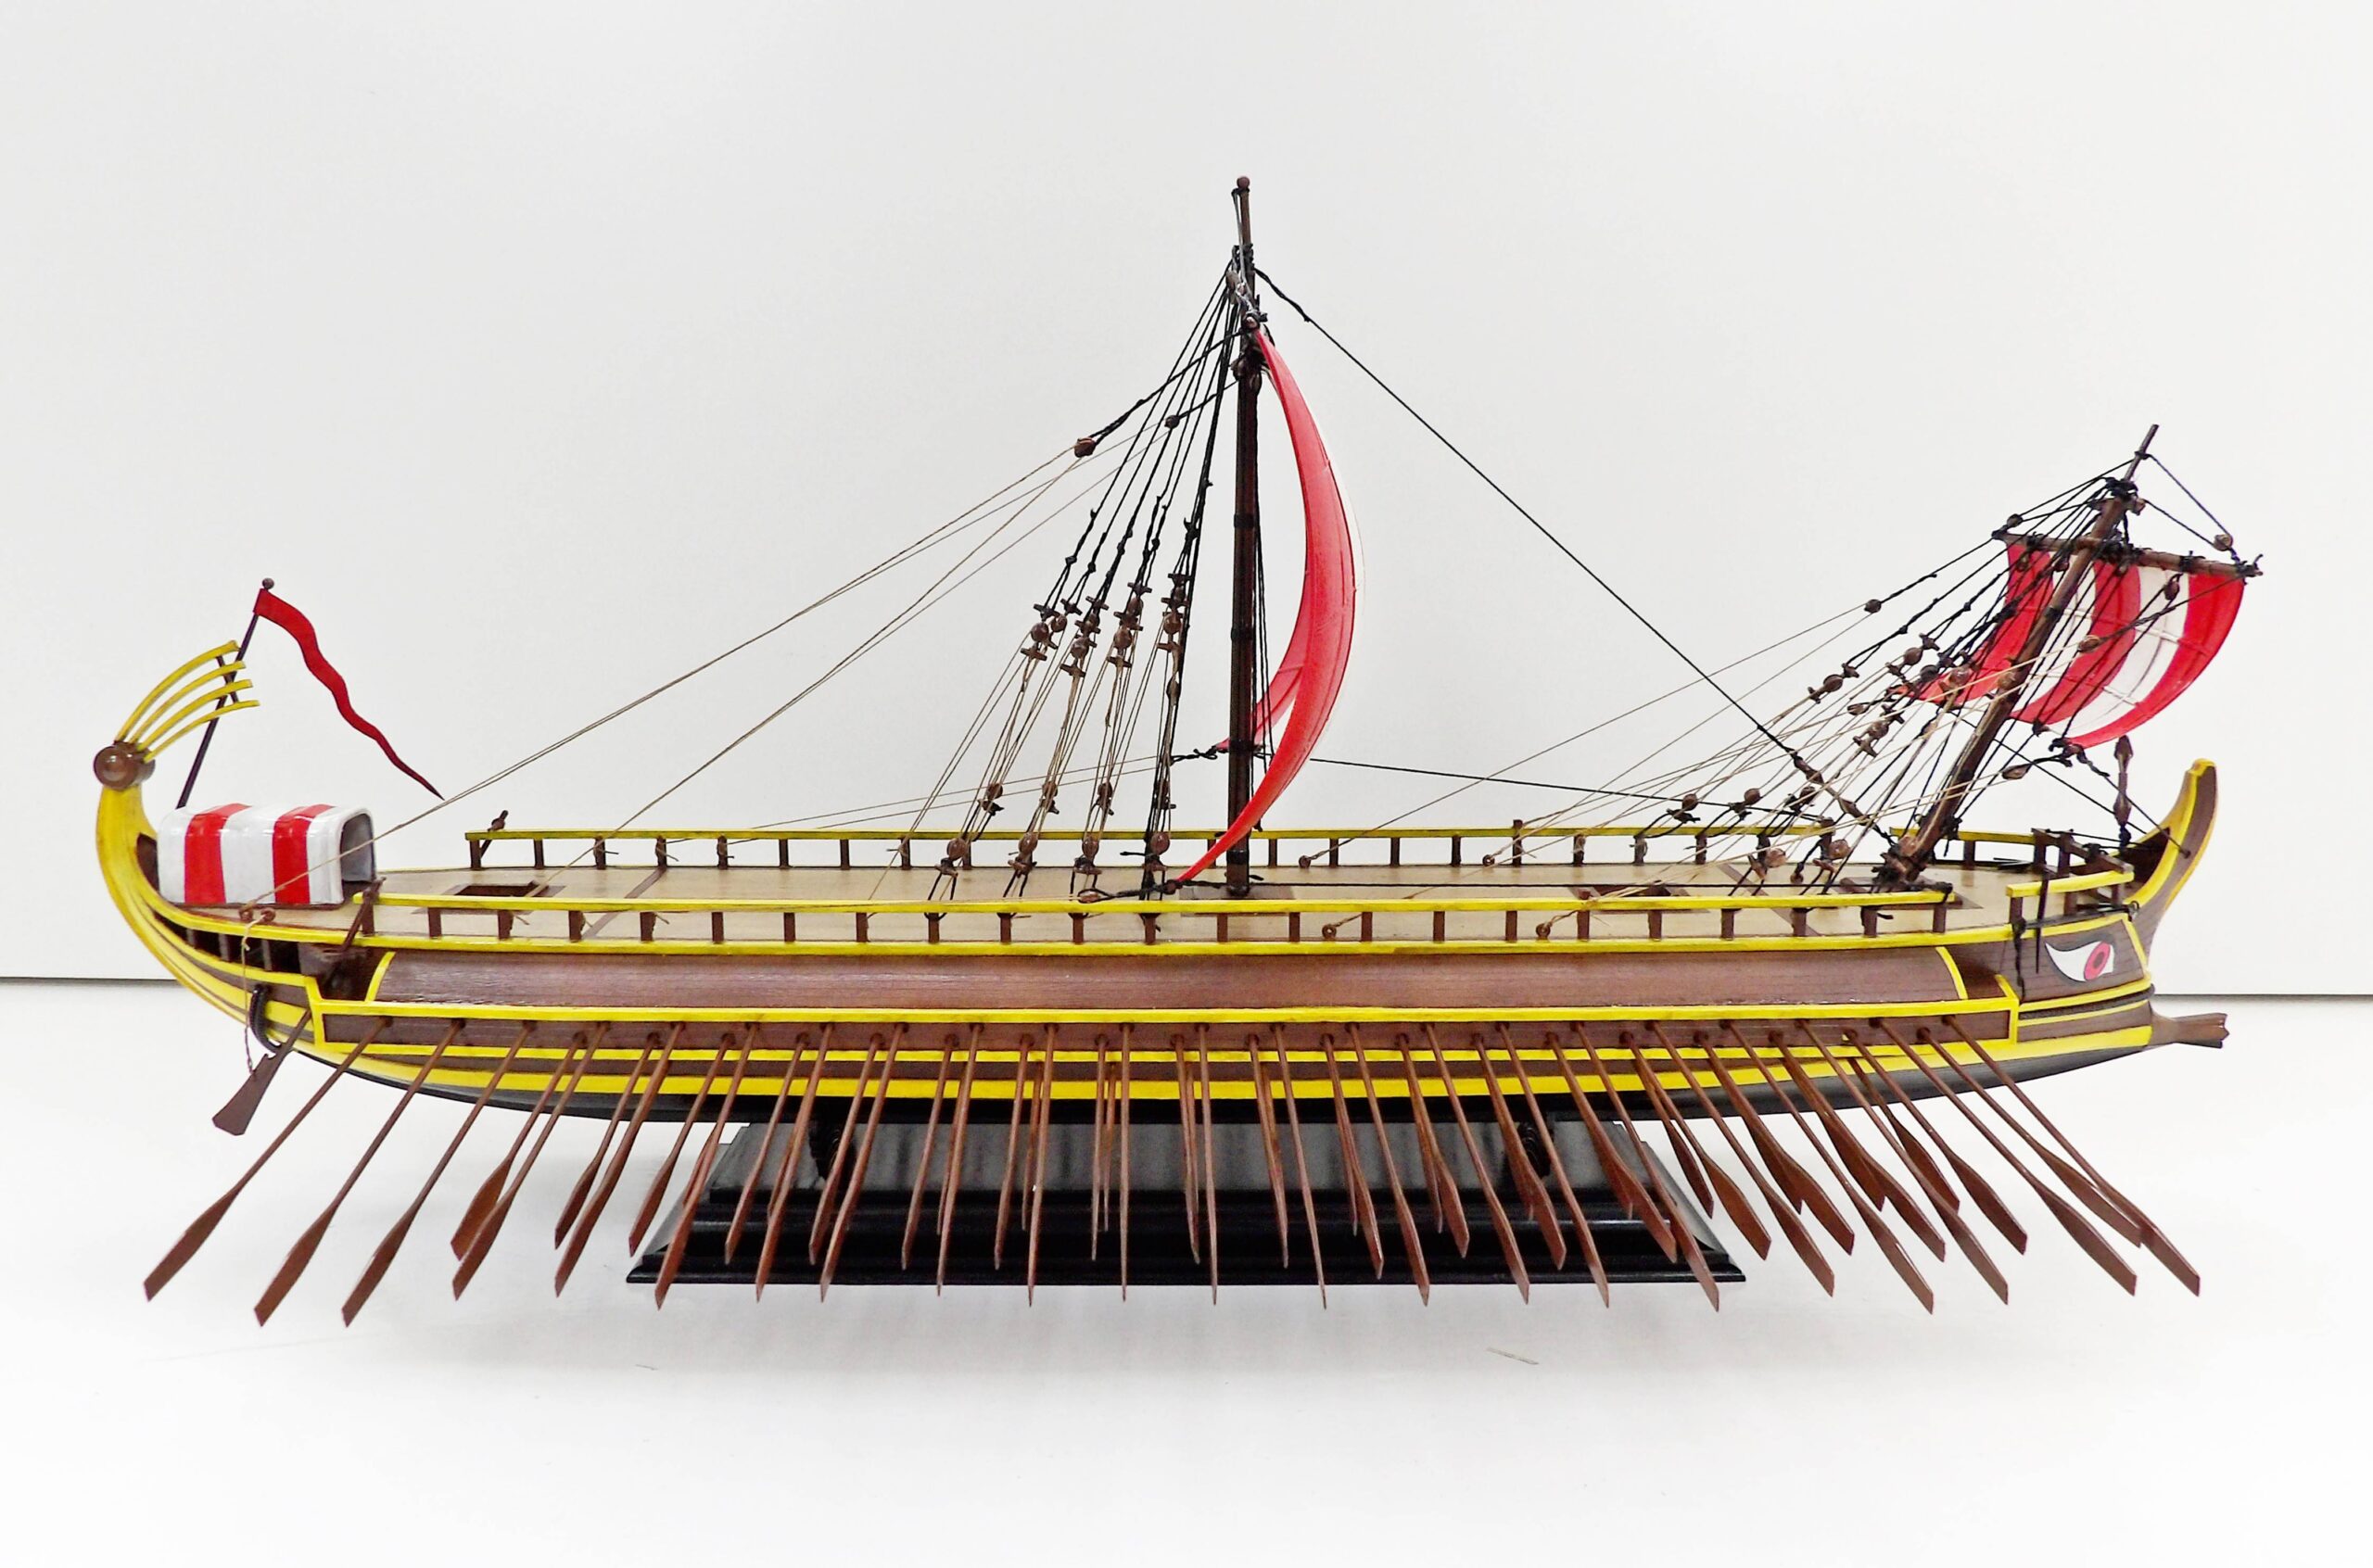
We felt duped by the box art. The ship looks quite simple, doesn’t it? A dap of paint, then a little rigging here and there and it should be done, right?Included in the kit were the stand, rigging thread, and the ship.The bottom of the hull and be left off for a waterline finish.One hundred and twenty oars were included.The sails, decks, and the decal of the eyes.We assembled the main parts of the ship together, taking care the position the oars correctly before the glue dries.The deck is glued in place, and the masts are added.The ship is now ready for airbrushing.We airbrushed the whole ship in dark brown (Ammo Mig Brown Soil) and then hand painted the deck in a lighter colour (Ammo Mig New wood).The edges are hand painted in bright yellow.The ram is painted in brass and the eyes are added.The main ship is finished, now on to the final details!The fore sail and main sail are painted in red and white stripes.The name plate and display stand painted.Finally, the flag is added. The ship is rigged and lightly washed with The Army Painter Soft Tone.
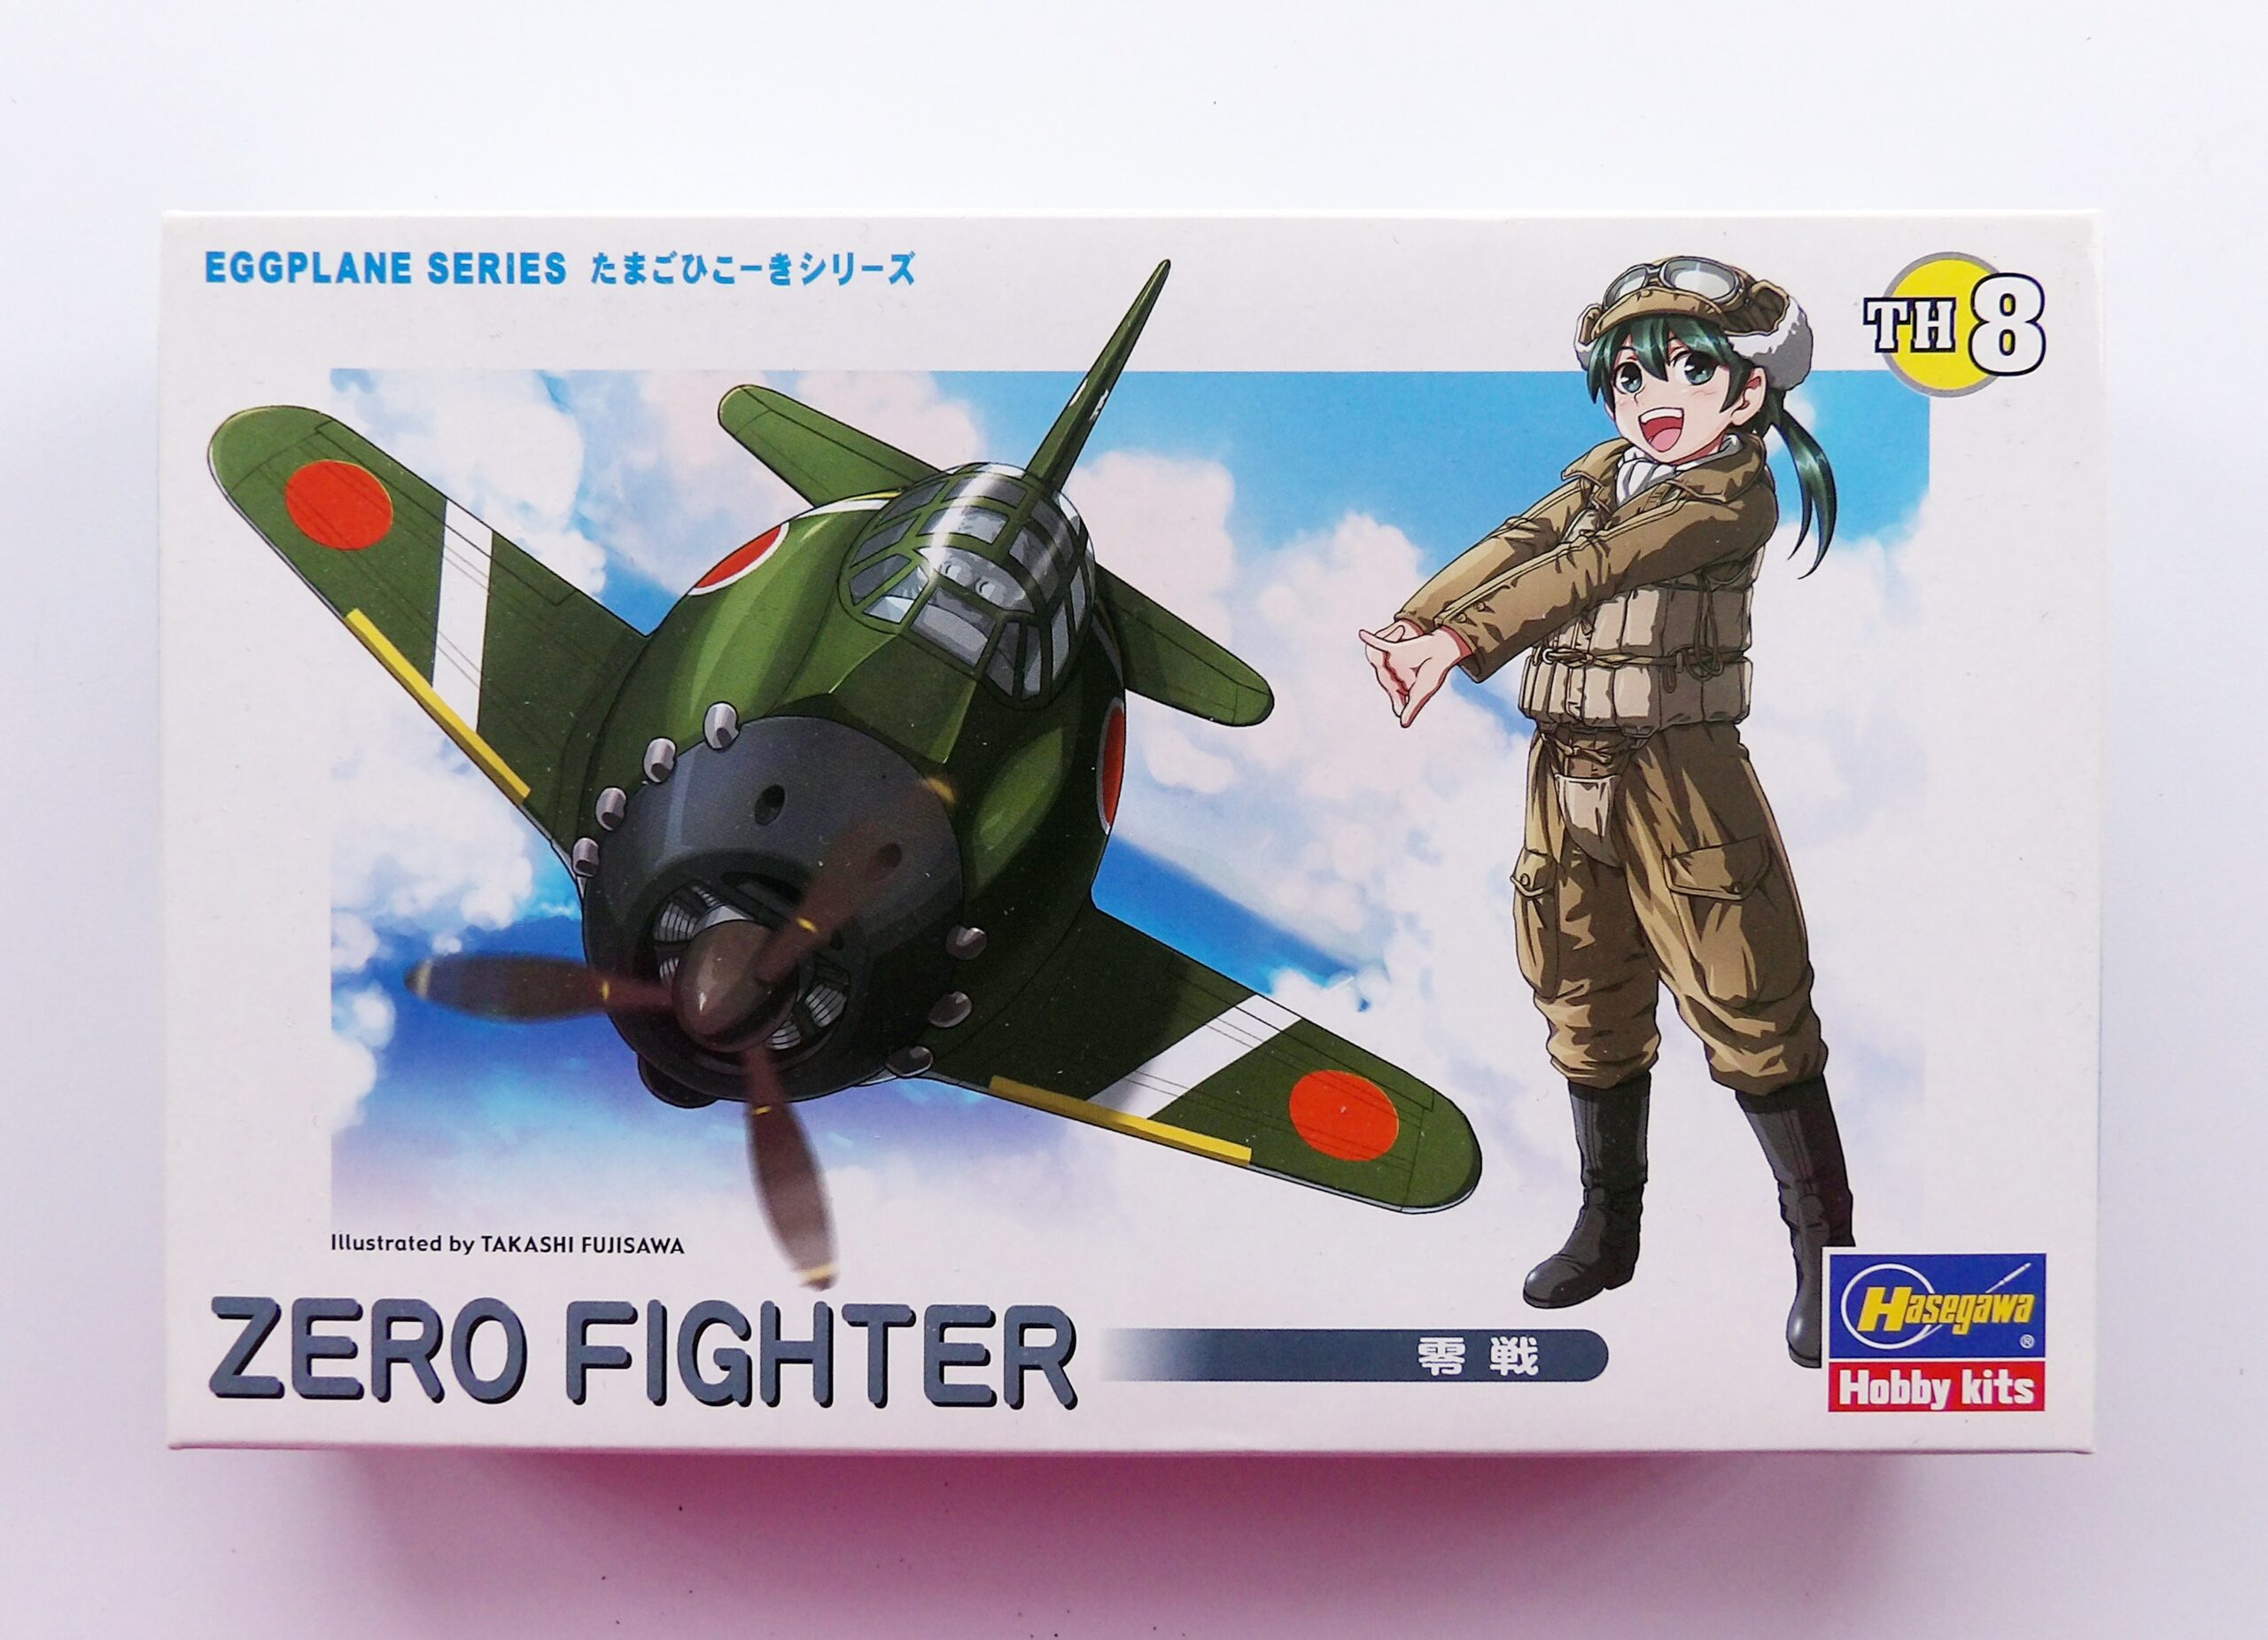
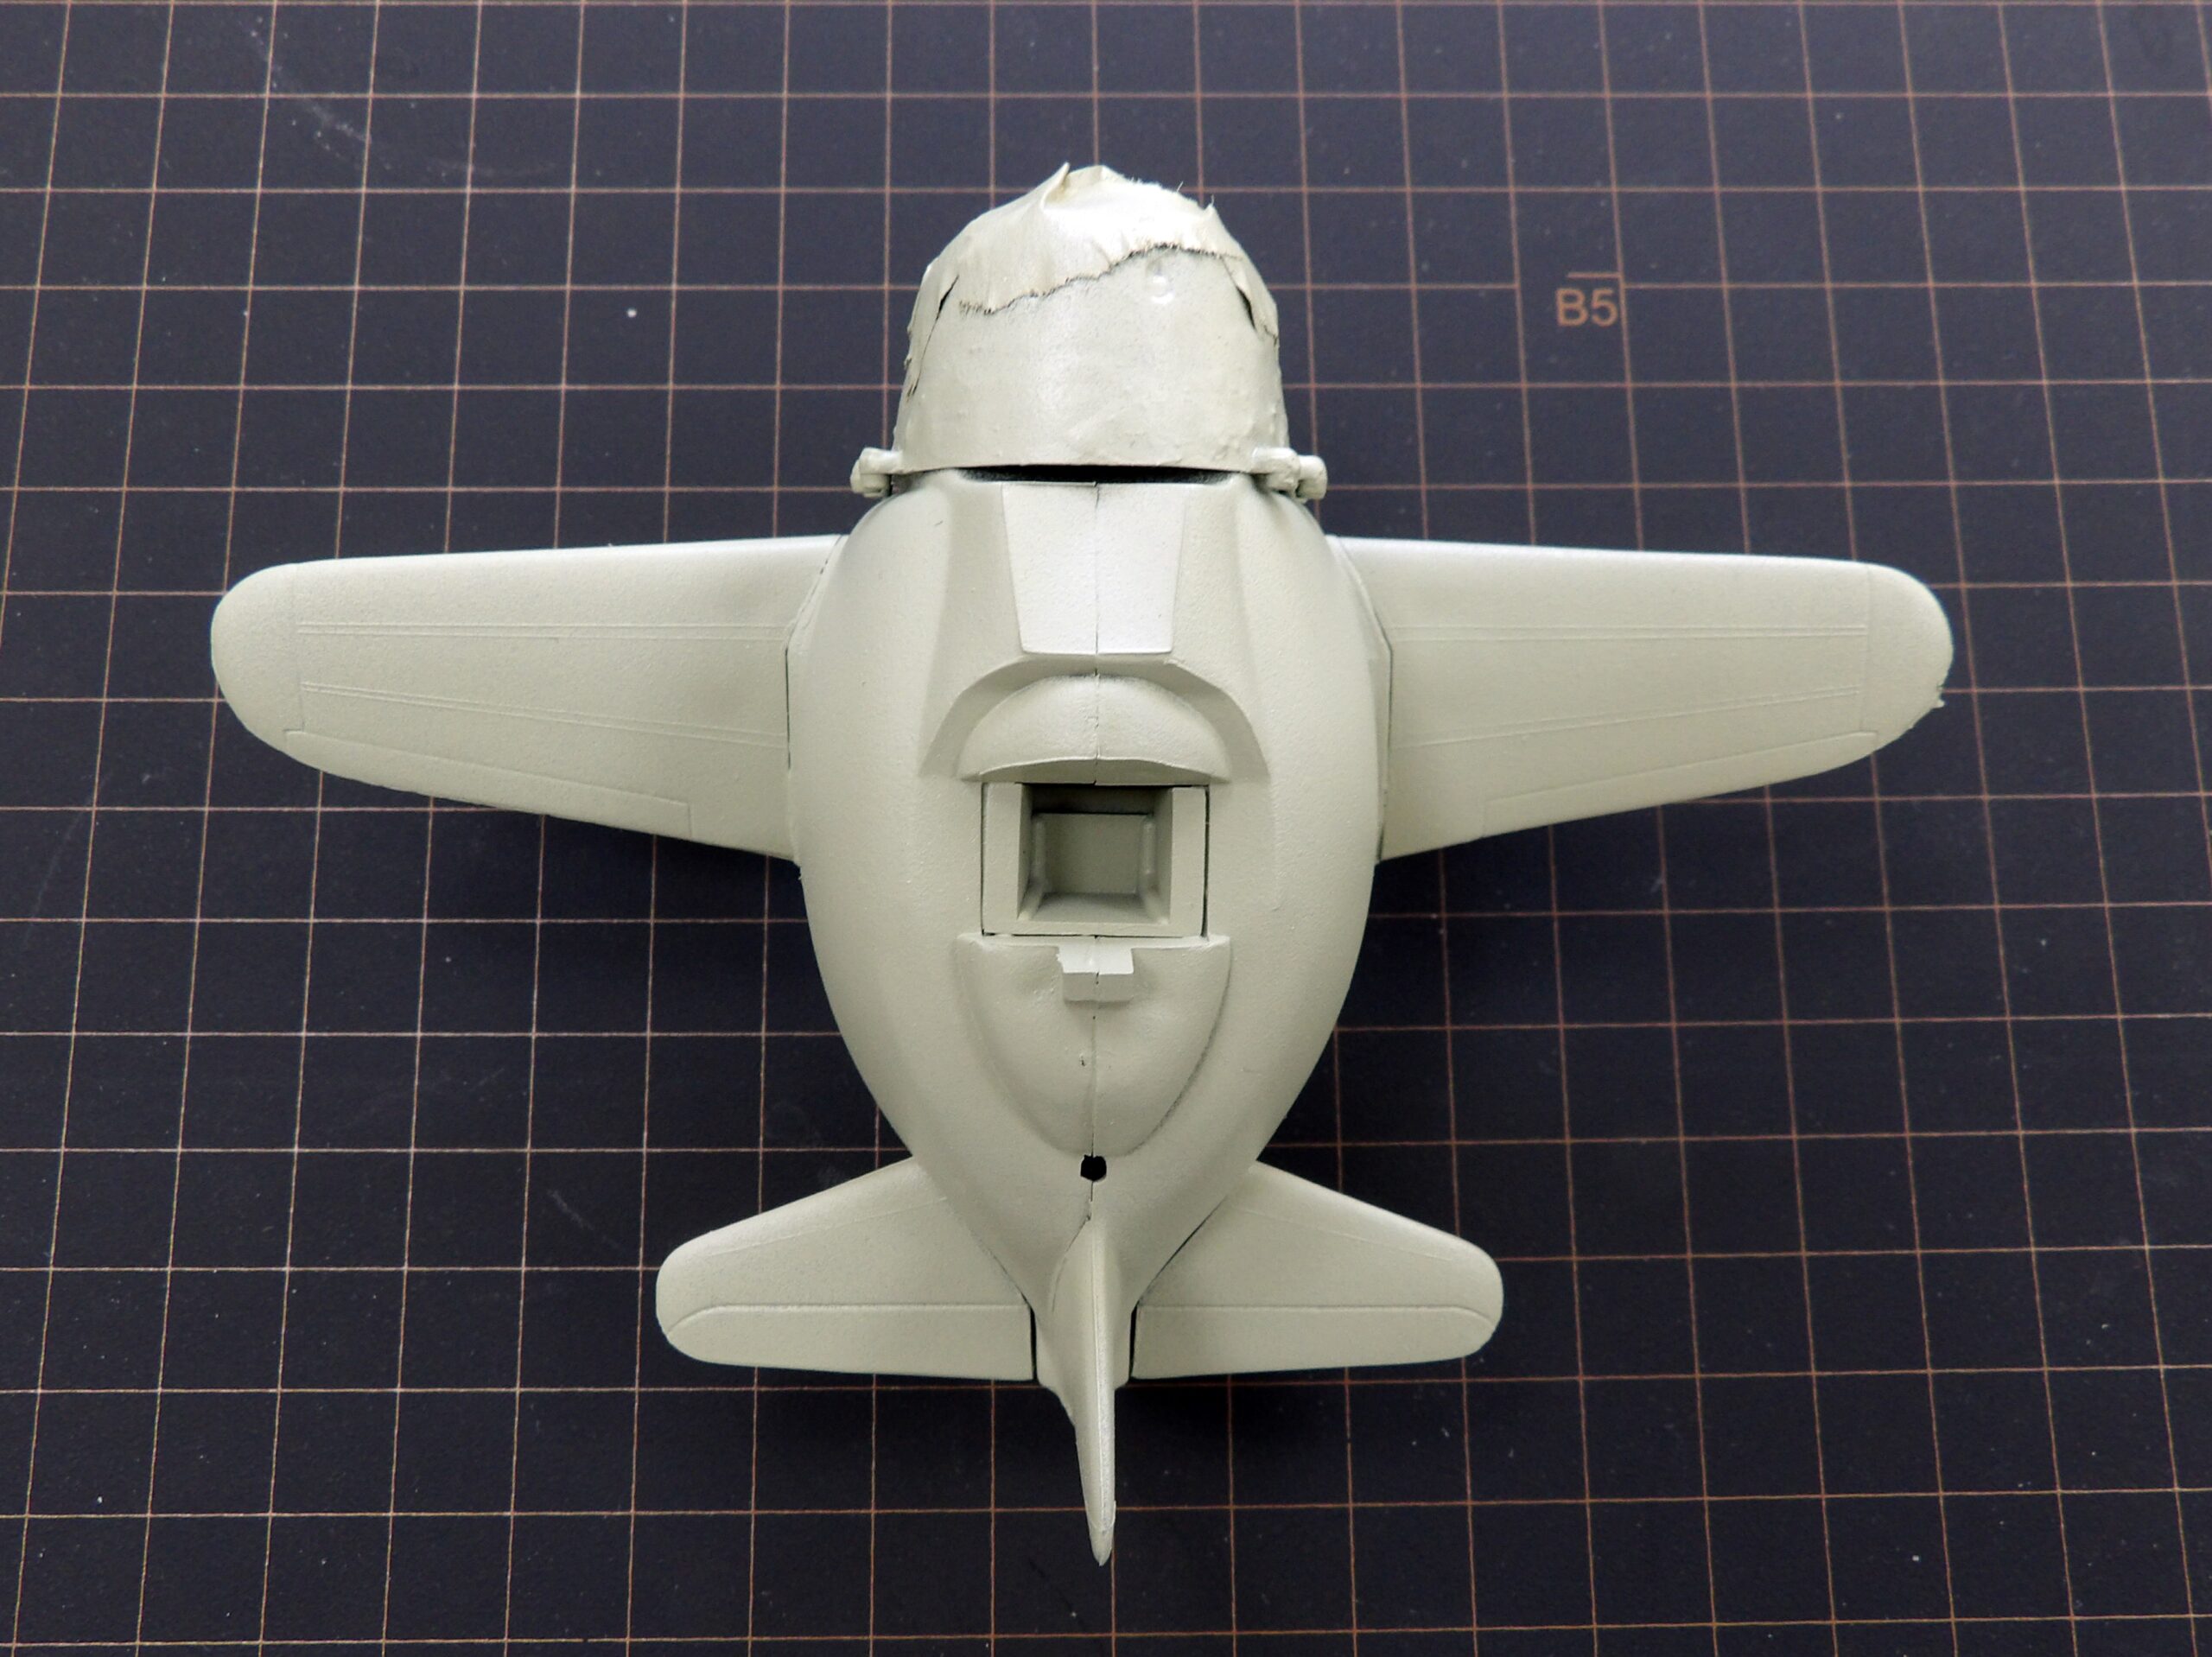
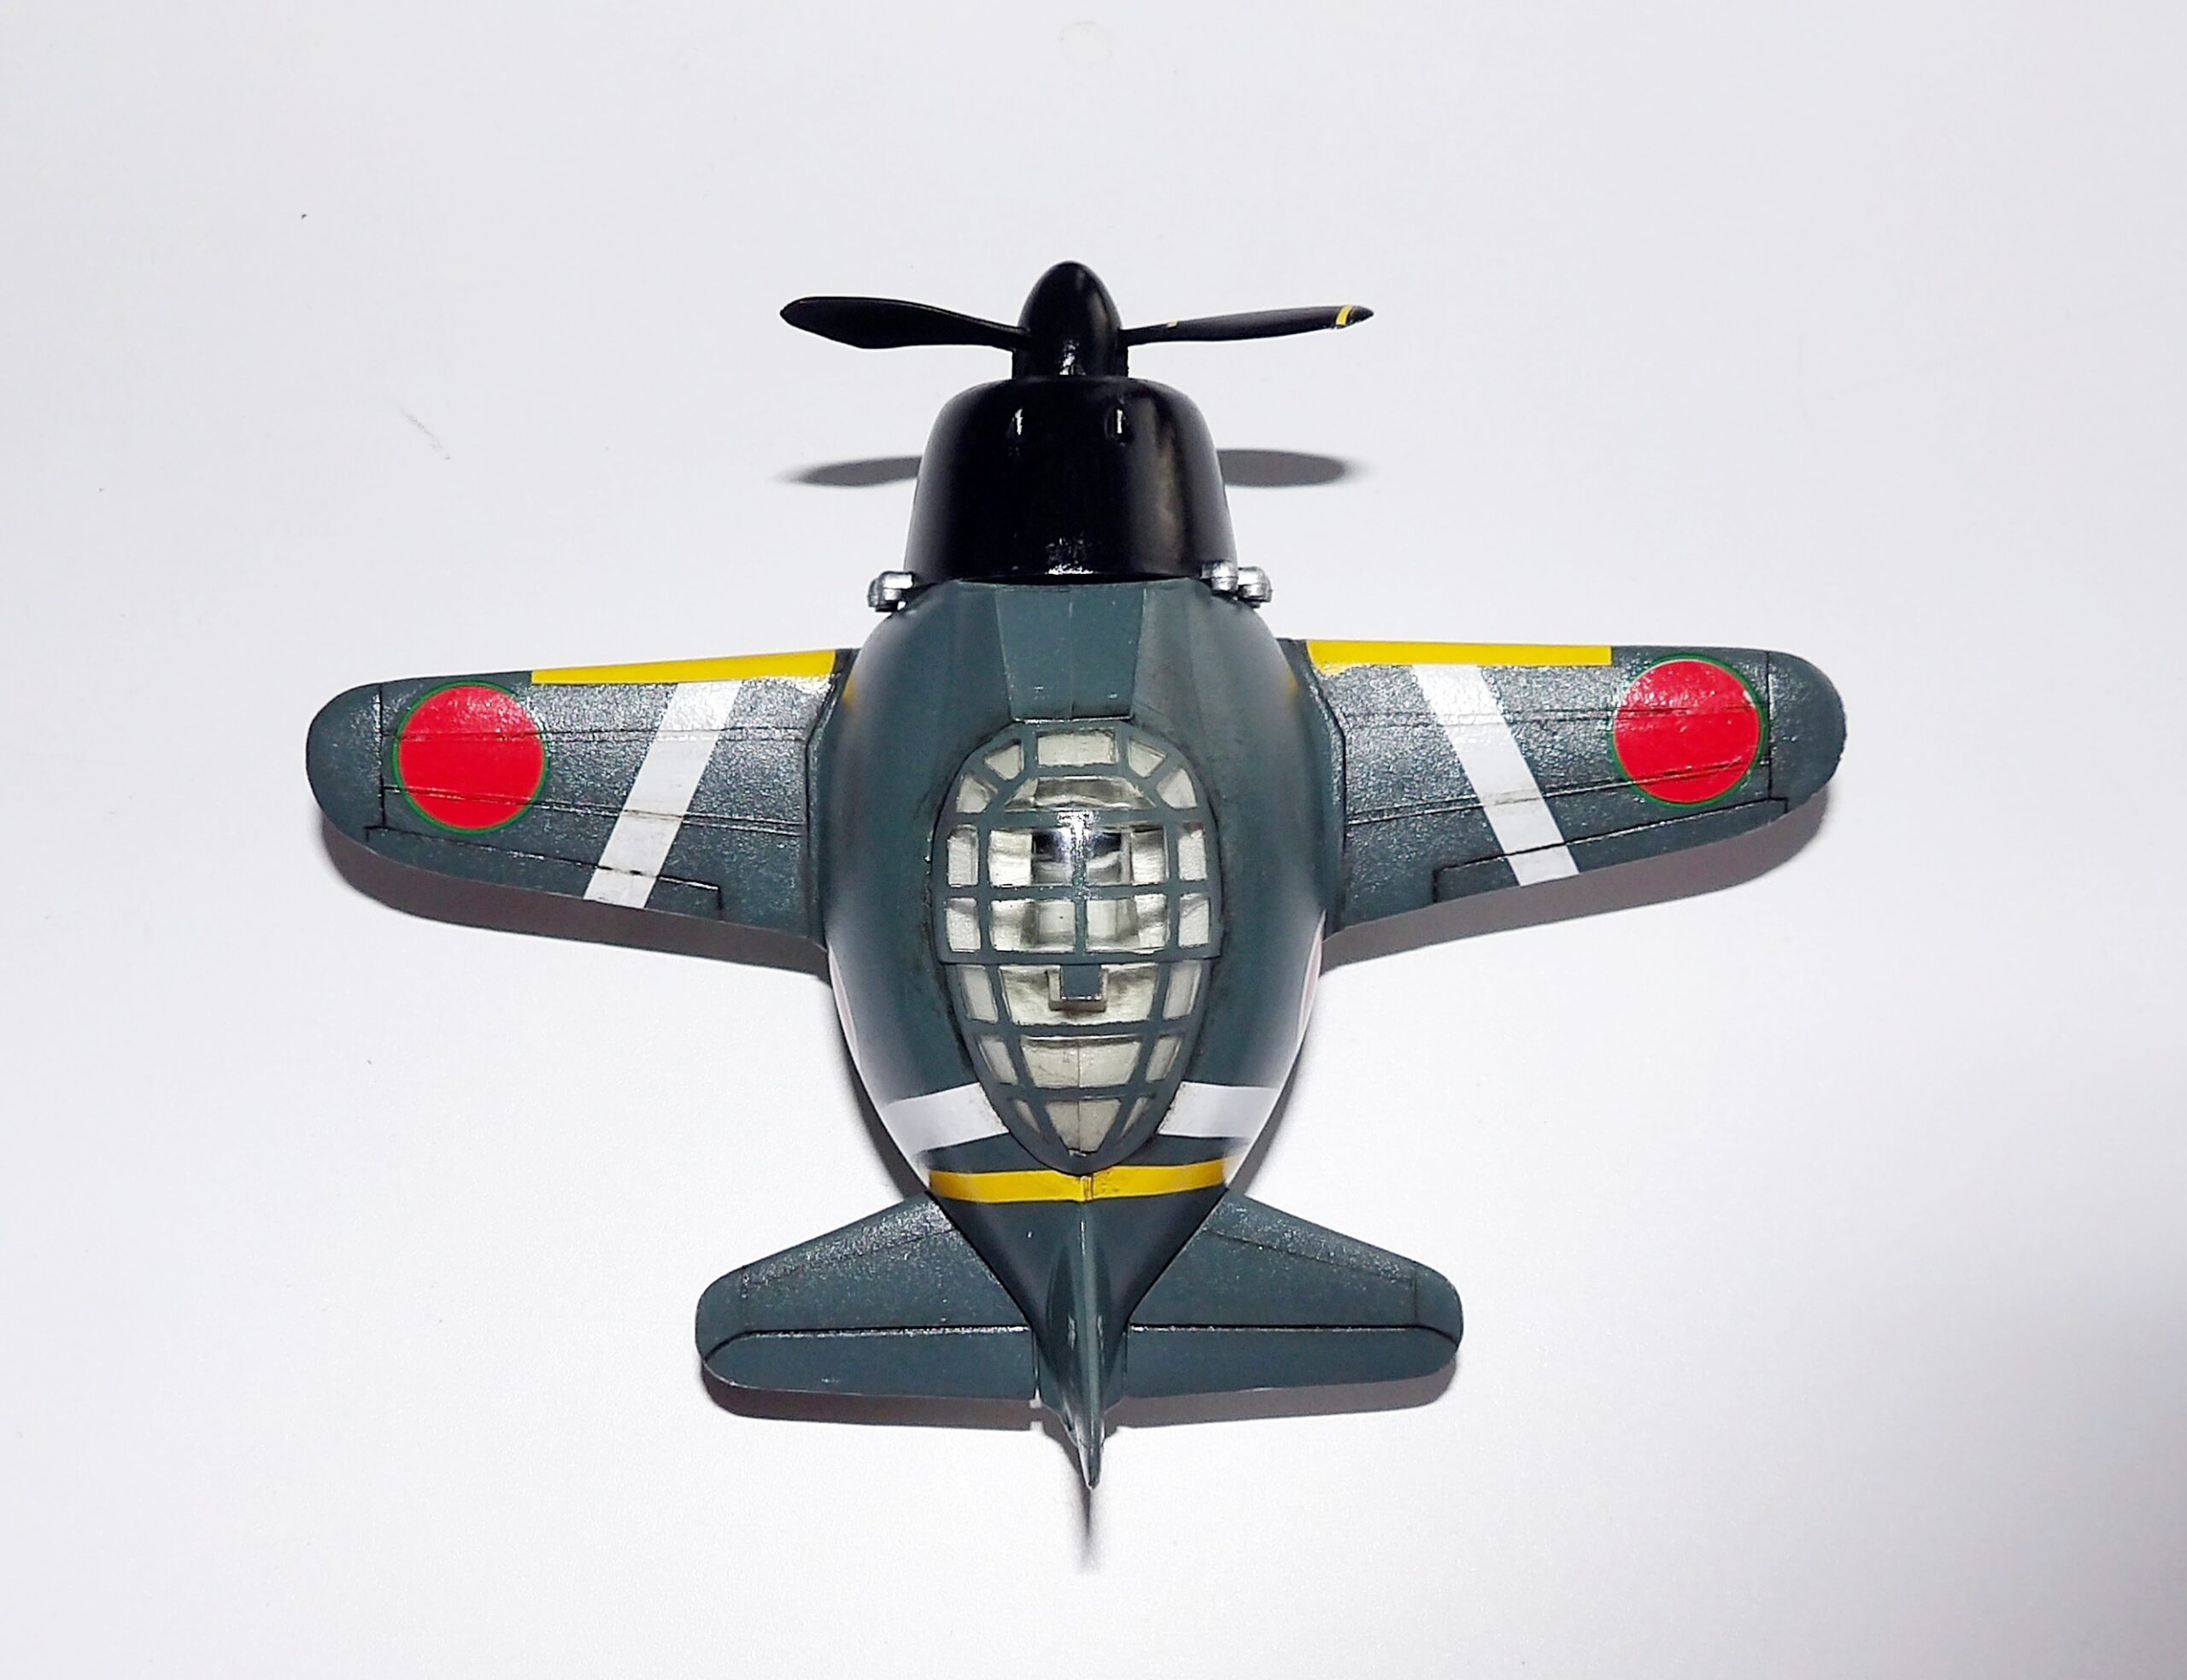
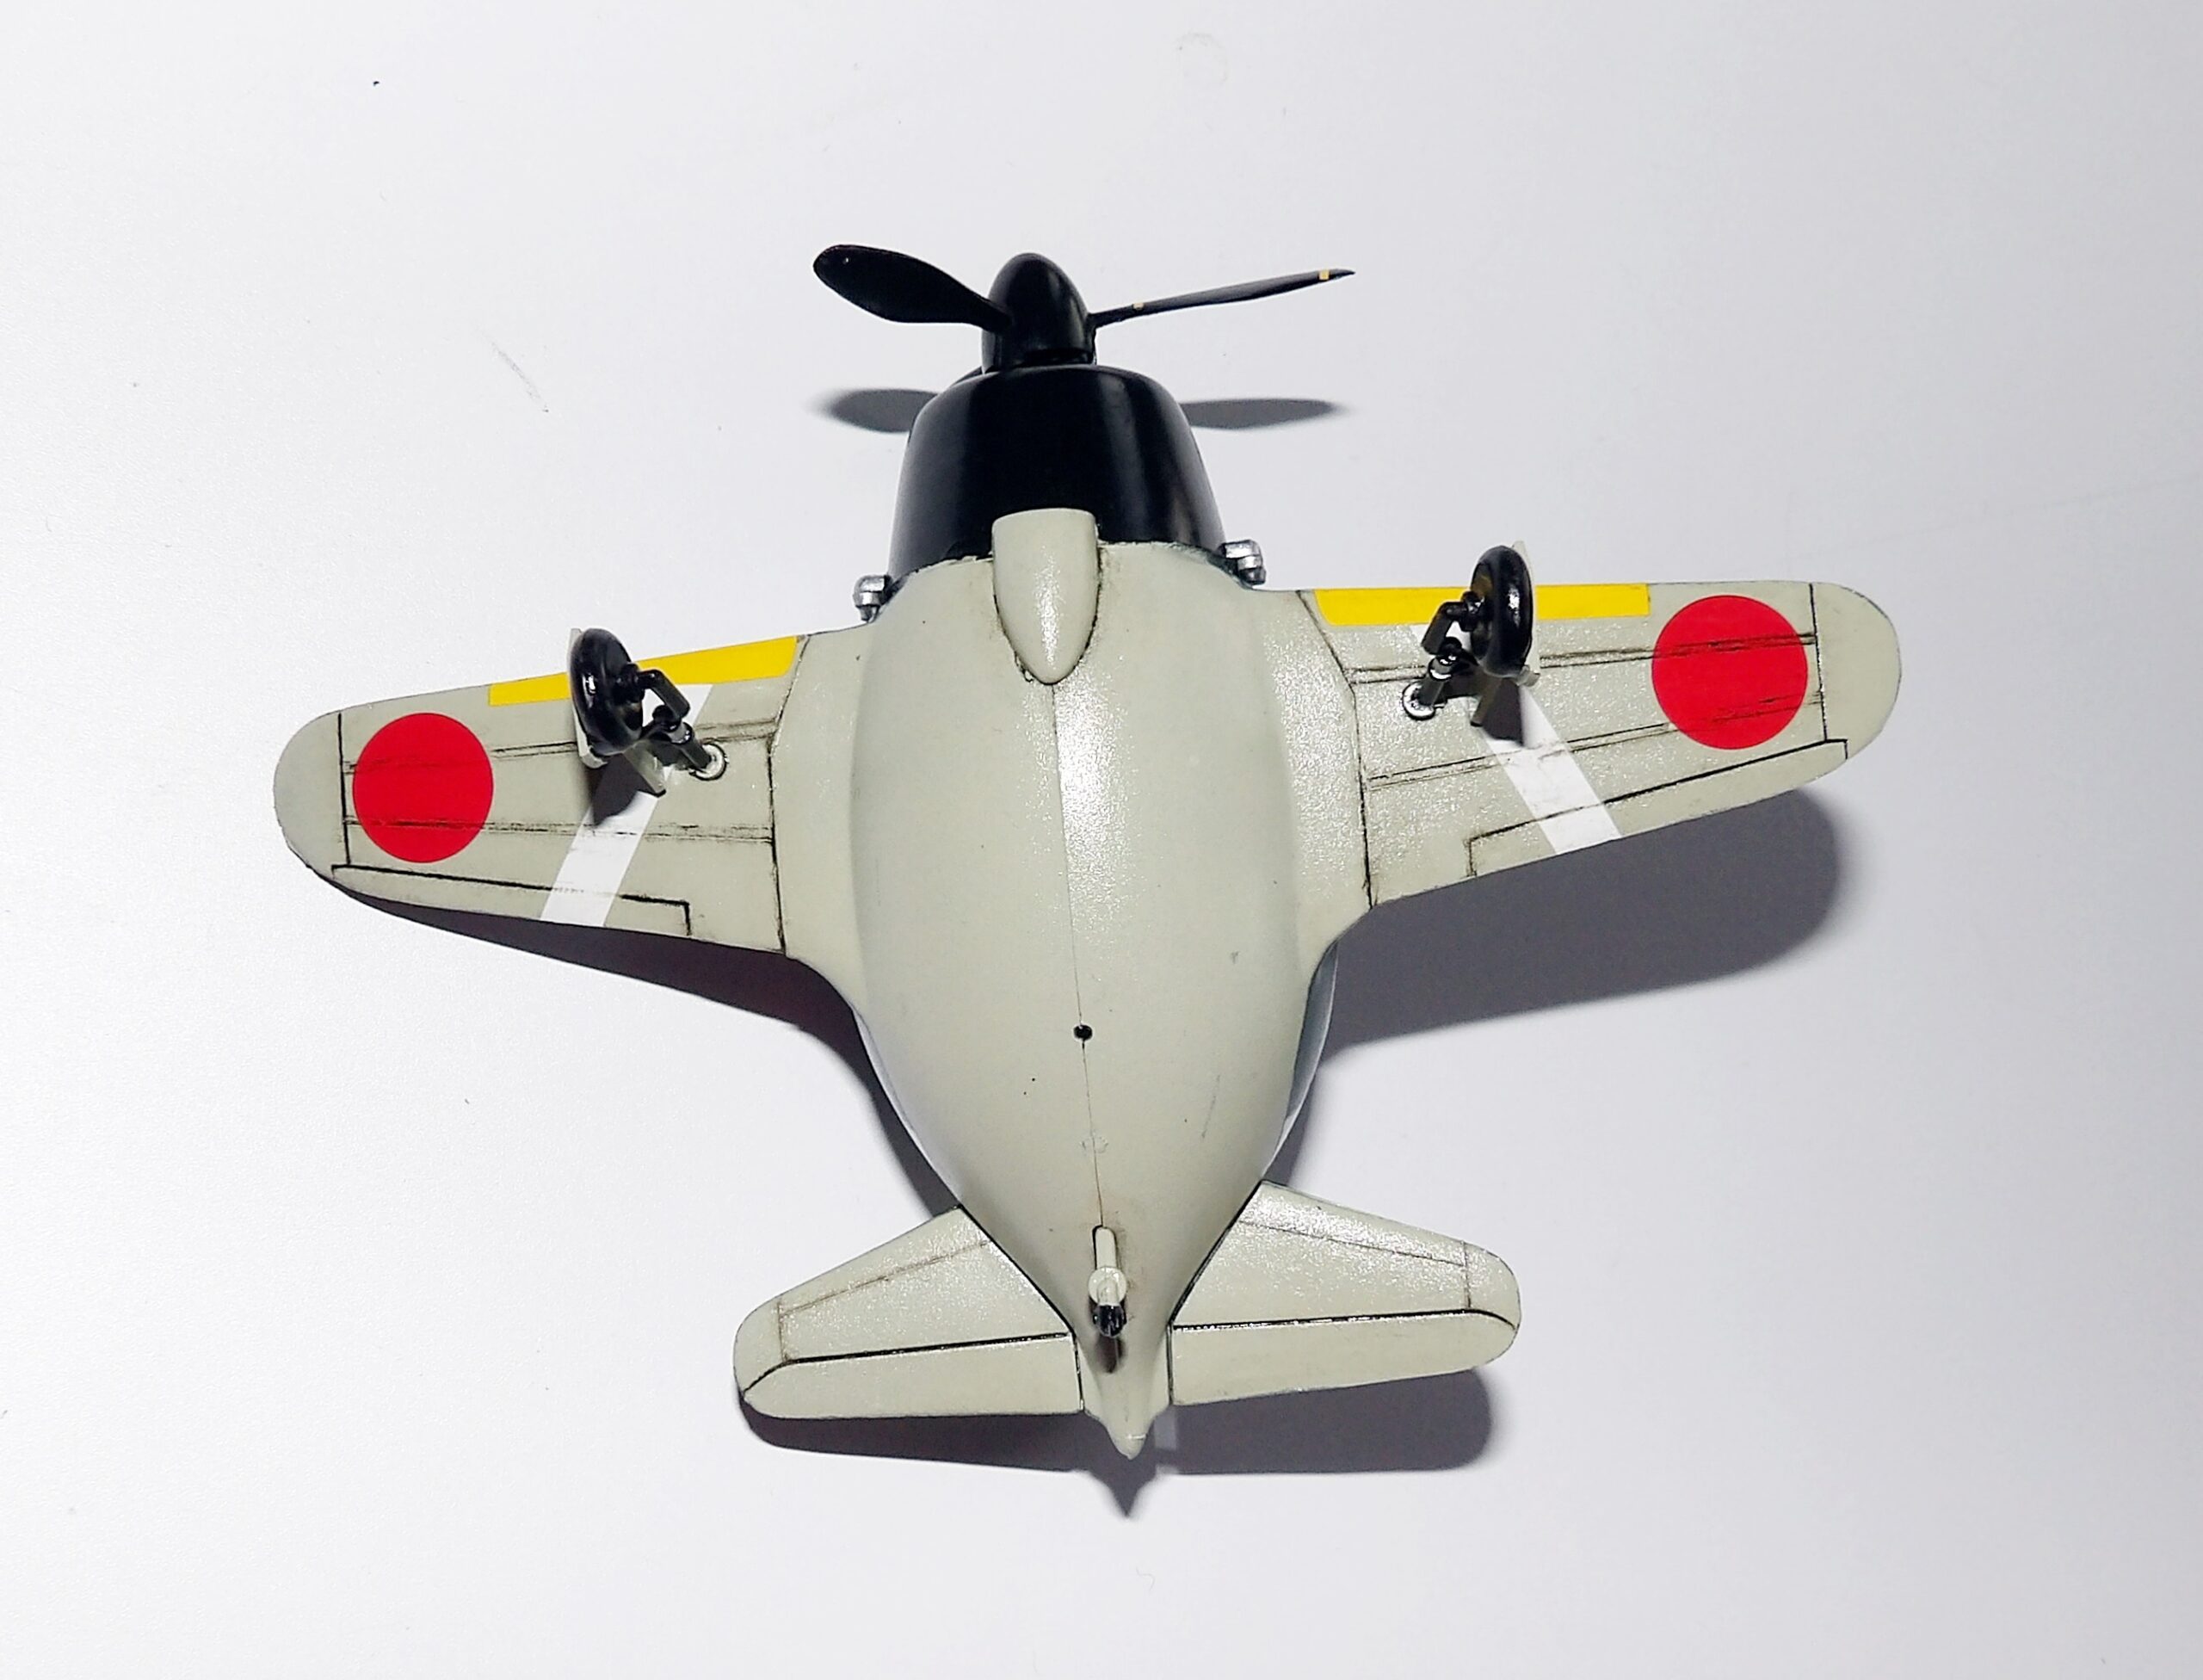
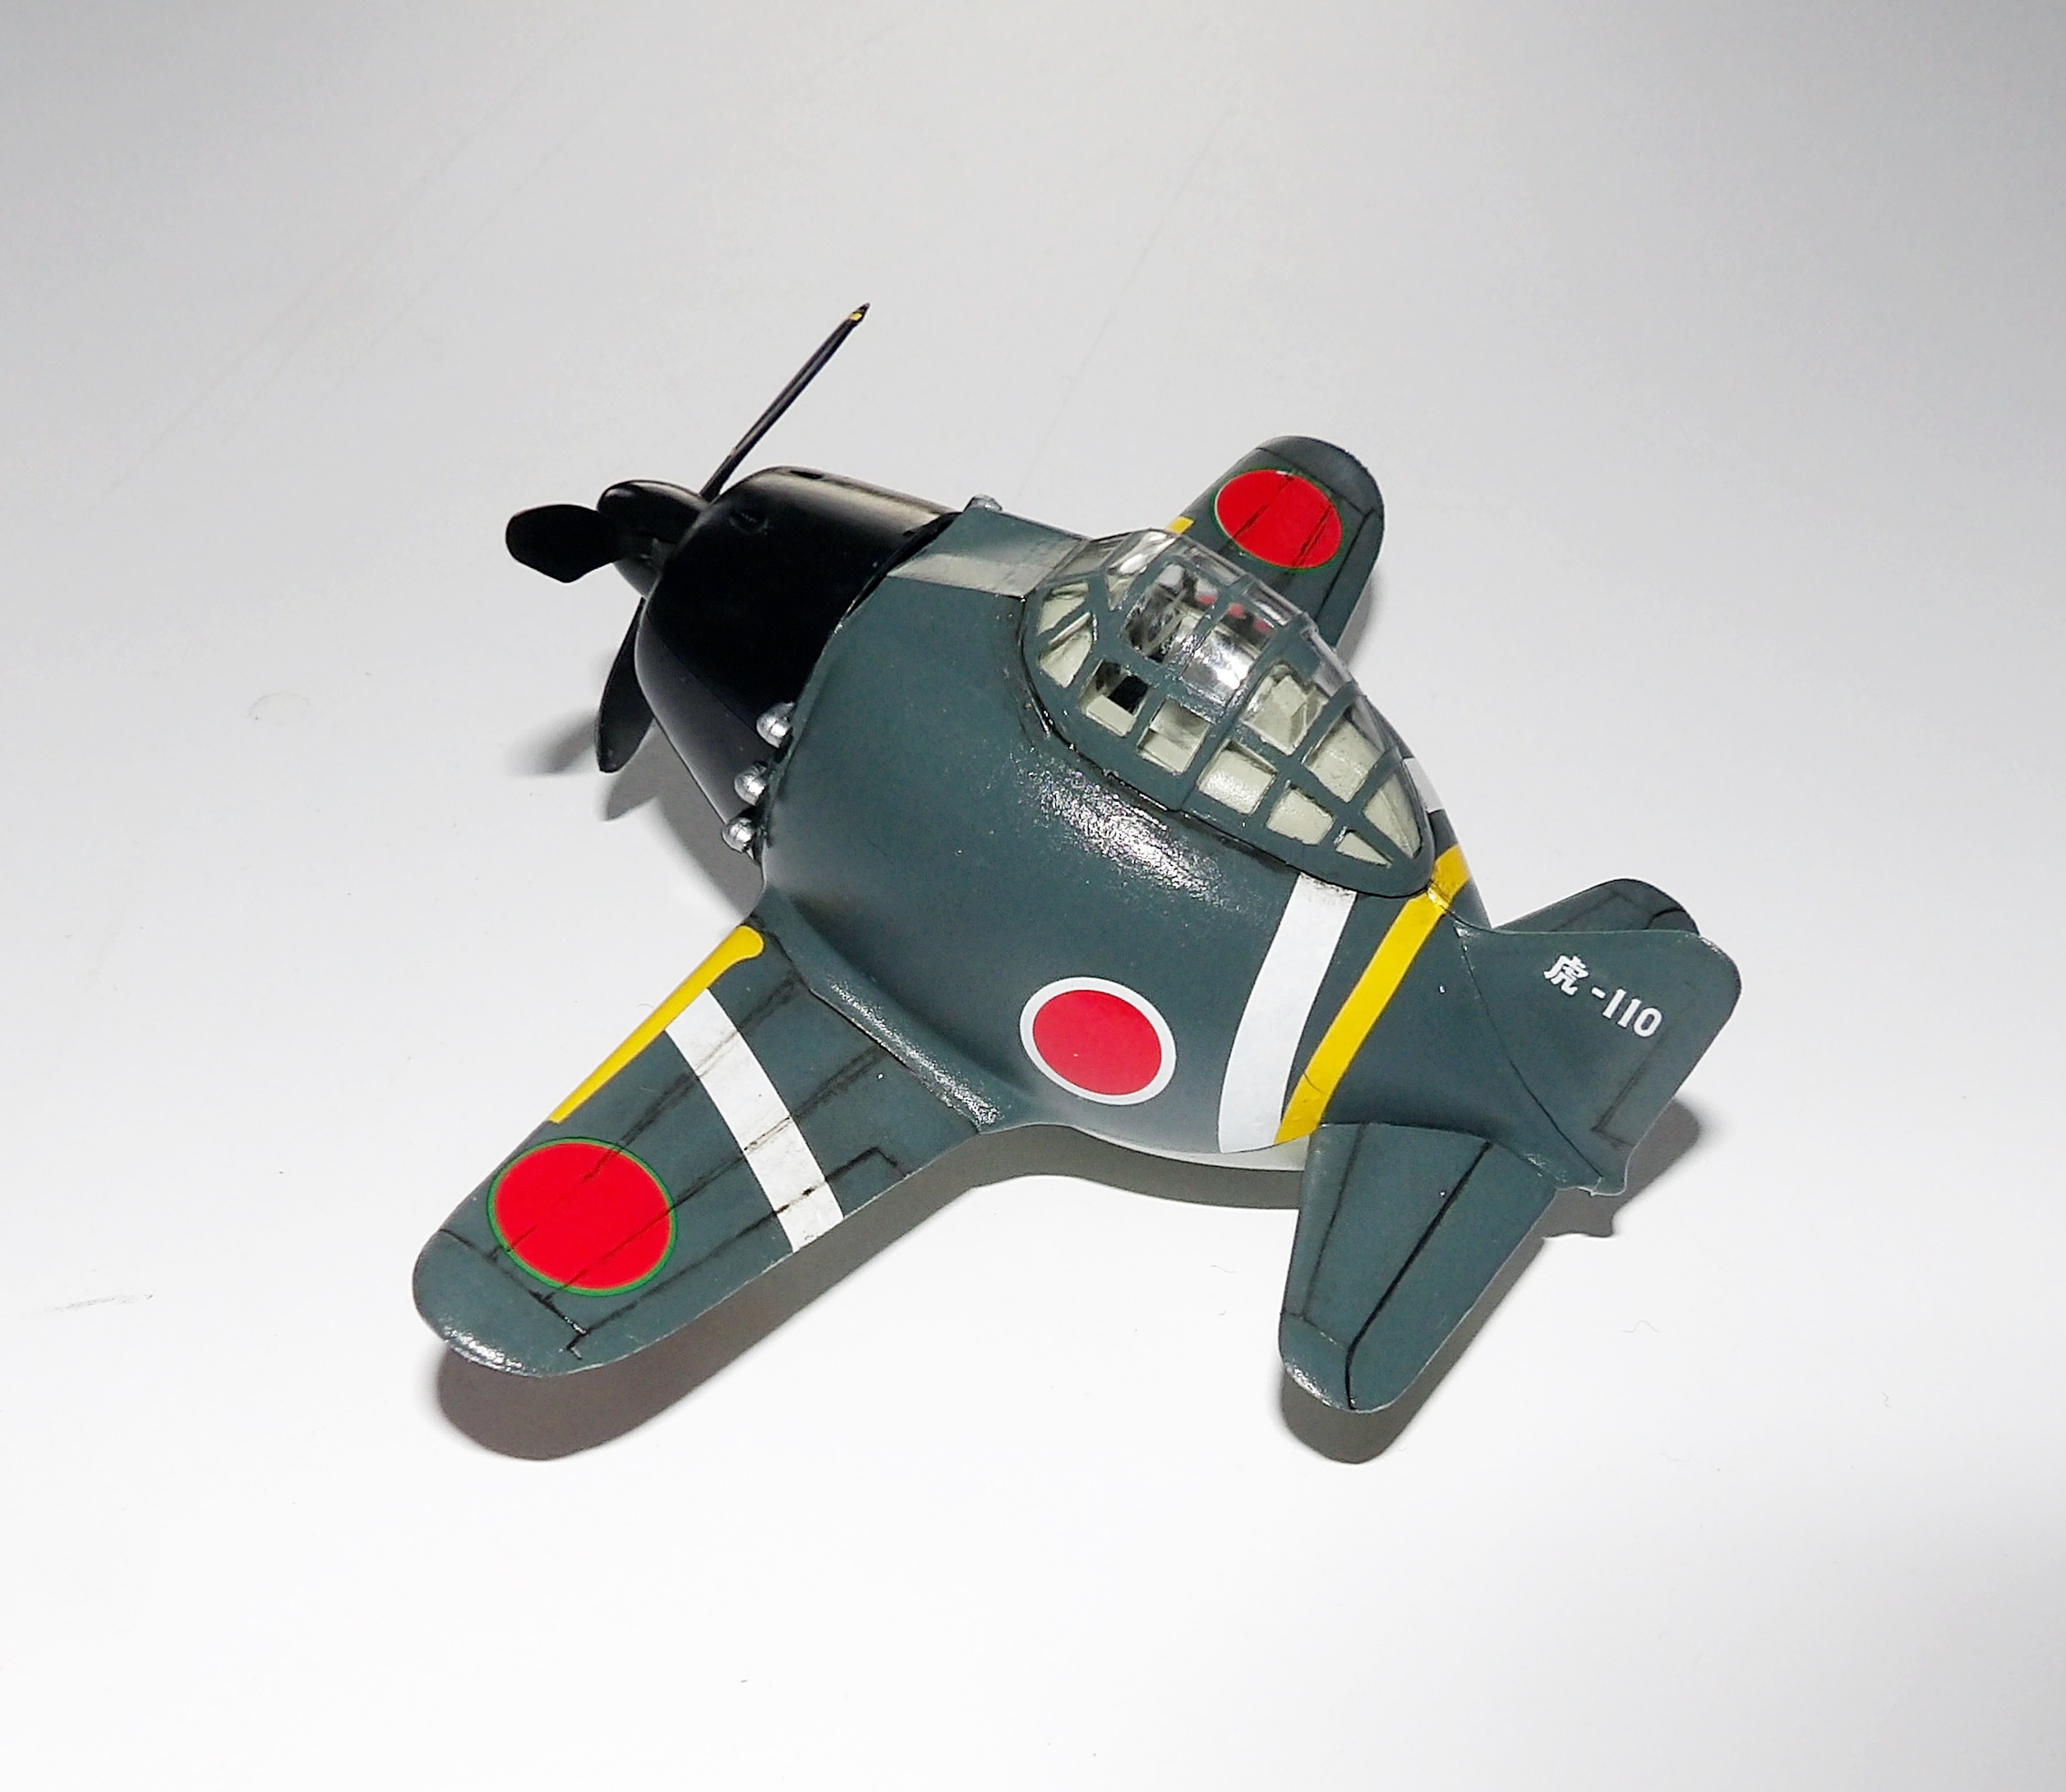
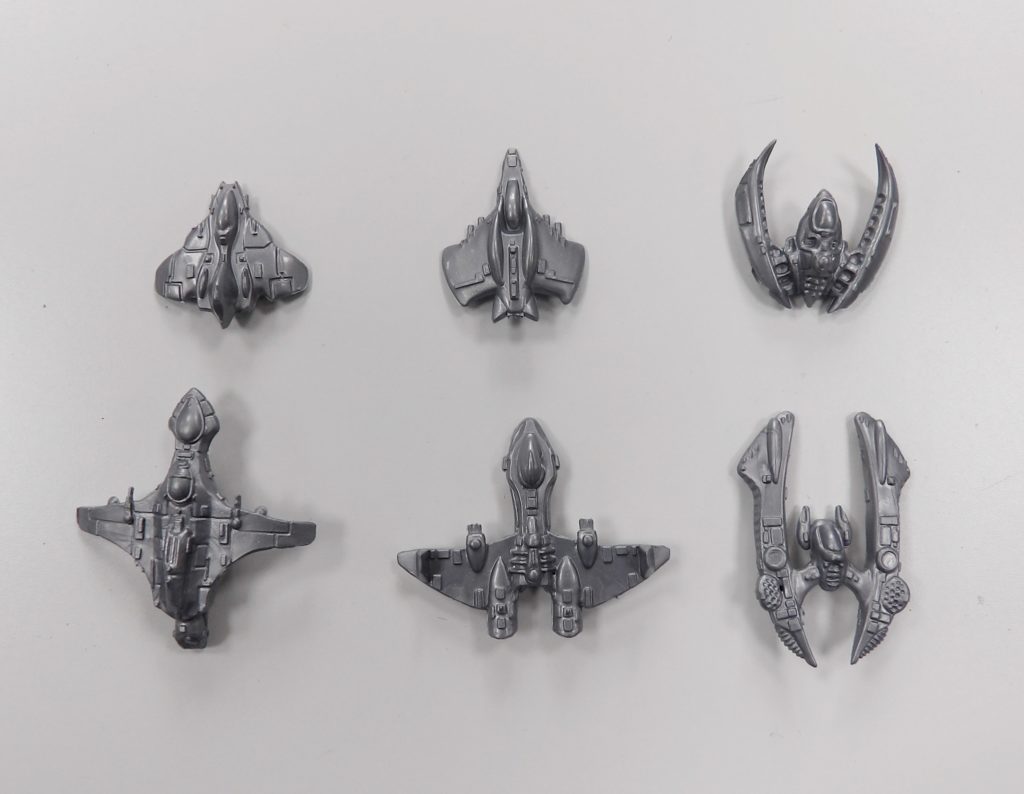
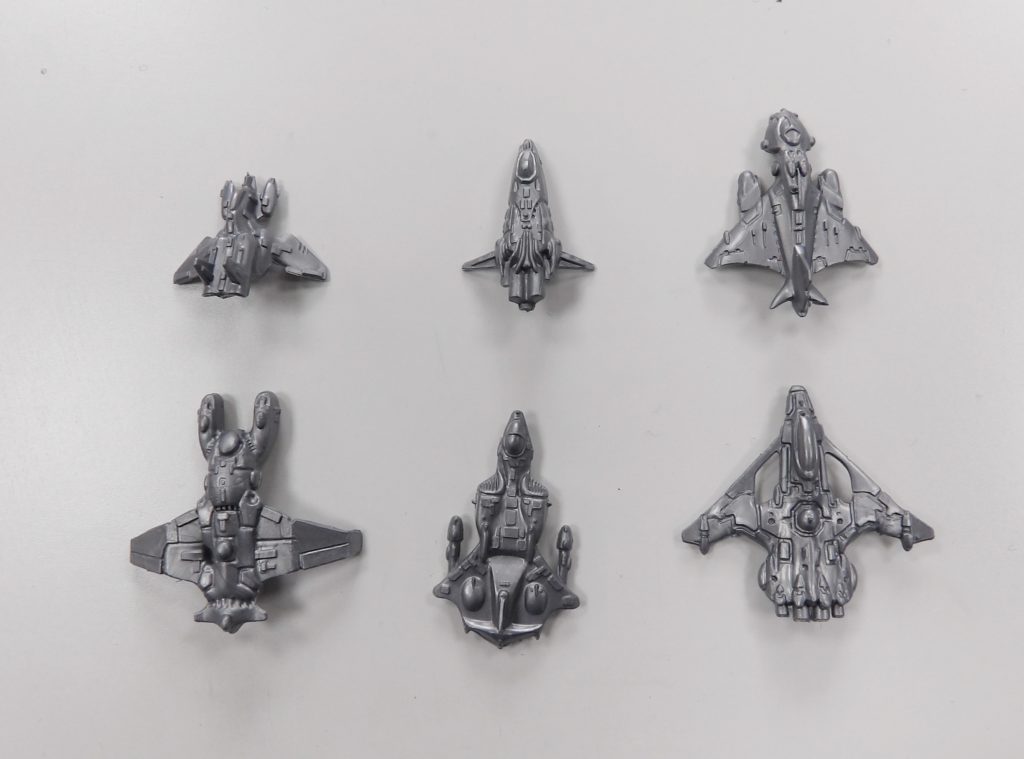
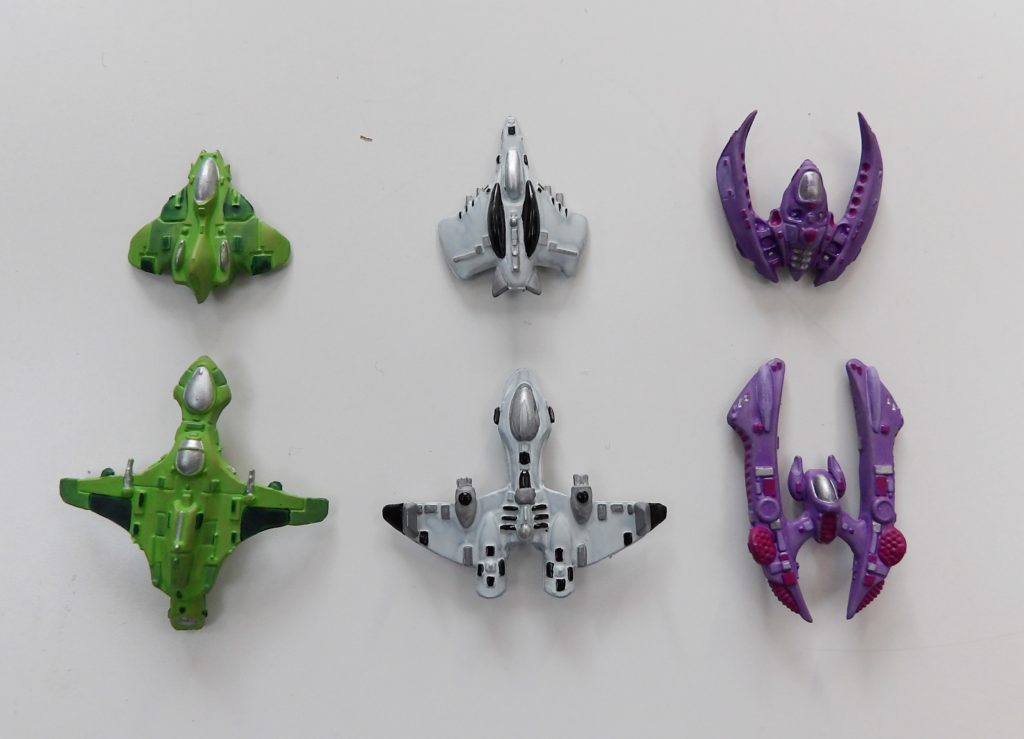
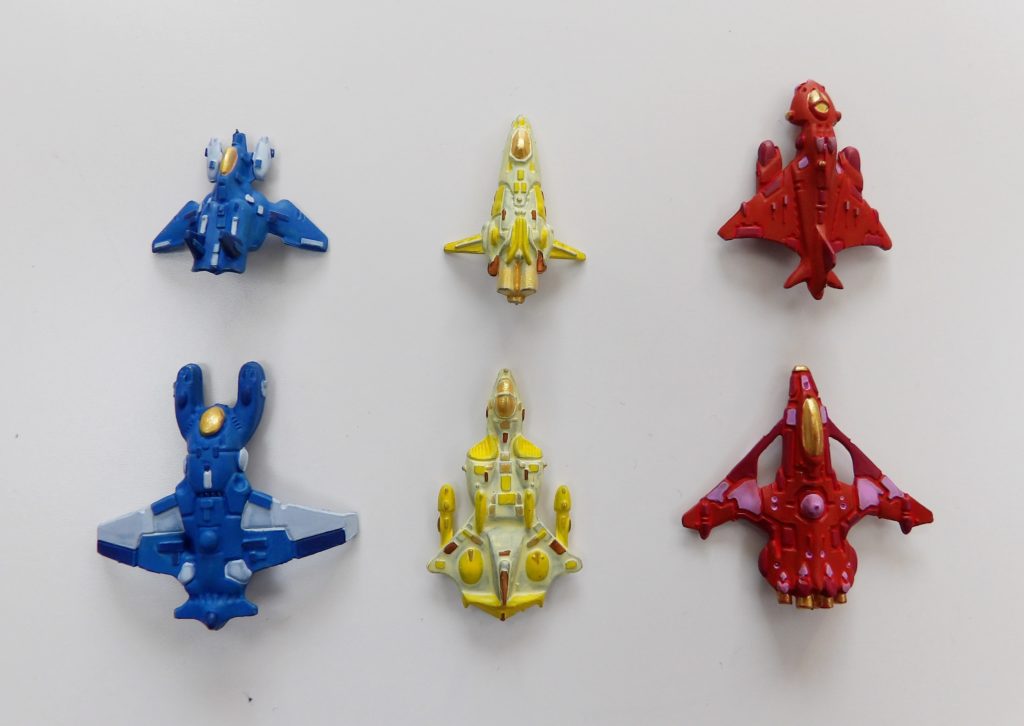
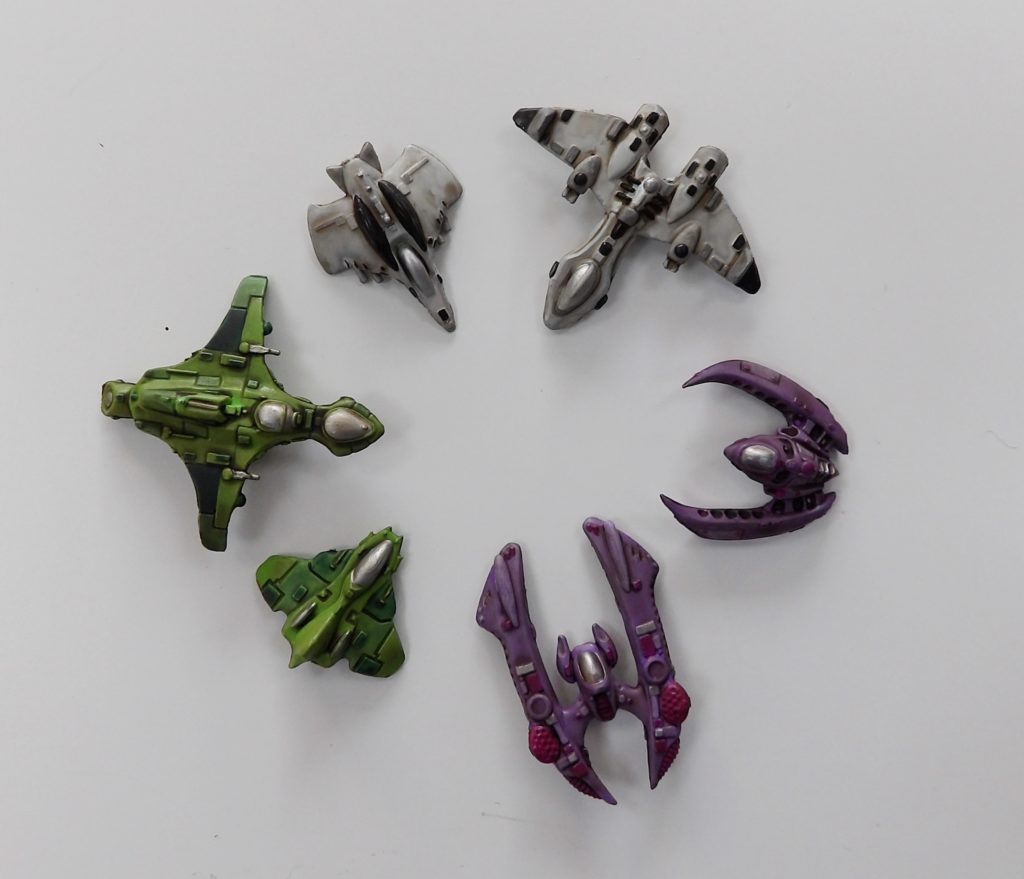
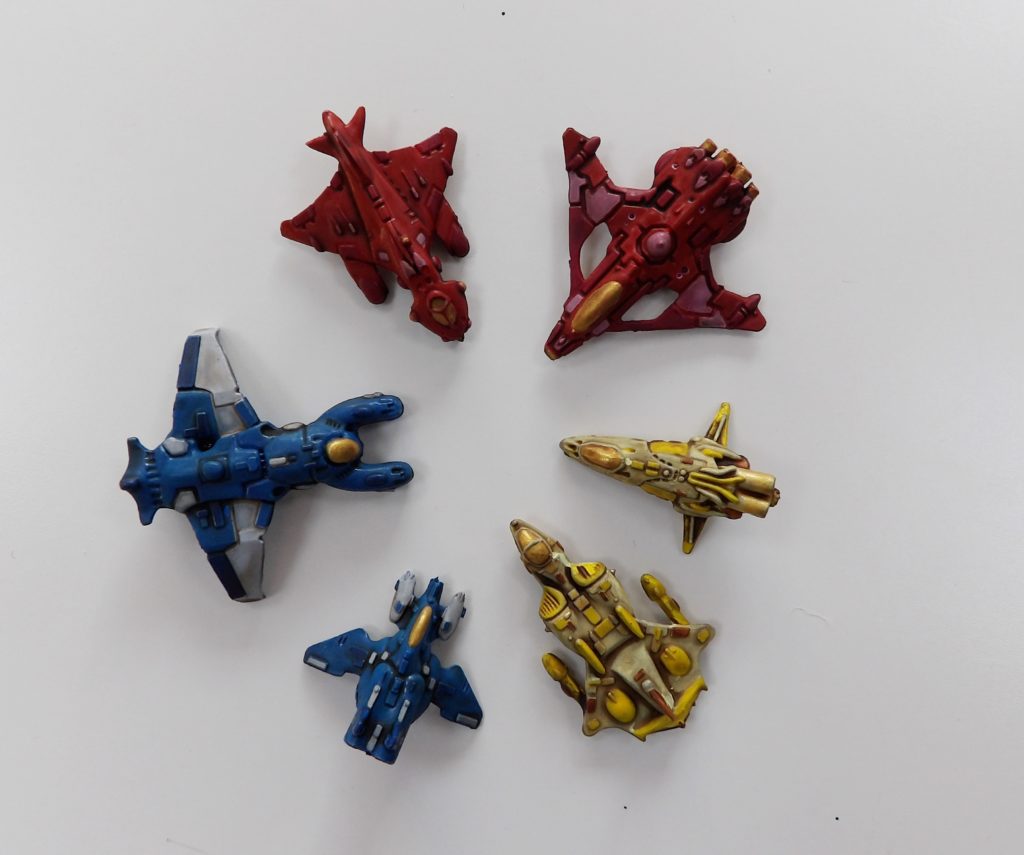
In between two big projects, we have sneaked in this simple model build to save our sanity. Egg planes really are as fun as they look.
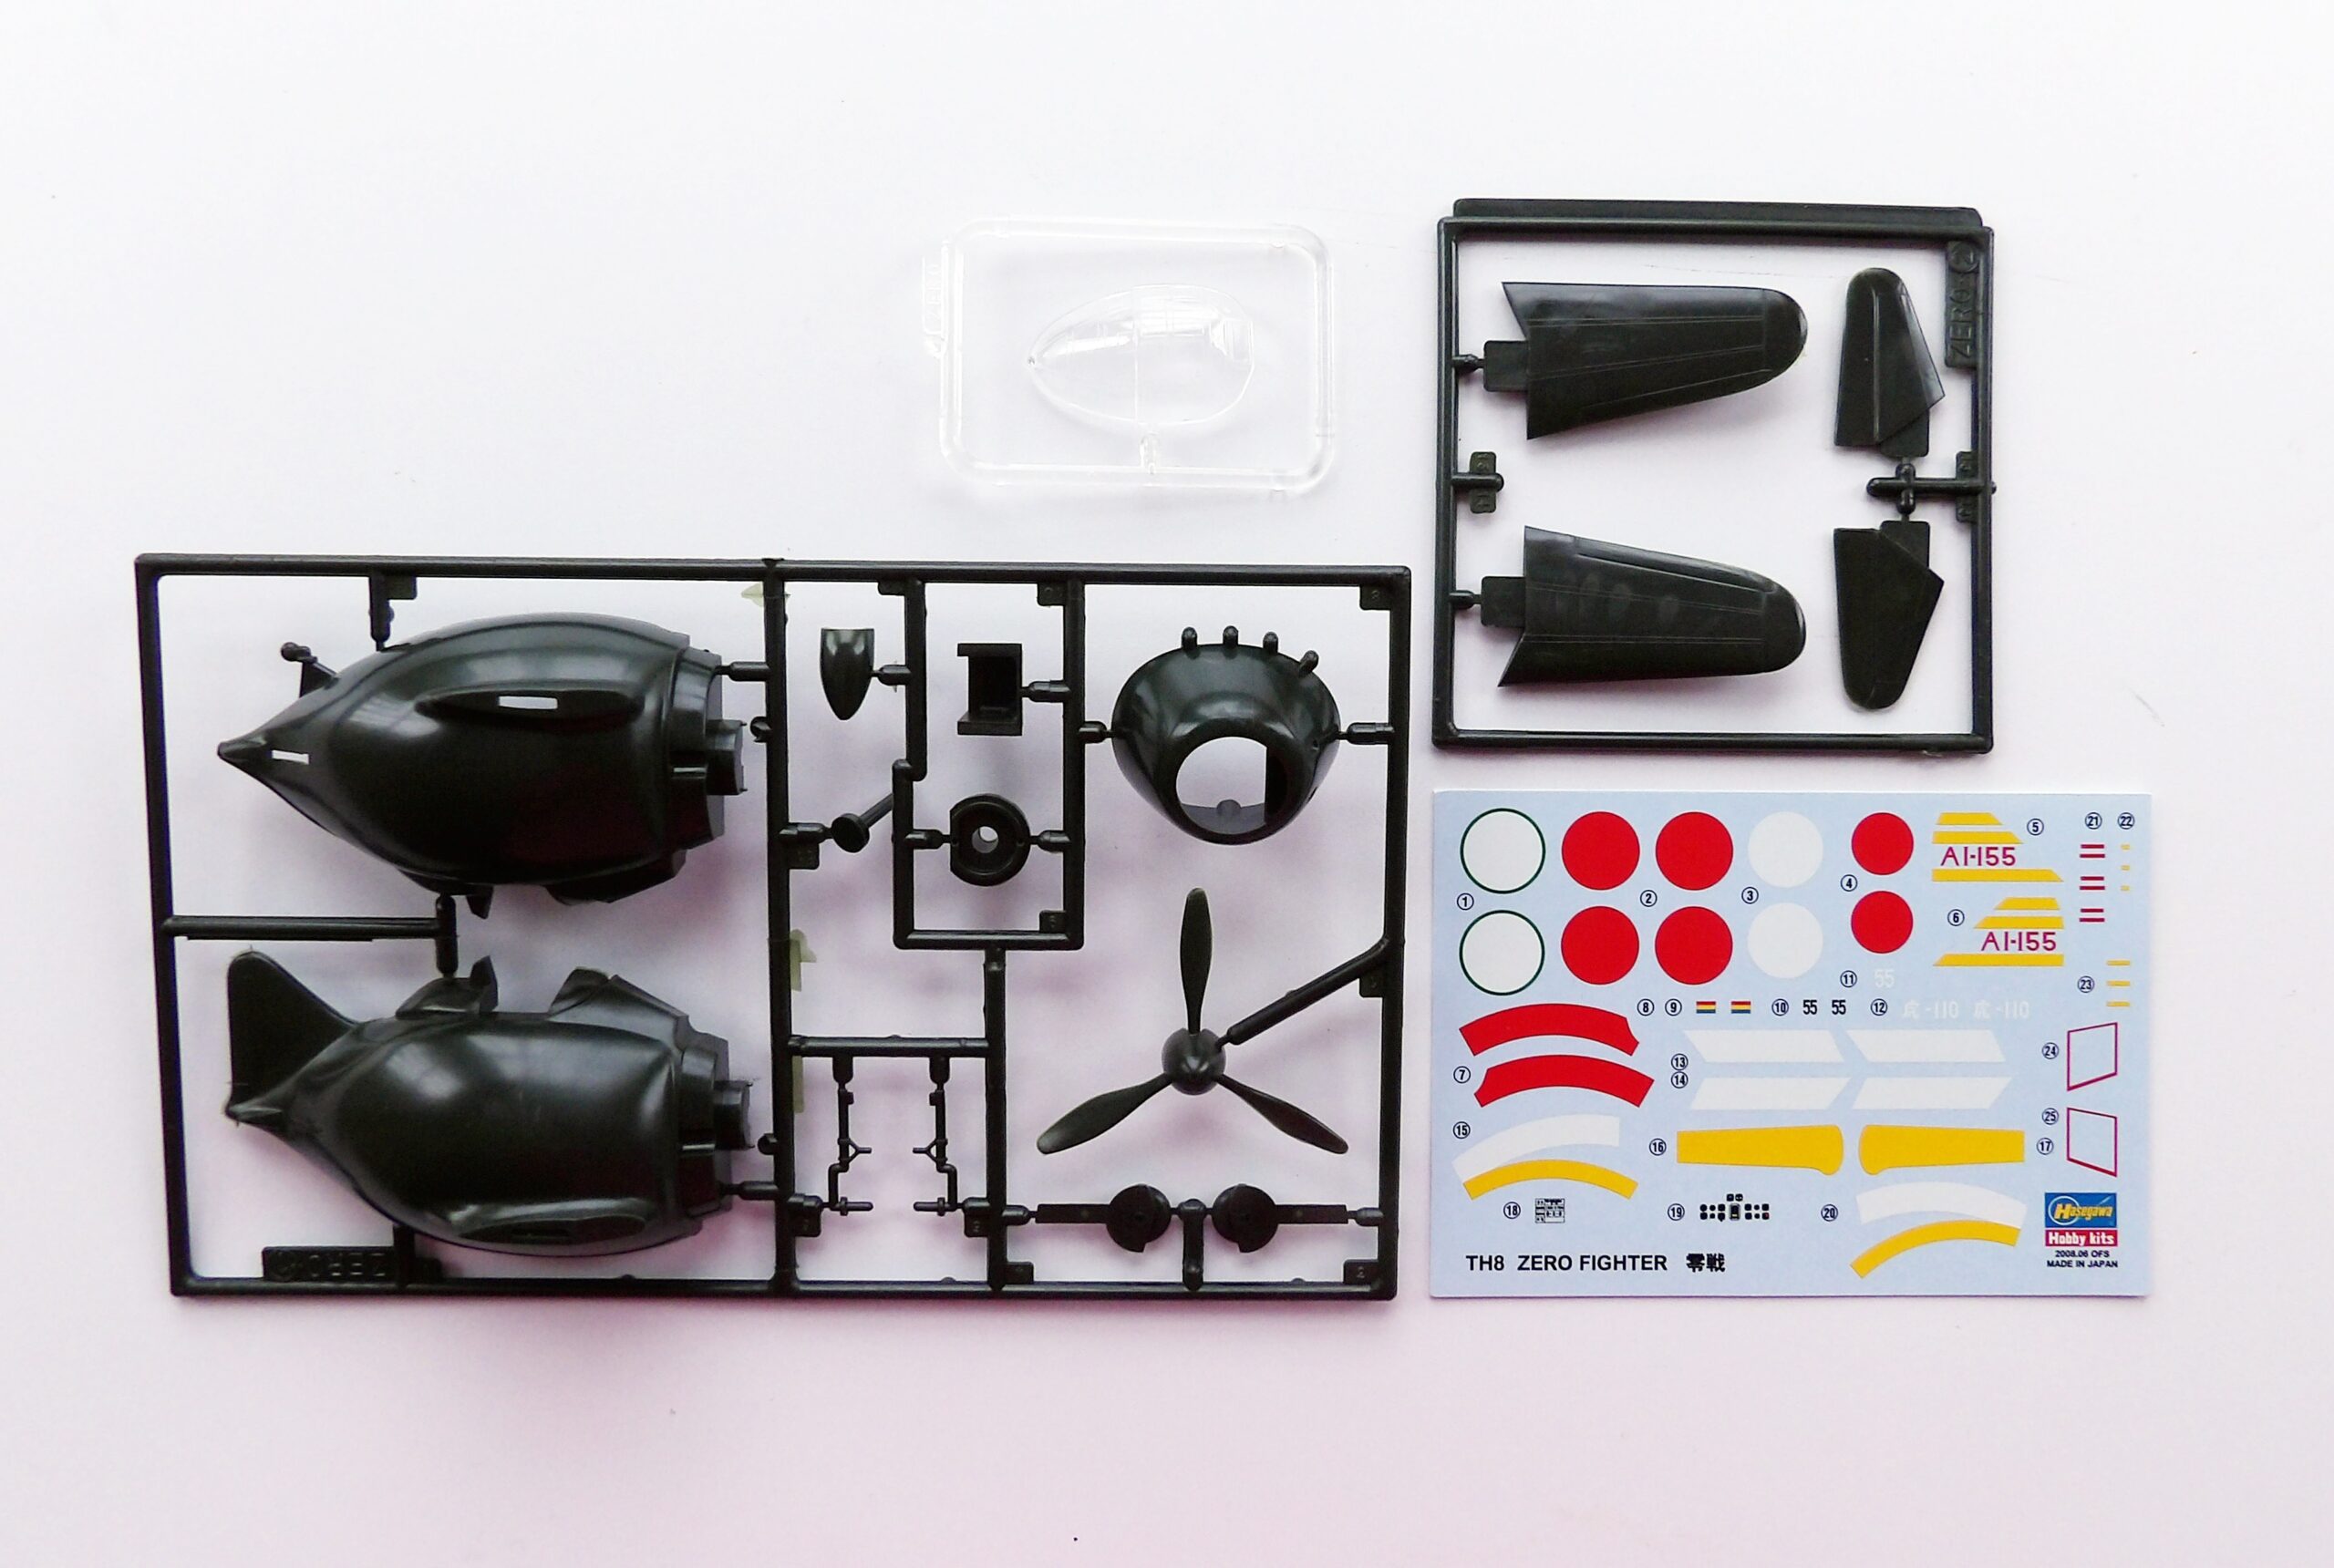
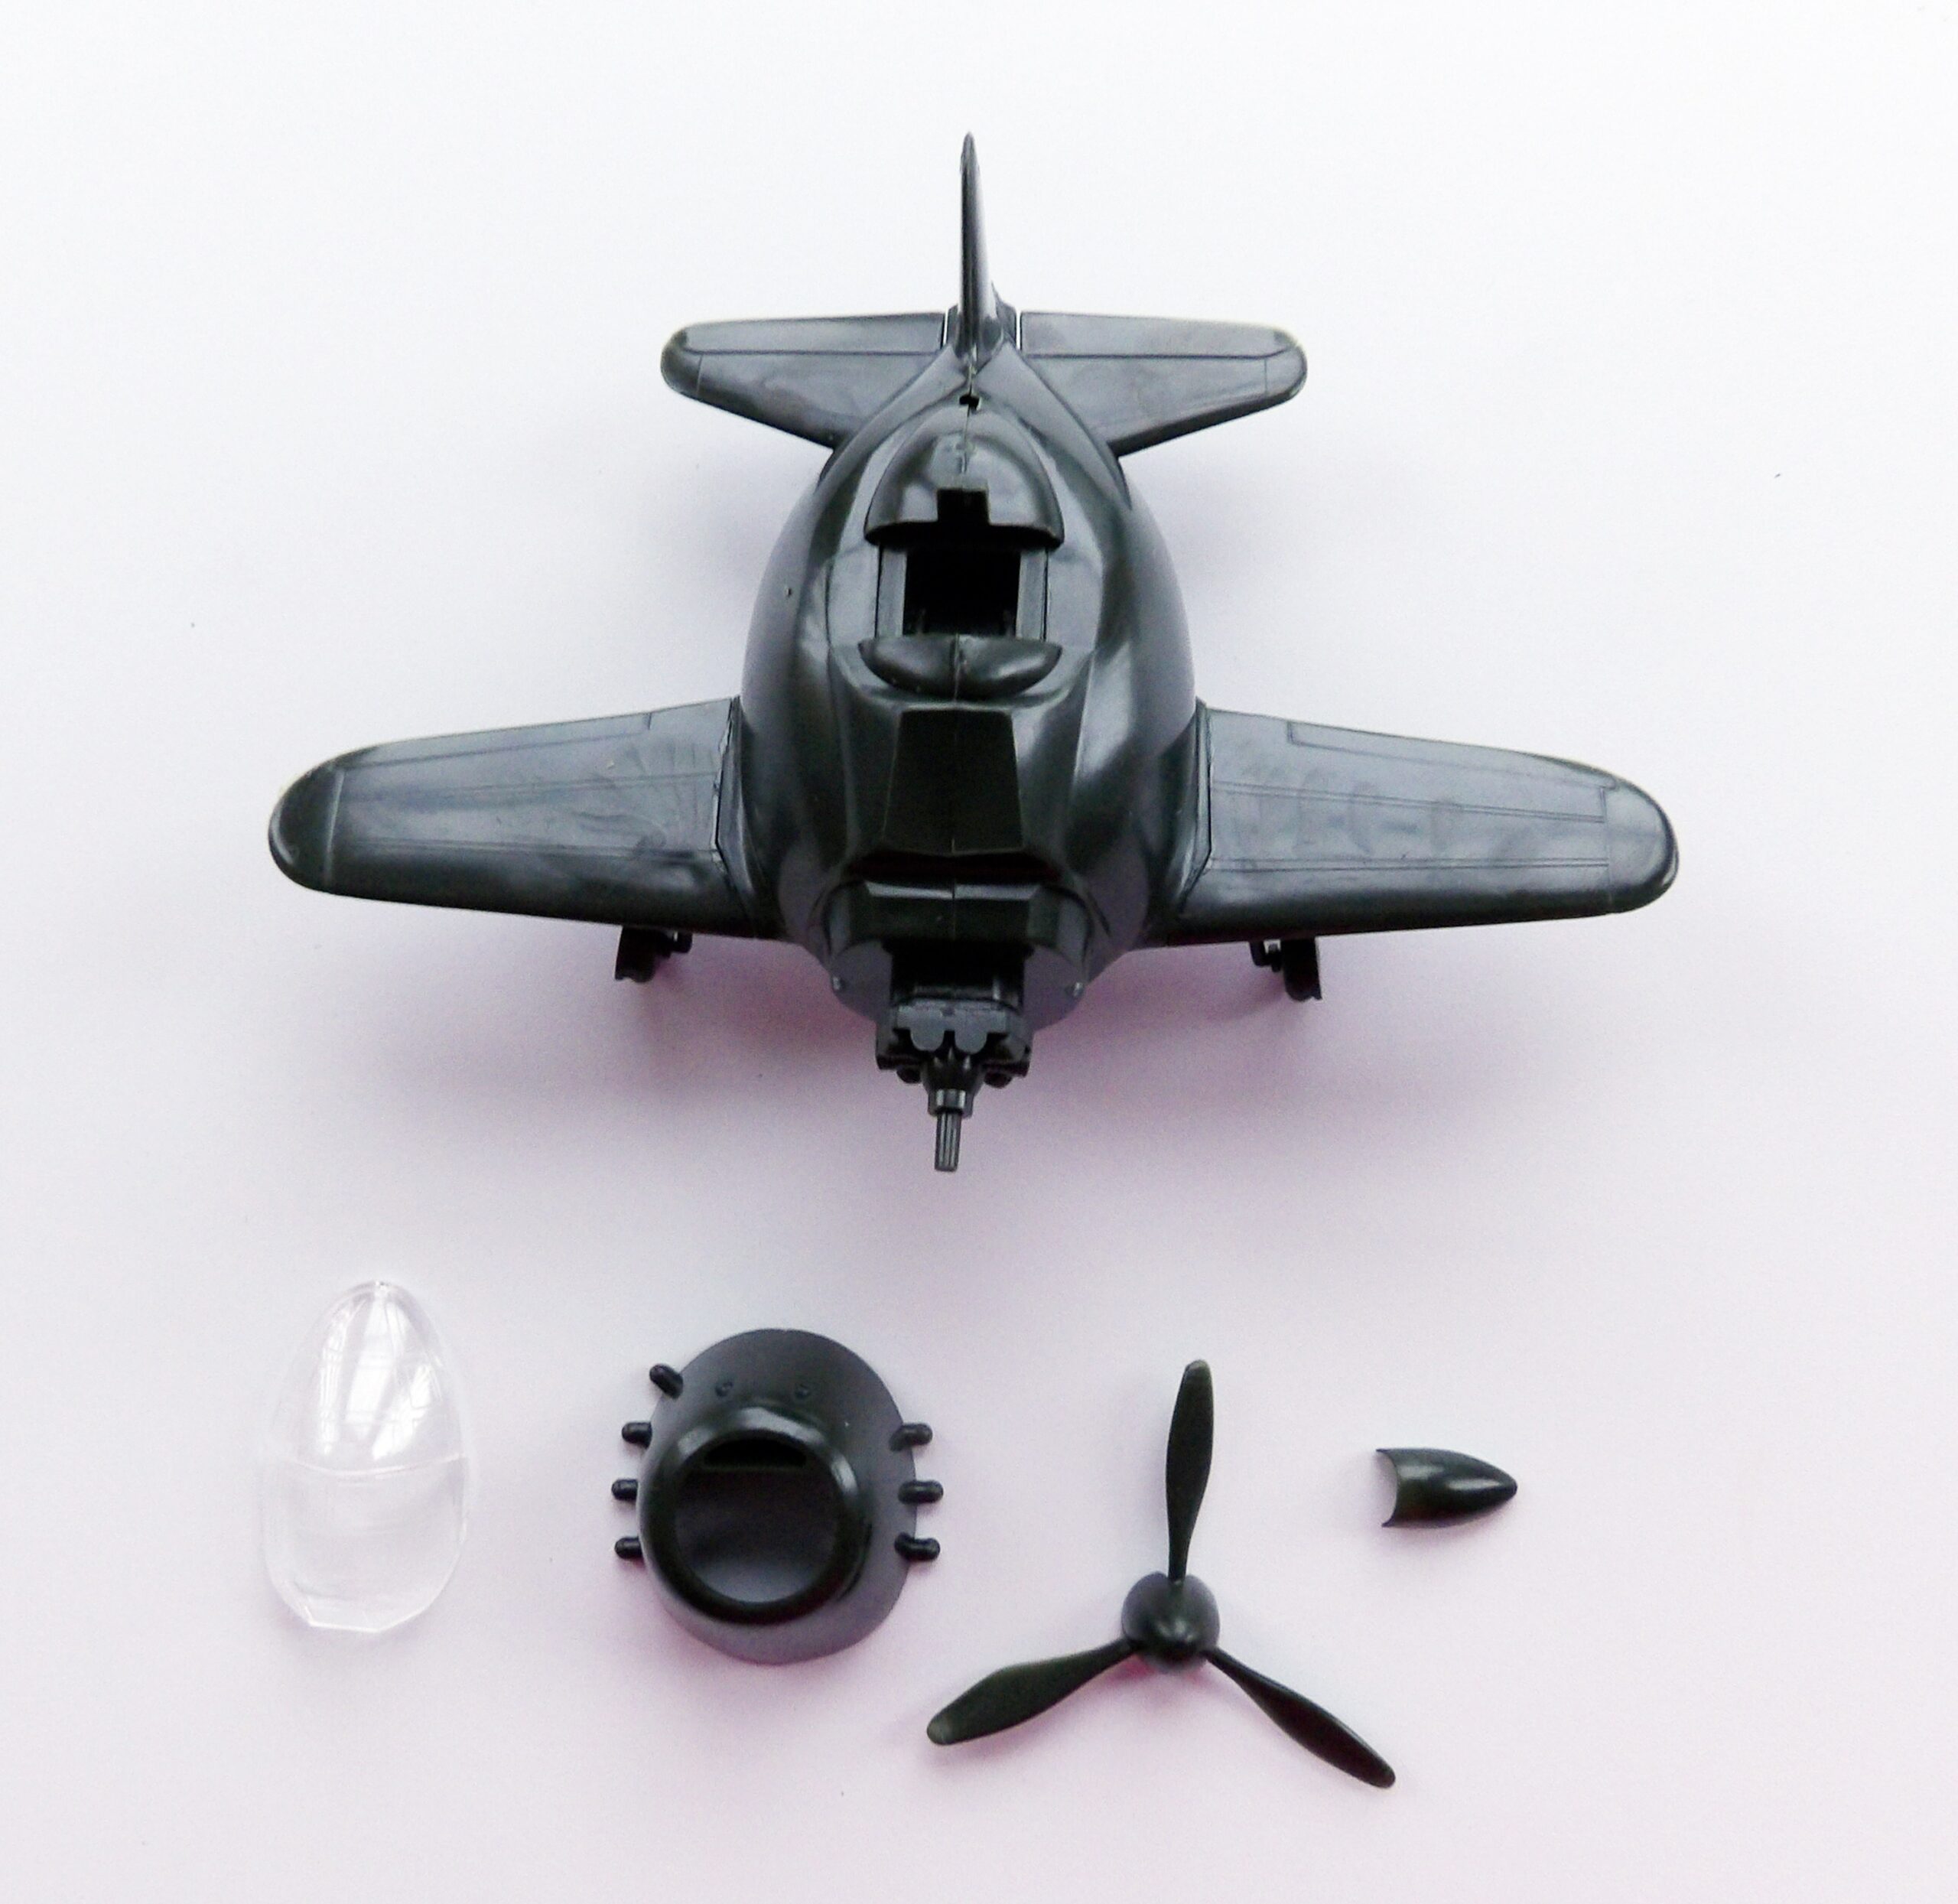
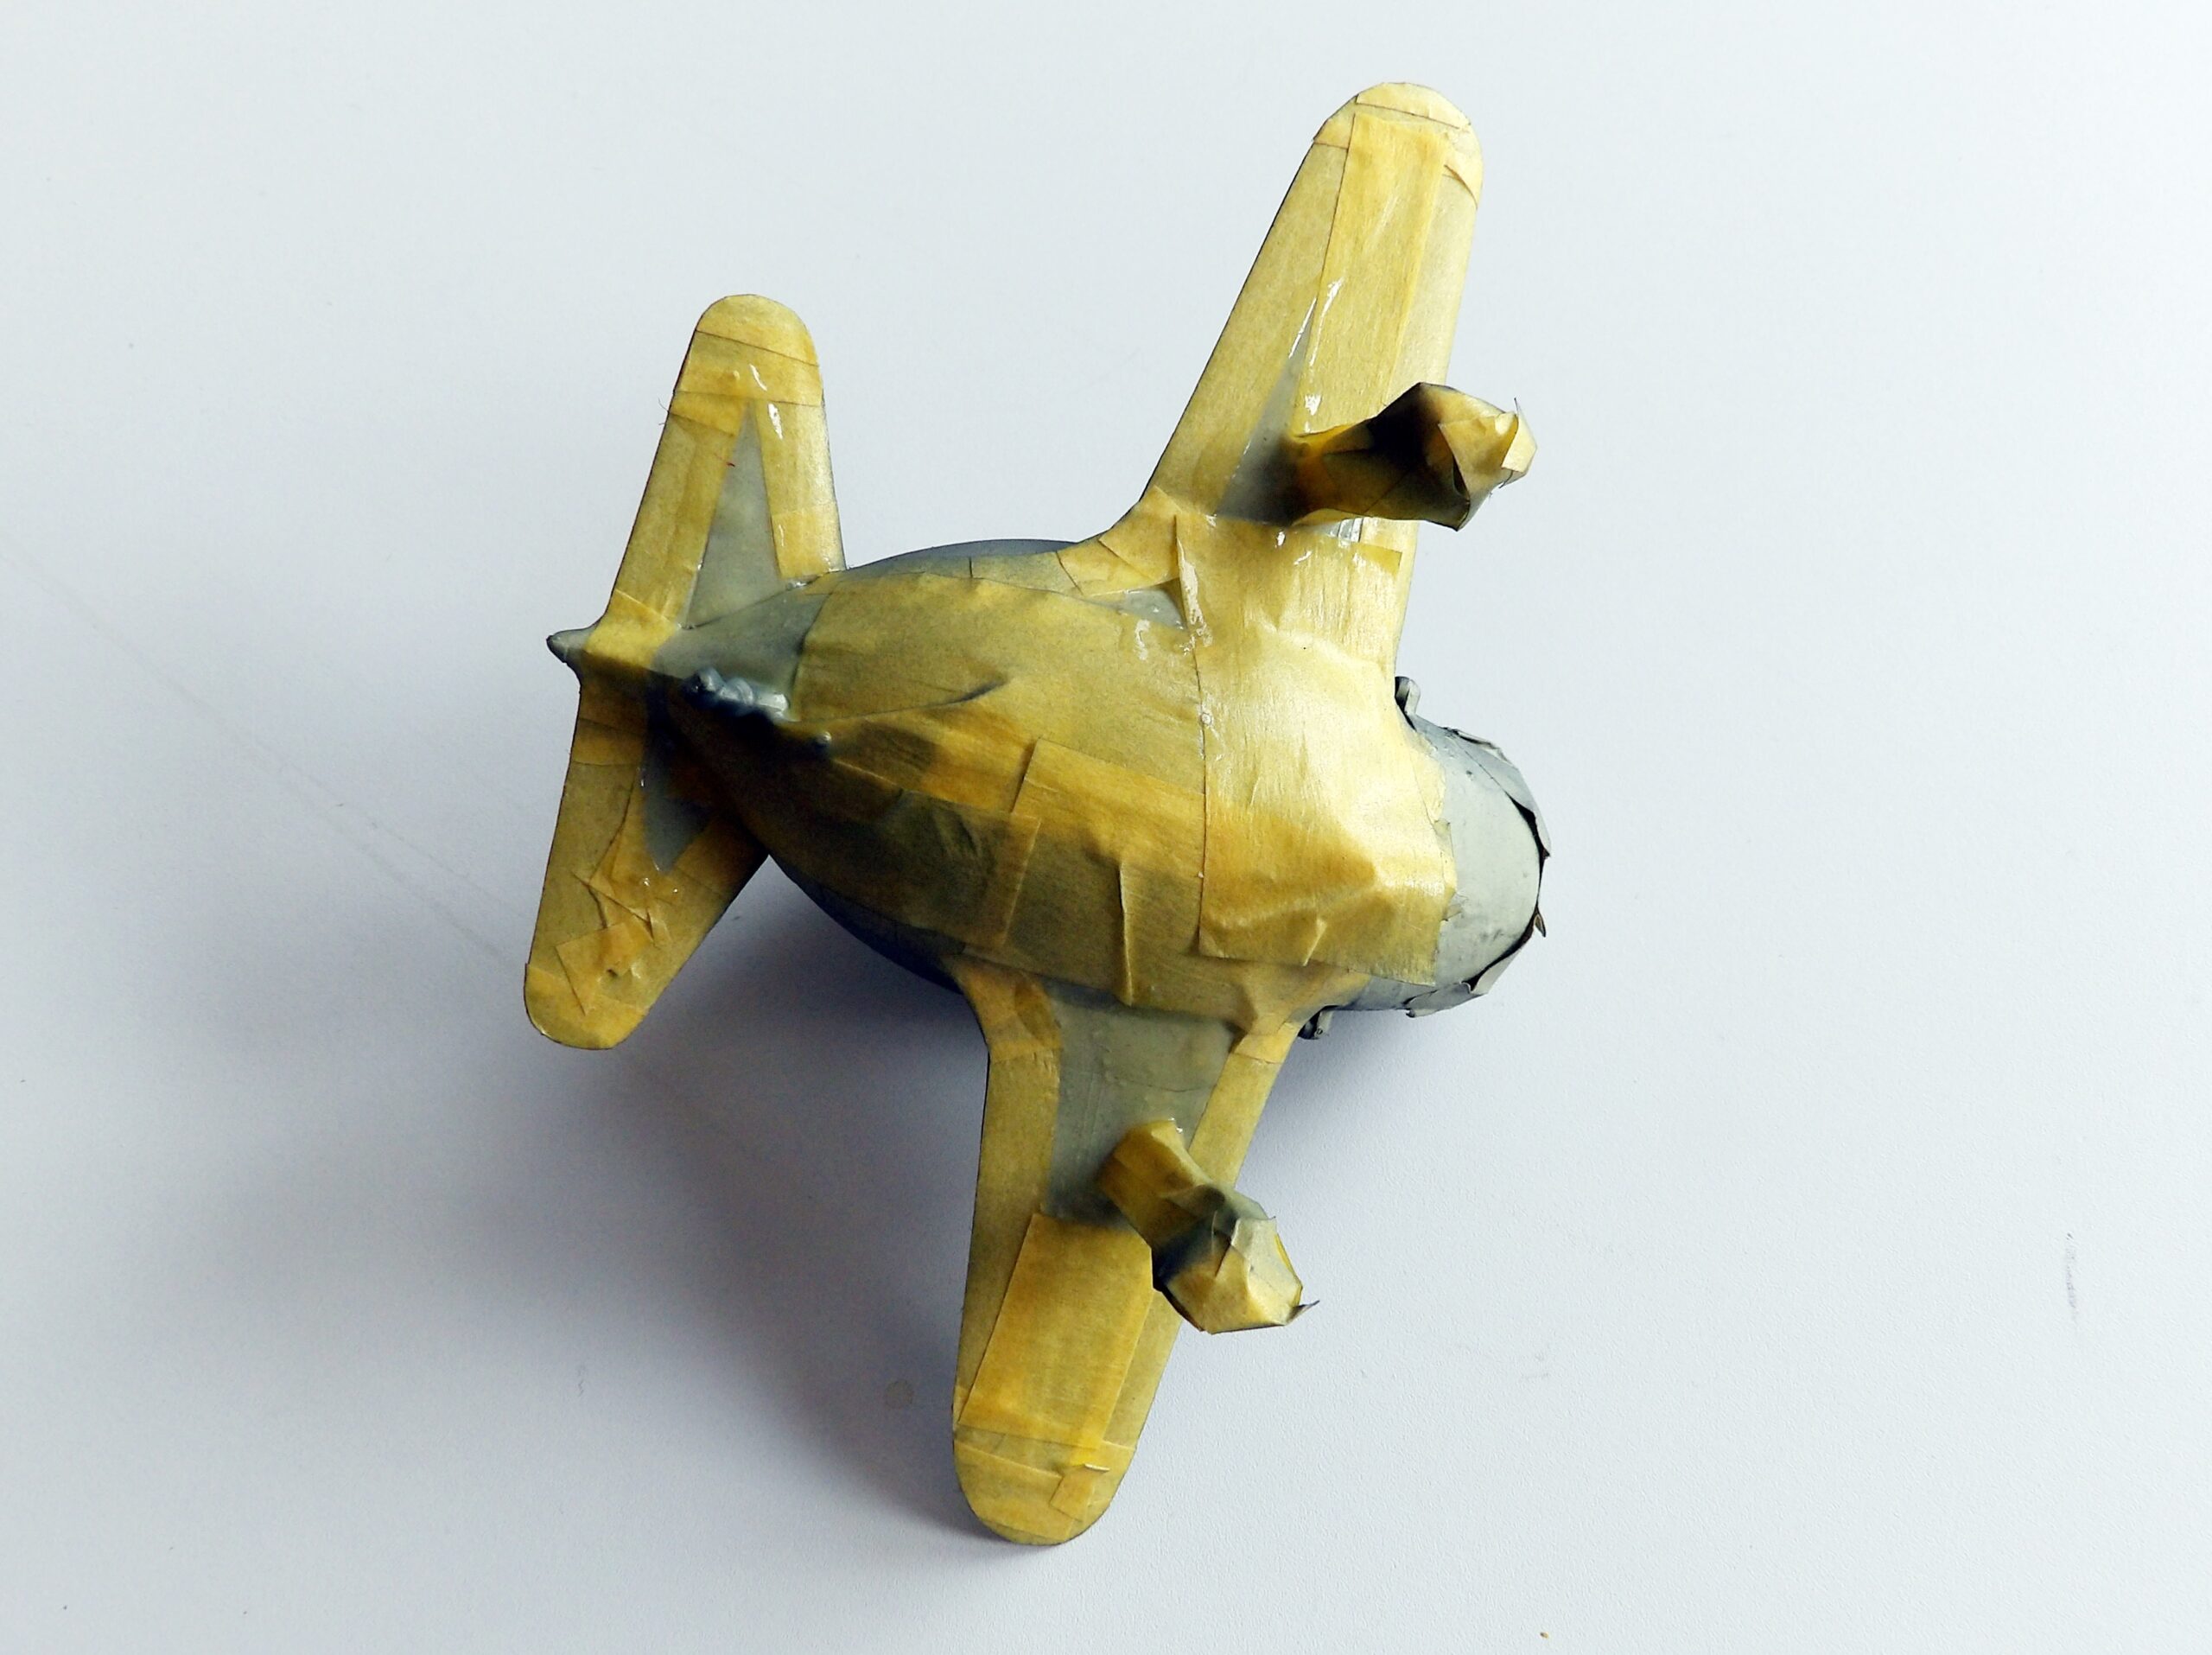
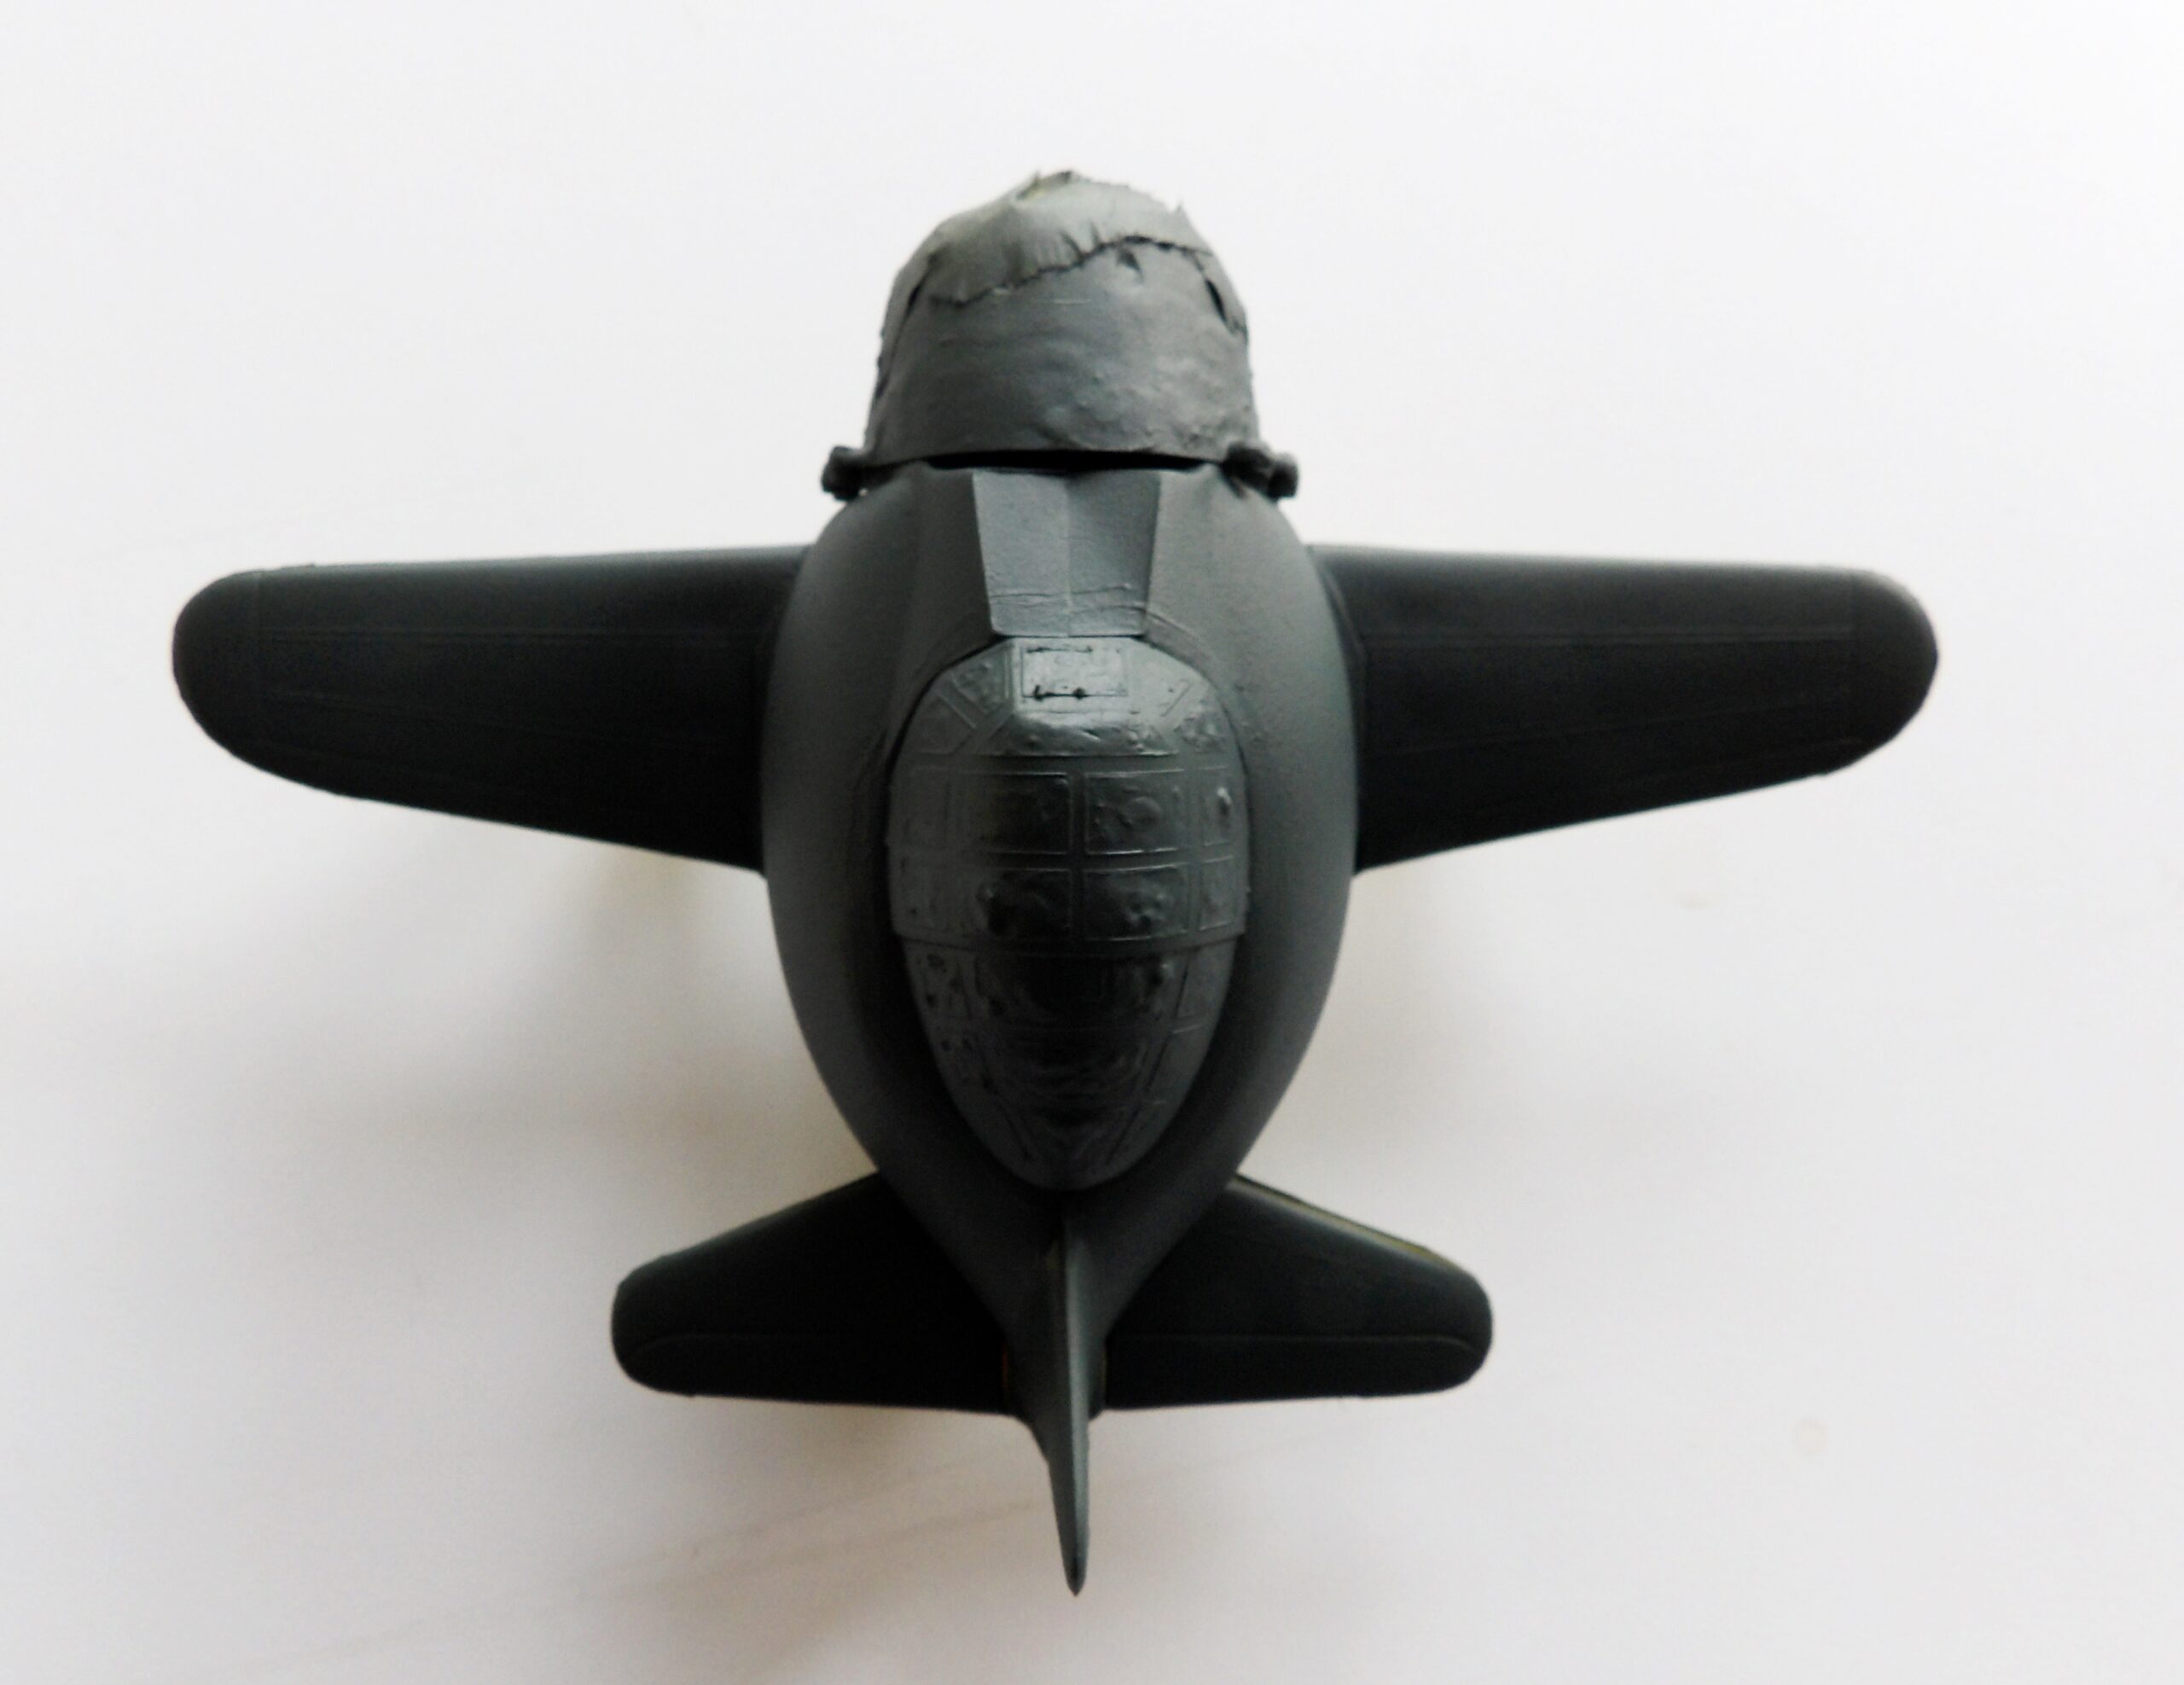
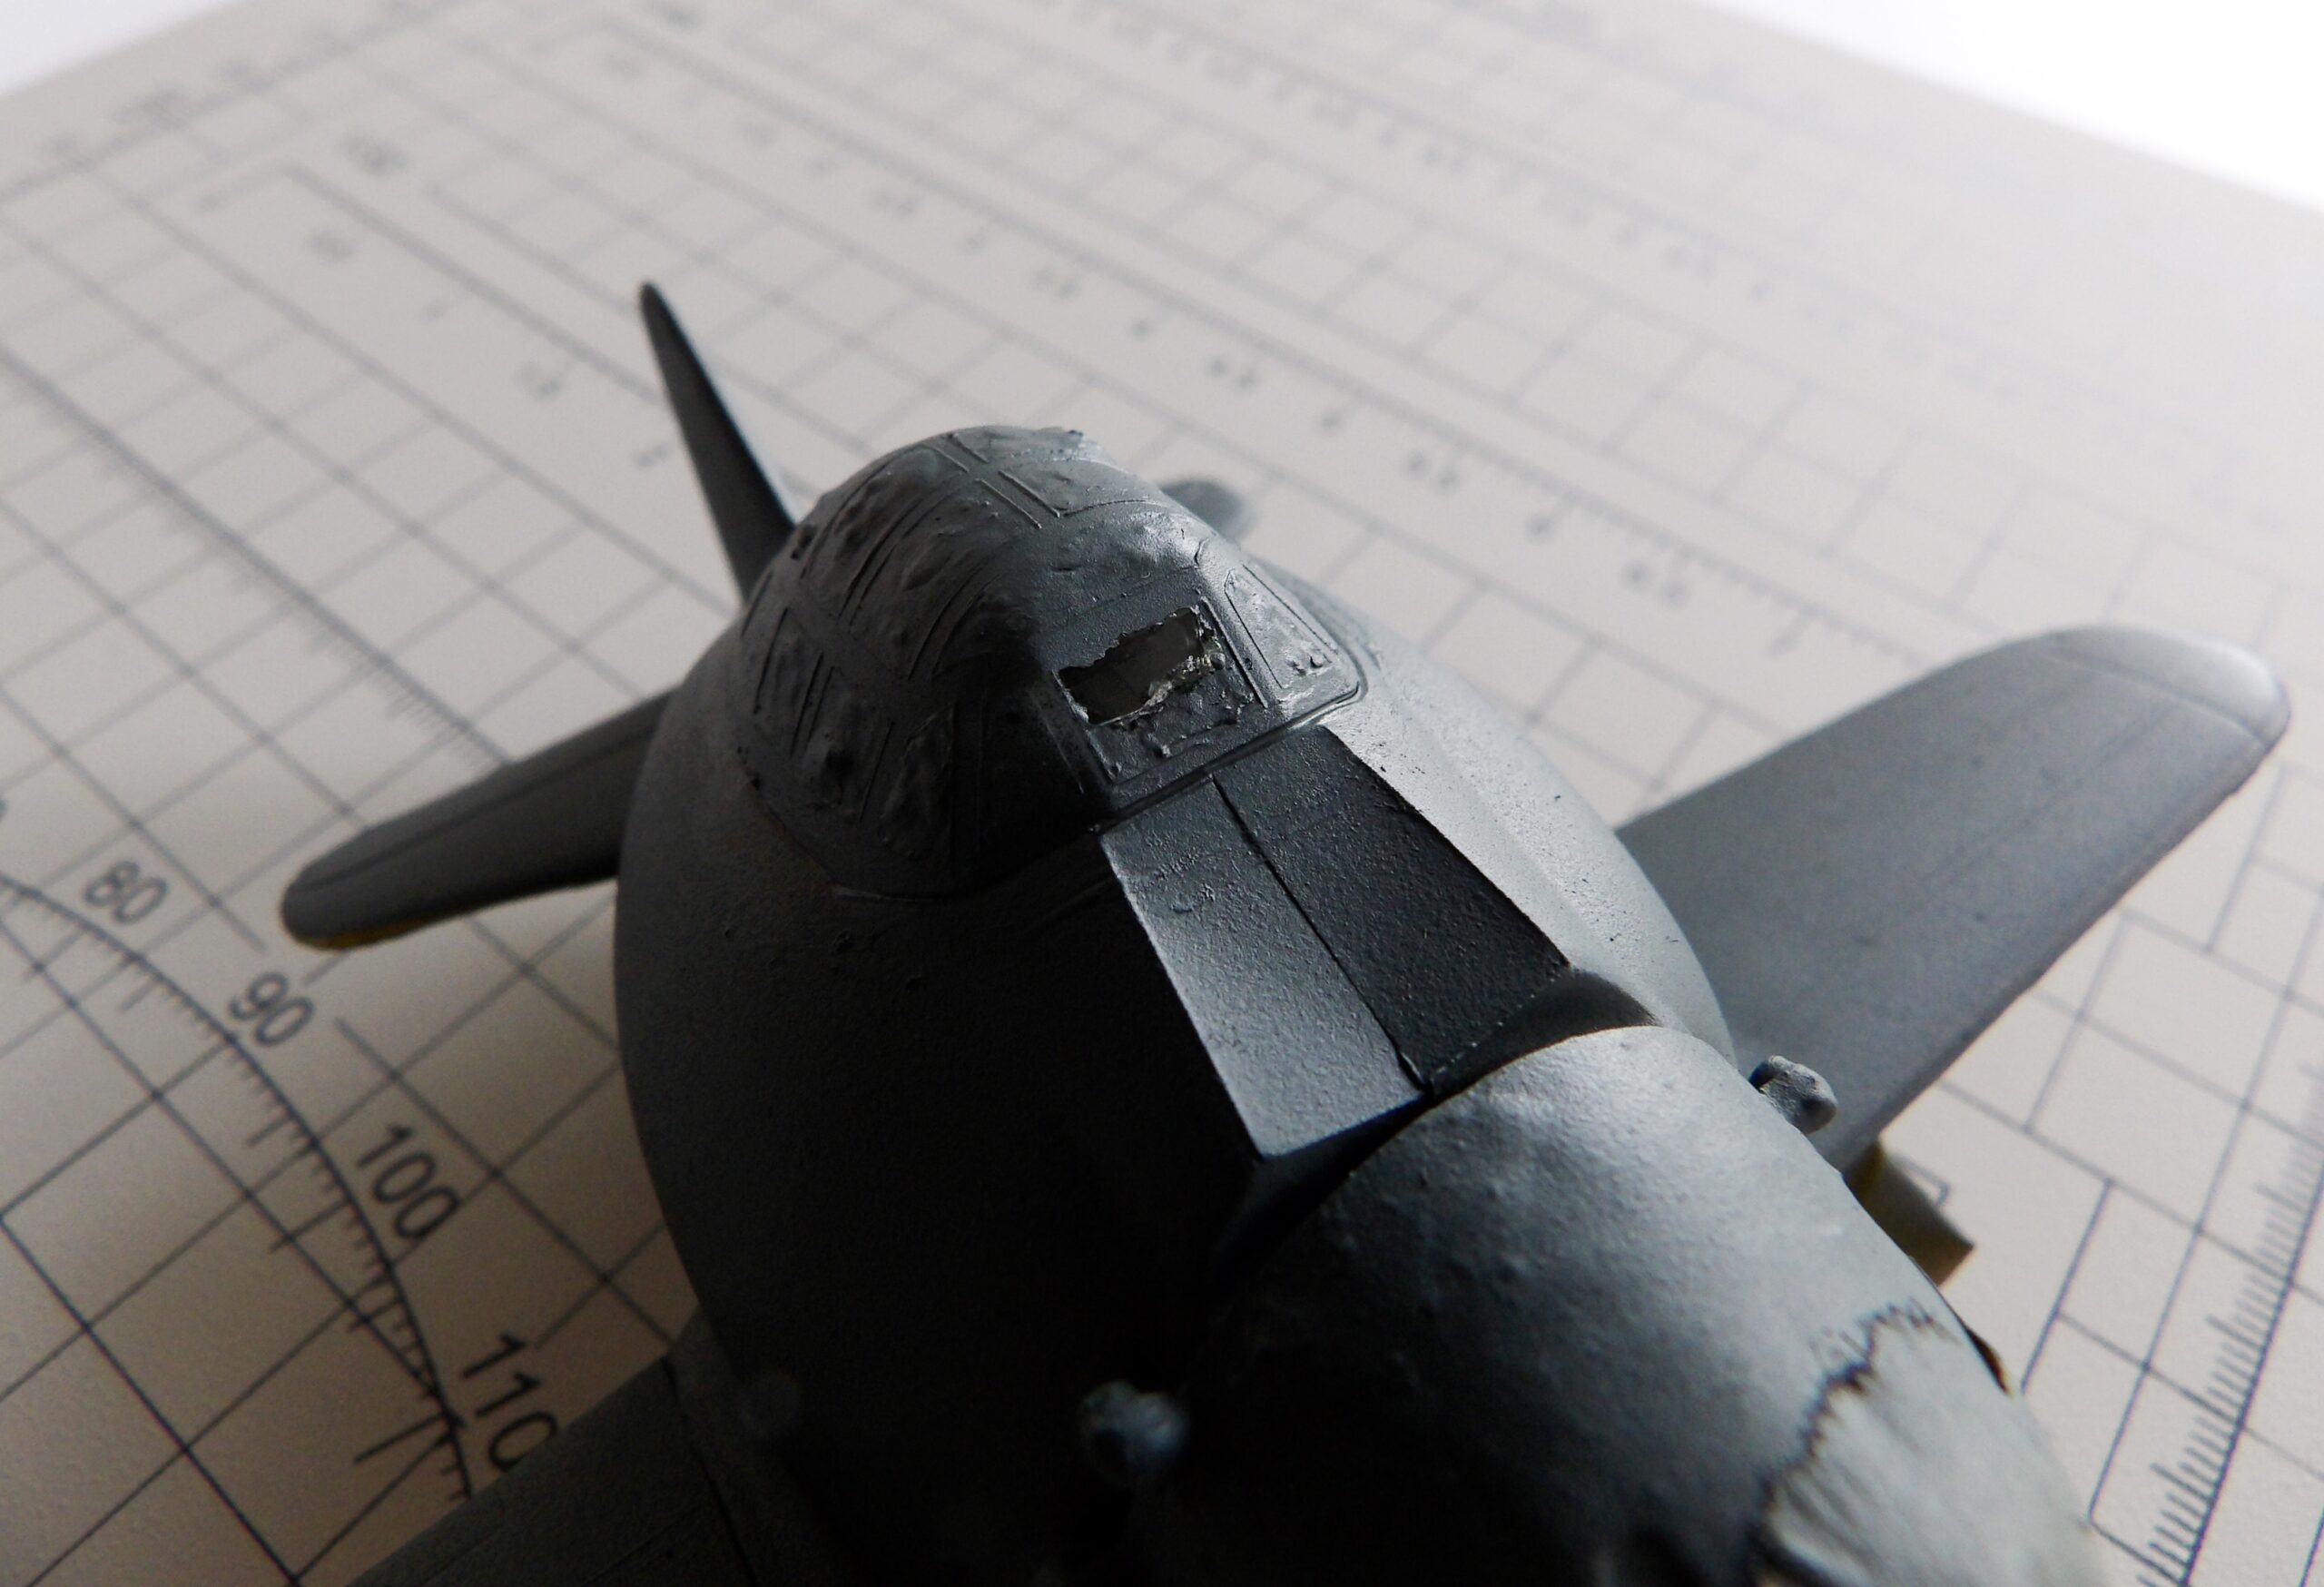
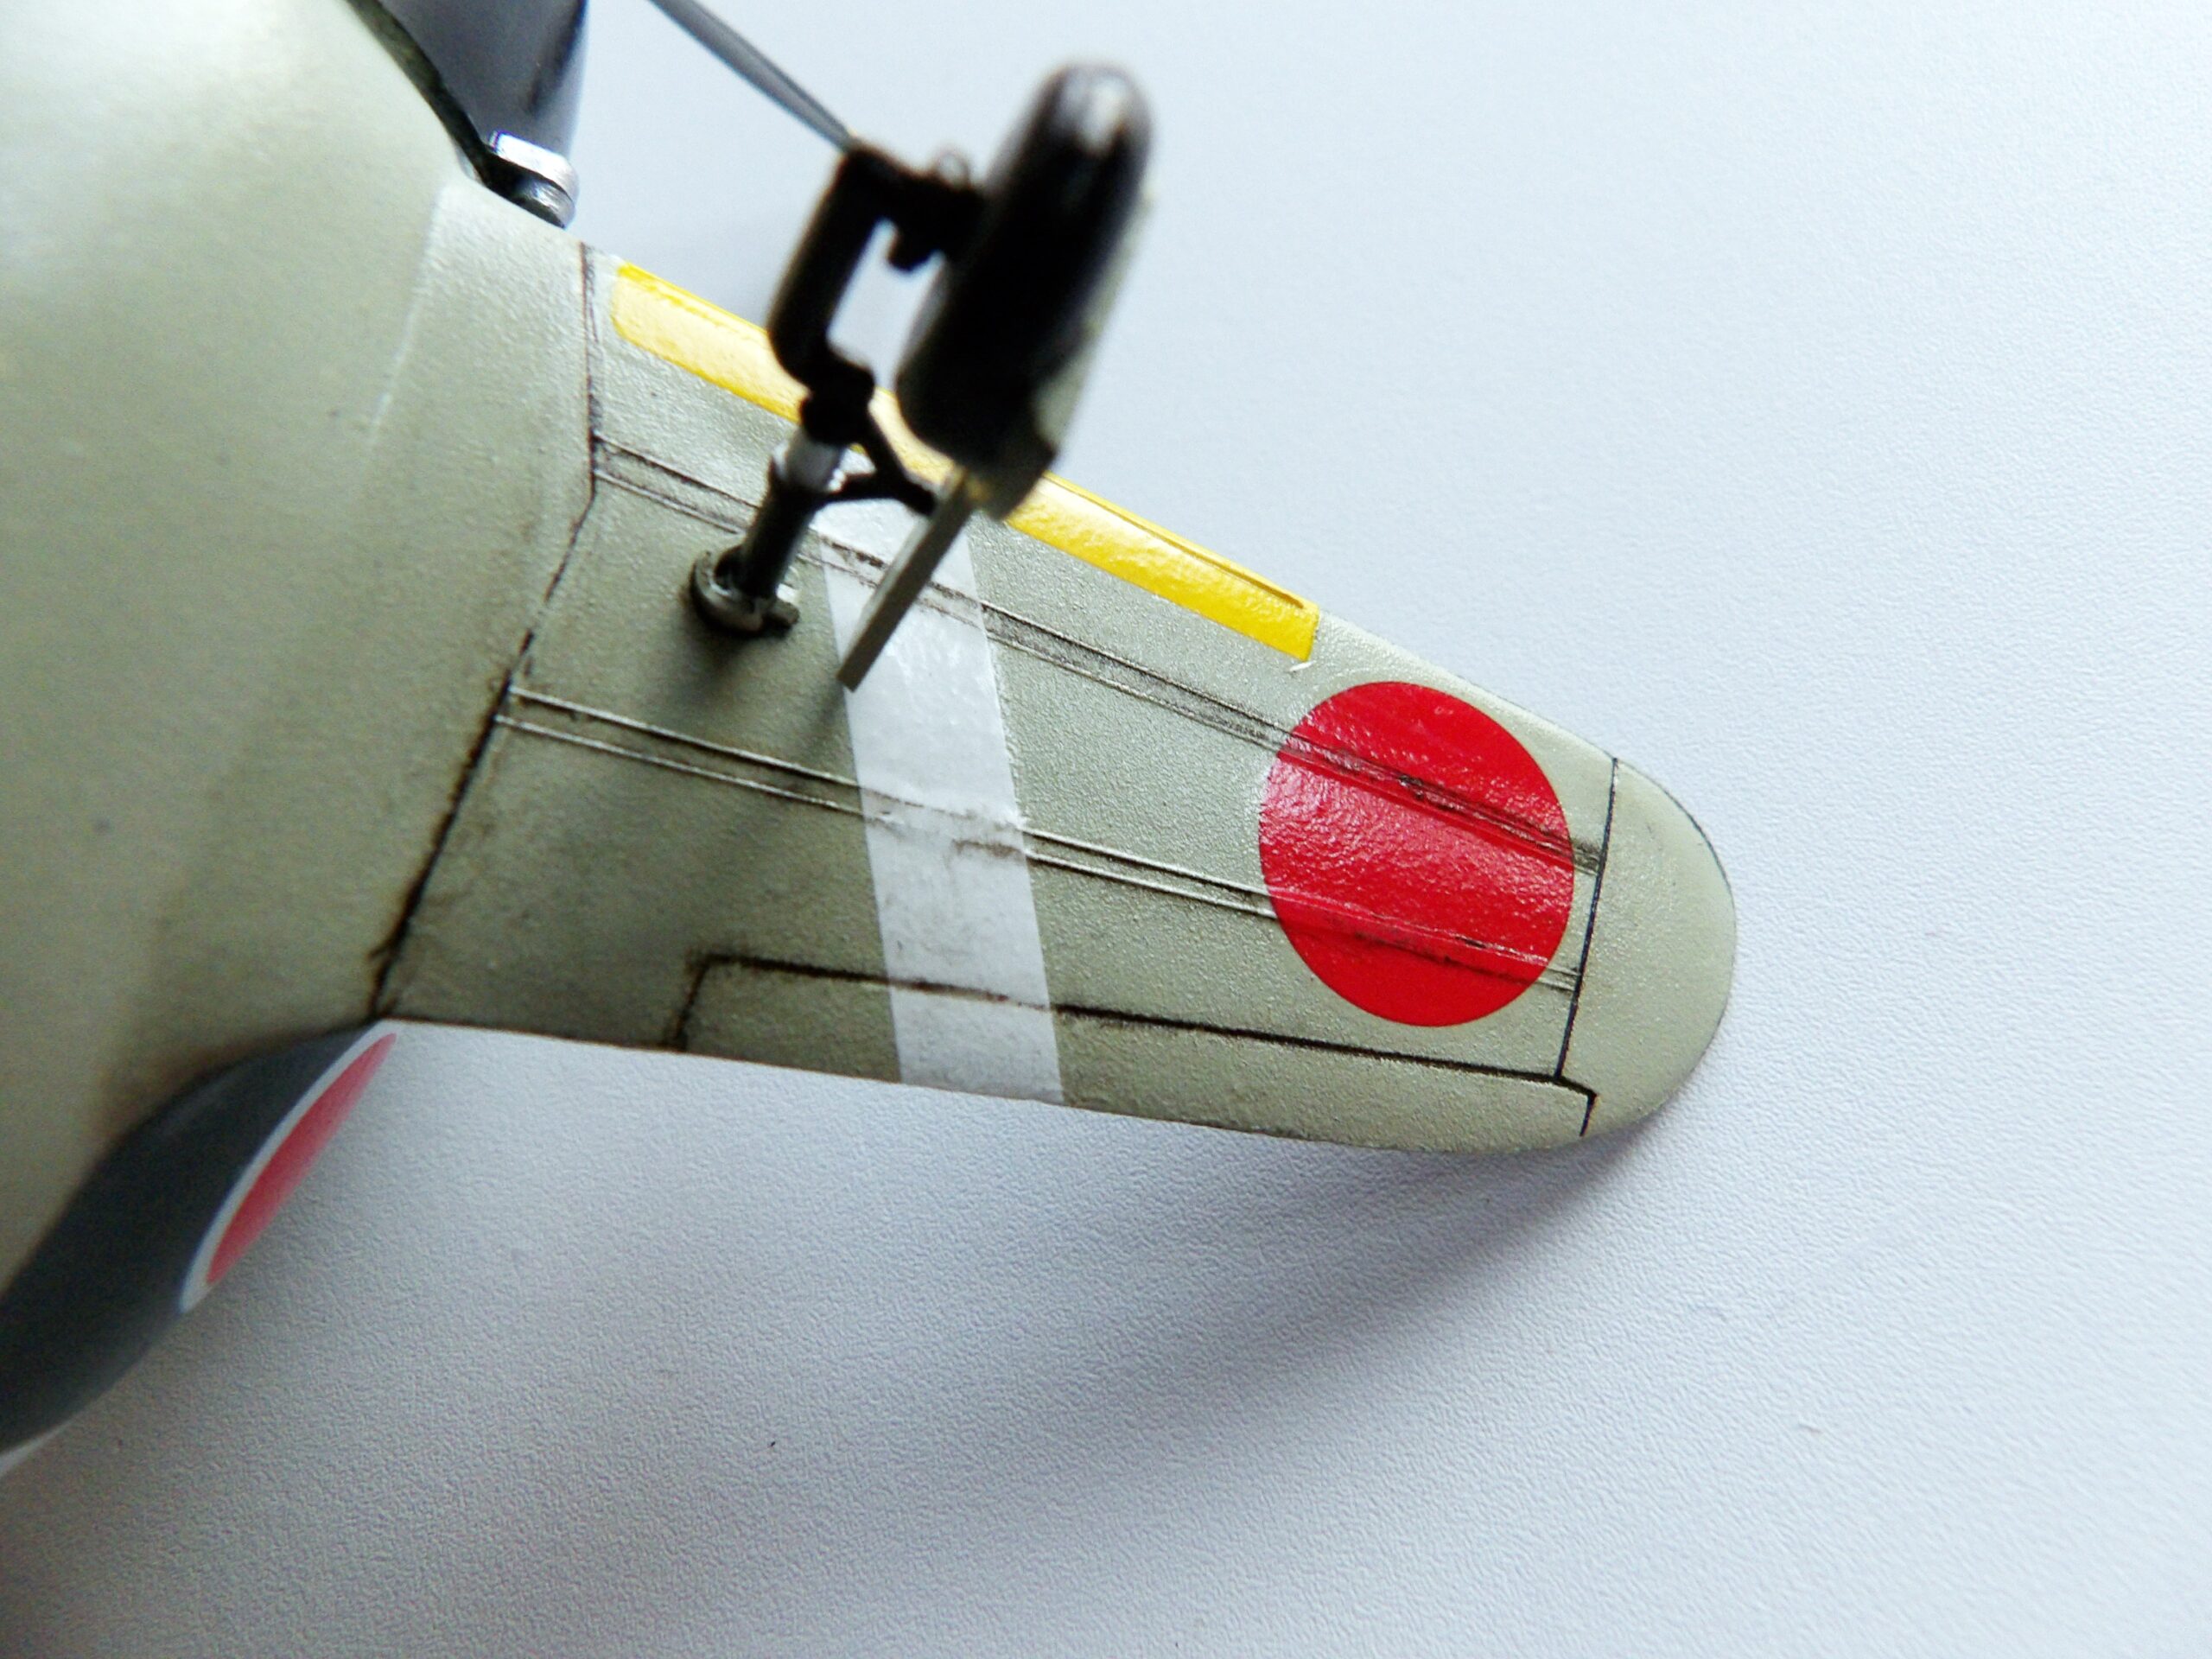
Albeit the box art, this is one of those egg planes that does not include a pilot. Boo!As you can see, this model is very straight forward. The decal sheet covers two options.We reached this stage within half an hour.After priming the model in matt black, the nose and wheels are masked off and the model is airbrushed Gray Green.We masked off the underside using a combination of masking tape and masking fluid. Straight lines are masked with masking tape. Large and hard to reach areas are covered with masking fluid.The canopy is also masked with masking fluid. The model is airbrushed IJN Green.Once the paint has dried, we began to peel off the masking fluid.All the masking products are removed. Decals are added to the model.The model is varnish. The panel lines are picked out using green/brown paneliner and the model is sealed again with varnish.This is what the underside looks like. The panel lines are more prominent on this side.Done!
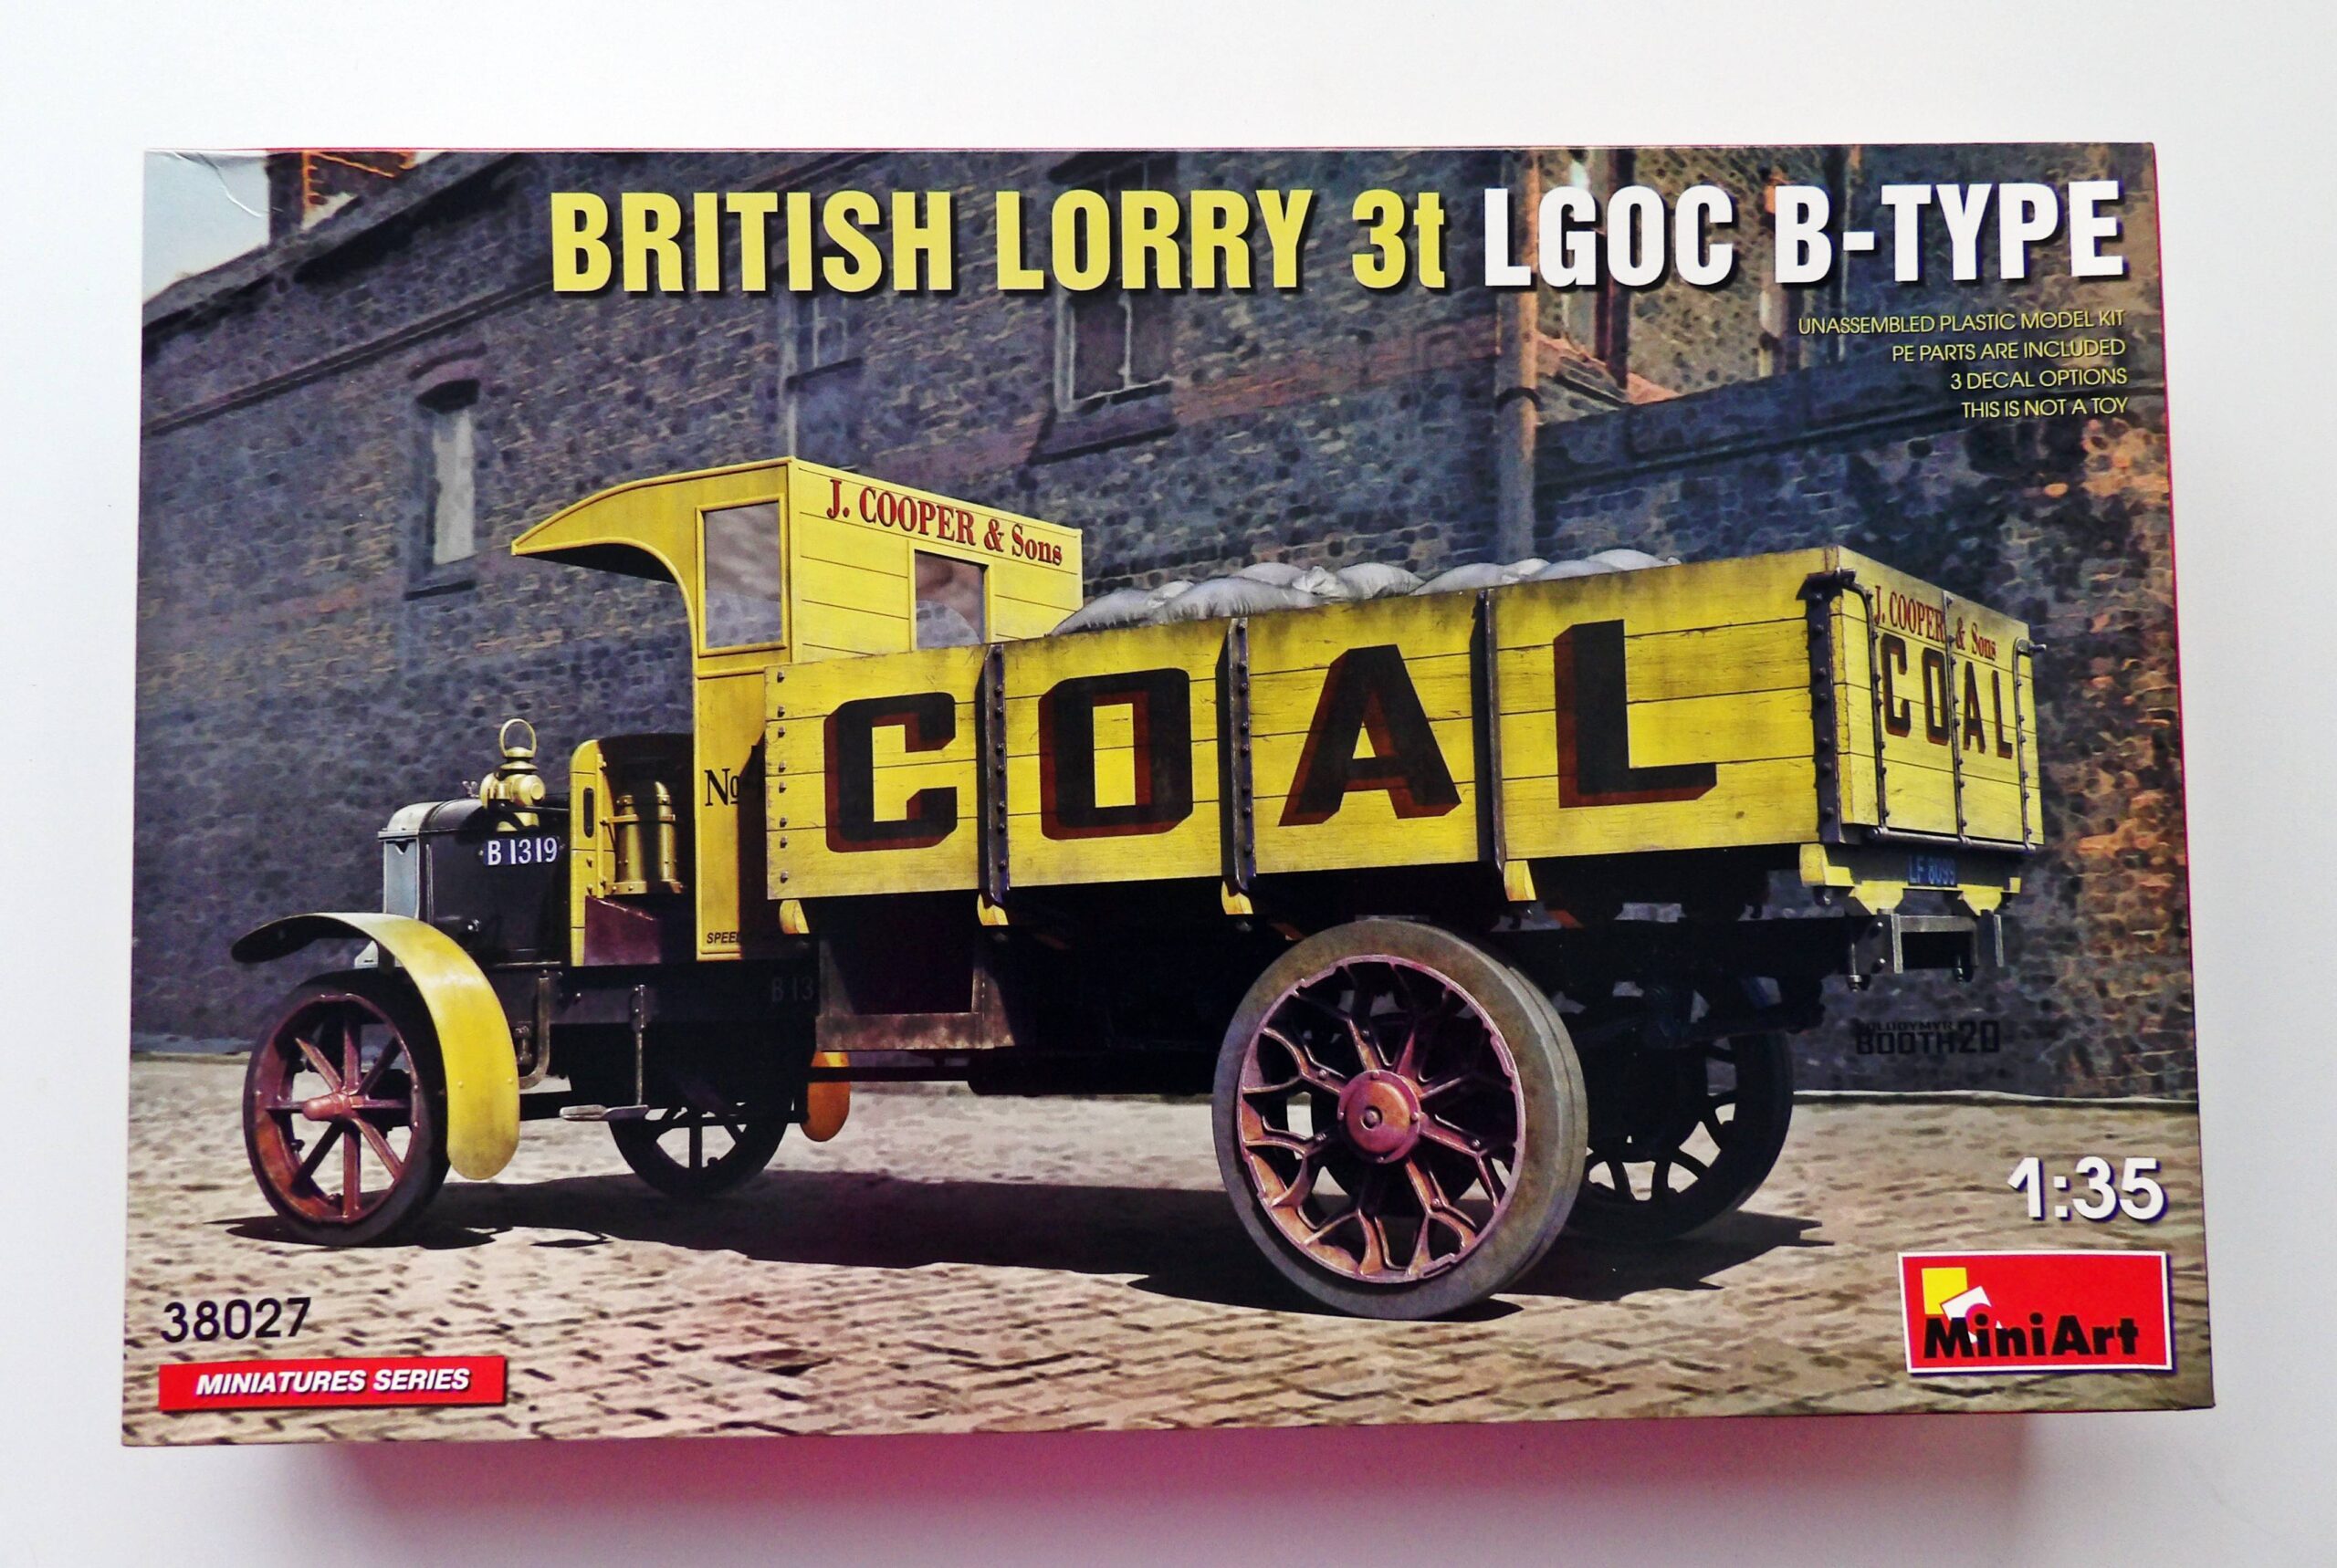
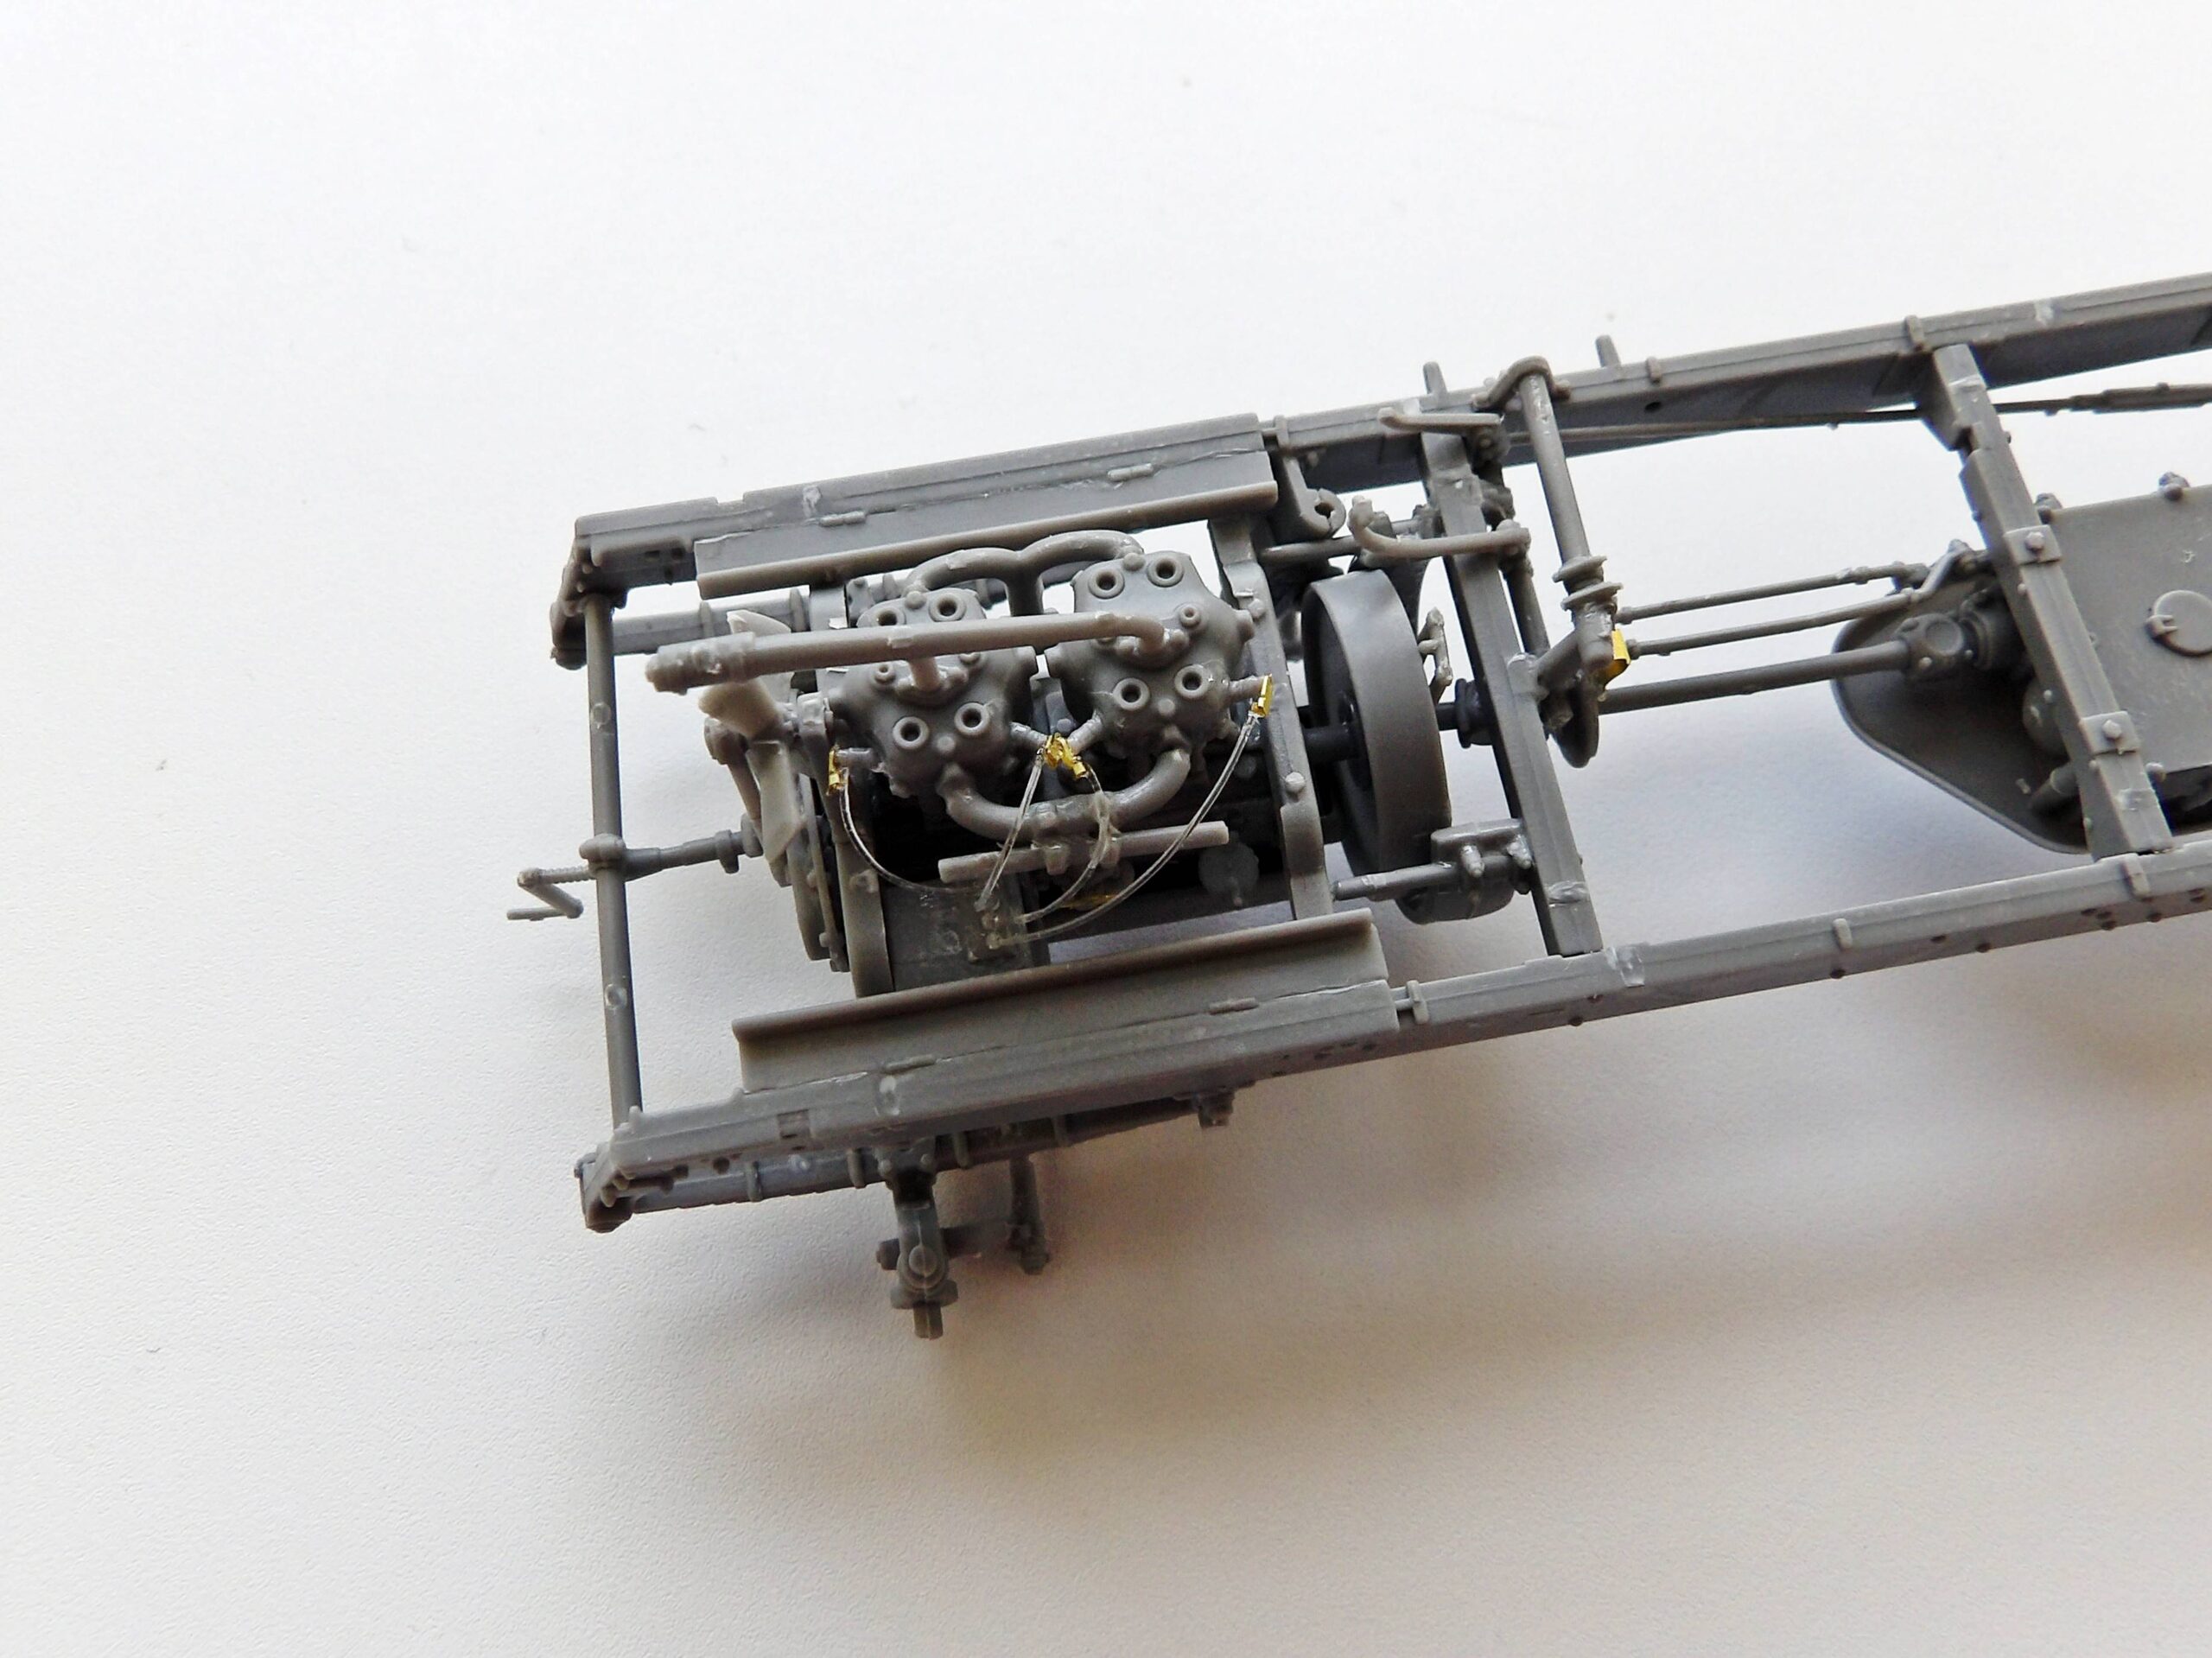
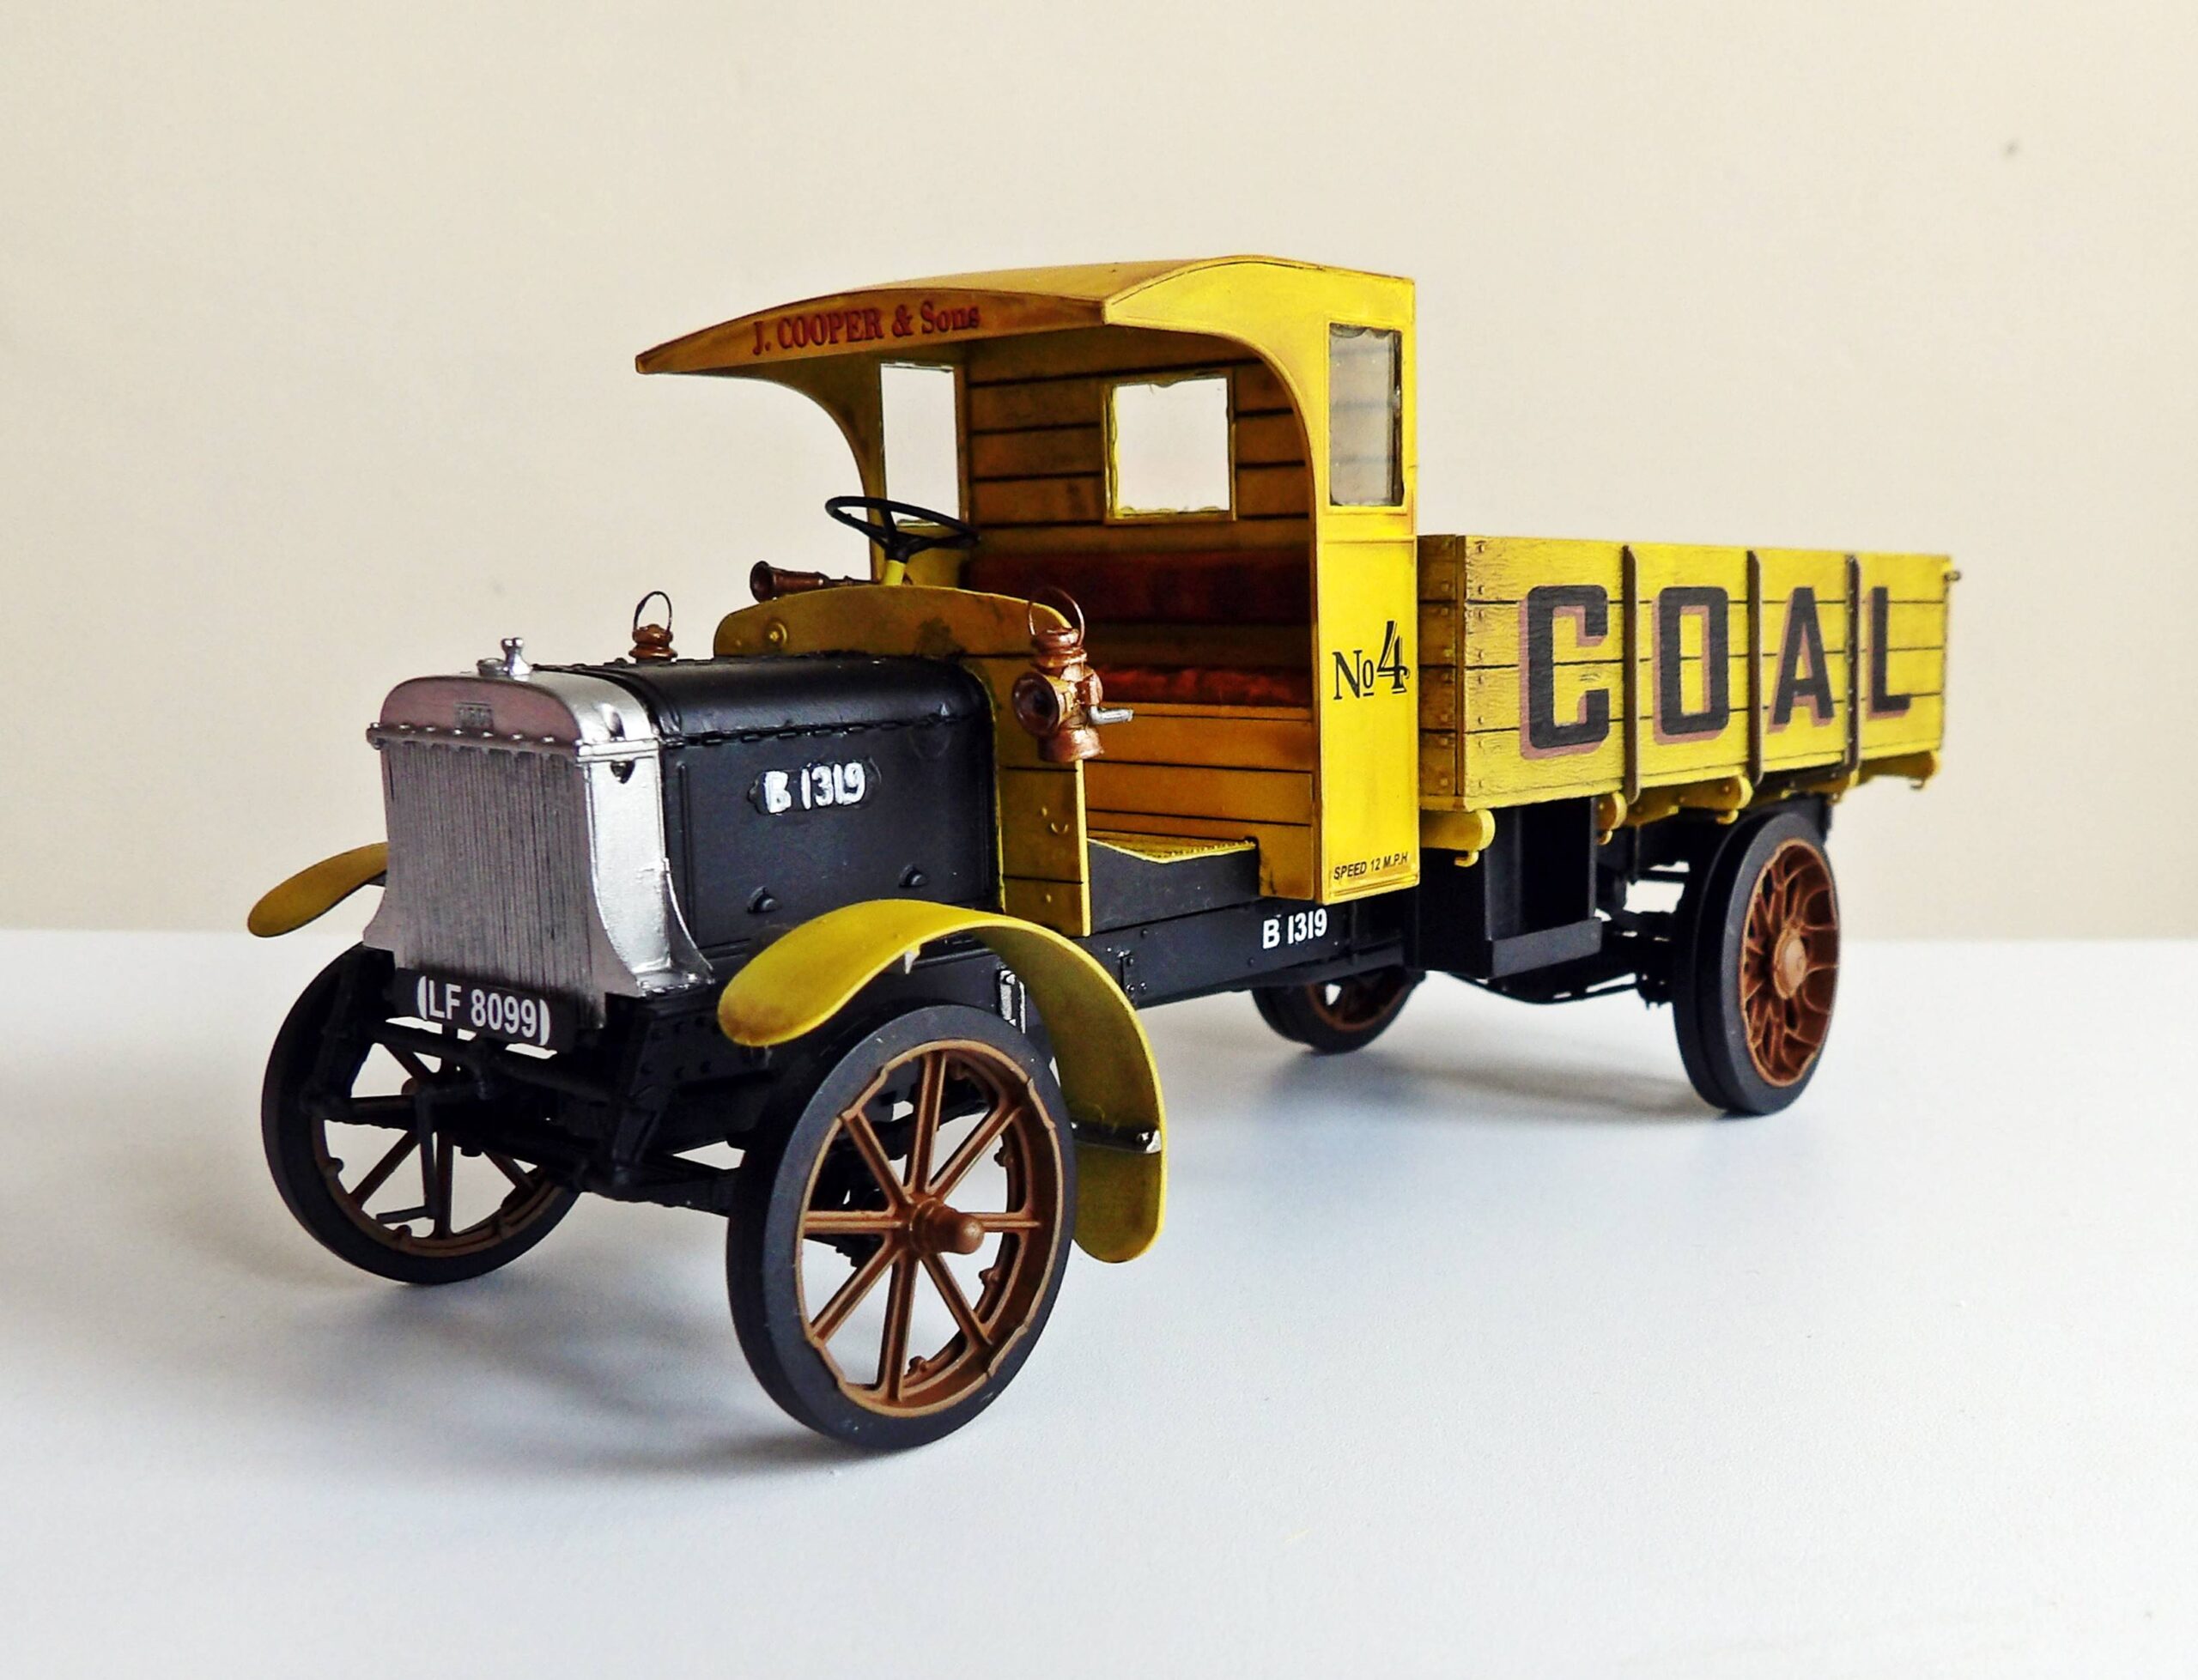
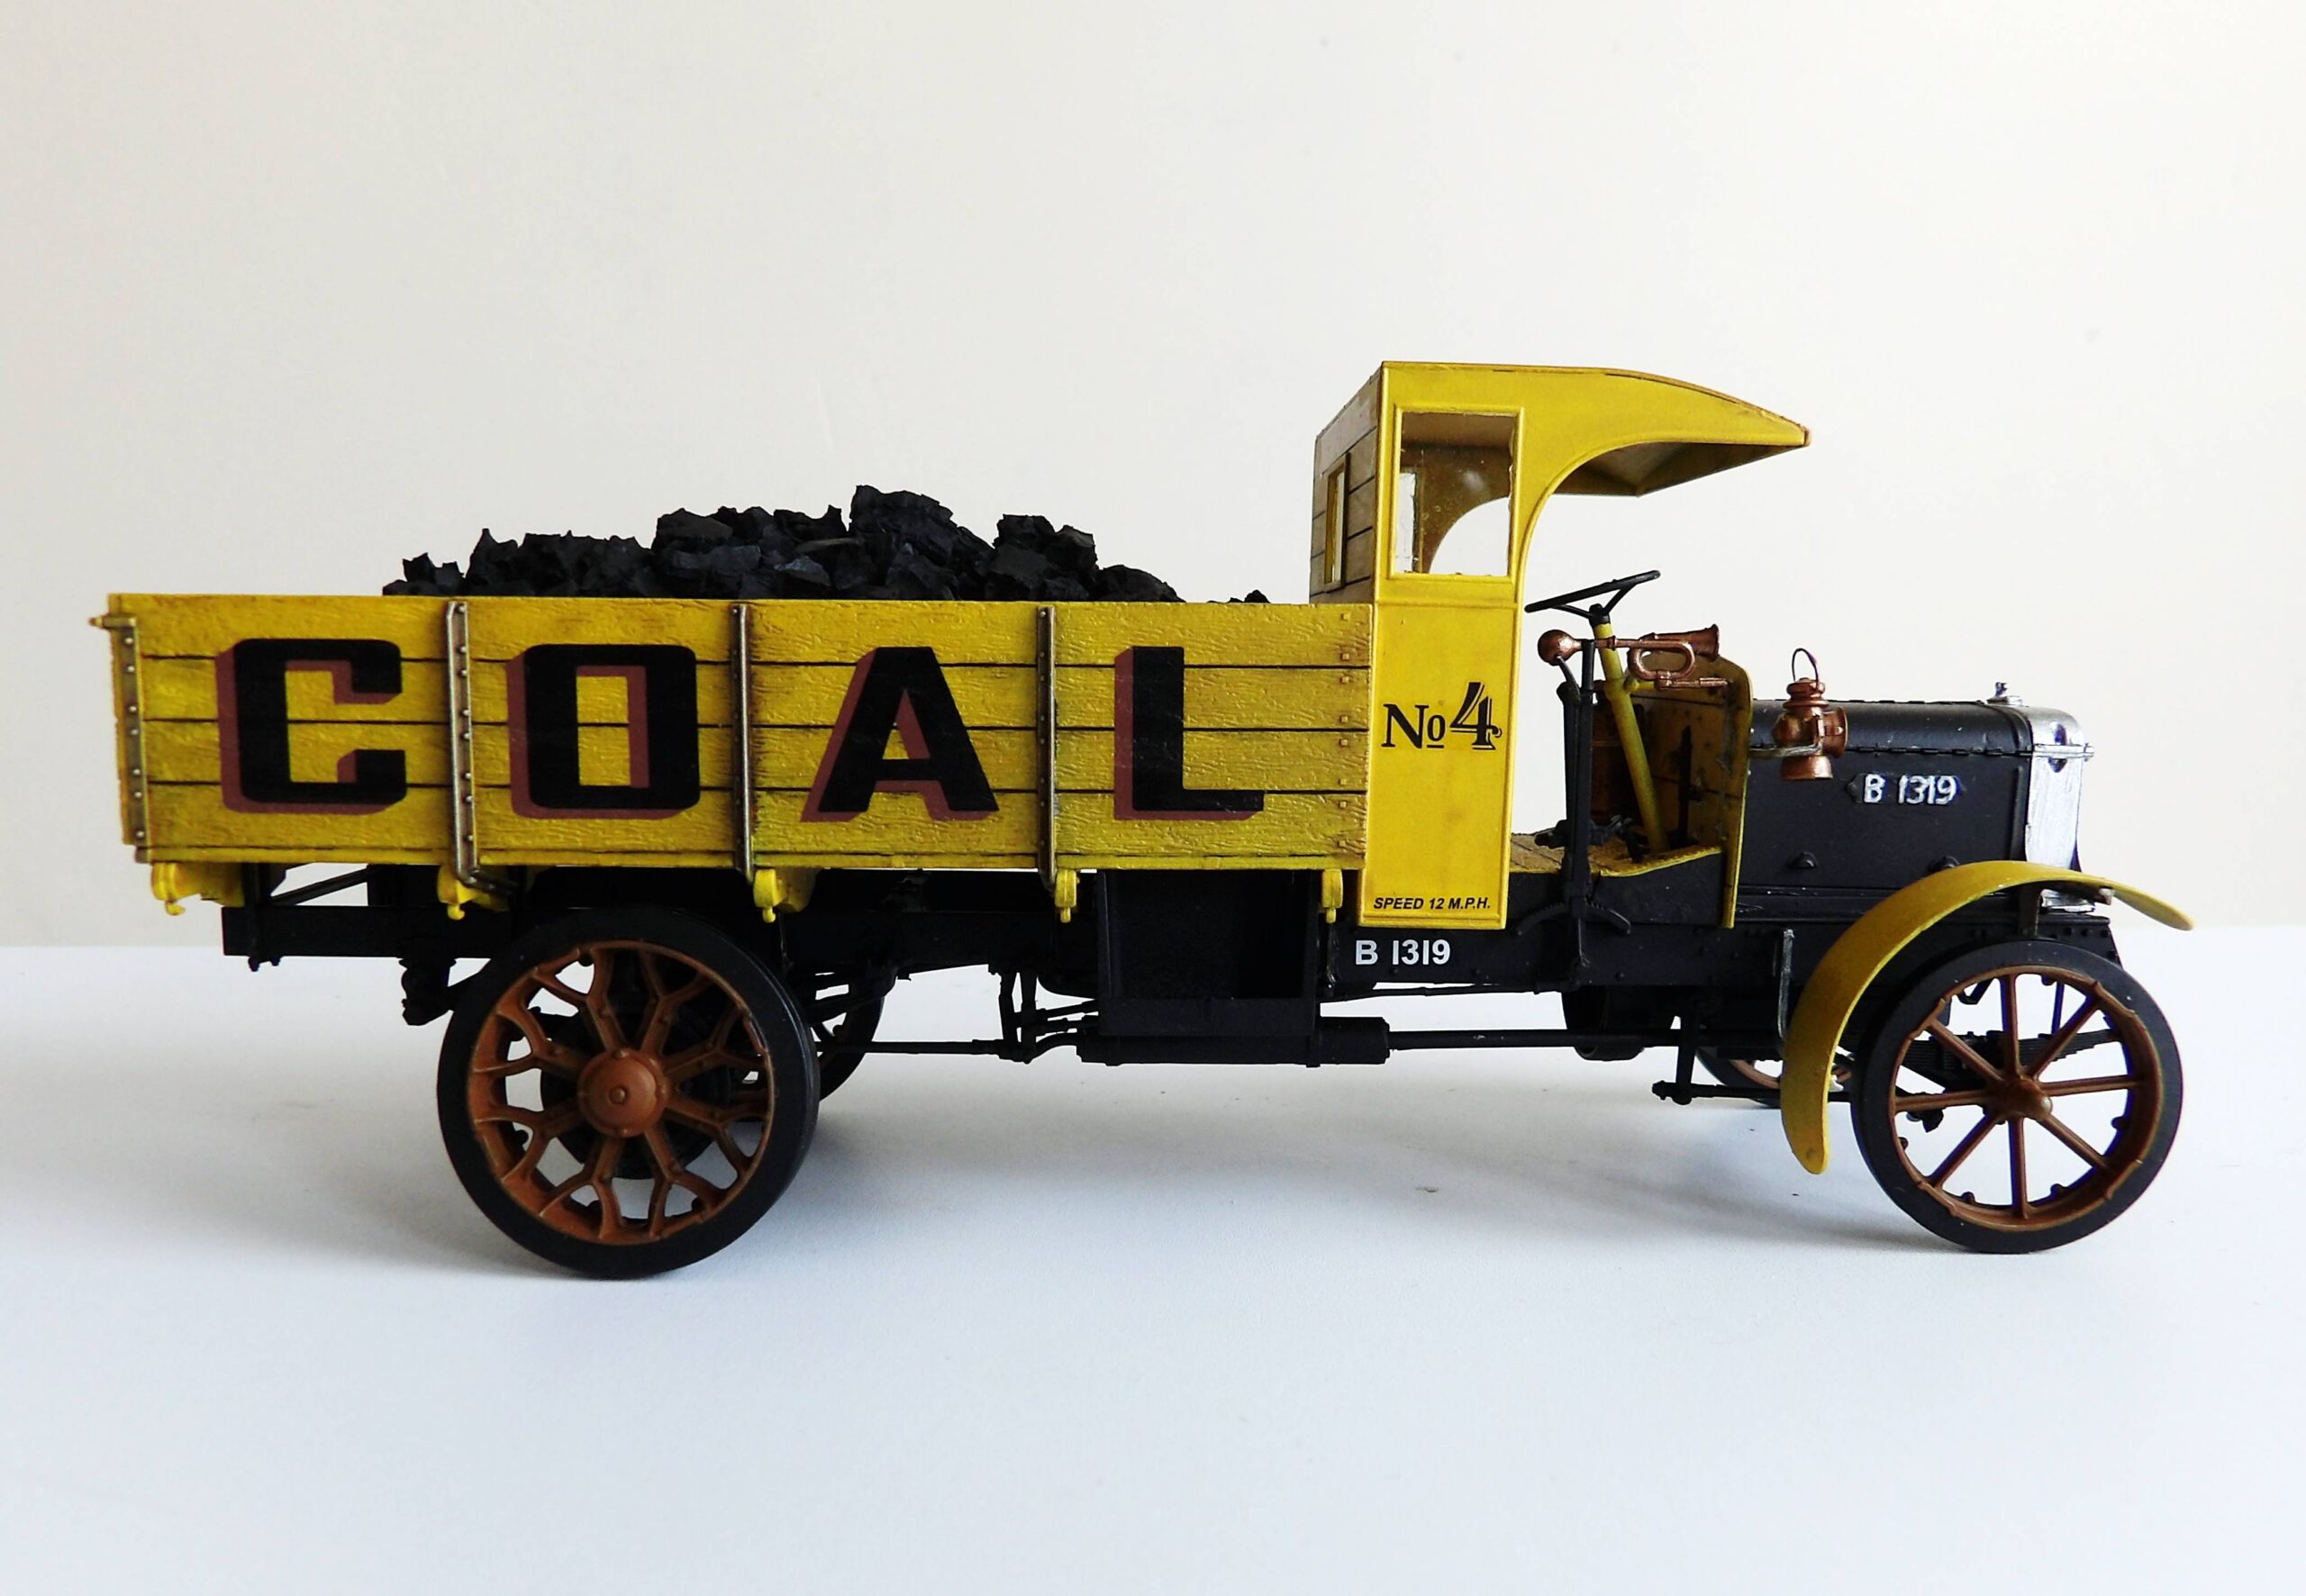
Following our successful car build back at Christmas, we decided to make another vehicle. We chose this WWI era British lorry by Miniart thinking it would be a walk in the park. How hard could it be? It’s just a wooden box on four wheels, no? No!
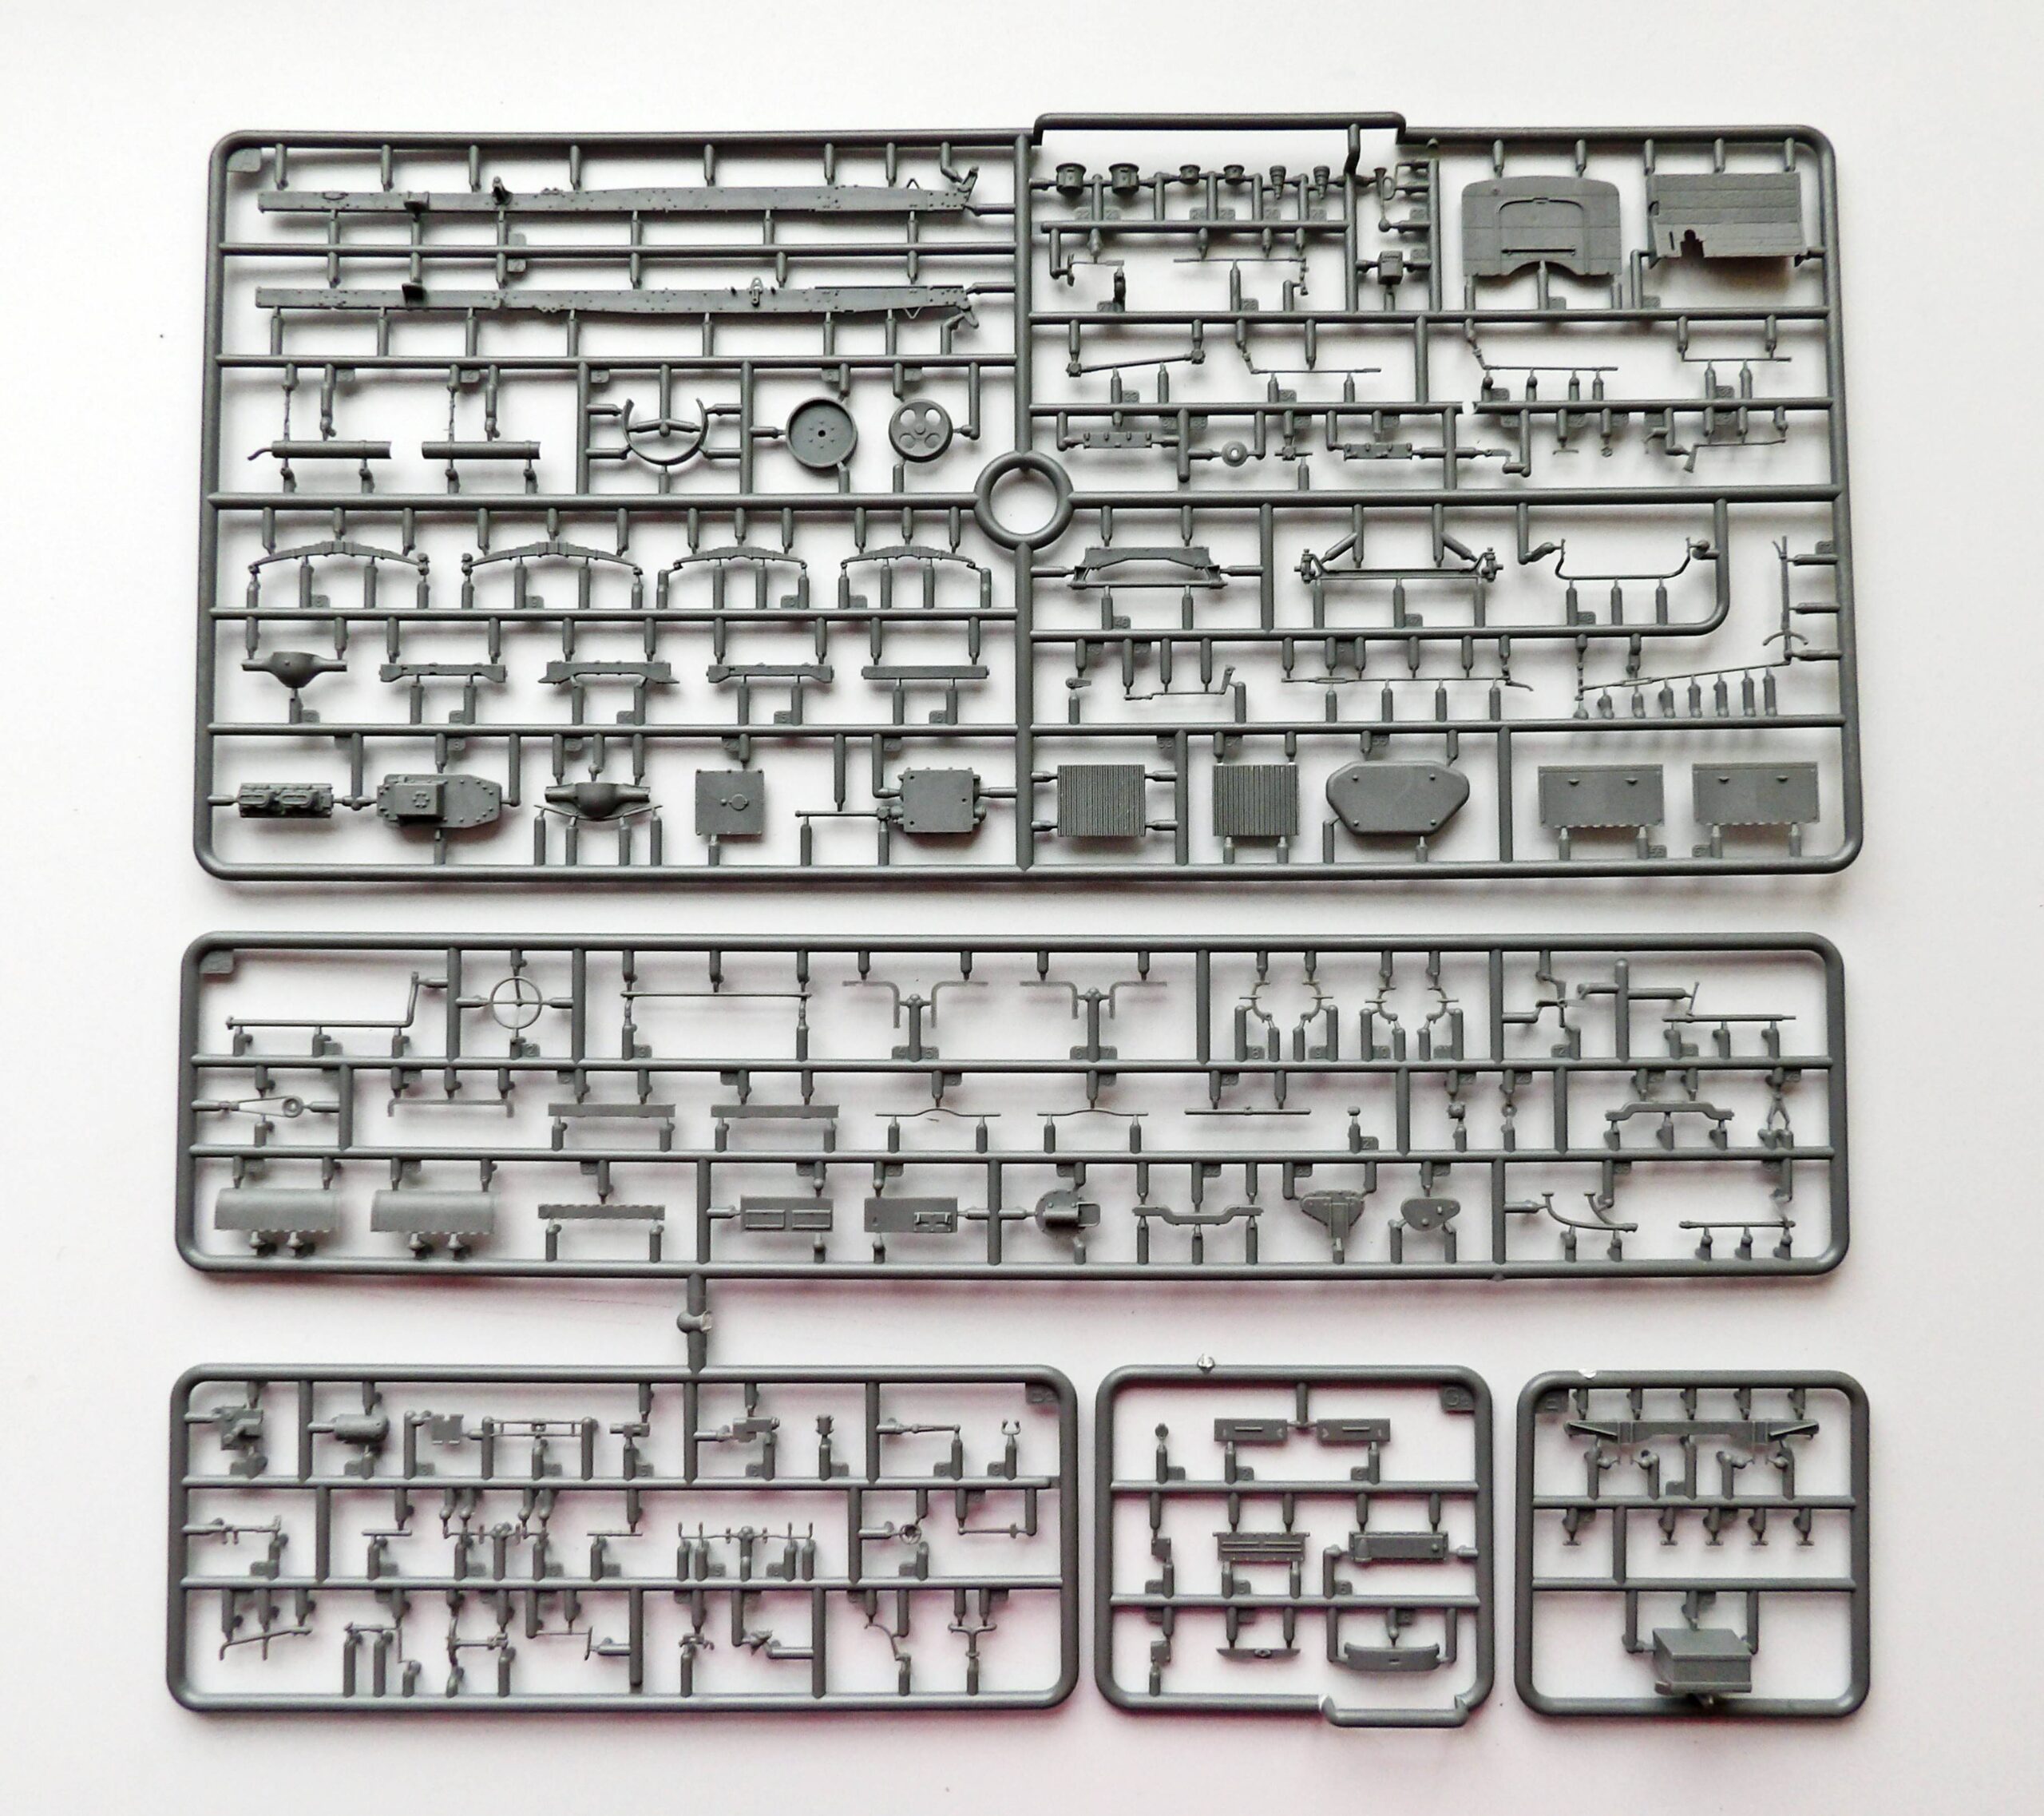
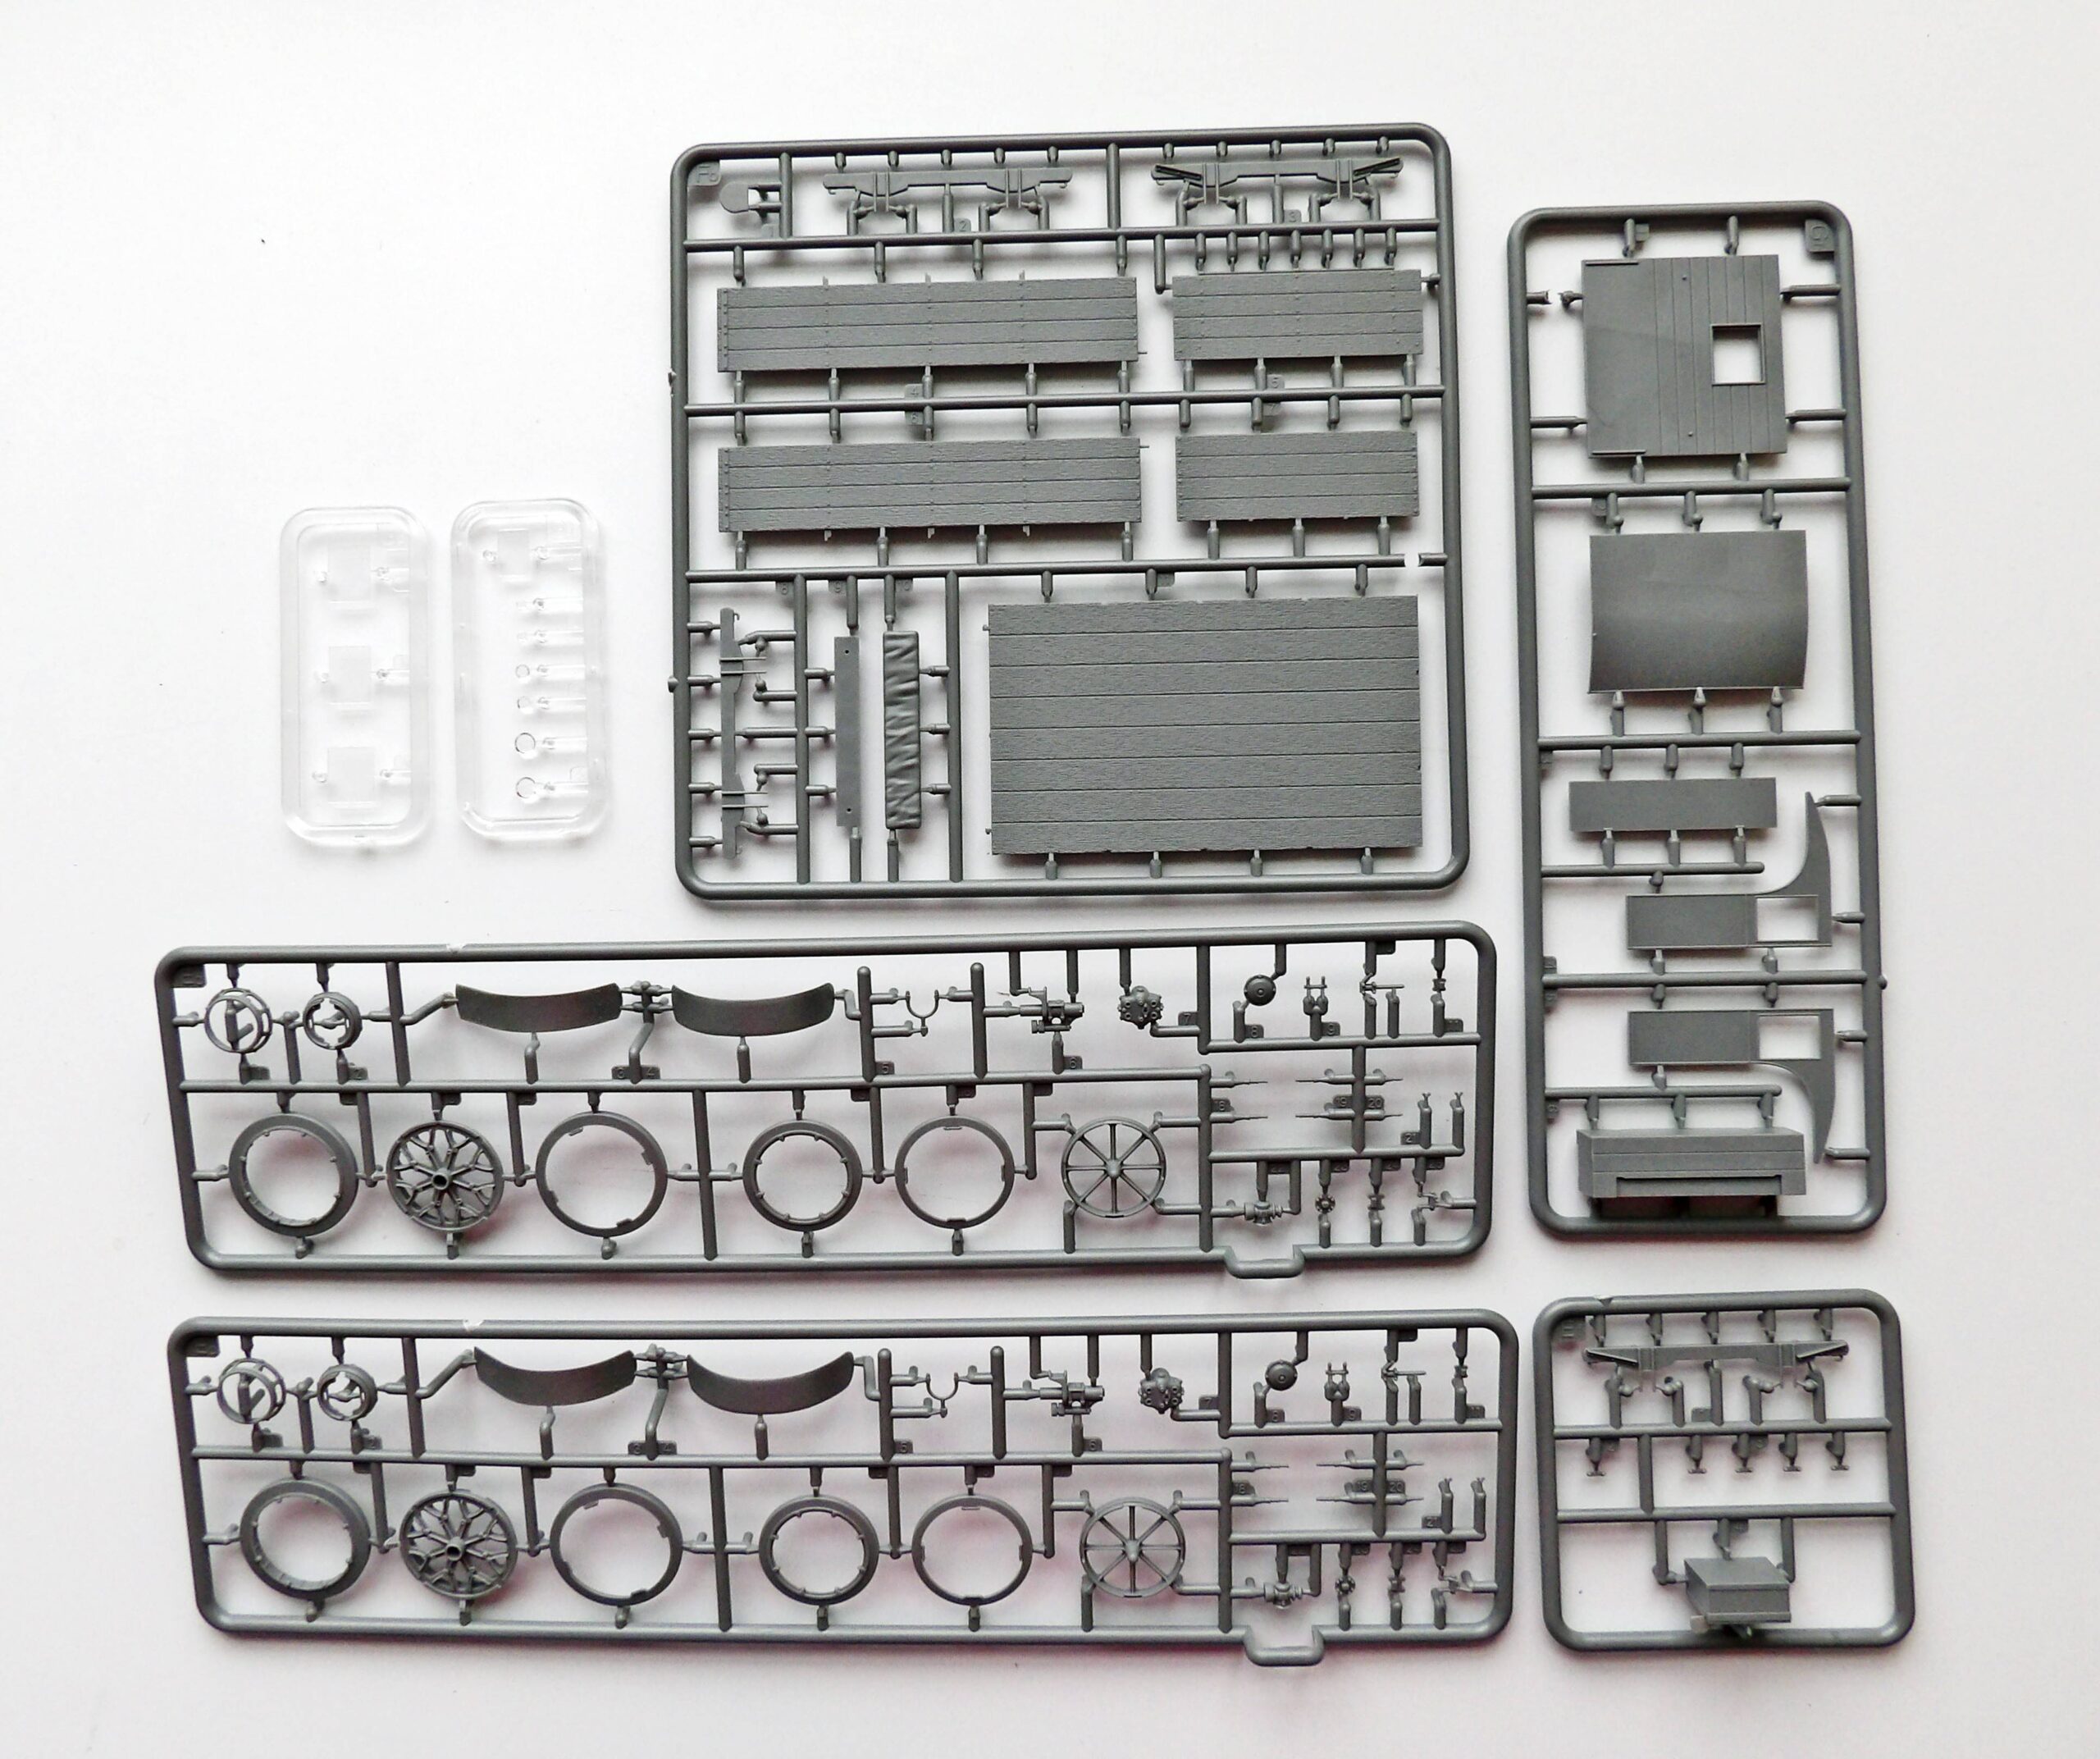
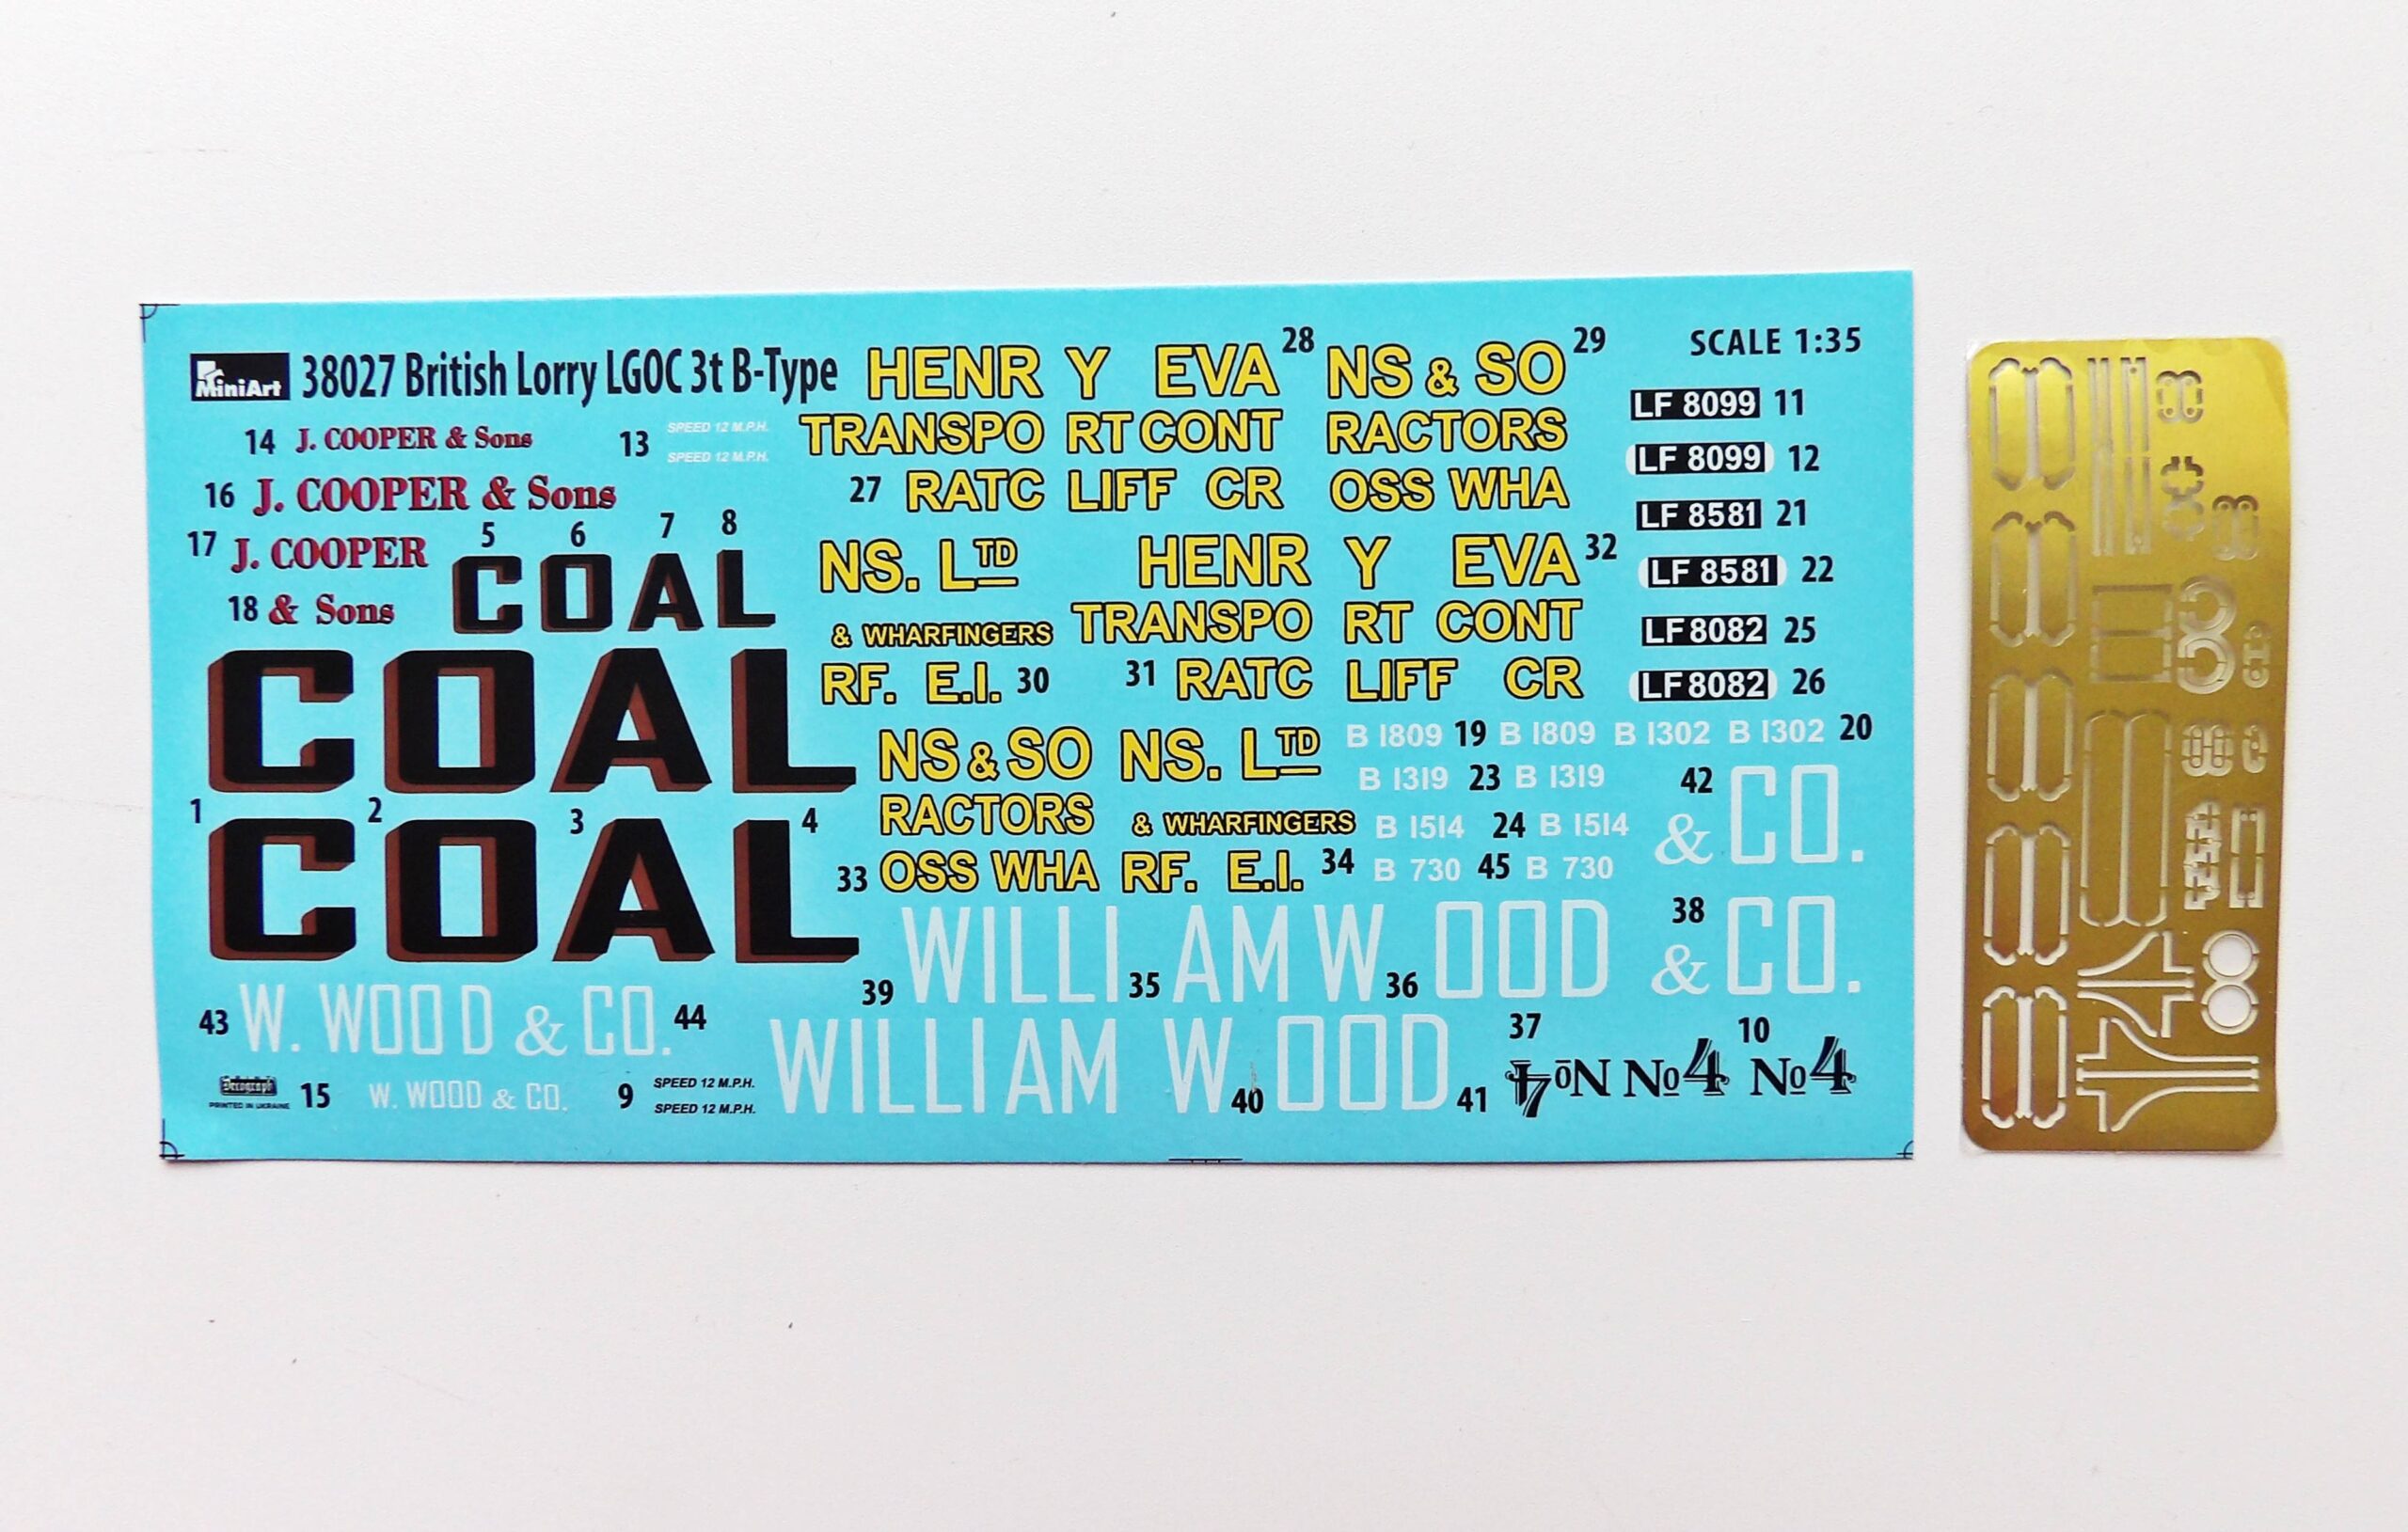
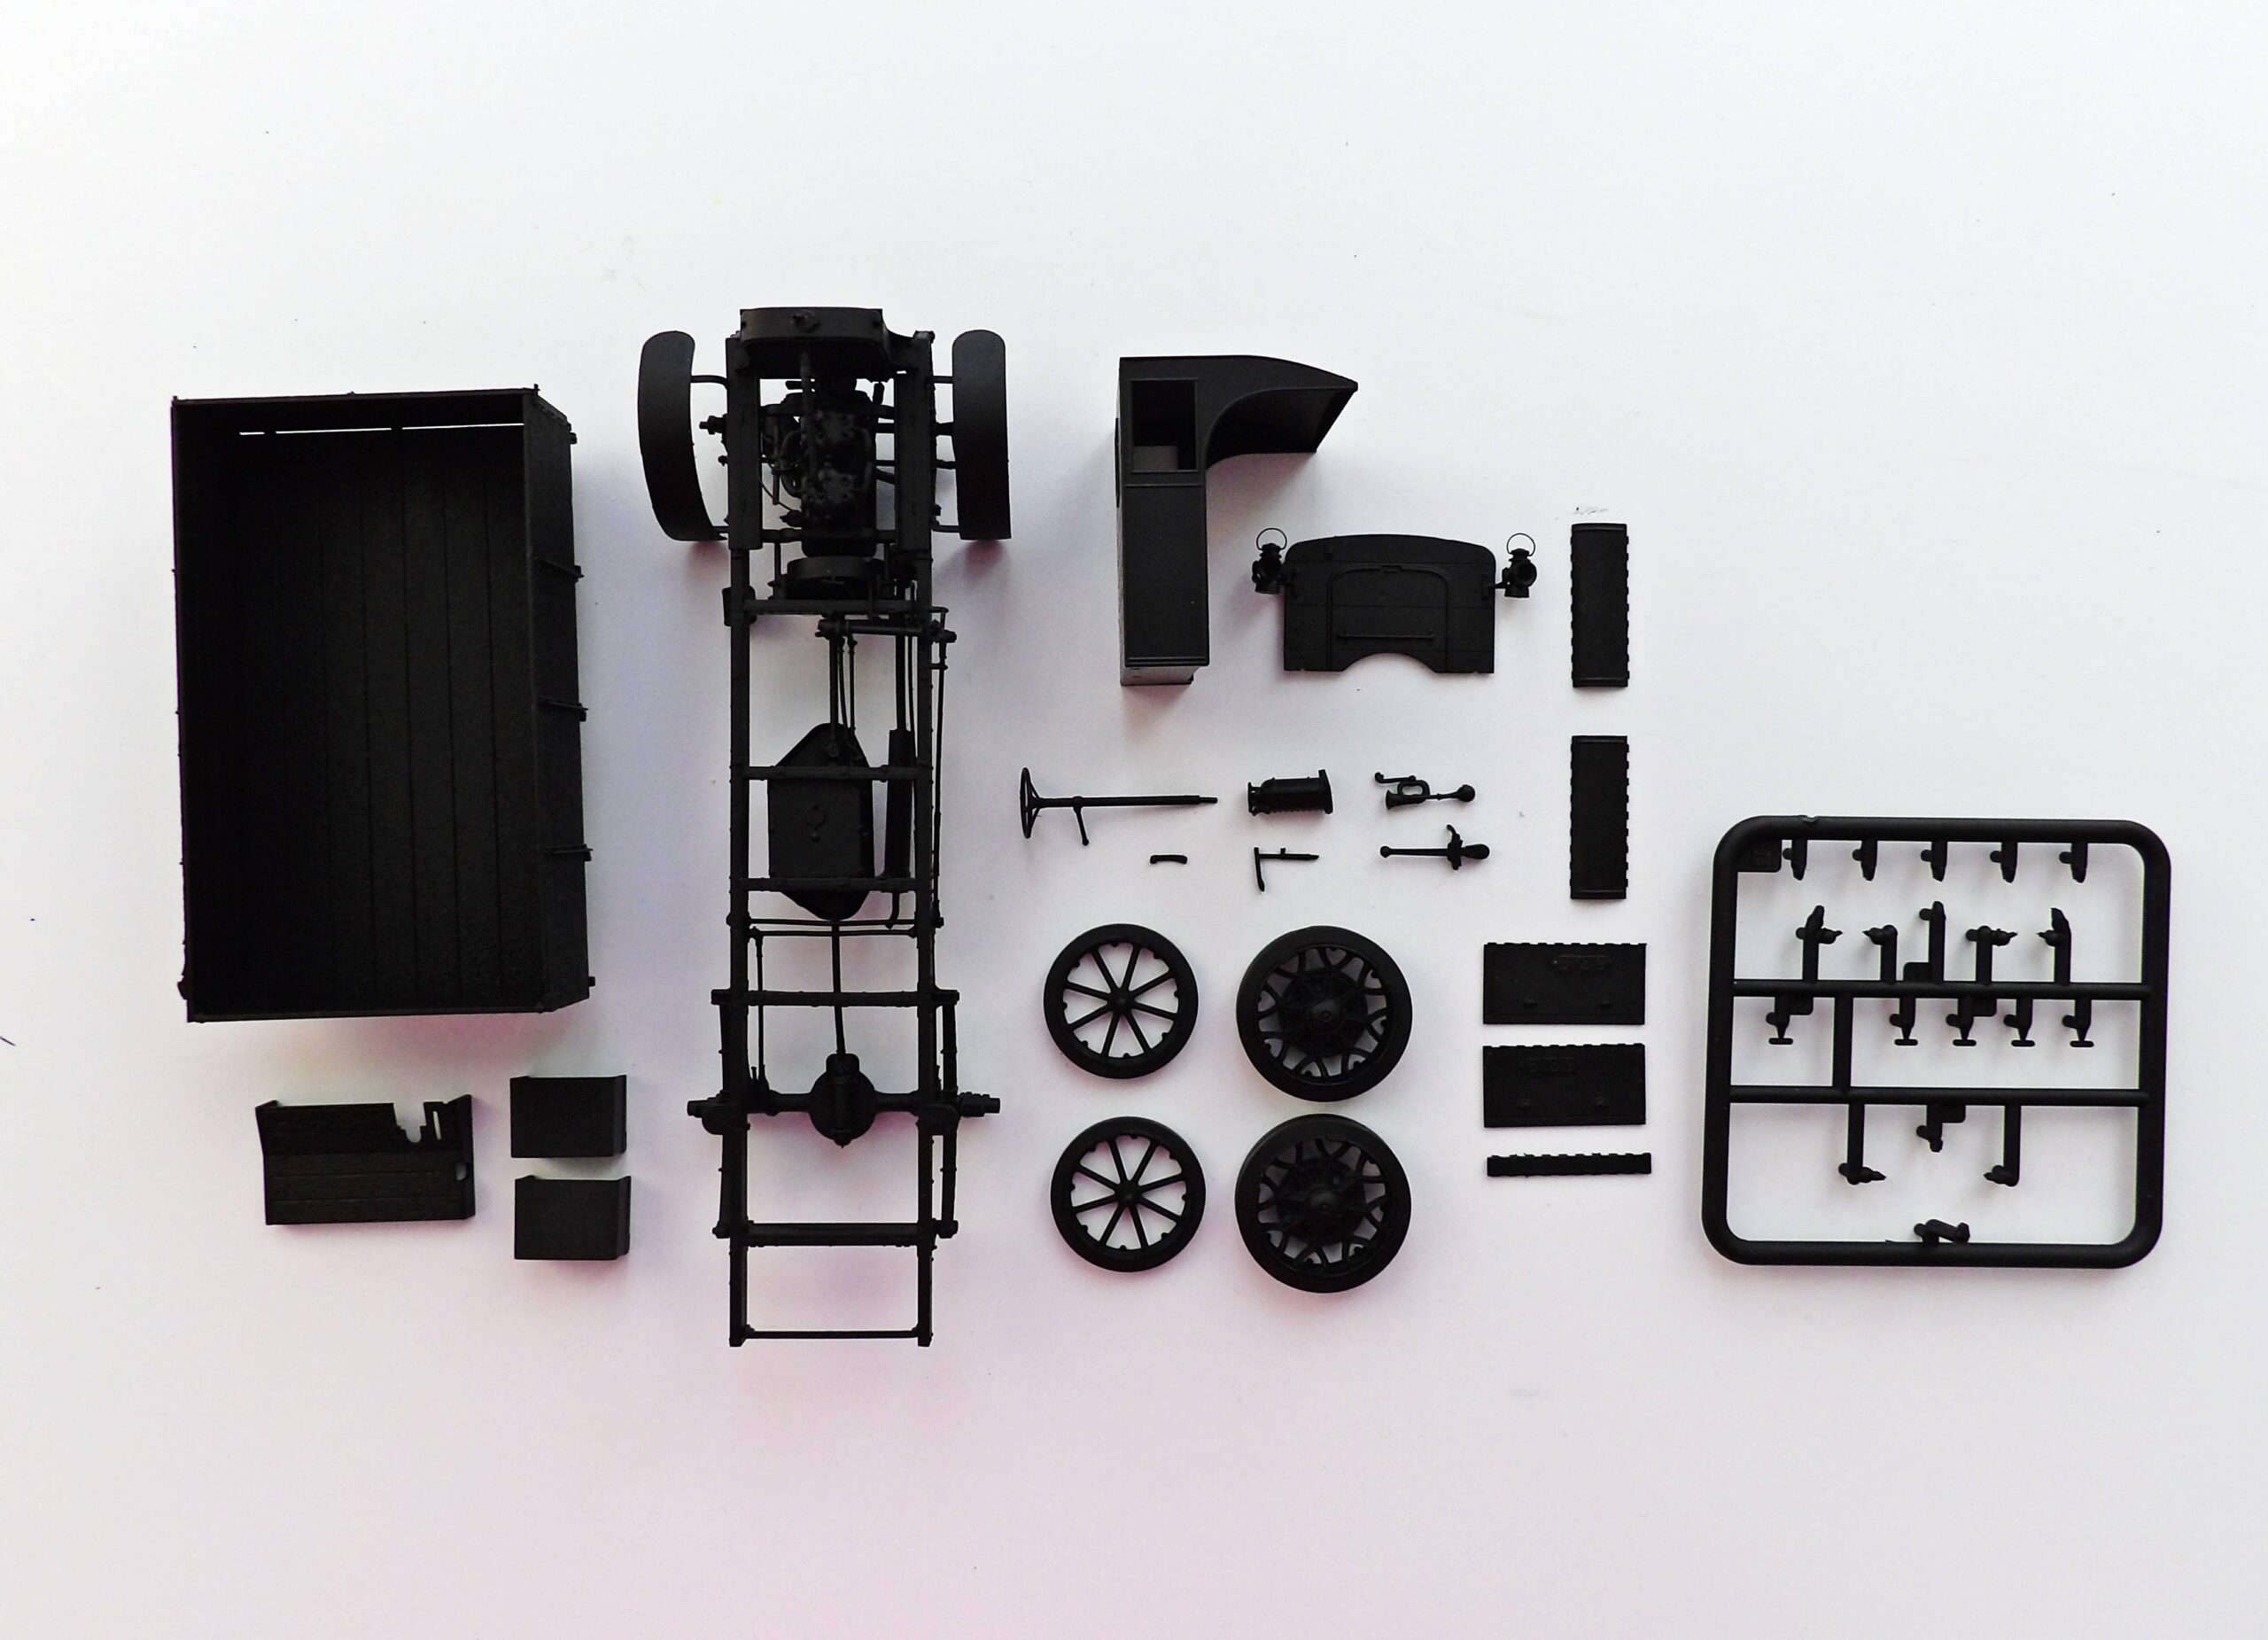
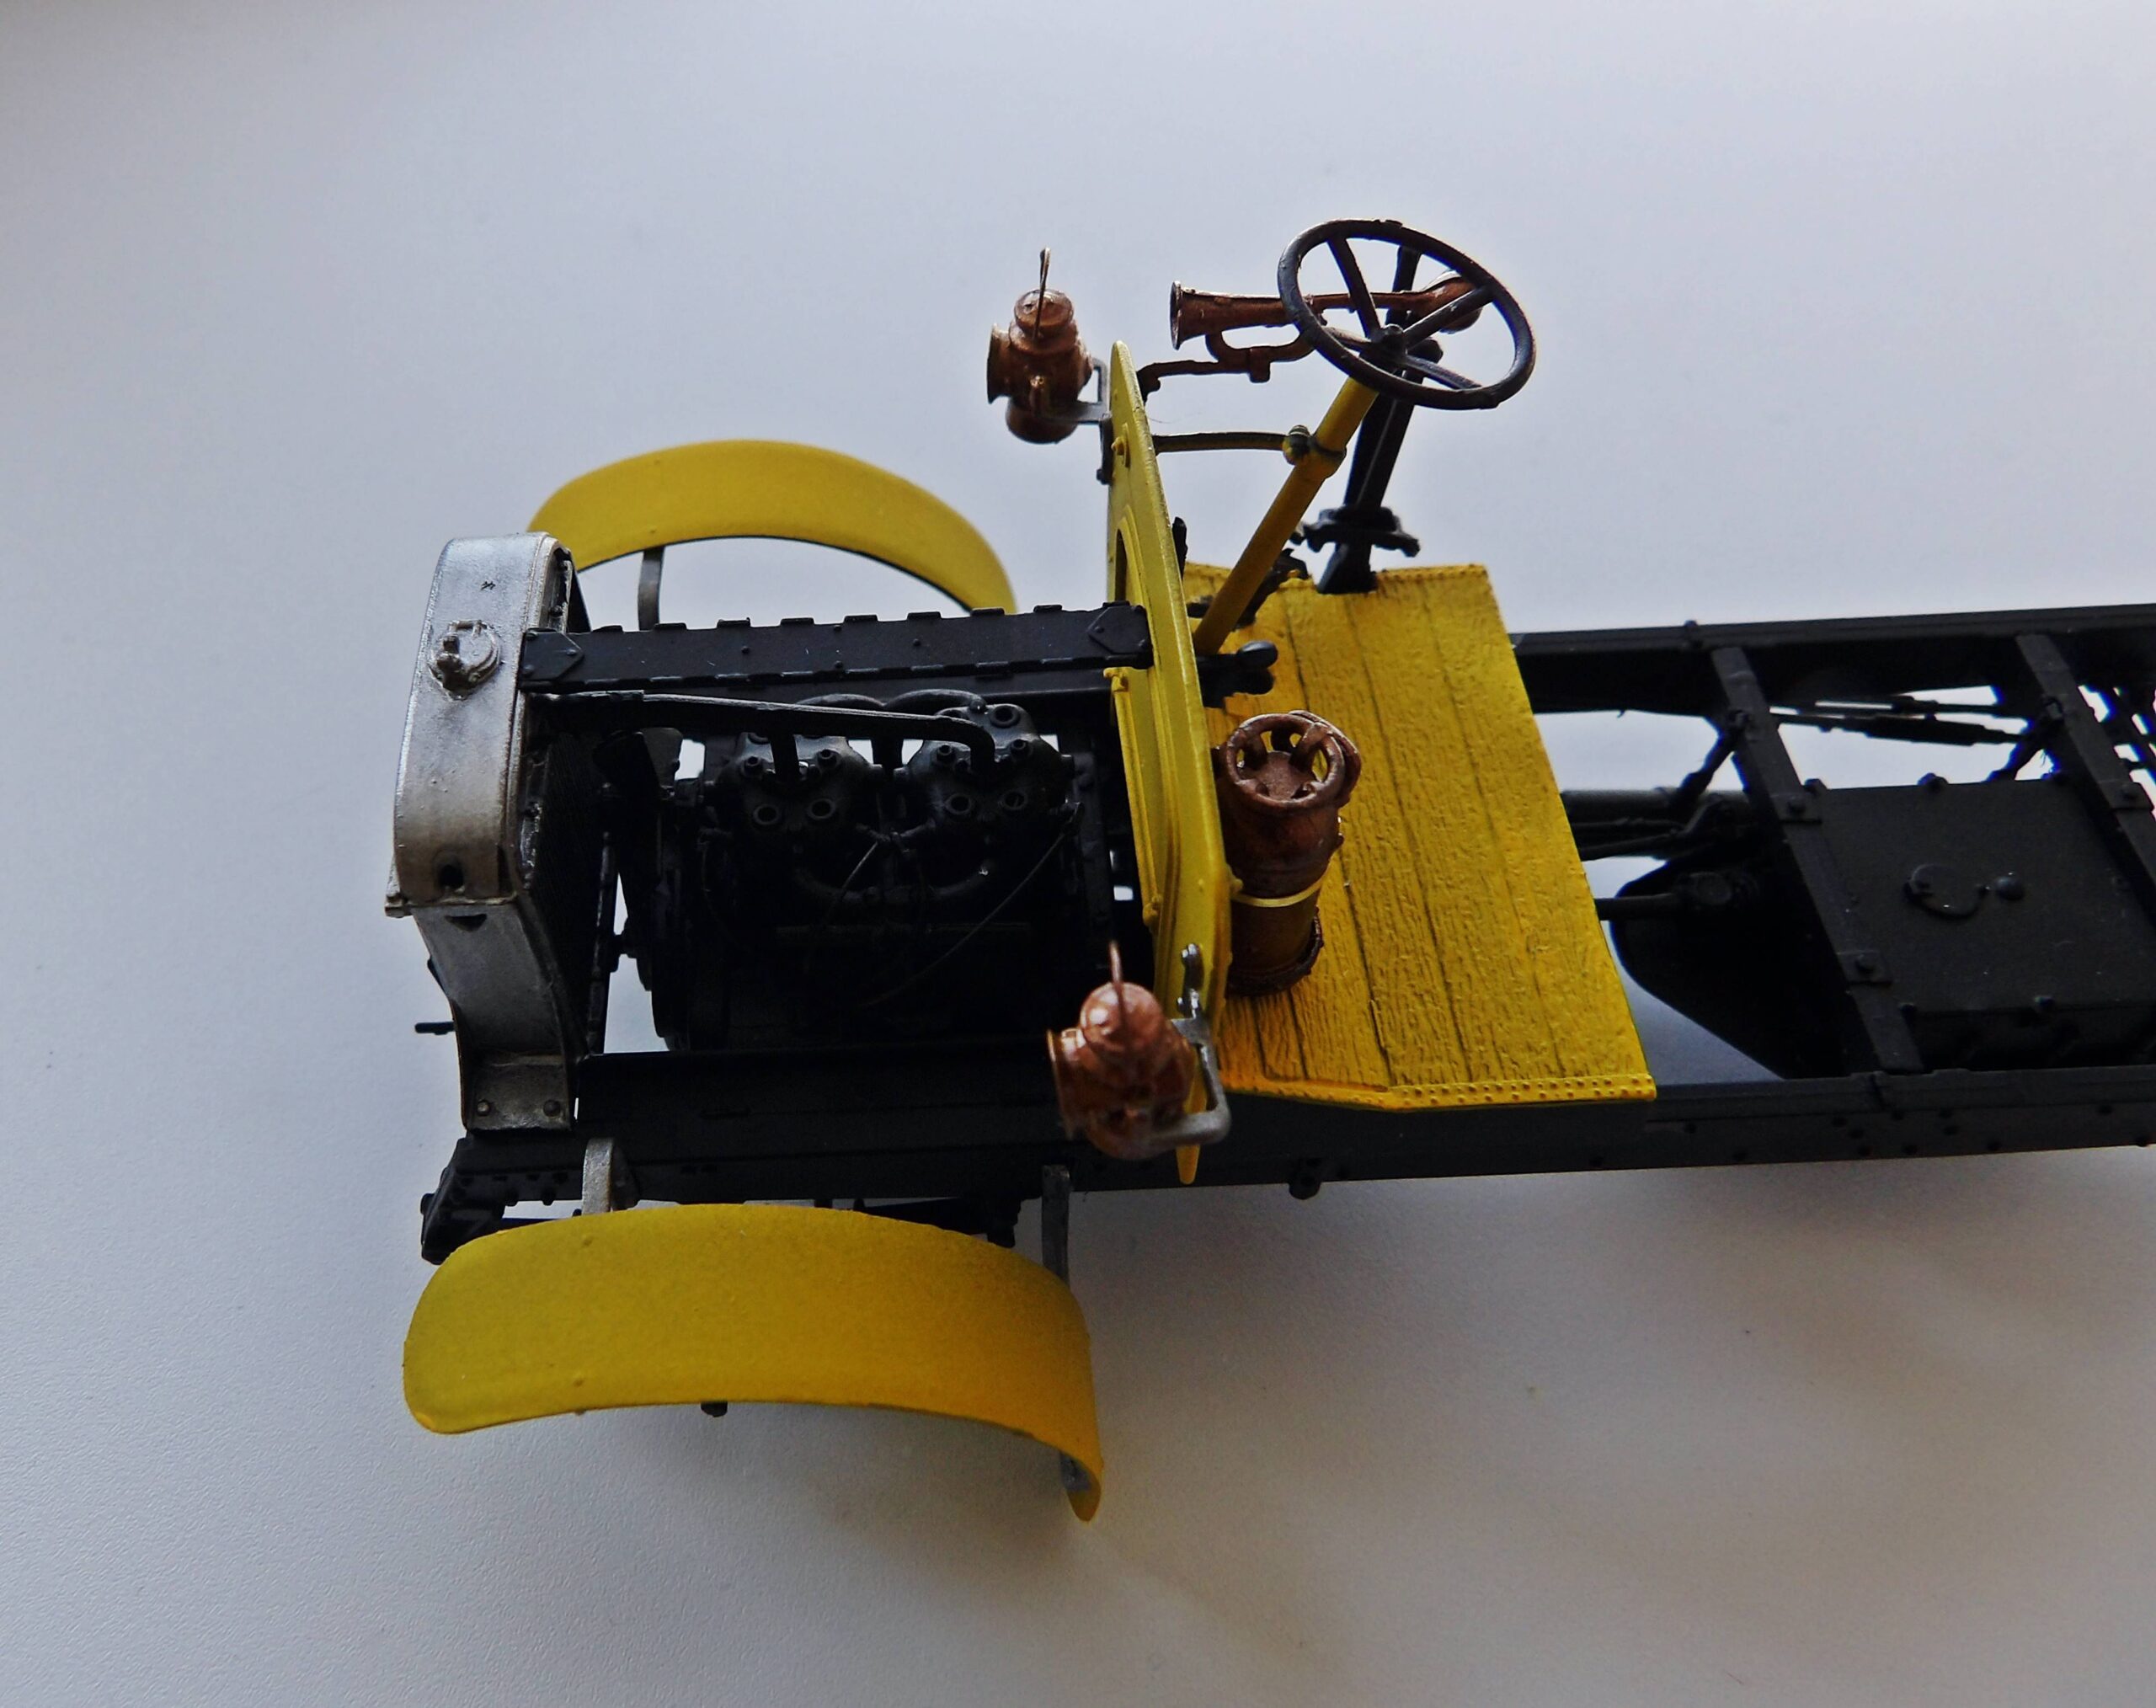
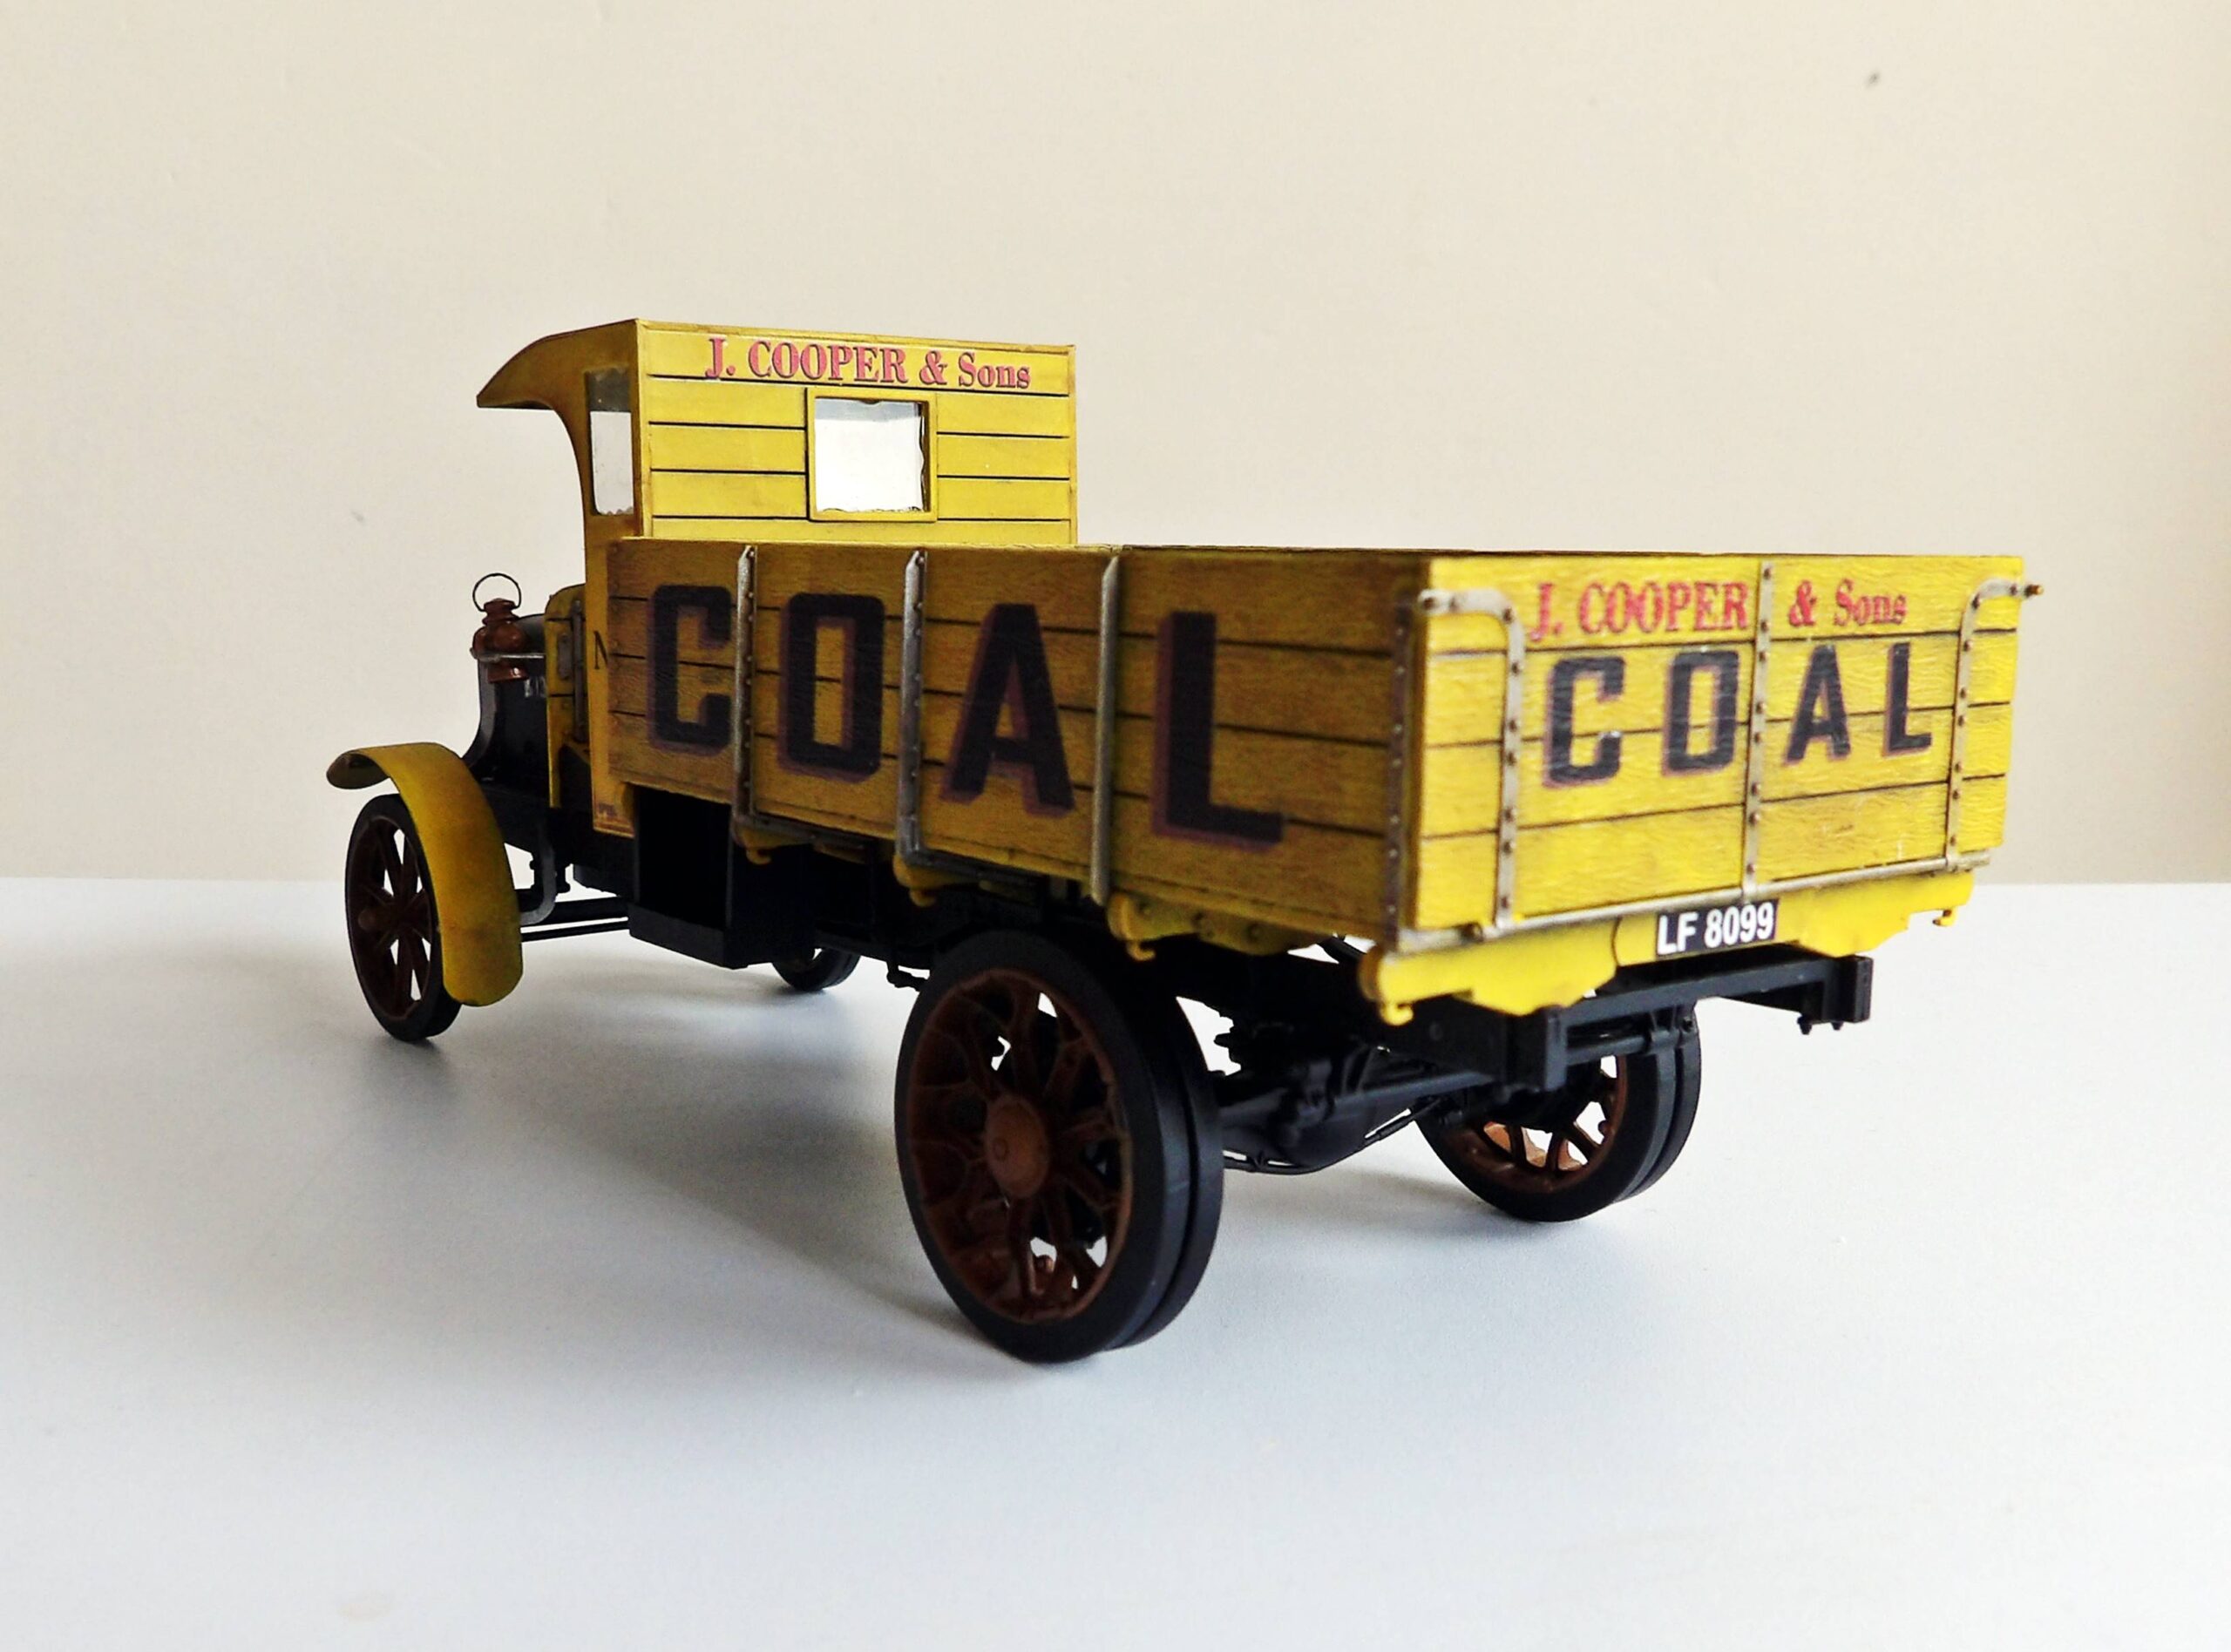
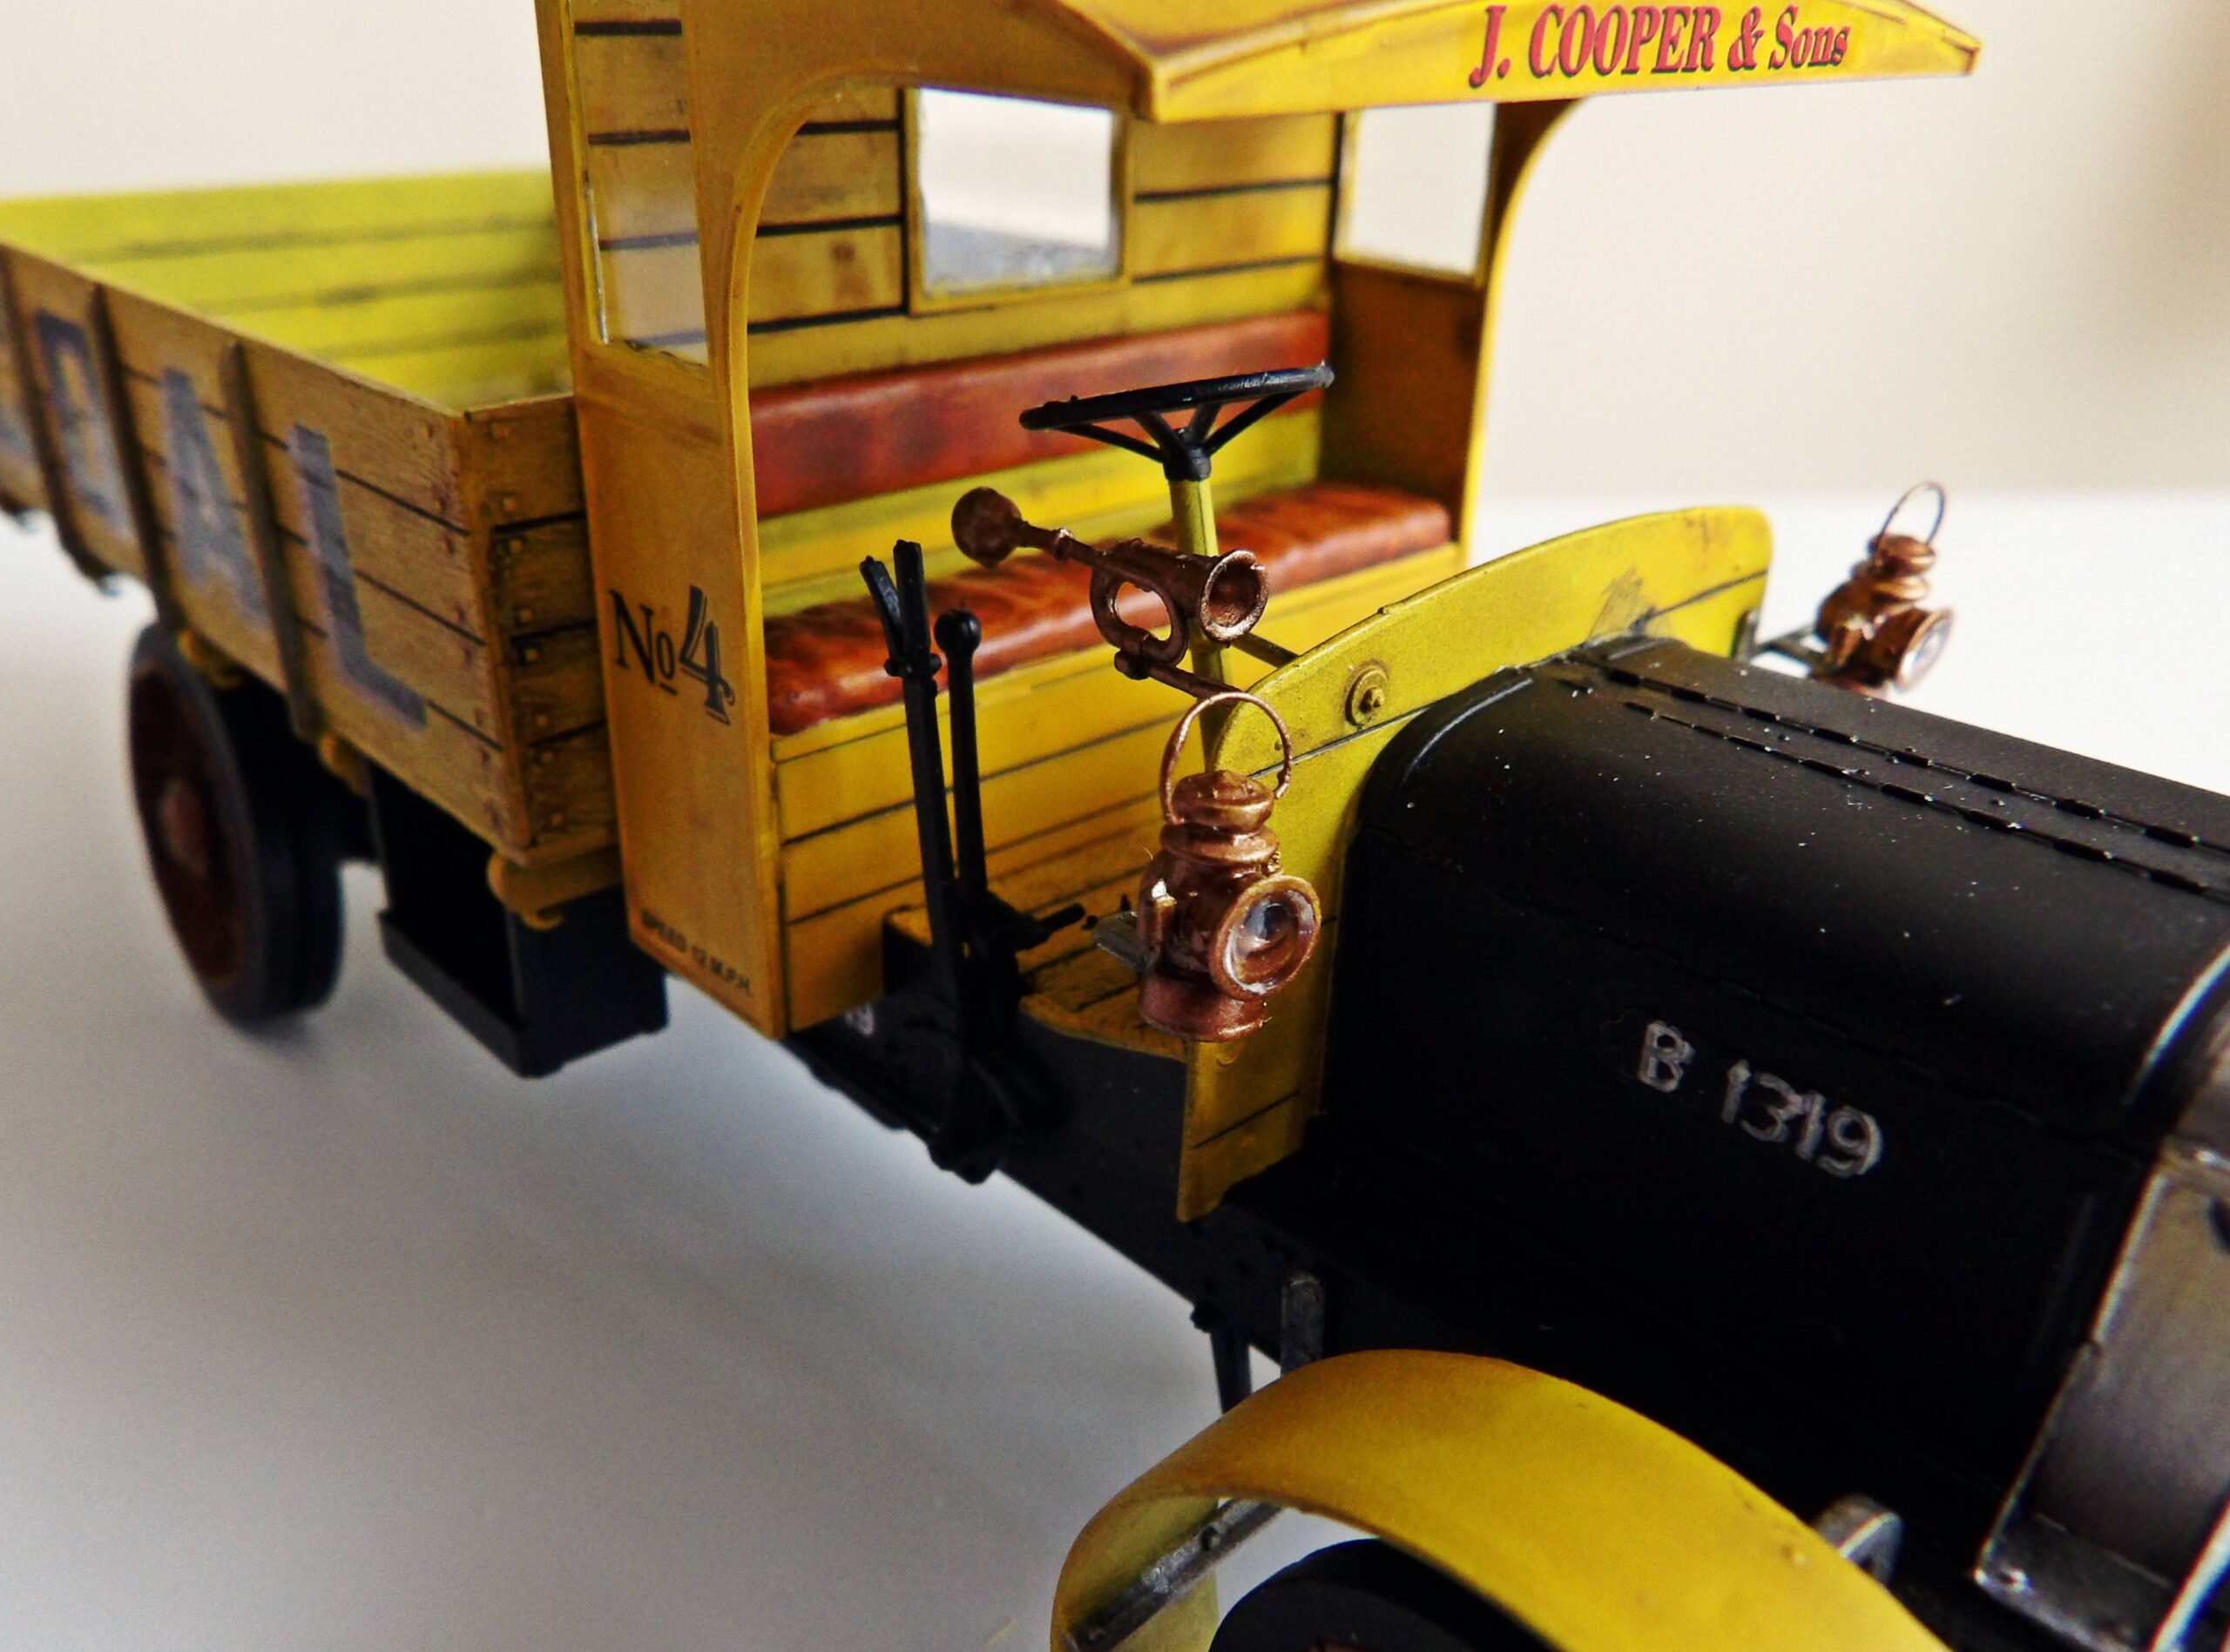
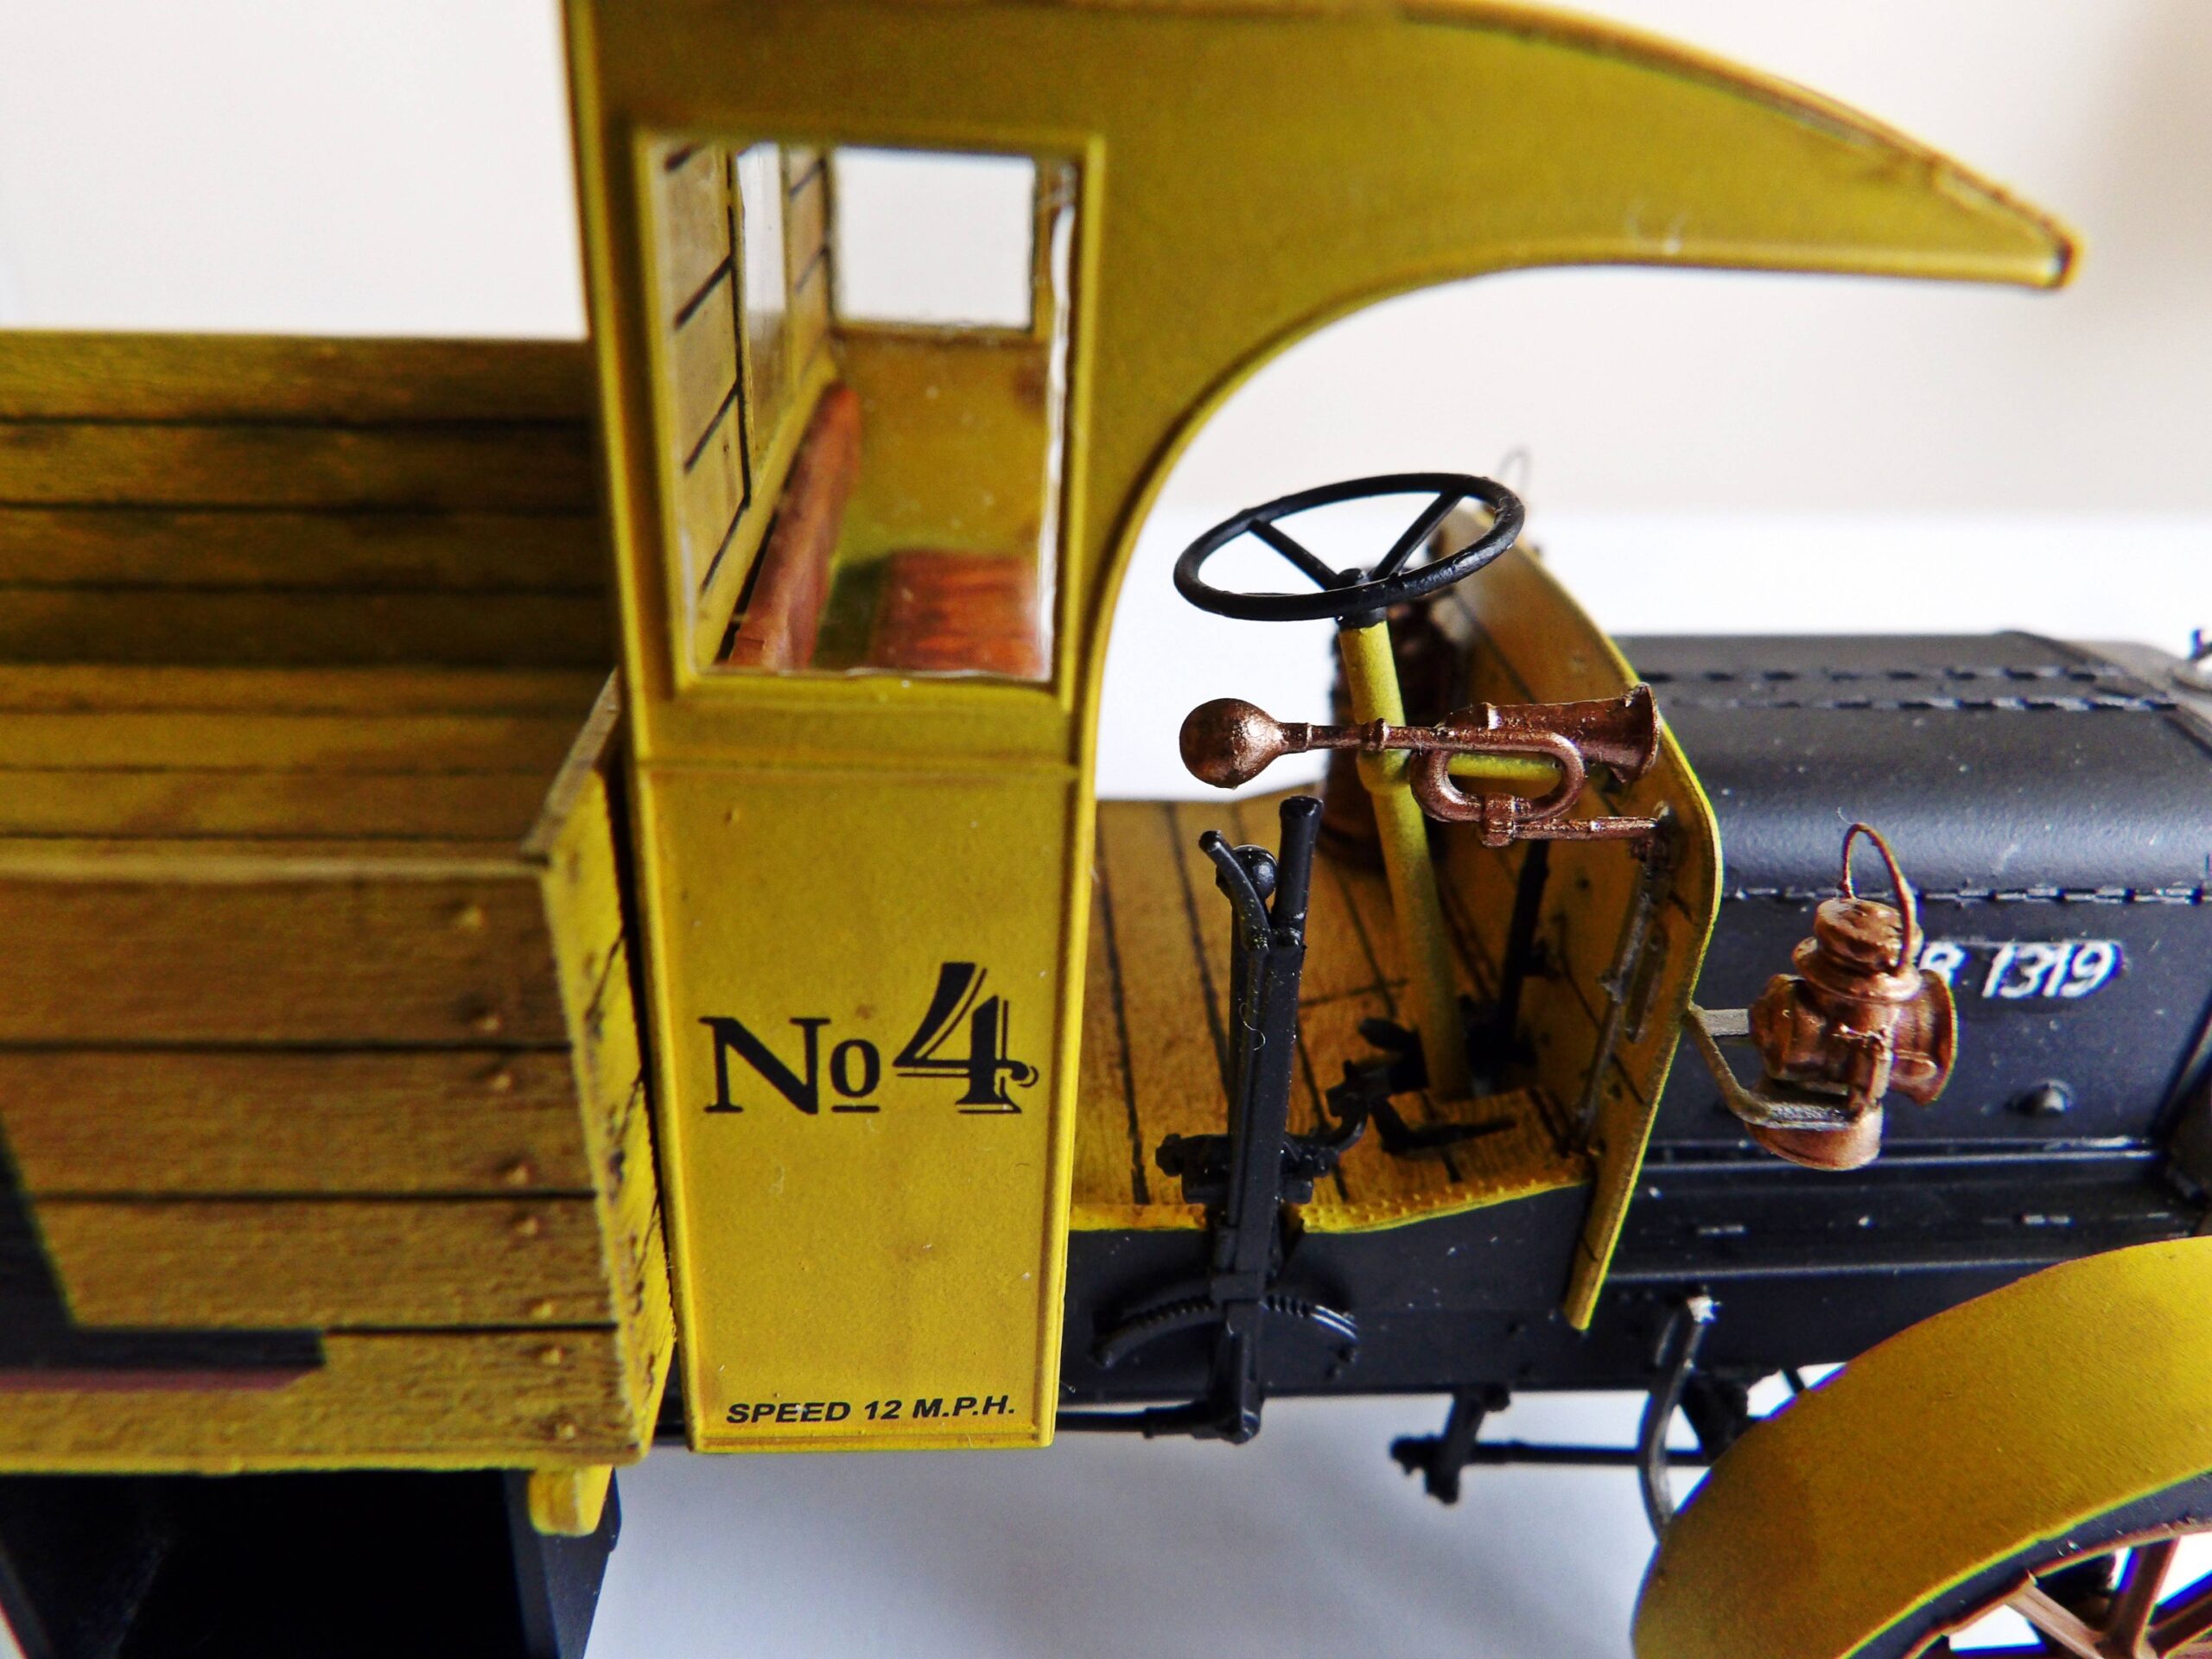
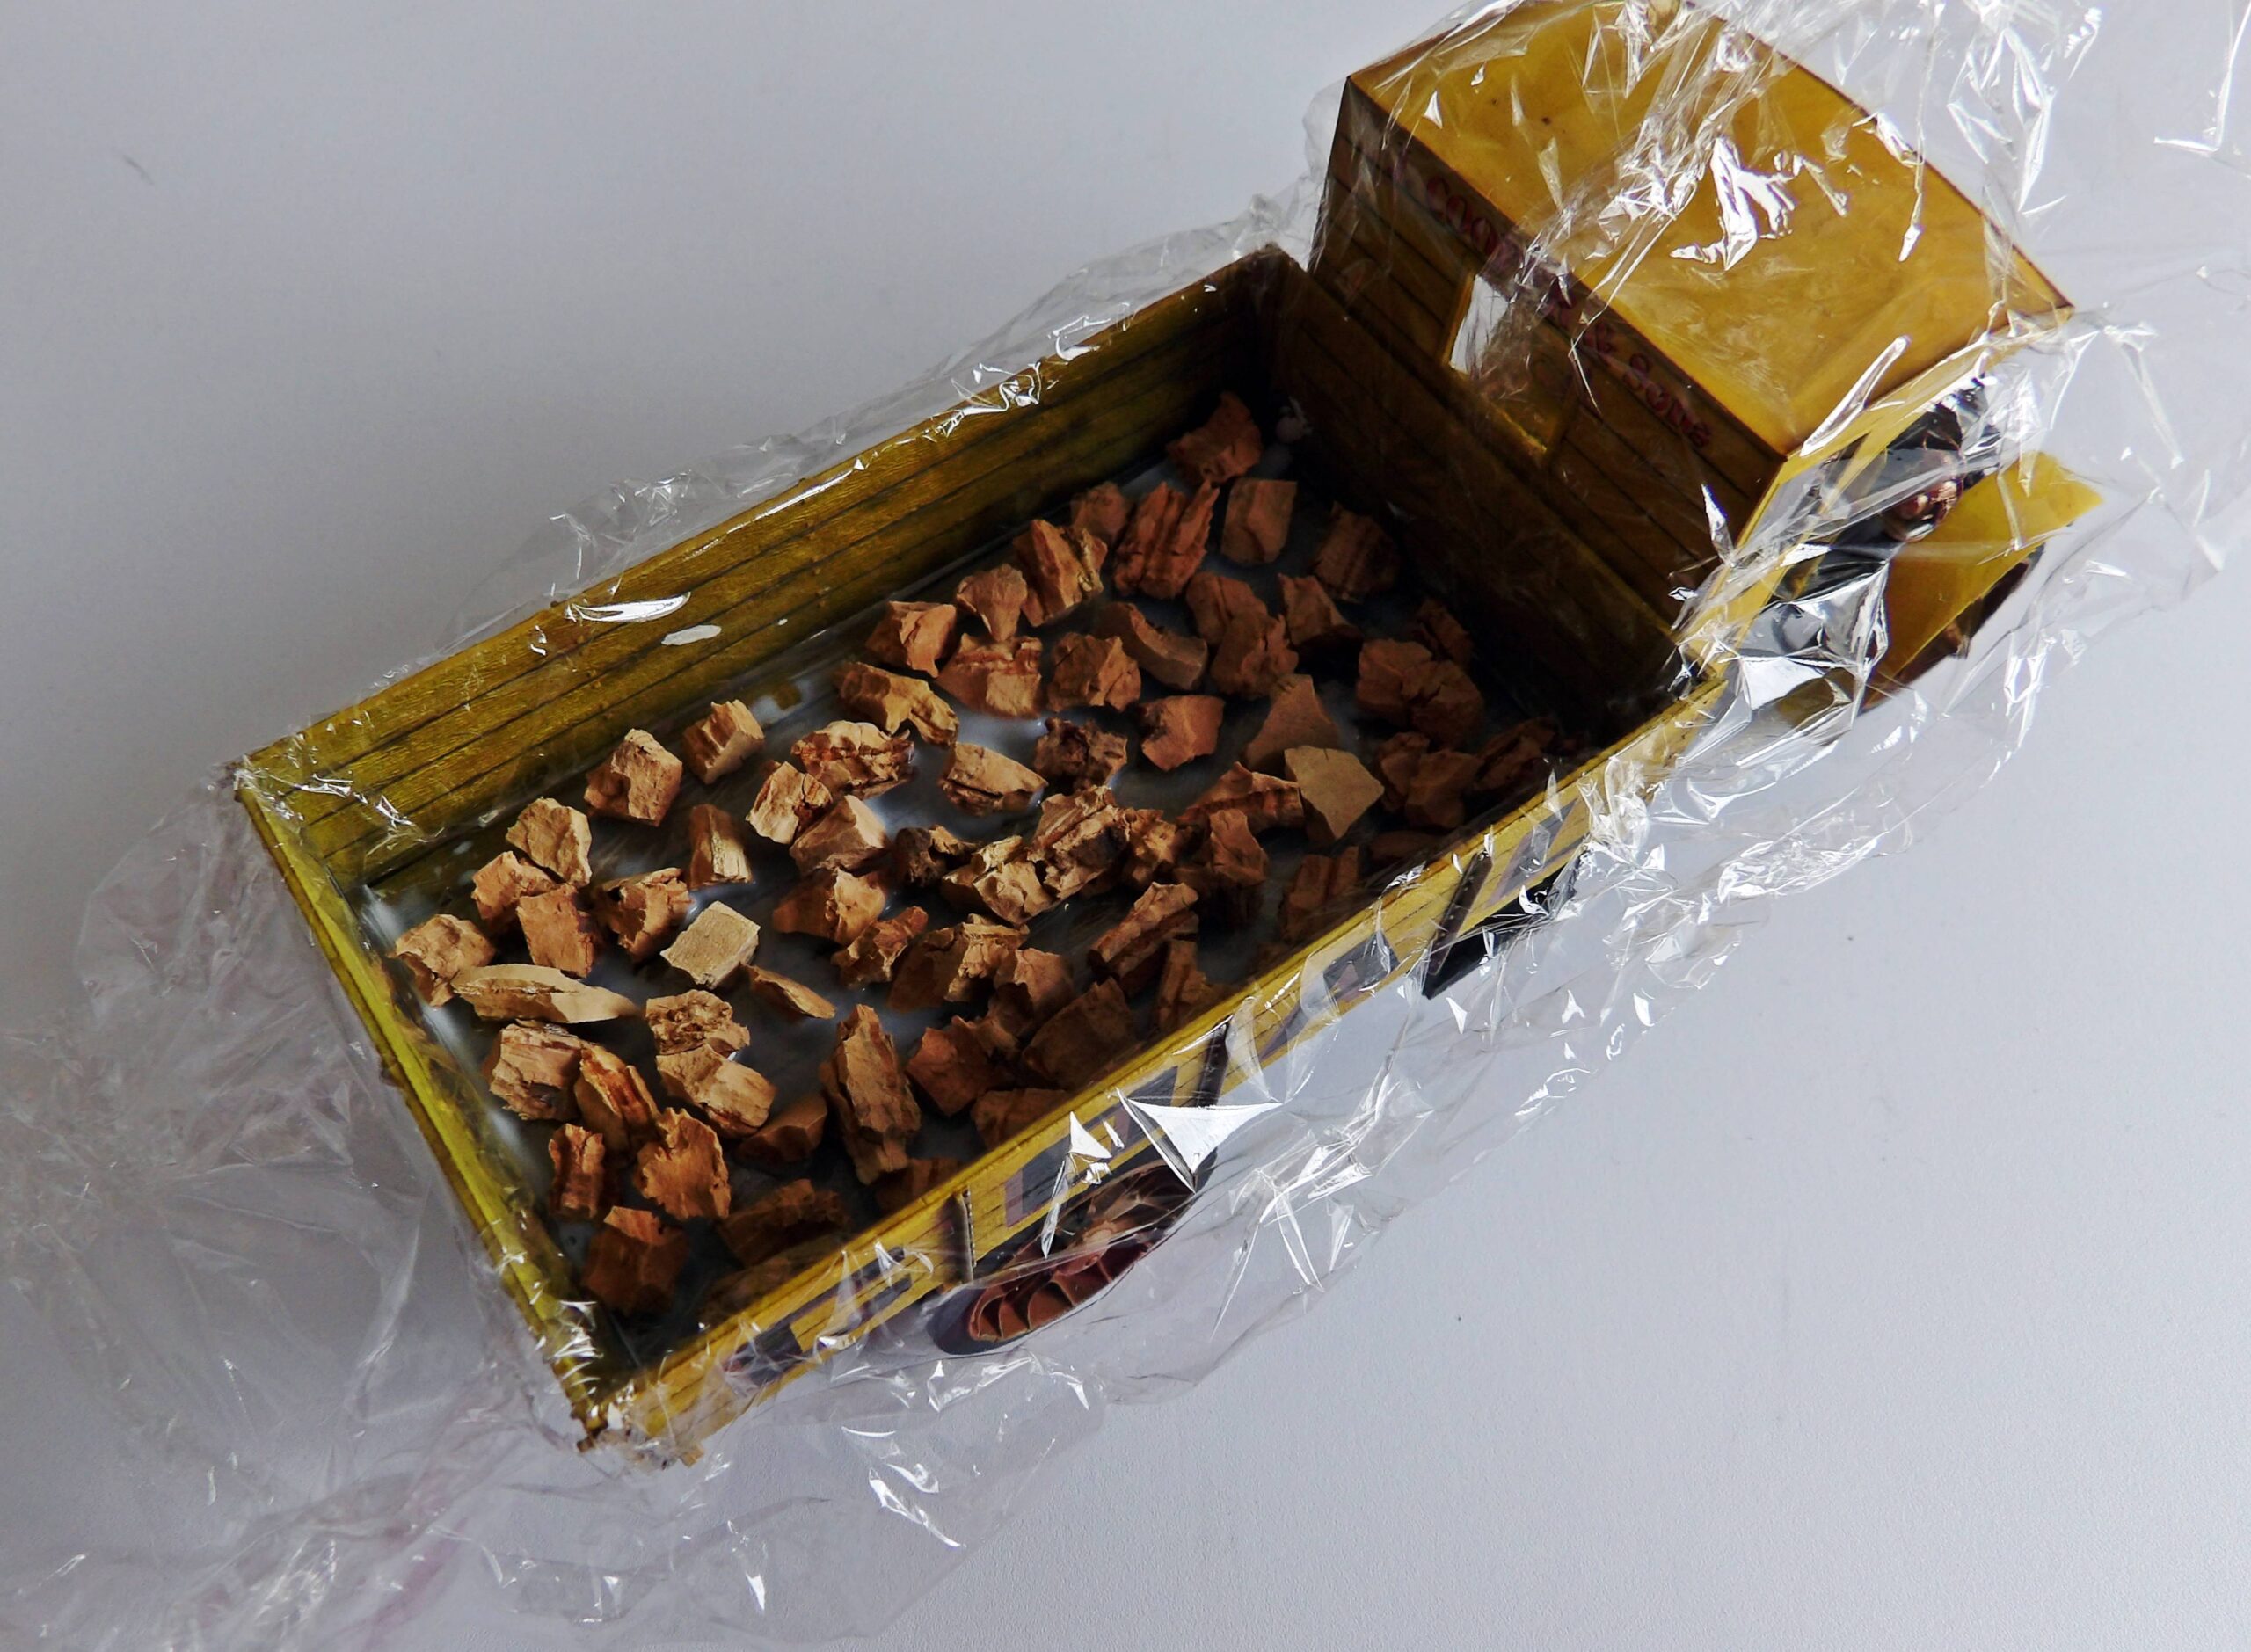
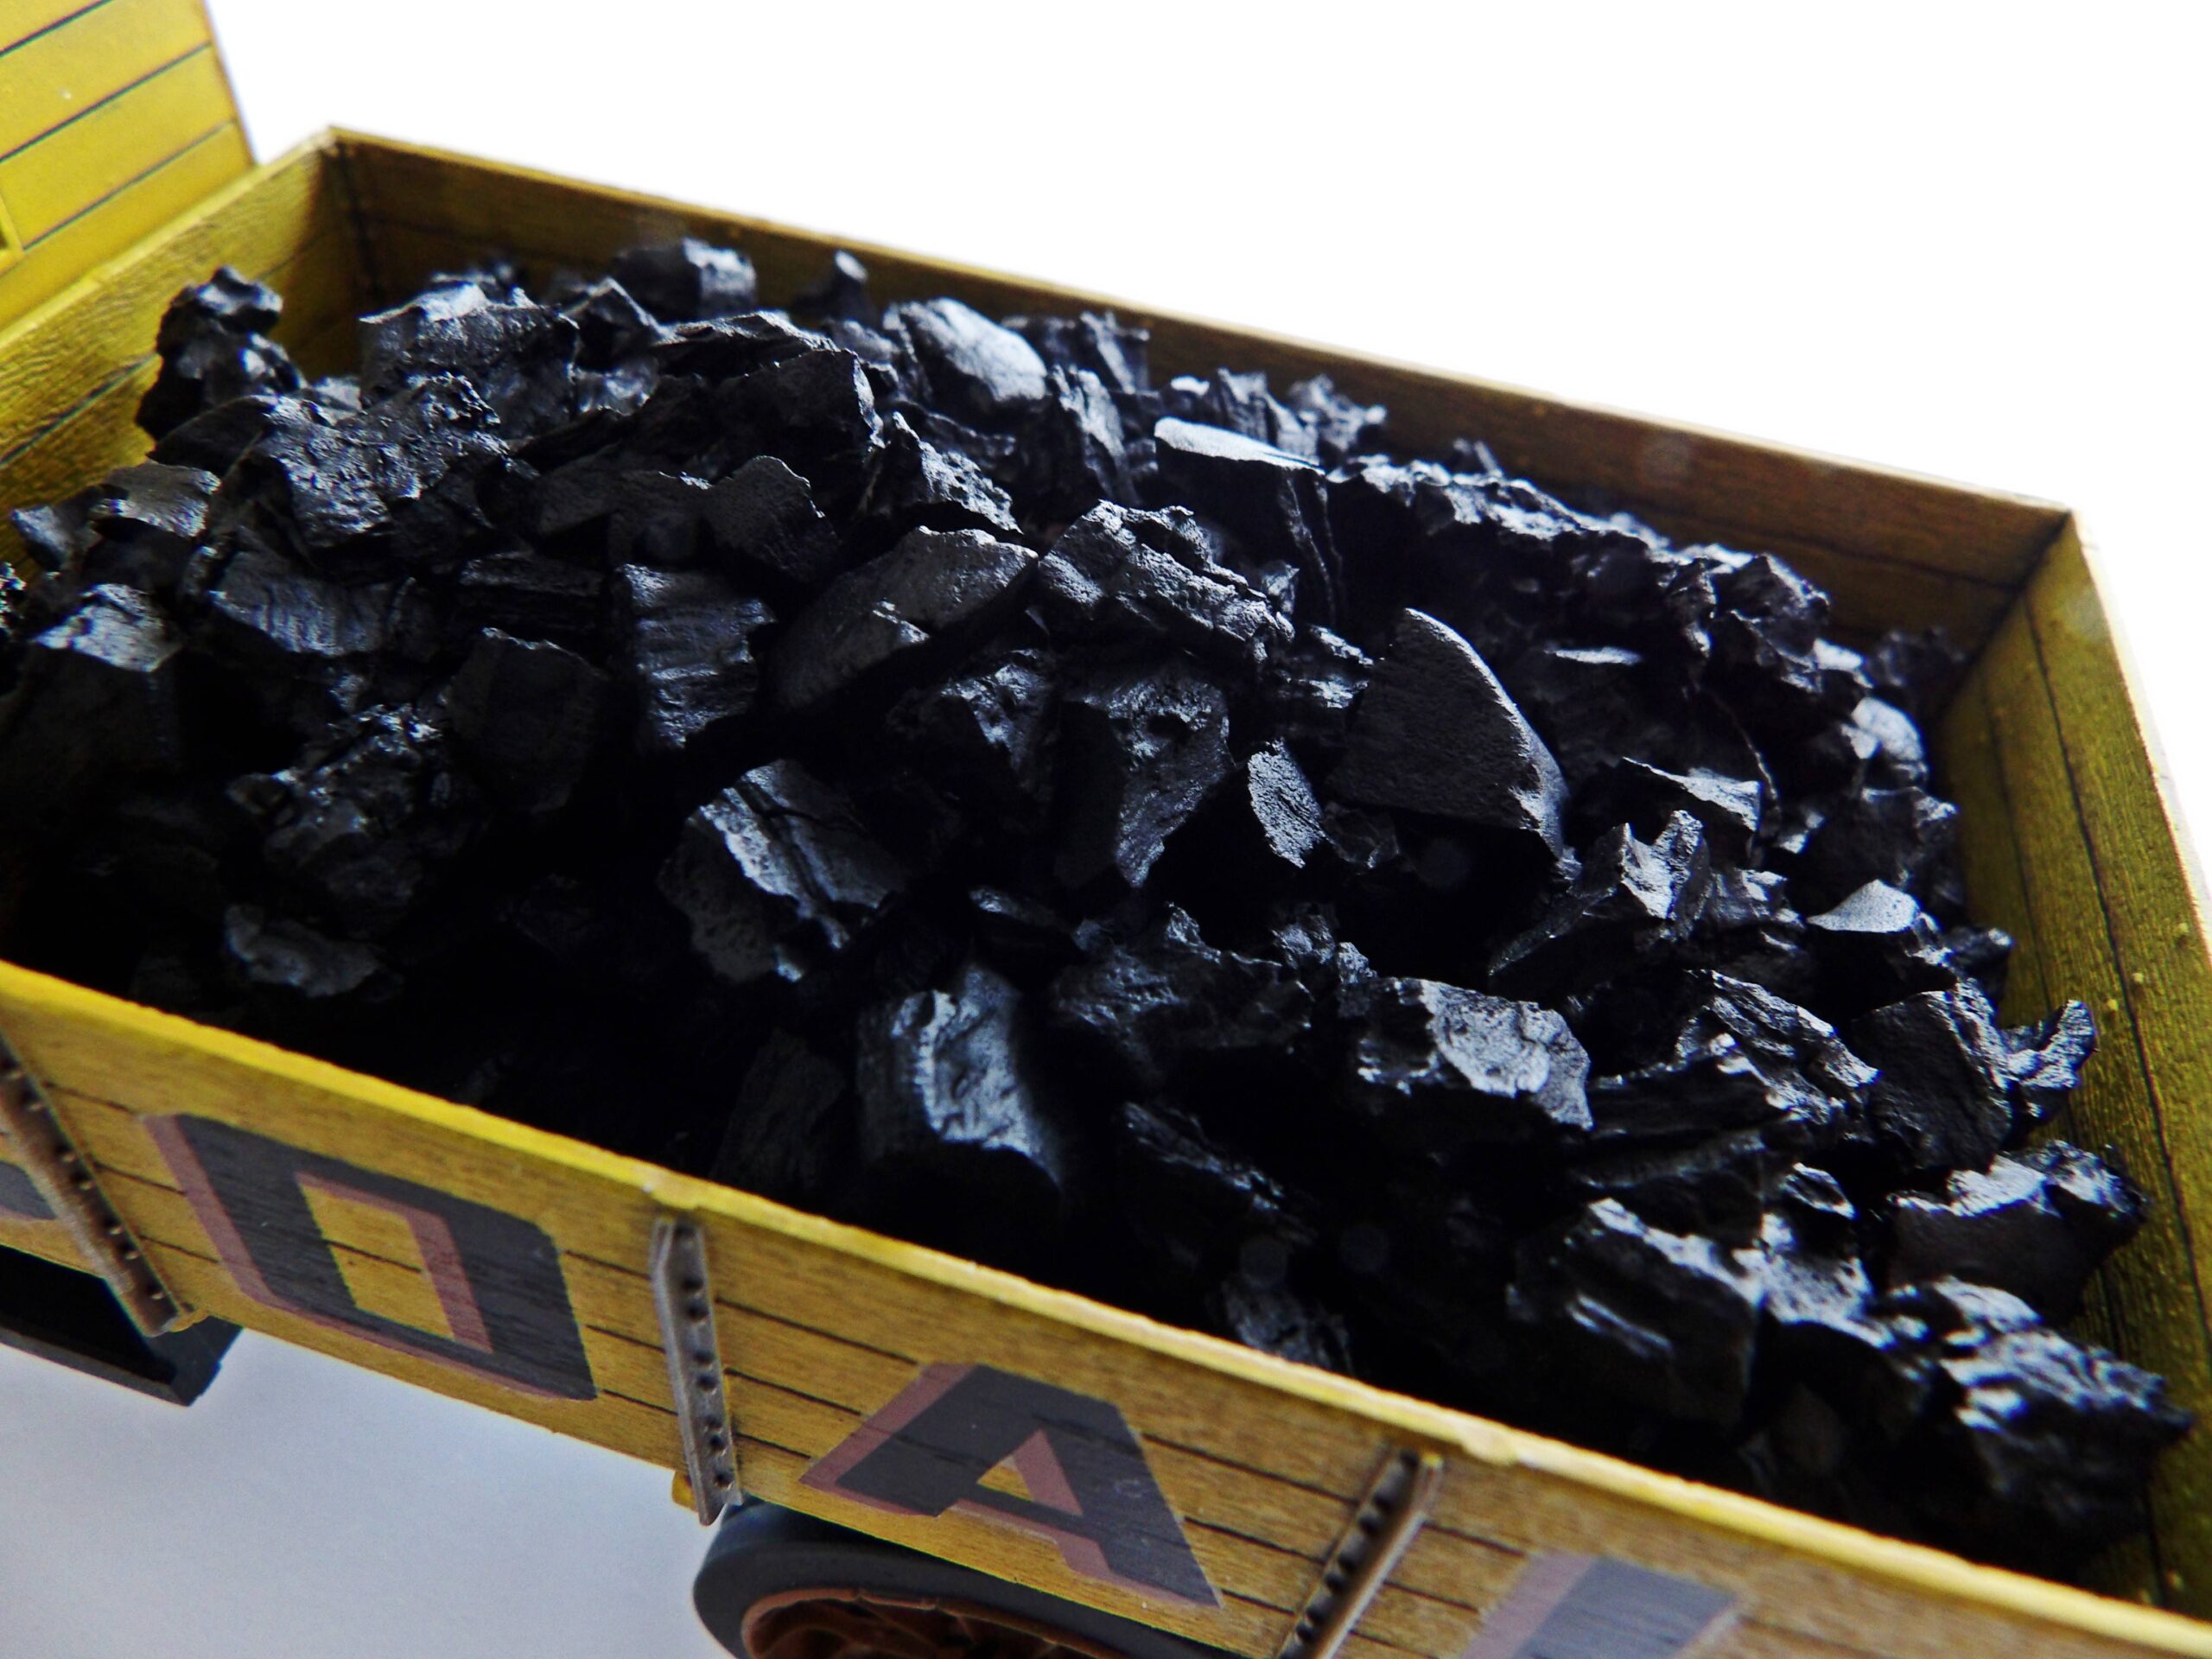
This interesting box art is what tempted us to build this model. There are types of lorry you can make: a coal lorry, a generic transport lorry, or wood carrier.As always, it was only after we opened the box that we realised what we are in for. Hands down, this is the most detailed model we have built to date.Look, here are the parts for the wooden box! At least that bit would be easy…hopefully!Here is the decal sheet and some very delicate photo-etched parts.A big chunk of the entire model build was spent on this engine, which is mostly covered up in the end!Here is the completed chassis.Large sections of the model is made up and primed in matt black.We airbrushed the main body in matt yellow and hand painted the smaller details (such as the stirring wheel and lights).Here is the airbrushed wooden box. Next, we will be bringing out some of those nice grain details with paneliners and a layer of wash.The decals are applied and the model is vanished with a layer of dark wash.We used a dark brown paneliner to bring out the gaps between the wooden planks.To glue on the clear window without clouding the plastic, we used UV glue. It’s a little fiddly to use, but it is much stronger than your normal clear plastic glue.To finish off, we made the ‘coal’. We used cork boulders, which were the right shape and didn’t add too much weight to the overall model. We covered the lorry with cling film, so the ‘coal’ can be pulled out and sprayed black once the glue has dried.
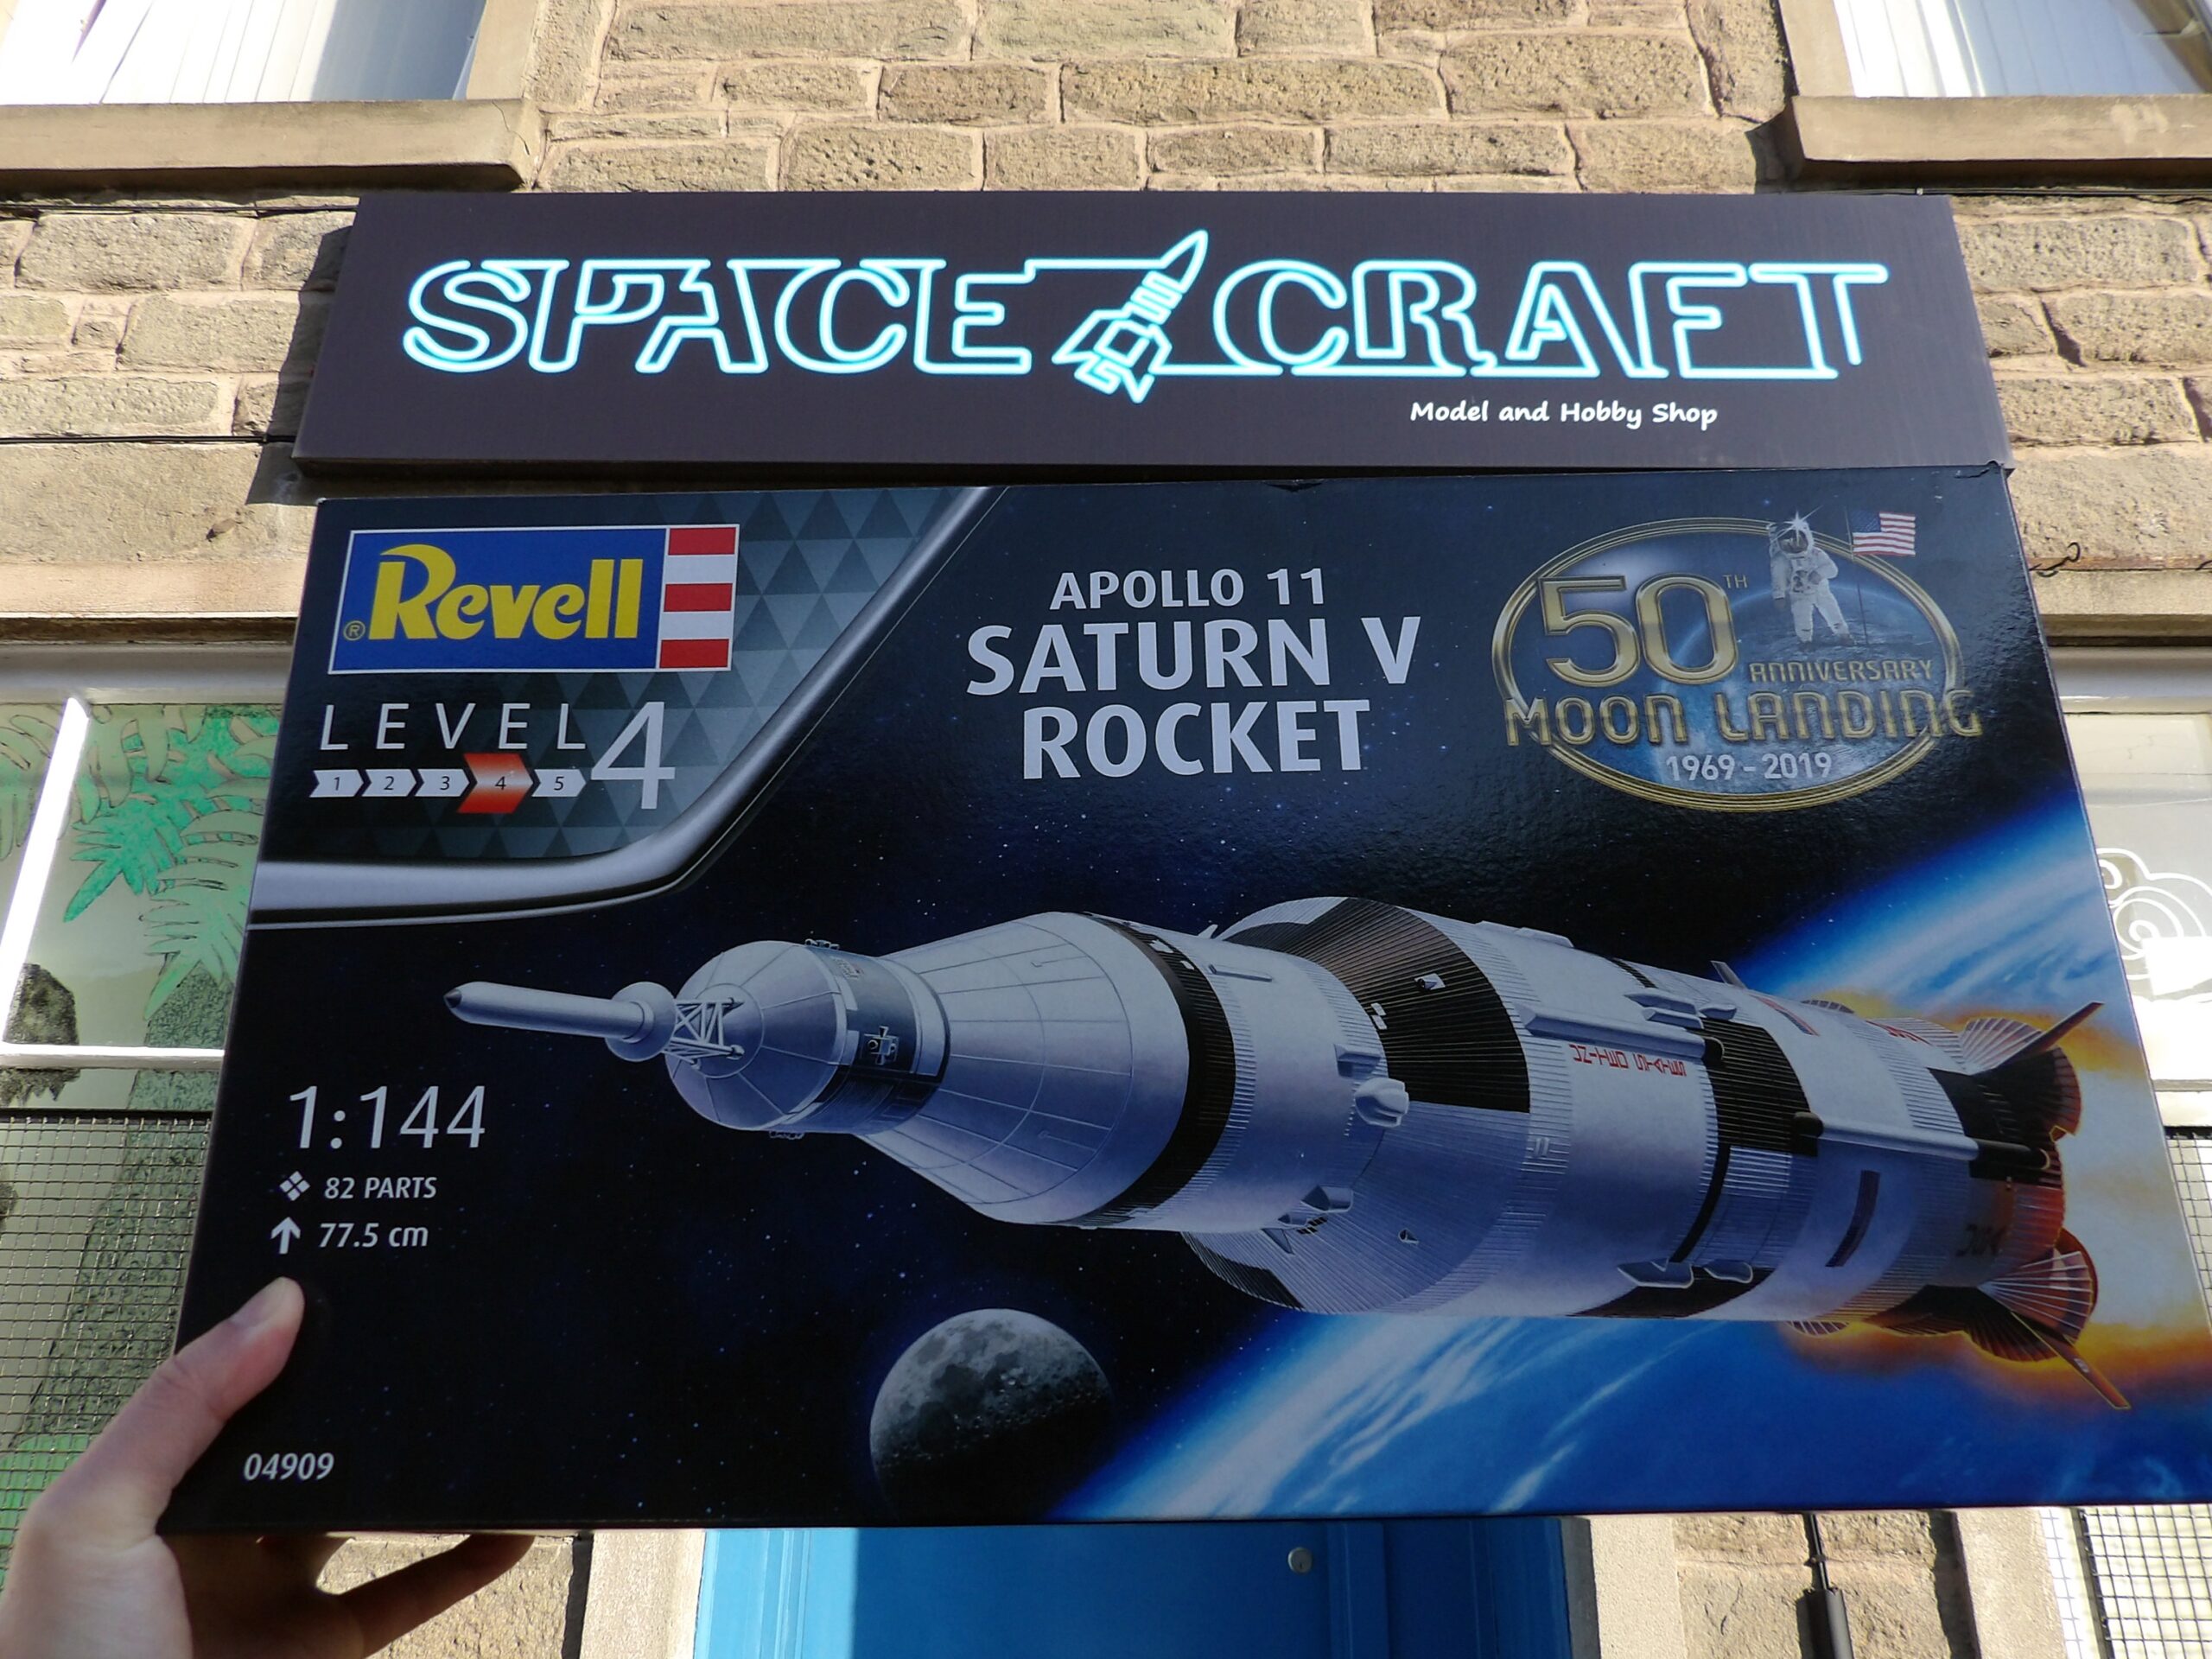
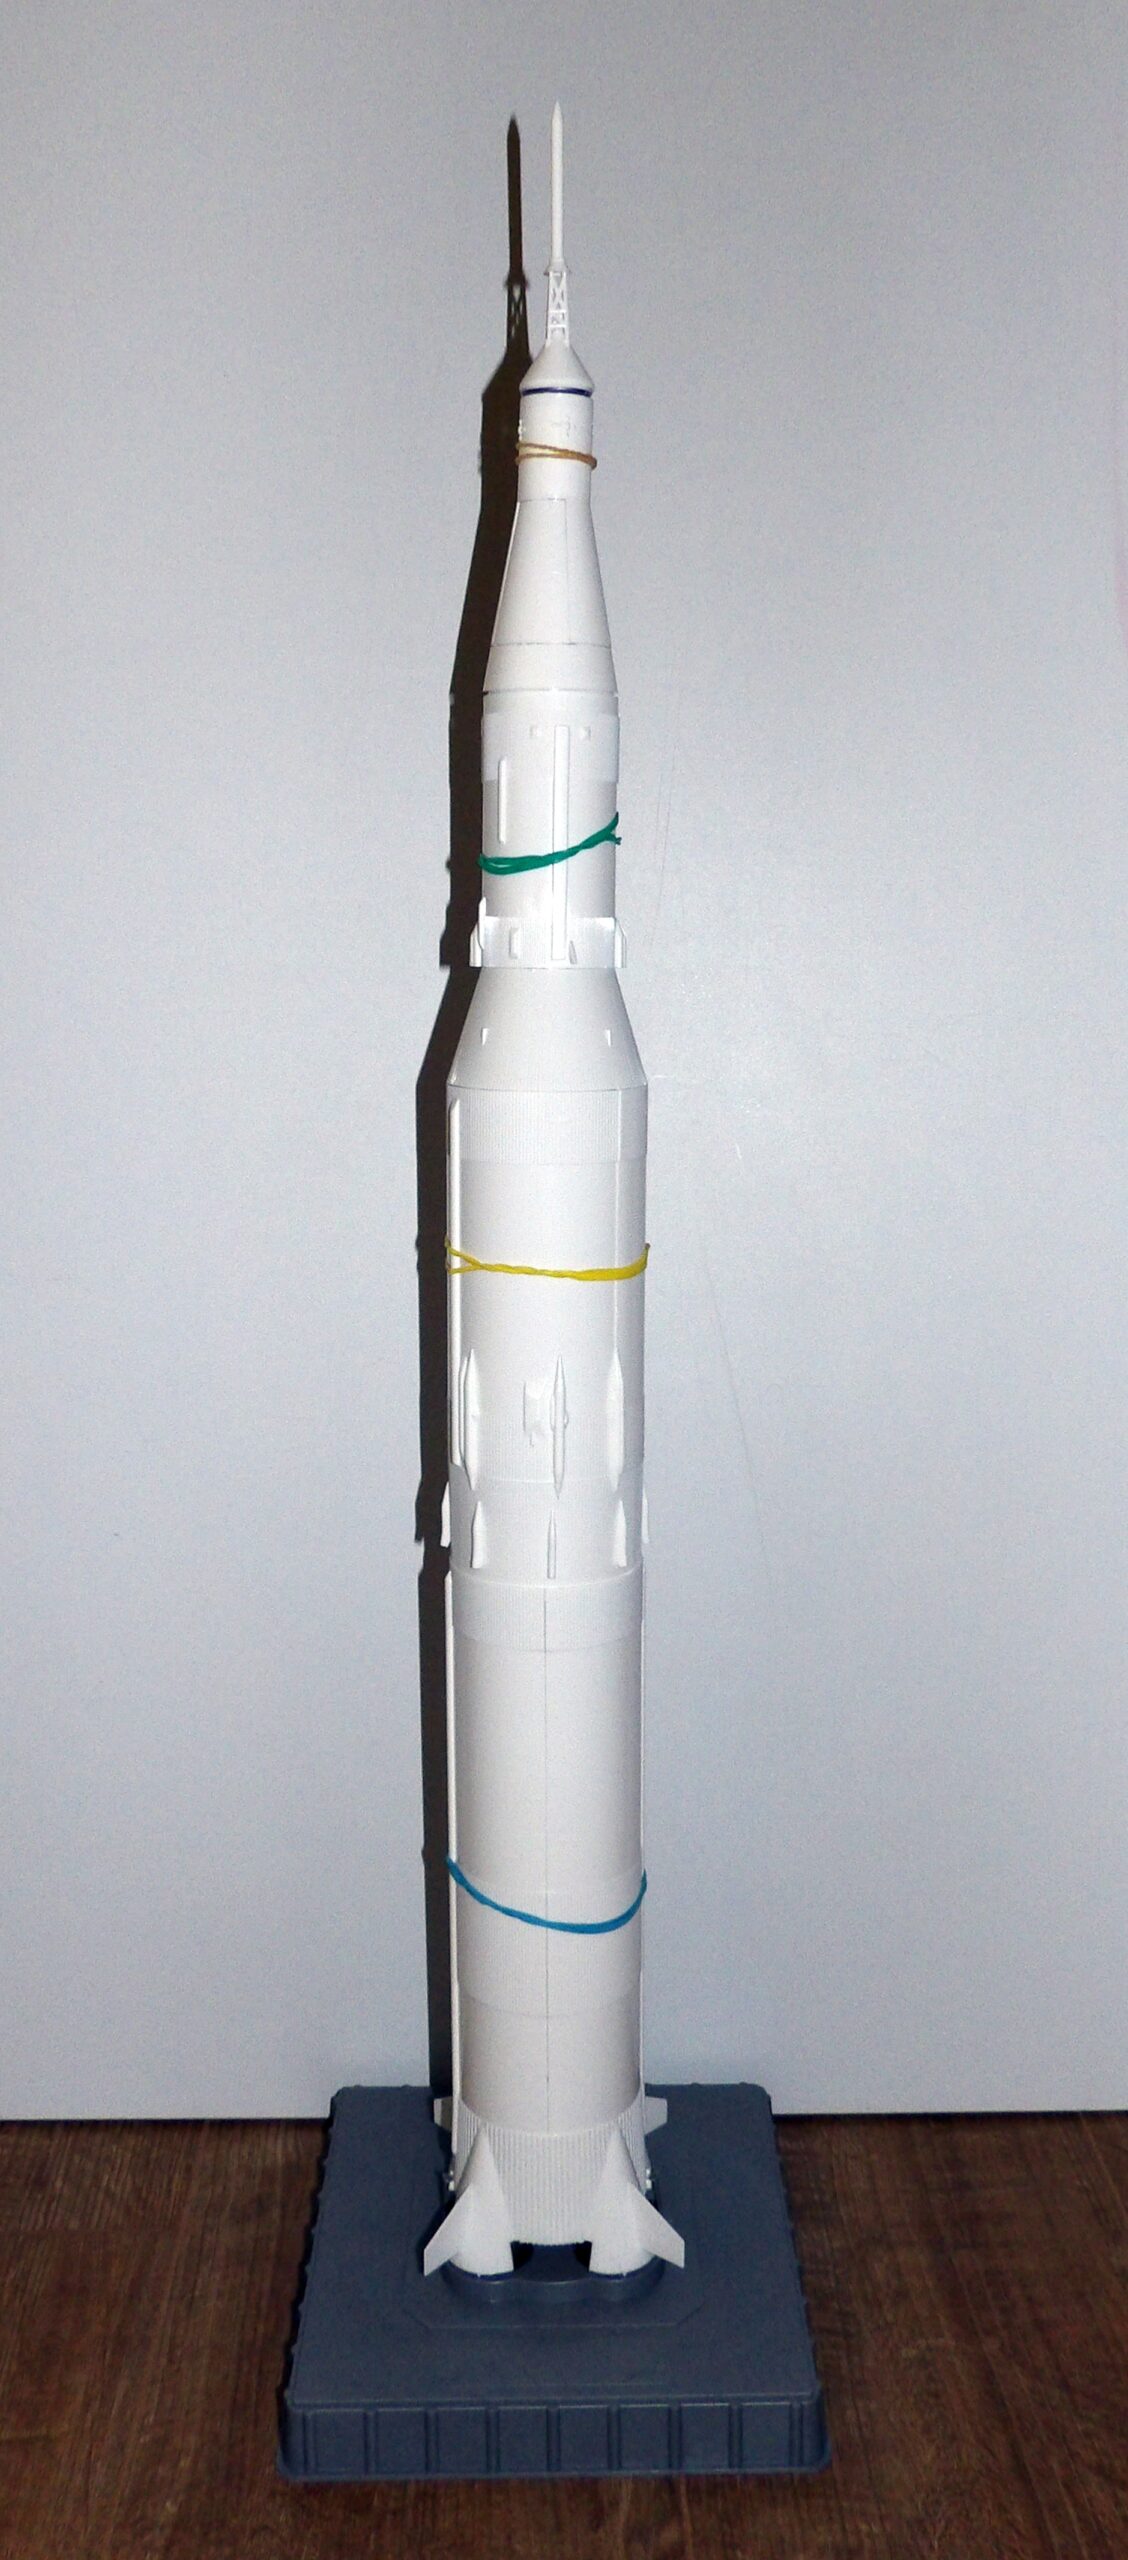
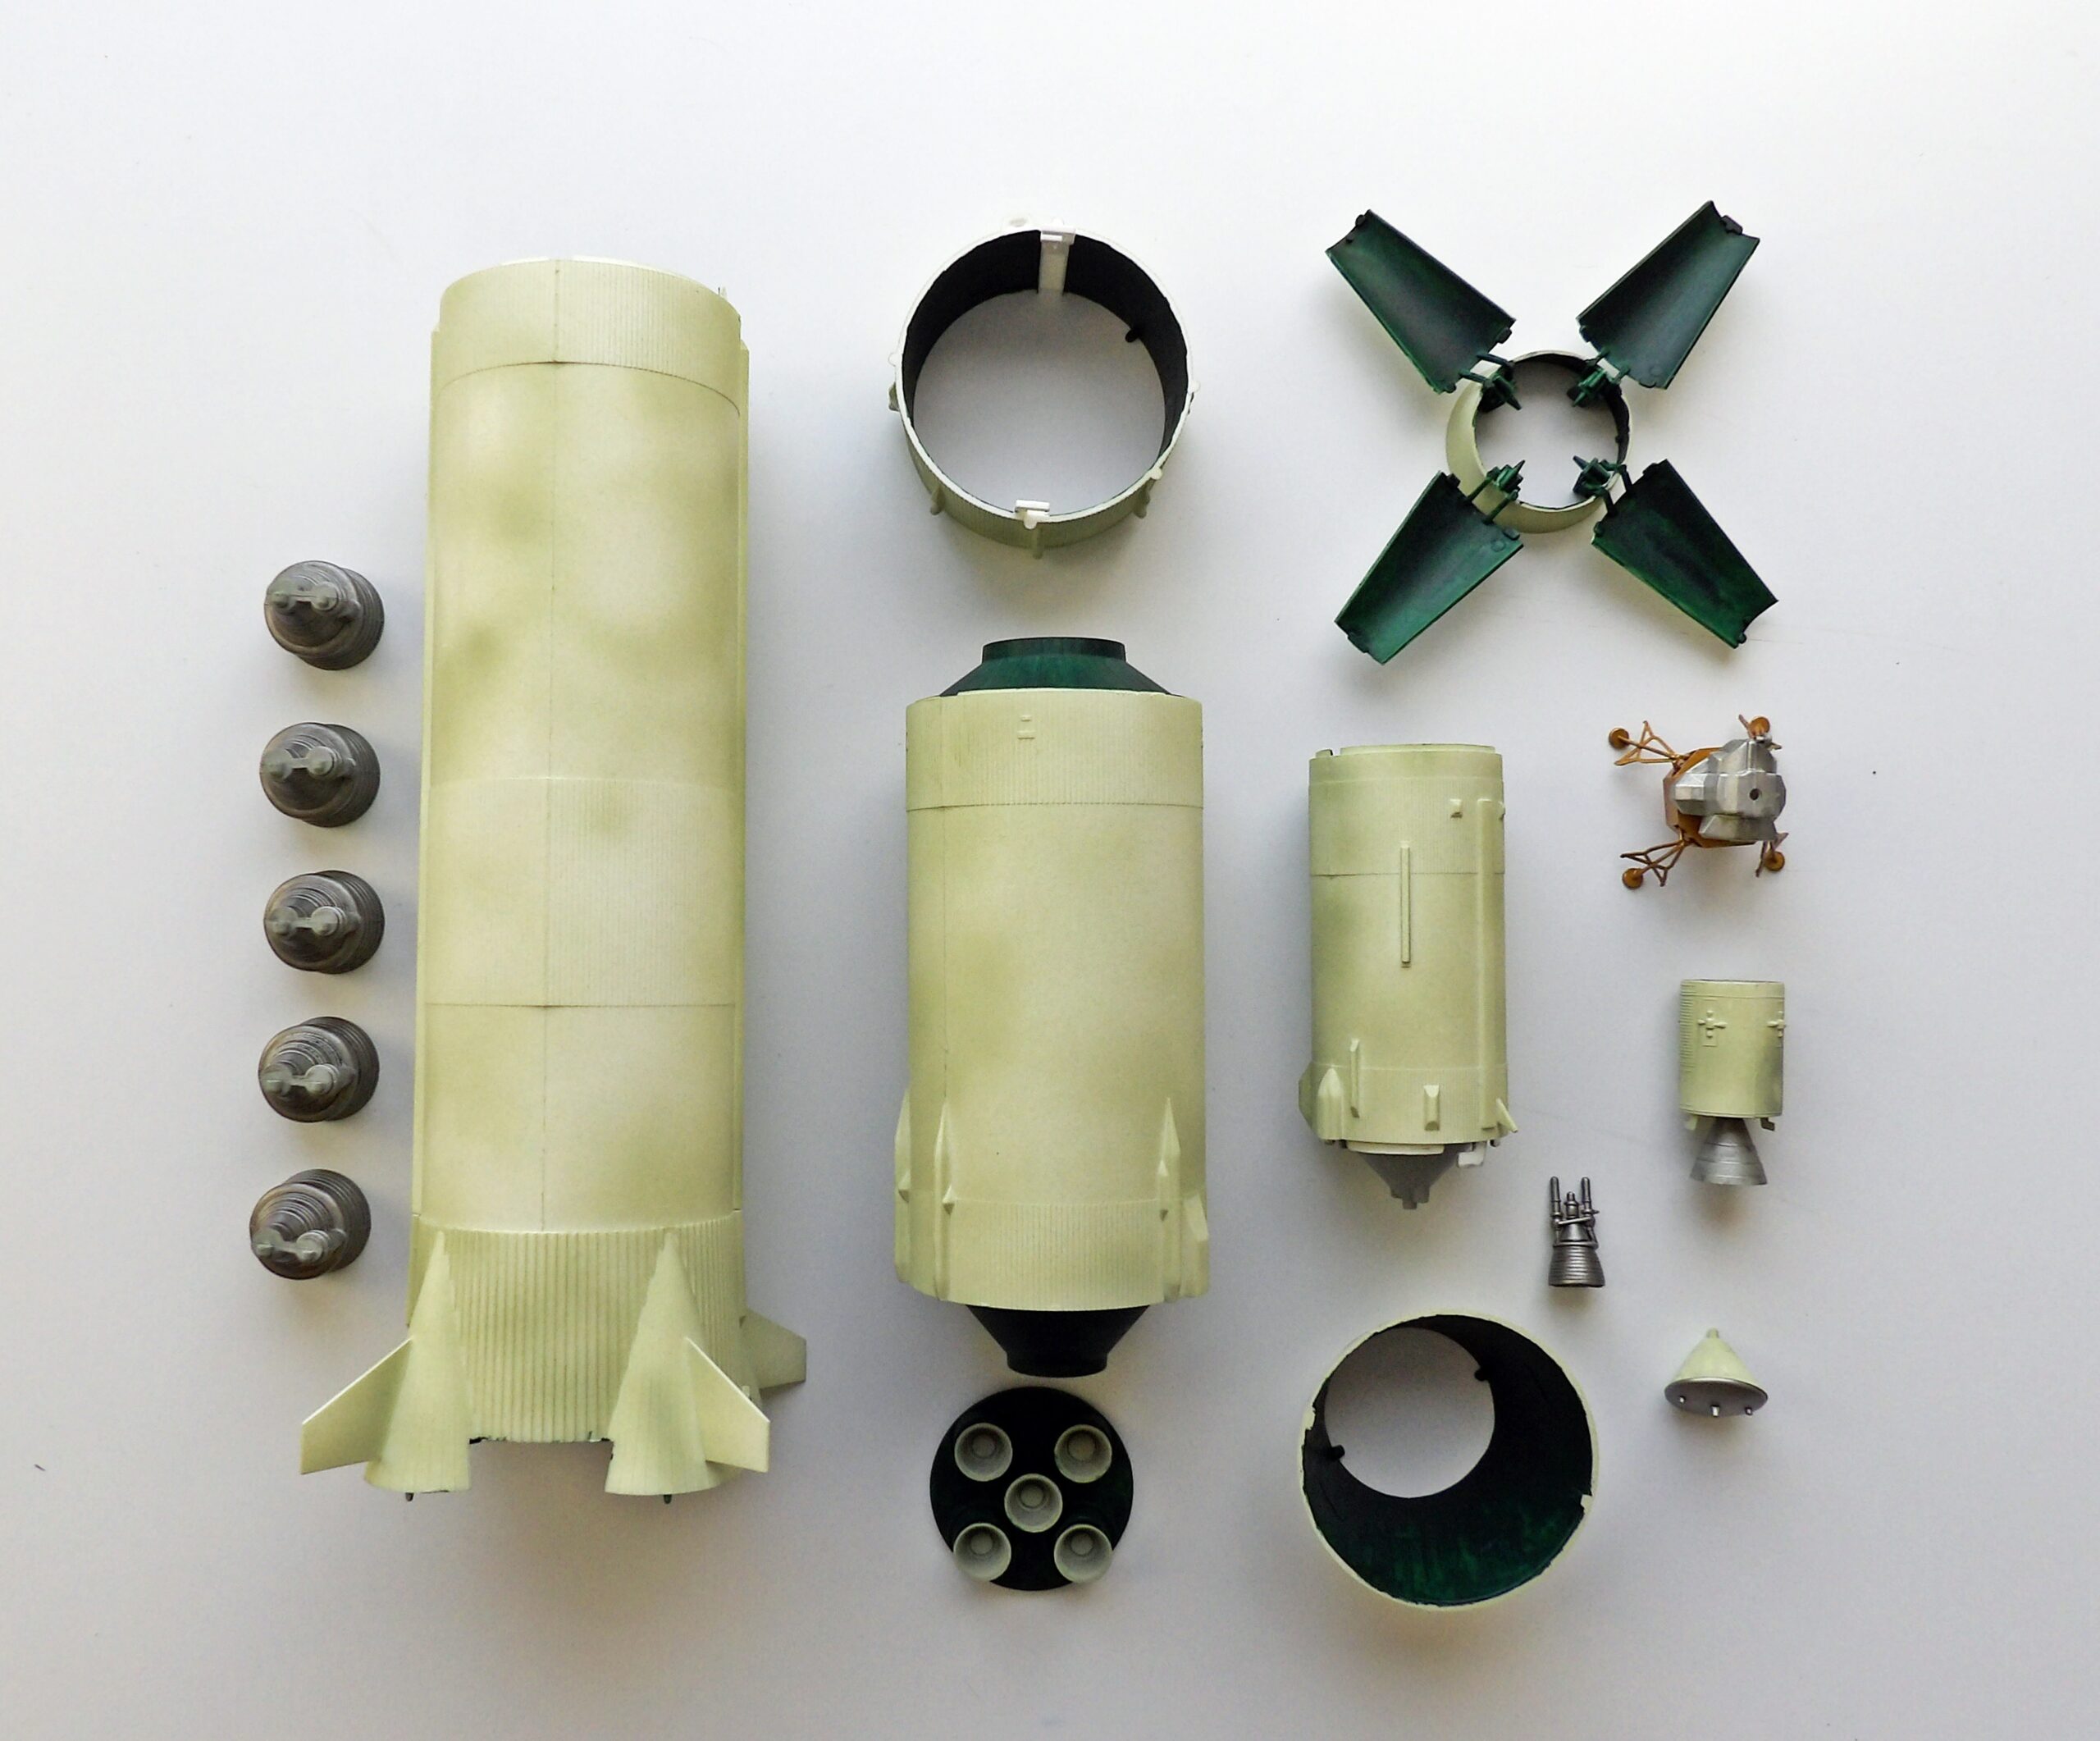
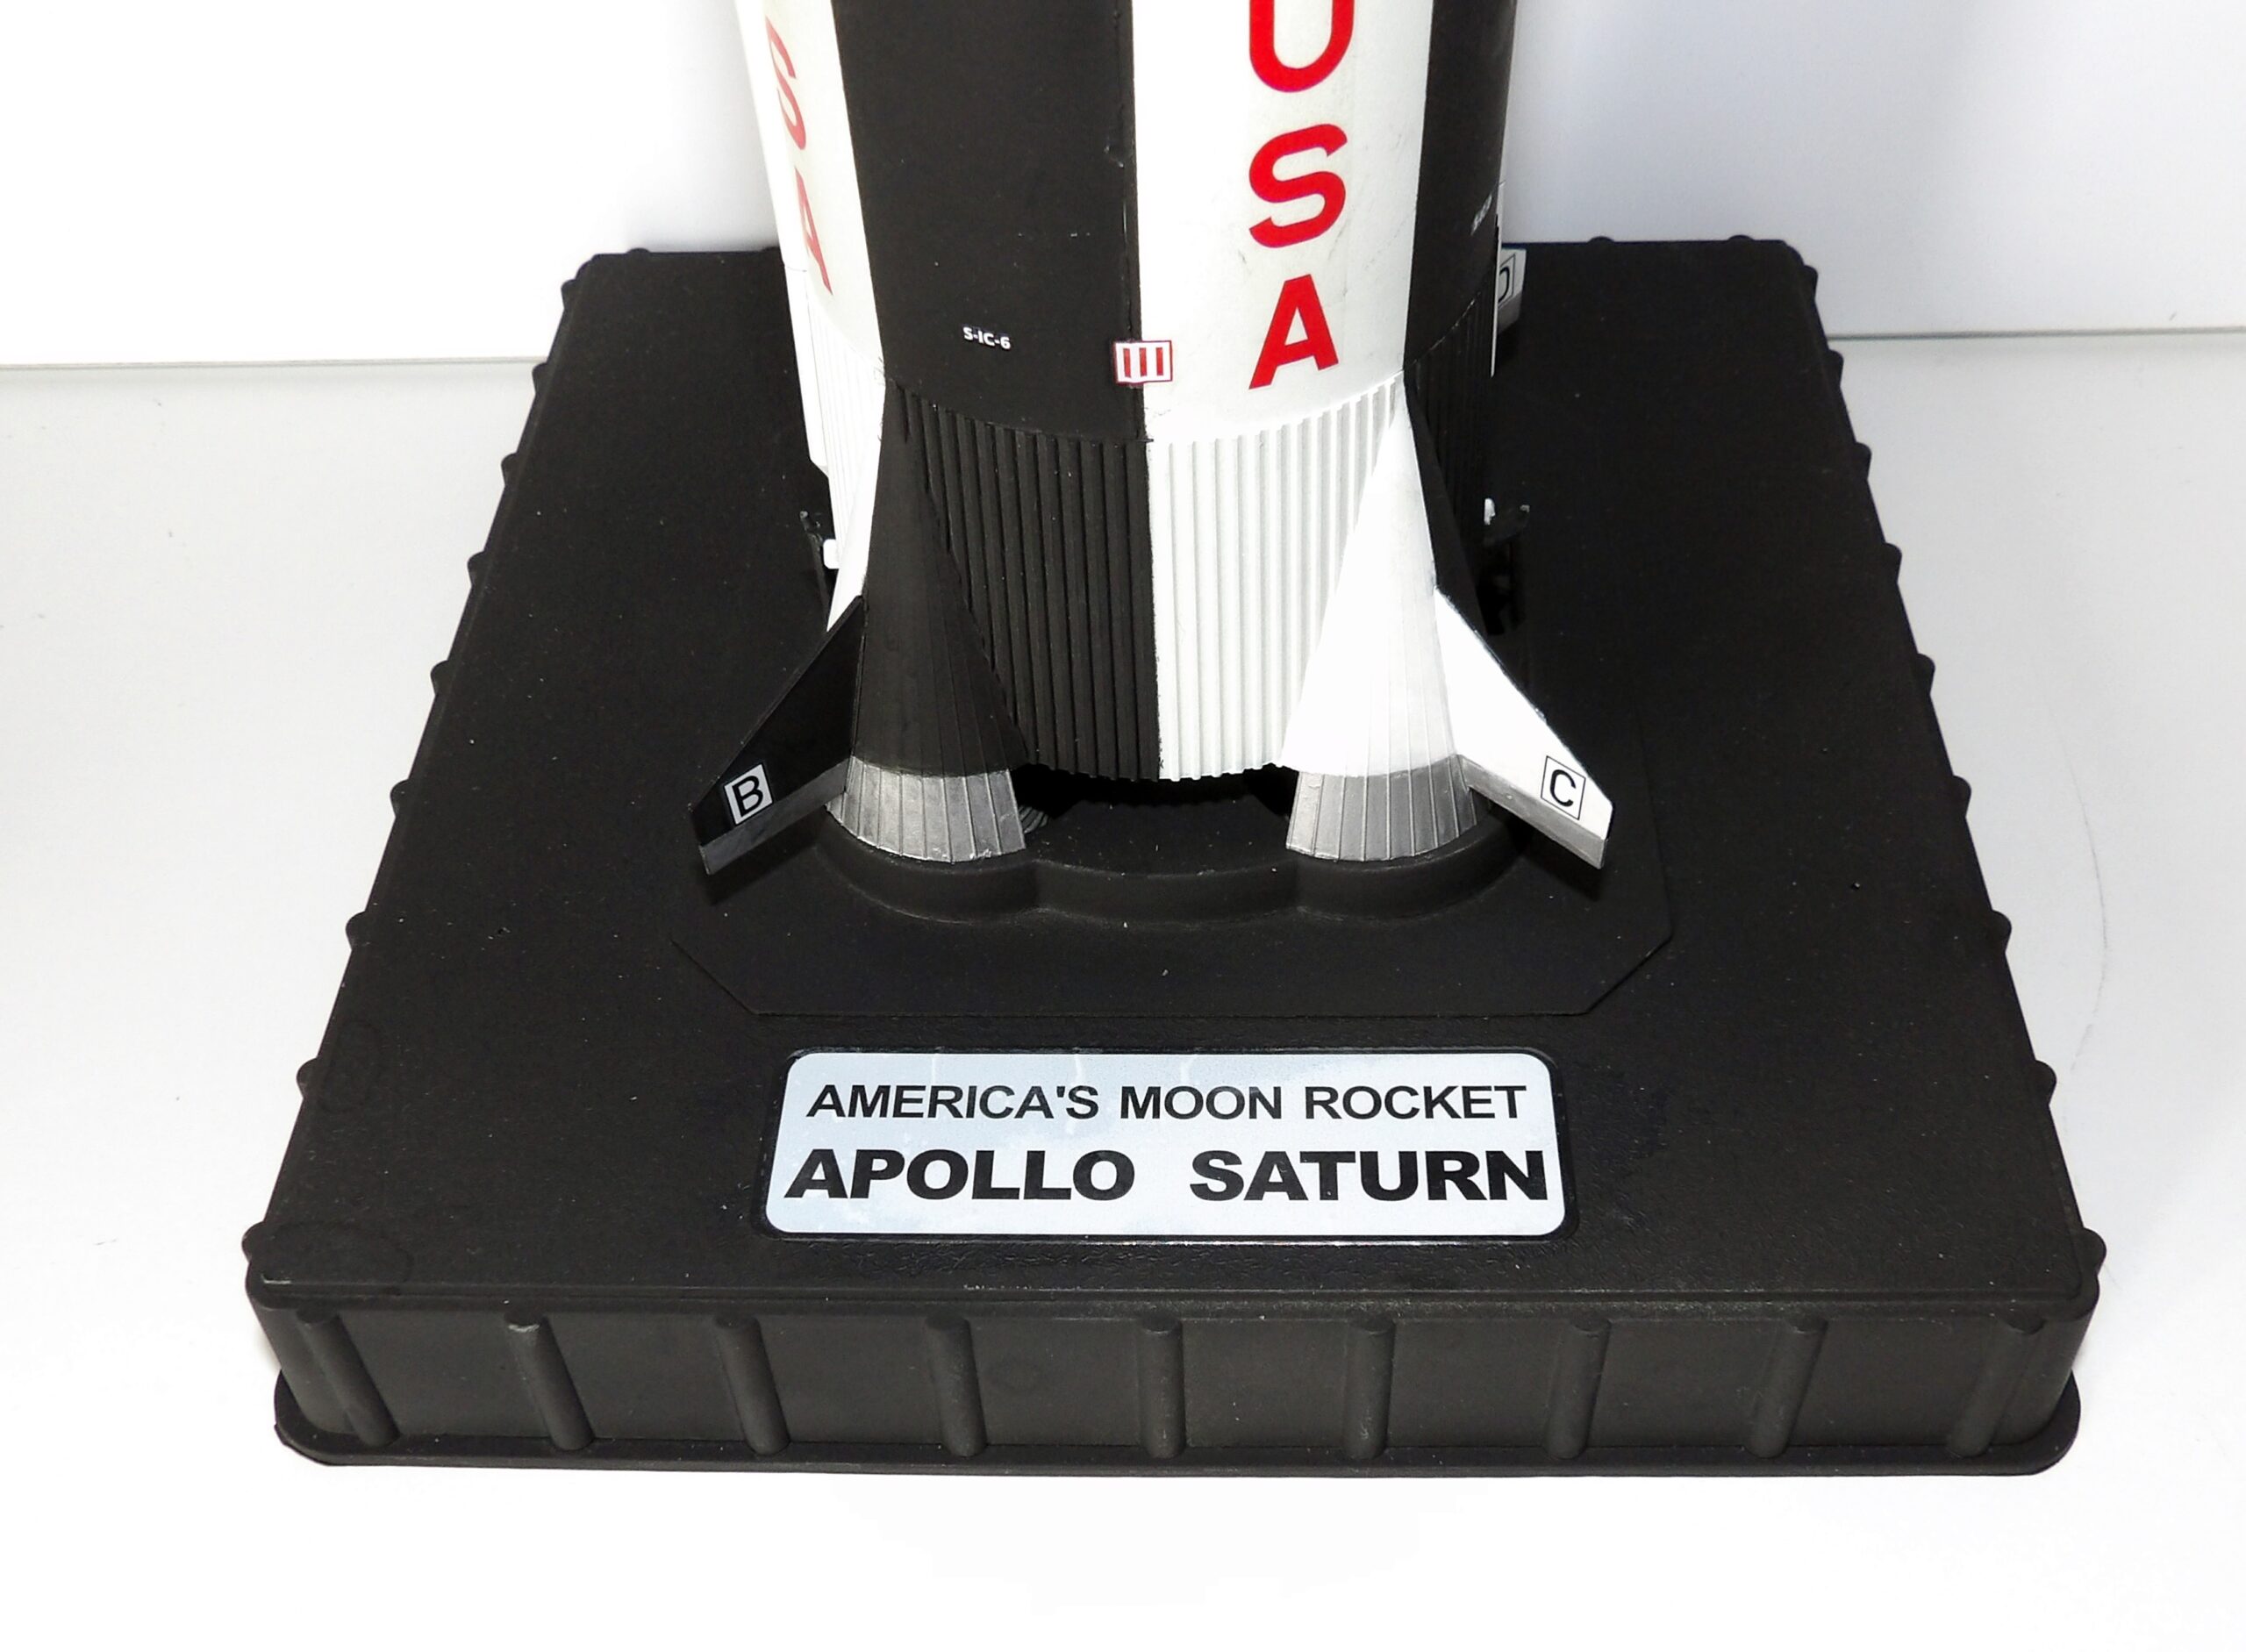
In this project, we have gone big with the Apollo Saturn V Rocket – the space vehicle that transported the first man to the Moon! The real thing was 110m high. We worked on a 1:144 model, which has an impressive height of 77.5cm.
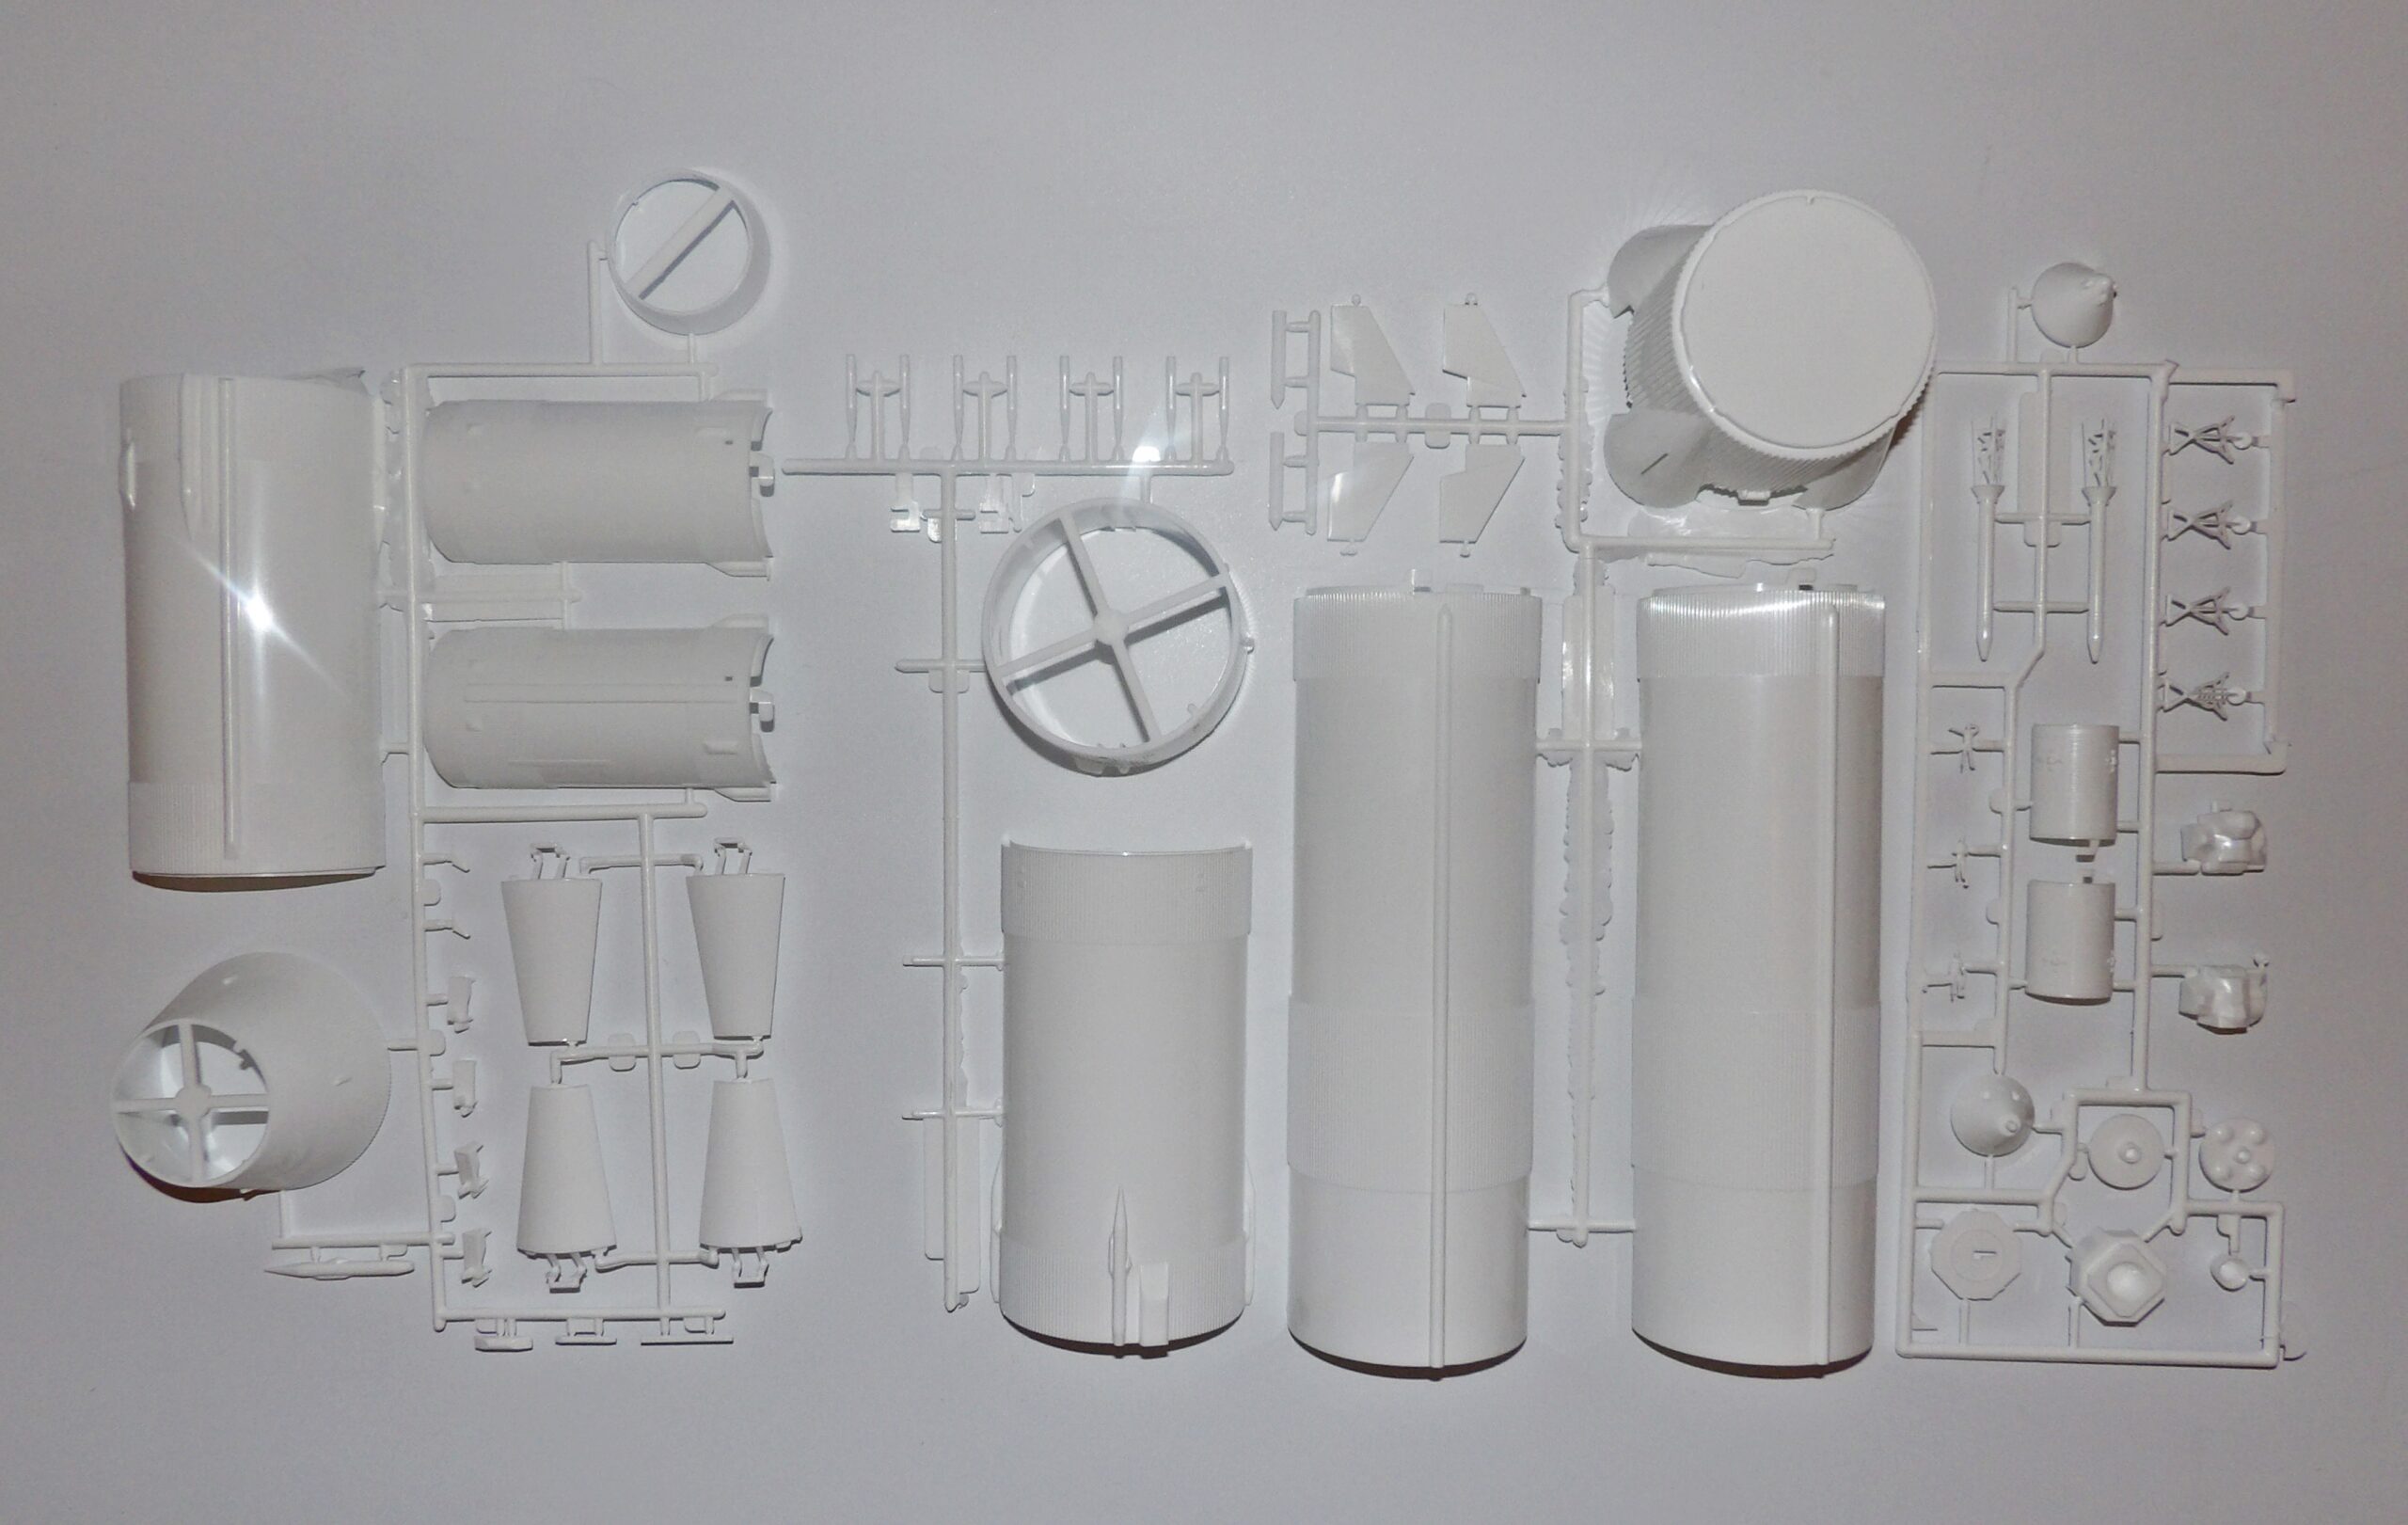
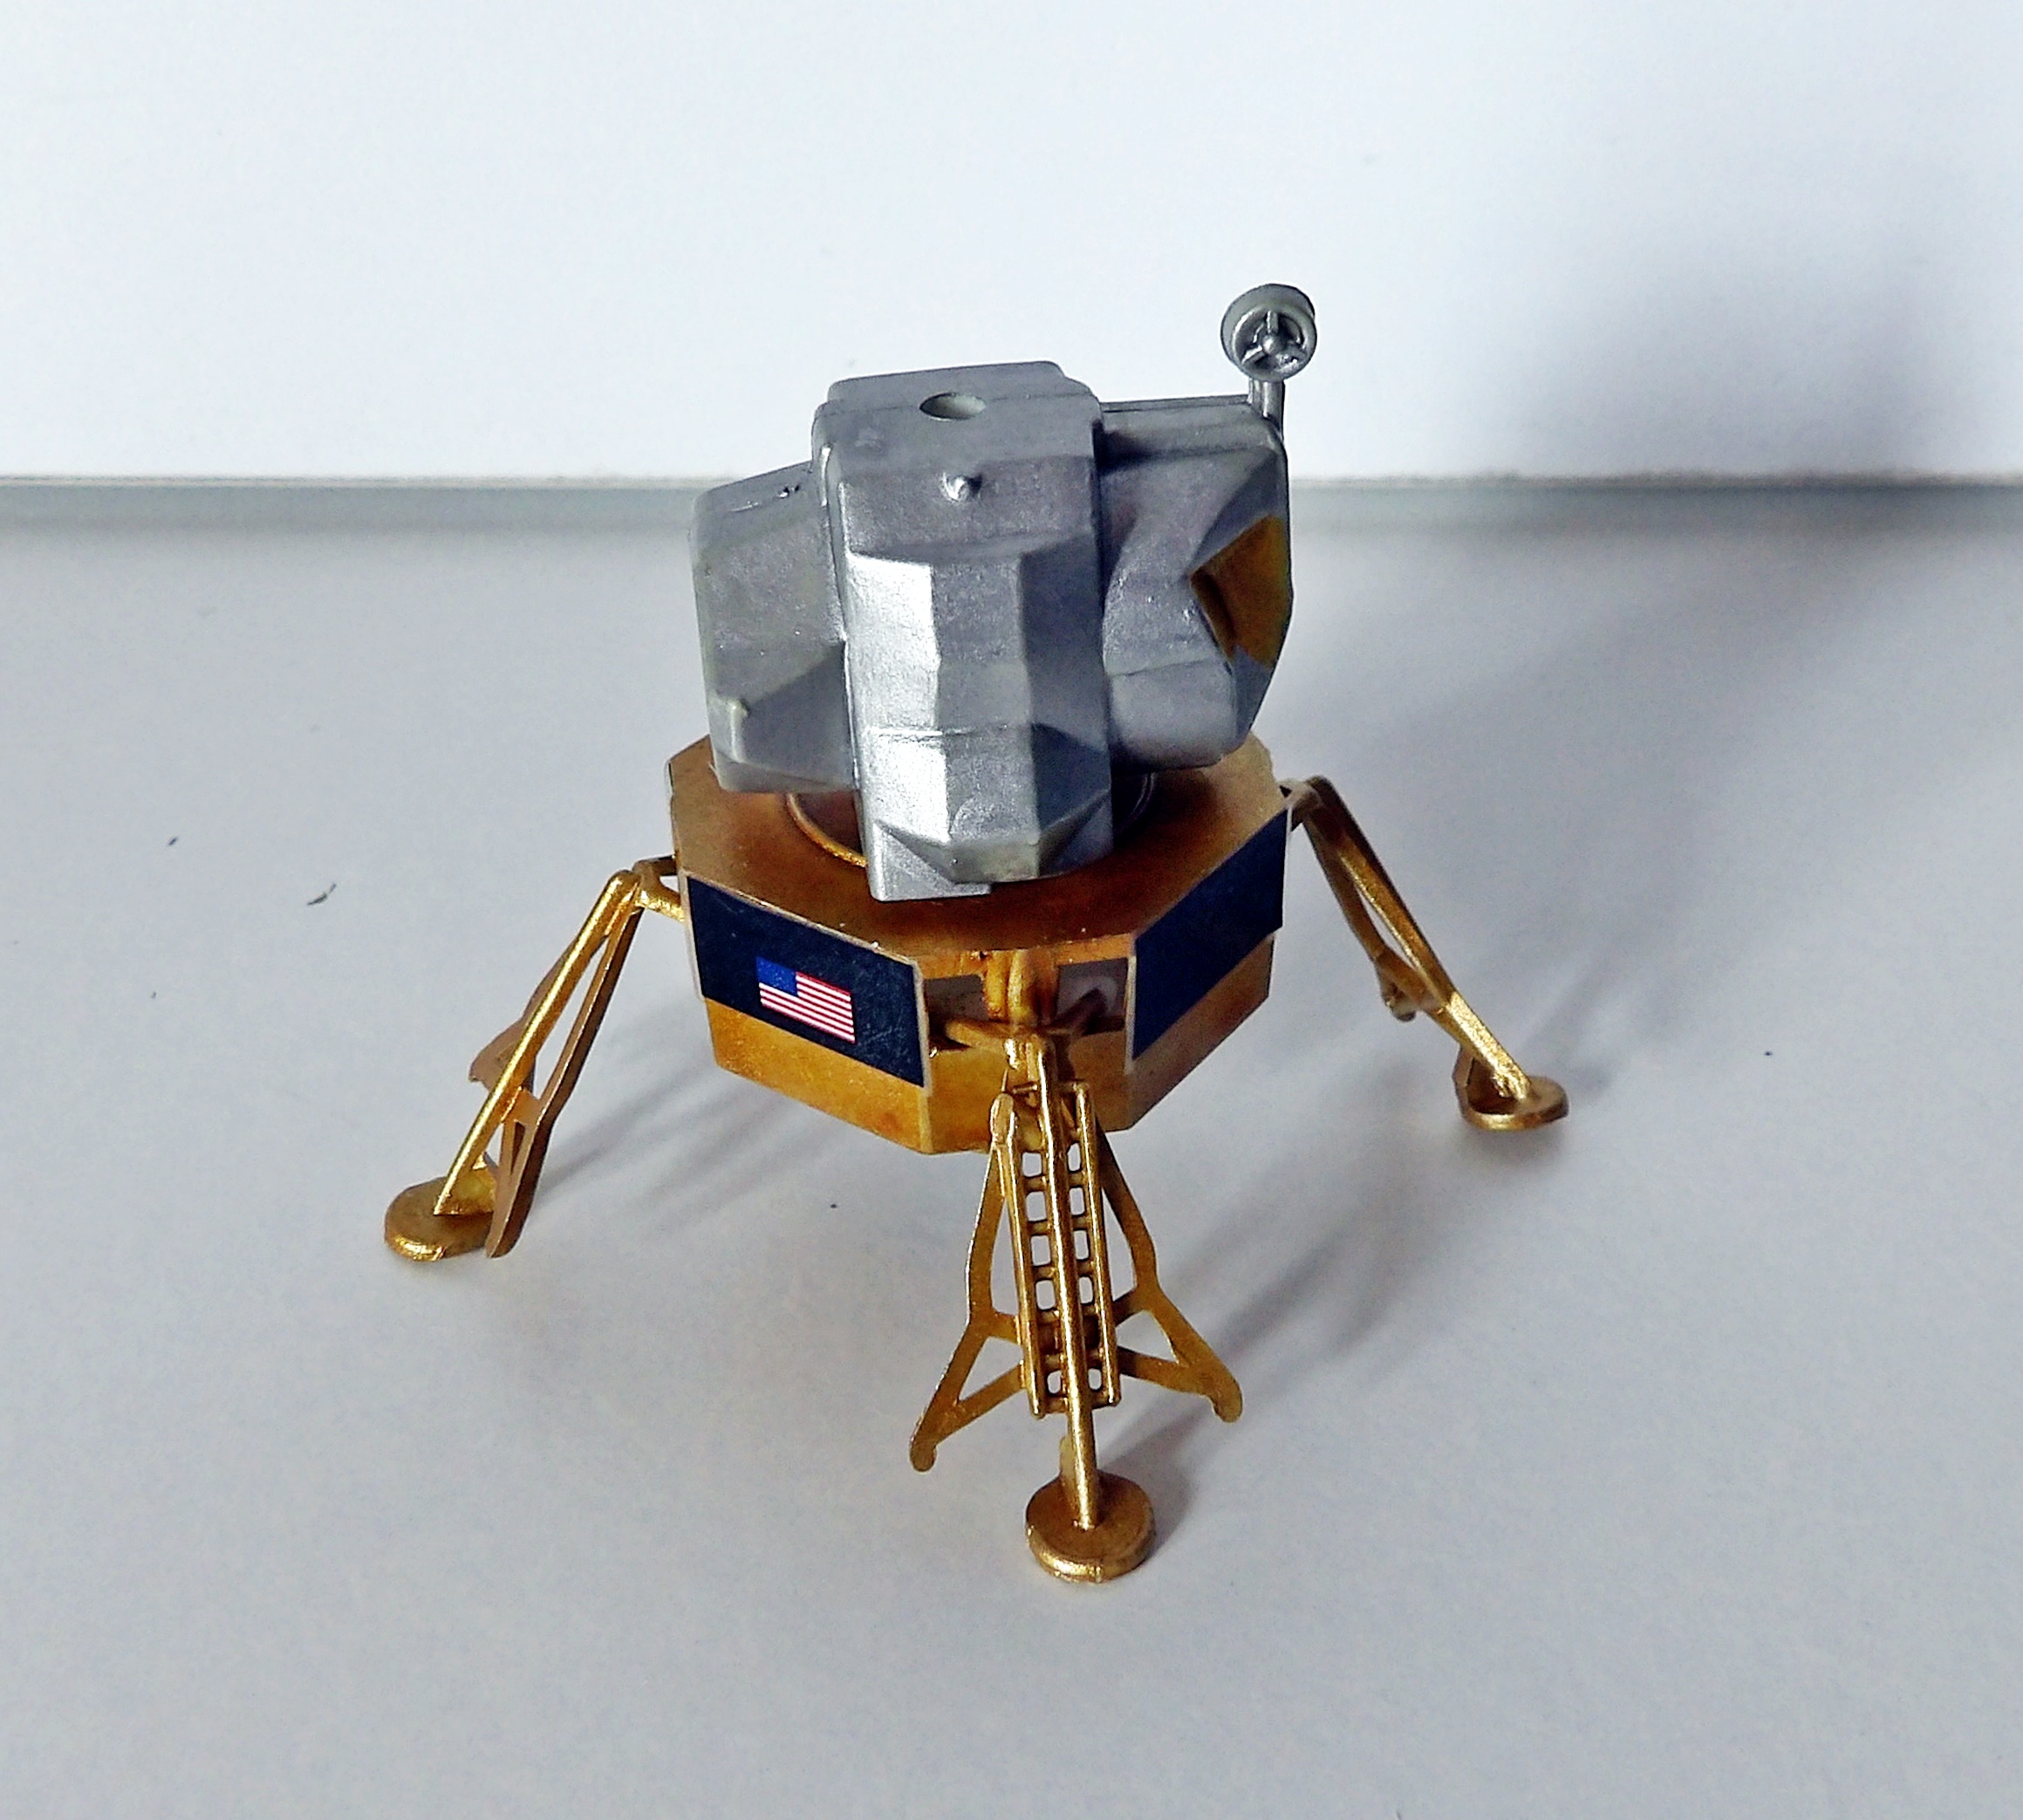
What could have influenced us to build this model, we wonder.The sprues come in two colours, grey and white.This kit comes with a detachable stand, which we thought was very handy.The build was straightforward, we got to this stage in a day.The model can be twisted apart to reveal the stages of the Apollo Saturn V. This allows you to see how the rocket stages separate and is also convenient for storage! Considering the size of the model, we decided to use an airbrush for the exterior shell. The interior and smaller parts were hand-painted. We first primed the rocket and then airbrushed it white. Next, we used a combination of masking type and masking fluid to create the monochrome pattern. Here is the finished rocket!The rocket experts amongst you might have spotted an error in the monochrome pattern. There was only two ways we could have possibly painted it and, unfortunately, we chose the wrong way!The Adapter Panels surrounding the Lunar Module are released.The Lunar Module standing on its landing legs.
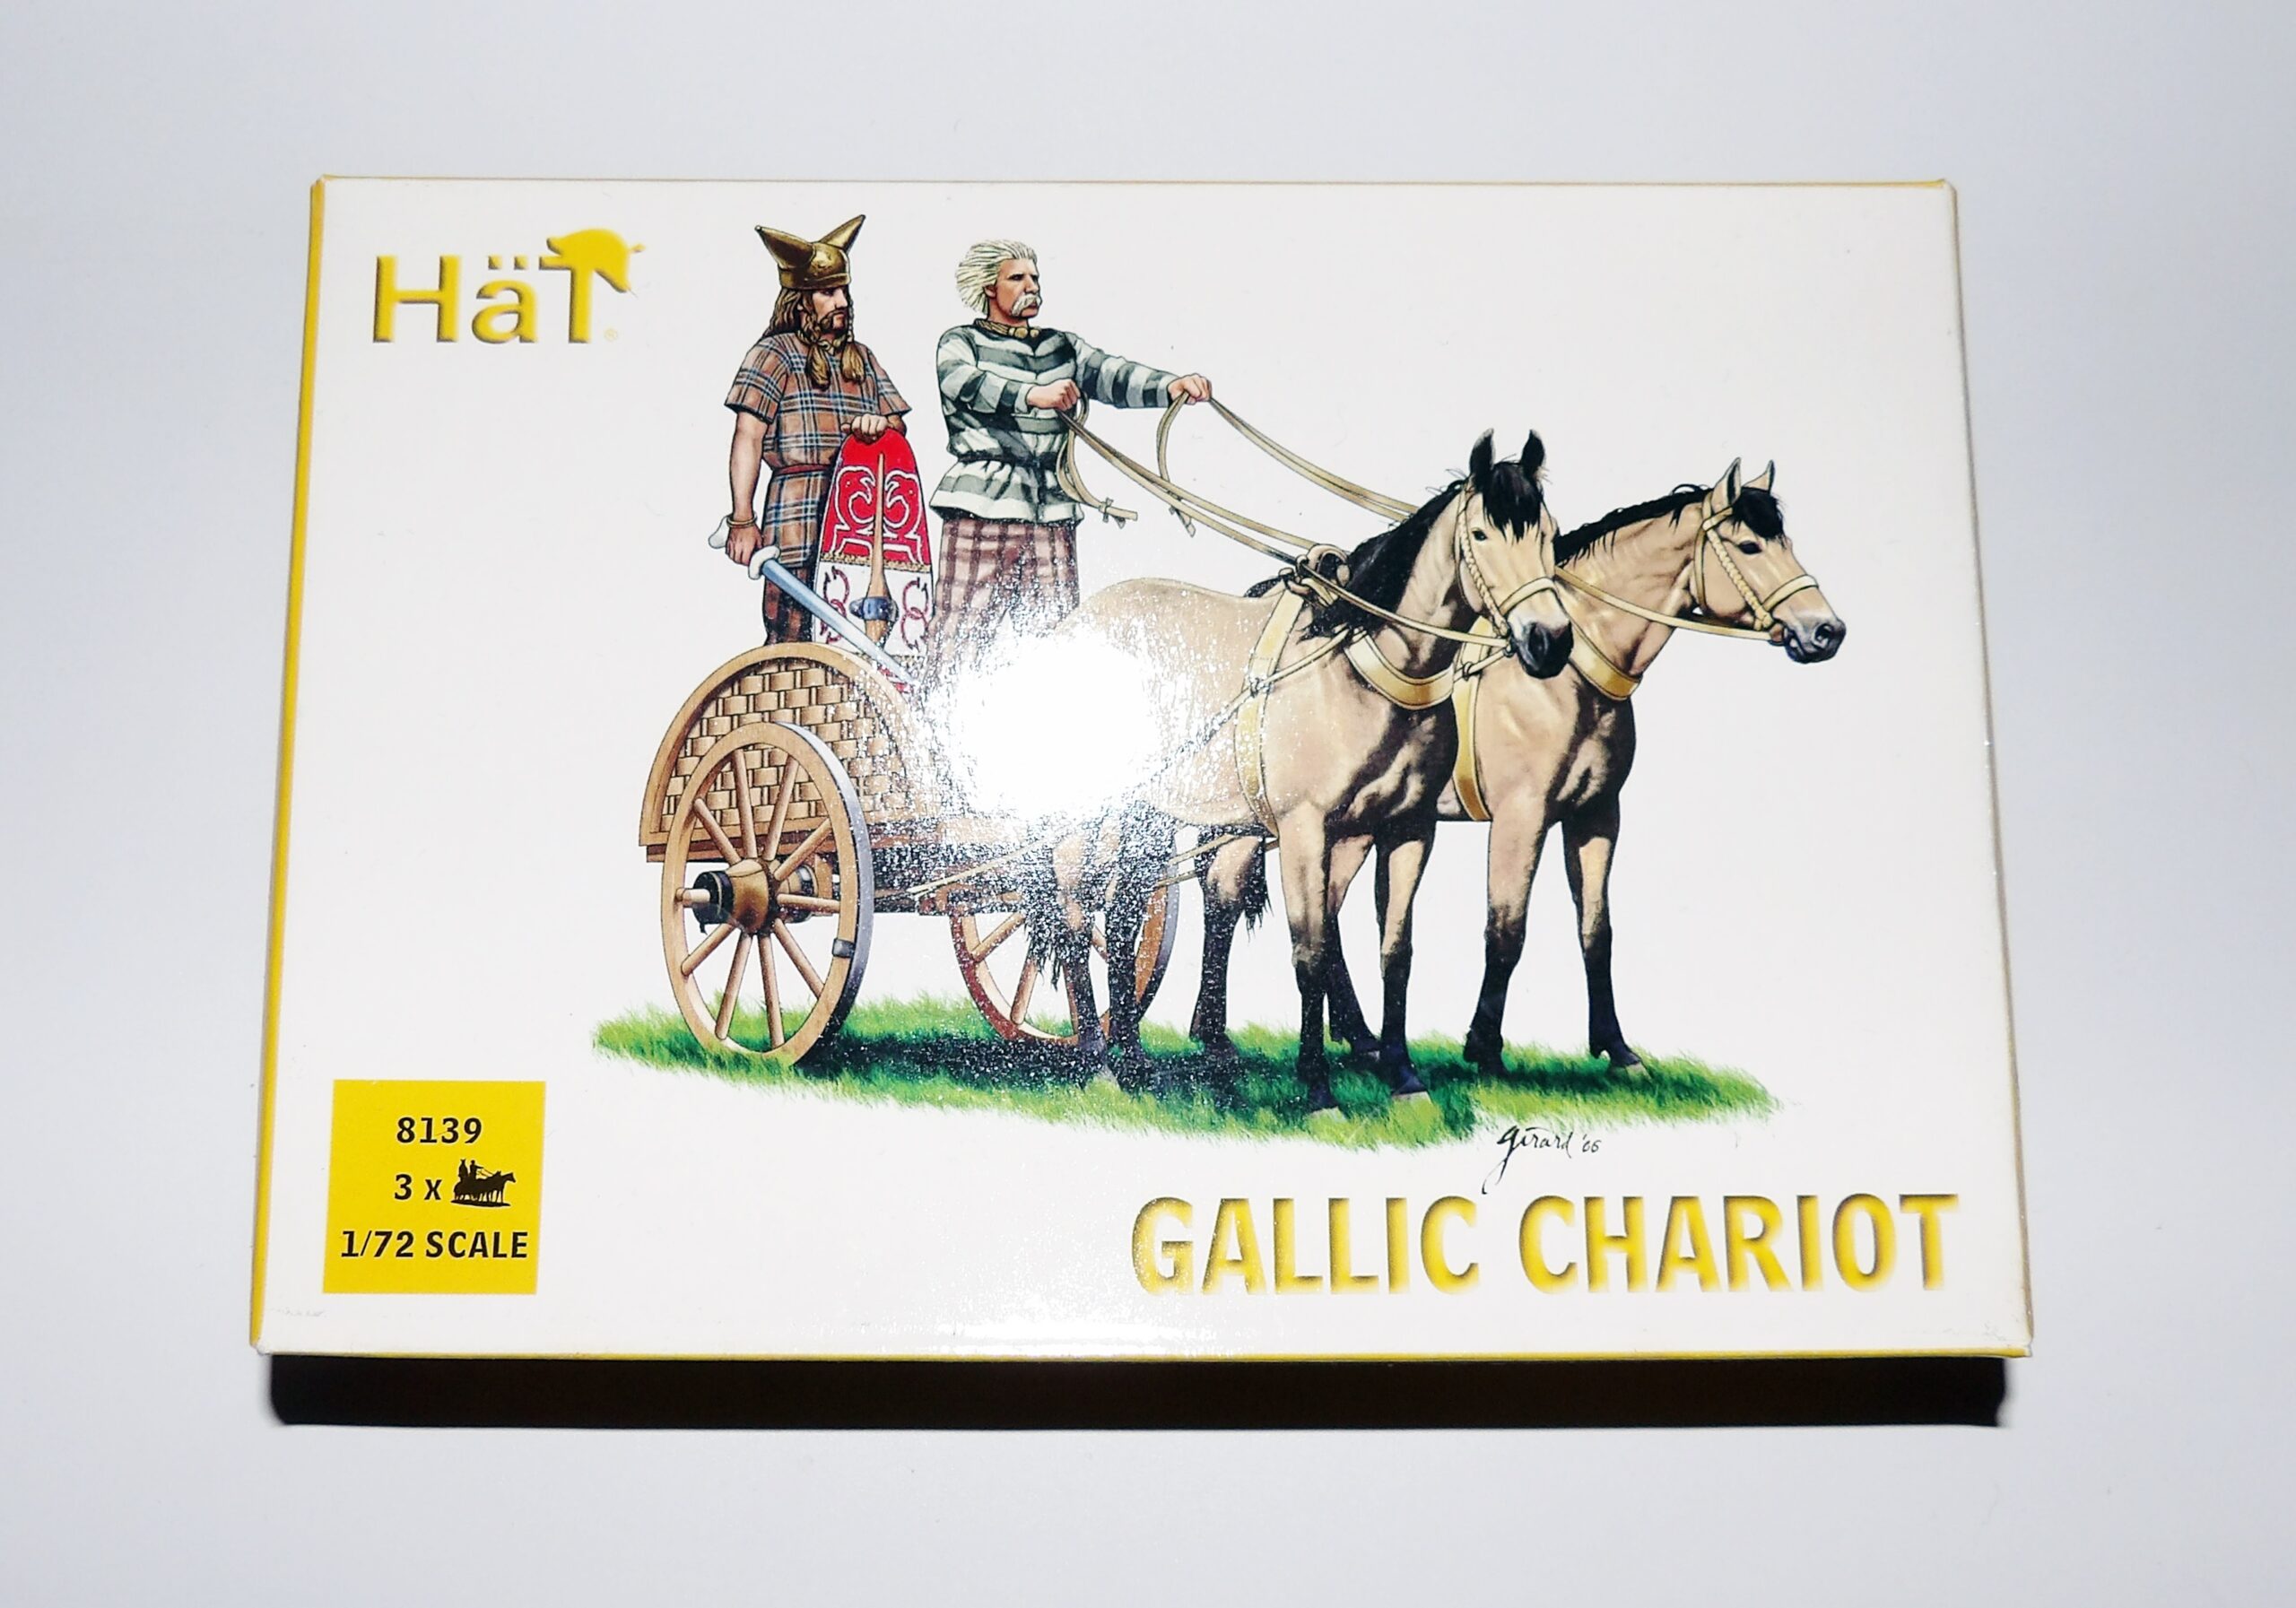
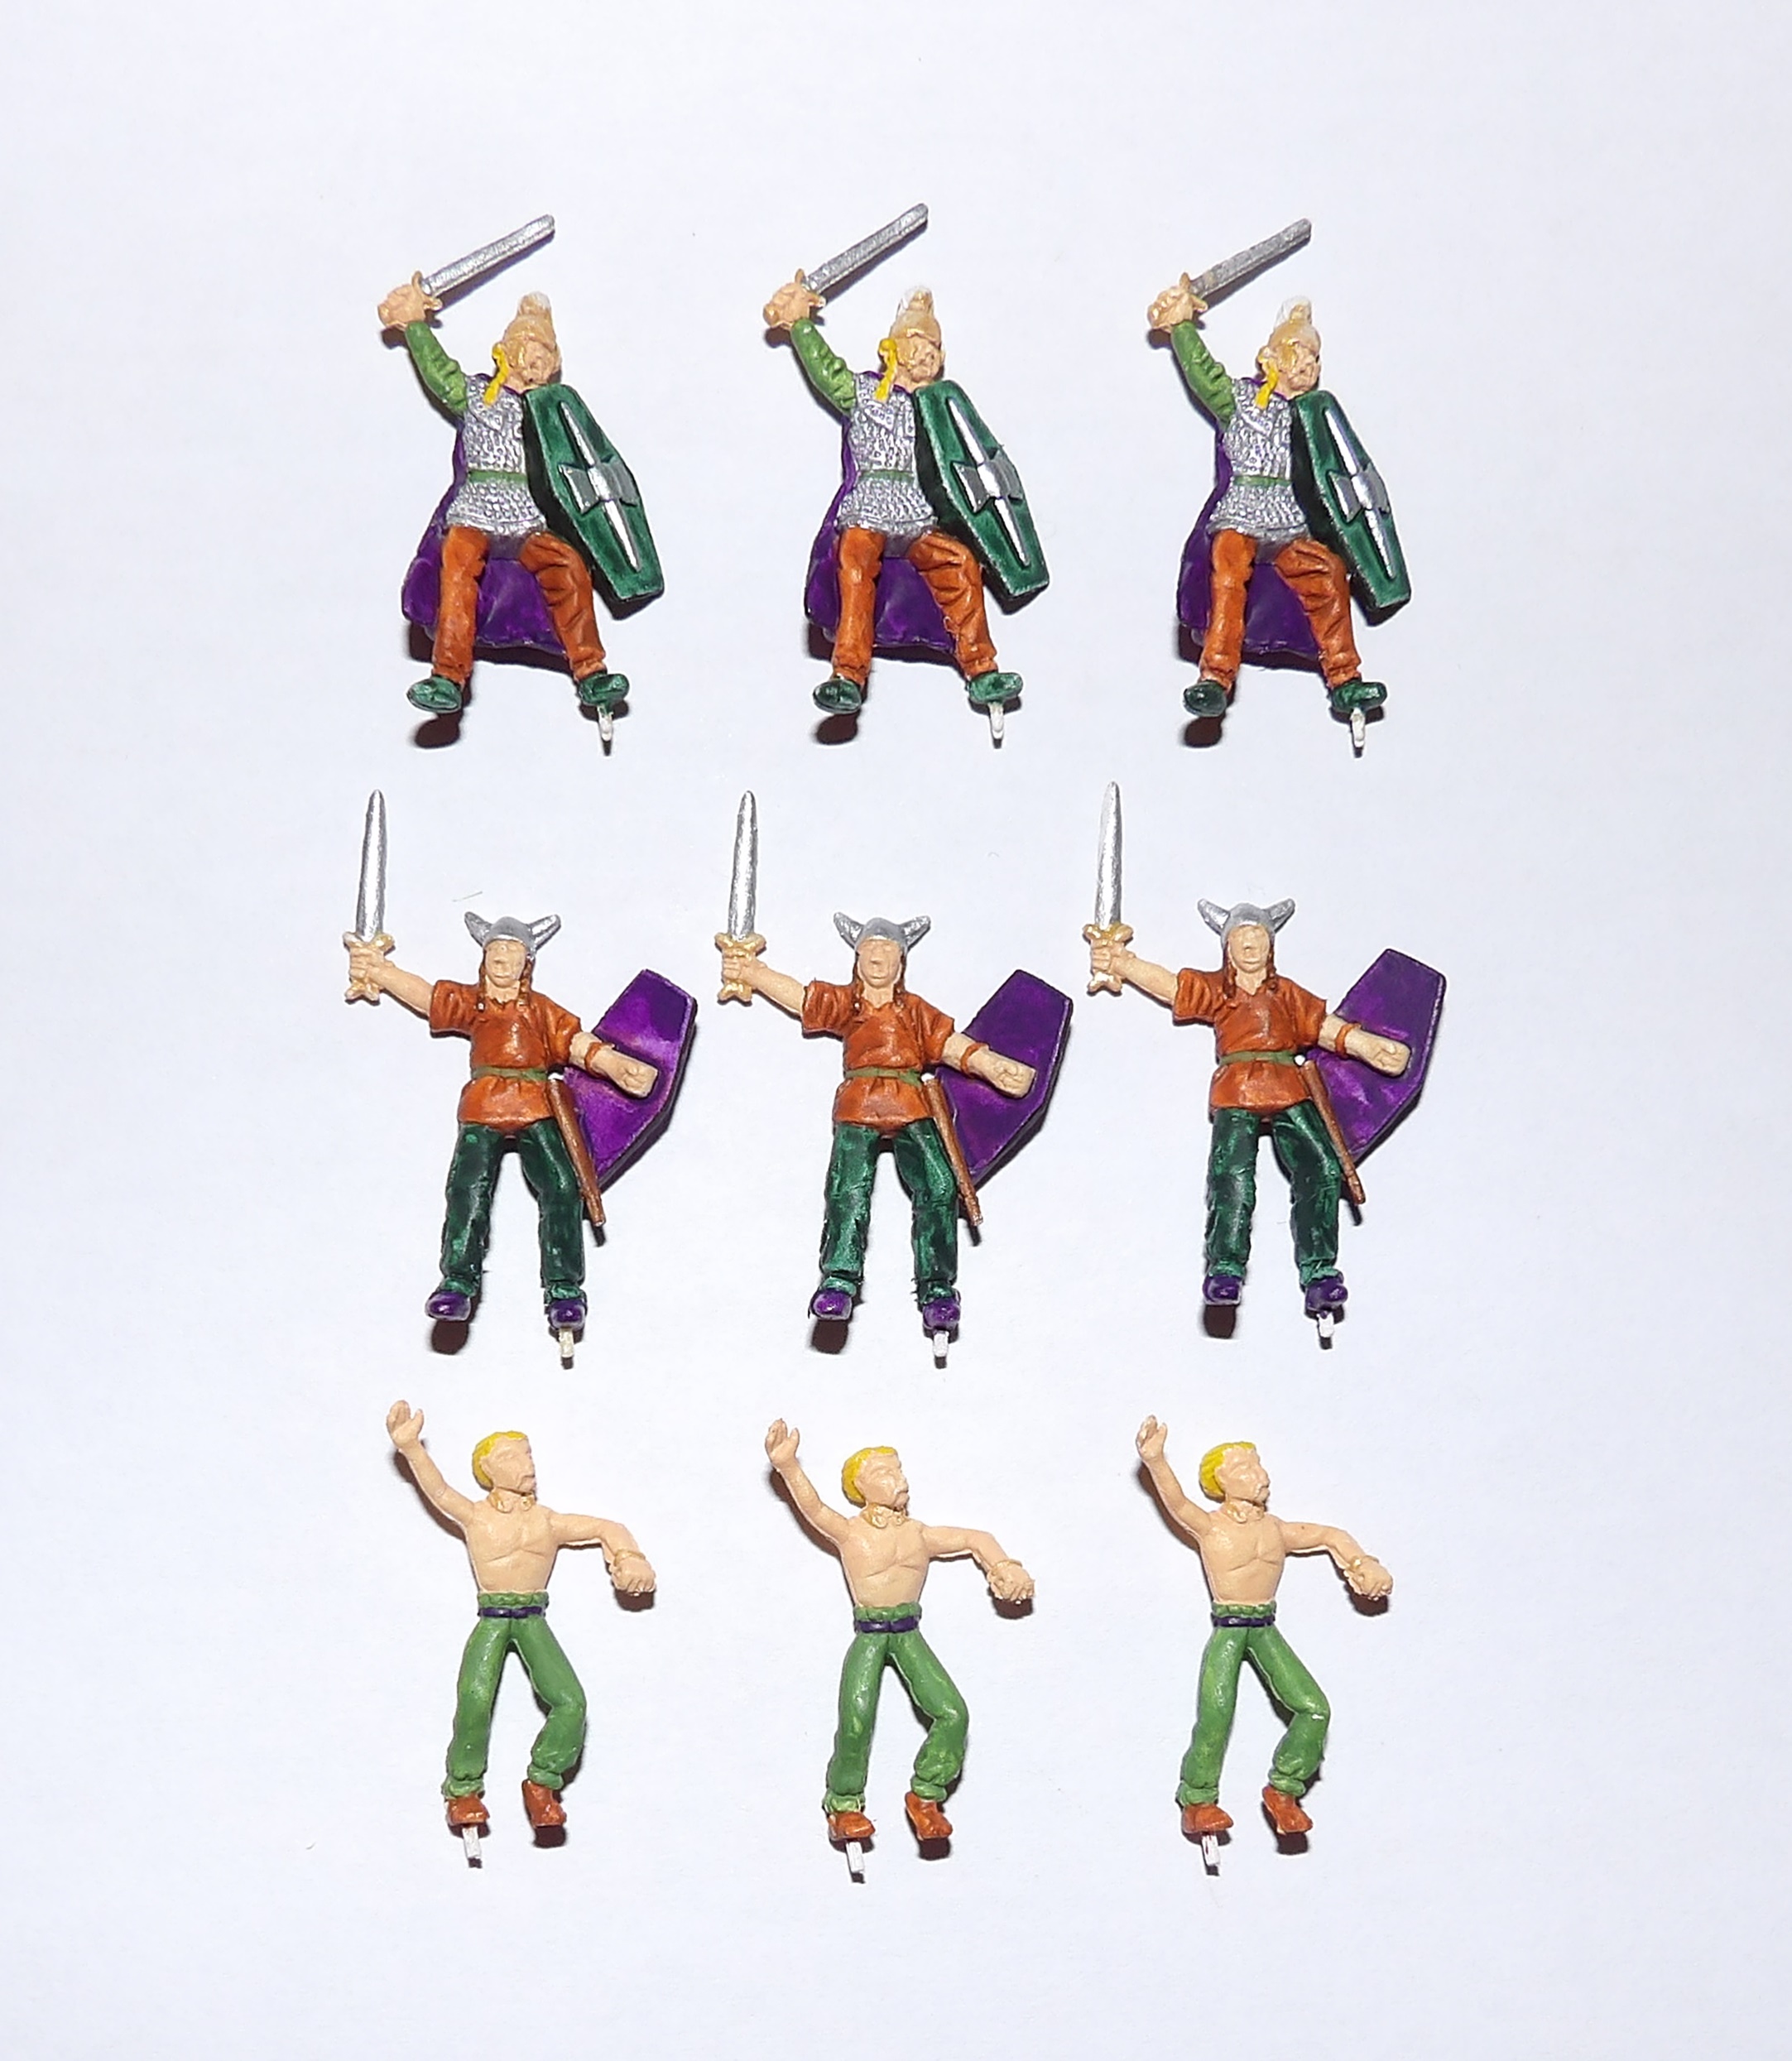
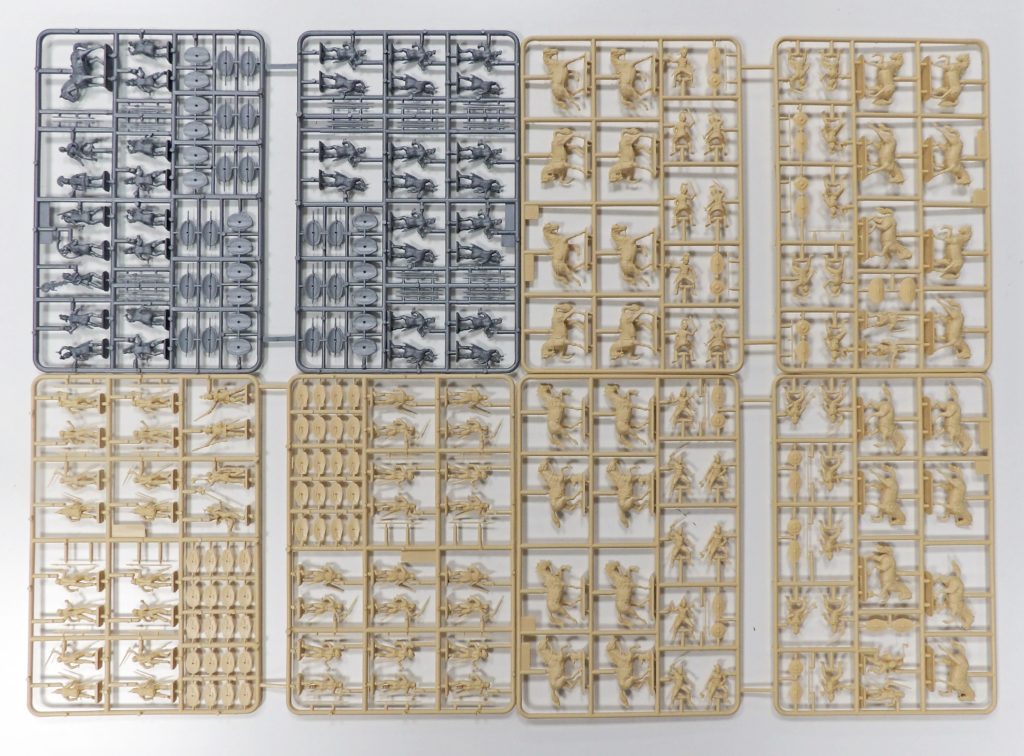
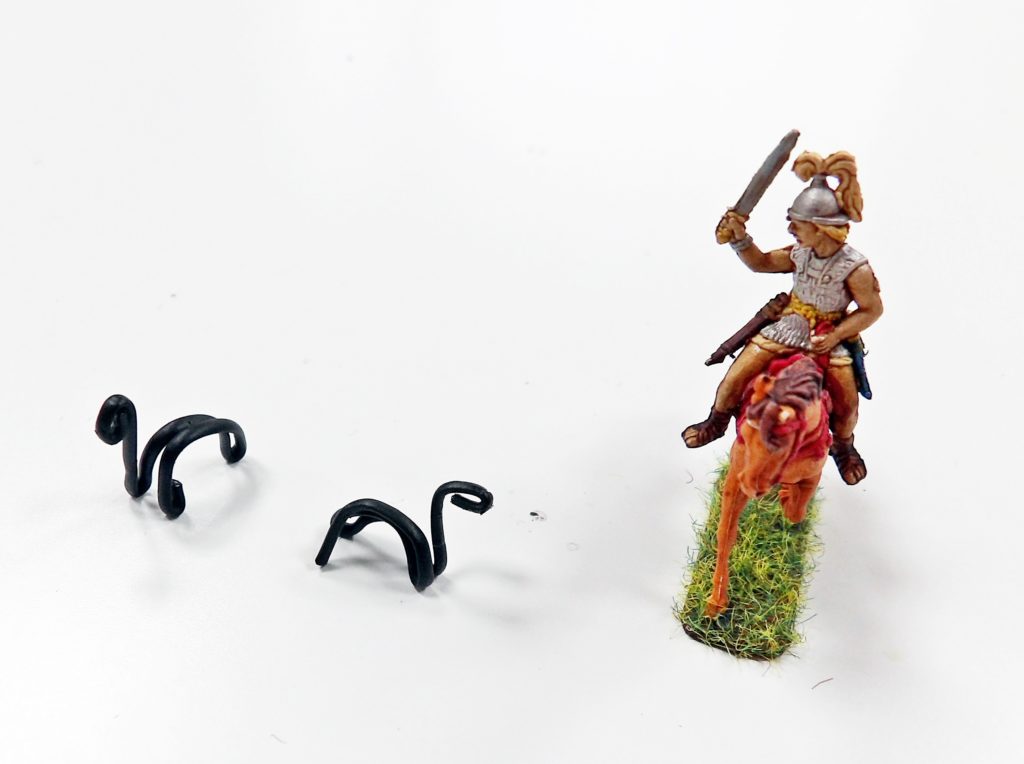
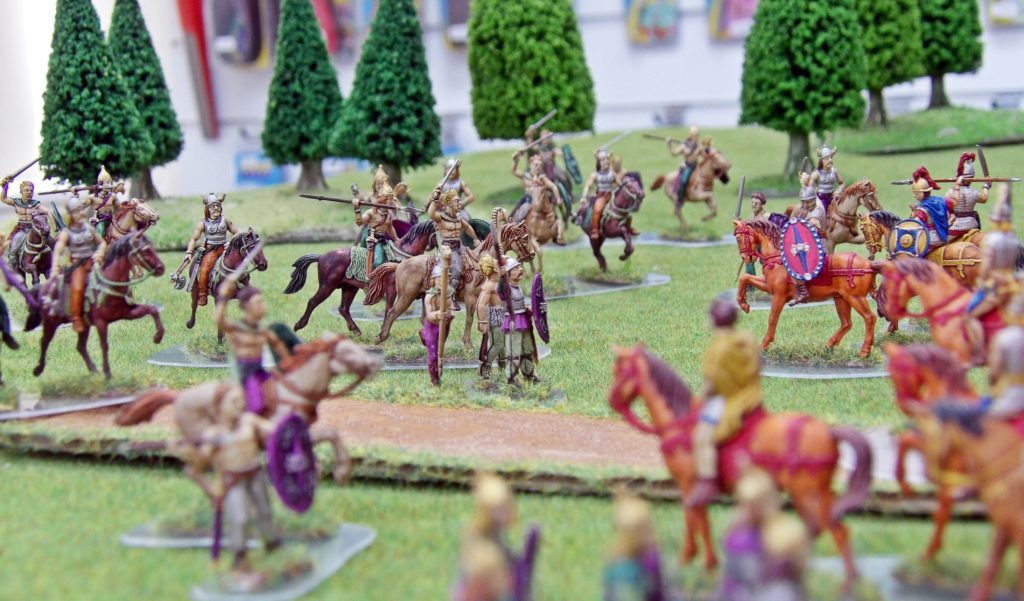
Building on our new found passion for the Classical Period, we have added some Gallic chariots to our collection.
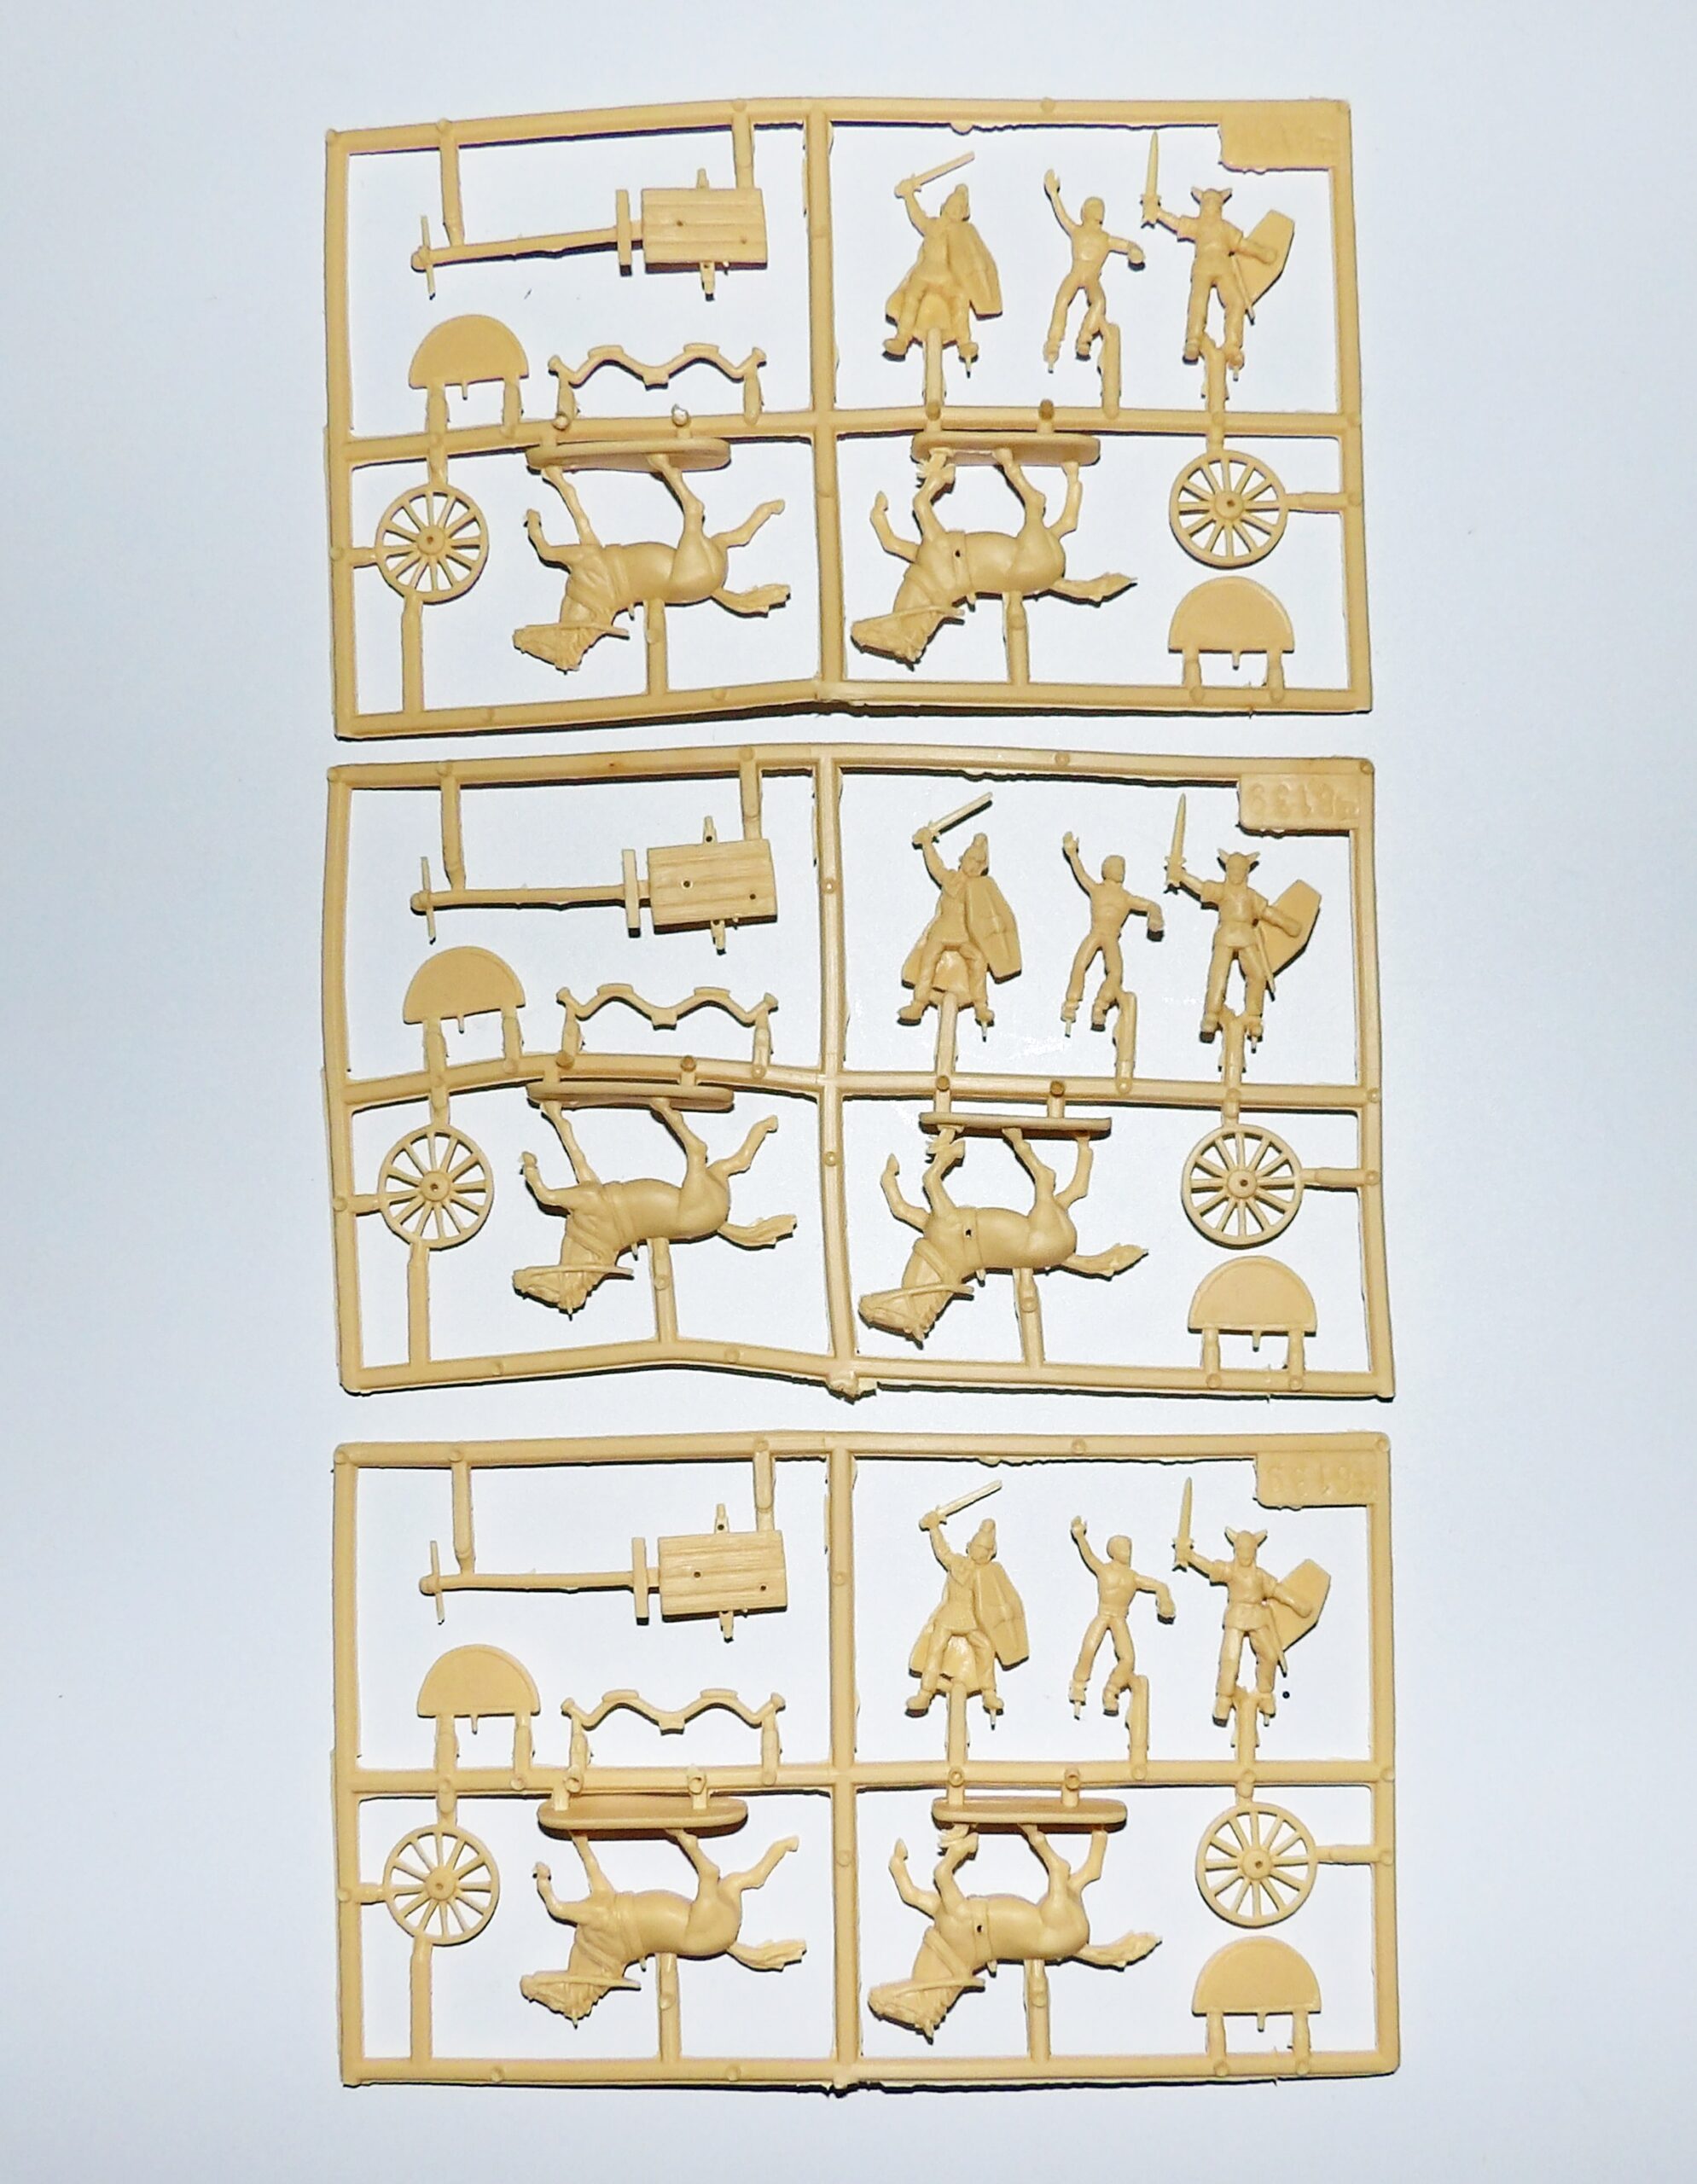
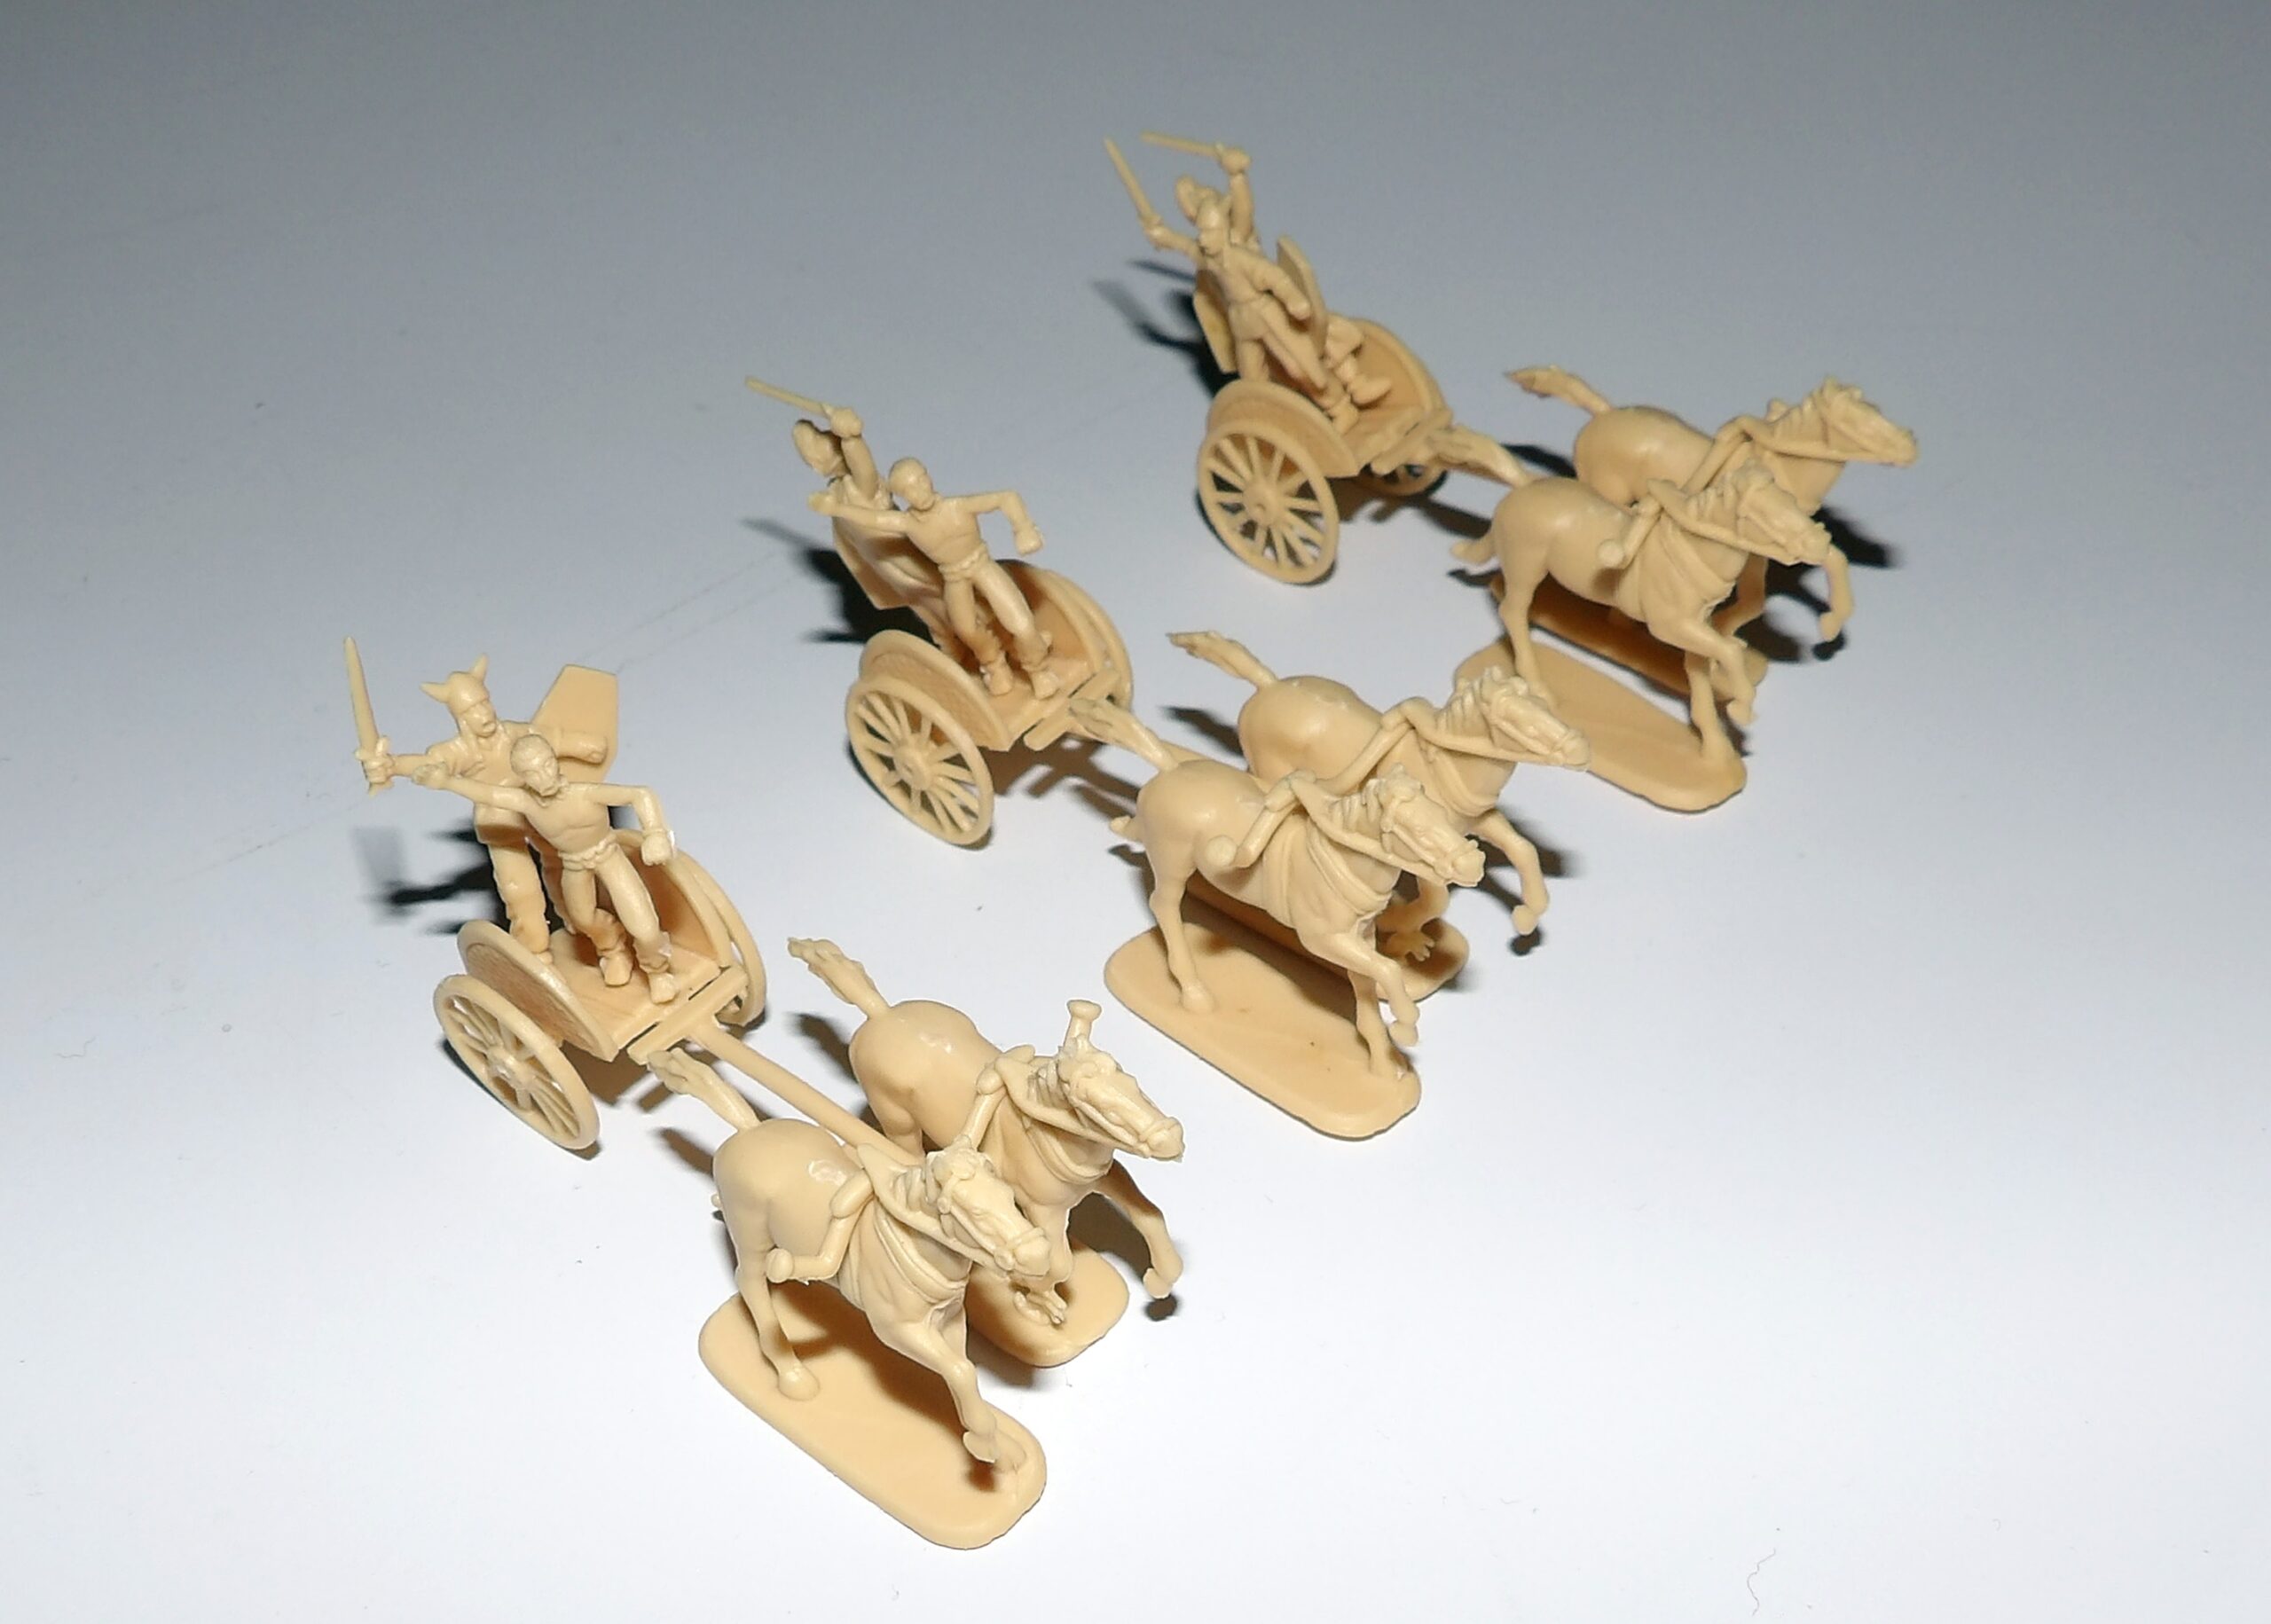
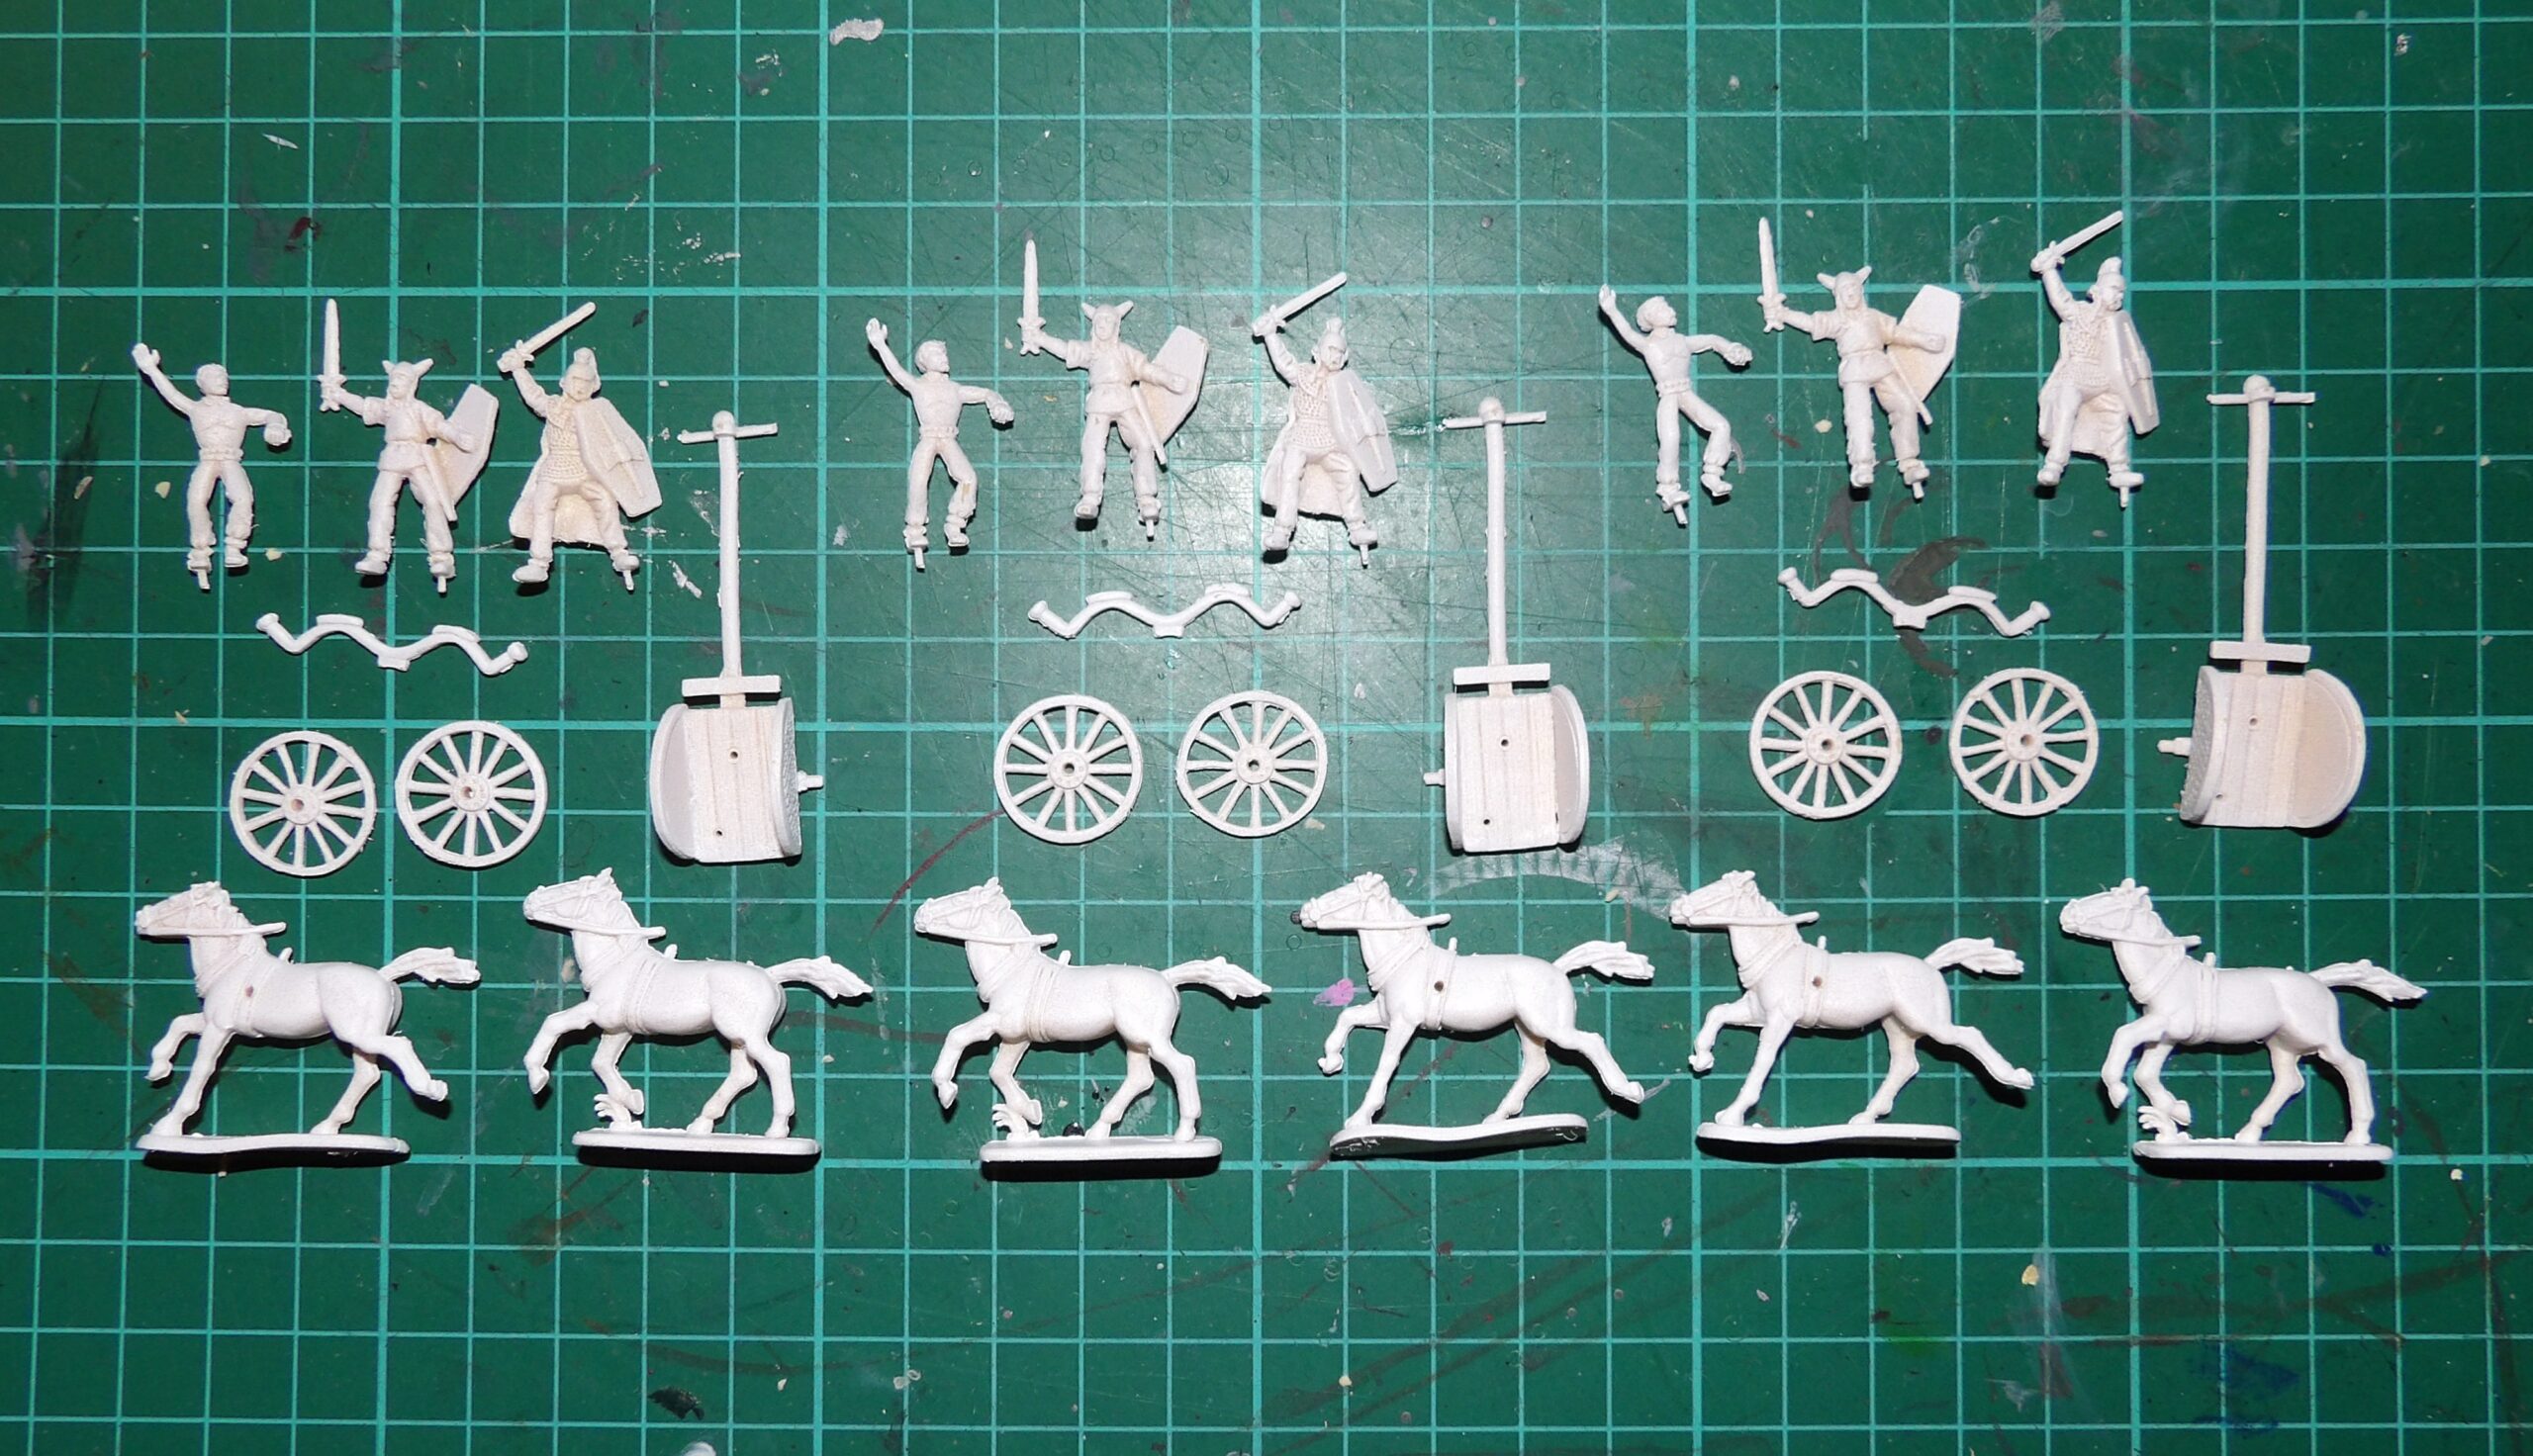
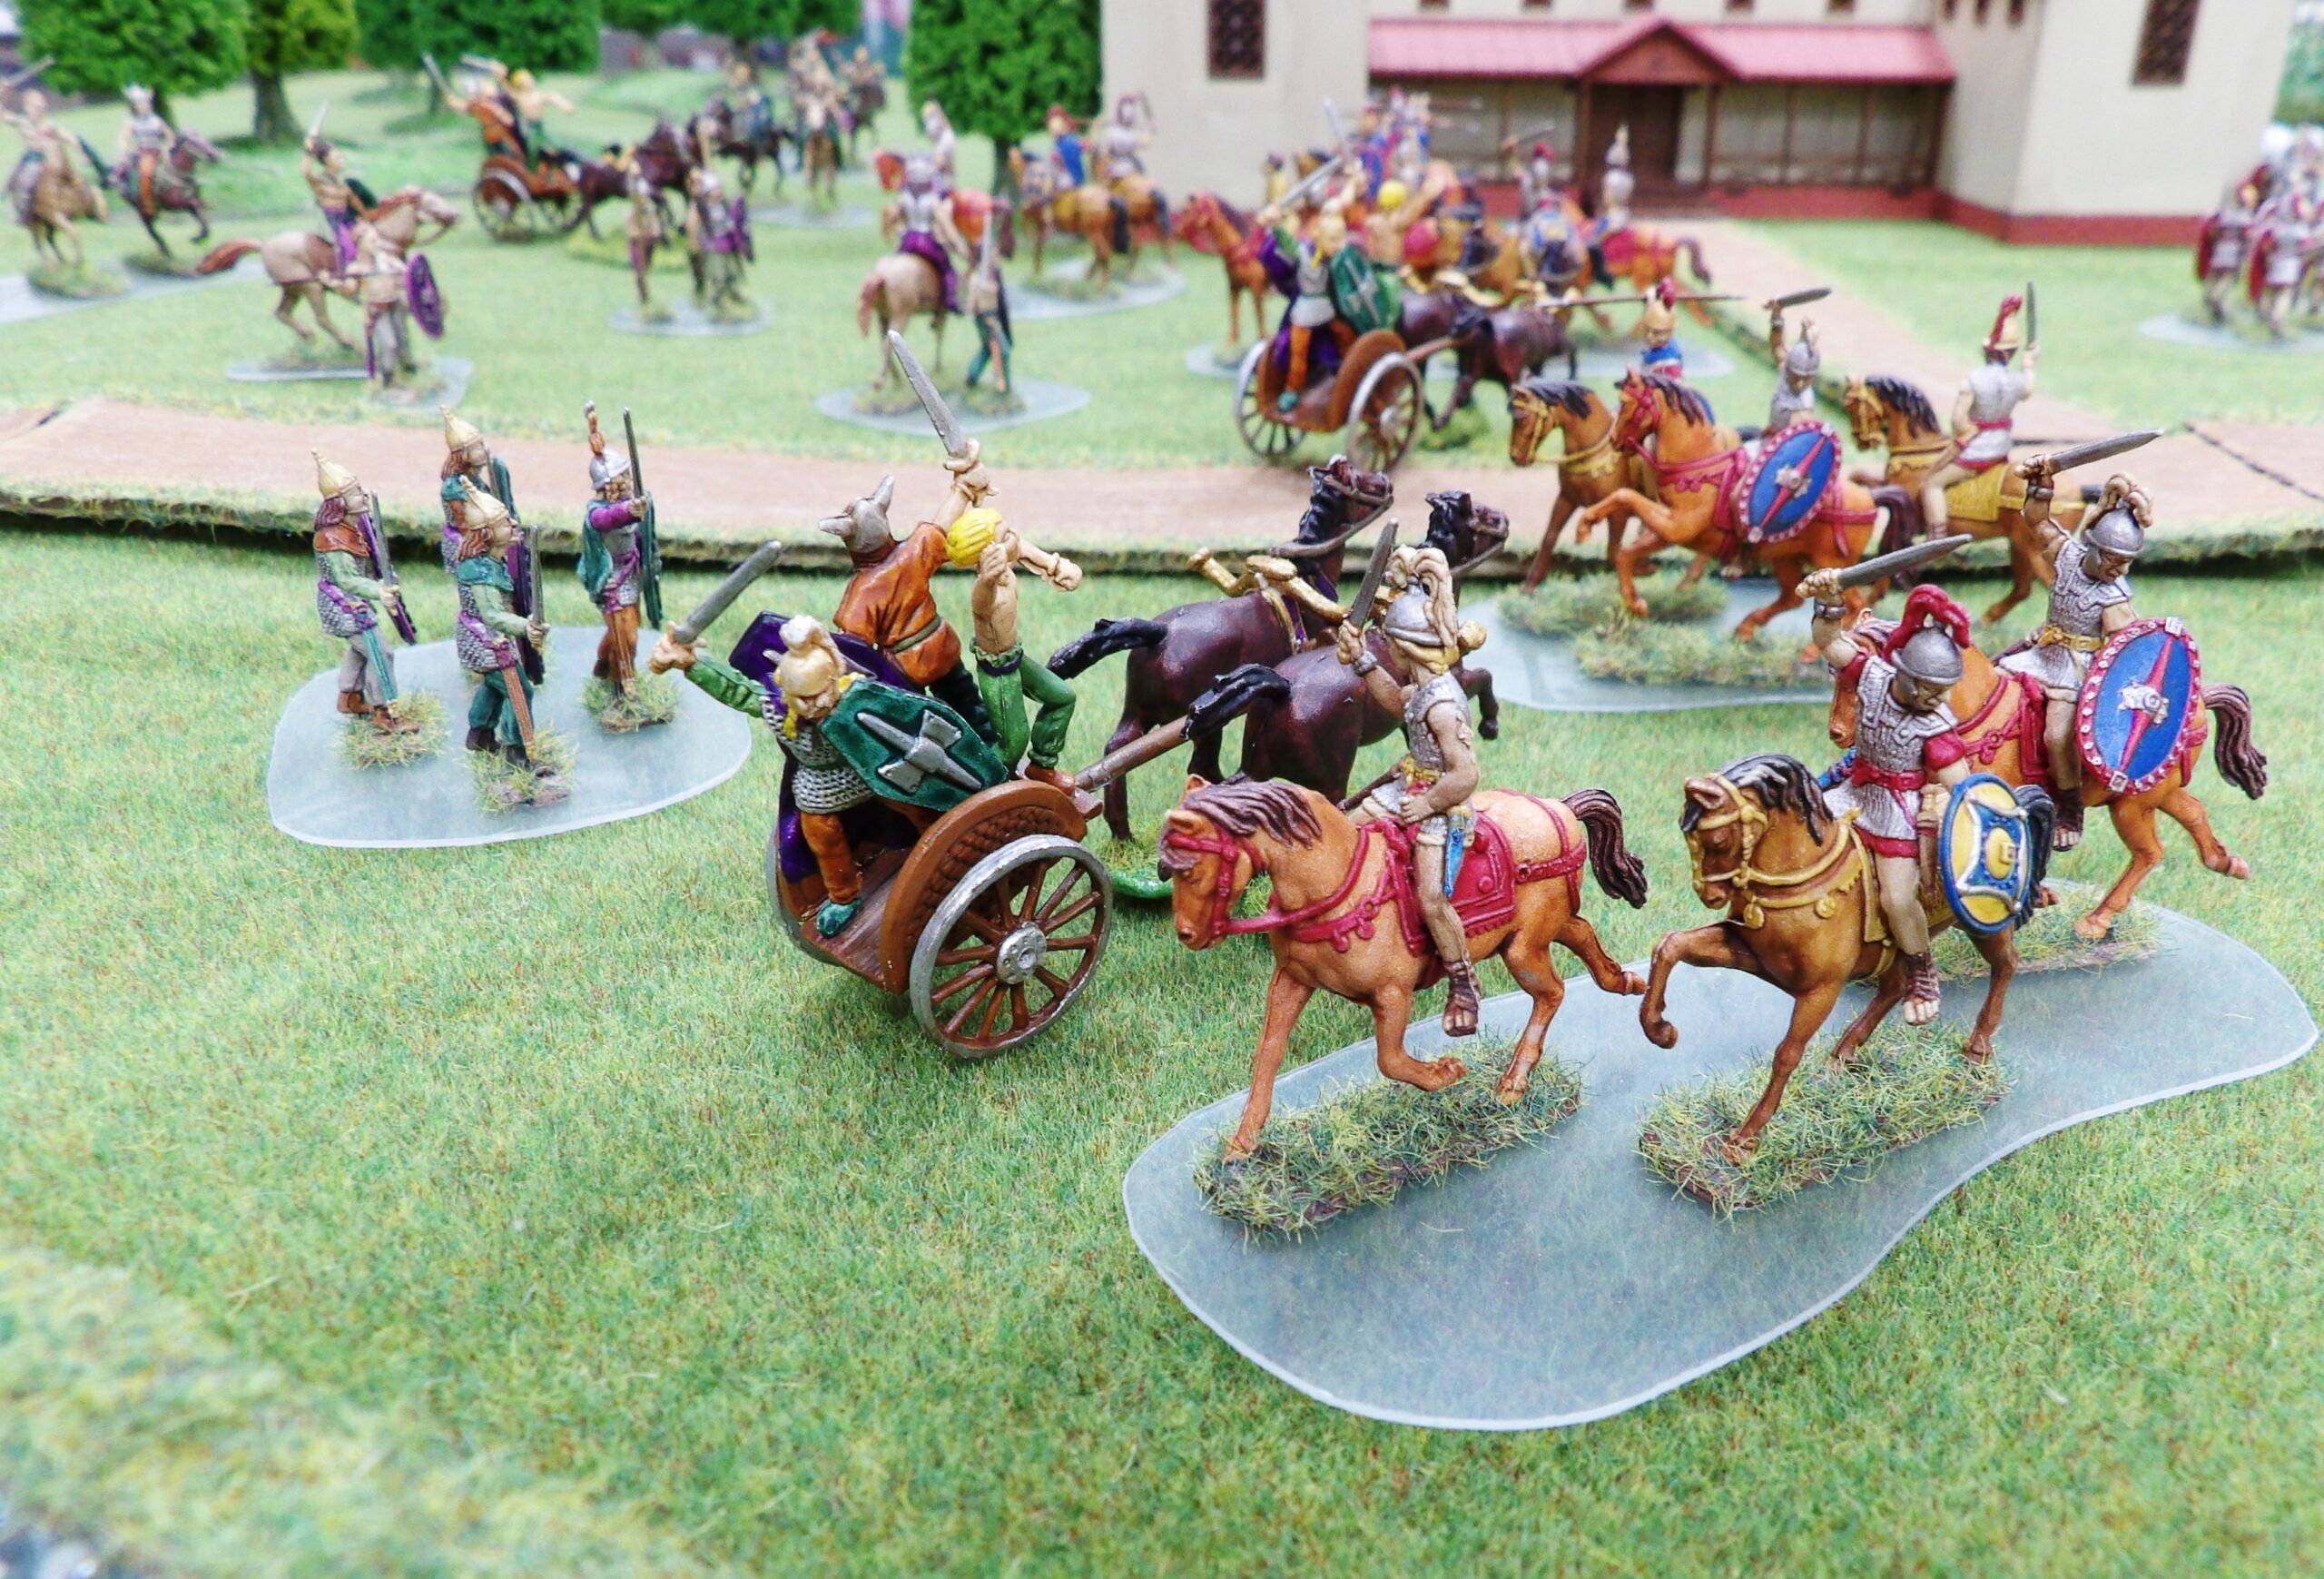
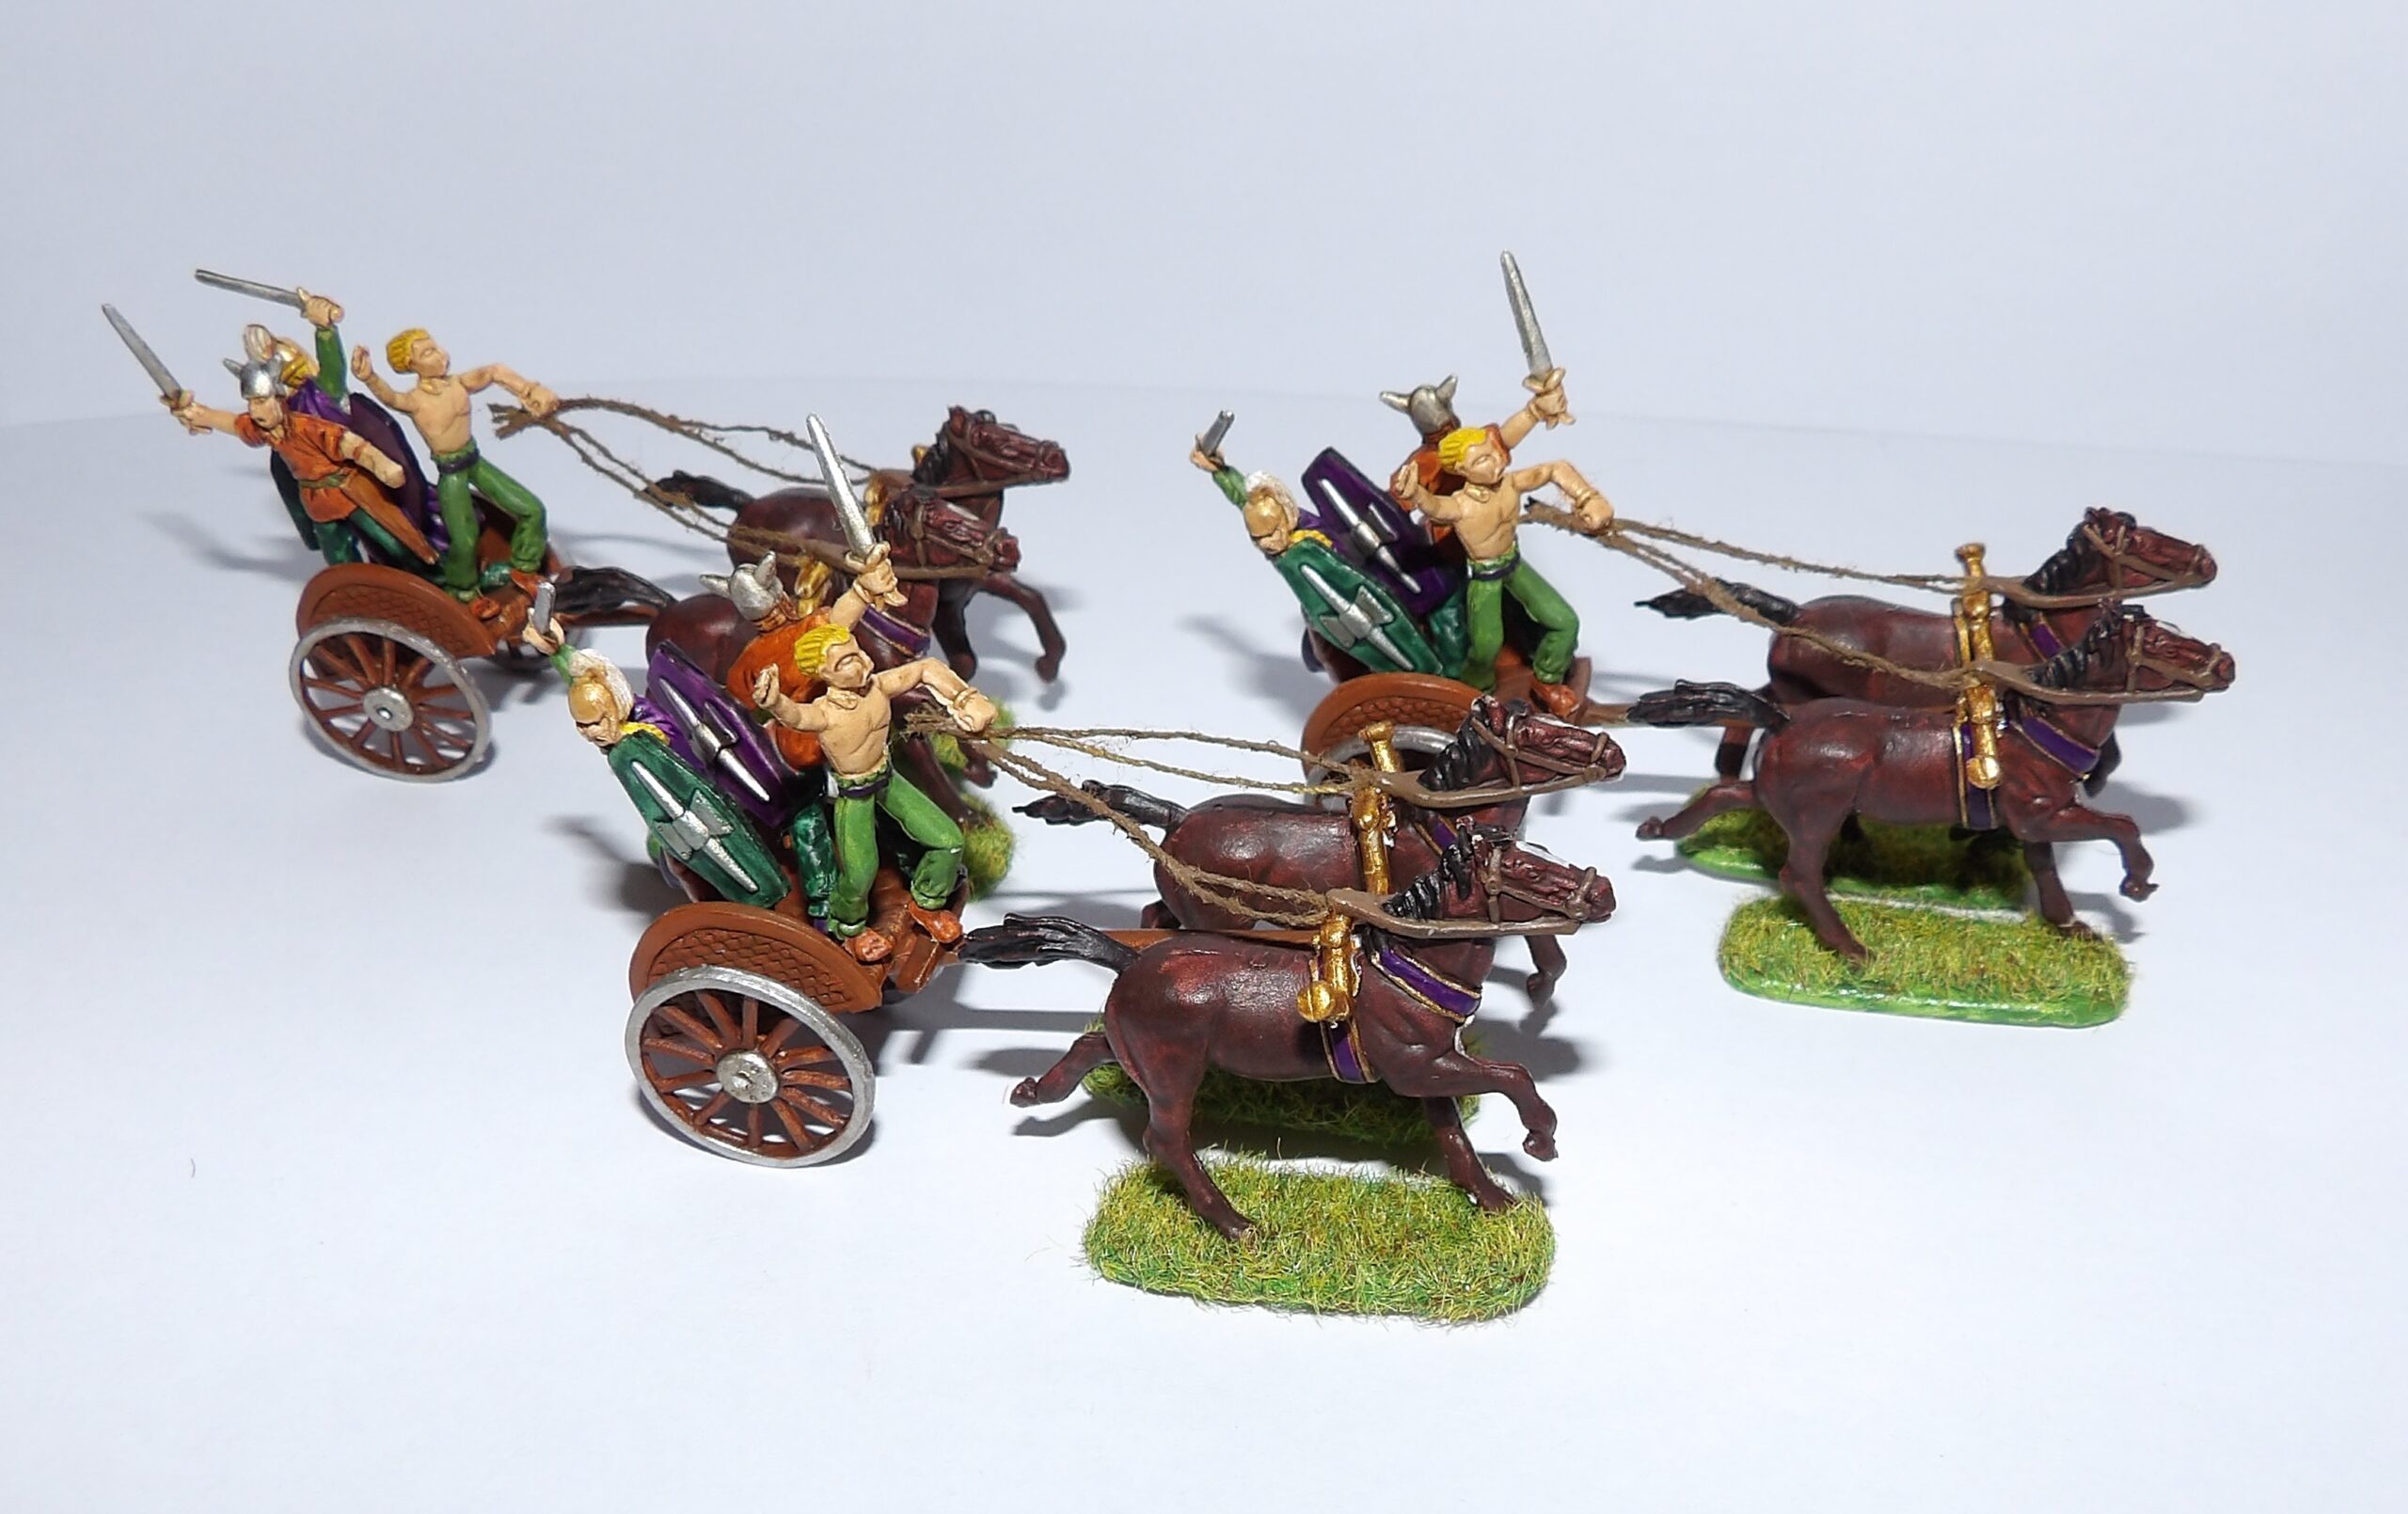
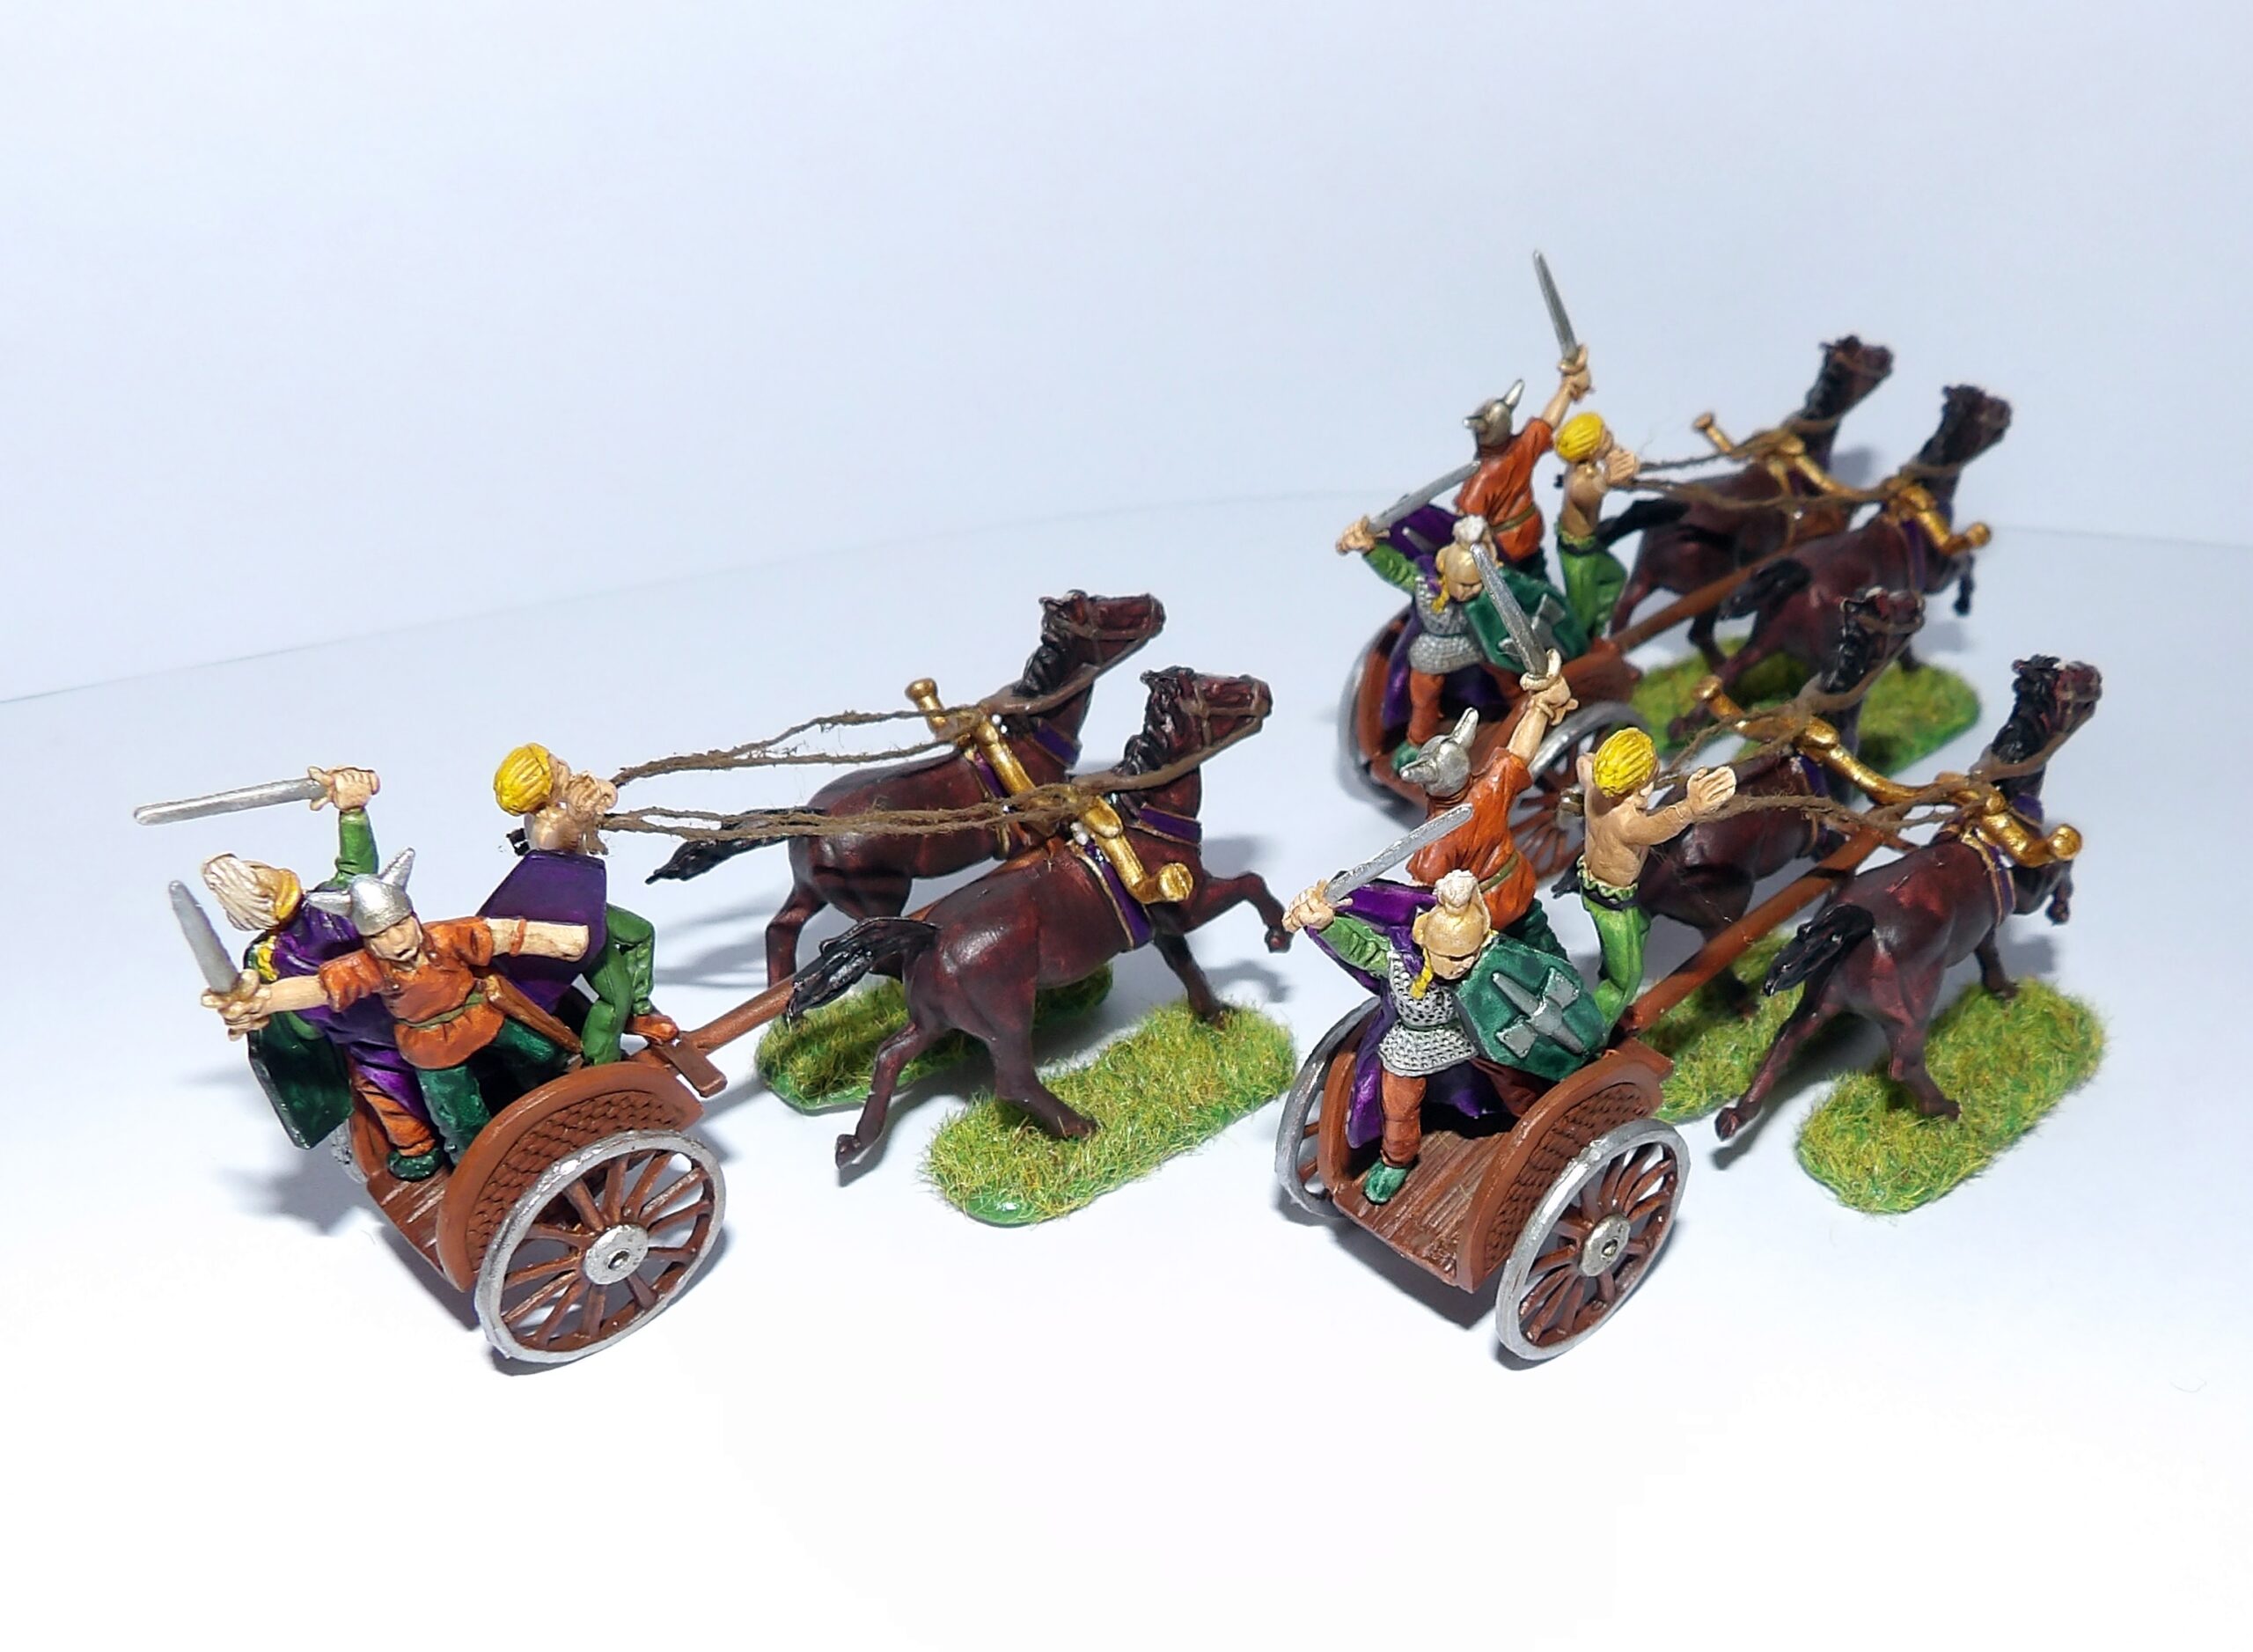
These chariots are by Hat. Hat produces a fantastic range of historical figures from Bronze Age all the way to World War Two.This box contains three chariots. You can see here three identical sprues in soft, rubbery plastic.Here are the chariots fully assembled.The figures are primed with Army Painter White Primer.We were worried about painting on rubbery plastic, but the paint went on just fine. The thinner parts are quite bendy – so a few retouches were required.Compared with the Italeri figures we painted, these were not as detailed. But at pocket money price, you can’t really complain.Here are the painted chariots battling with the Romans! Can you spot all three?After taking the last photo, we realised we completely forgot to add the reins. So here they are with the reins added.Hey! Come back, Jac…I mean…fierce-looking-warriors, come back!
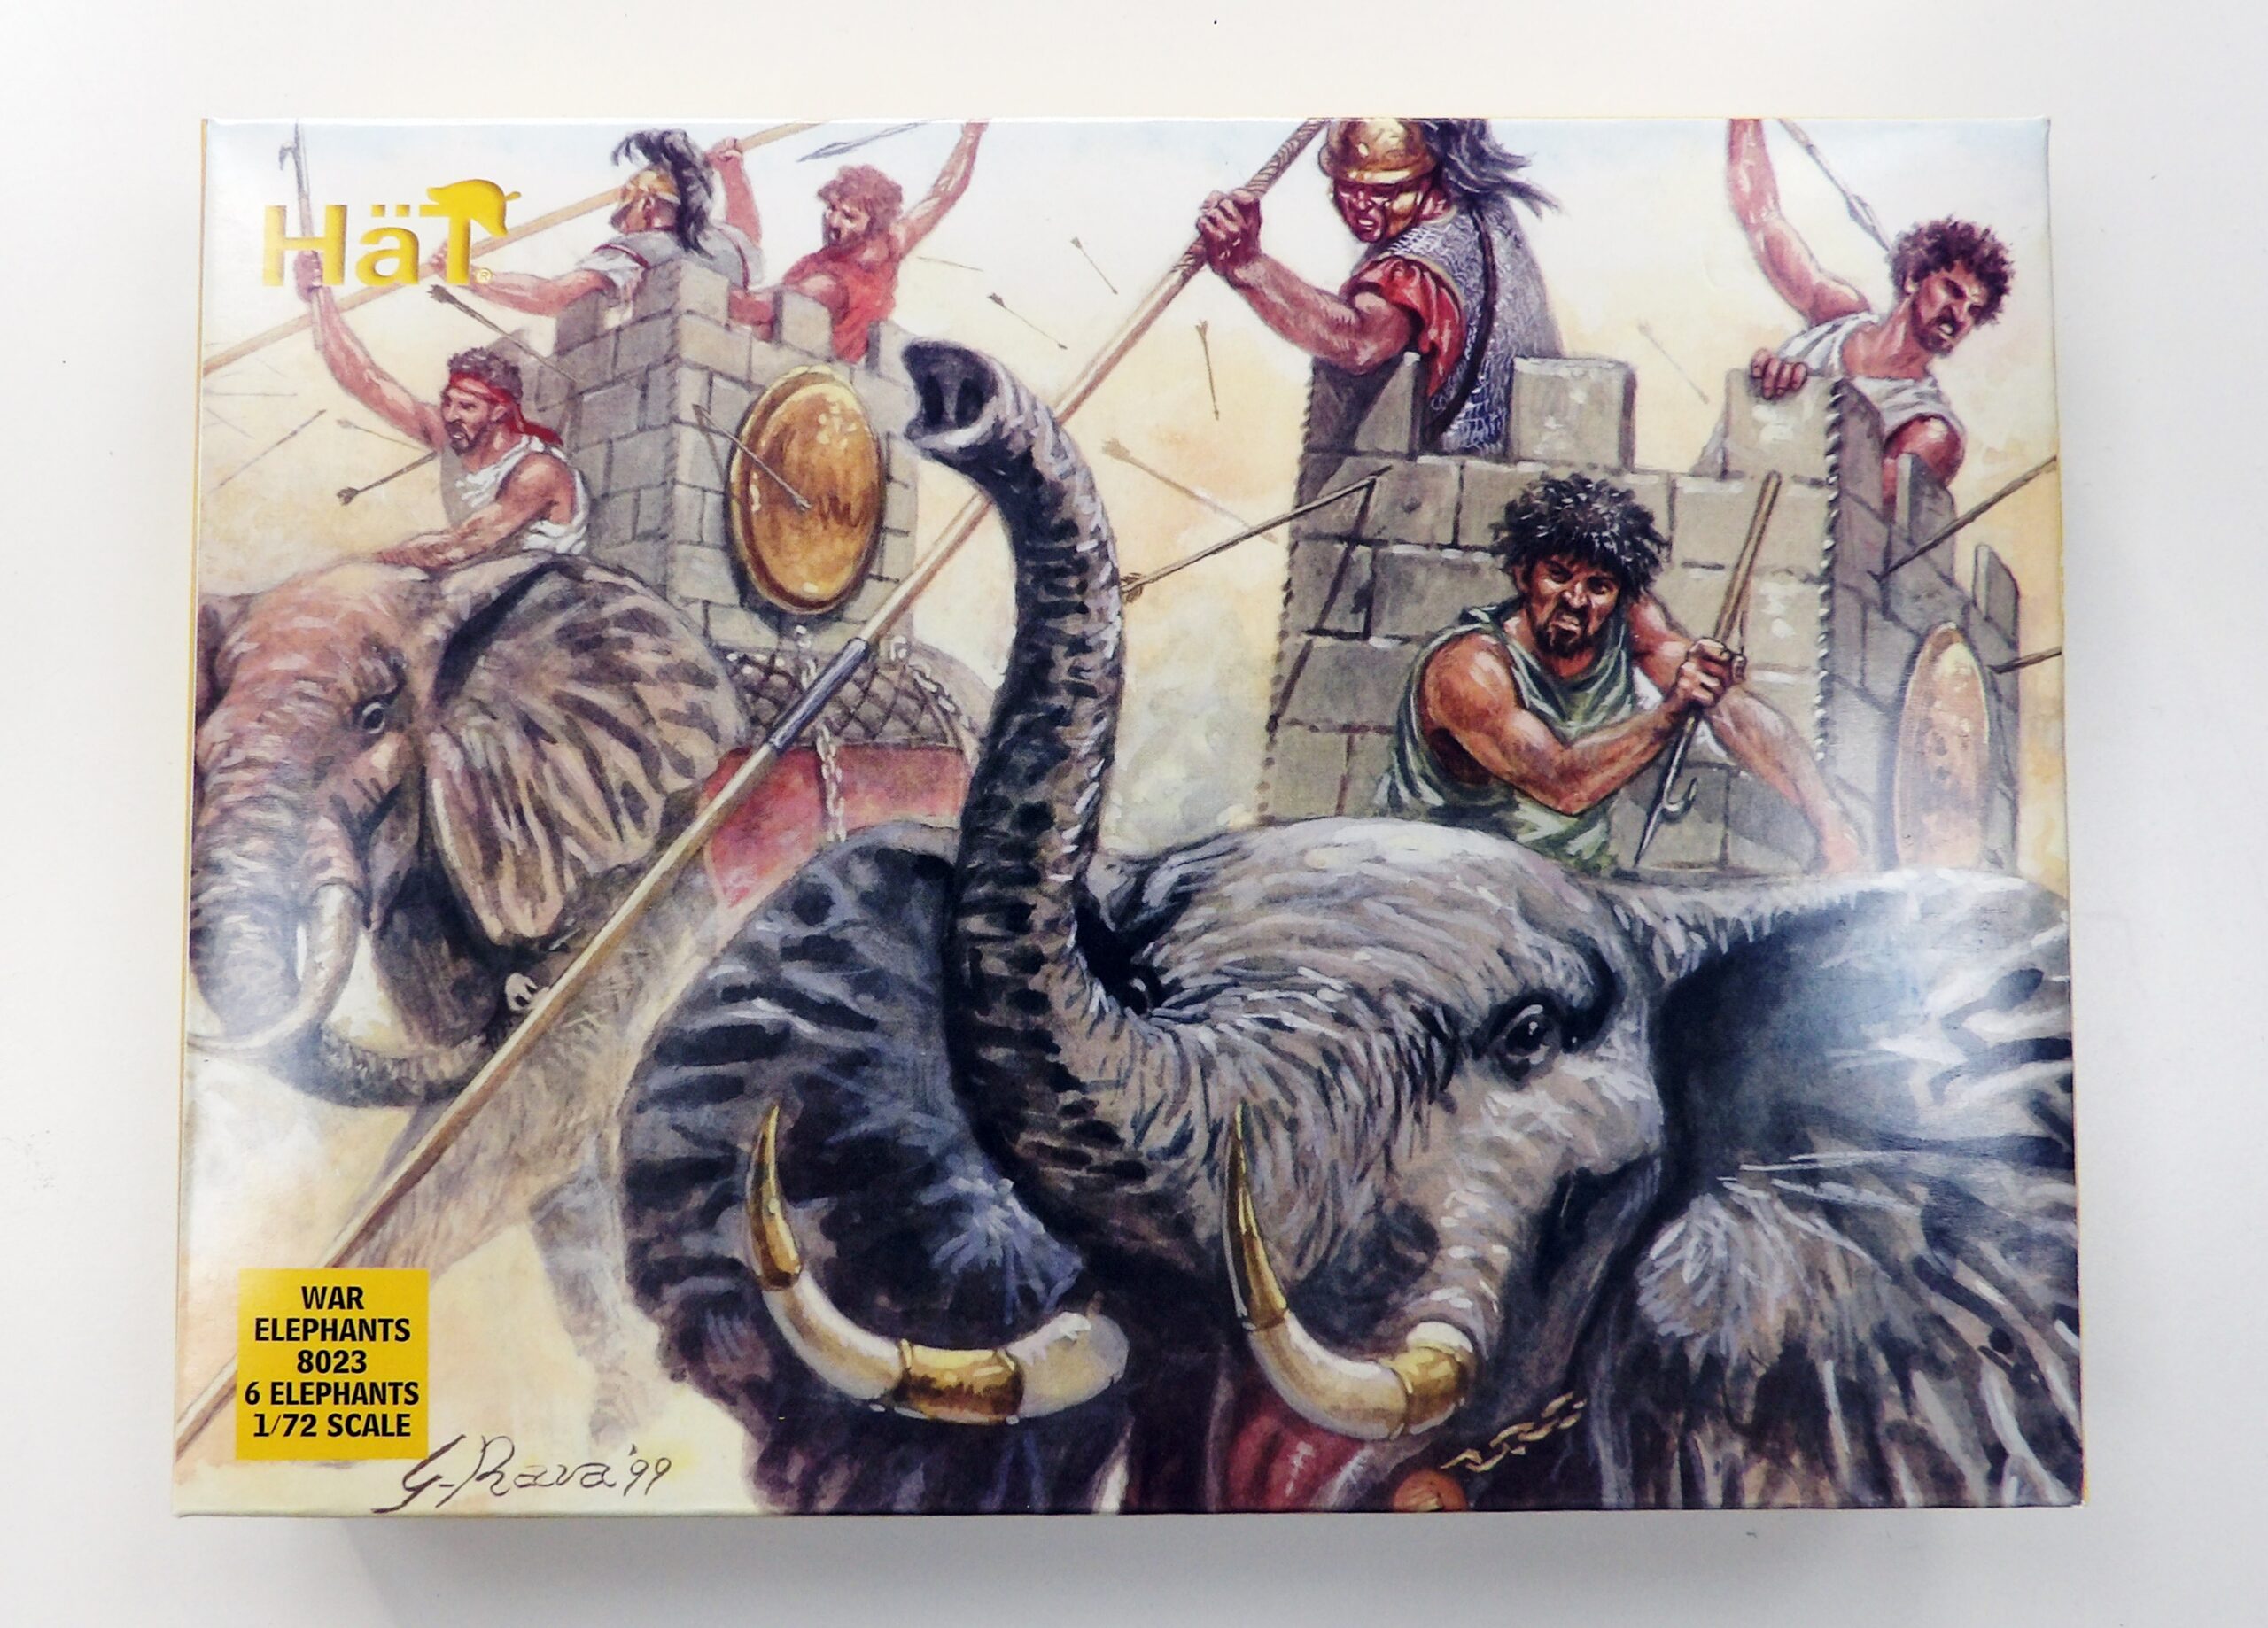
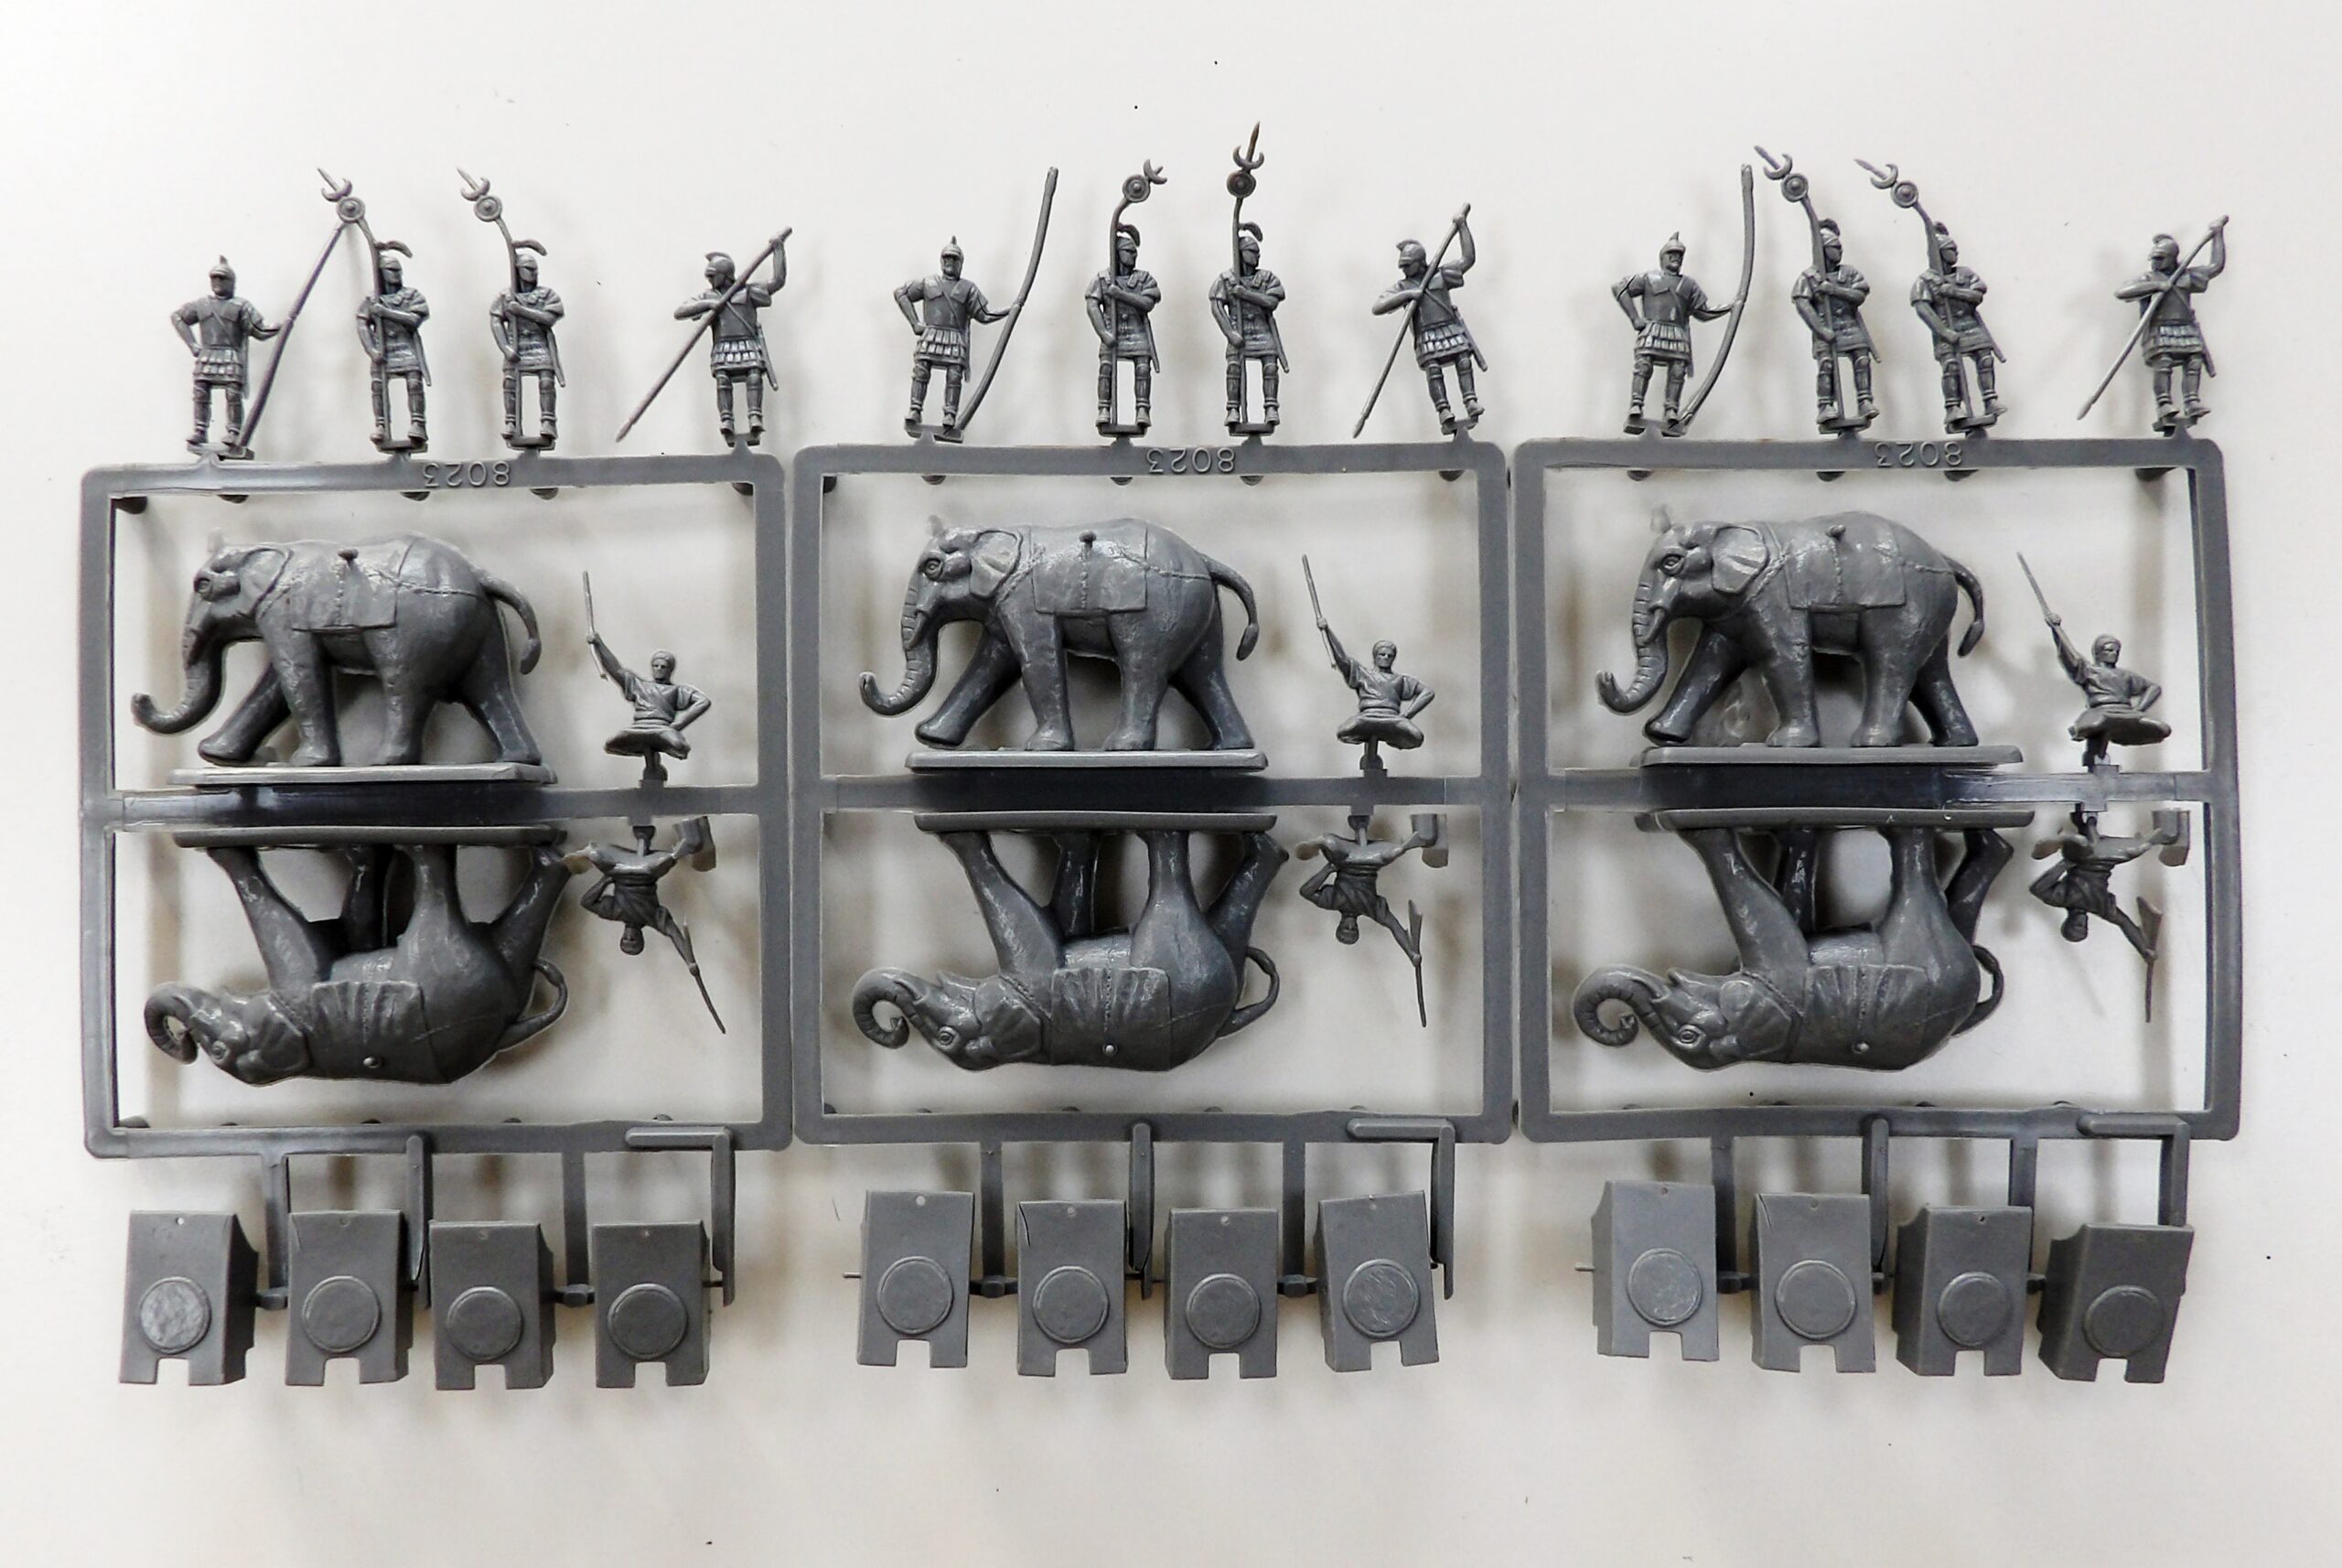
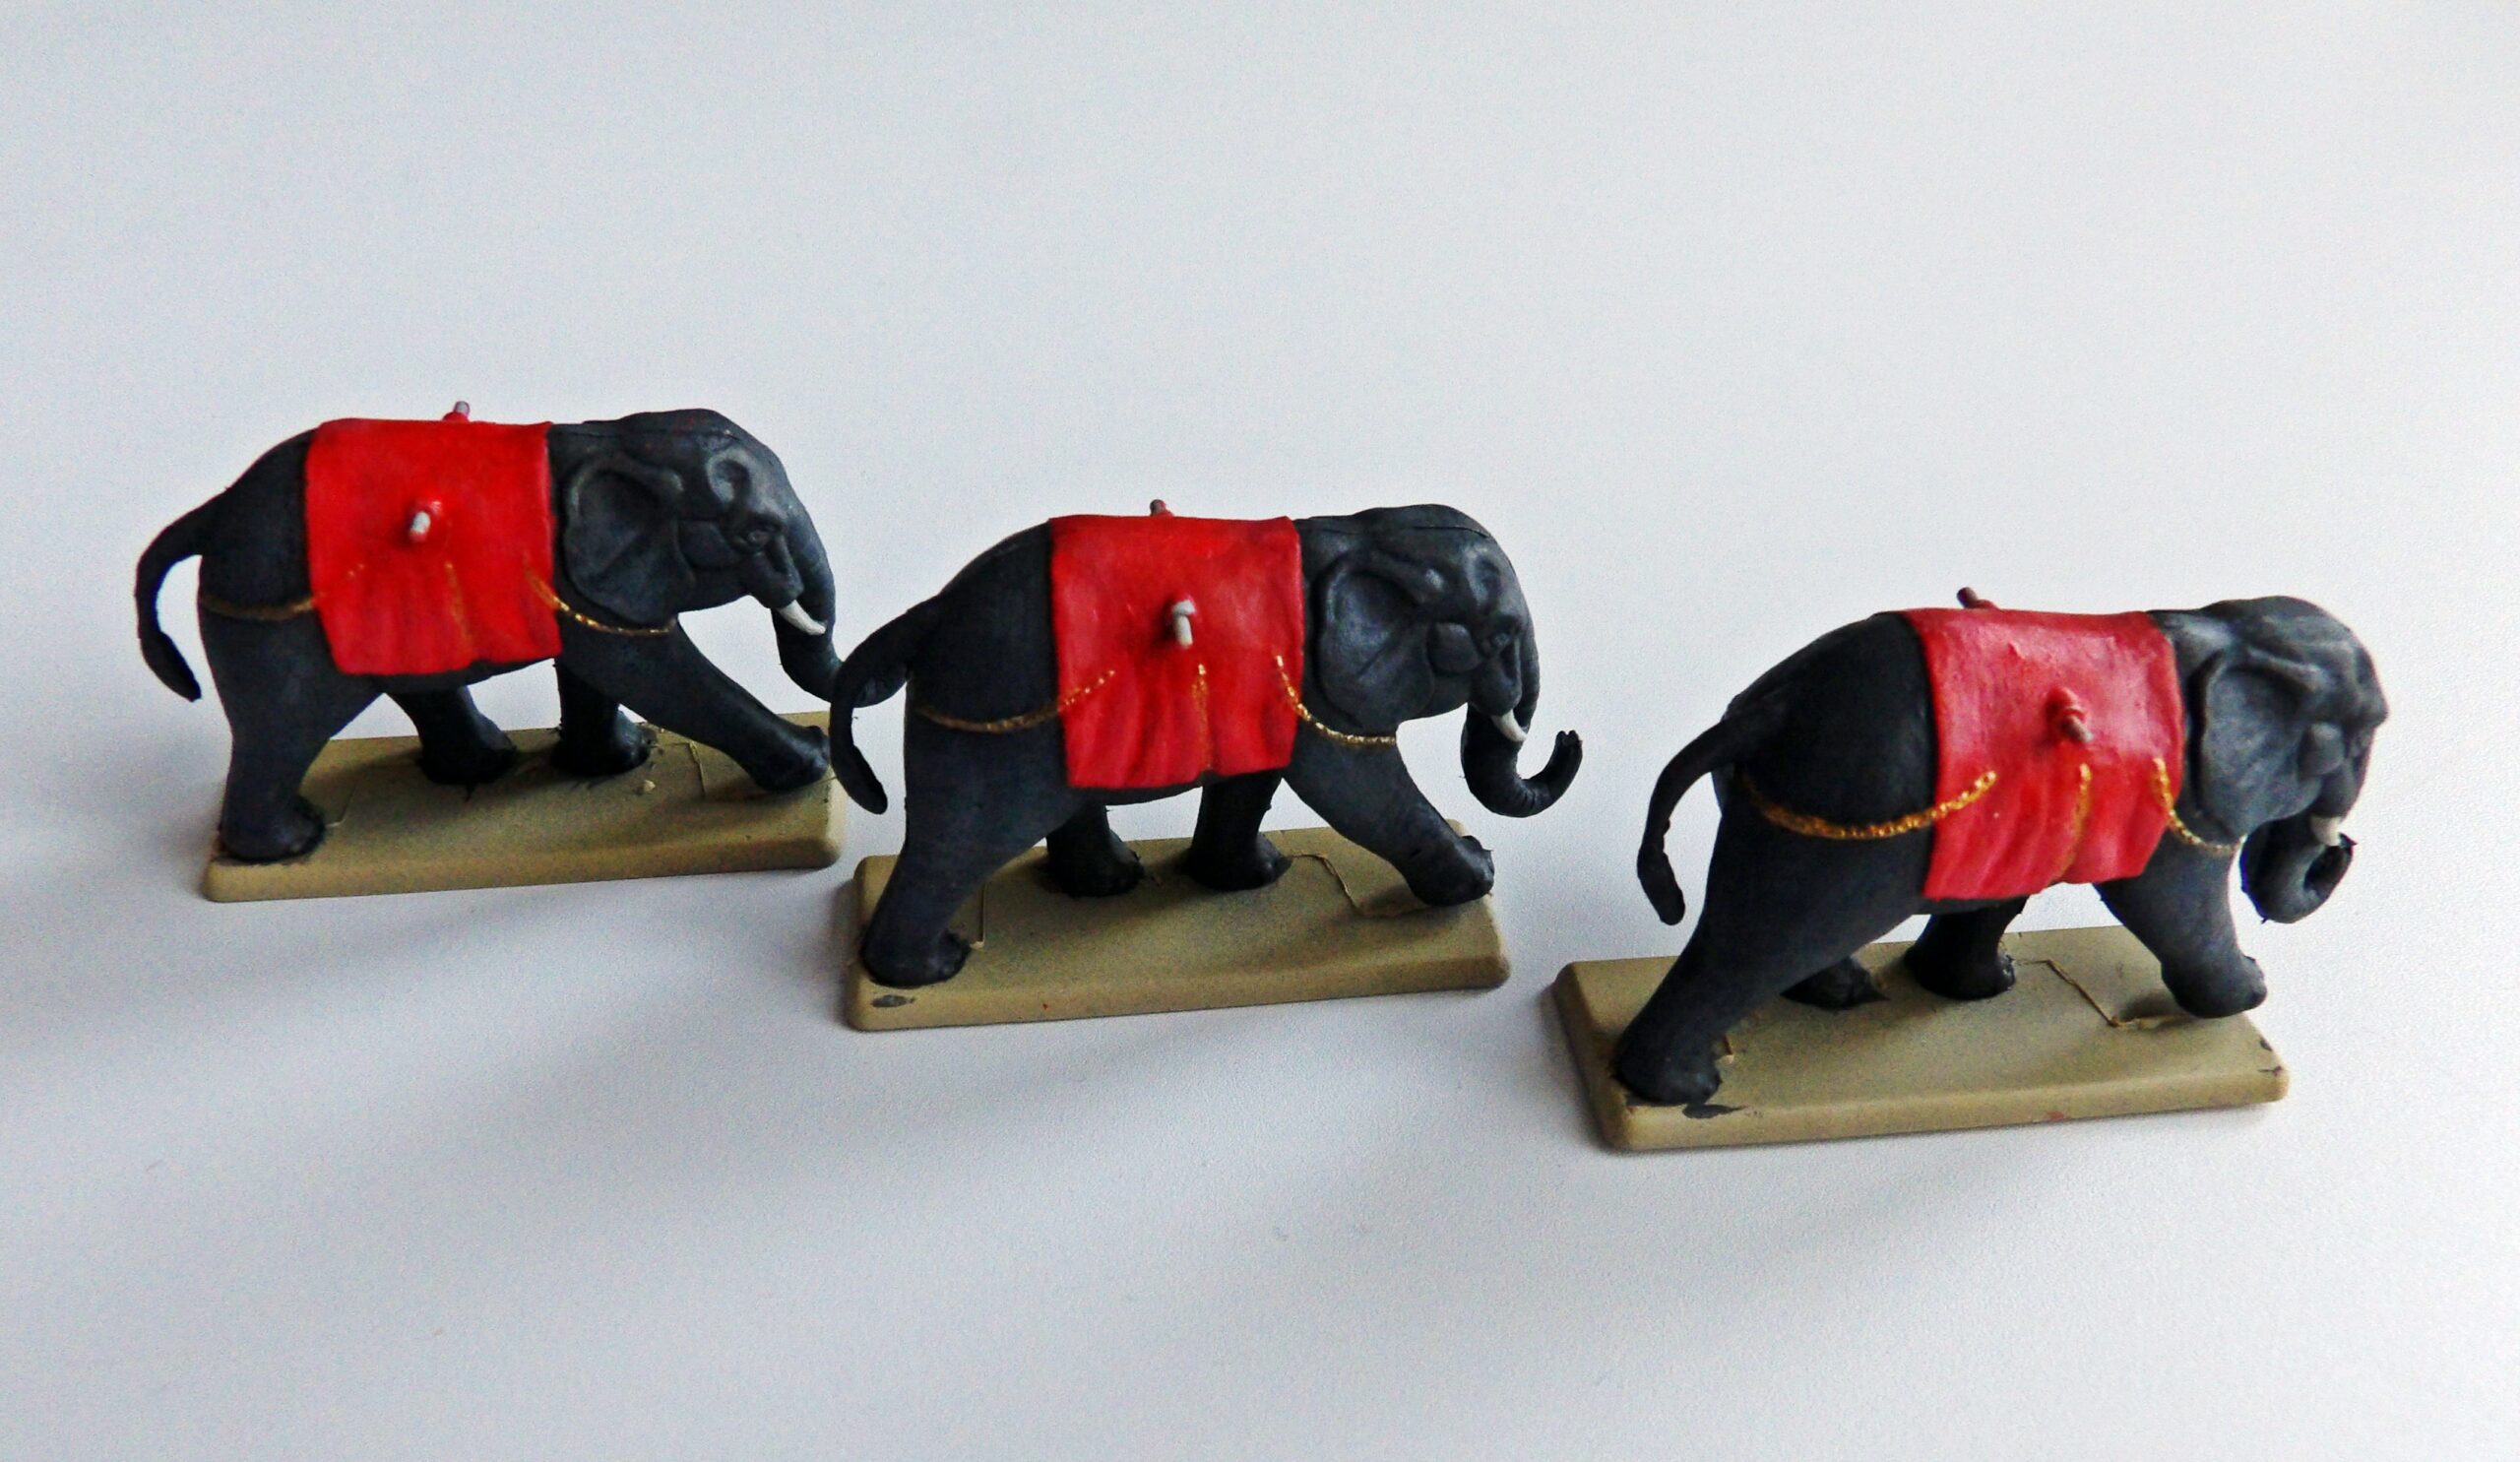
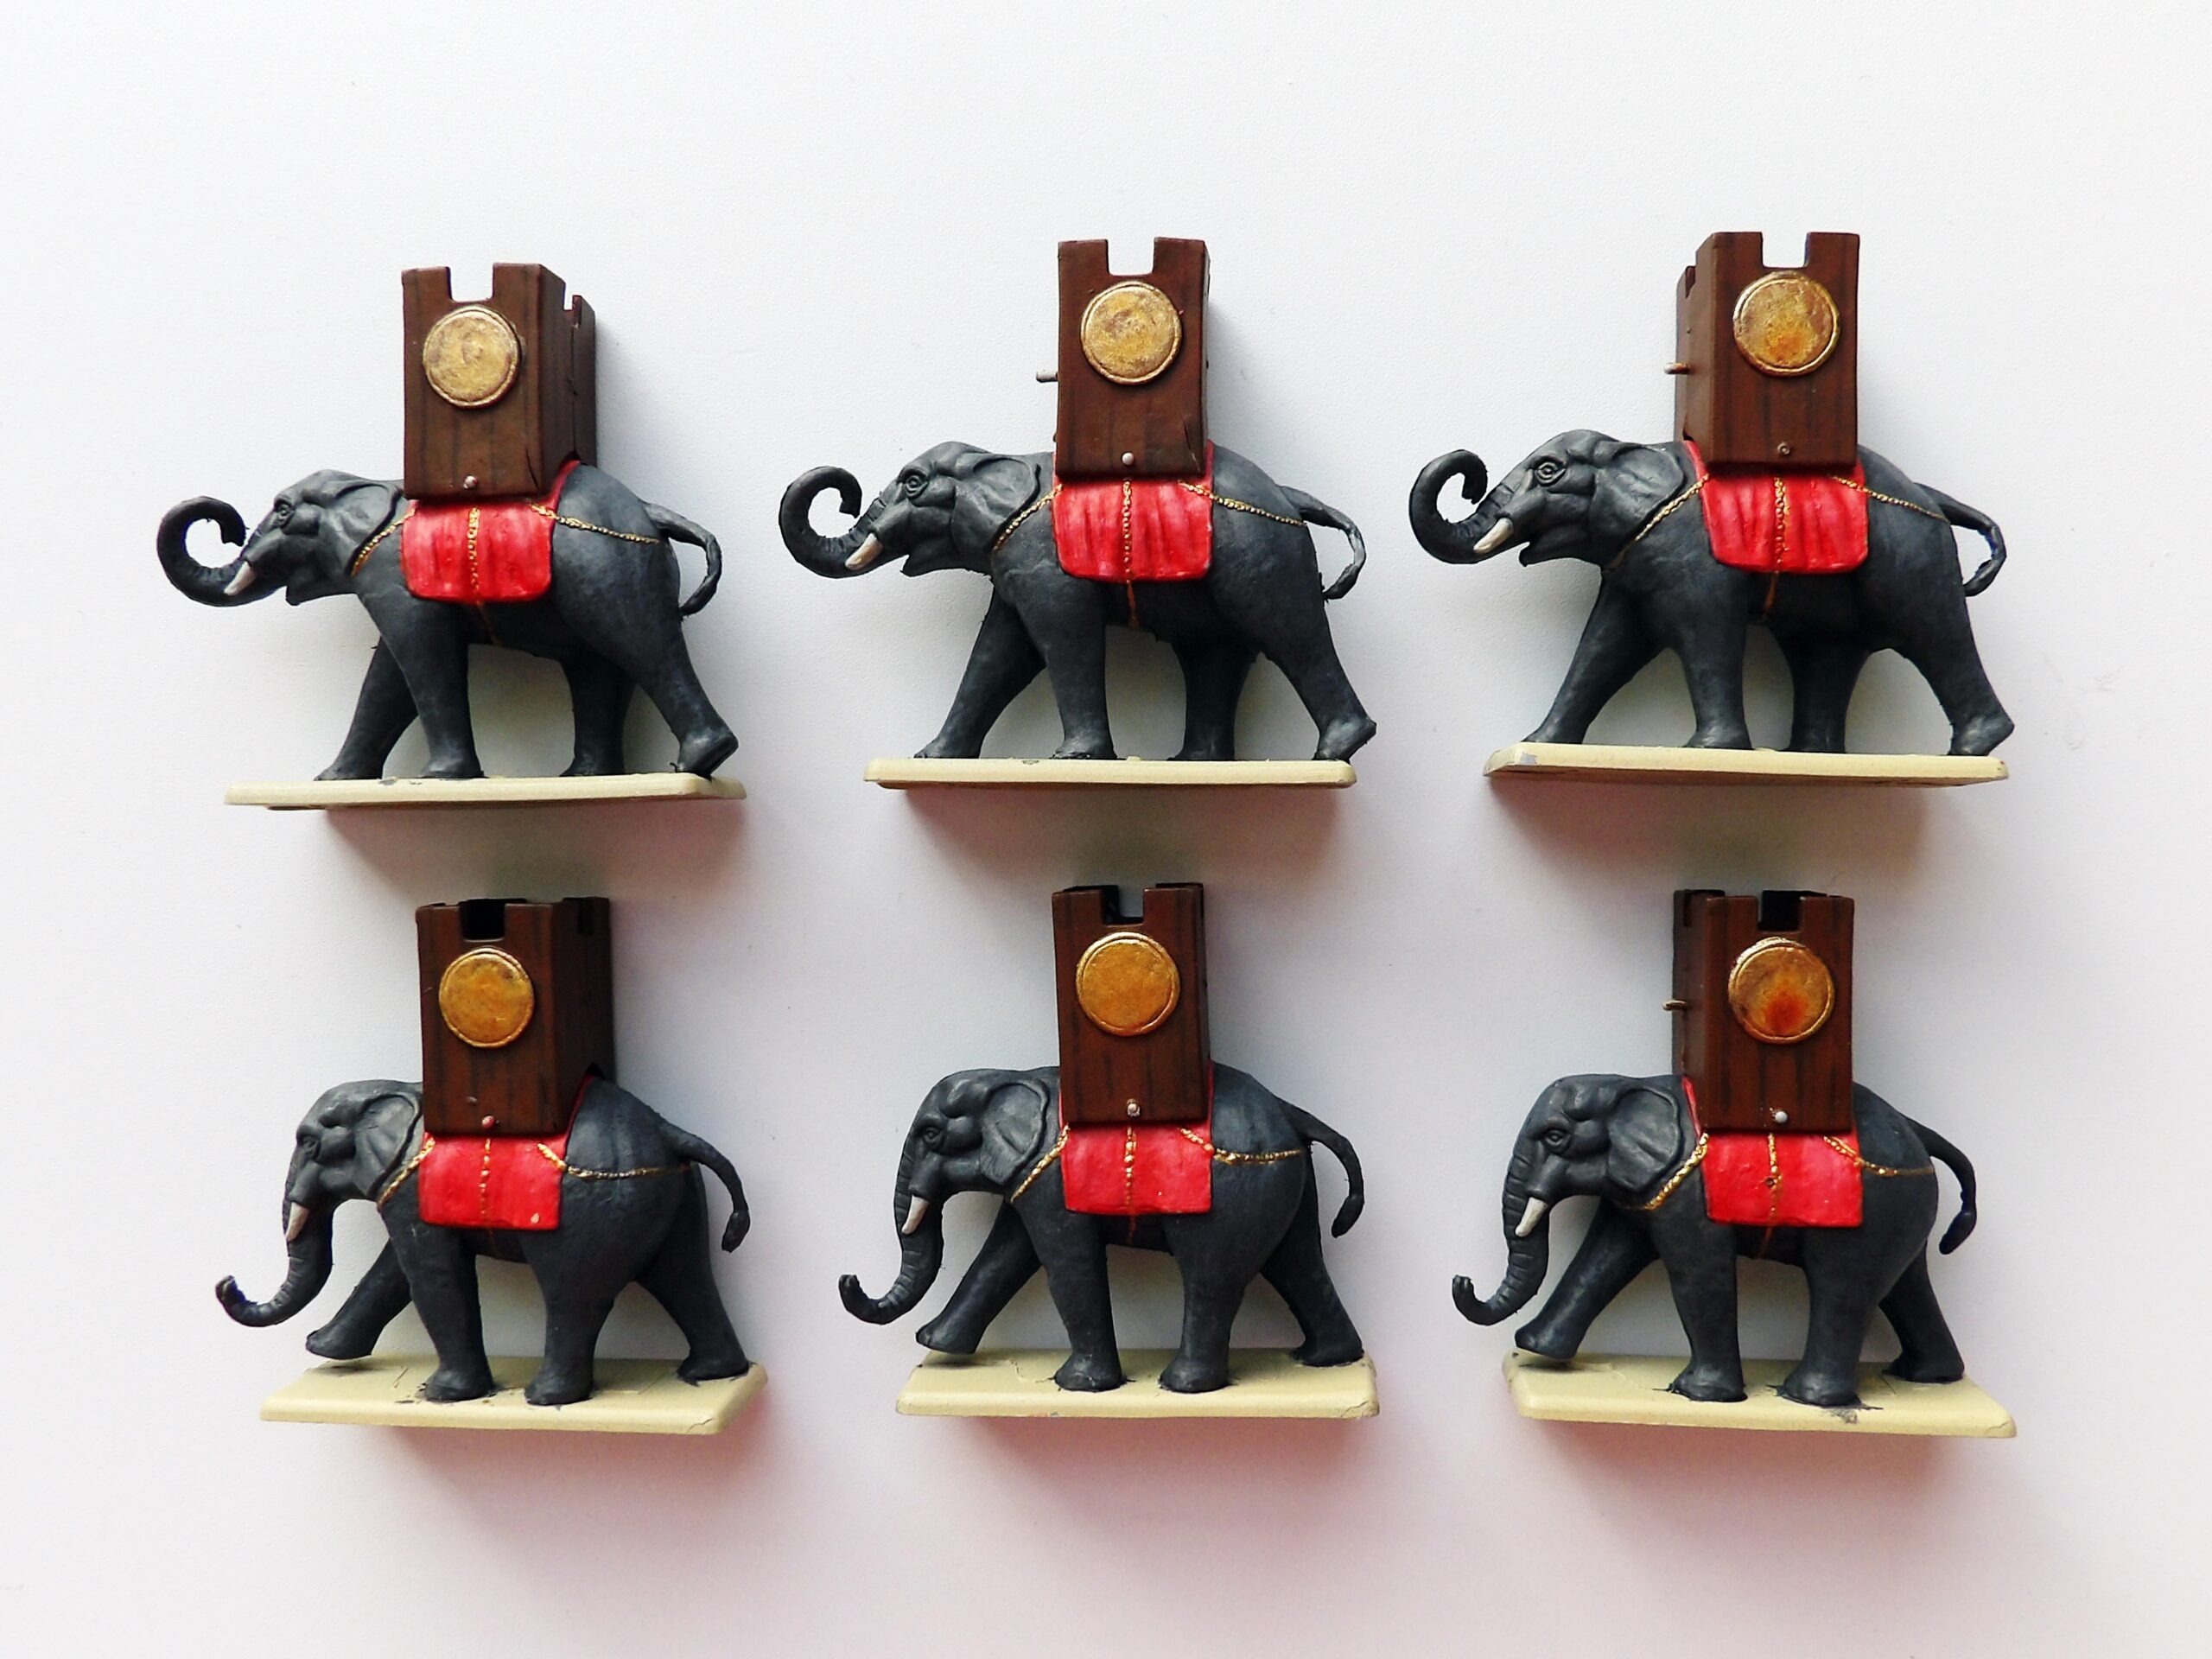
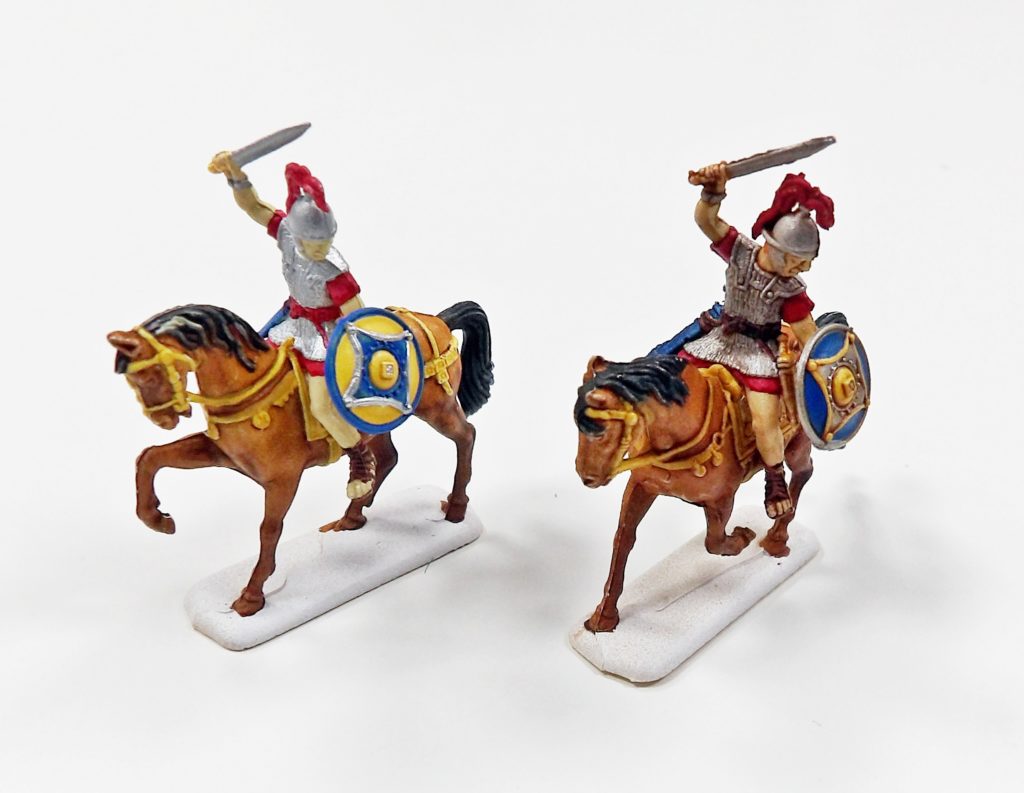
Working our way through the “started-but-probably-never-going-to-be-finished stash”, we have finally completed our Carthaginian War Elephants!
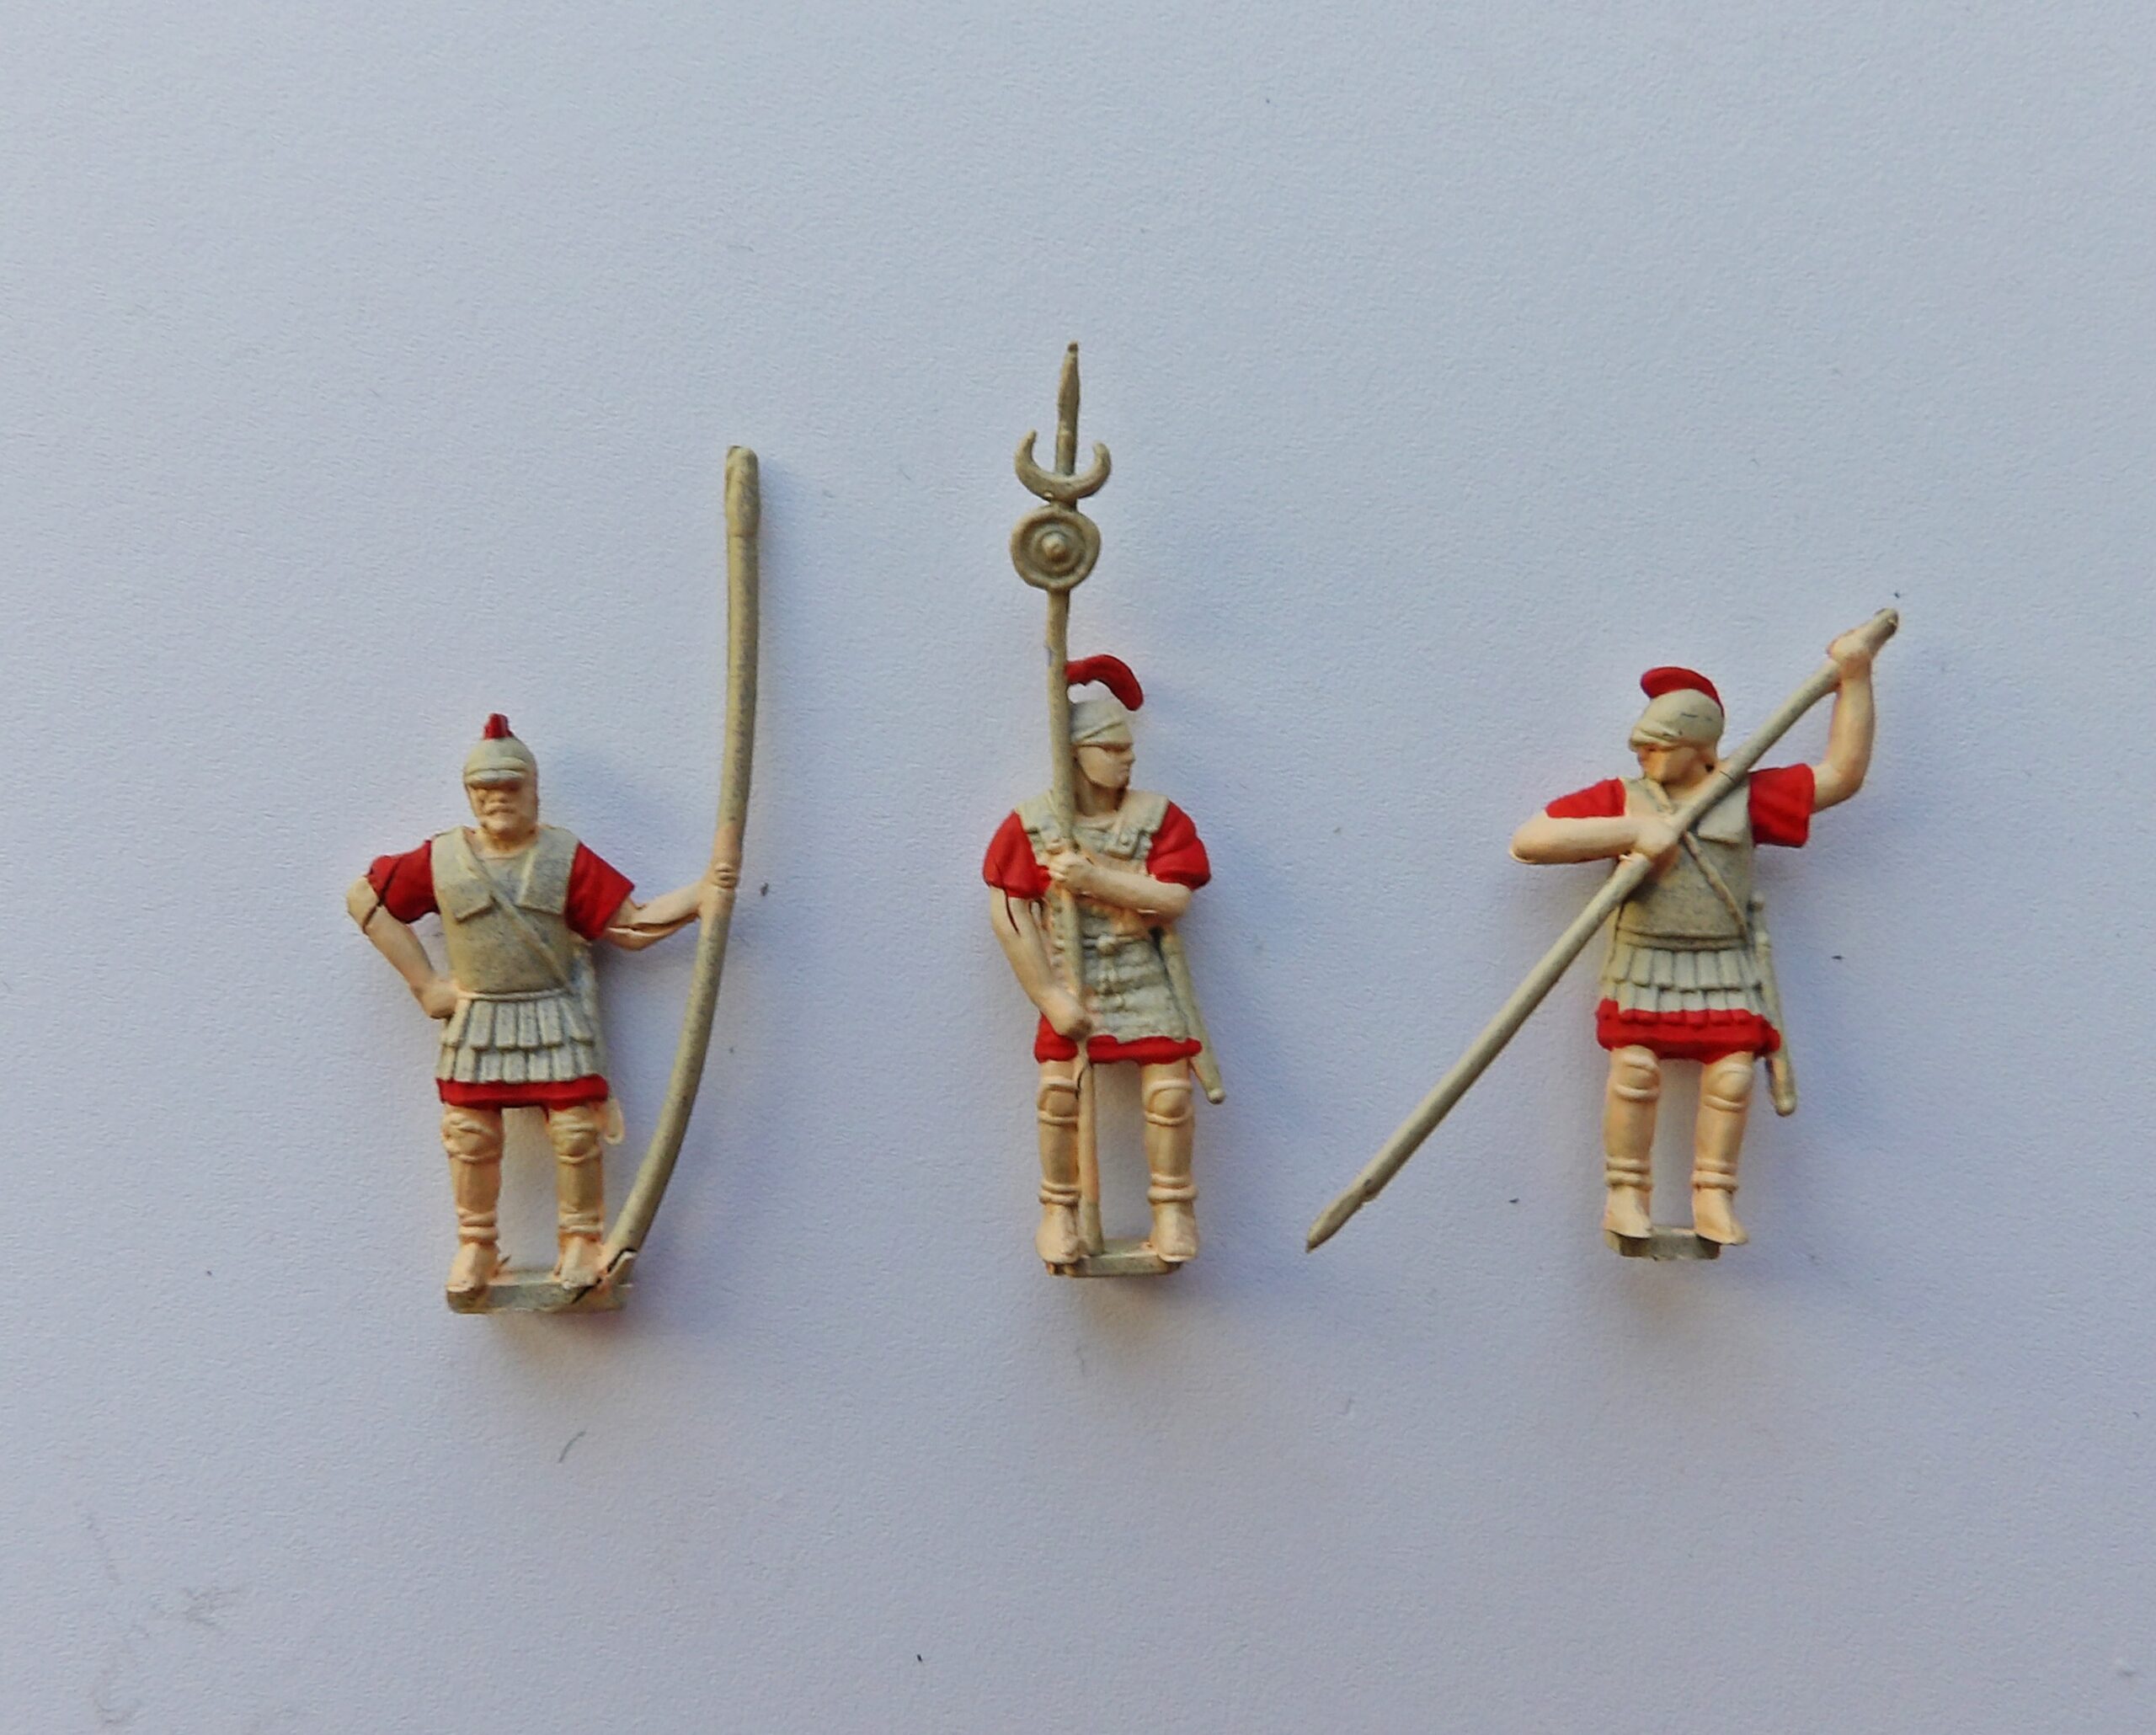
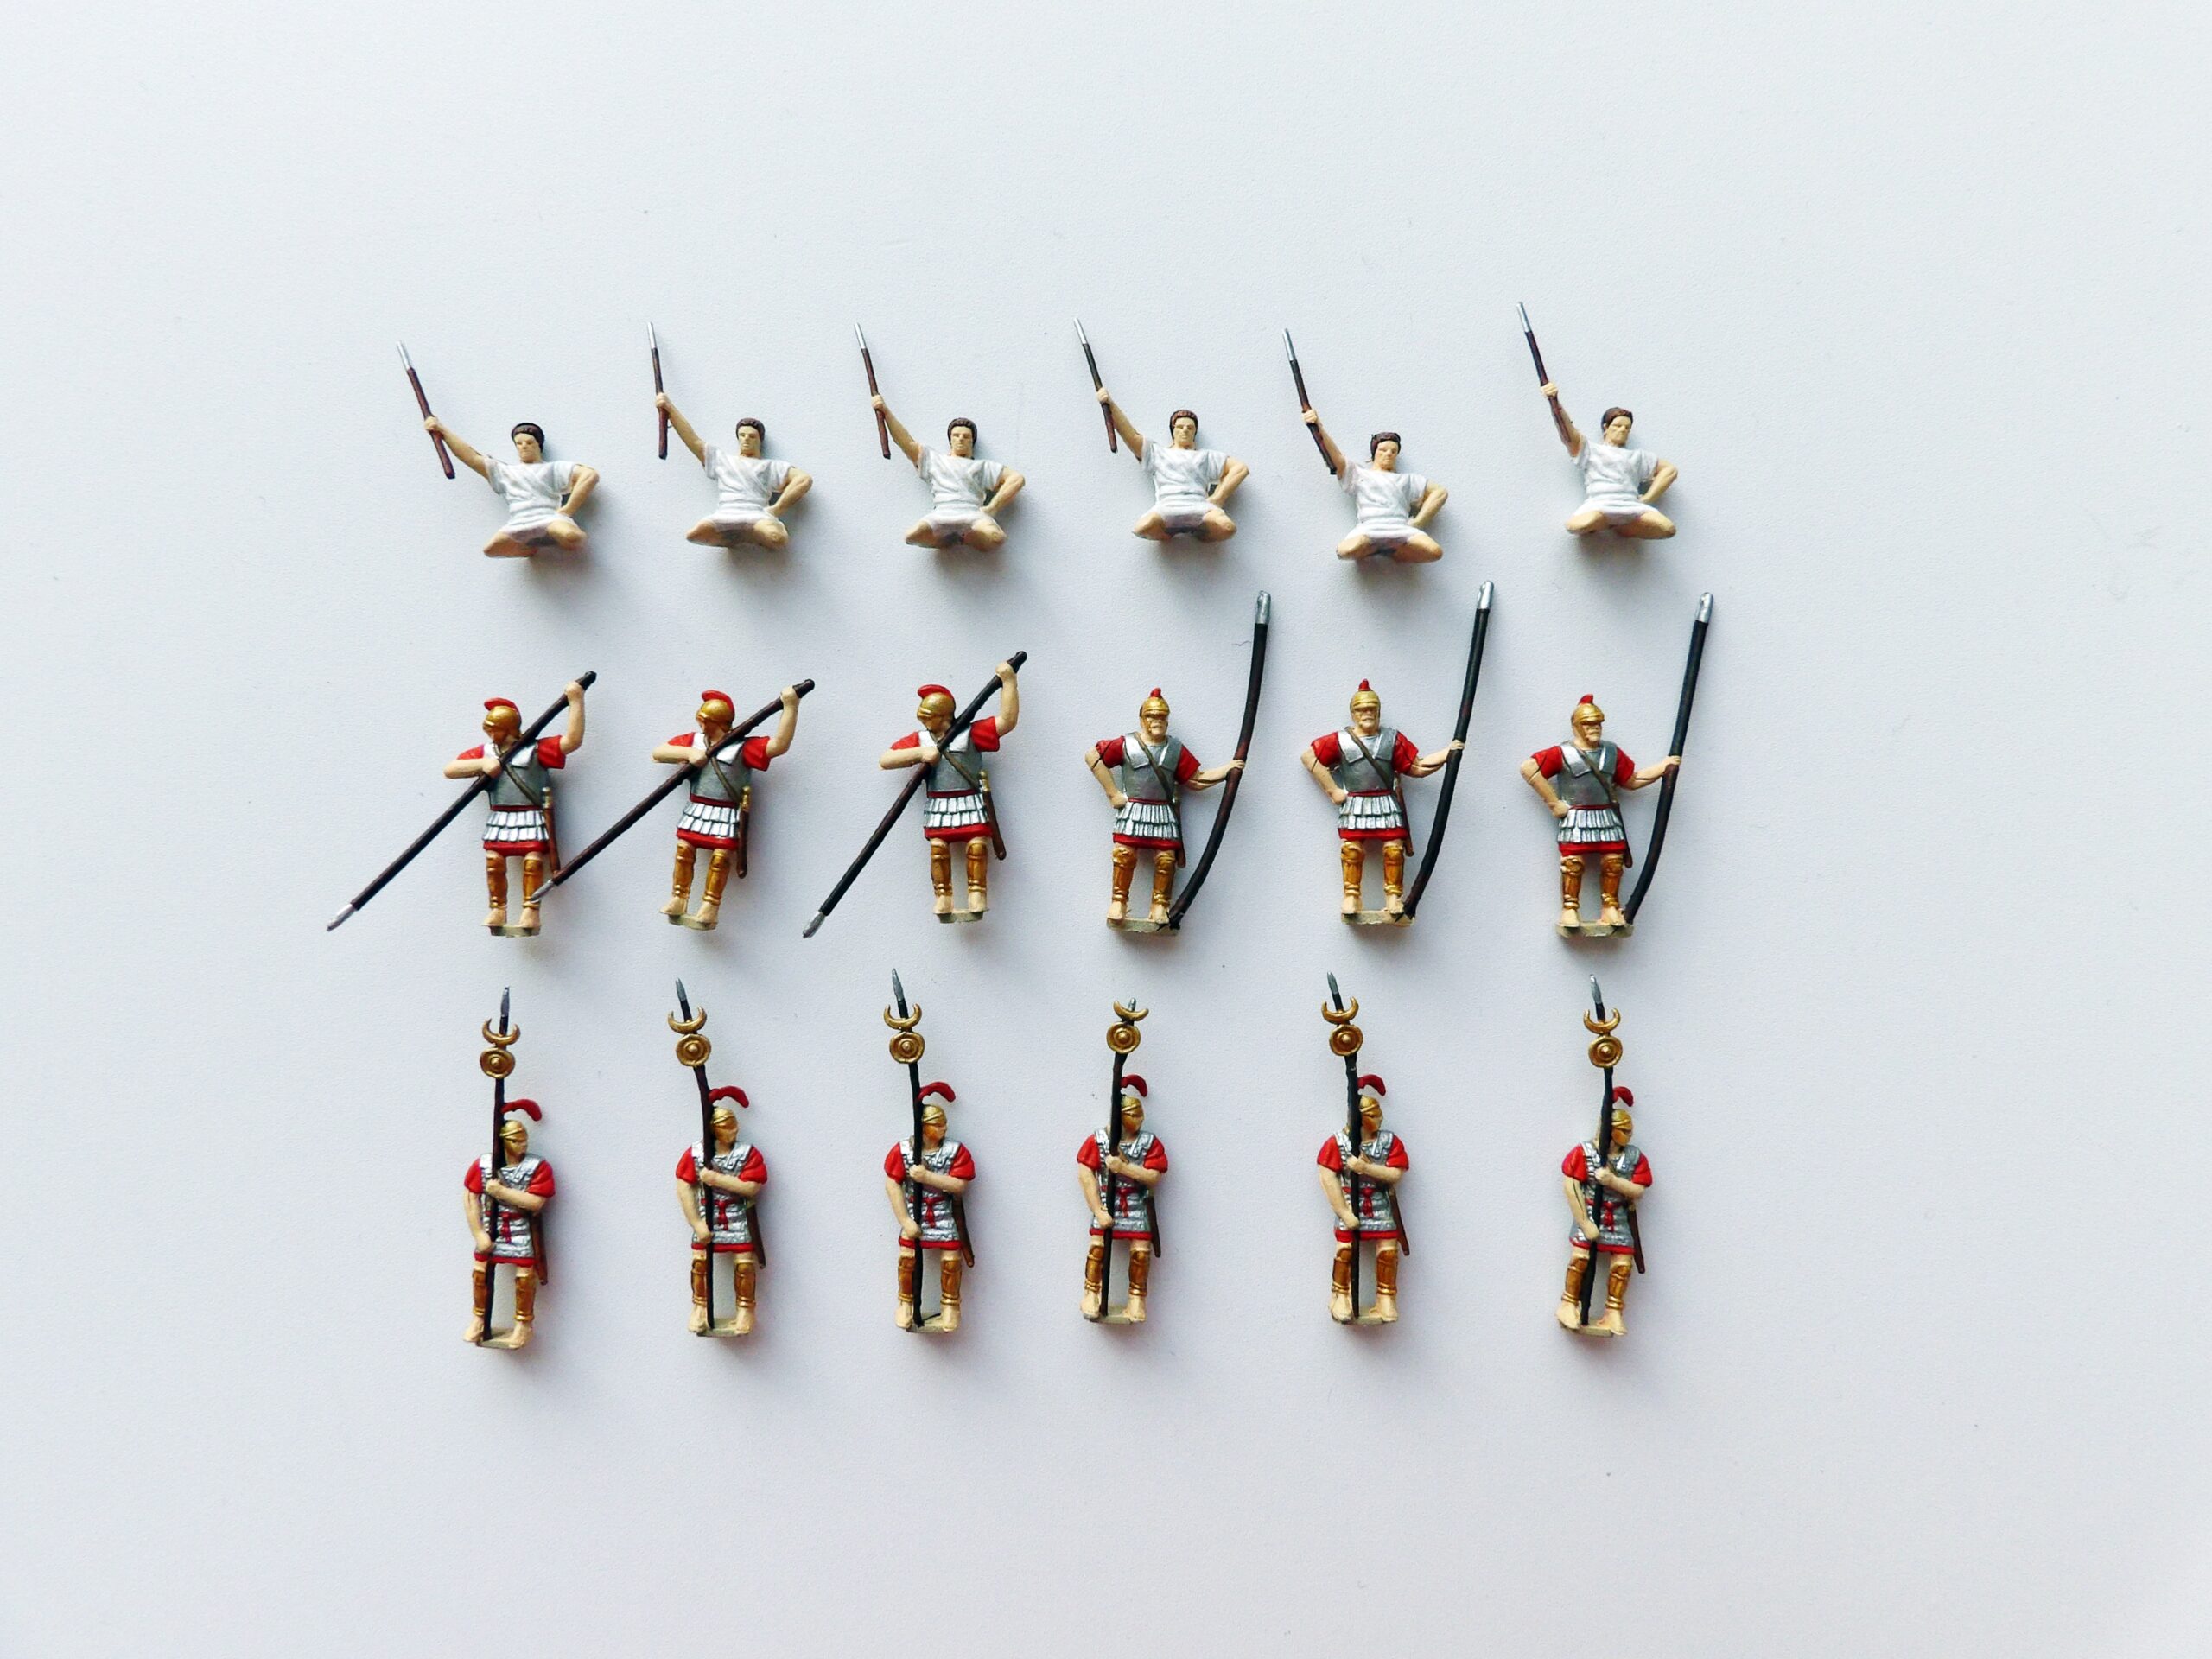
We have been looking for some figures to add to our Roman villa diorama, and these seem to fit the bill!The figures in this box were made from hard plastic. Some Hat kits are made from soft, rubbery plastic that may be more difficult to paint.To start off, we lightly spray primed the figures. Next we coloured the flesh and continued with the clothing. There’s a bit of paint over the line, but don’t worry it will soon be covered with the next layers of paint!Here are the completed Carthaginians pre-varnished.The elephants come in one piece and are very sturdy. We painted the elephants in dark grey and then drybrushed lighter shades on top.Here are the finished elephants. The howdah was very plain so we added some wooden detail.The final figures – we varnished with Army Painter Soft Tone and added static grass to the base. Watch out Romans, the War Elephants are coming!
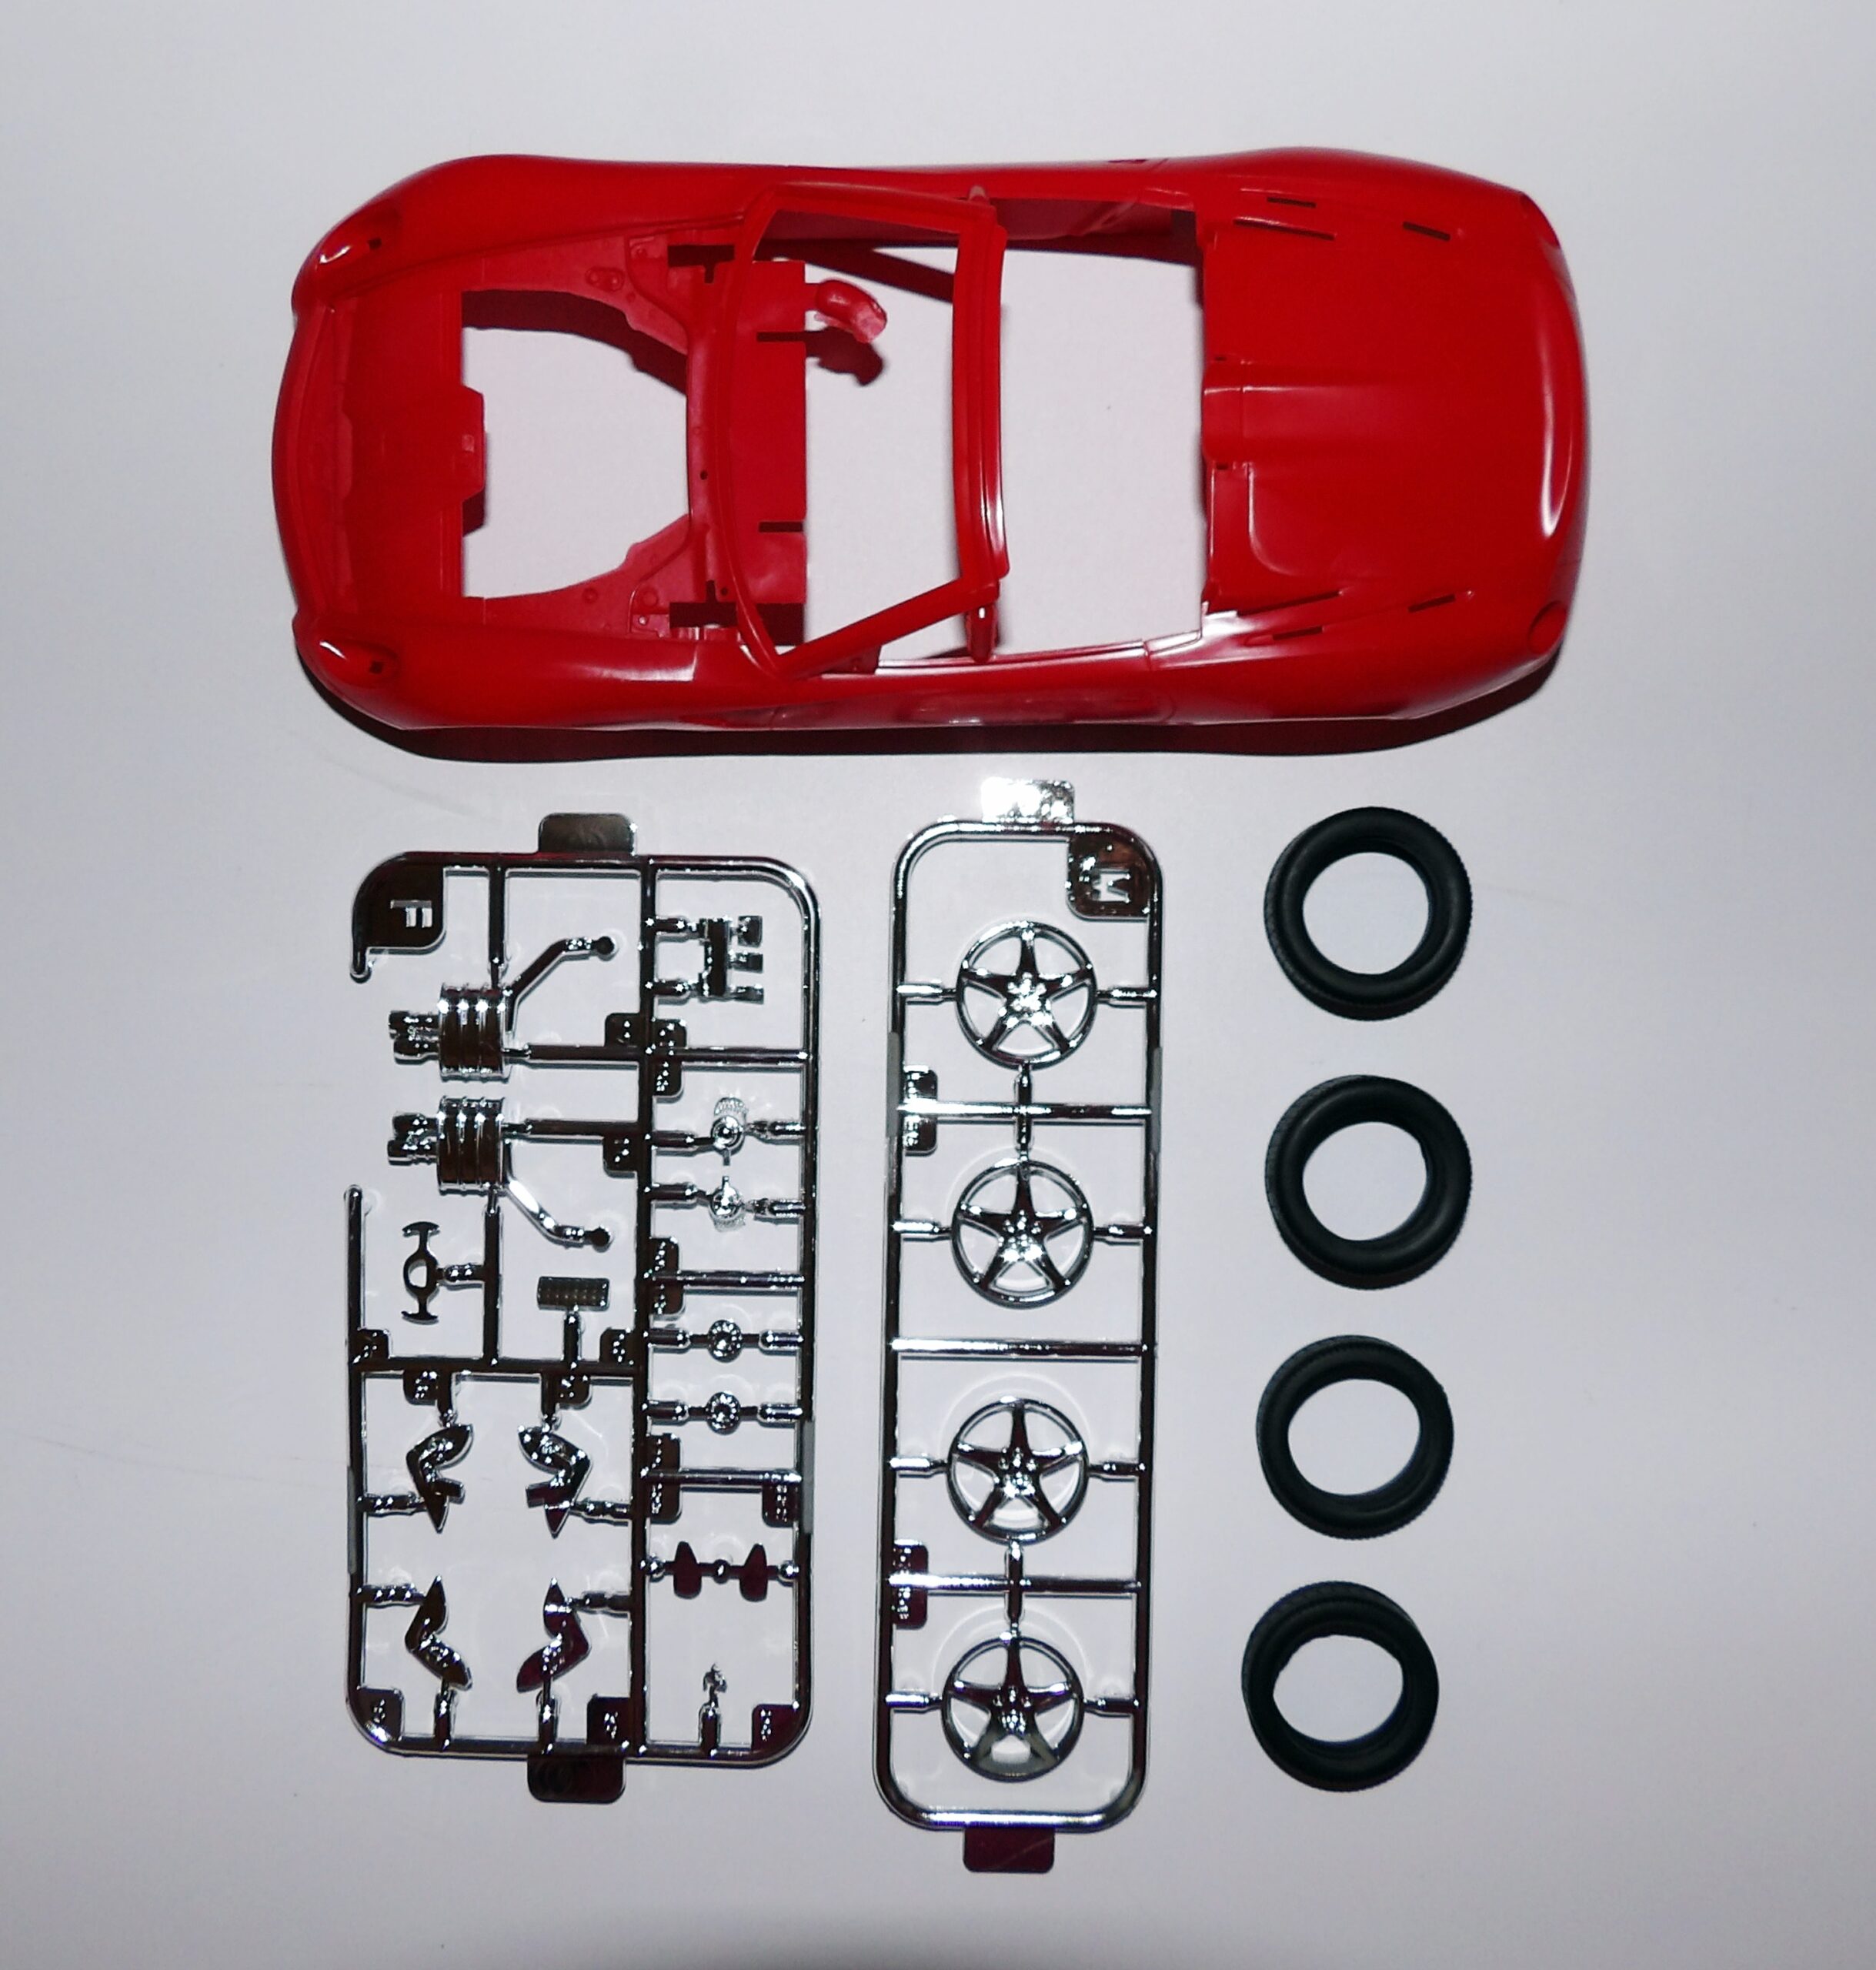
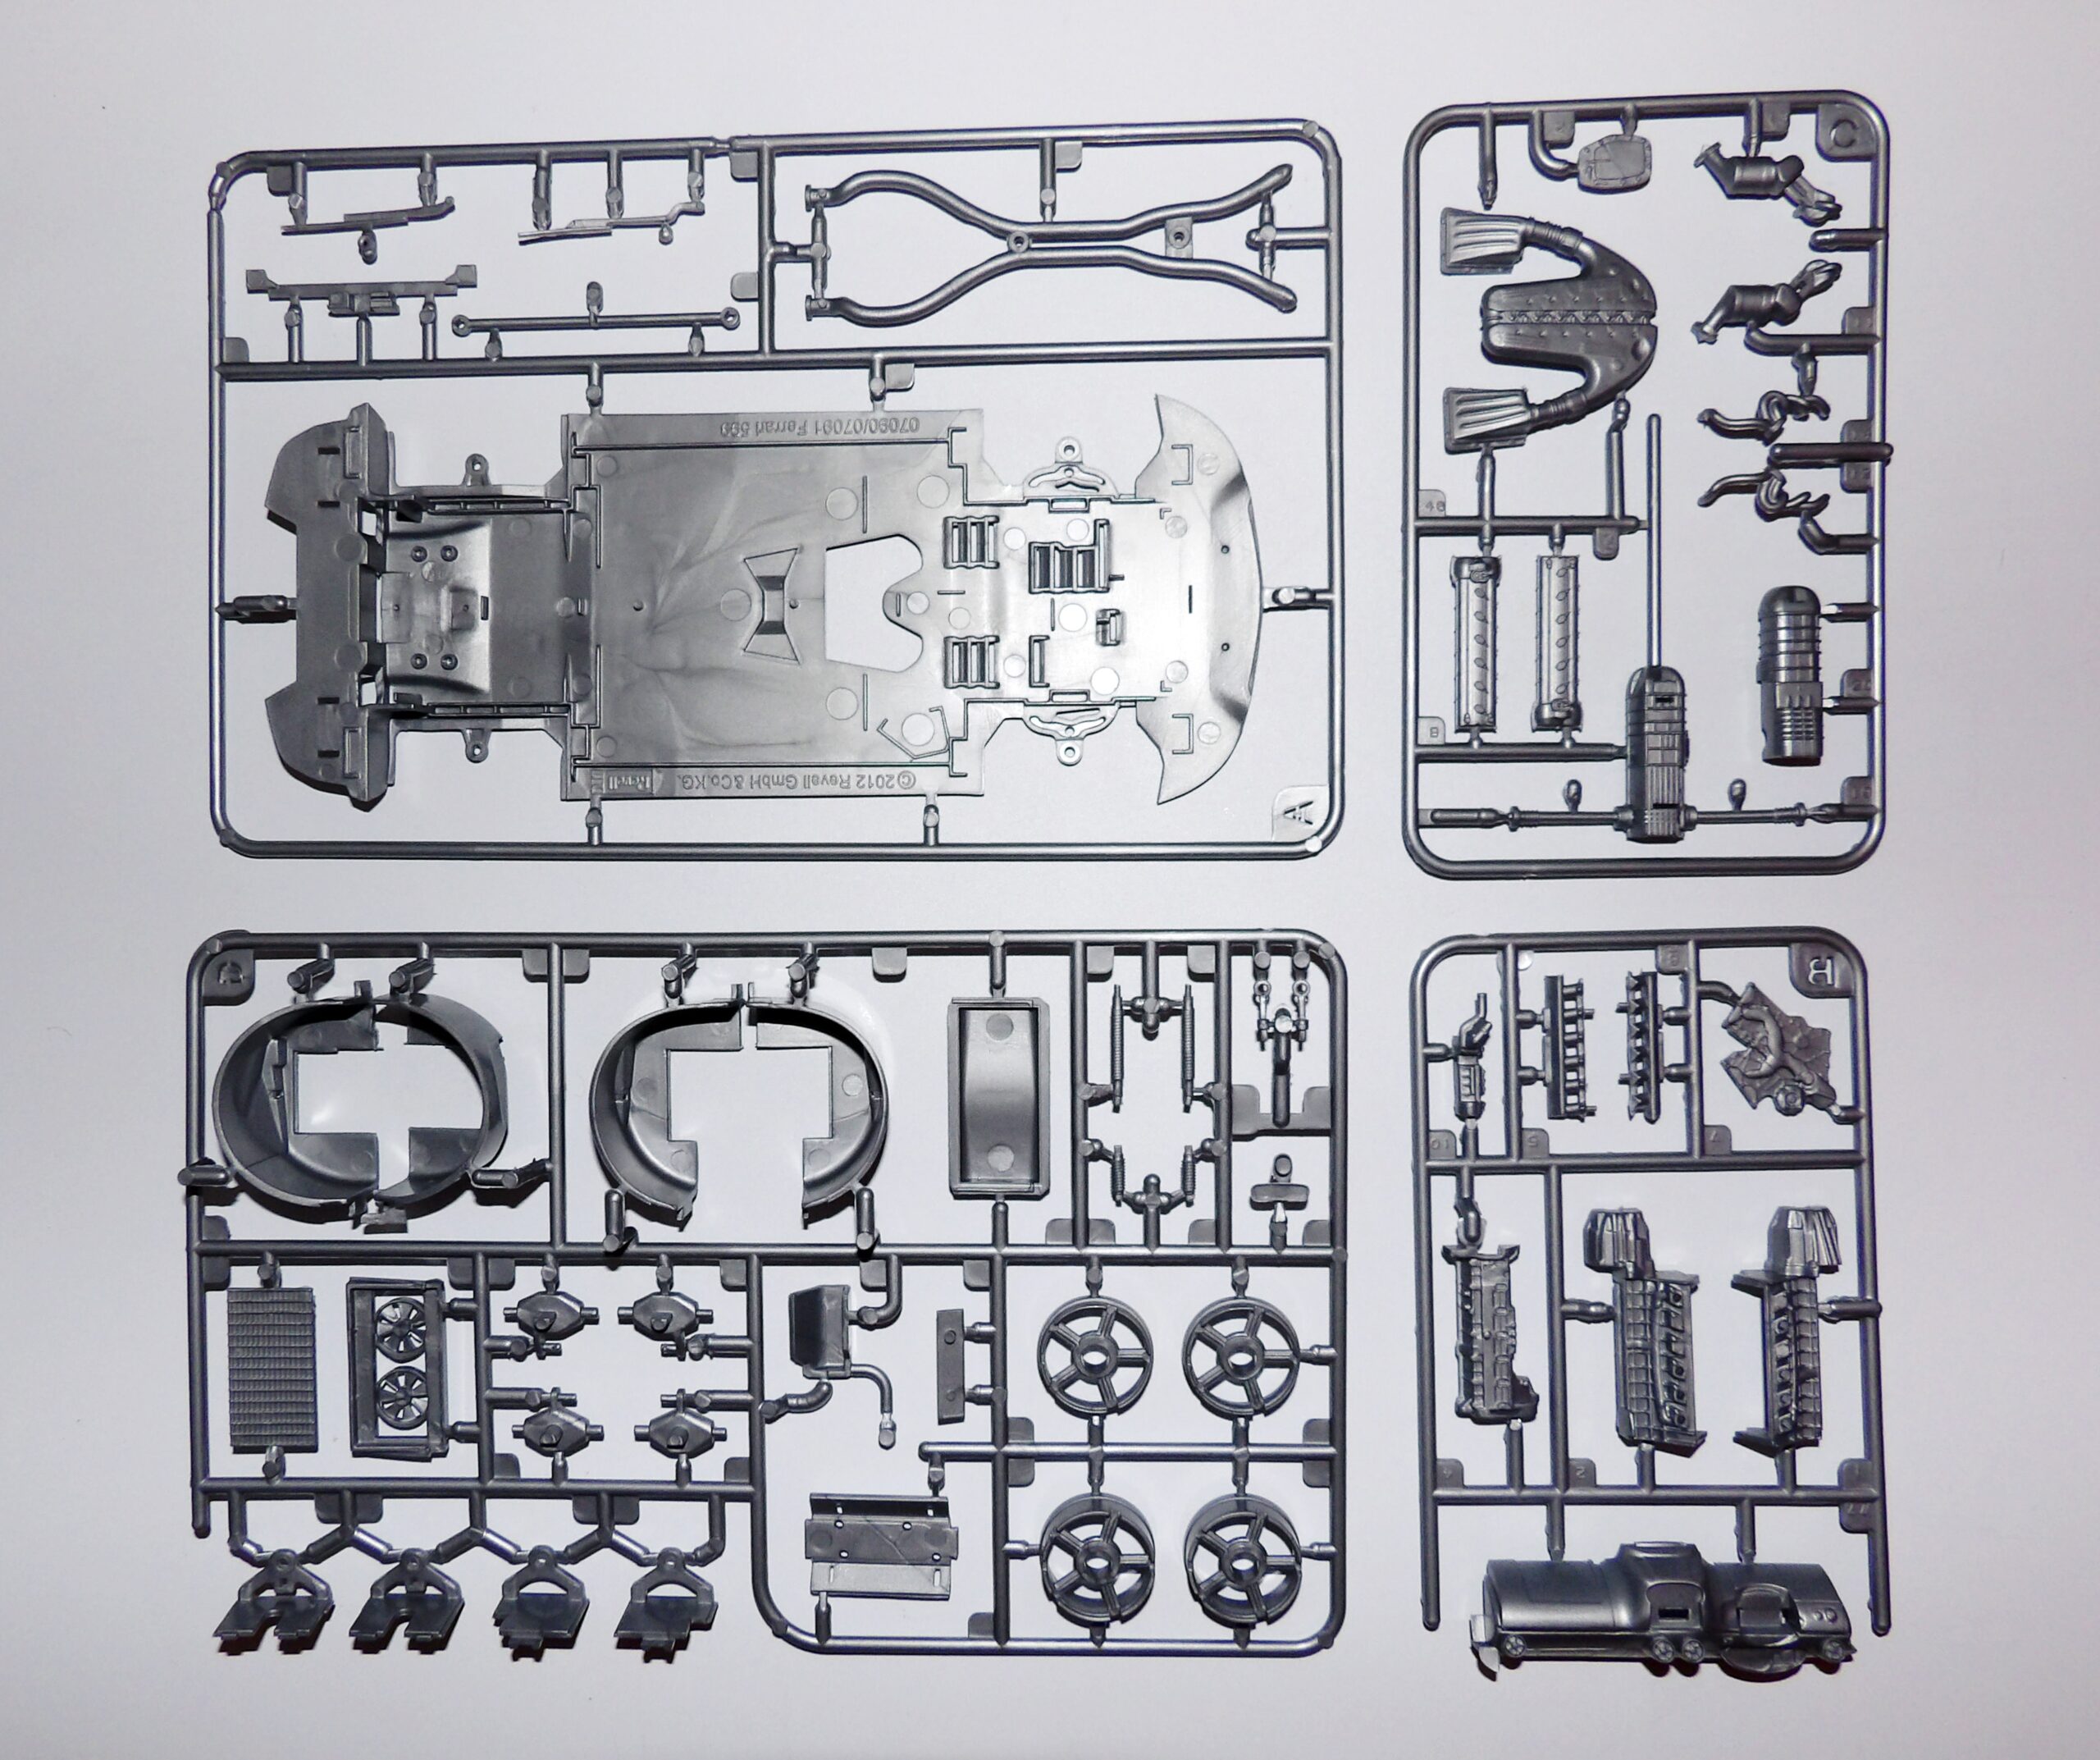
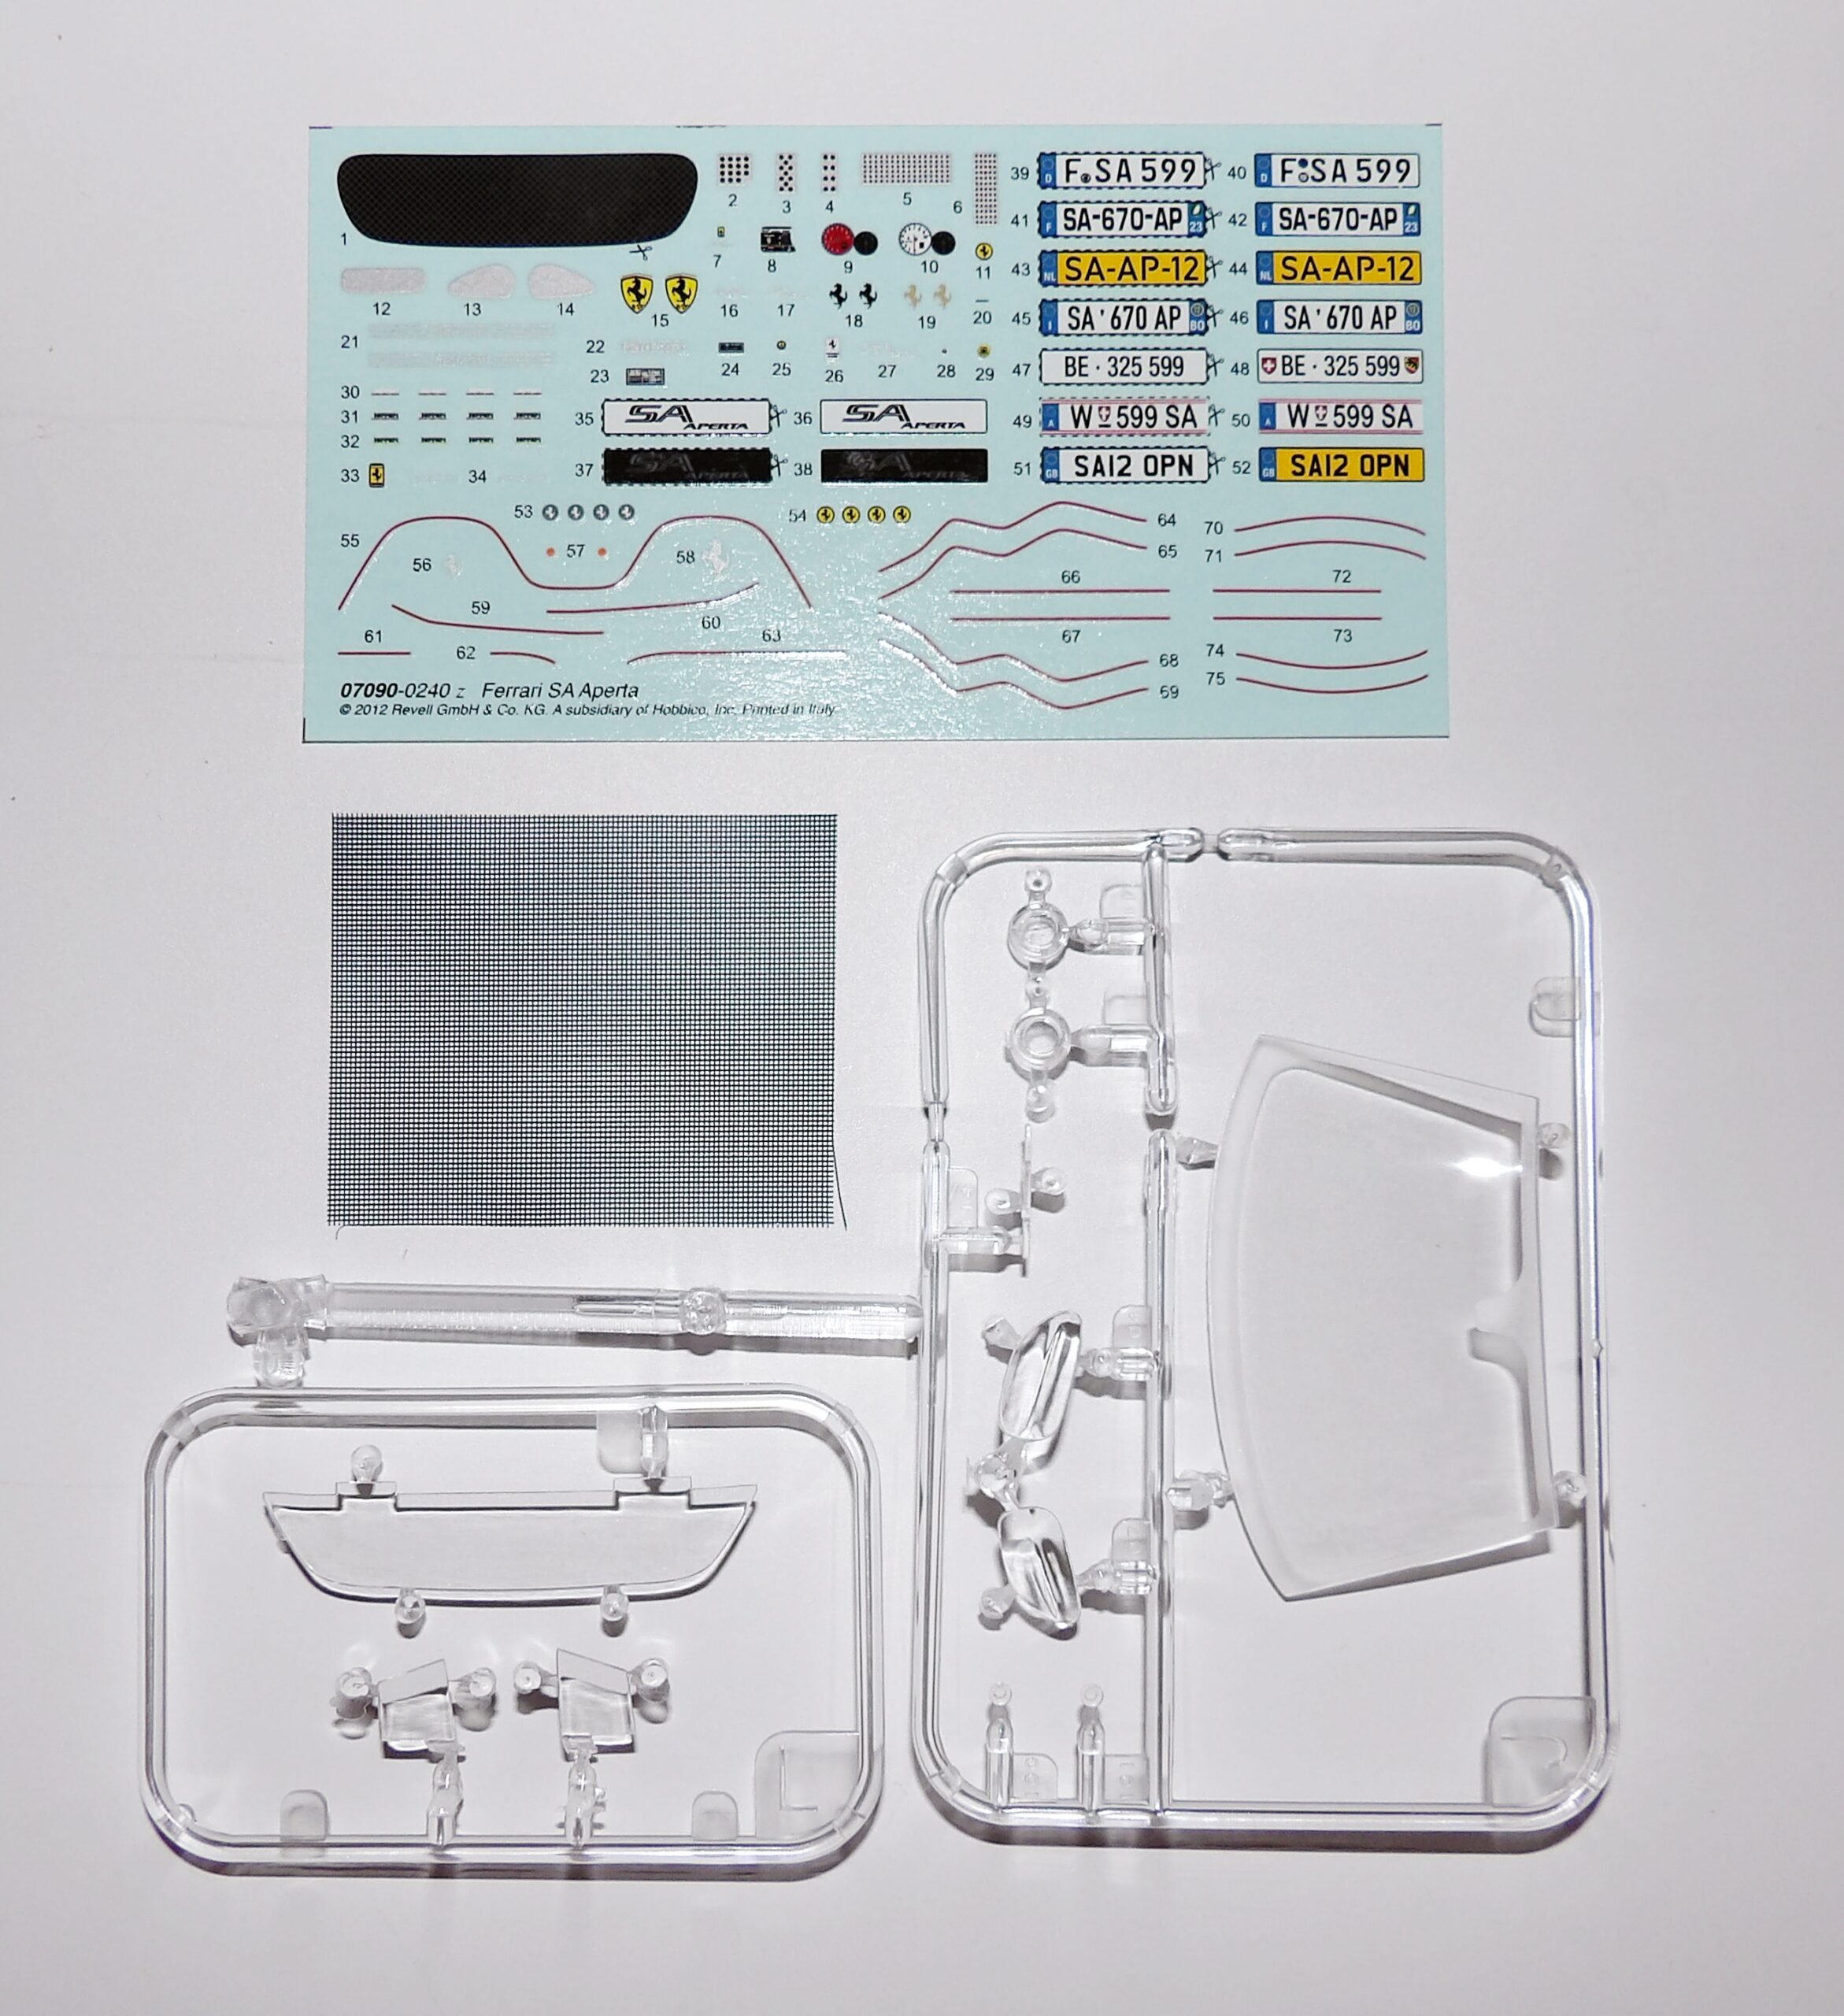
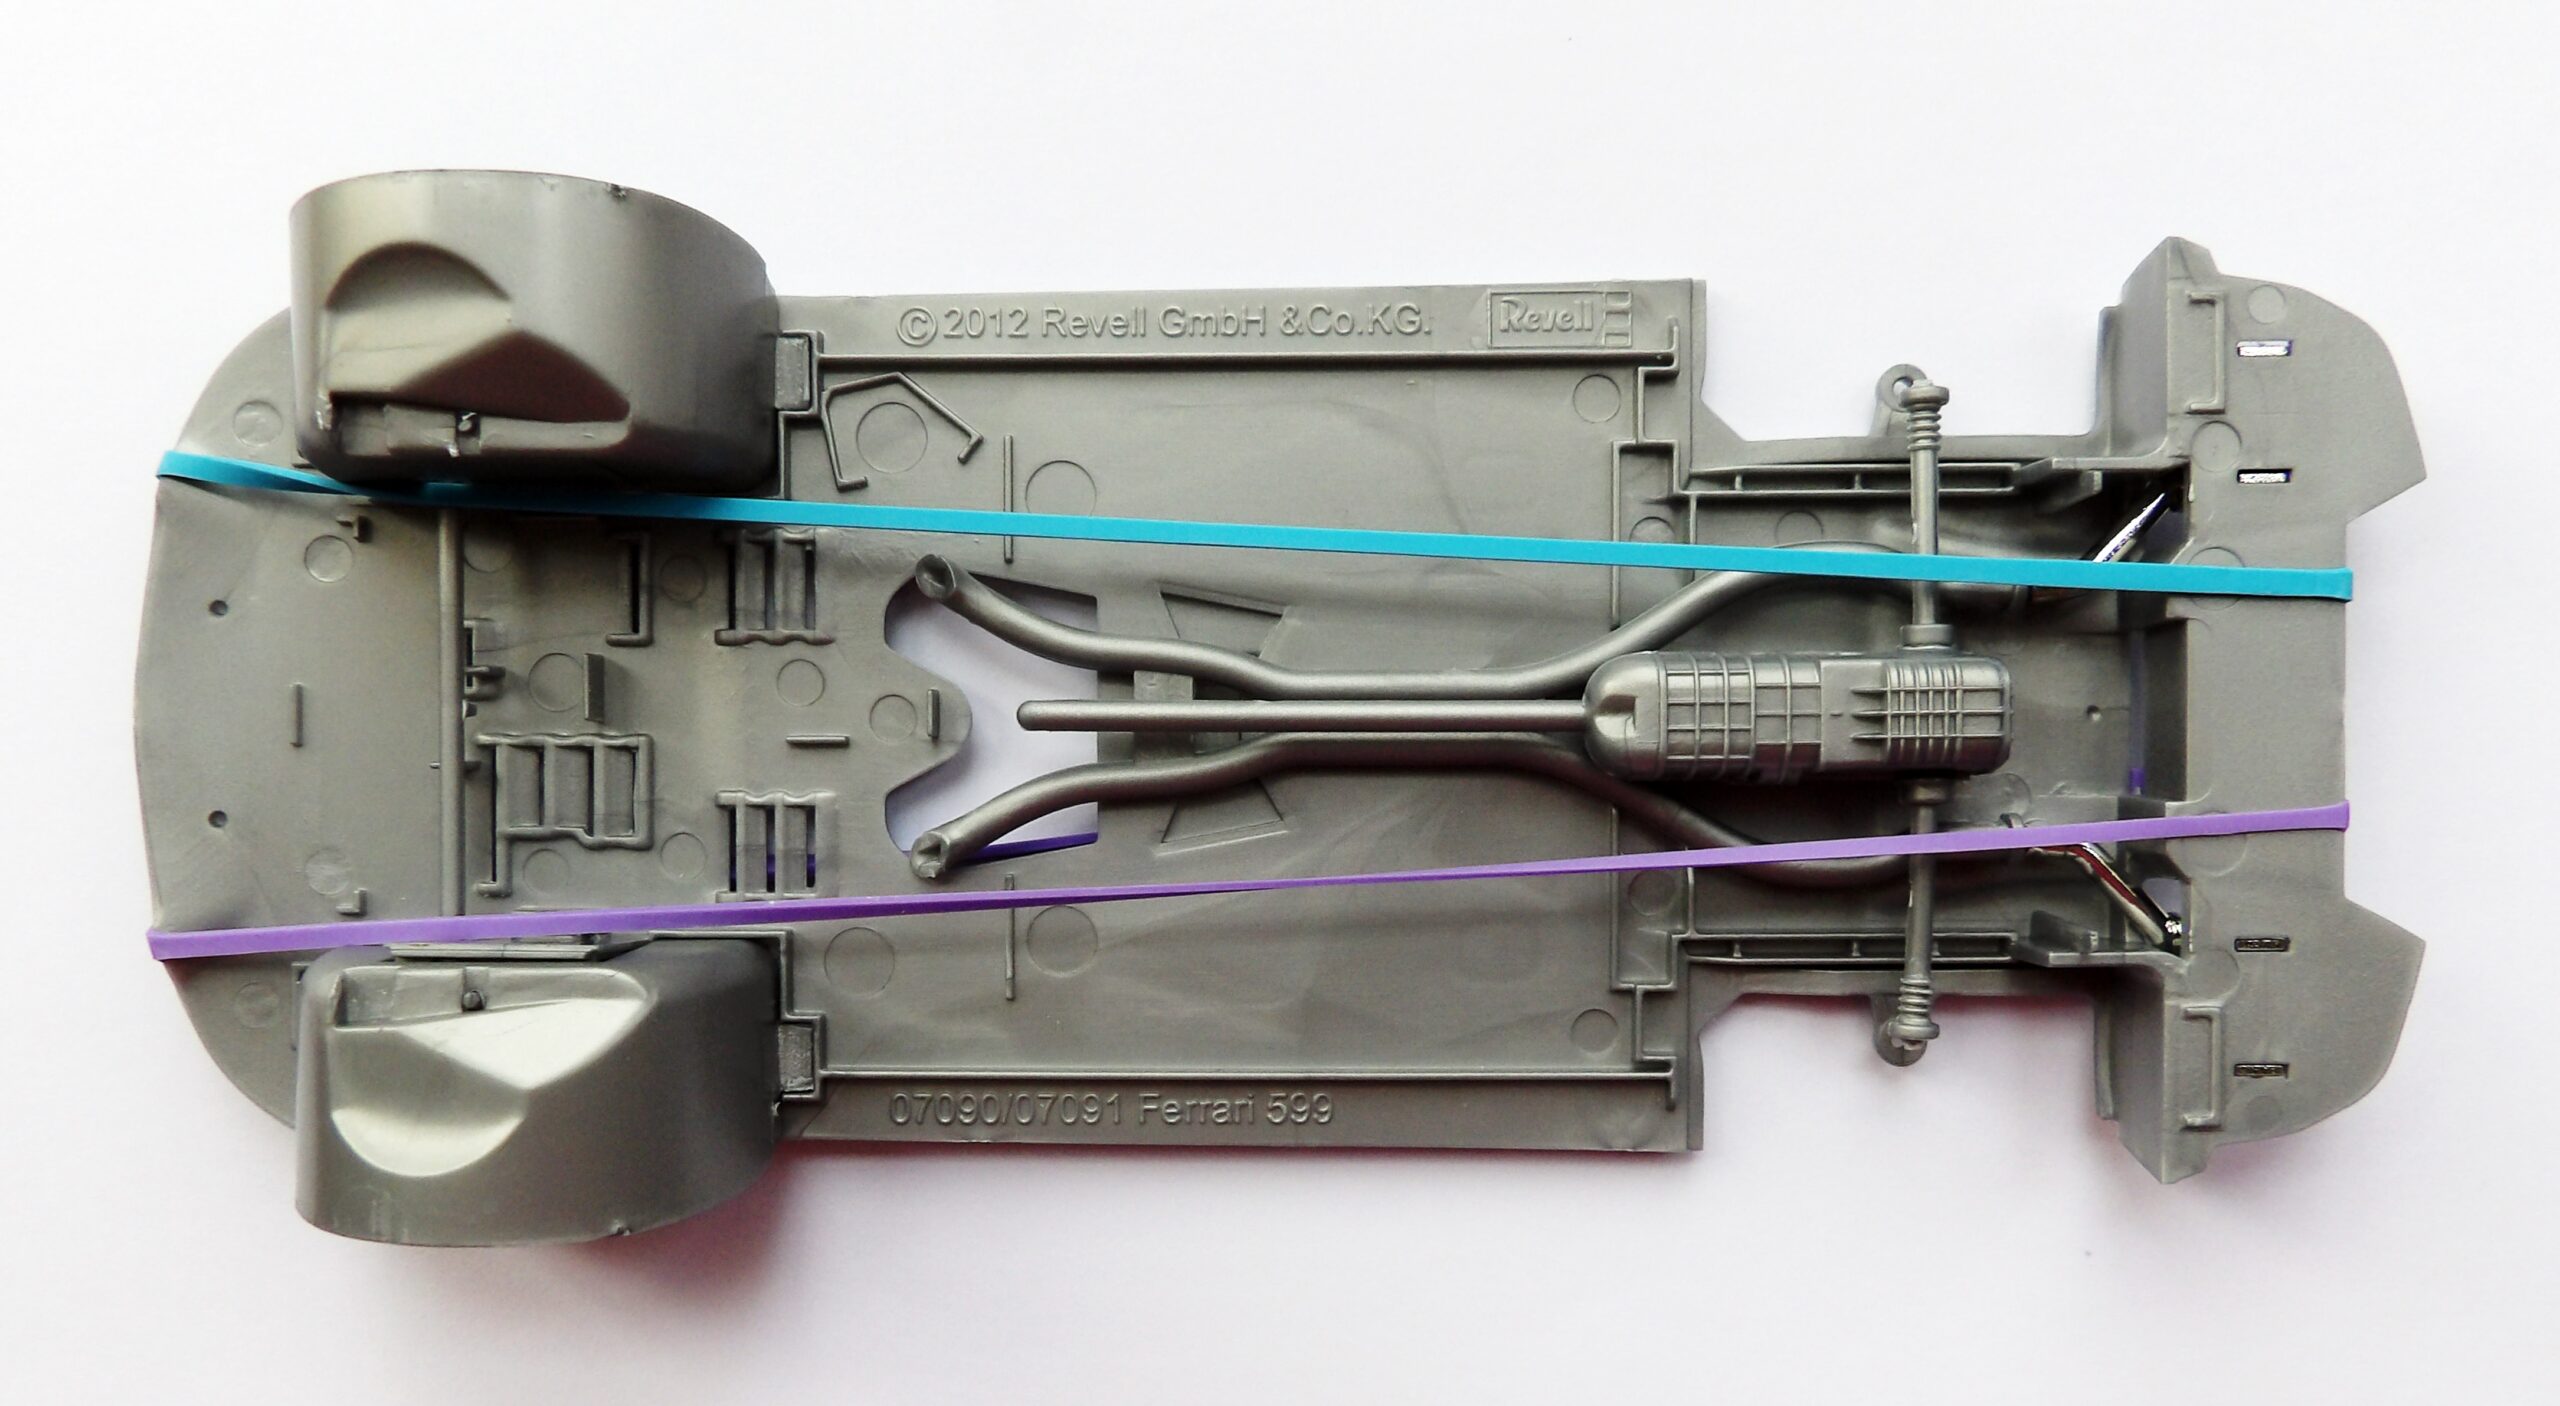
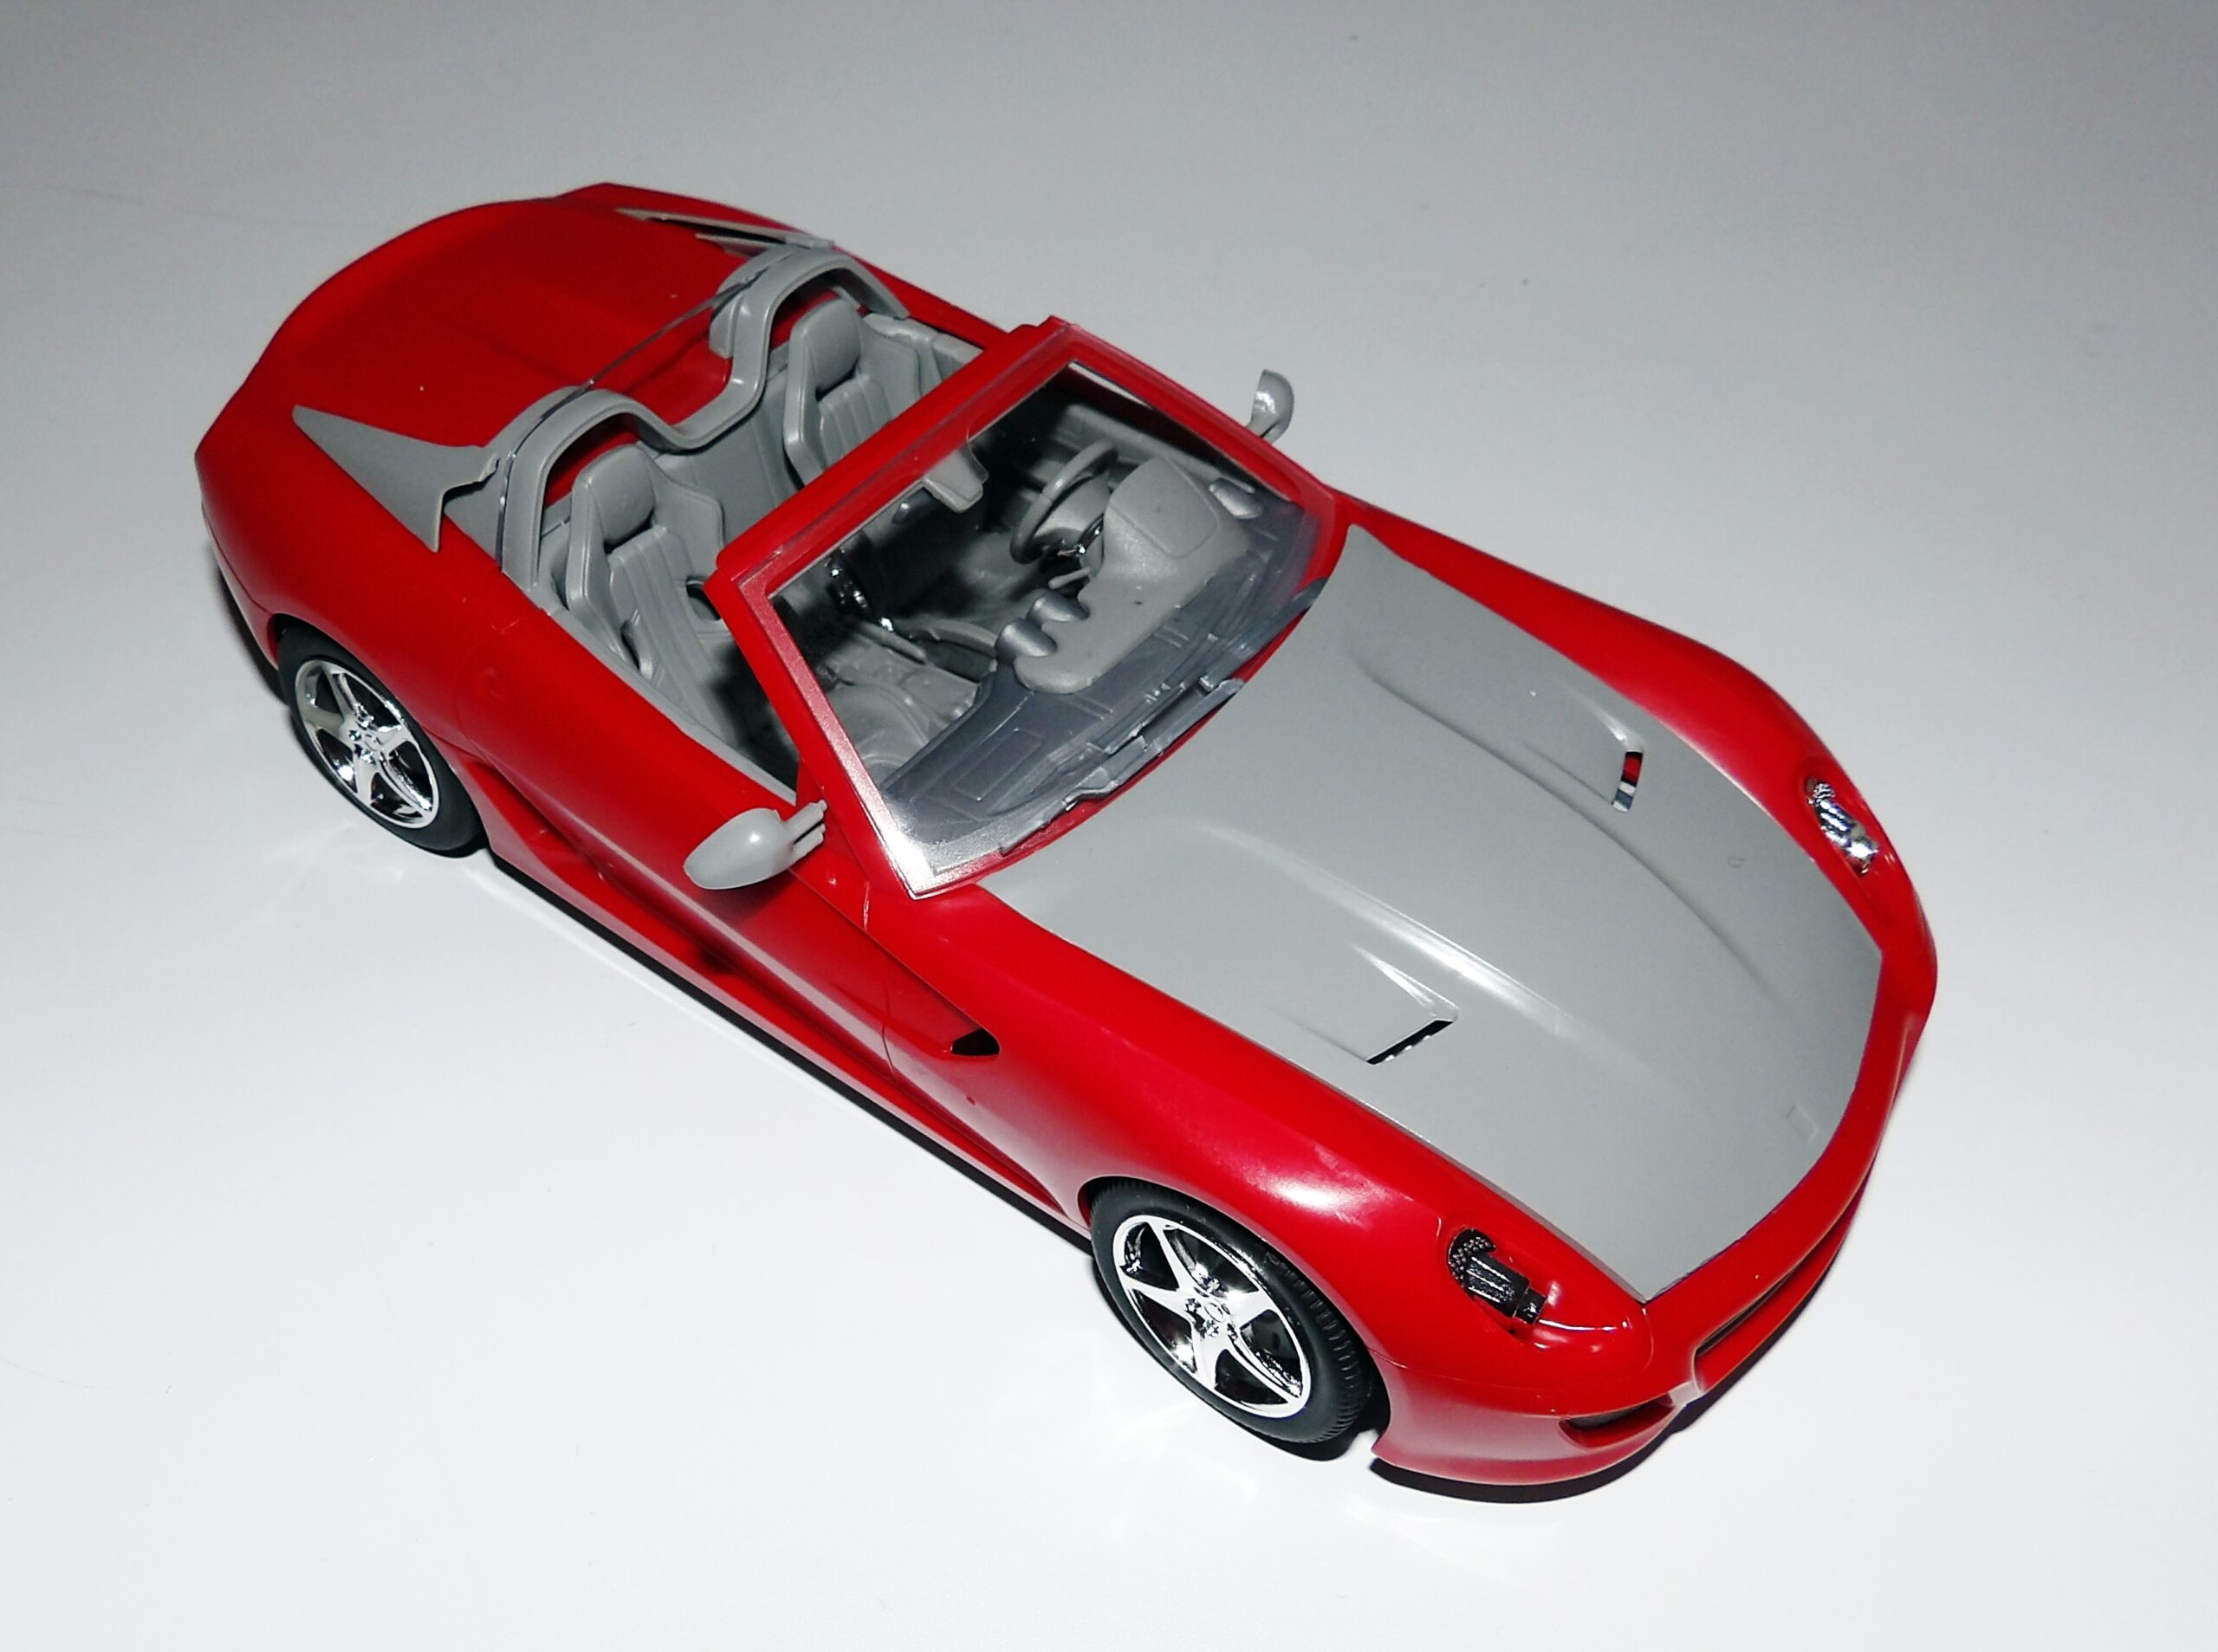
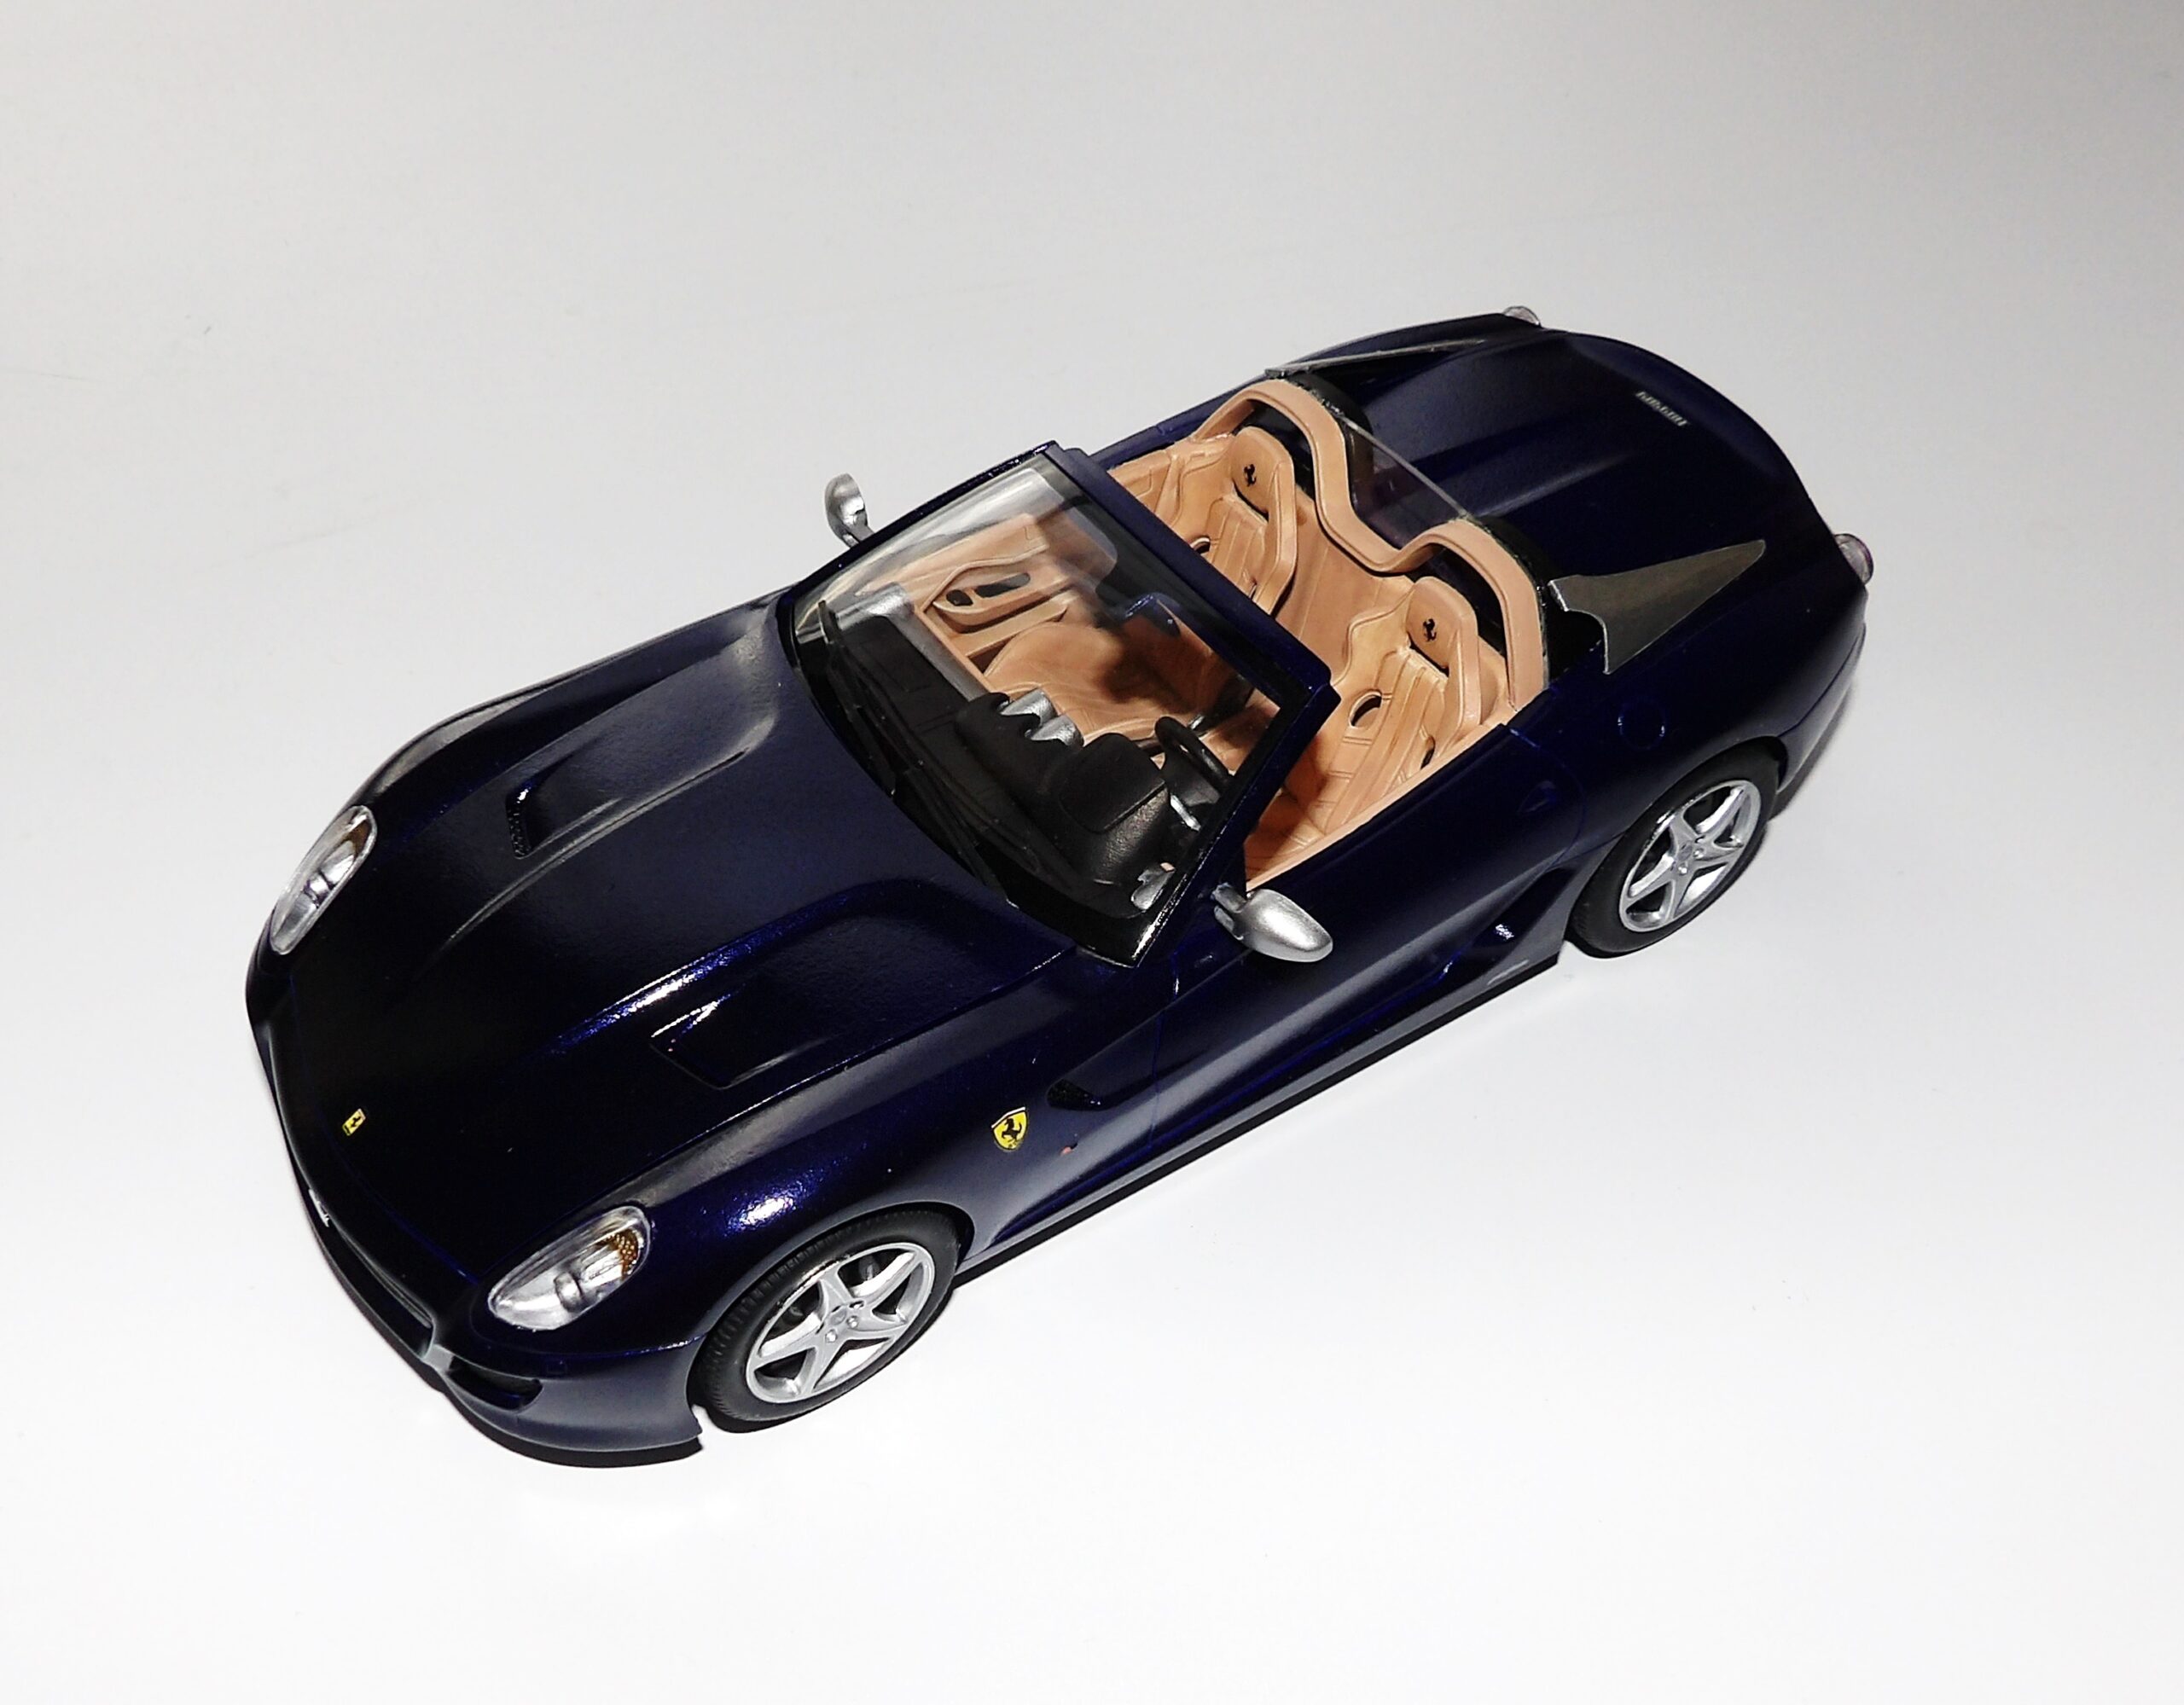
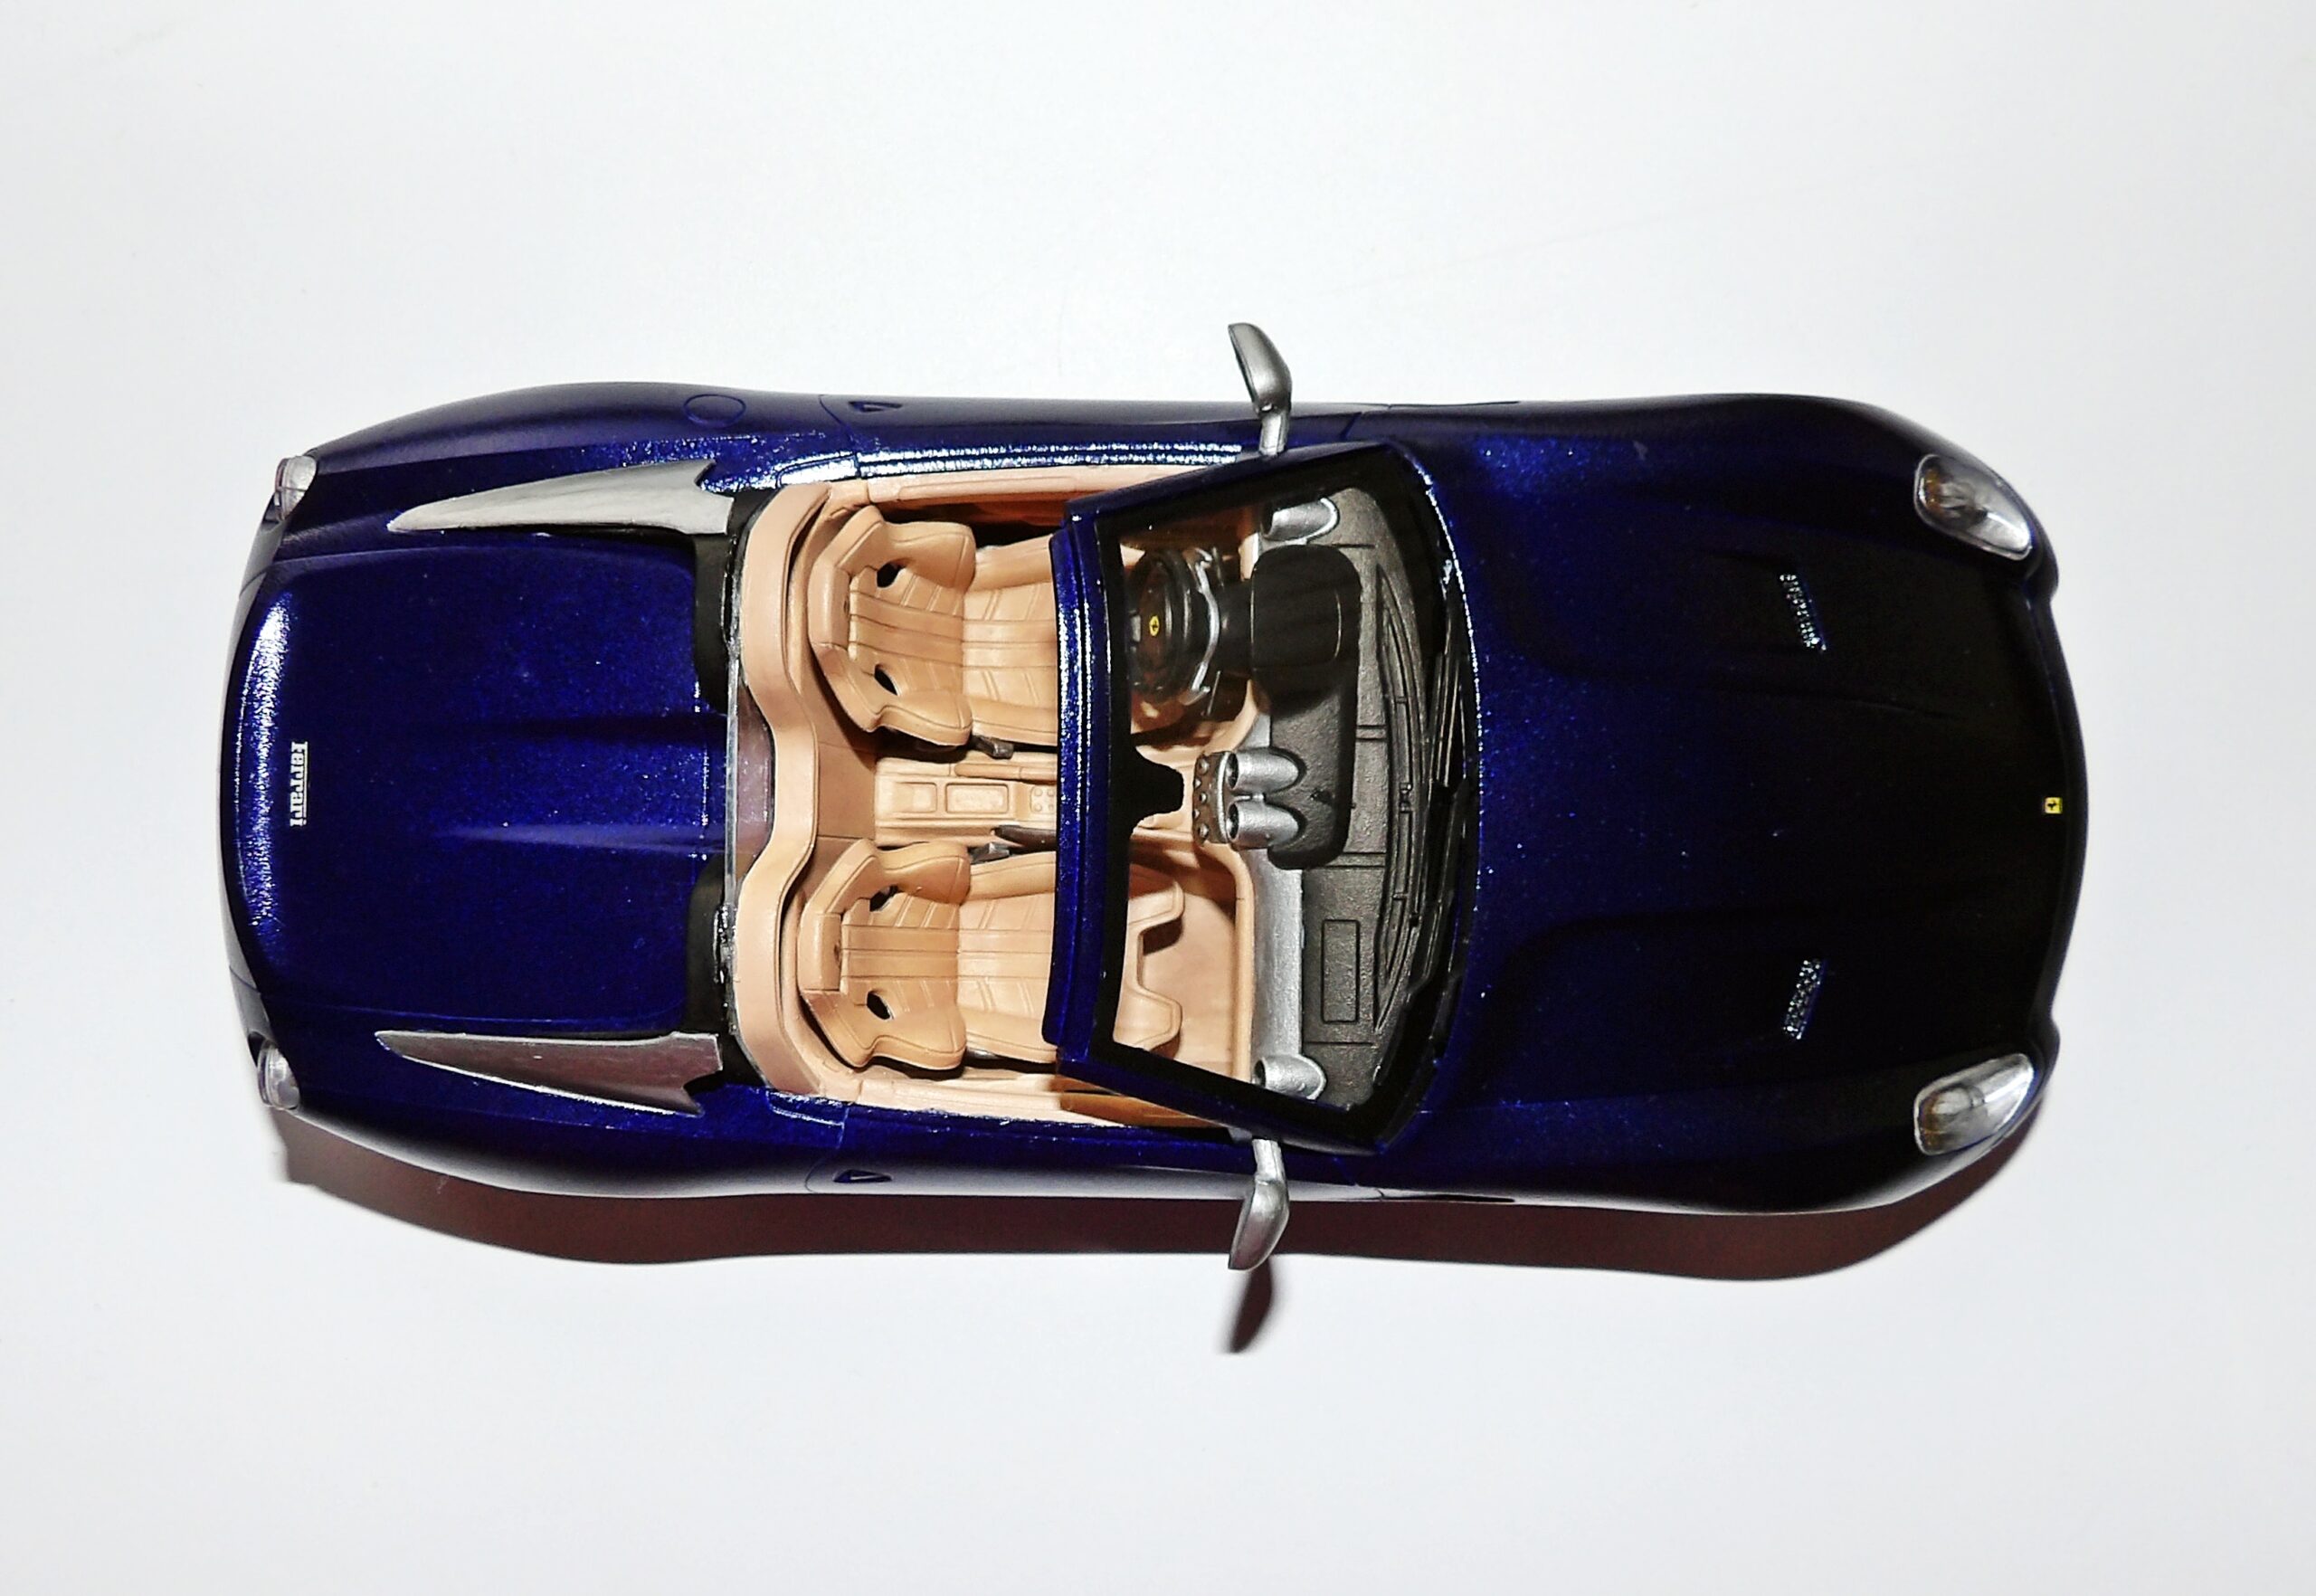
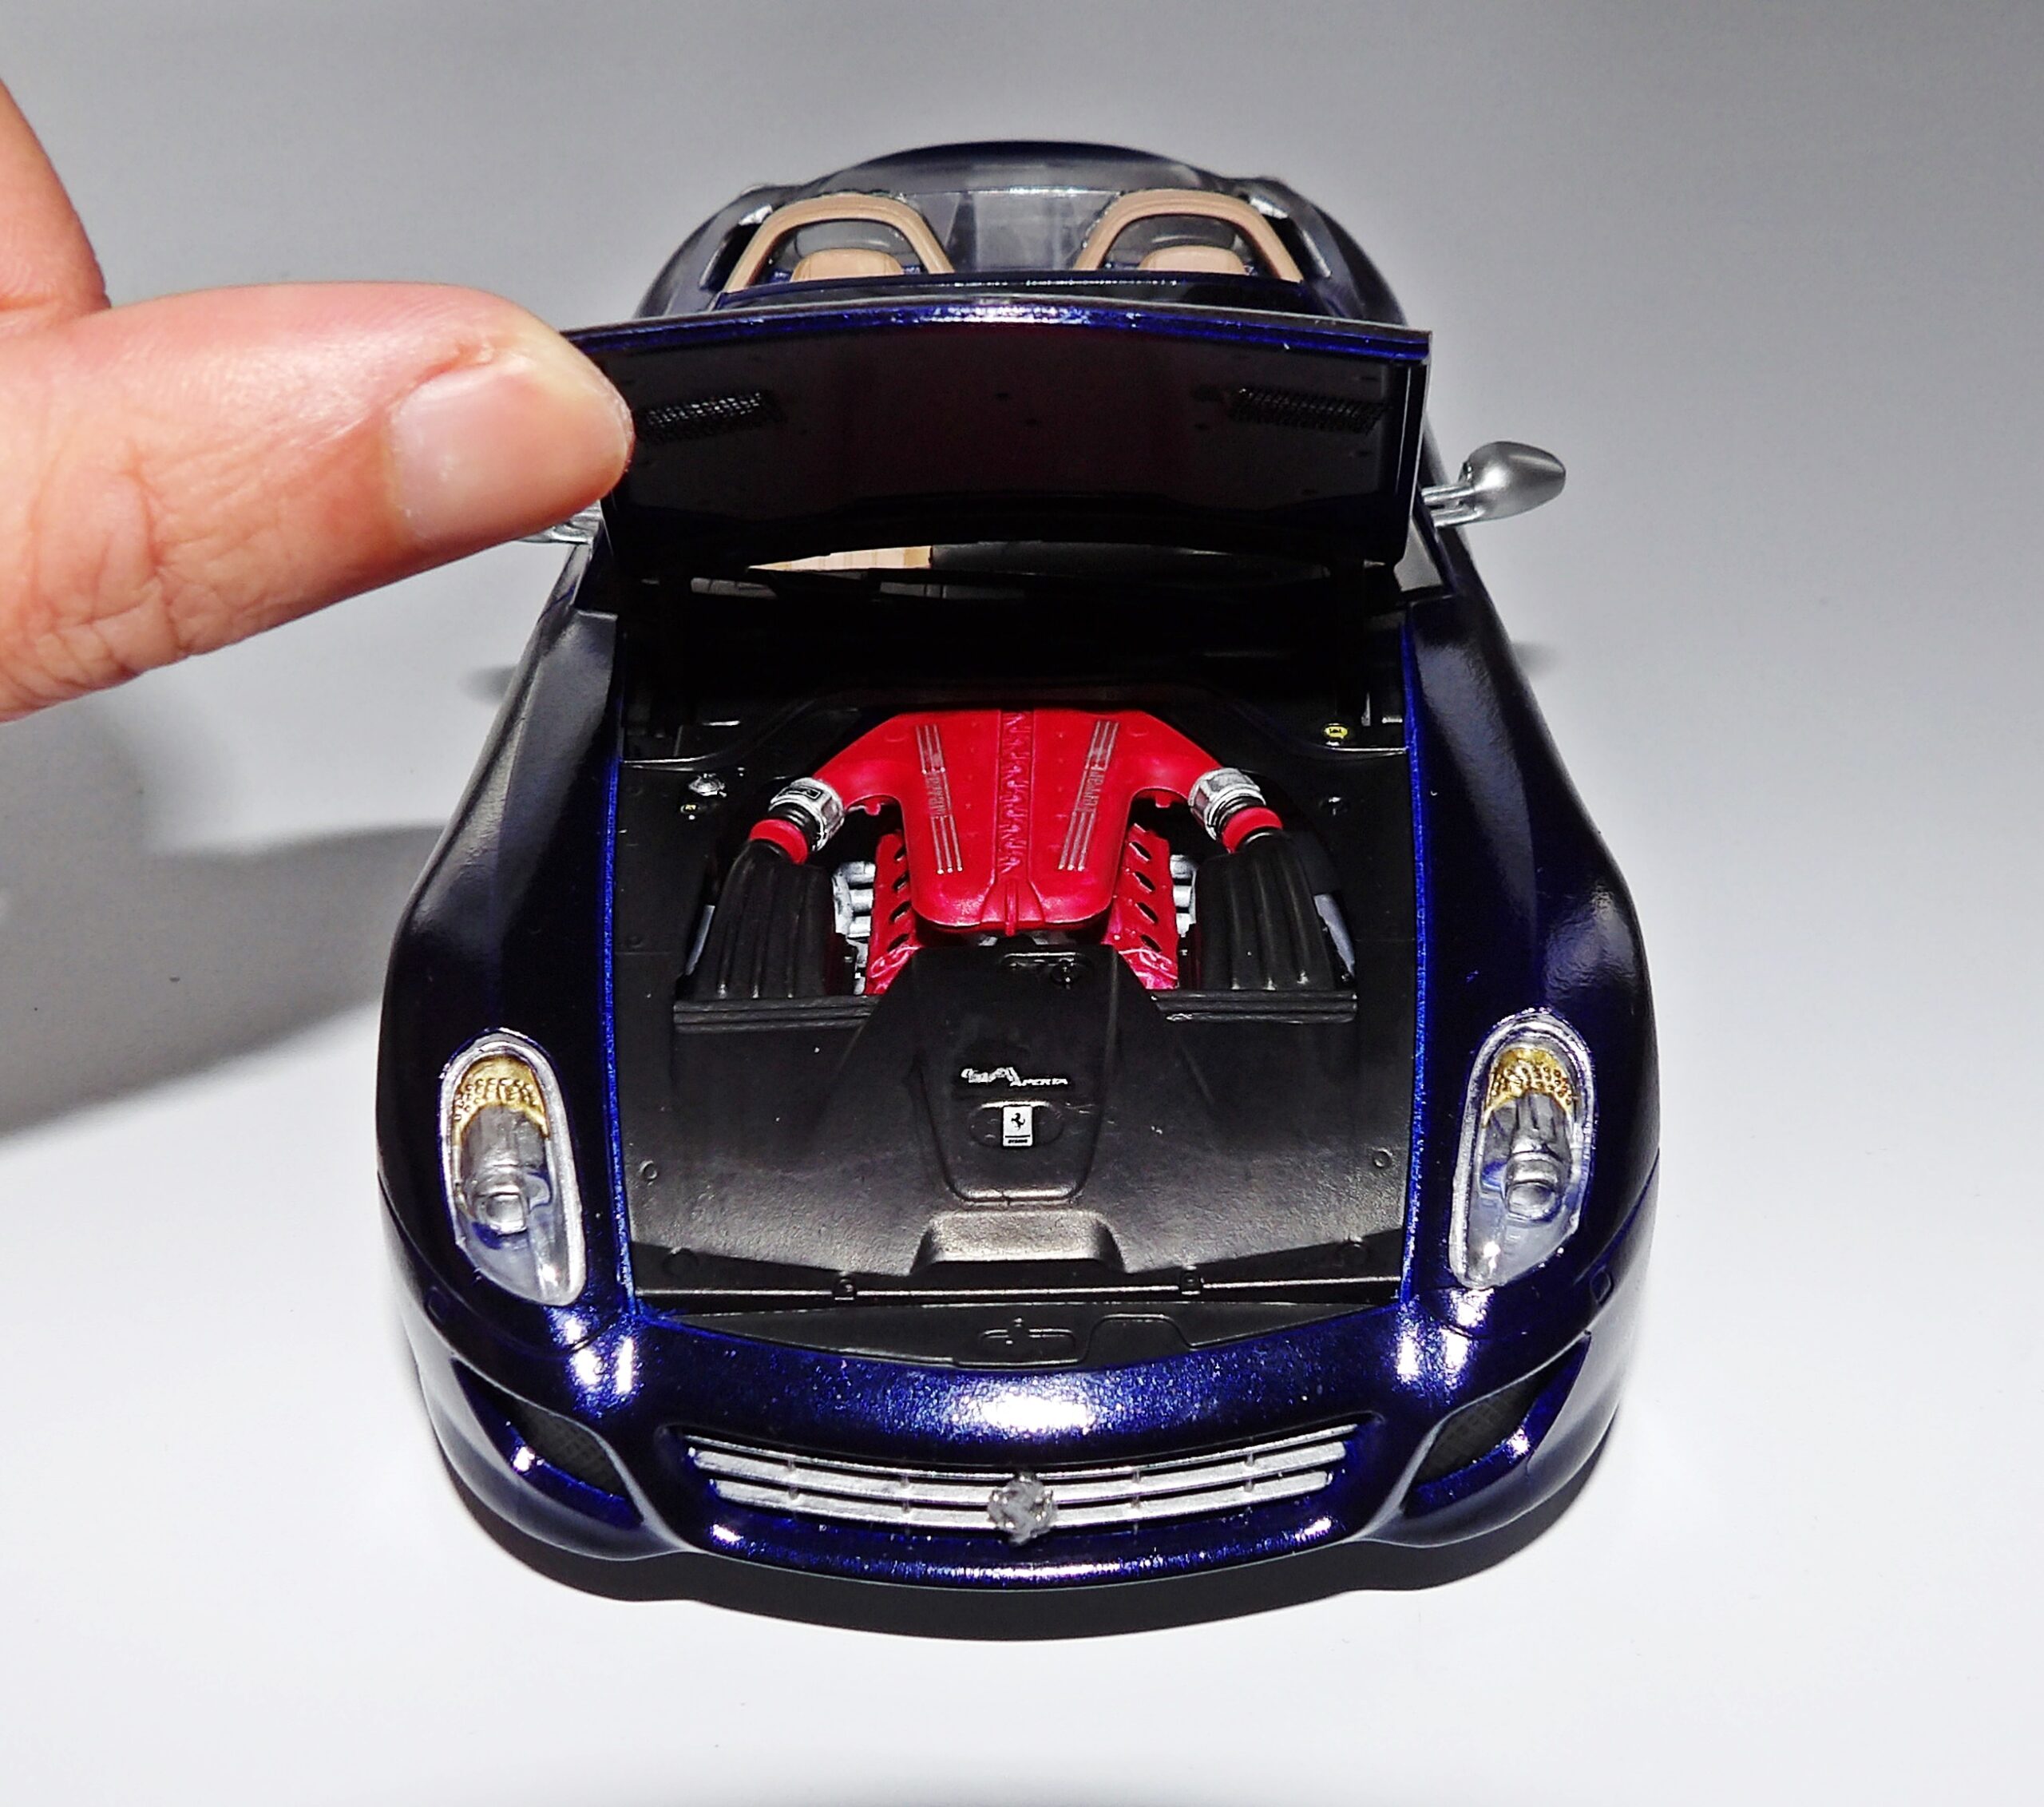
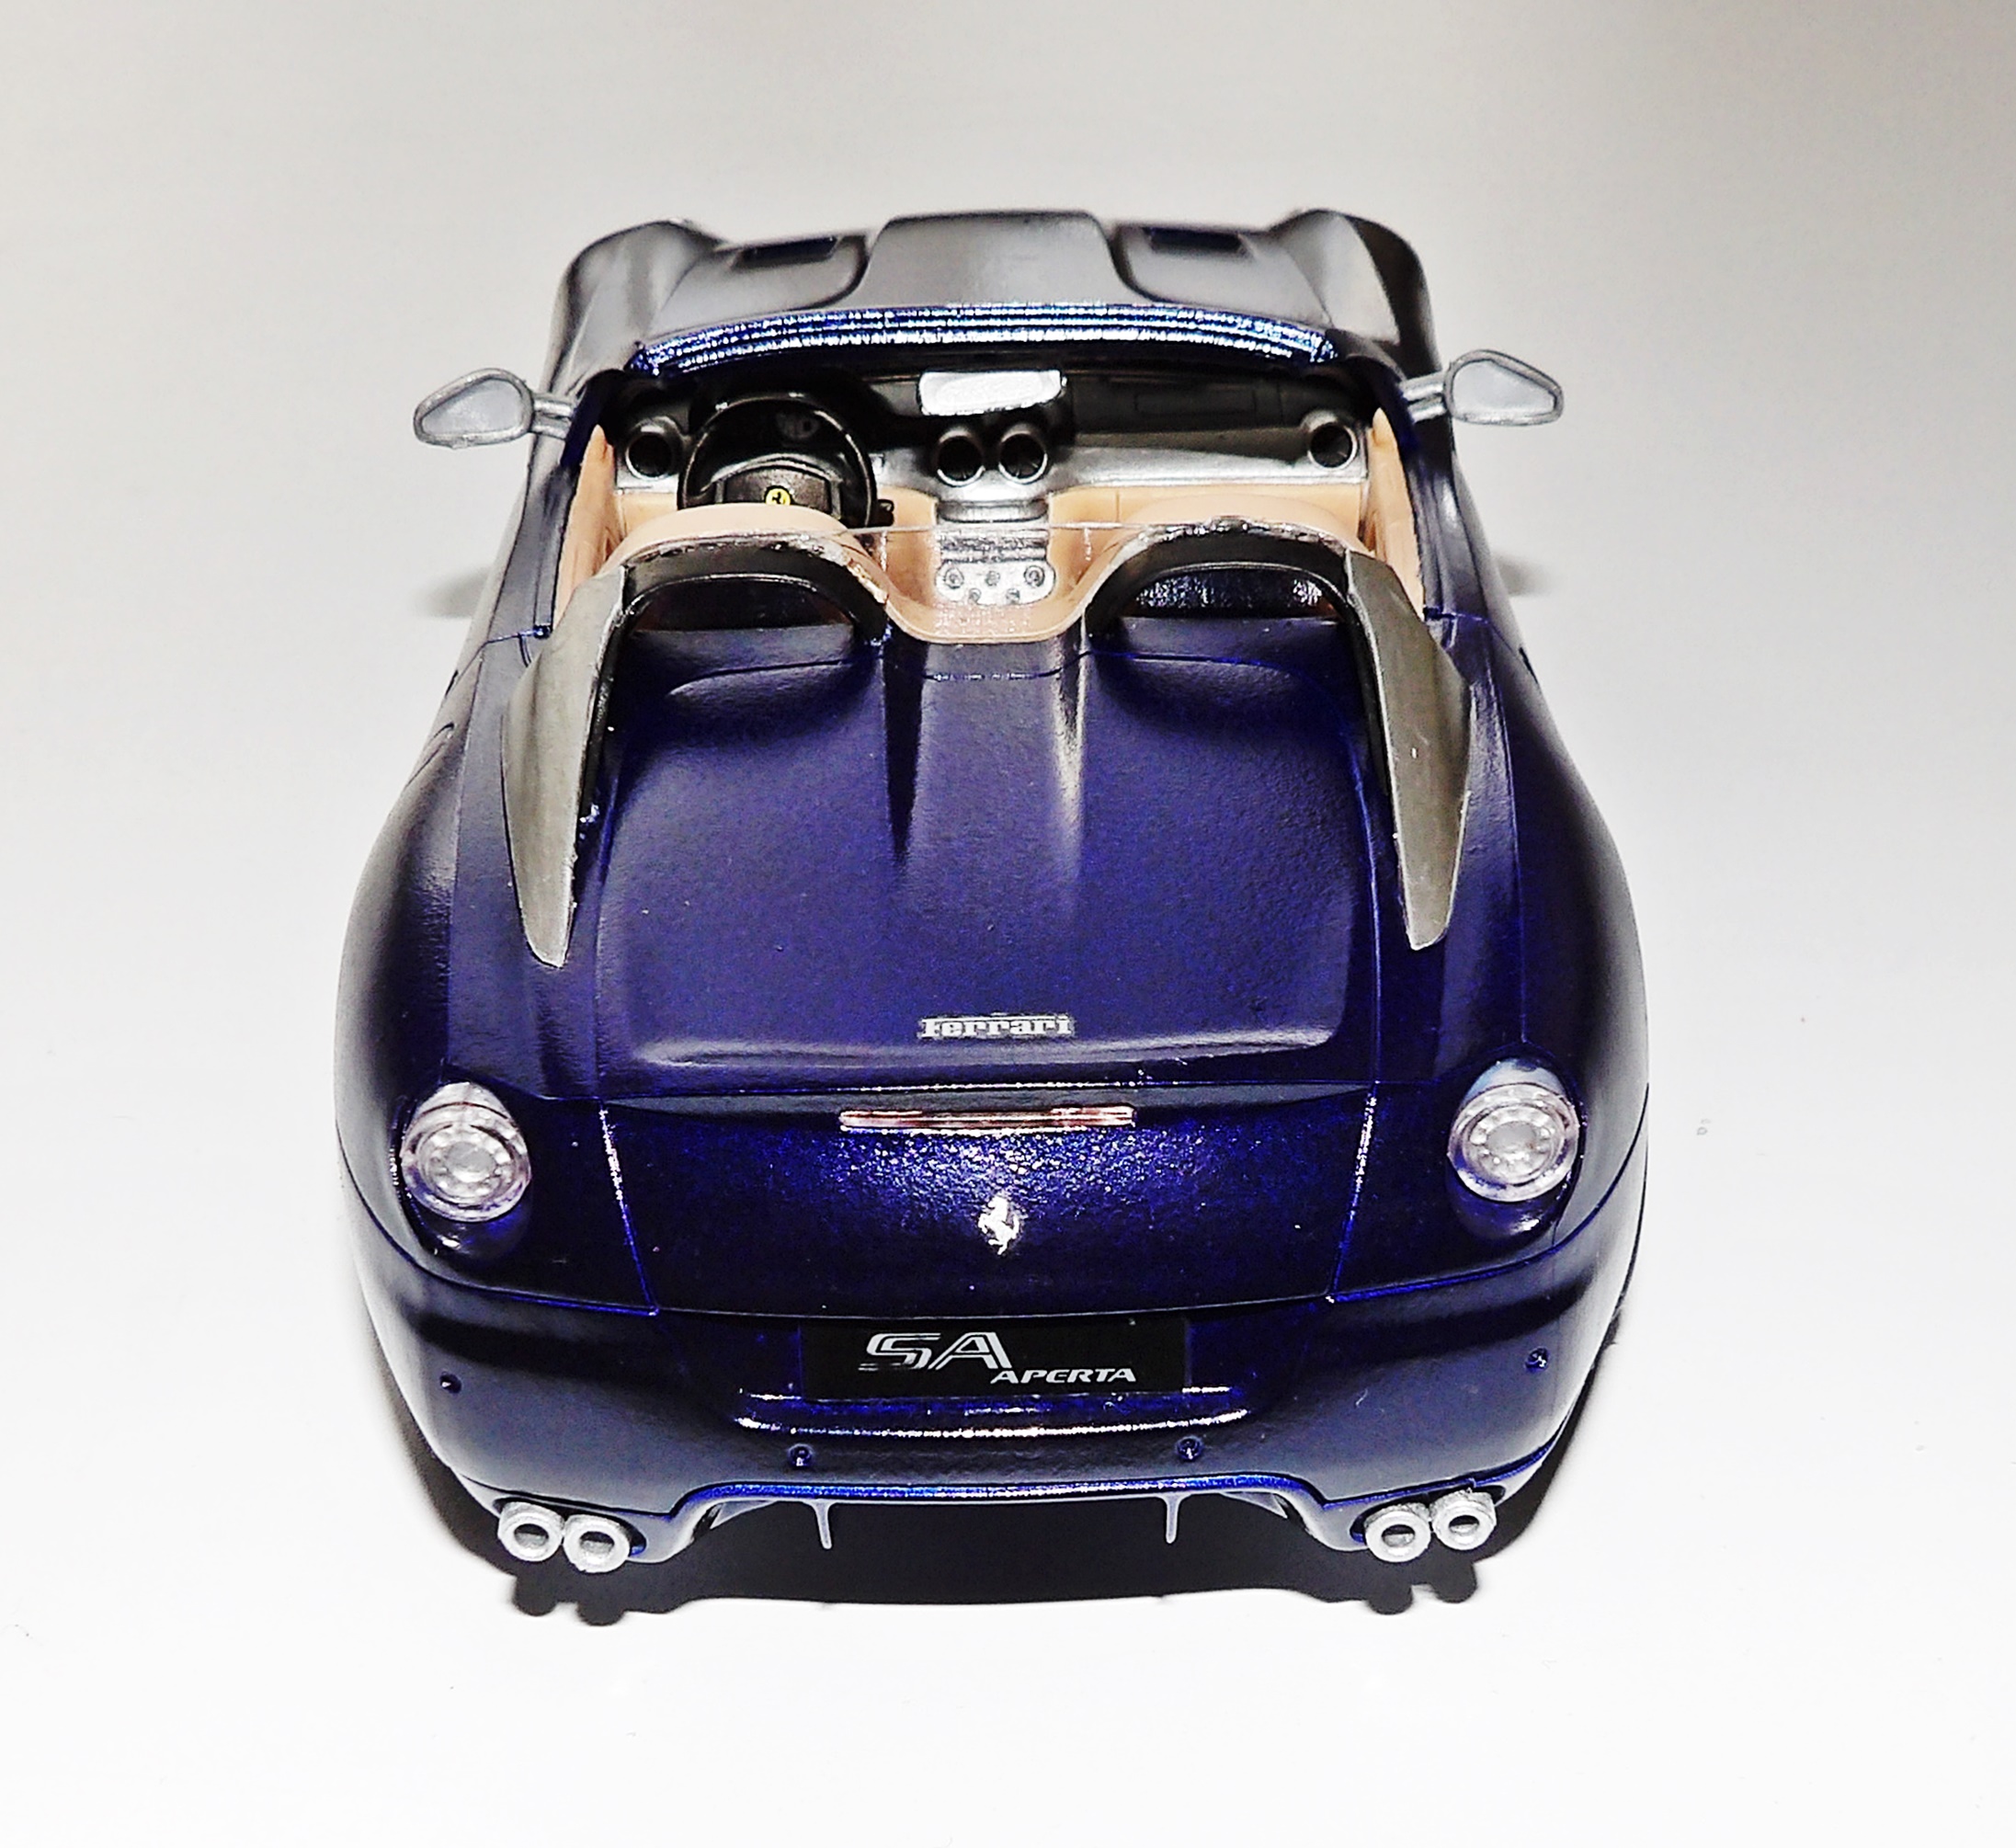
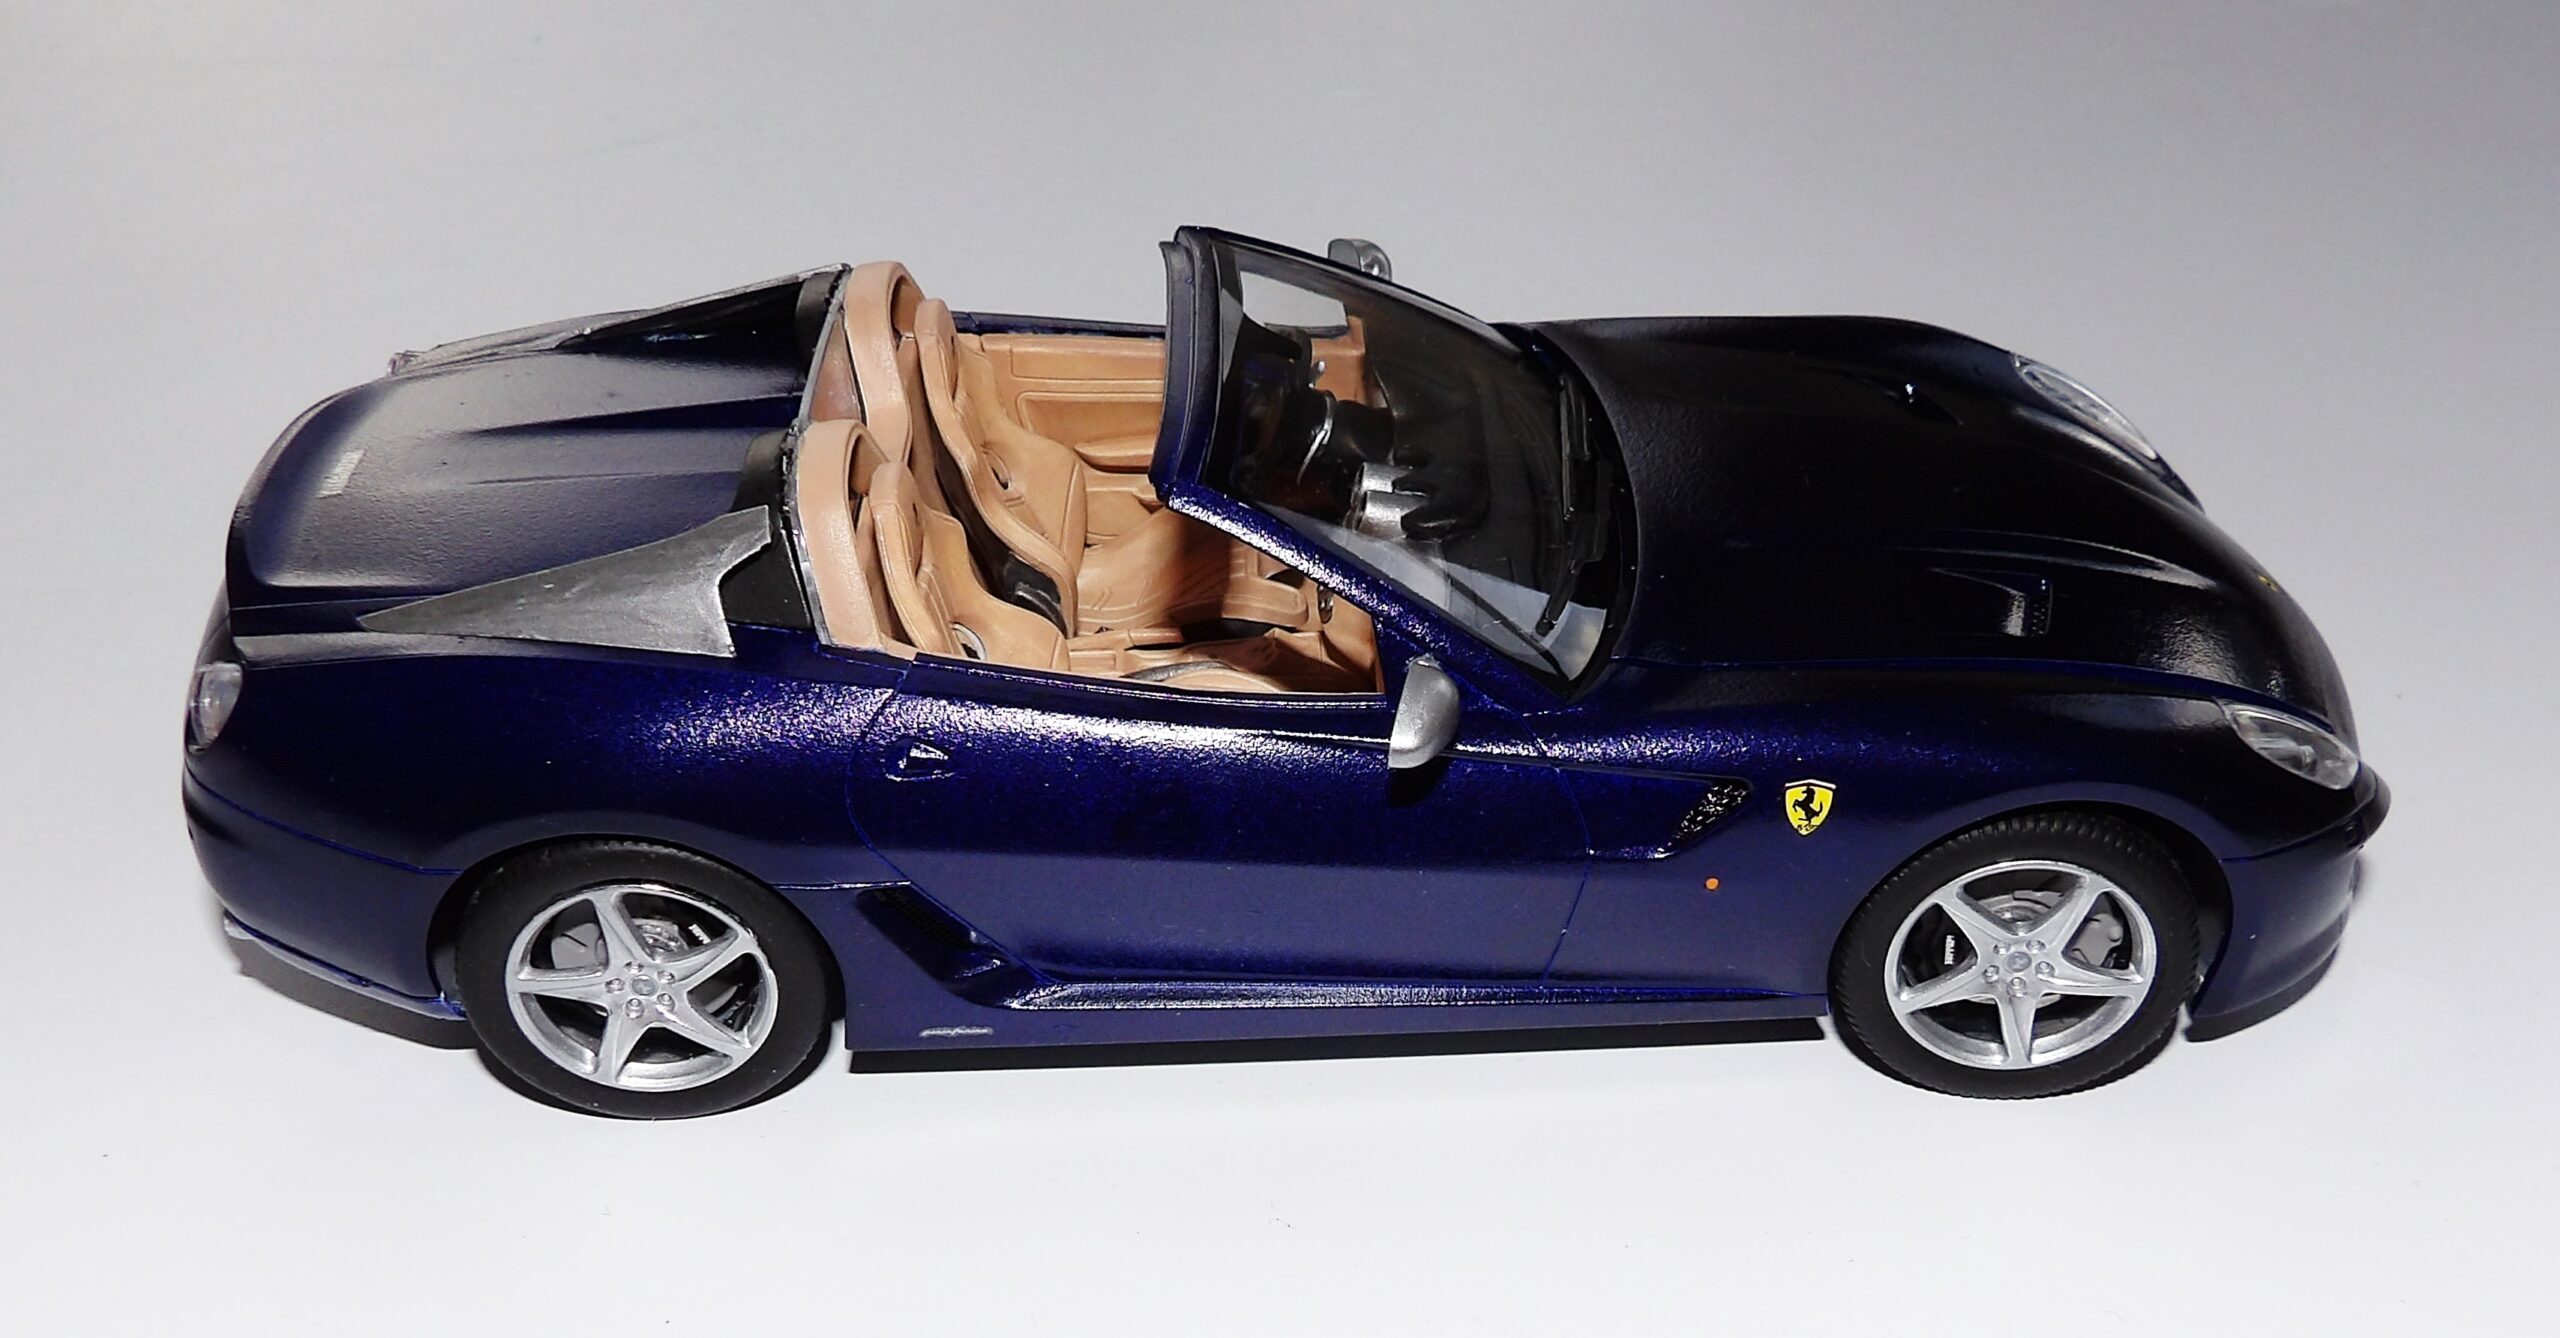
So…Christmas was a little different from what we expected. With tons of spare time and nowhere to go, we ended up racing through this model in just one week!
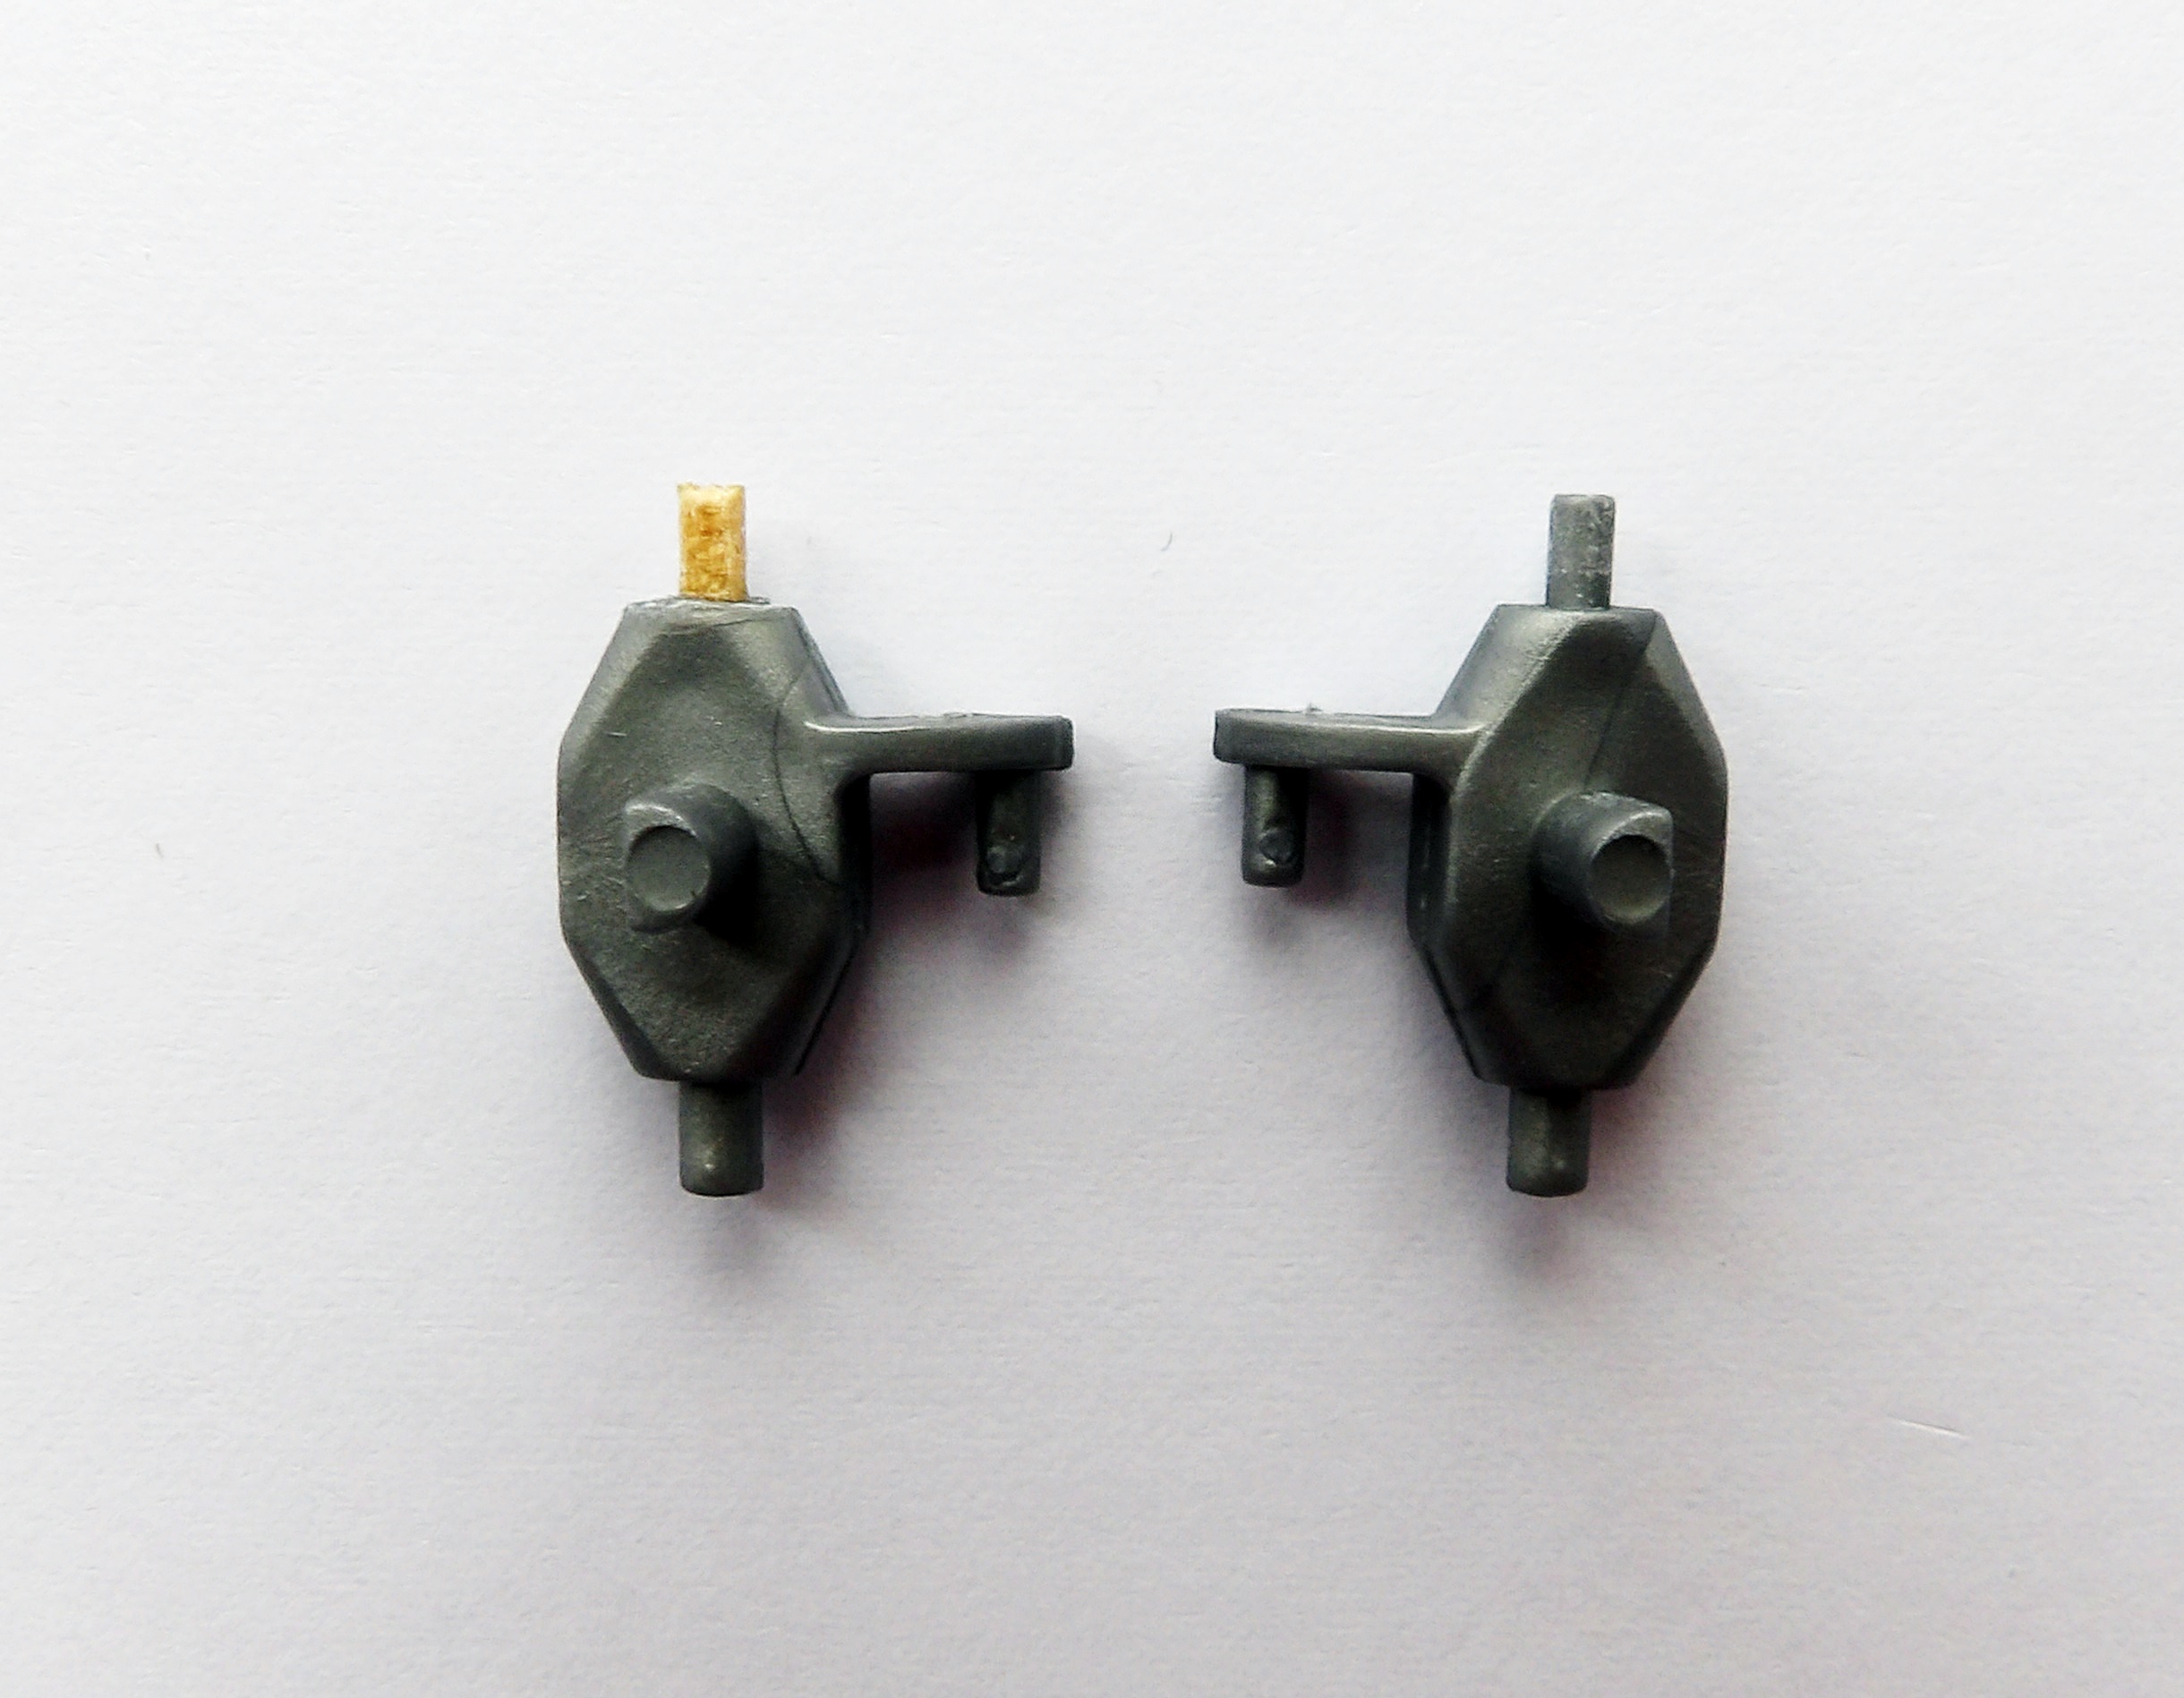
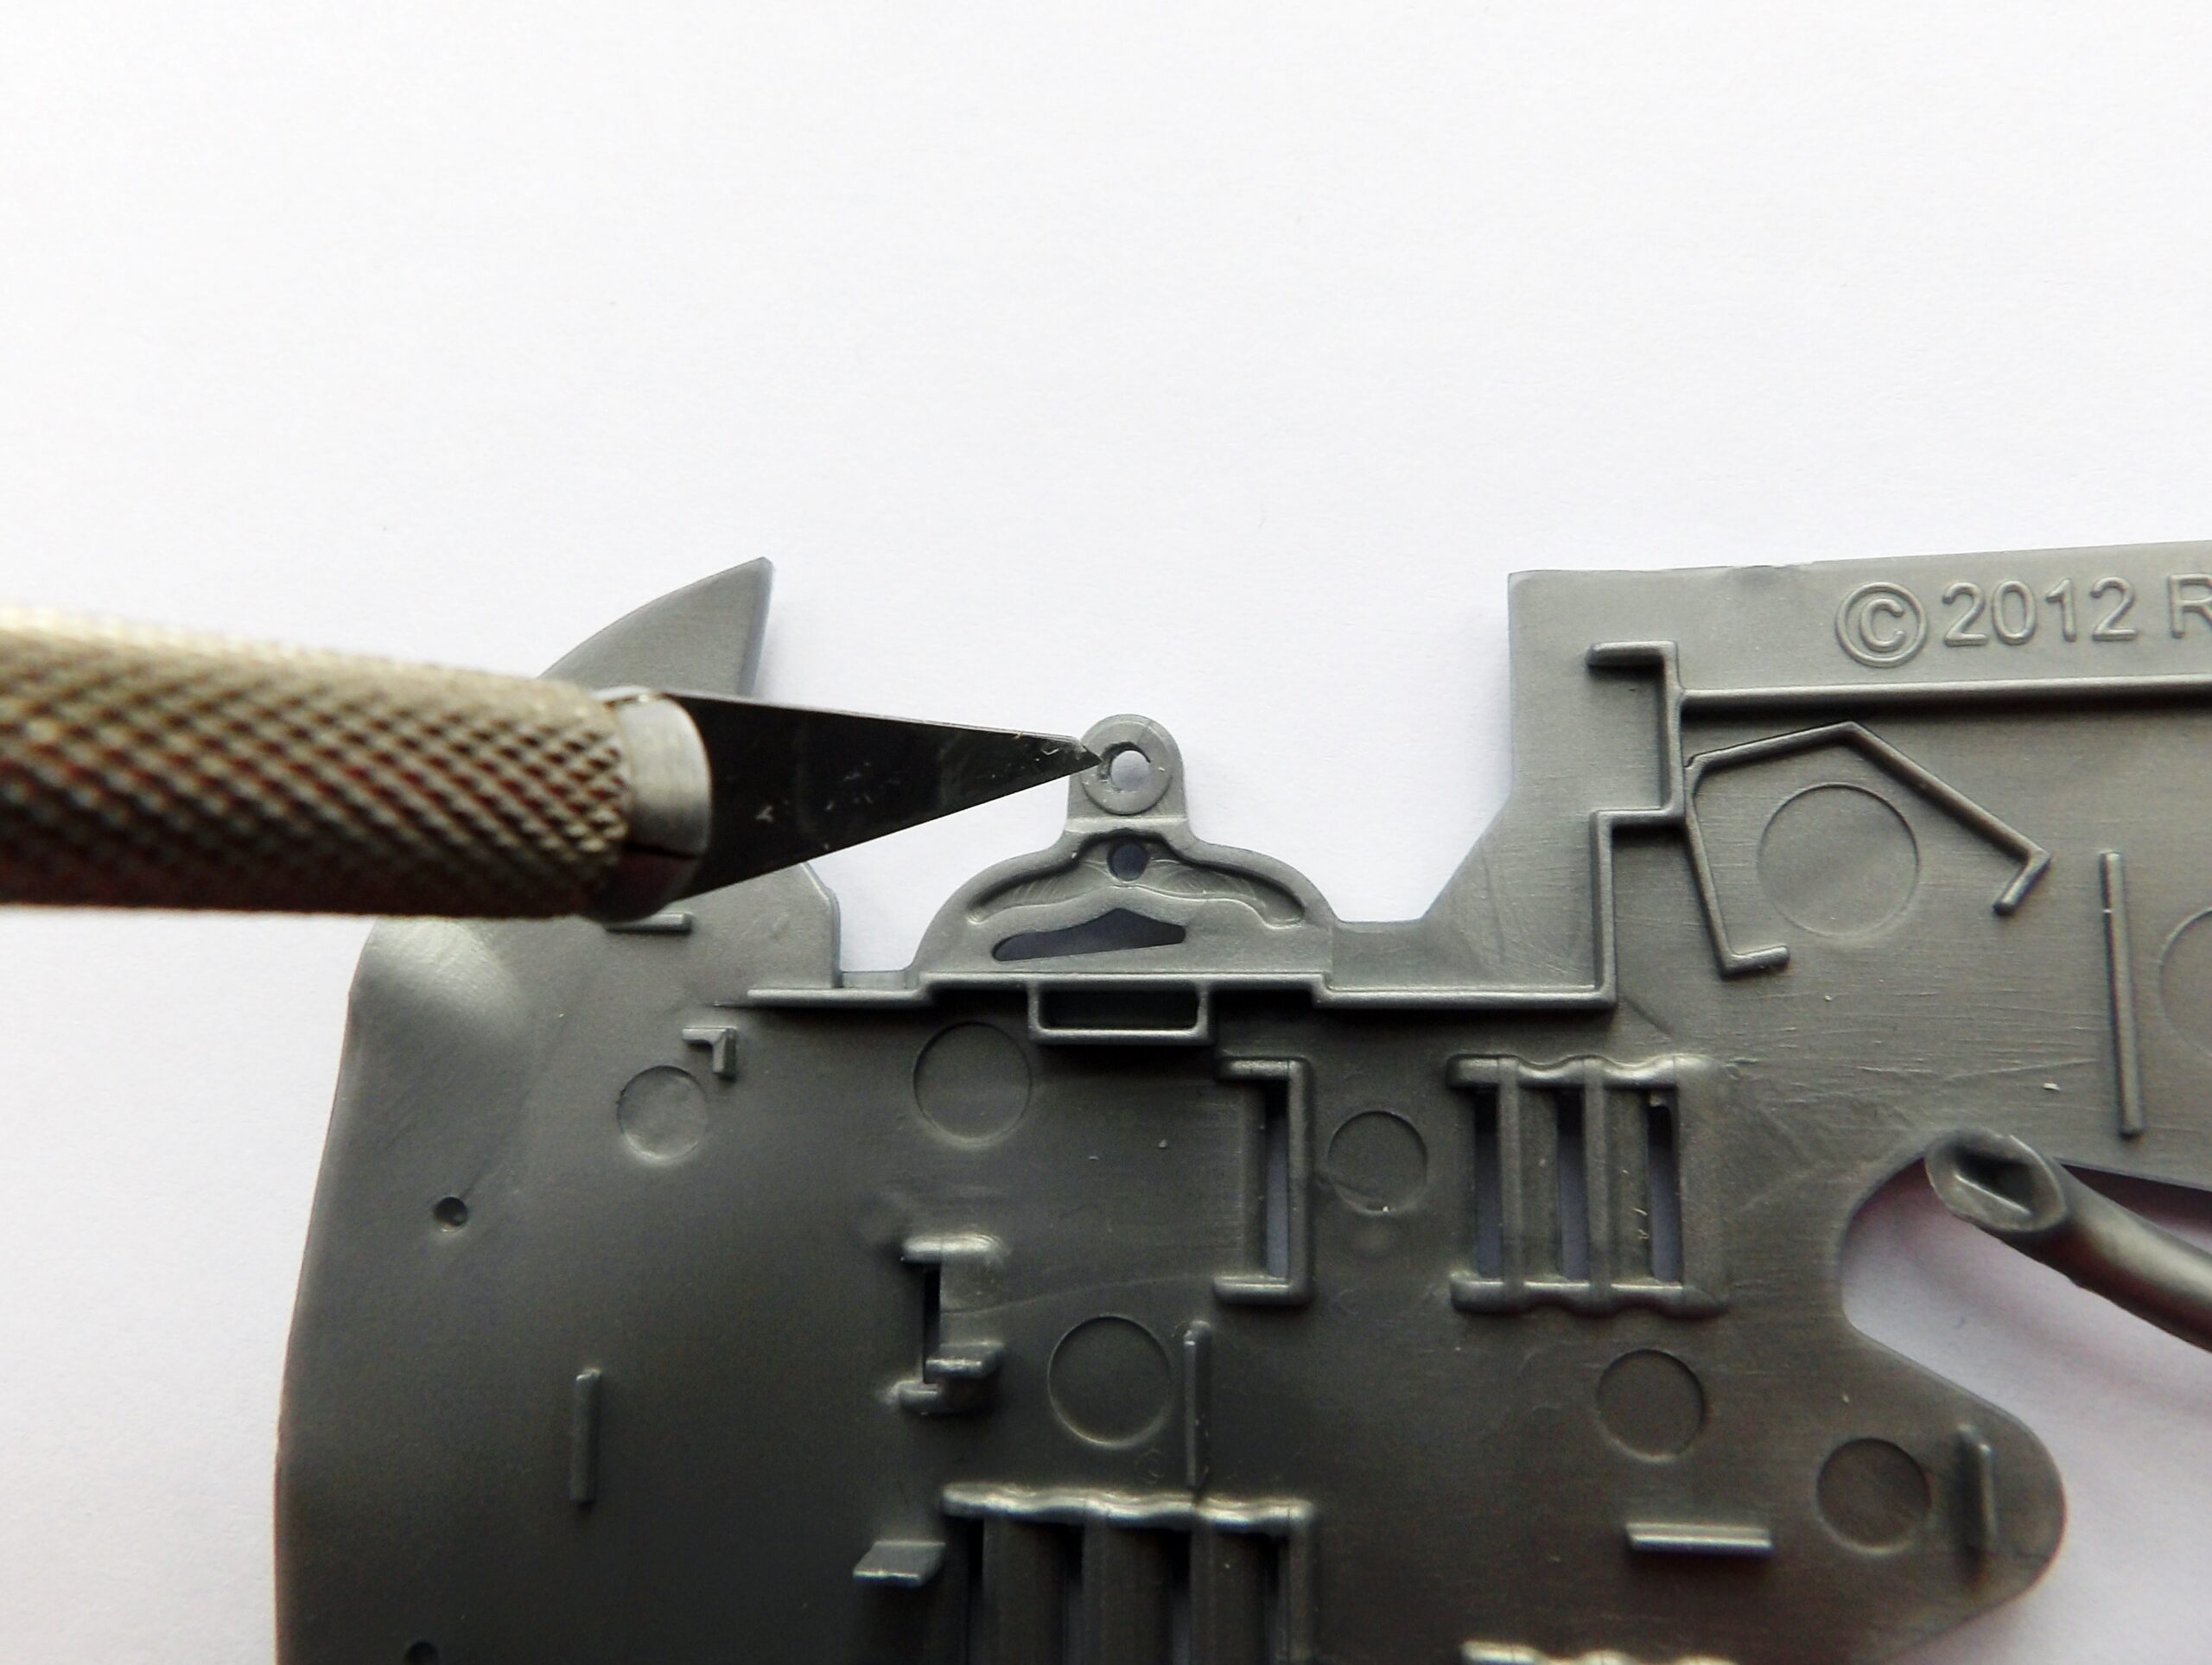
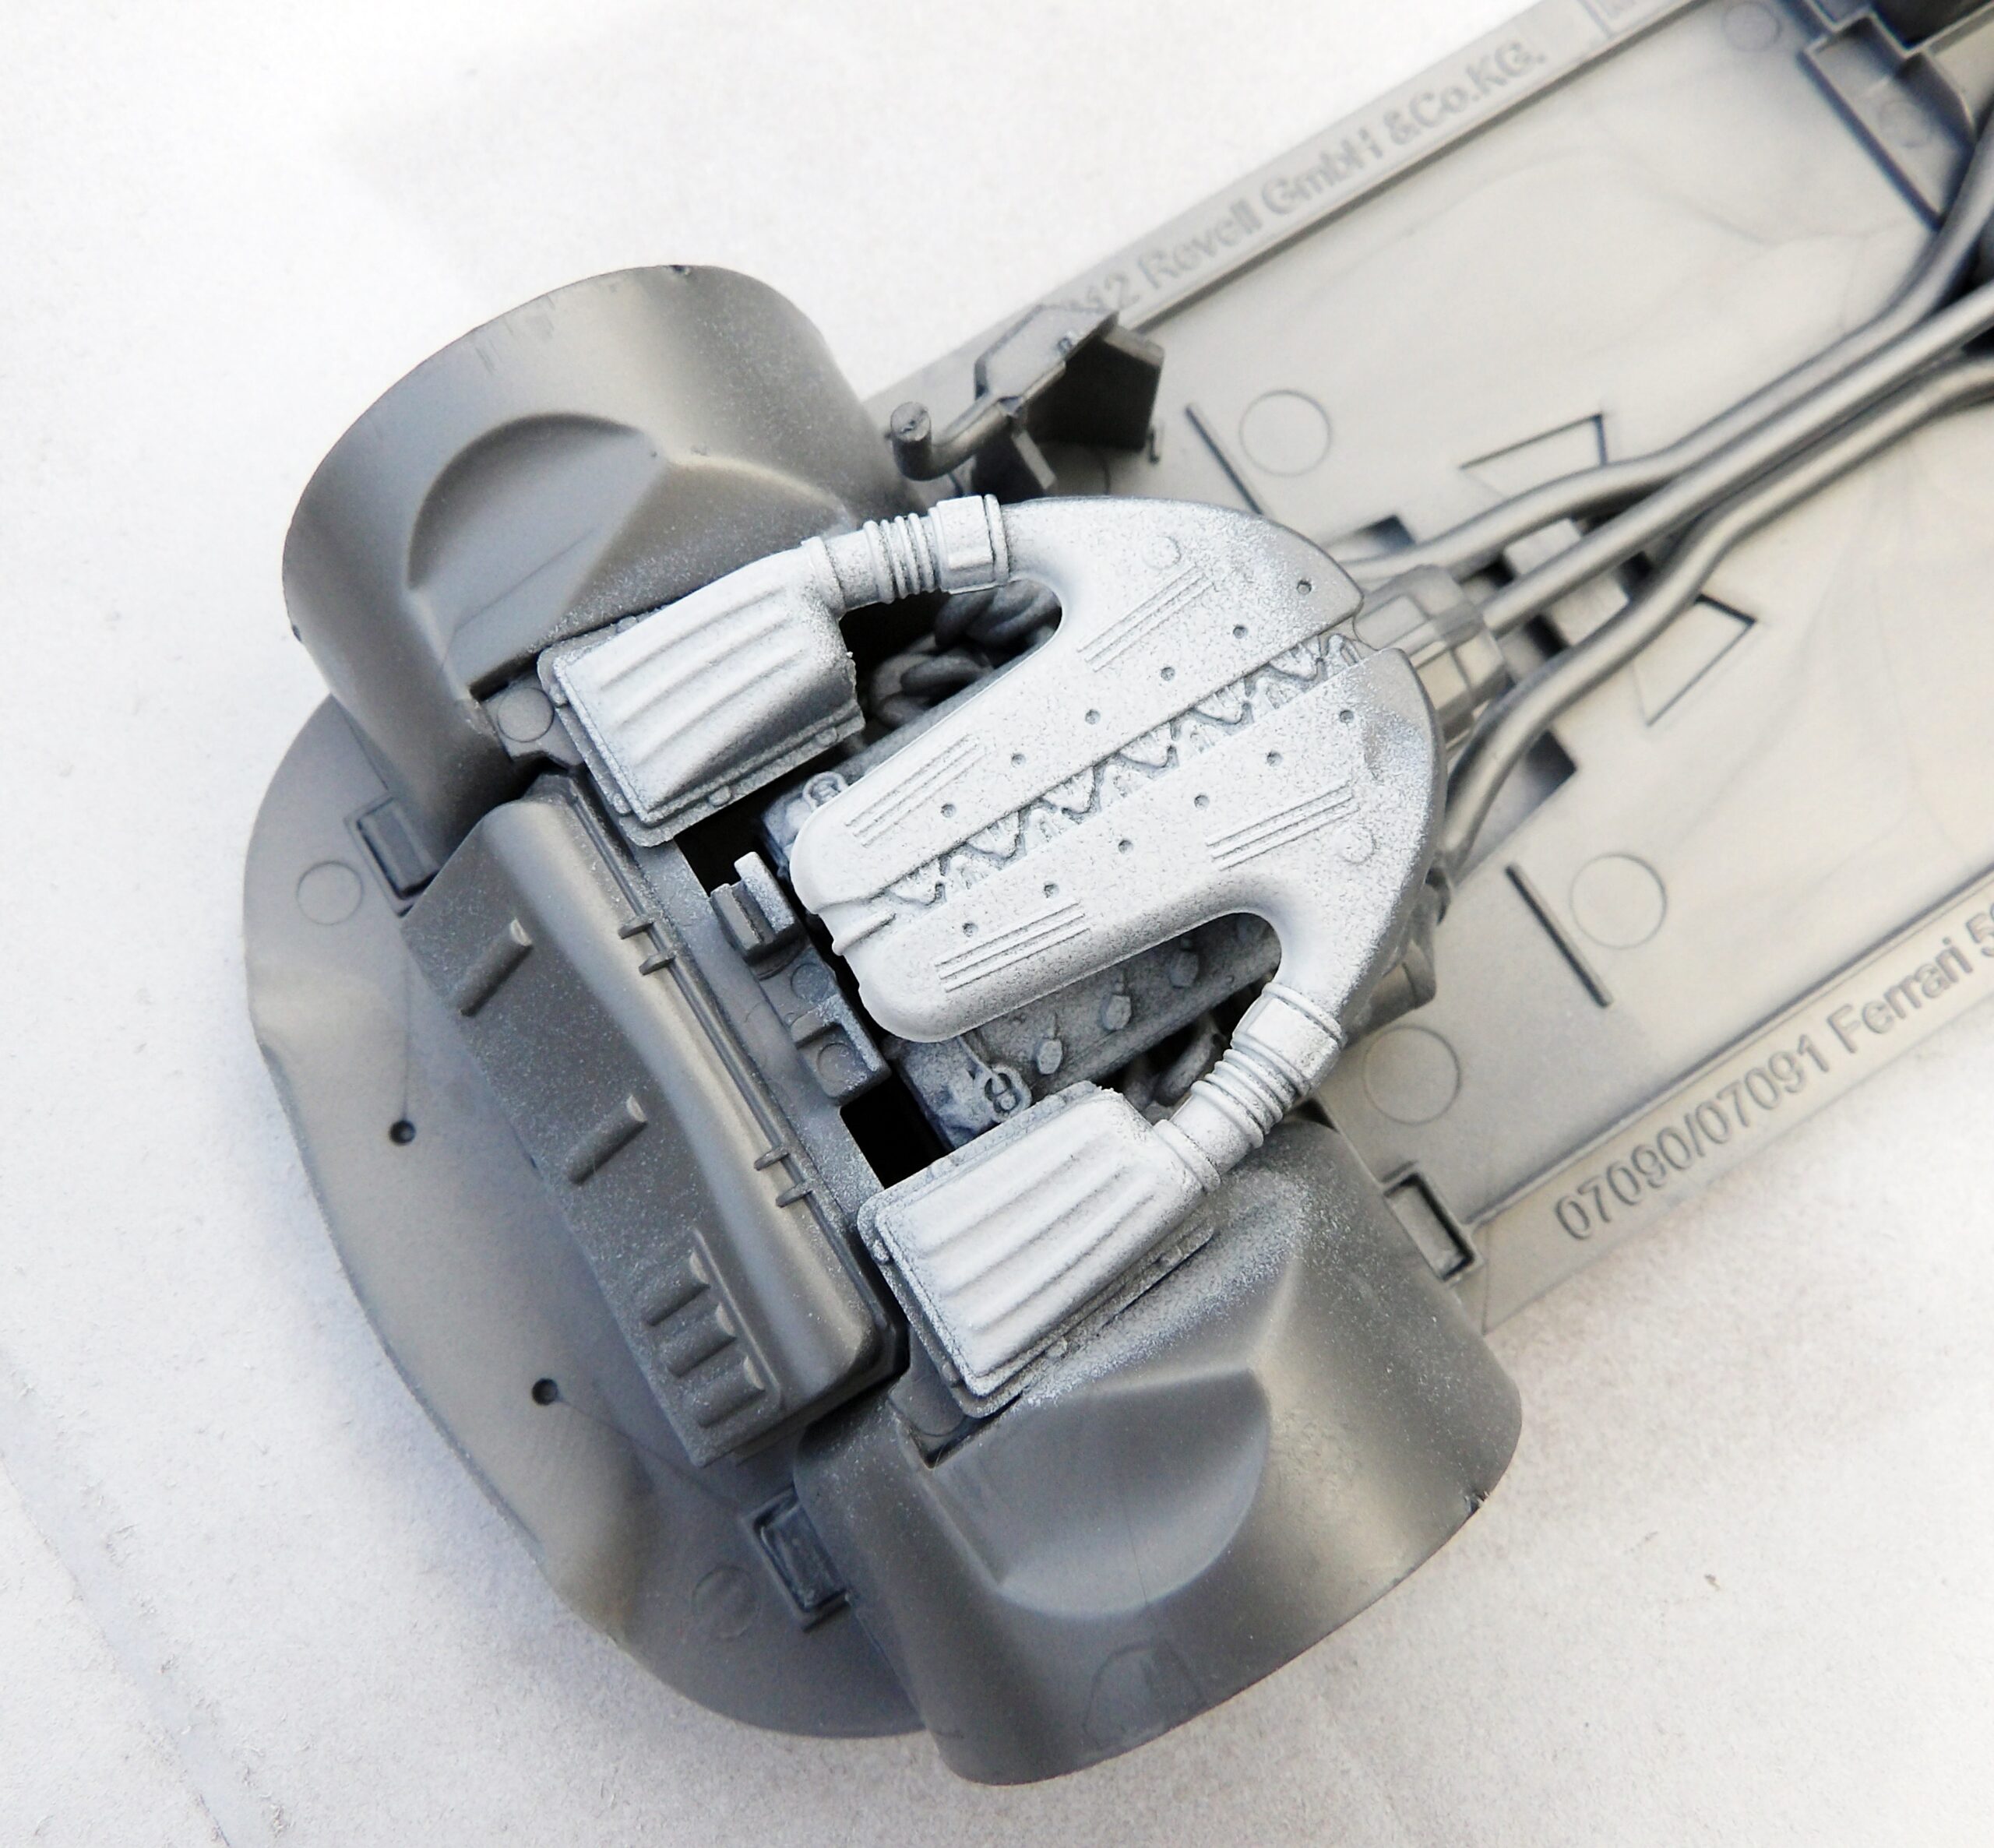
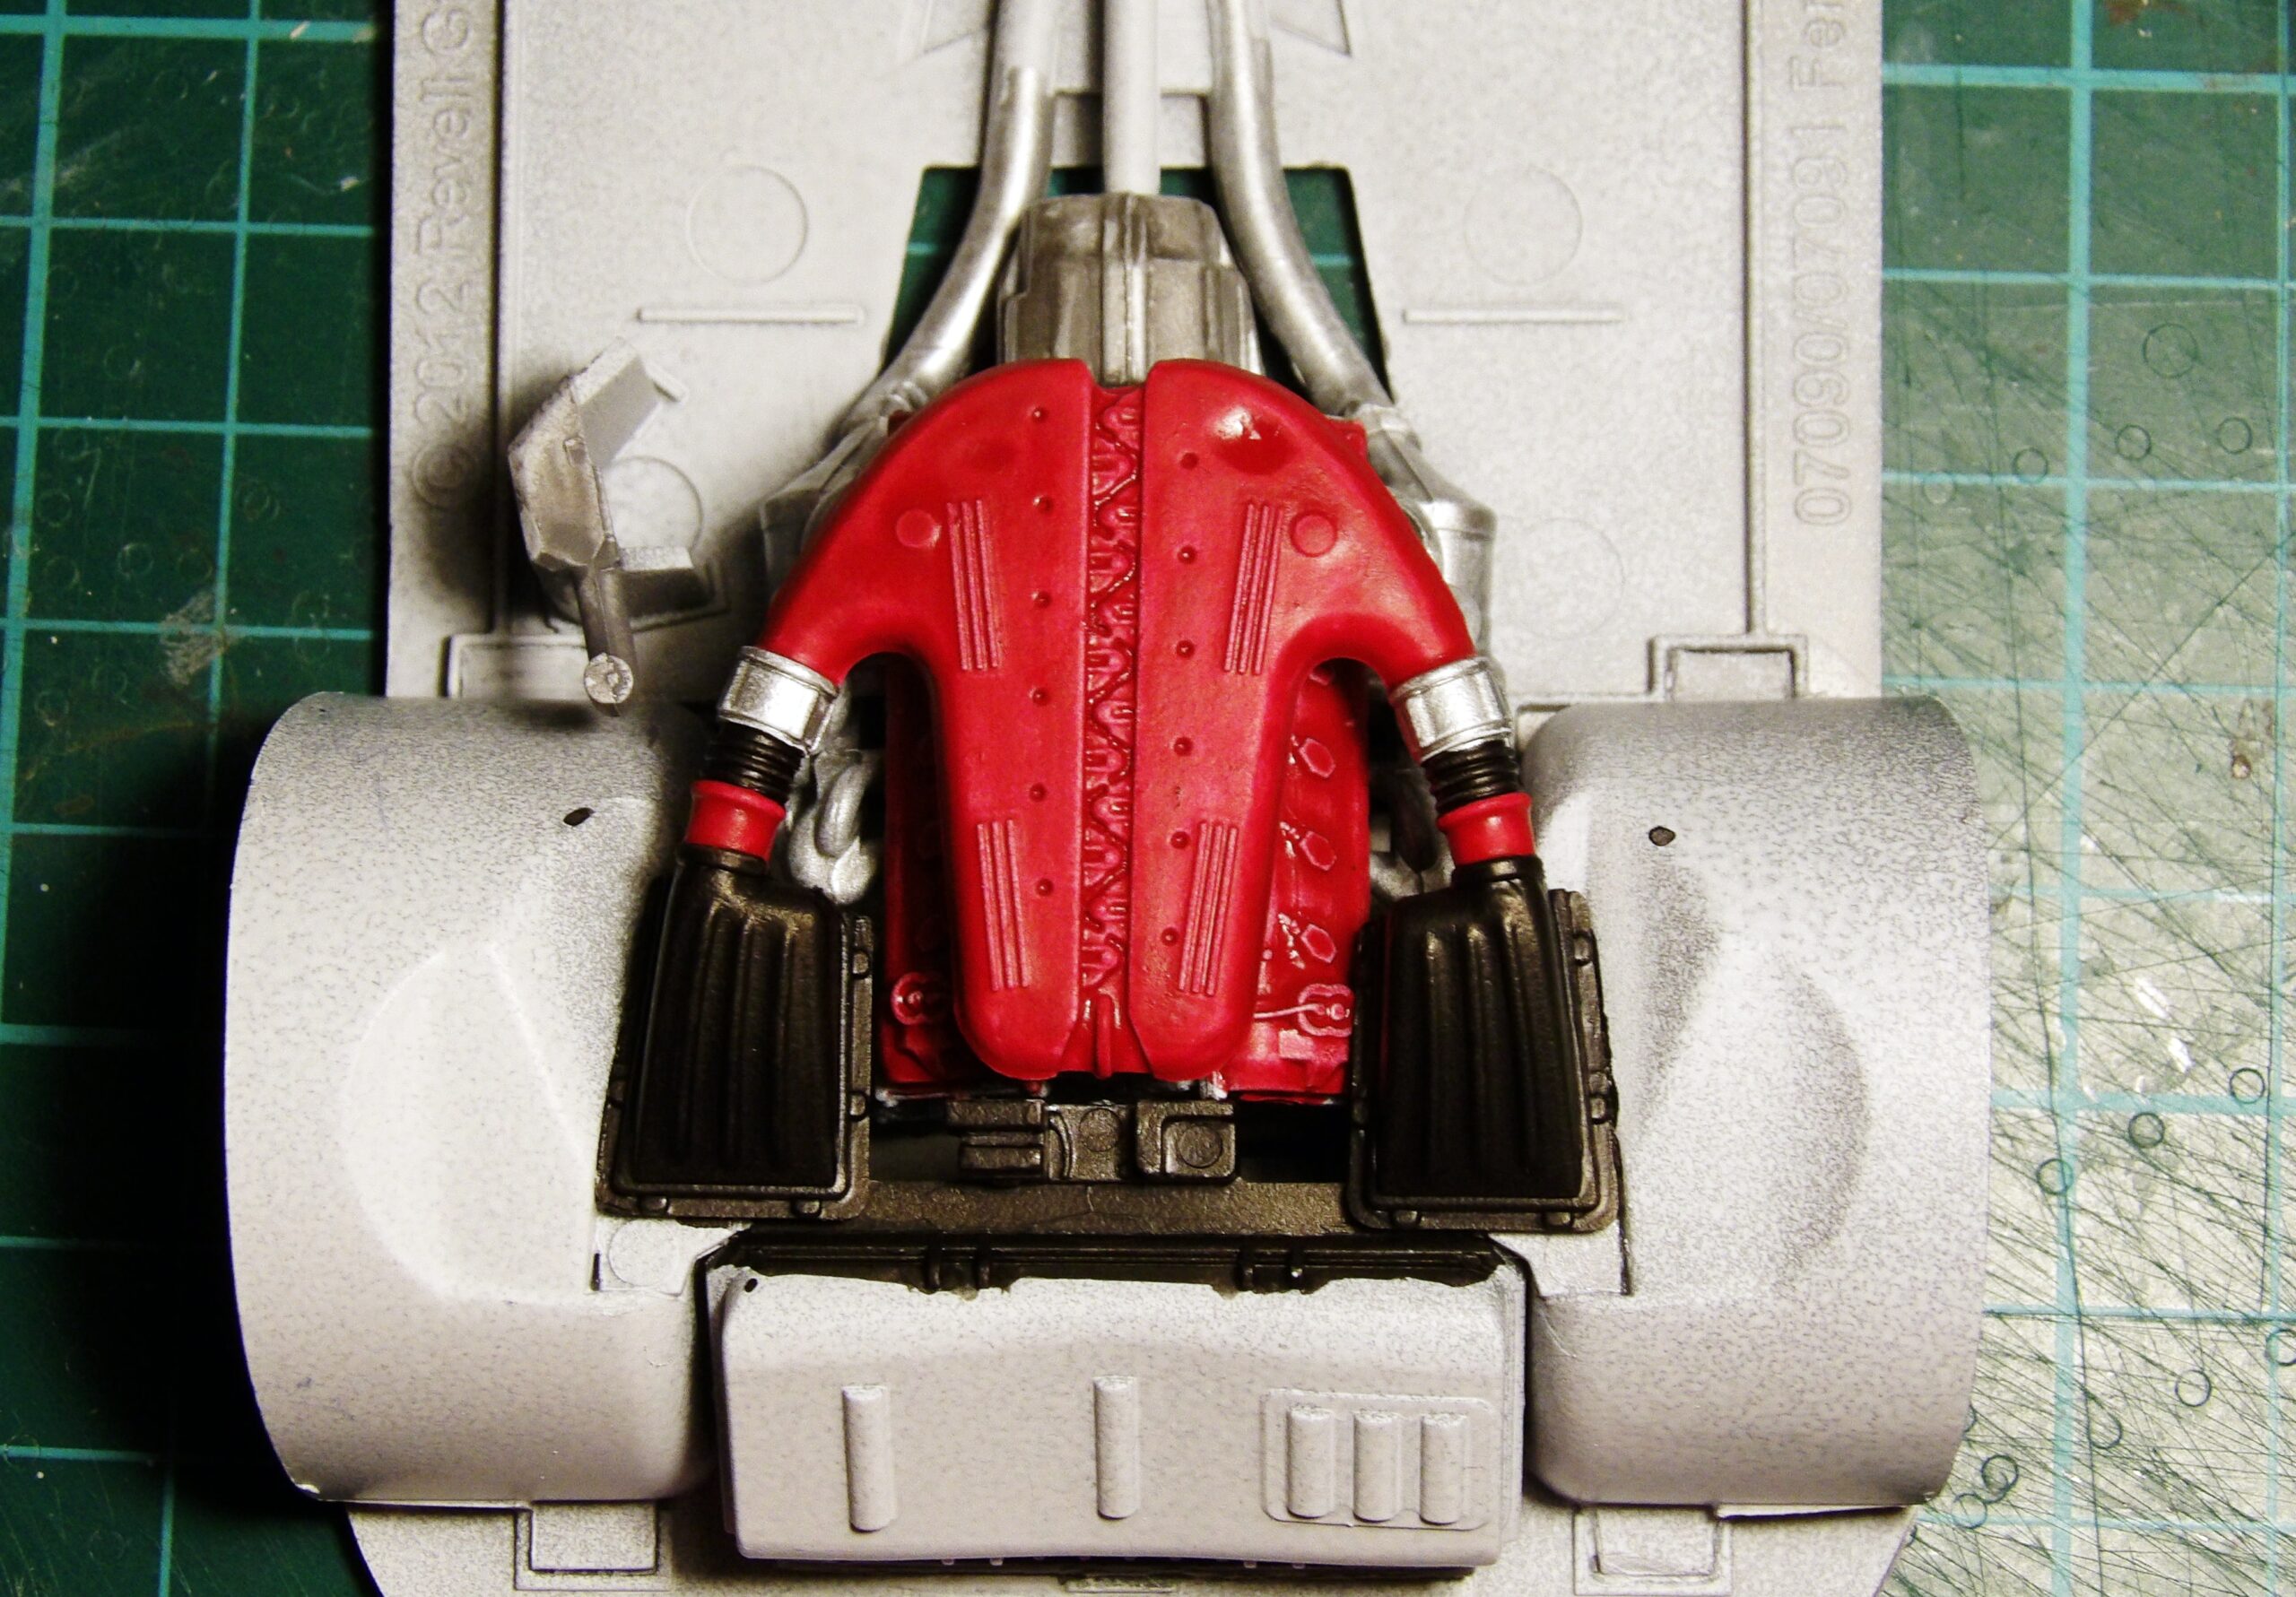
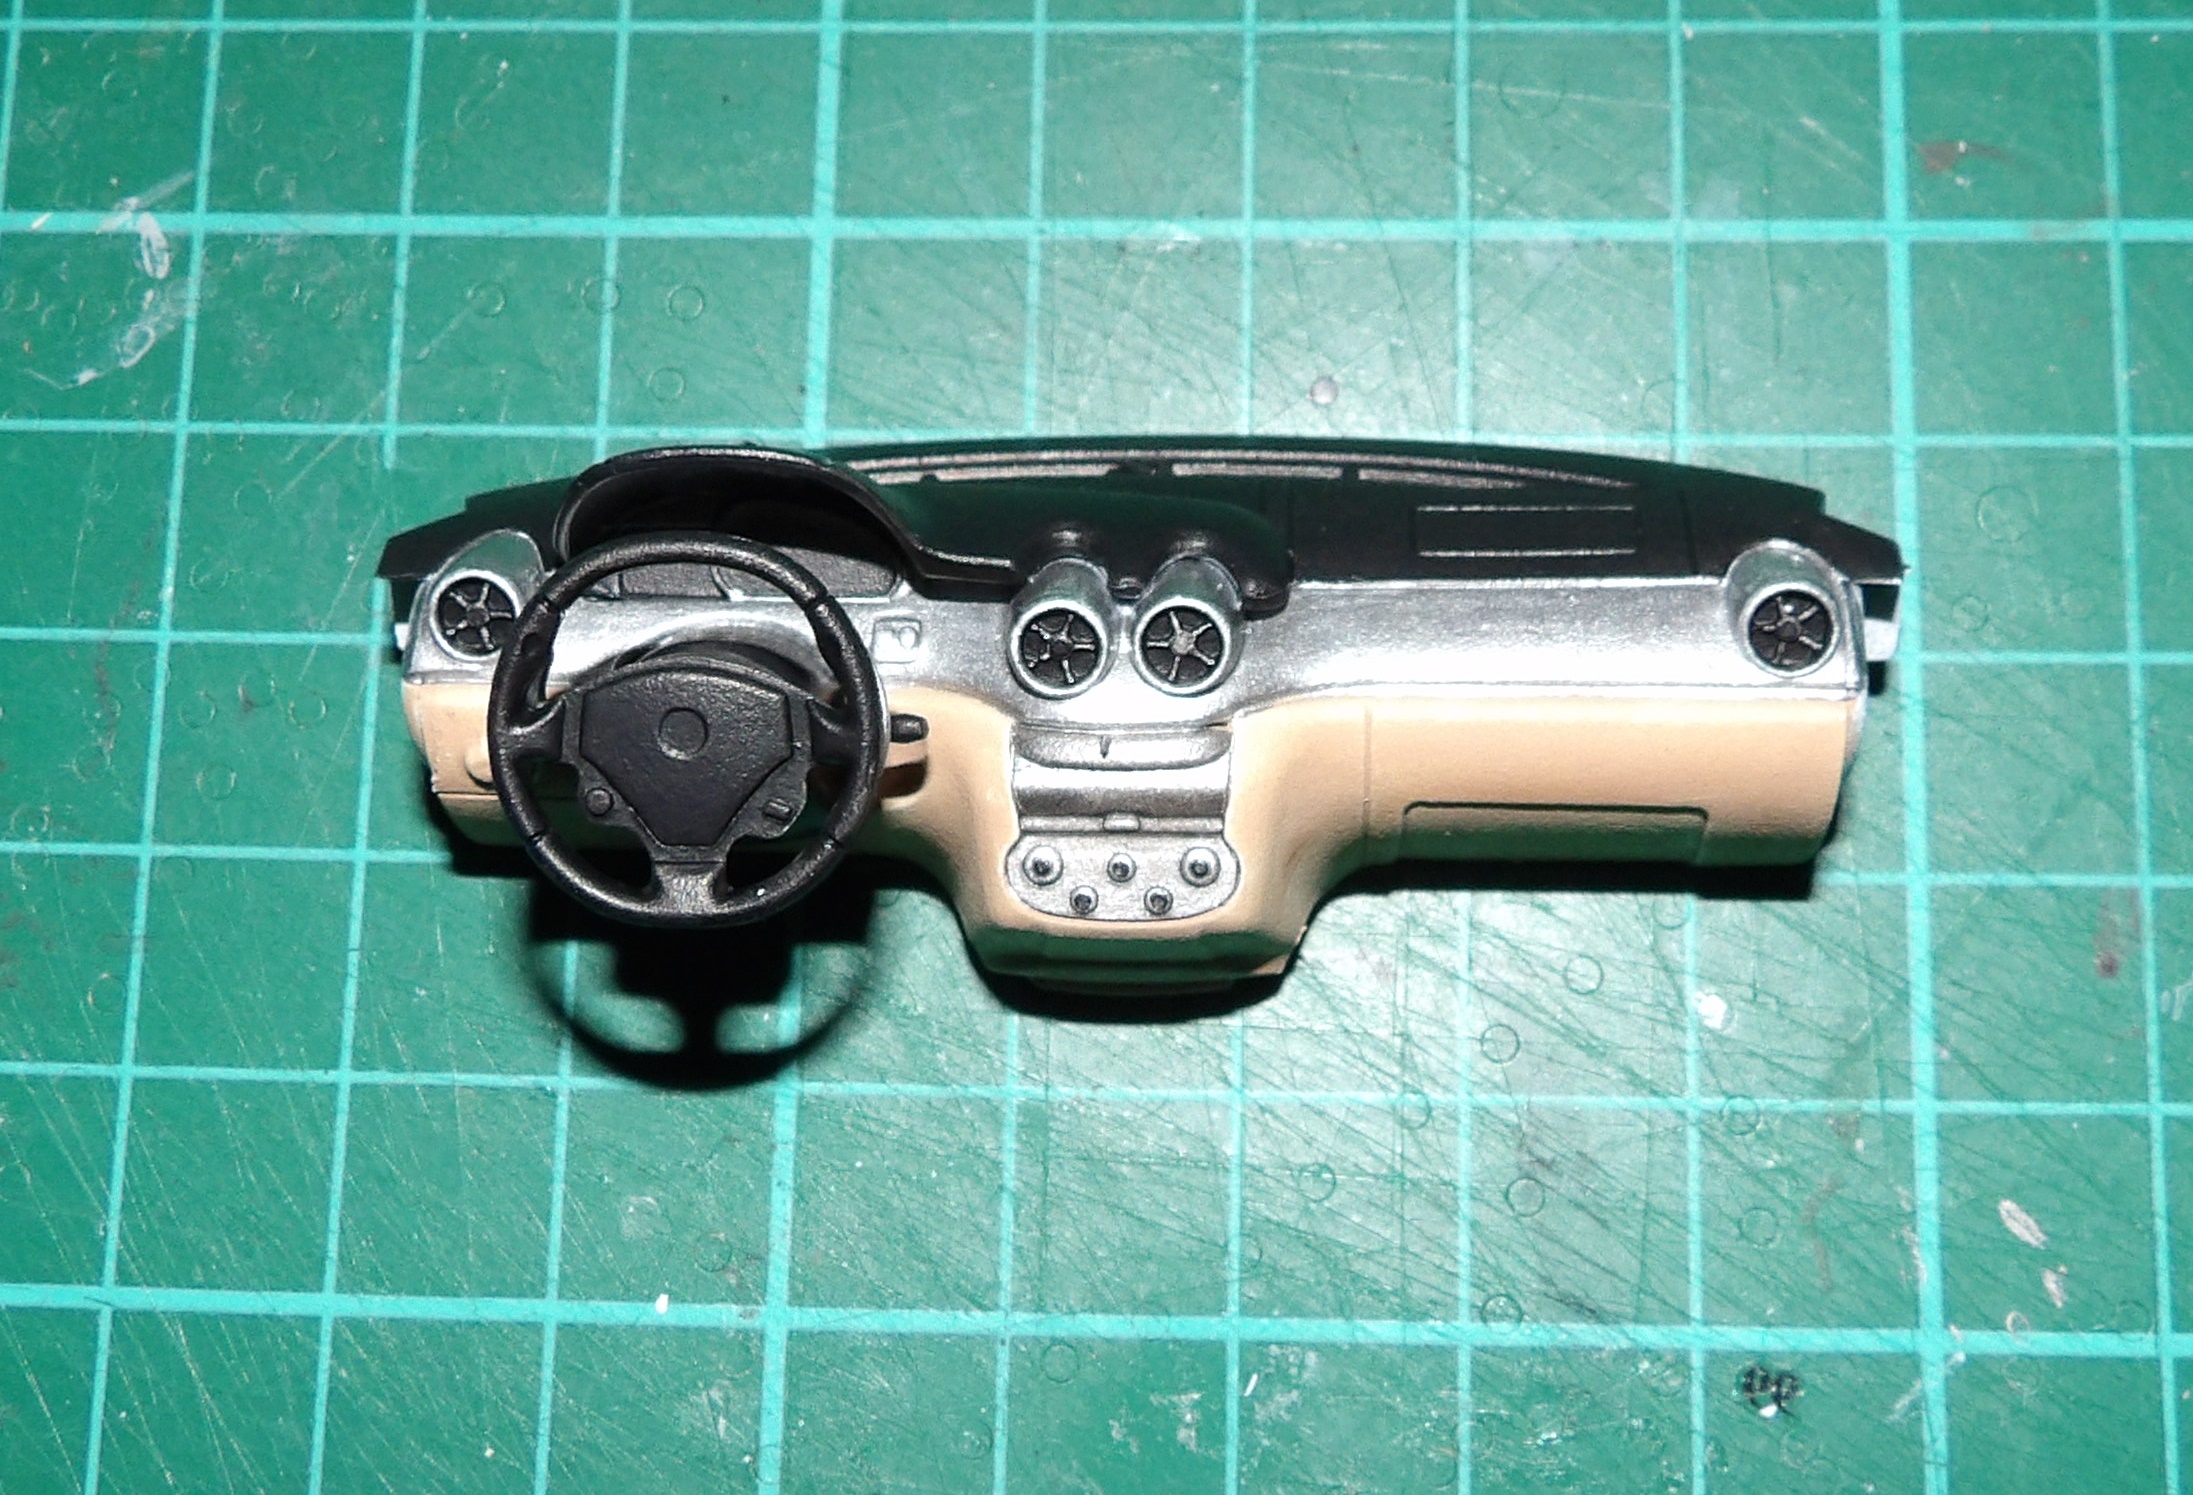
We have been eyeing this kit for a while, but high expectations have been holding us back!This is one of those kits that comes with coloured spures – an excellent choice for any modeller who just want to built something quickly without worrying about the painting.Ah, those seats look comfy. We were hoping Santa would bring us a comfy chair this year. But no, it didn’t happen. Next year, maybe?Engine parts and lots of it. Here is the decal sheet with lots of number plates to choose from.Learning from the mistakes of our last car, we dry fitted the parts before gluing and painting. Take special cares with cars, because some parts are not meant to be glued otherwise the wheels won’t turn!And BAM! We made our first mistake. These are parts of the steering linkage. Each one was supposed to slot into the bottom panel. Except they didn’t. Instead, the first one we tried was stuck half way through and then broke off! We had to replace it with a match stick.This is the diagram that tripped us. We were confused by the bottom logo. Apparently you’re supposed to heat the plastic after you slotted it in – we have already broken the piece before any heating could occur!This is what we should have done: rotate a scalpel a few times to enlarge the slot. This is what the car looks like before painting.We took it outside for a quick spray. We kept the parts intact so we can see what needs to be painted and what can be left as it is.This is the engine after it was sprayed. Only the centre part needs to be painted, the rest can be left as it is since it would be covered up anyway.This is what the engine looks like once it has been painted.The dashboard and steering wheel are shown here. It was a little surprising how well The Army Painter Matt Black turned out – not a stroke line in sight!Here is the finished car once all the decals were applied.We painted the windscreen border with just a paint brush – partly because we wanted to test our dexterity, but mostly because we were too lazy to find masking tape…This is what the engine looks like under the bonnet.We decided to go with a generic number plate, seeing the GB plate had not aged well.We used Tamiya TS53 Deep Metallic Blue for the body, which turned out great if we may say so! The only problem with Tamiya sprays is that they don’t always have matching paints for touch ups. To mitigate this problem, we sprayed some paints into a jar and applied it with brush.That’s all folks! It’s time to take it for a spin. Anyone has an enlarge-ray-gun? Kevin? Bob? Dave?
We started this project towards the end of 2018. And yes, it has taken us over a year to finish!
“Well, what took you so long?” we hear an intrigued reader asks. We’re not sure either, but you see Rome wasn’t built in a day.
“Of course not! But you’re not building Rome, are you?” You must be the smartest person we’ve spoken with today because, yes, we have been building Rome!
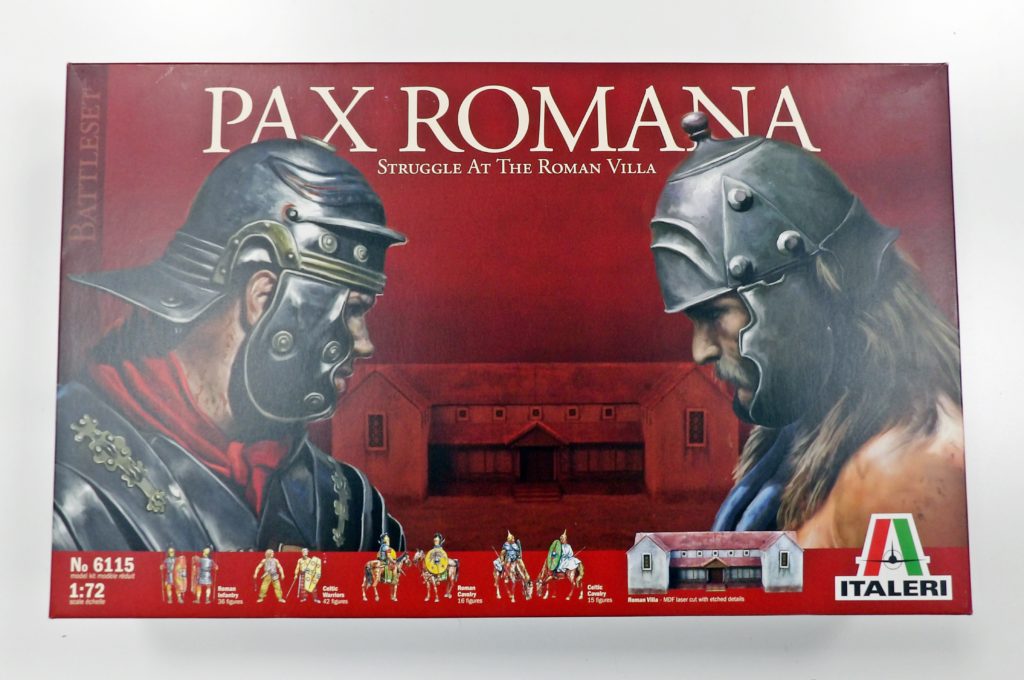
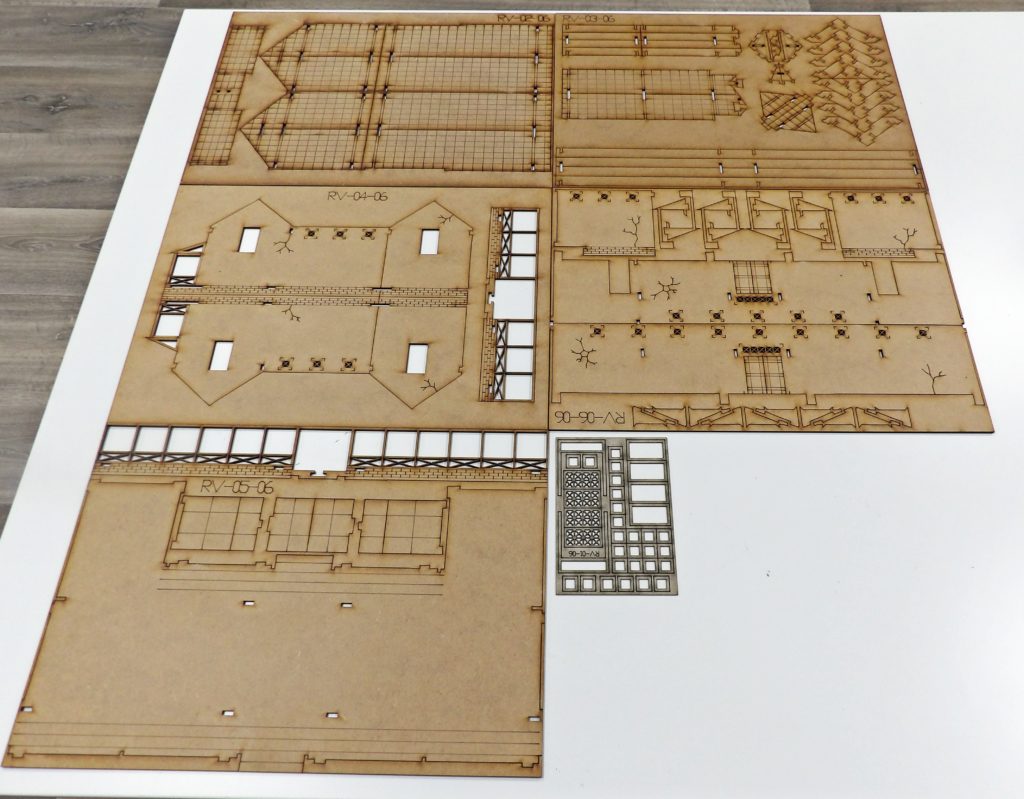
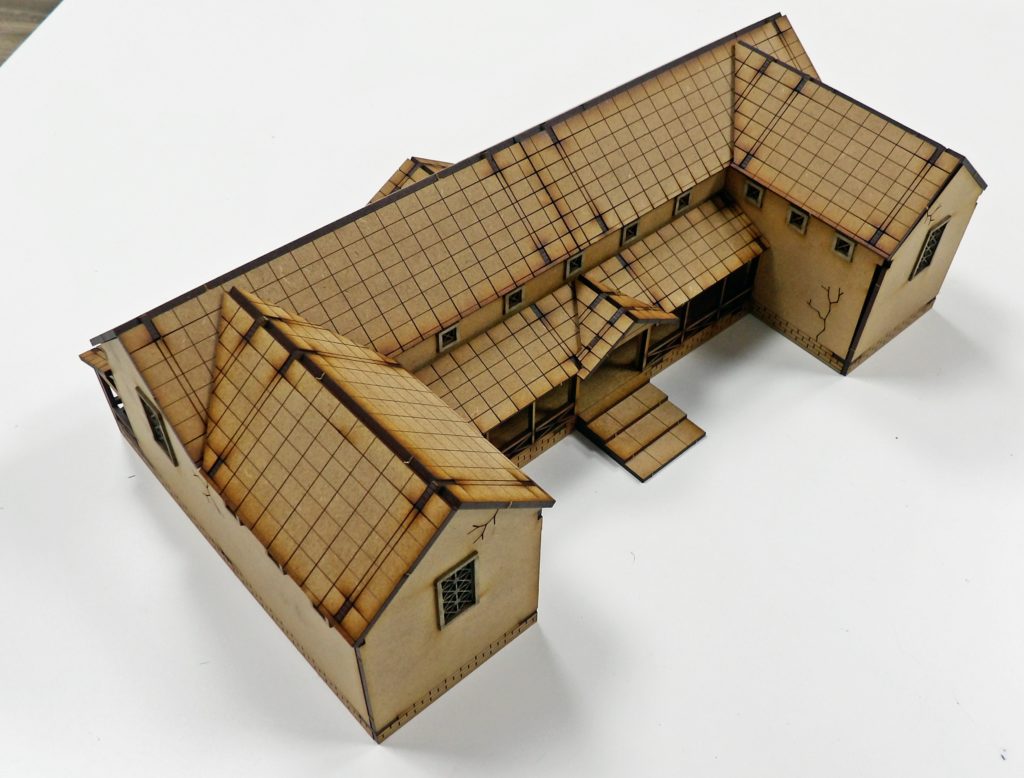
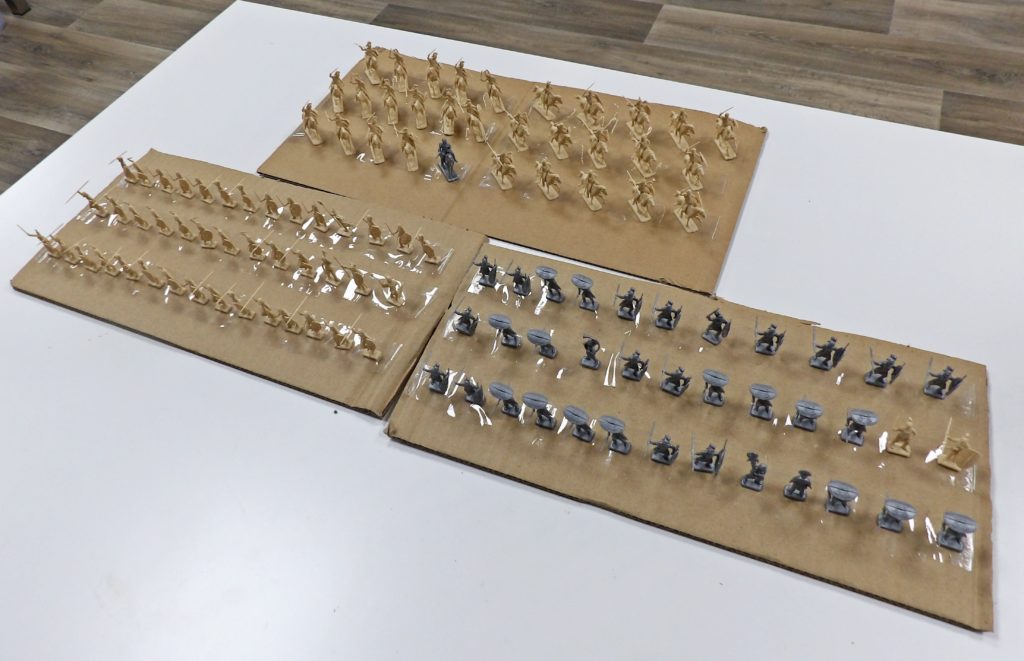
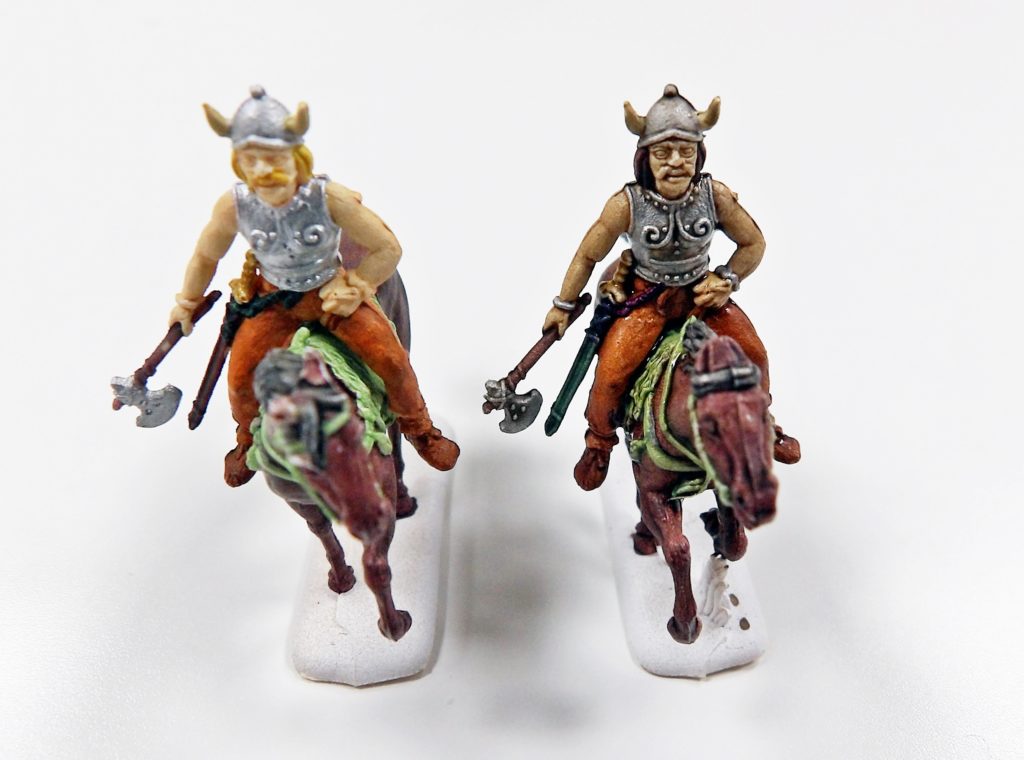
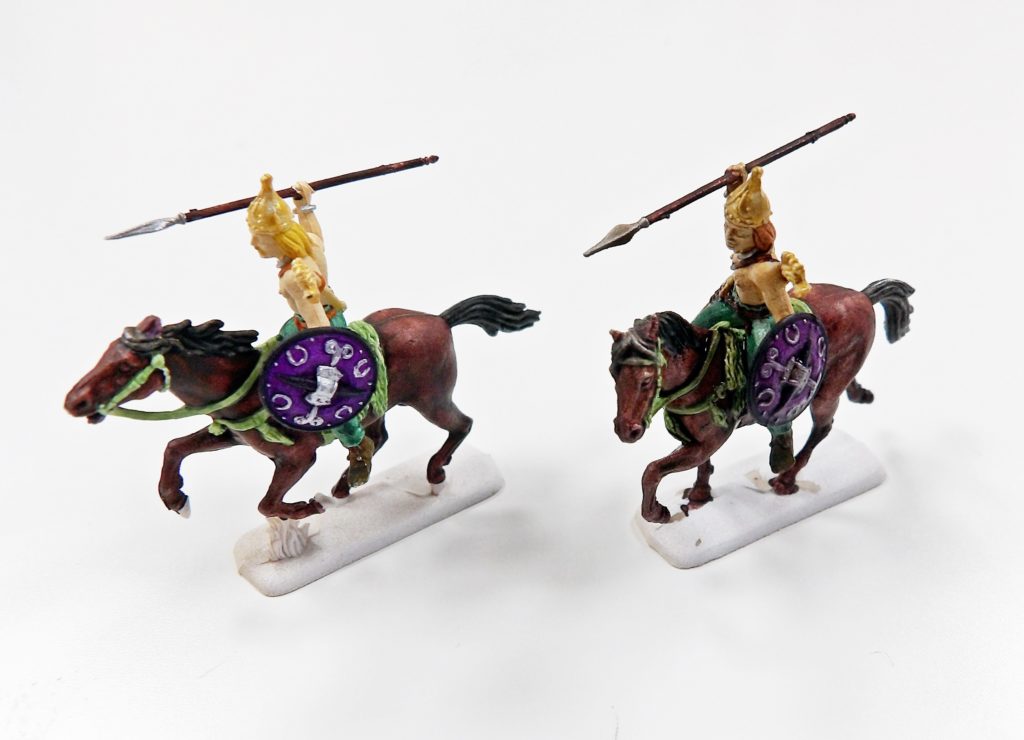
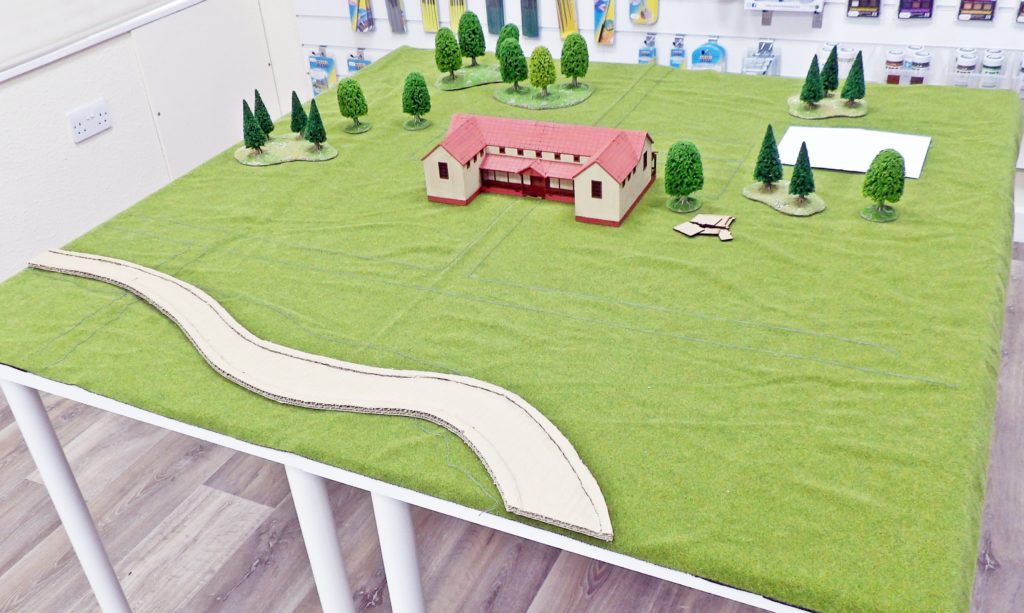
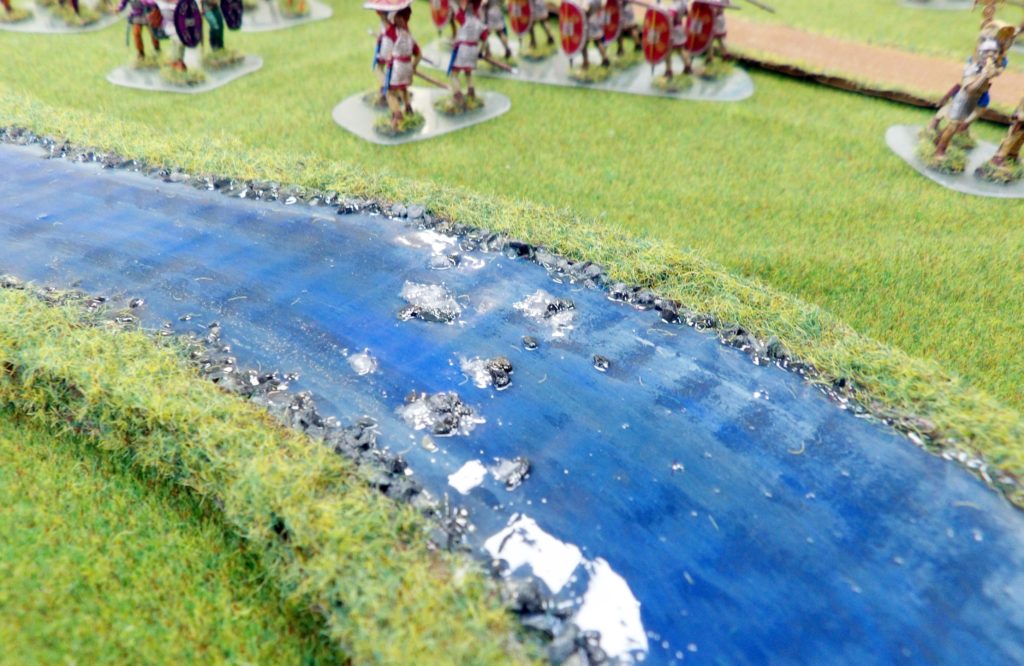
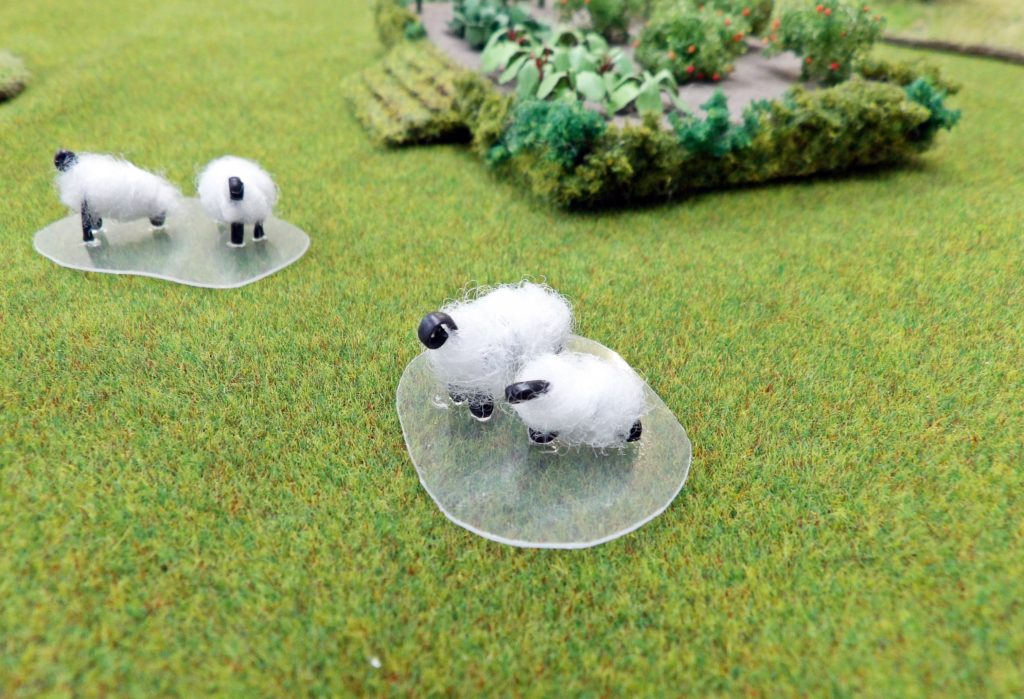
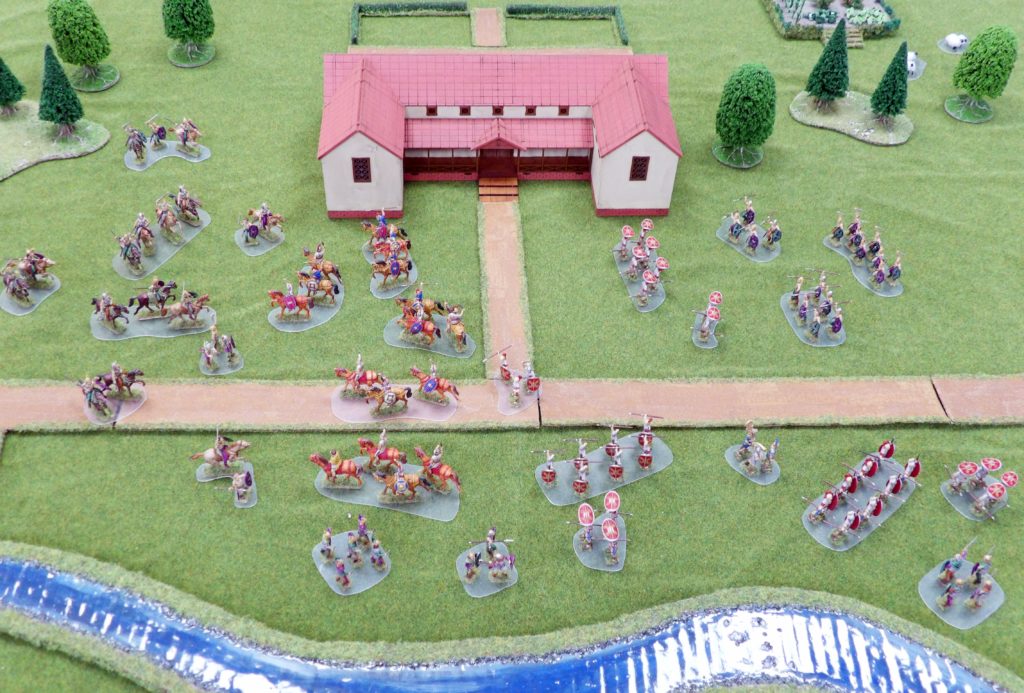
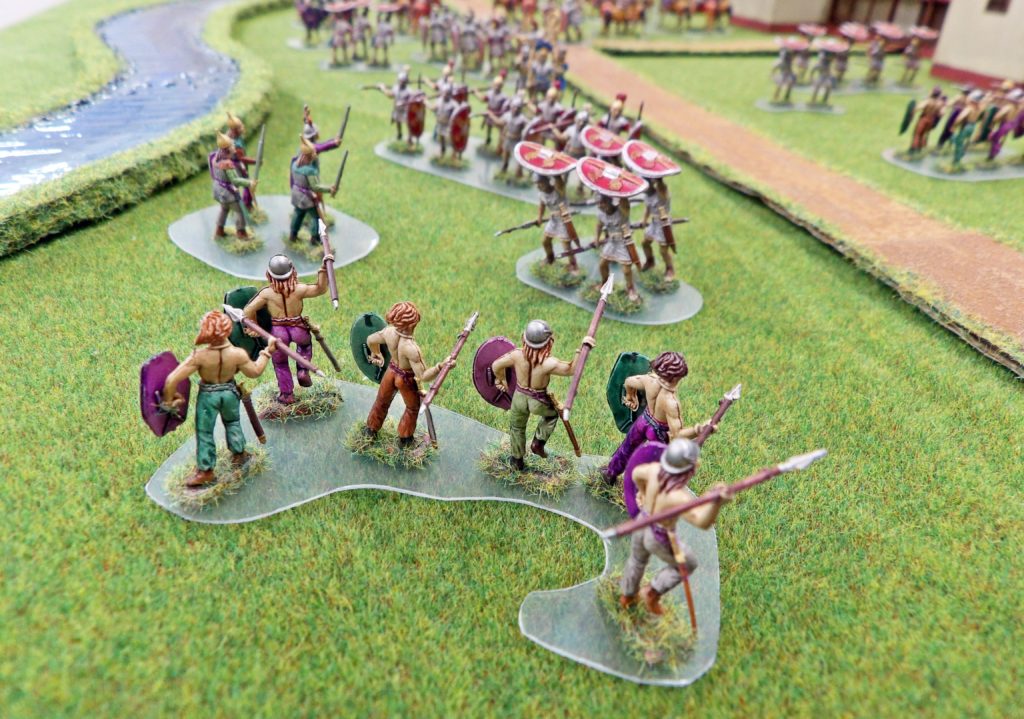
This saga began when we decided to build this Pax Romana kit. It consisted of a Roman villa, and Roman and Celtic figures.The Roman villa is made from laser cut MDF and card.The laser cut parts fitted together superbly and was assembled it in no time. It is one thing to know that there are 109 figures in the kit, and another to see what 109 figures look like in flesh. We were very tempted to put the figures back in the box and pretend we never opened it.After getting over the shock of seeing the number of figures there are to paint, we got to work. We glued the weapons and shields to the figures and arranged them onto cardboard ready for priming.Once primed and painted, the figures were varnished with a layer of dark wash. Here is a before-and-after picture. The figure on the left is without the dark varnish, and the figure on the right shows what it looks like after varnishing. The same colours were used for the two figures except for their hair and swords.Here is another before-and-after picture. The same colours were used for both figures except for their hair. Another before-and-after picture. Same colours were used on both figures except for the shields.On completing the figures, we went on to design the layout of our battle scene. Once we marked out the location for roads, garden, and a river, we built the individual elements.Here is the river. We first painted some textures onto the base before adding simulated water.Next, we made some sheep. We have seen a few “you must be crazy” faces when we told customers that these are supposed to be sheep.Here are the finished version. We still get a few “you must be crazy” faces when we say these are sheep.Finally, all 109 figures were added to the battle scene.
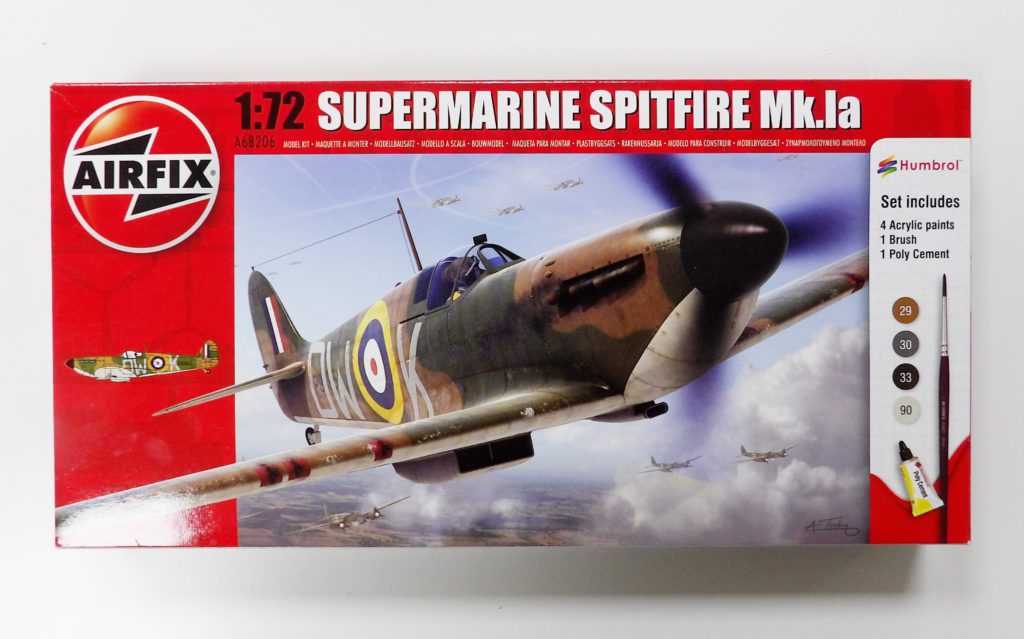
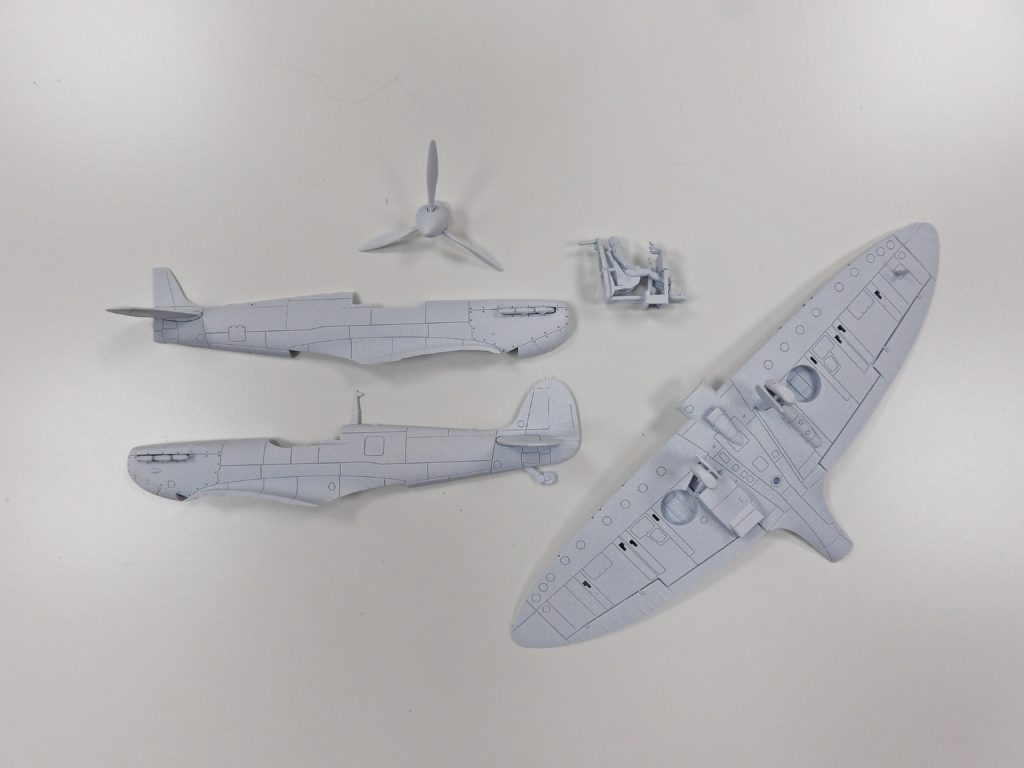
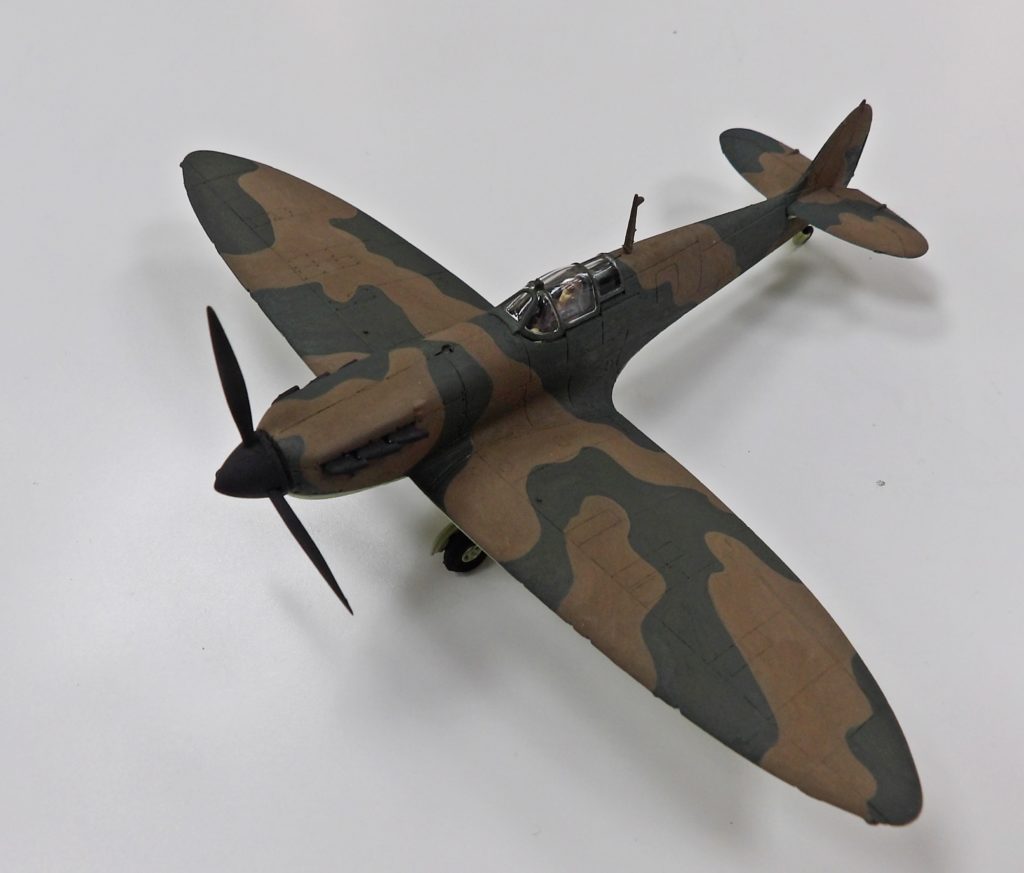
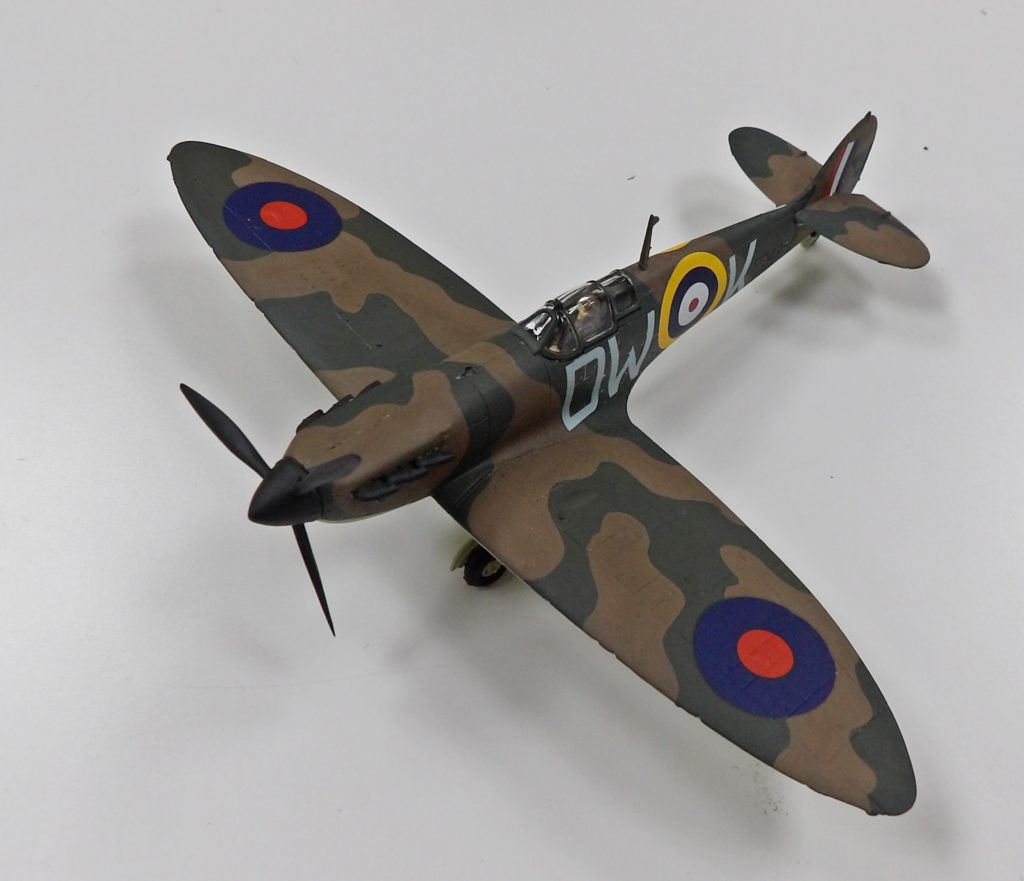
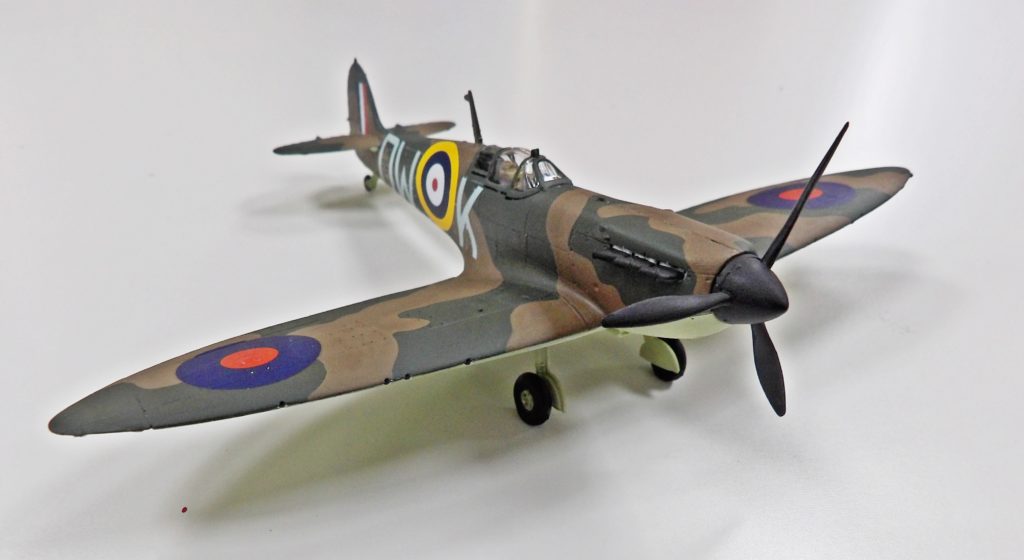
Taking a welcome break from painting millions of minute Roman figures, we are building a Spitfire!
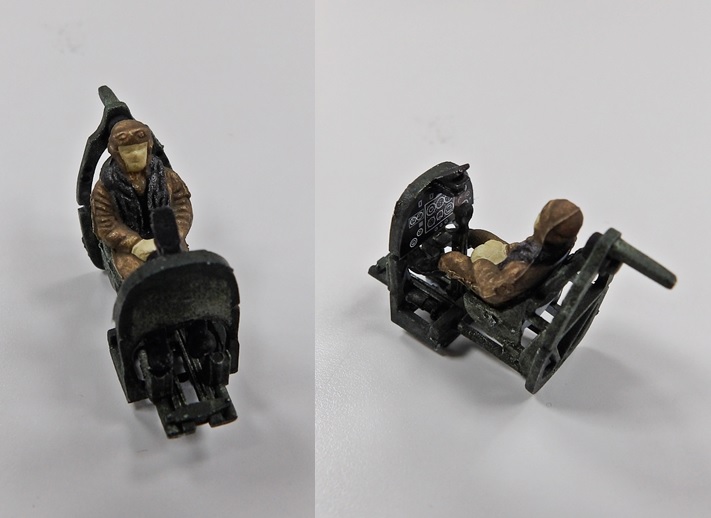
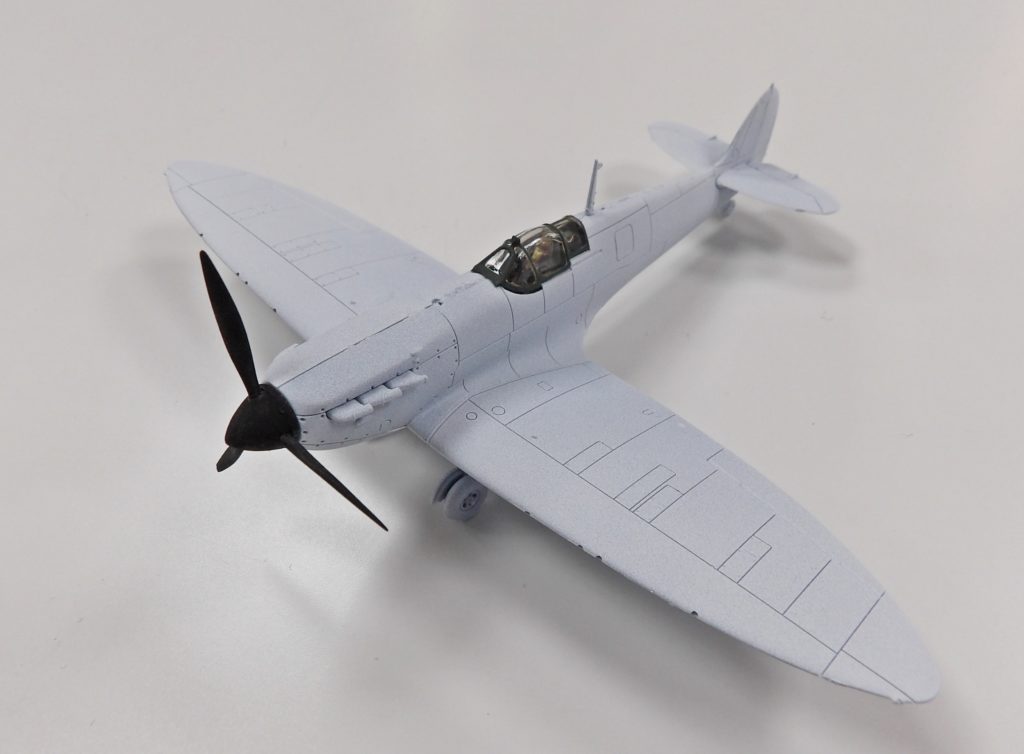
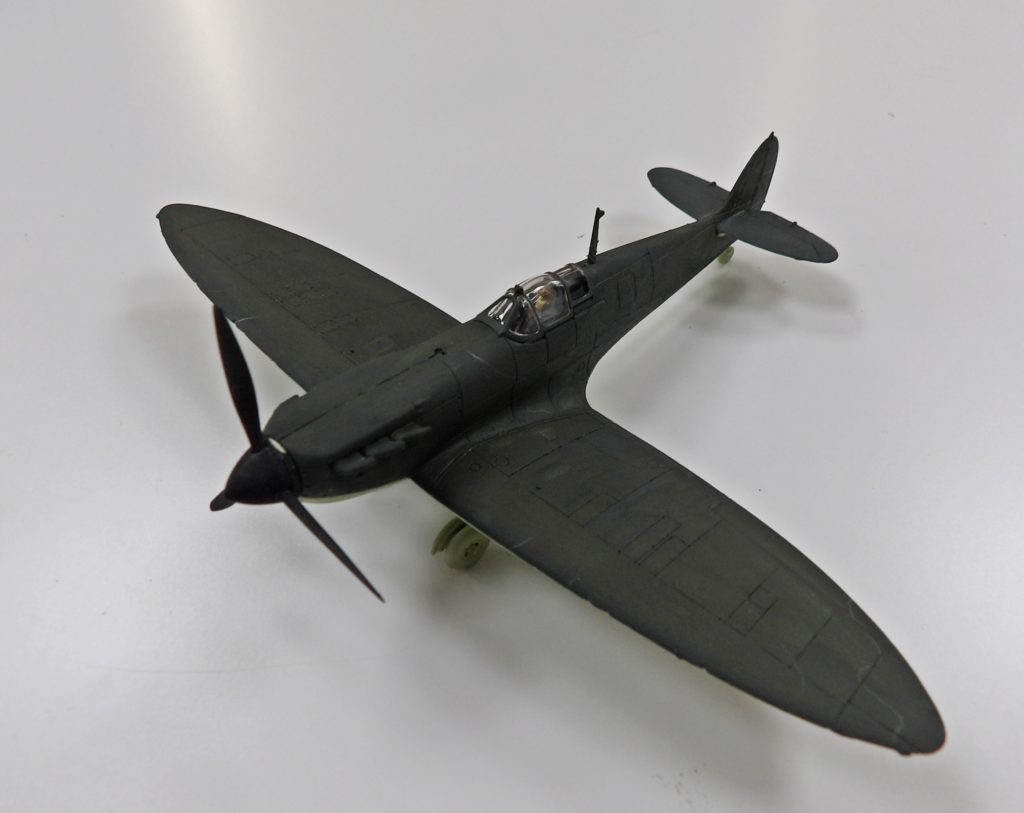
1) First things first – the sprues are given a quick rinse and primed in white.2) Inside the cockpit – the pilot sitting smartly ready for take-off.3) The plane is assembled.4) A dark green base coat is painted.5) A layer of dark earth-brown is added to create the iconic camouflage.6) Finally, markings are added to the plane.Our Spitfire is complete!