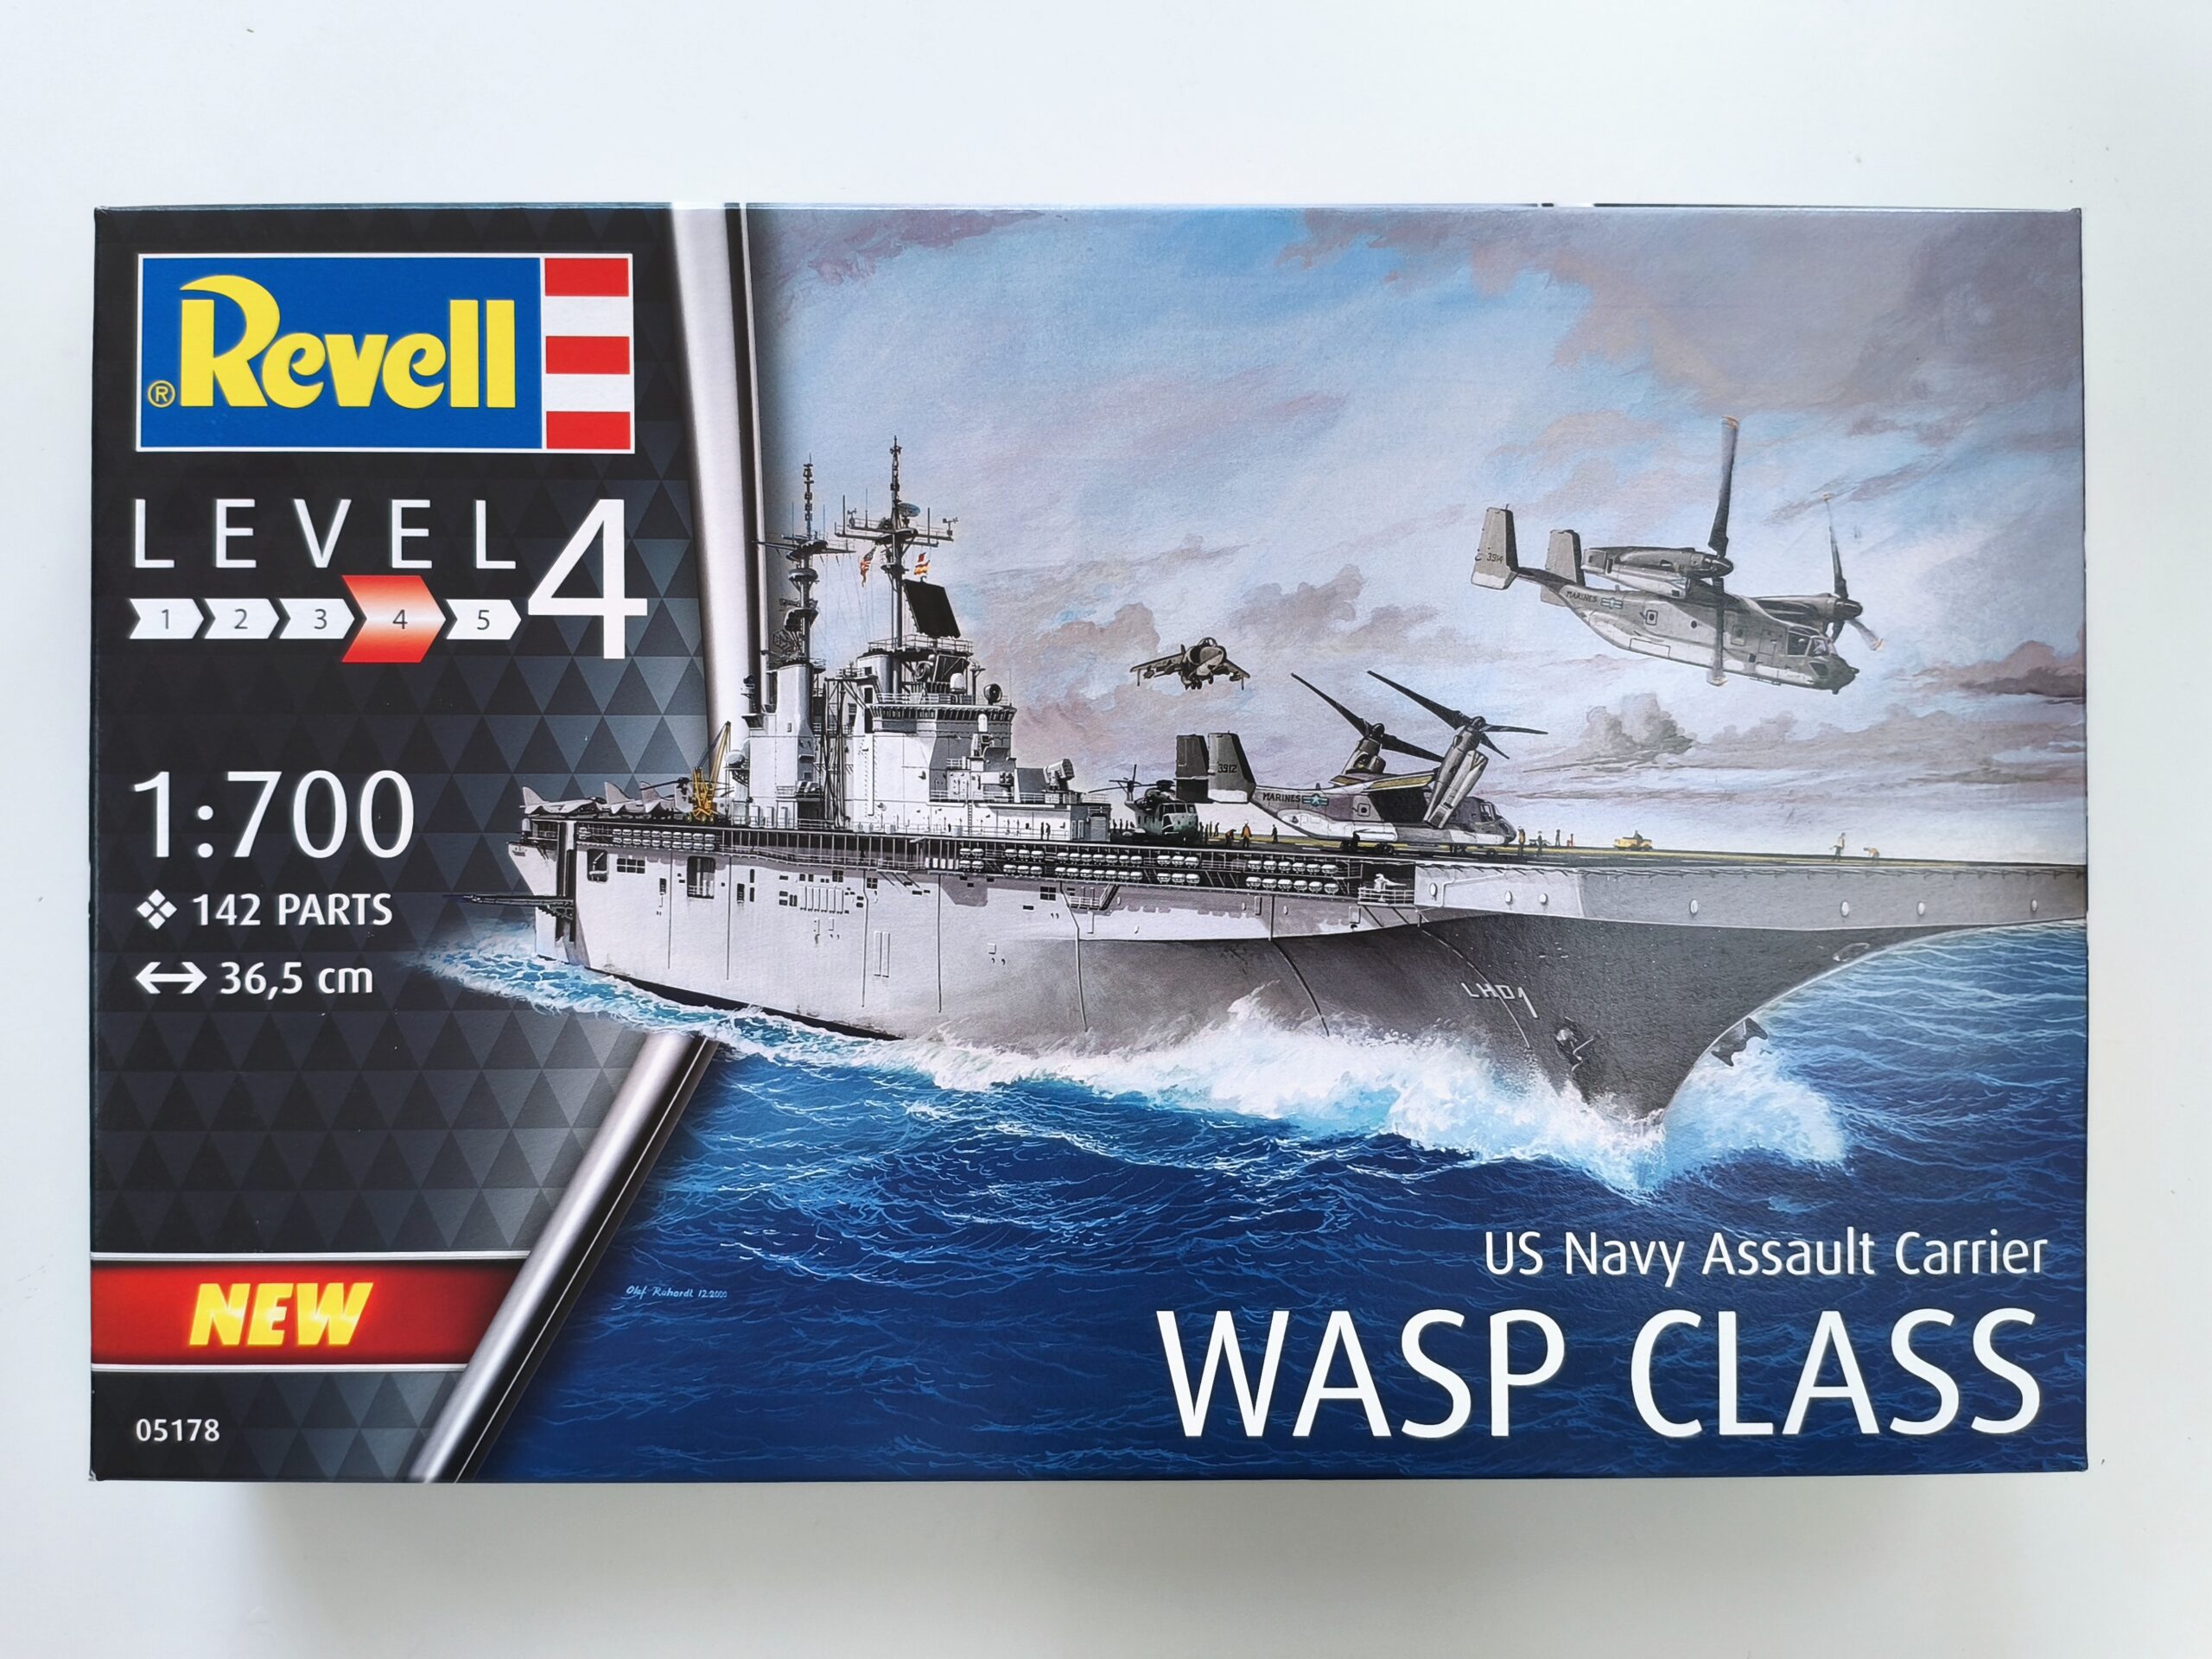
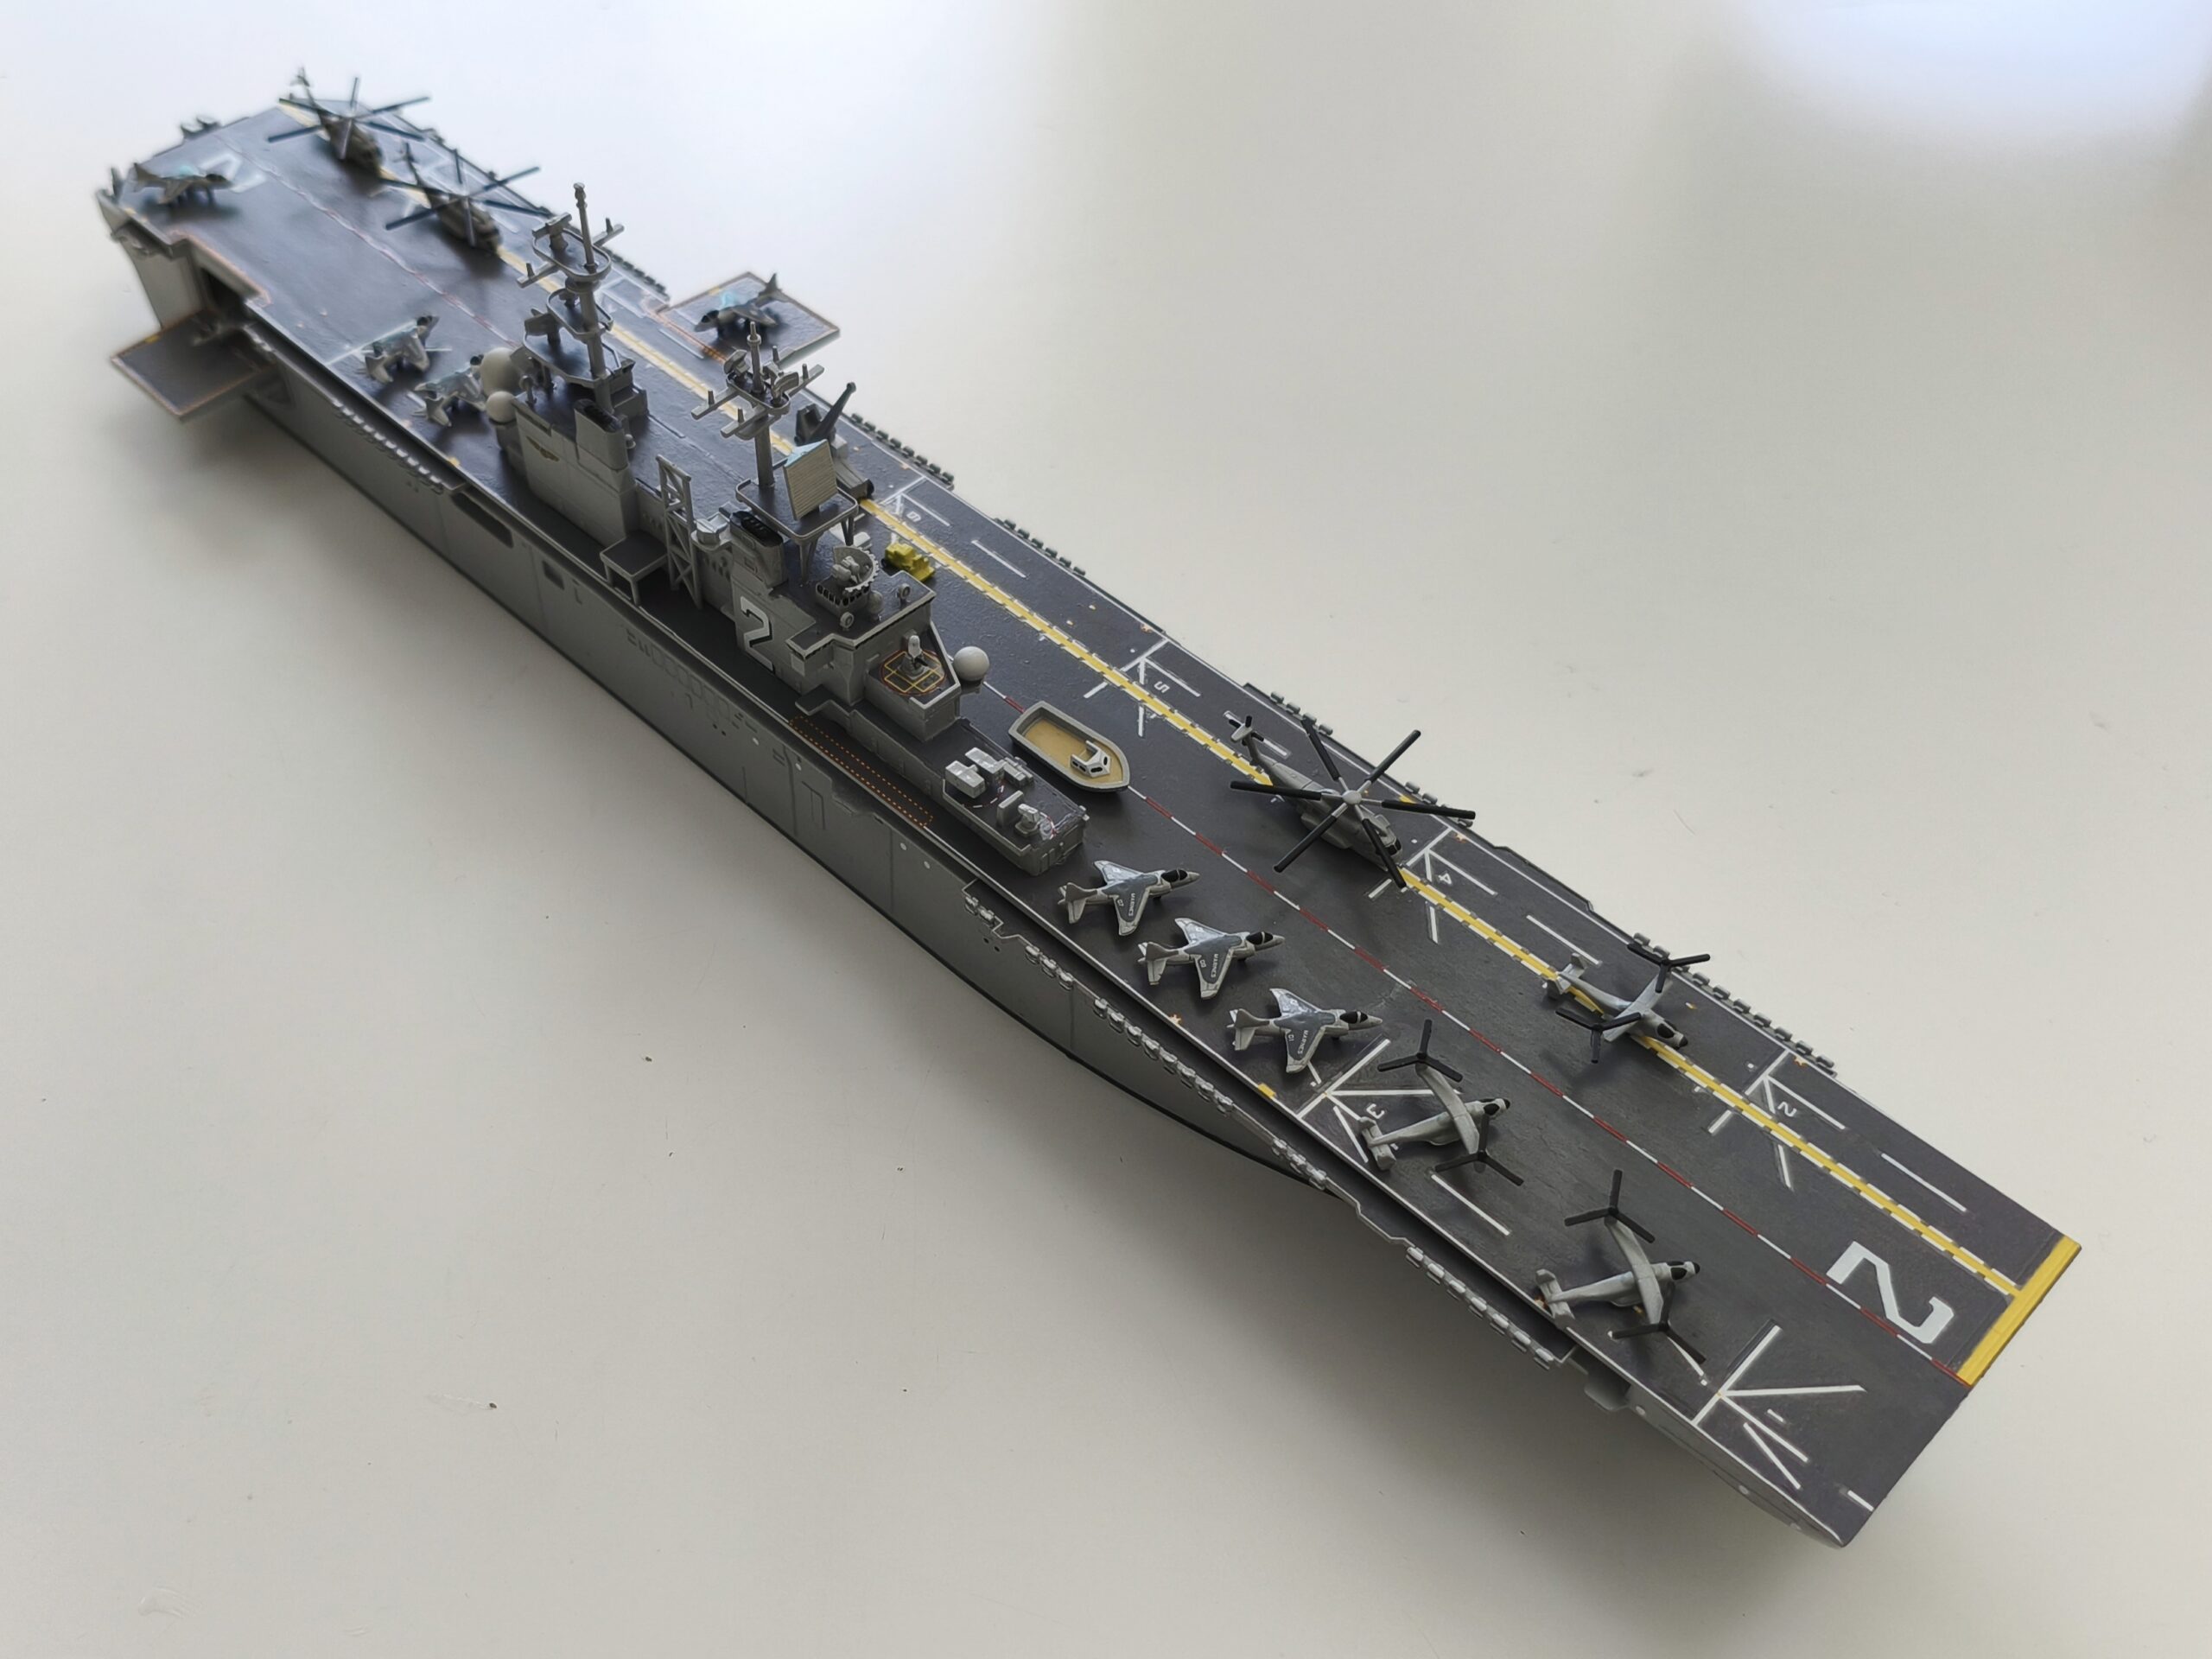
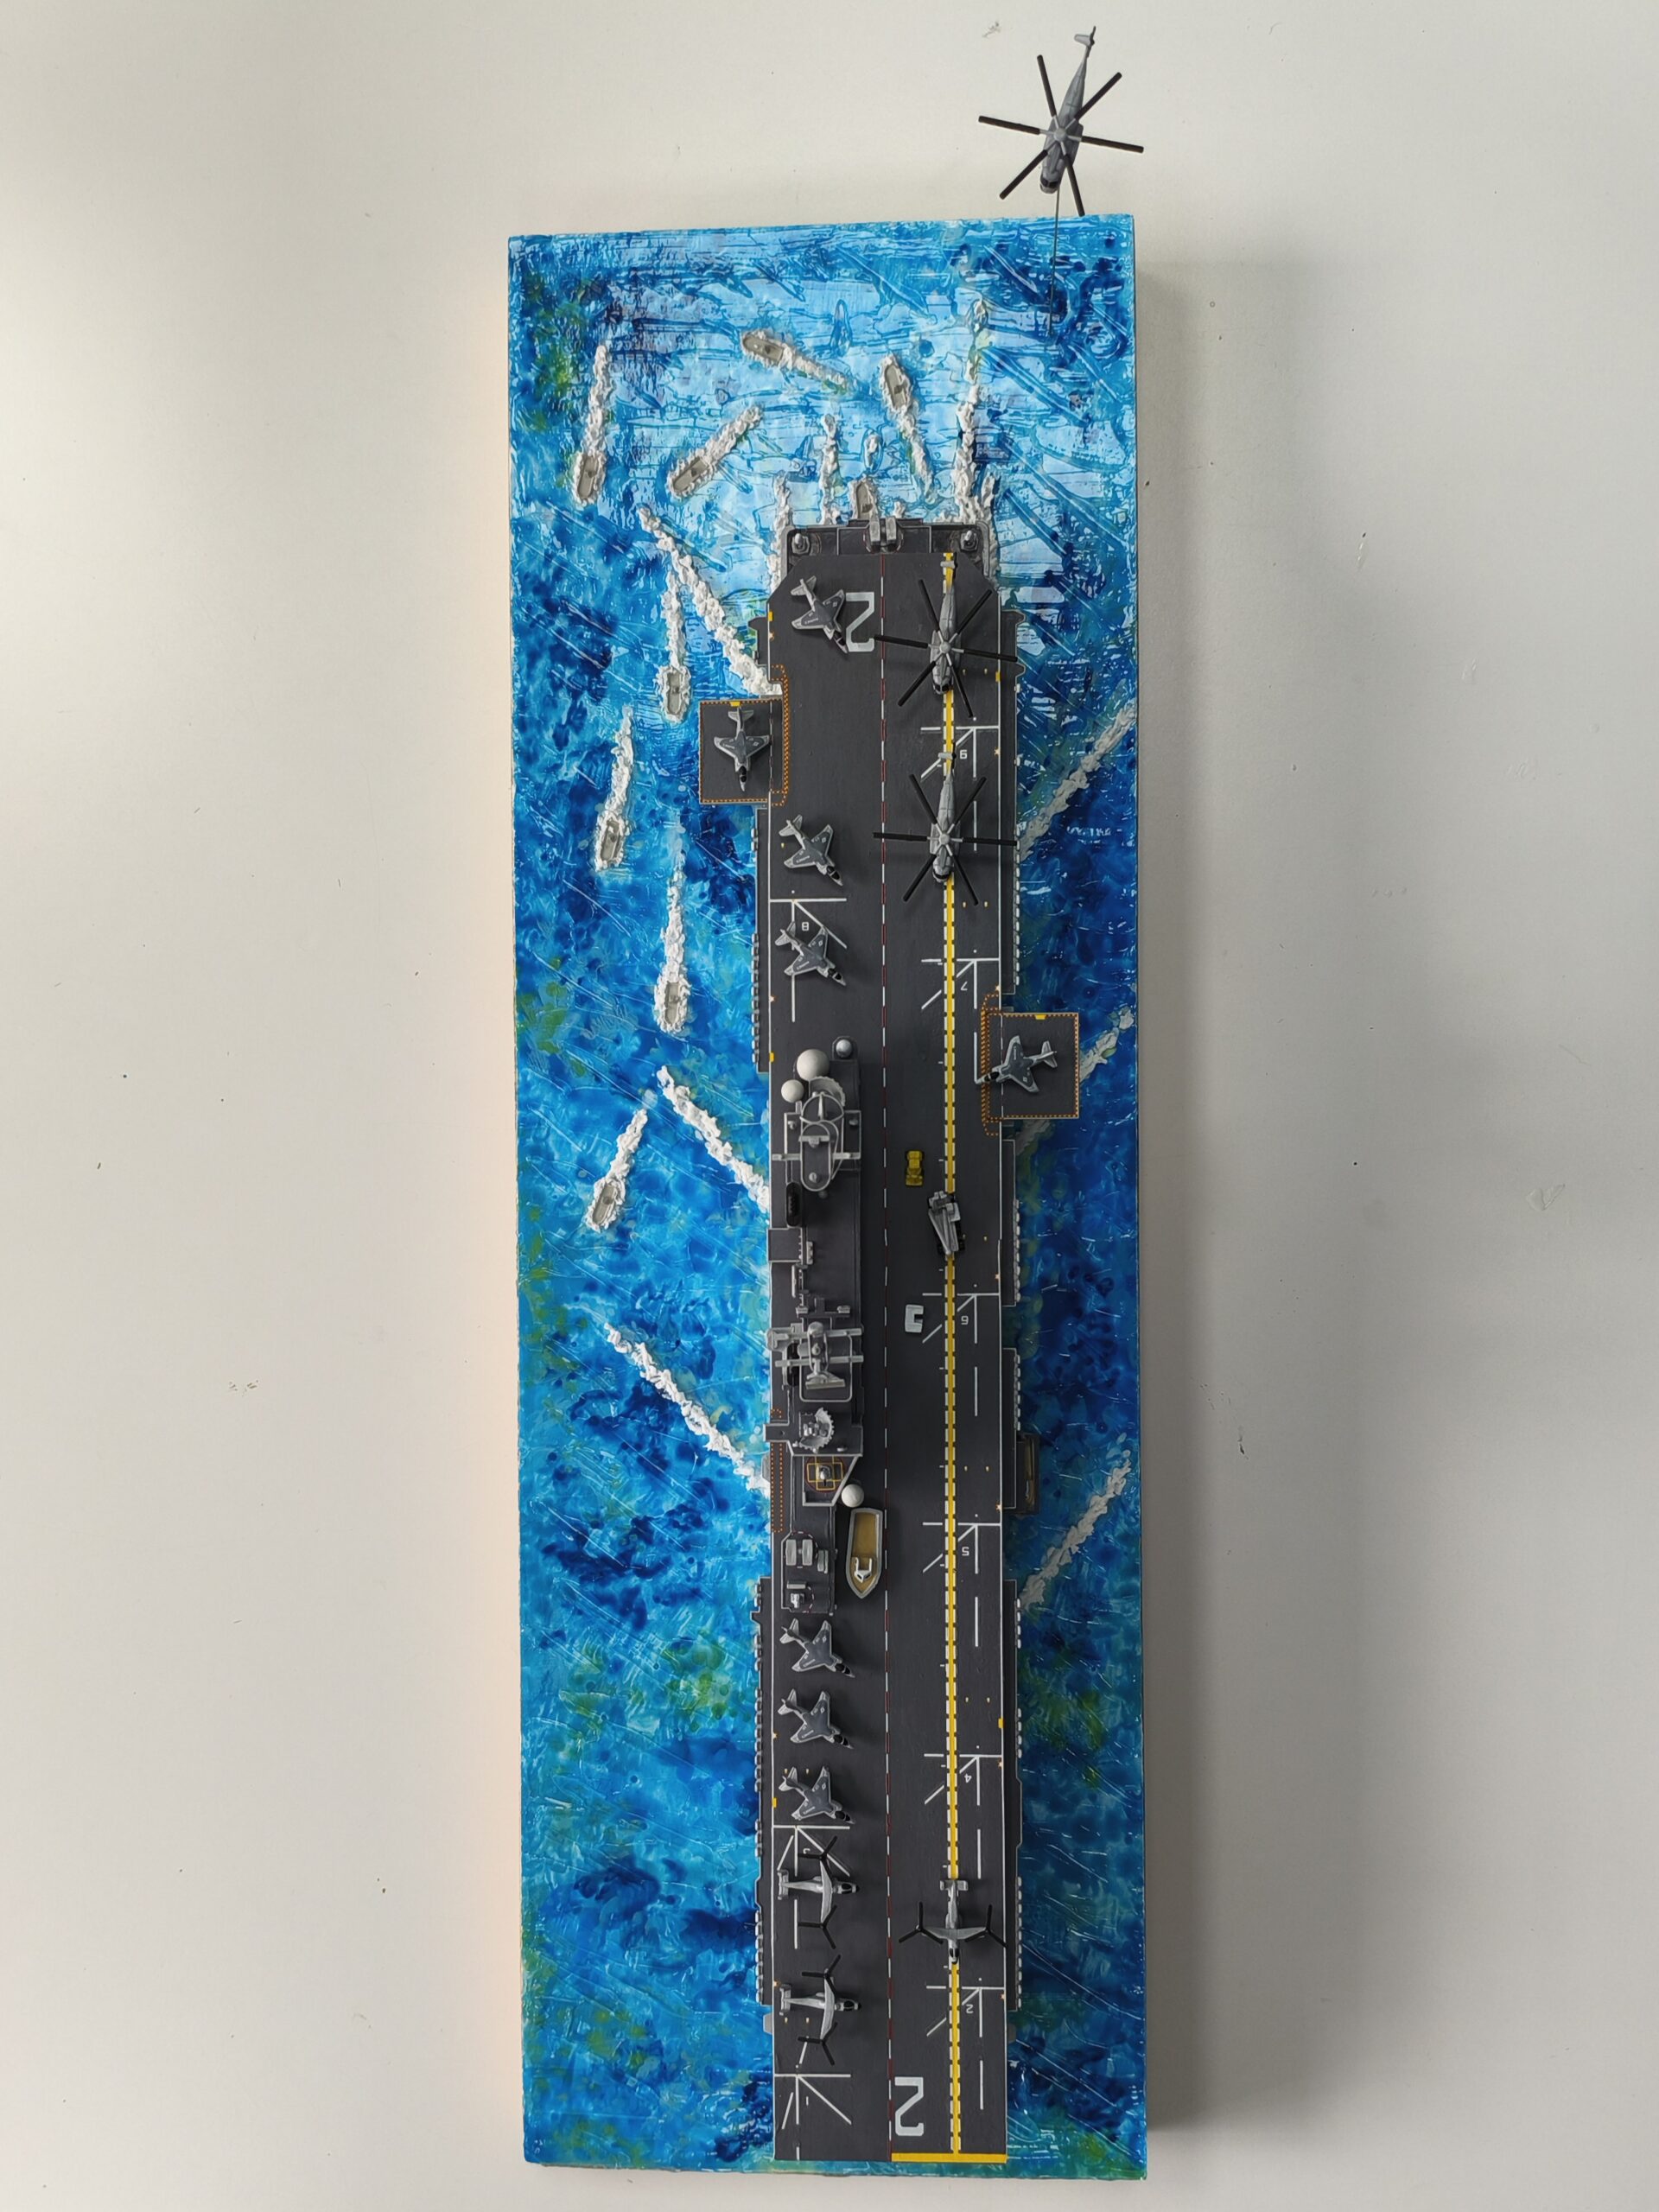
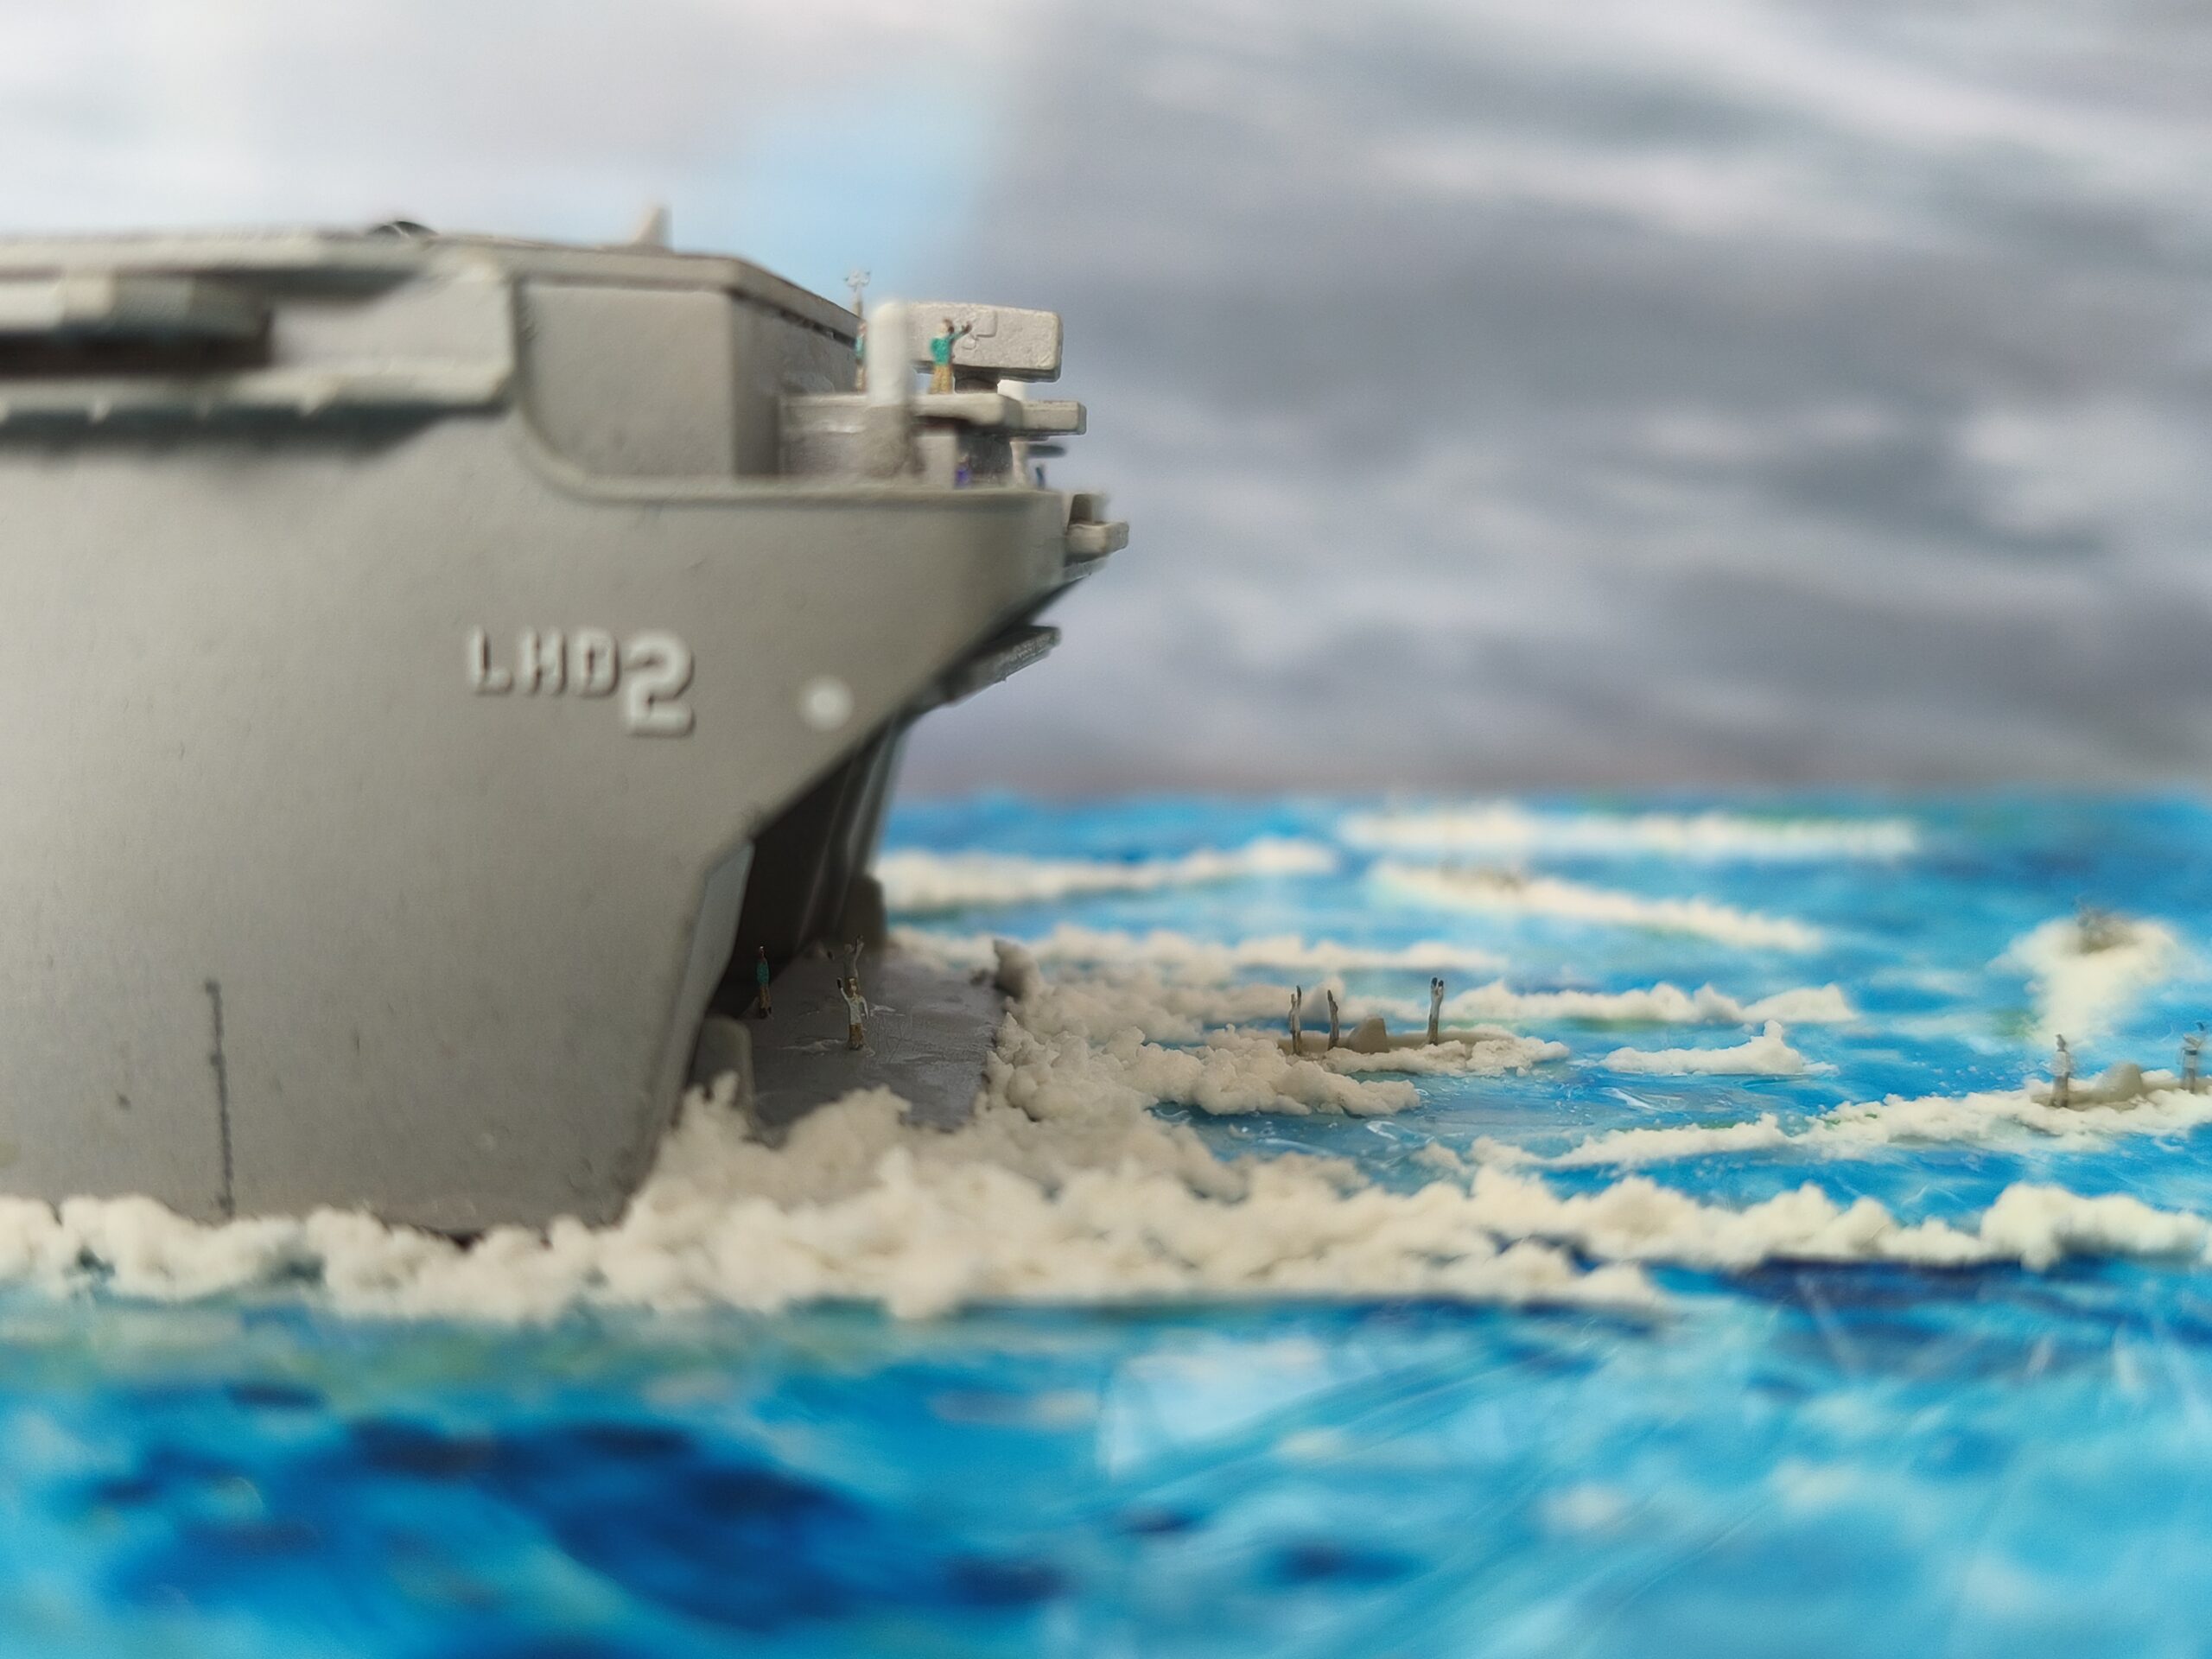
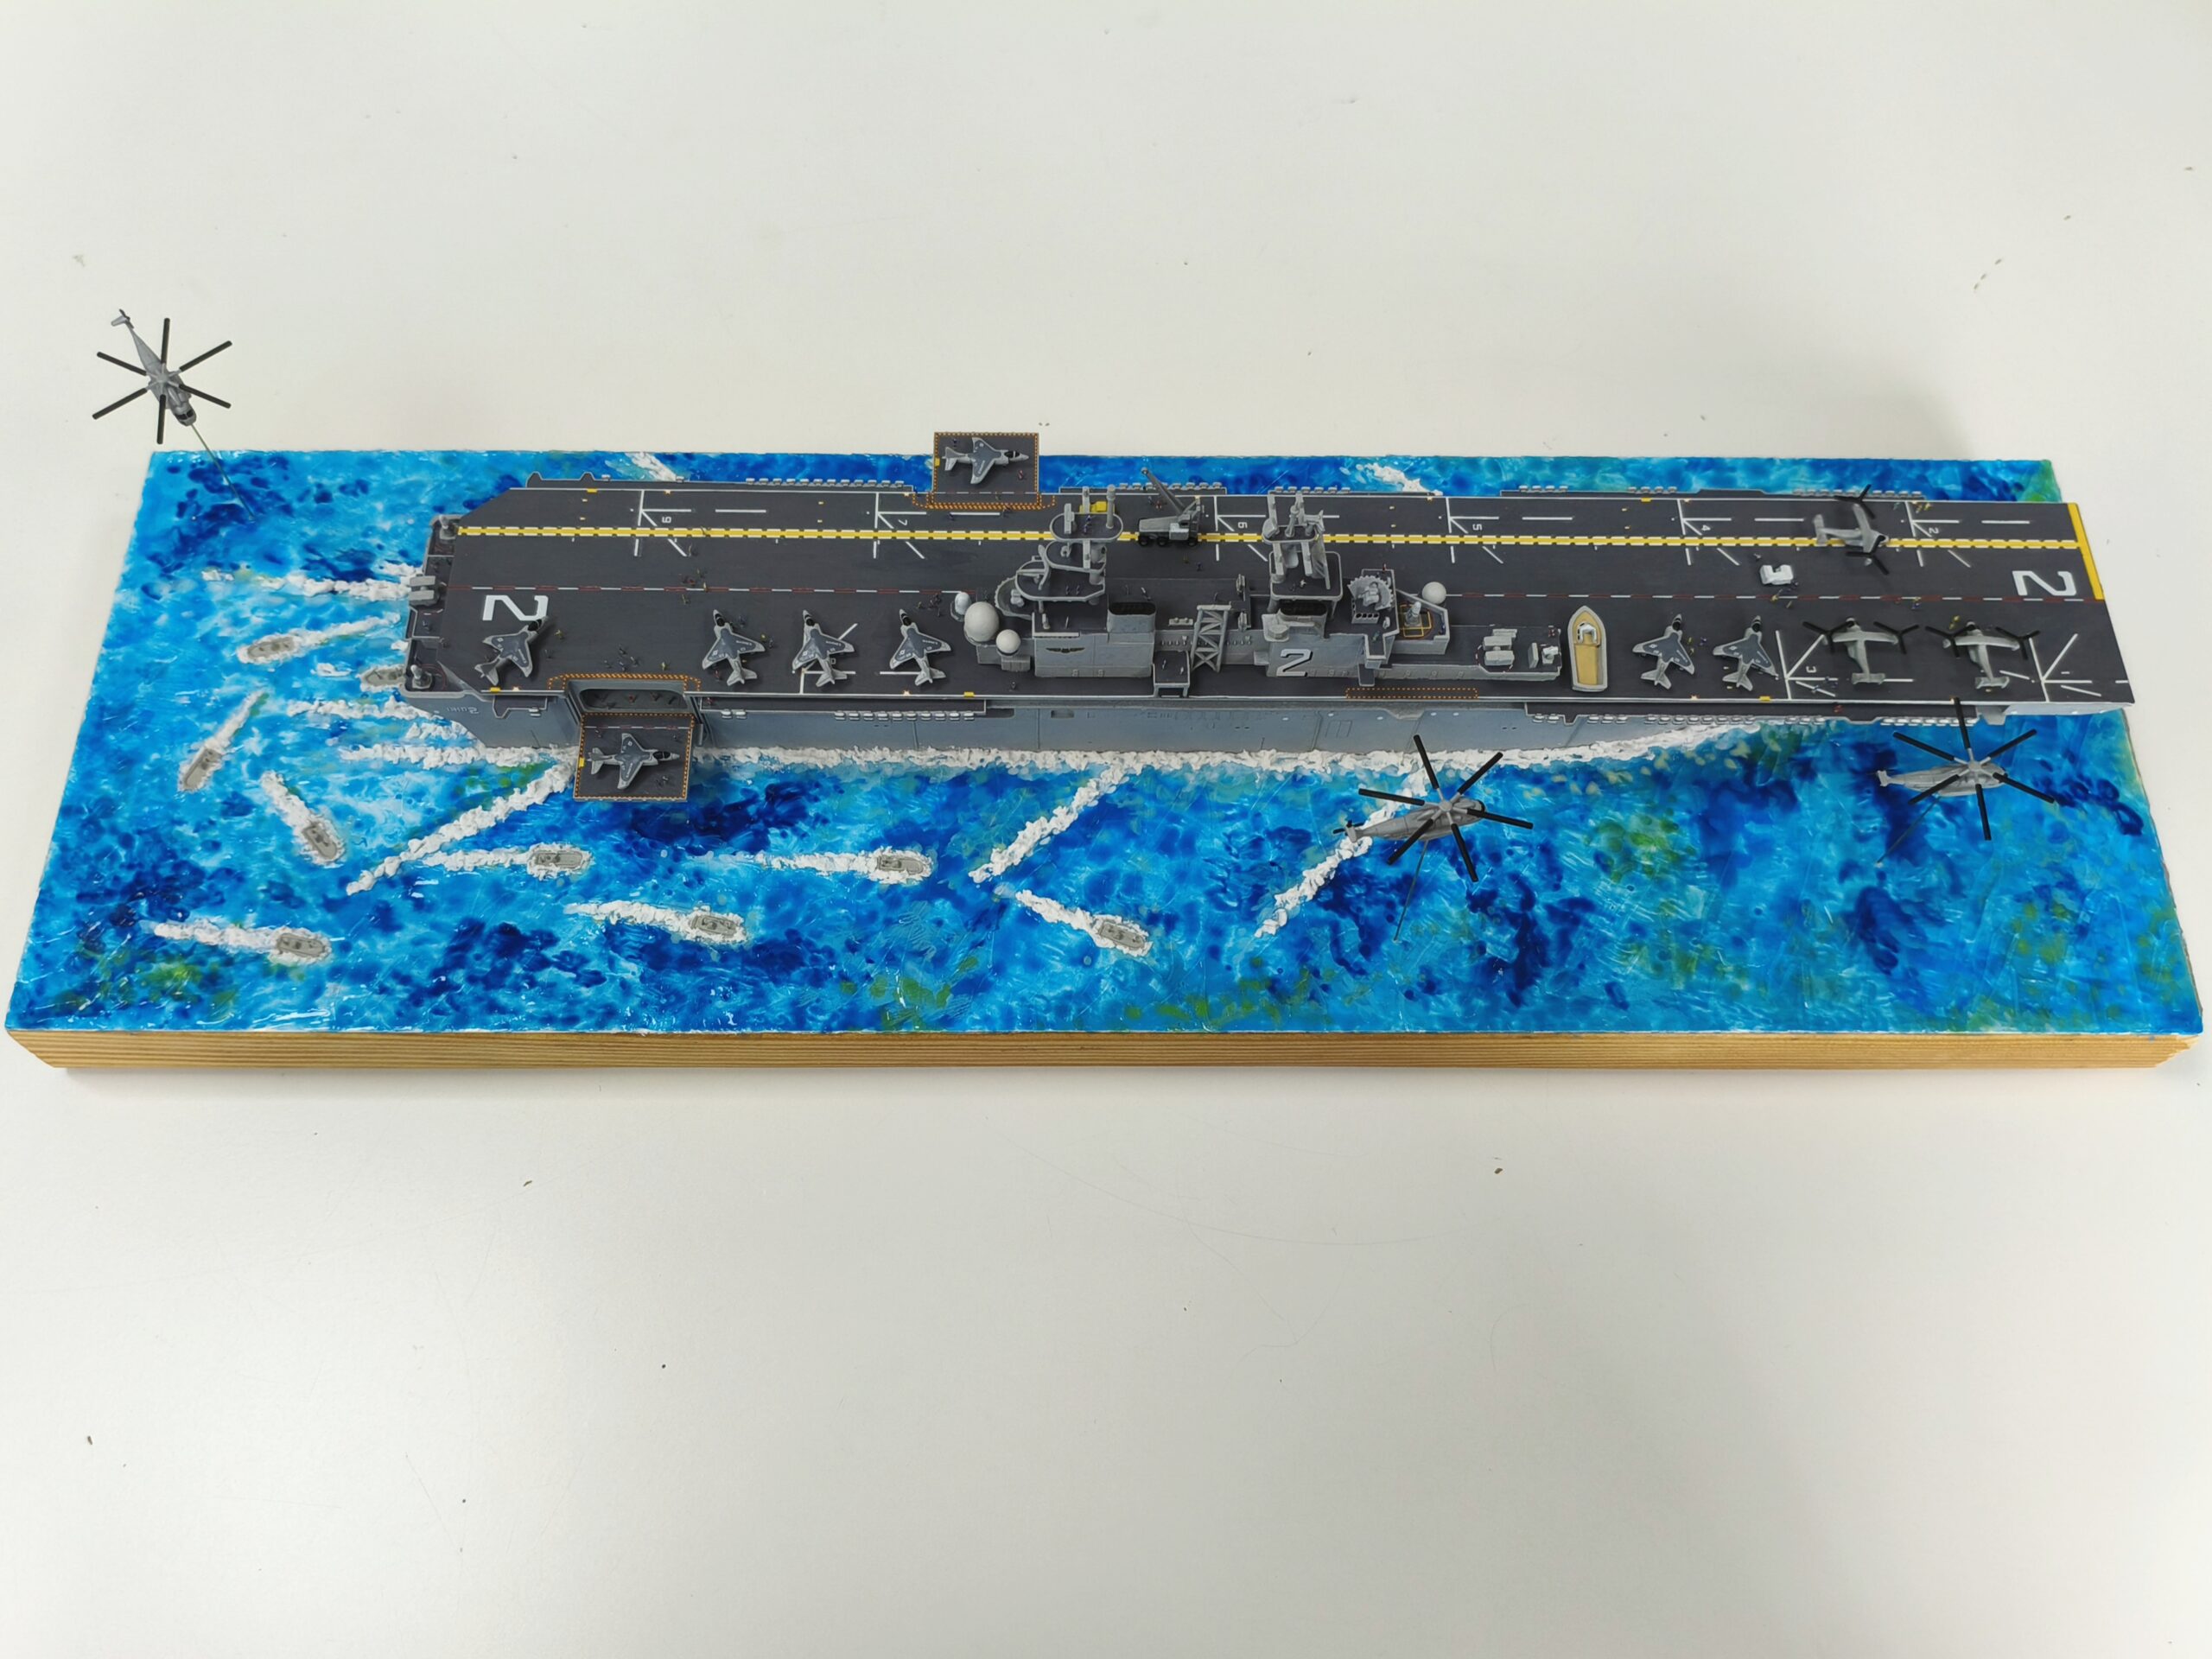
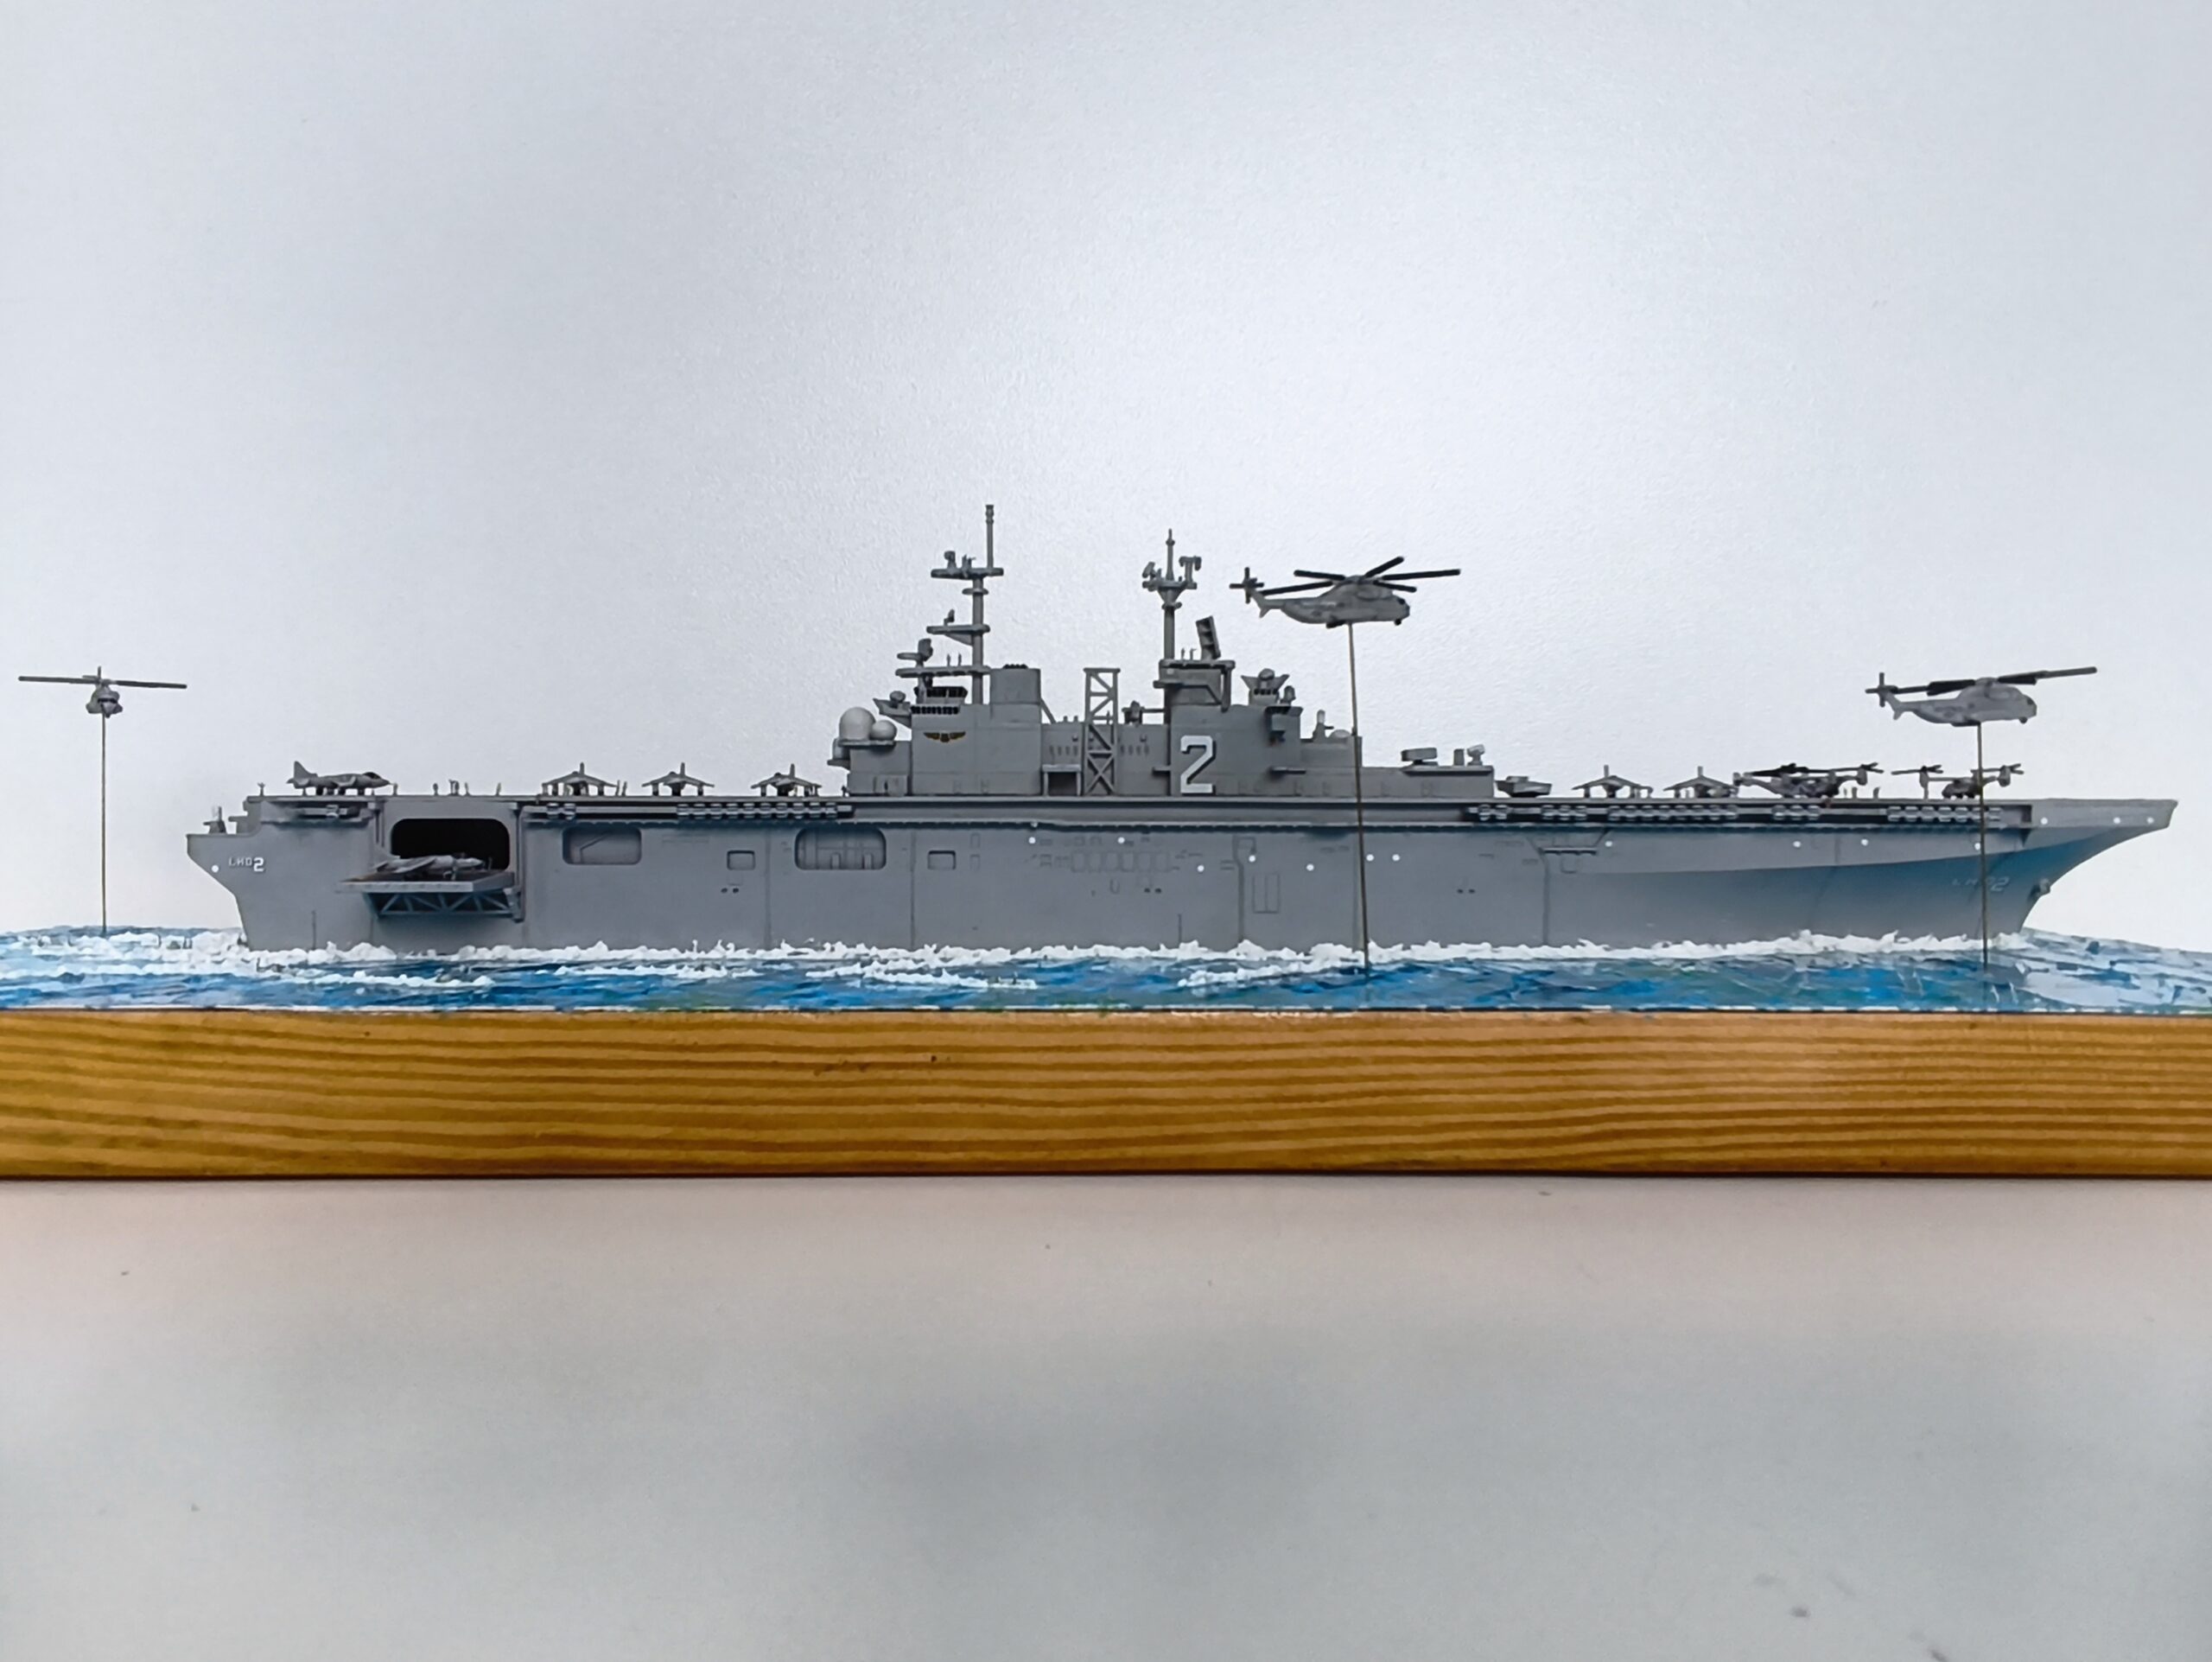
Assault carriers are designed to support short-range aircraft and landing crafts. In global conflicts or humanitarian crises, they can quickly supply troops or equipment onto shores.
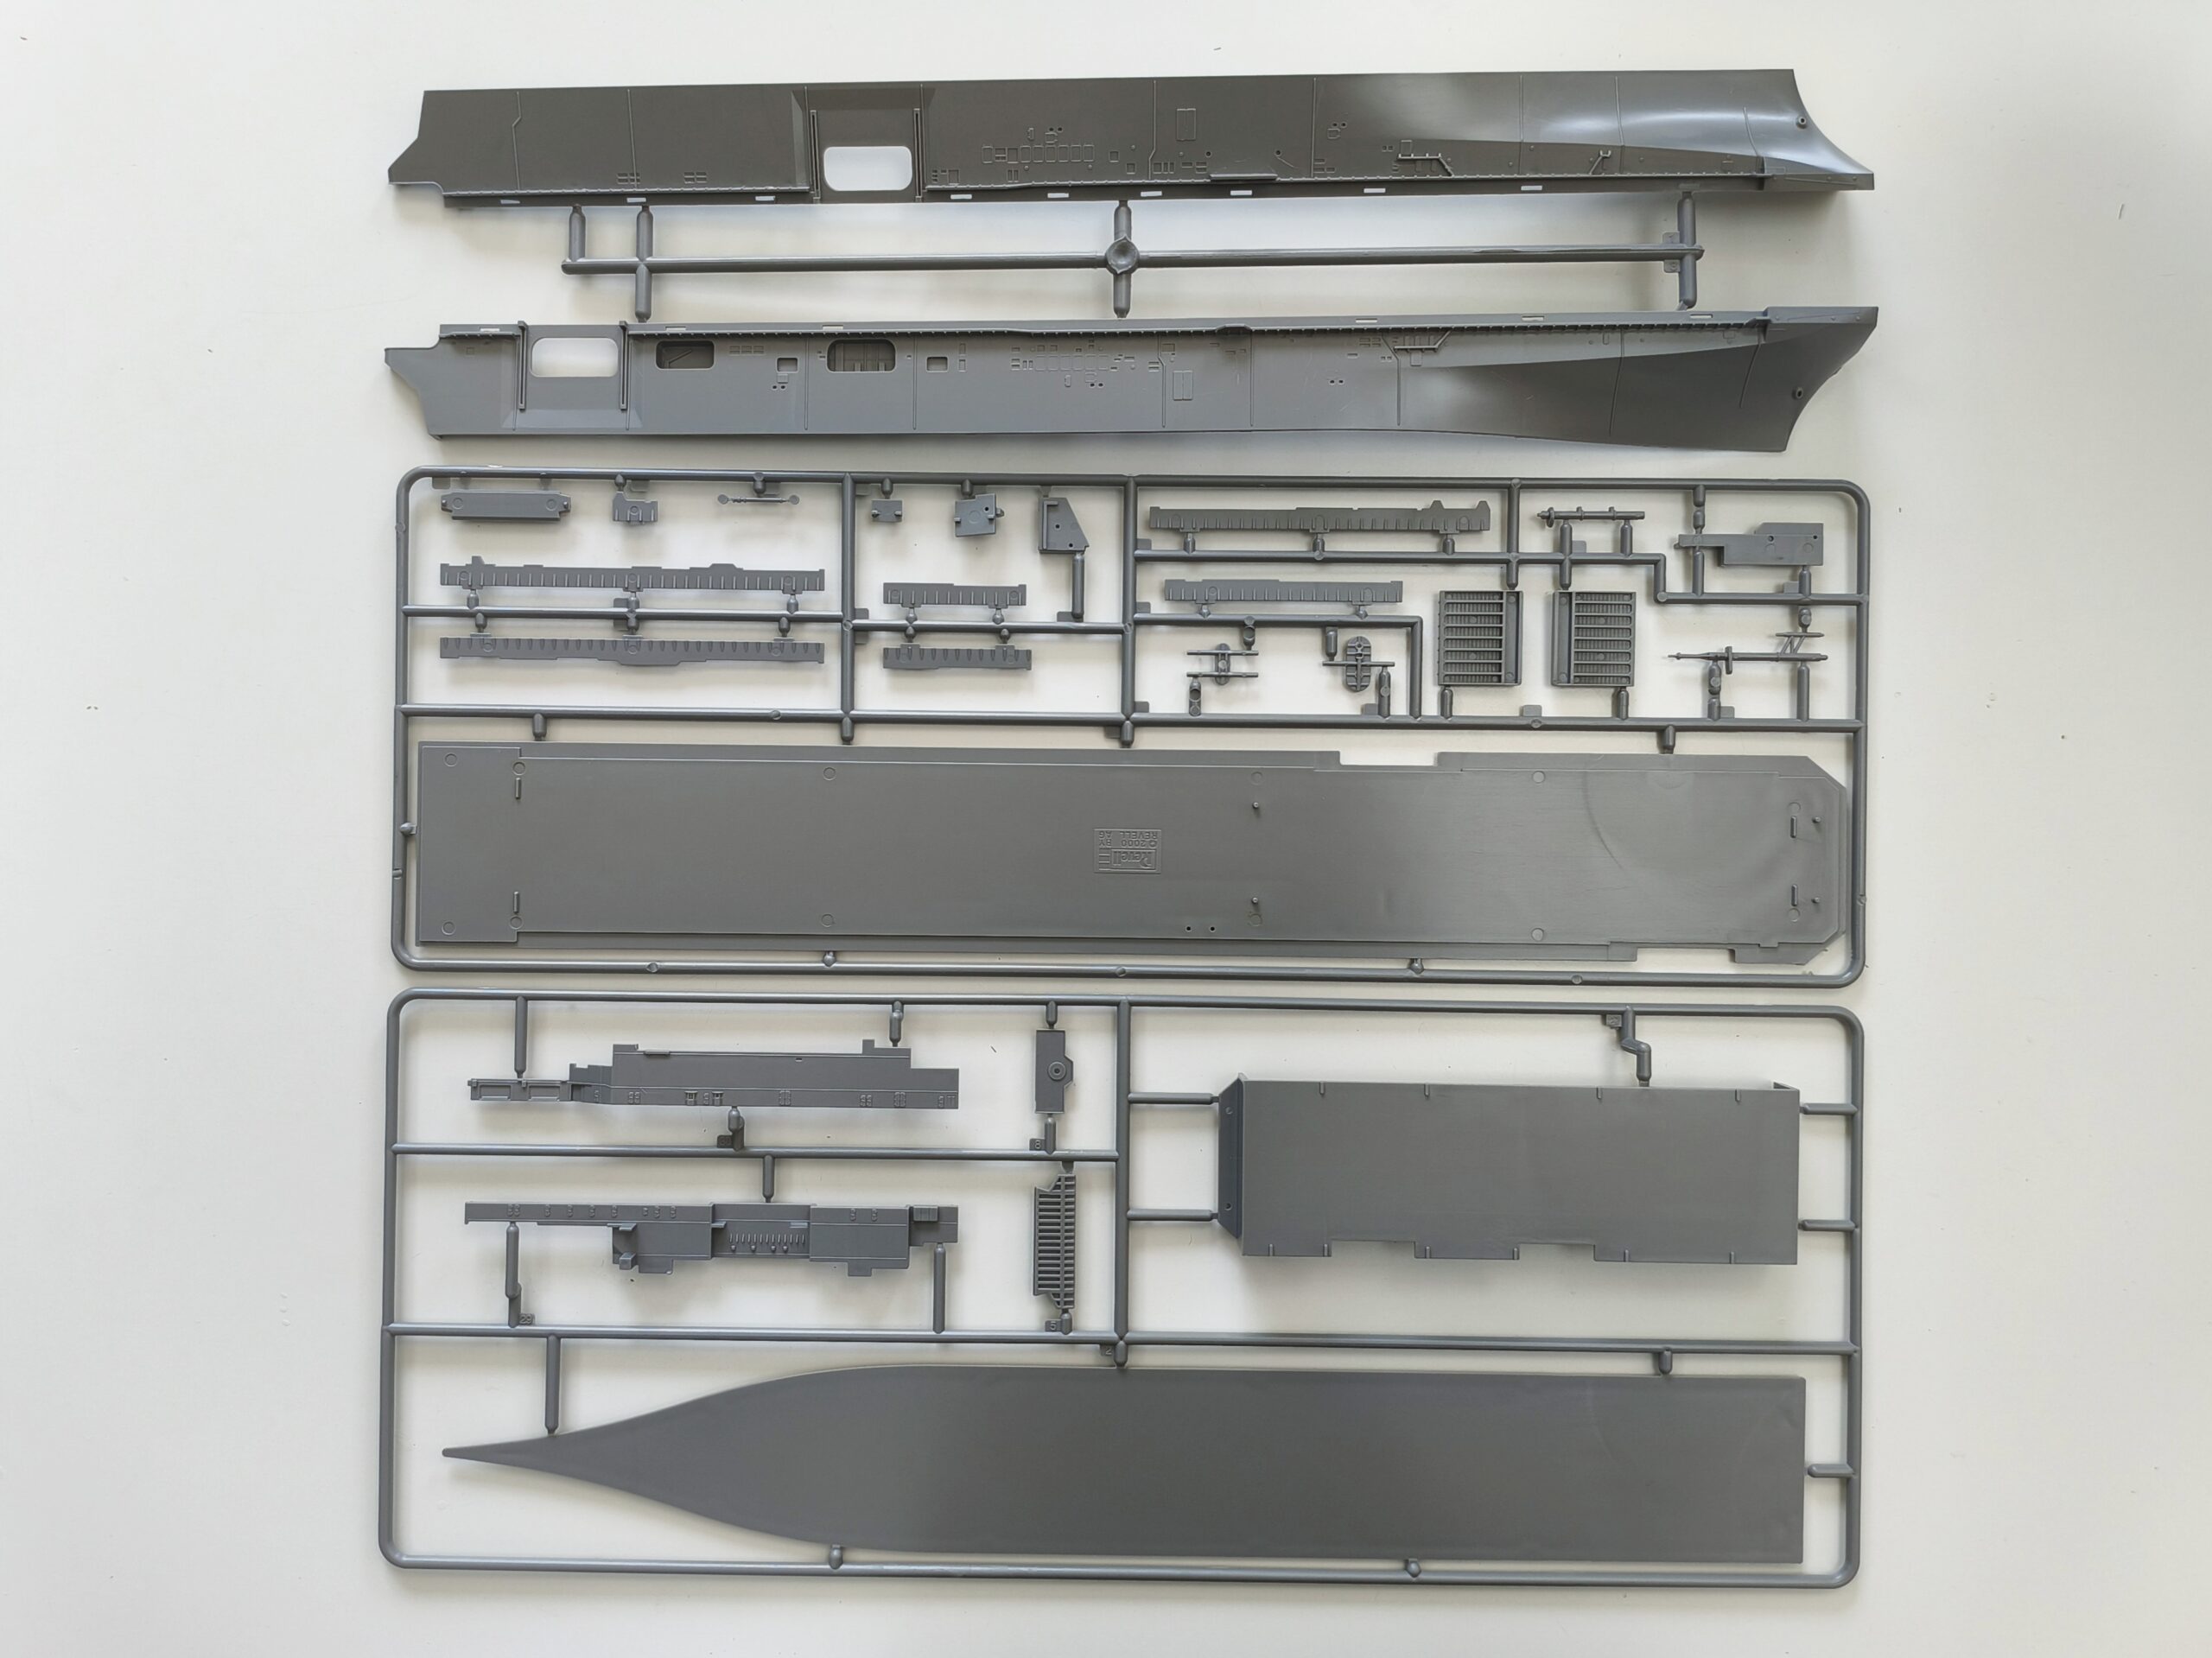
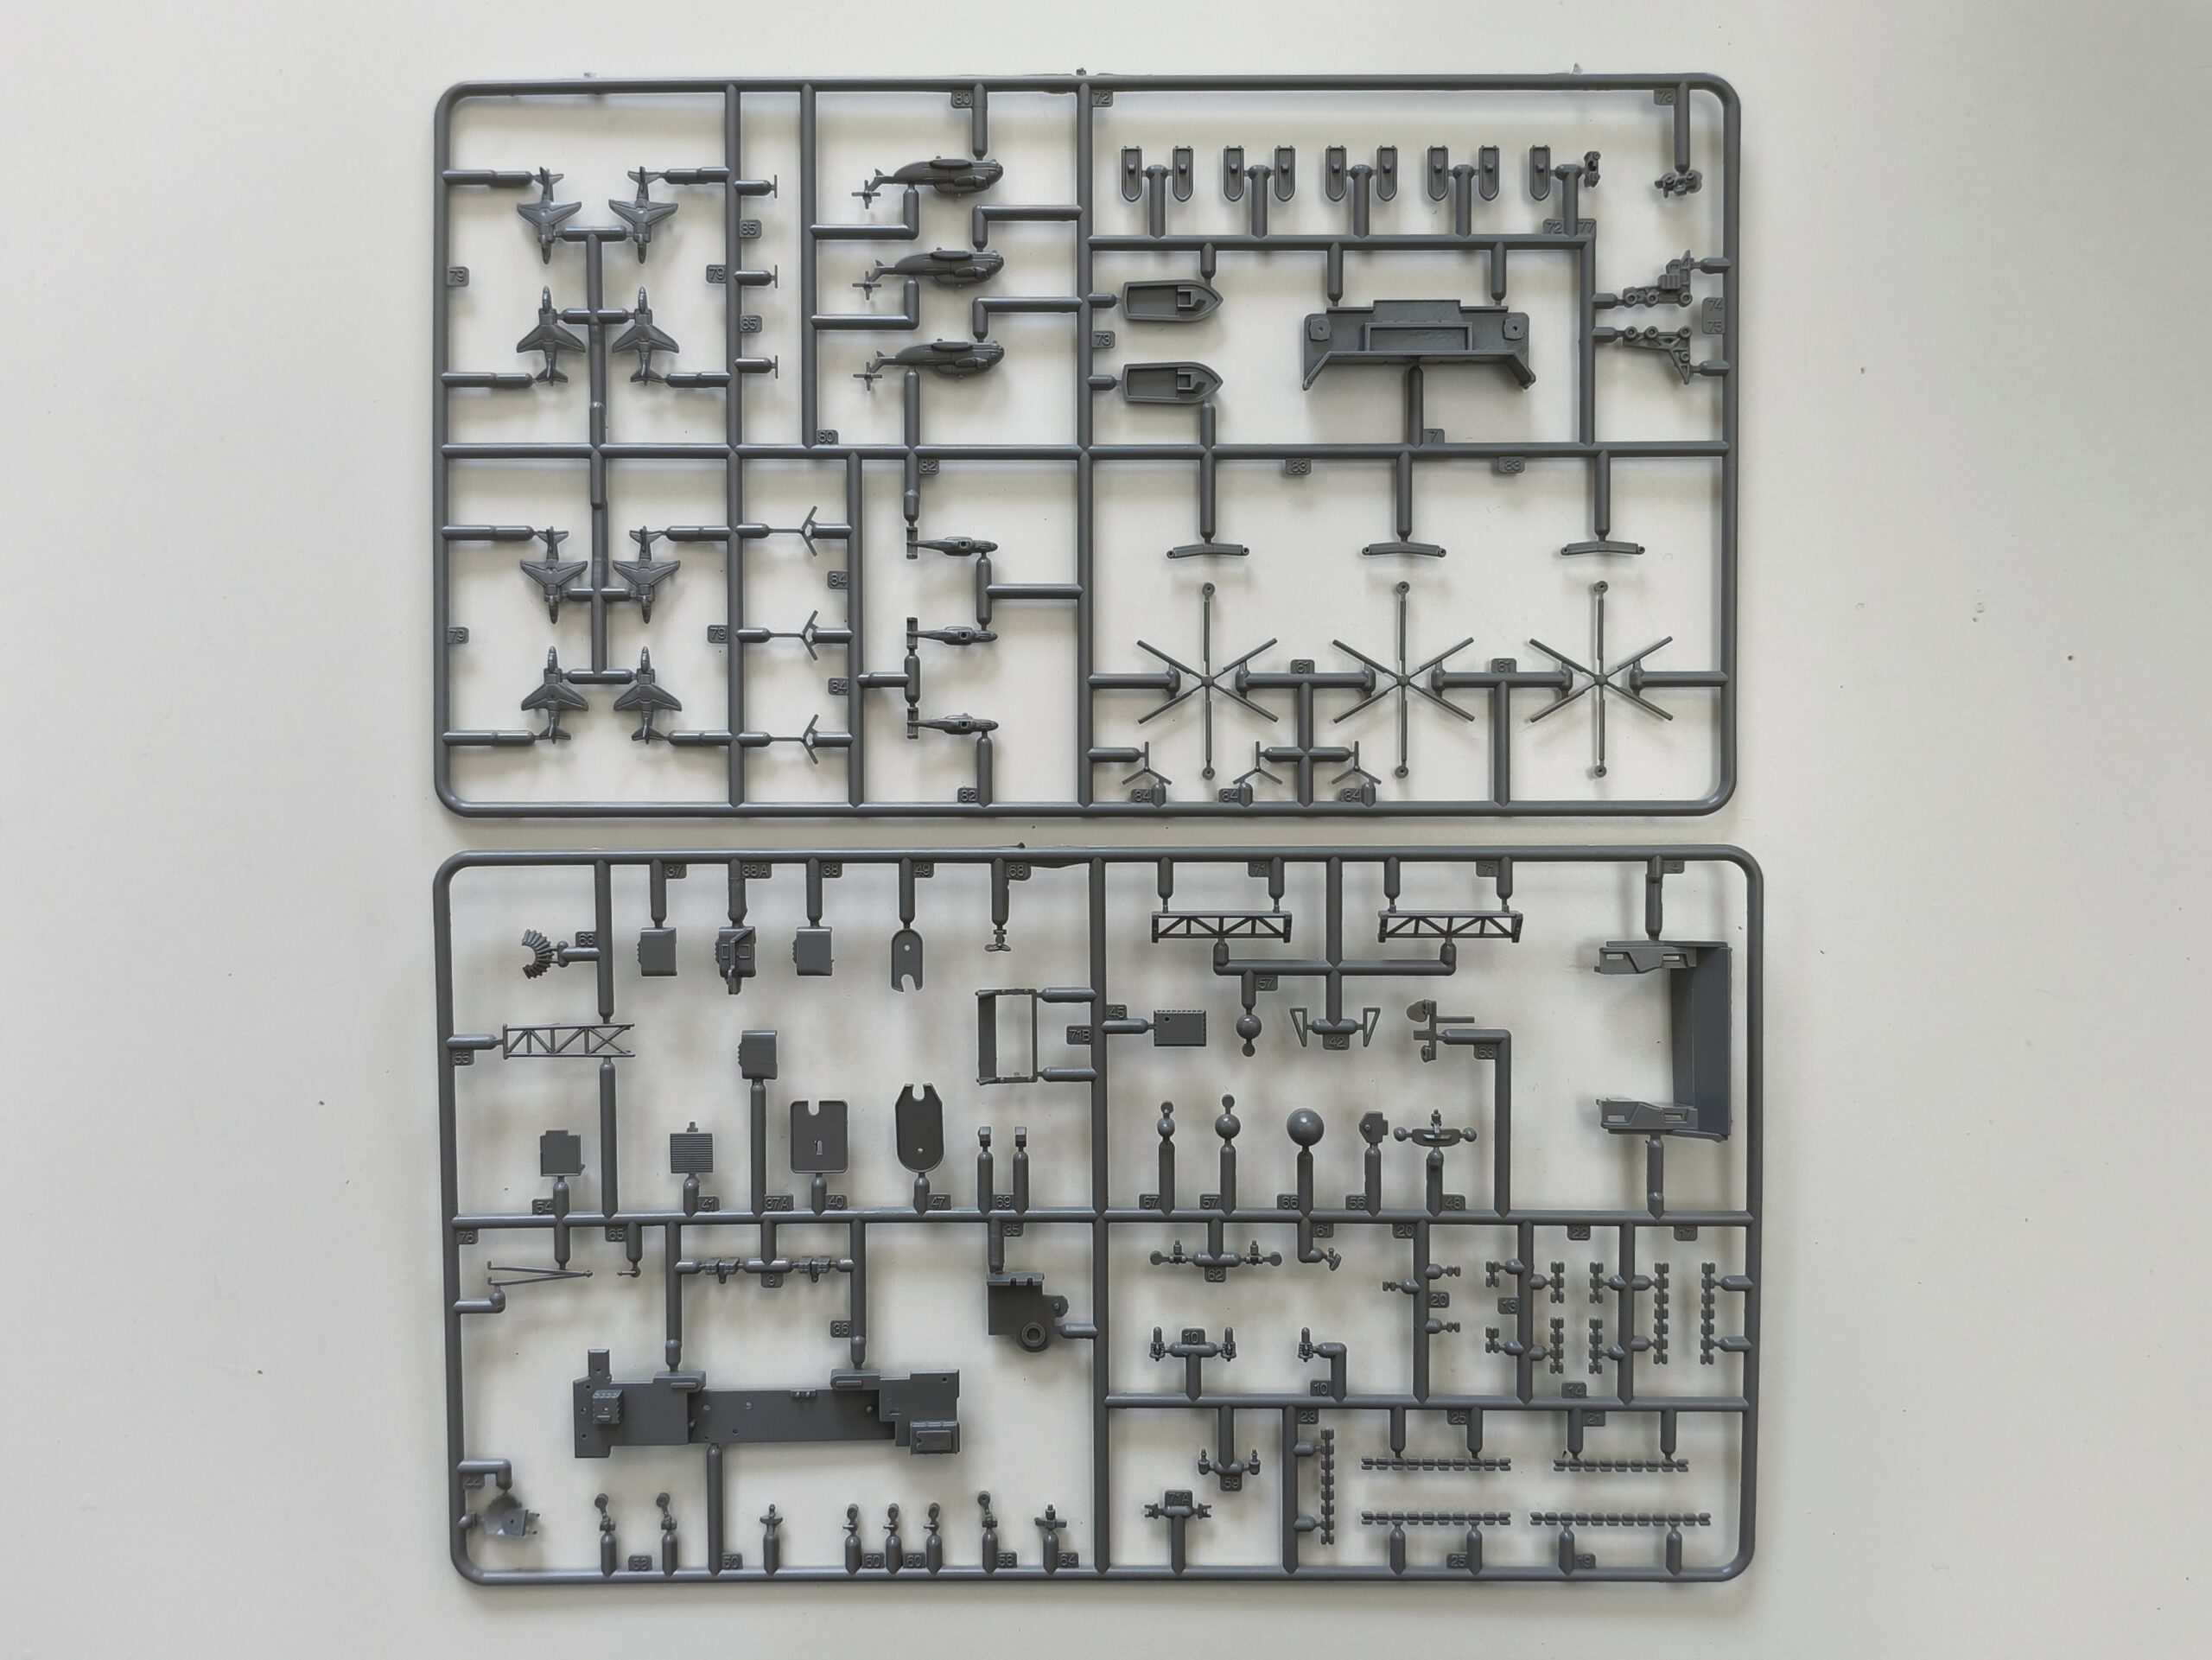
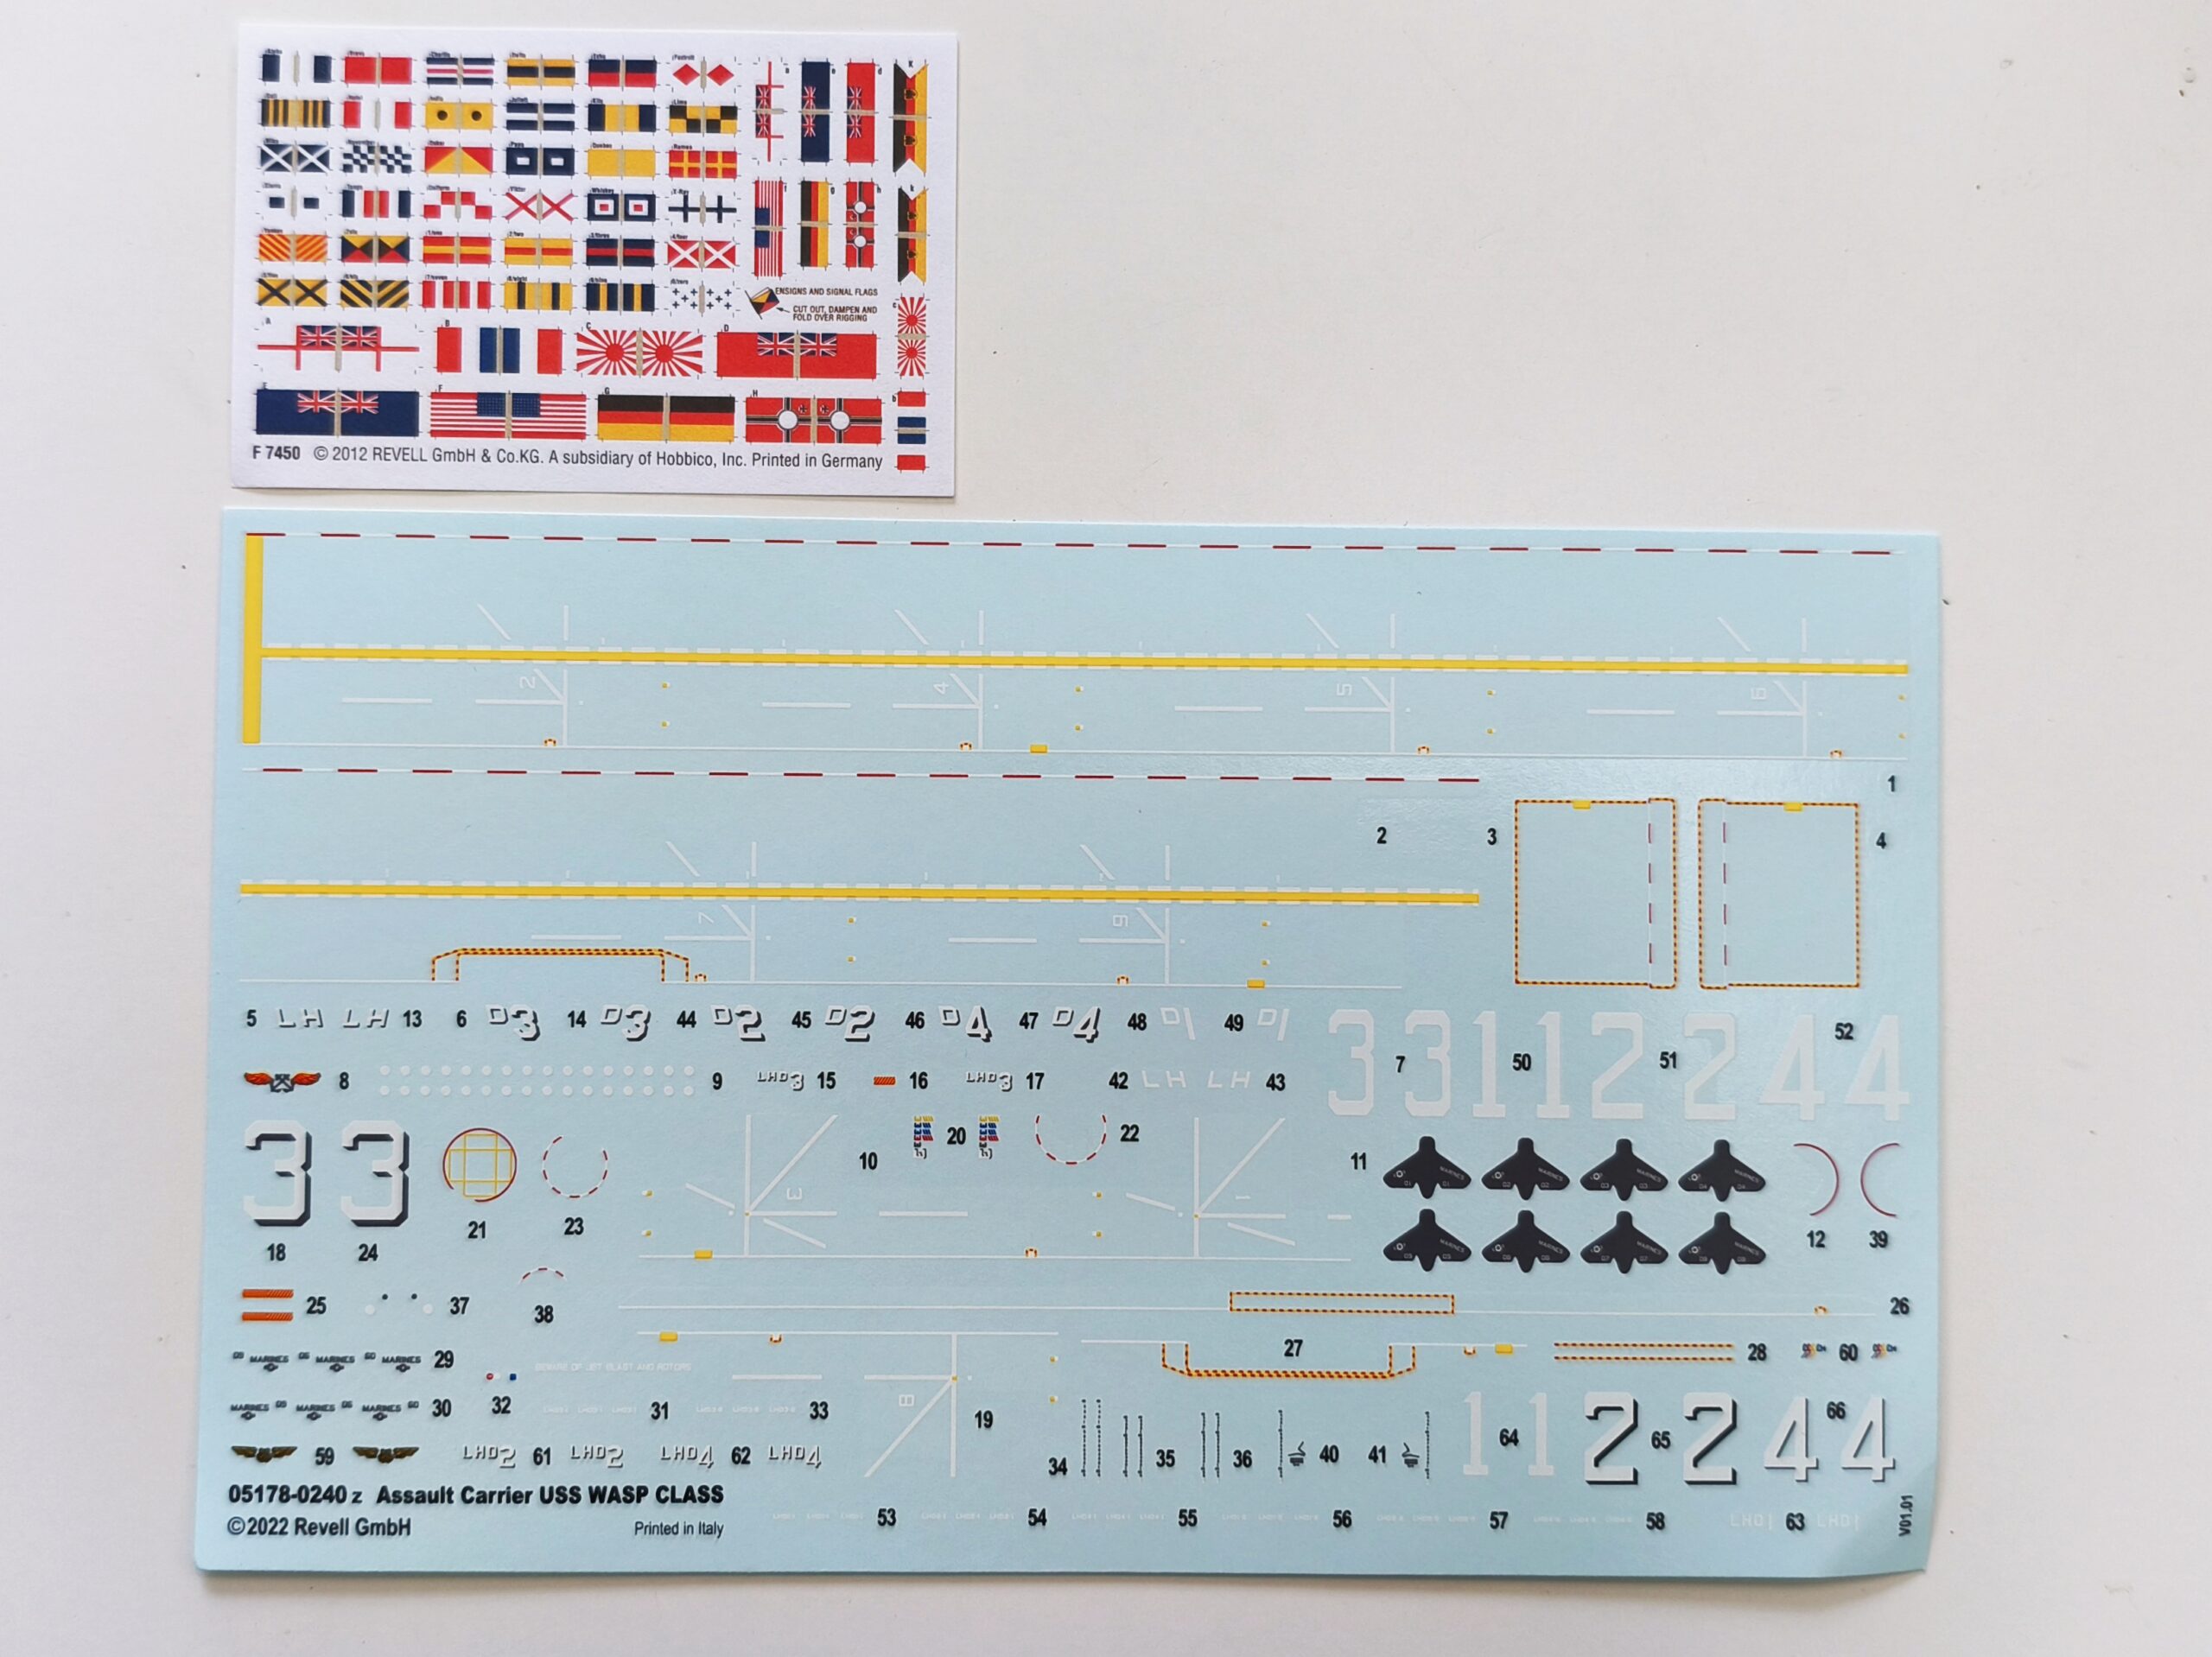
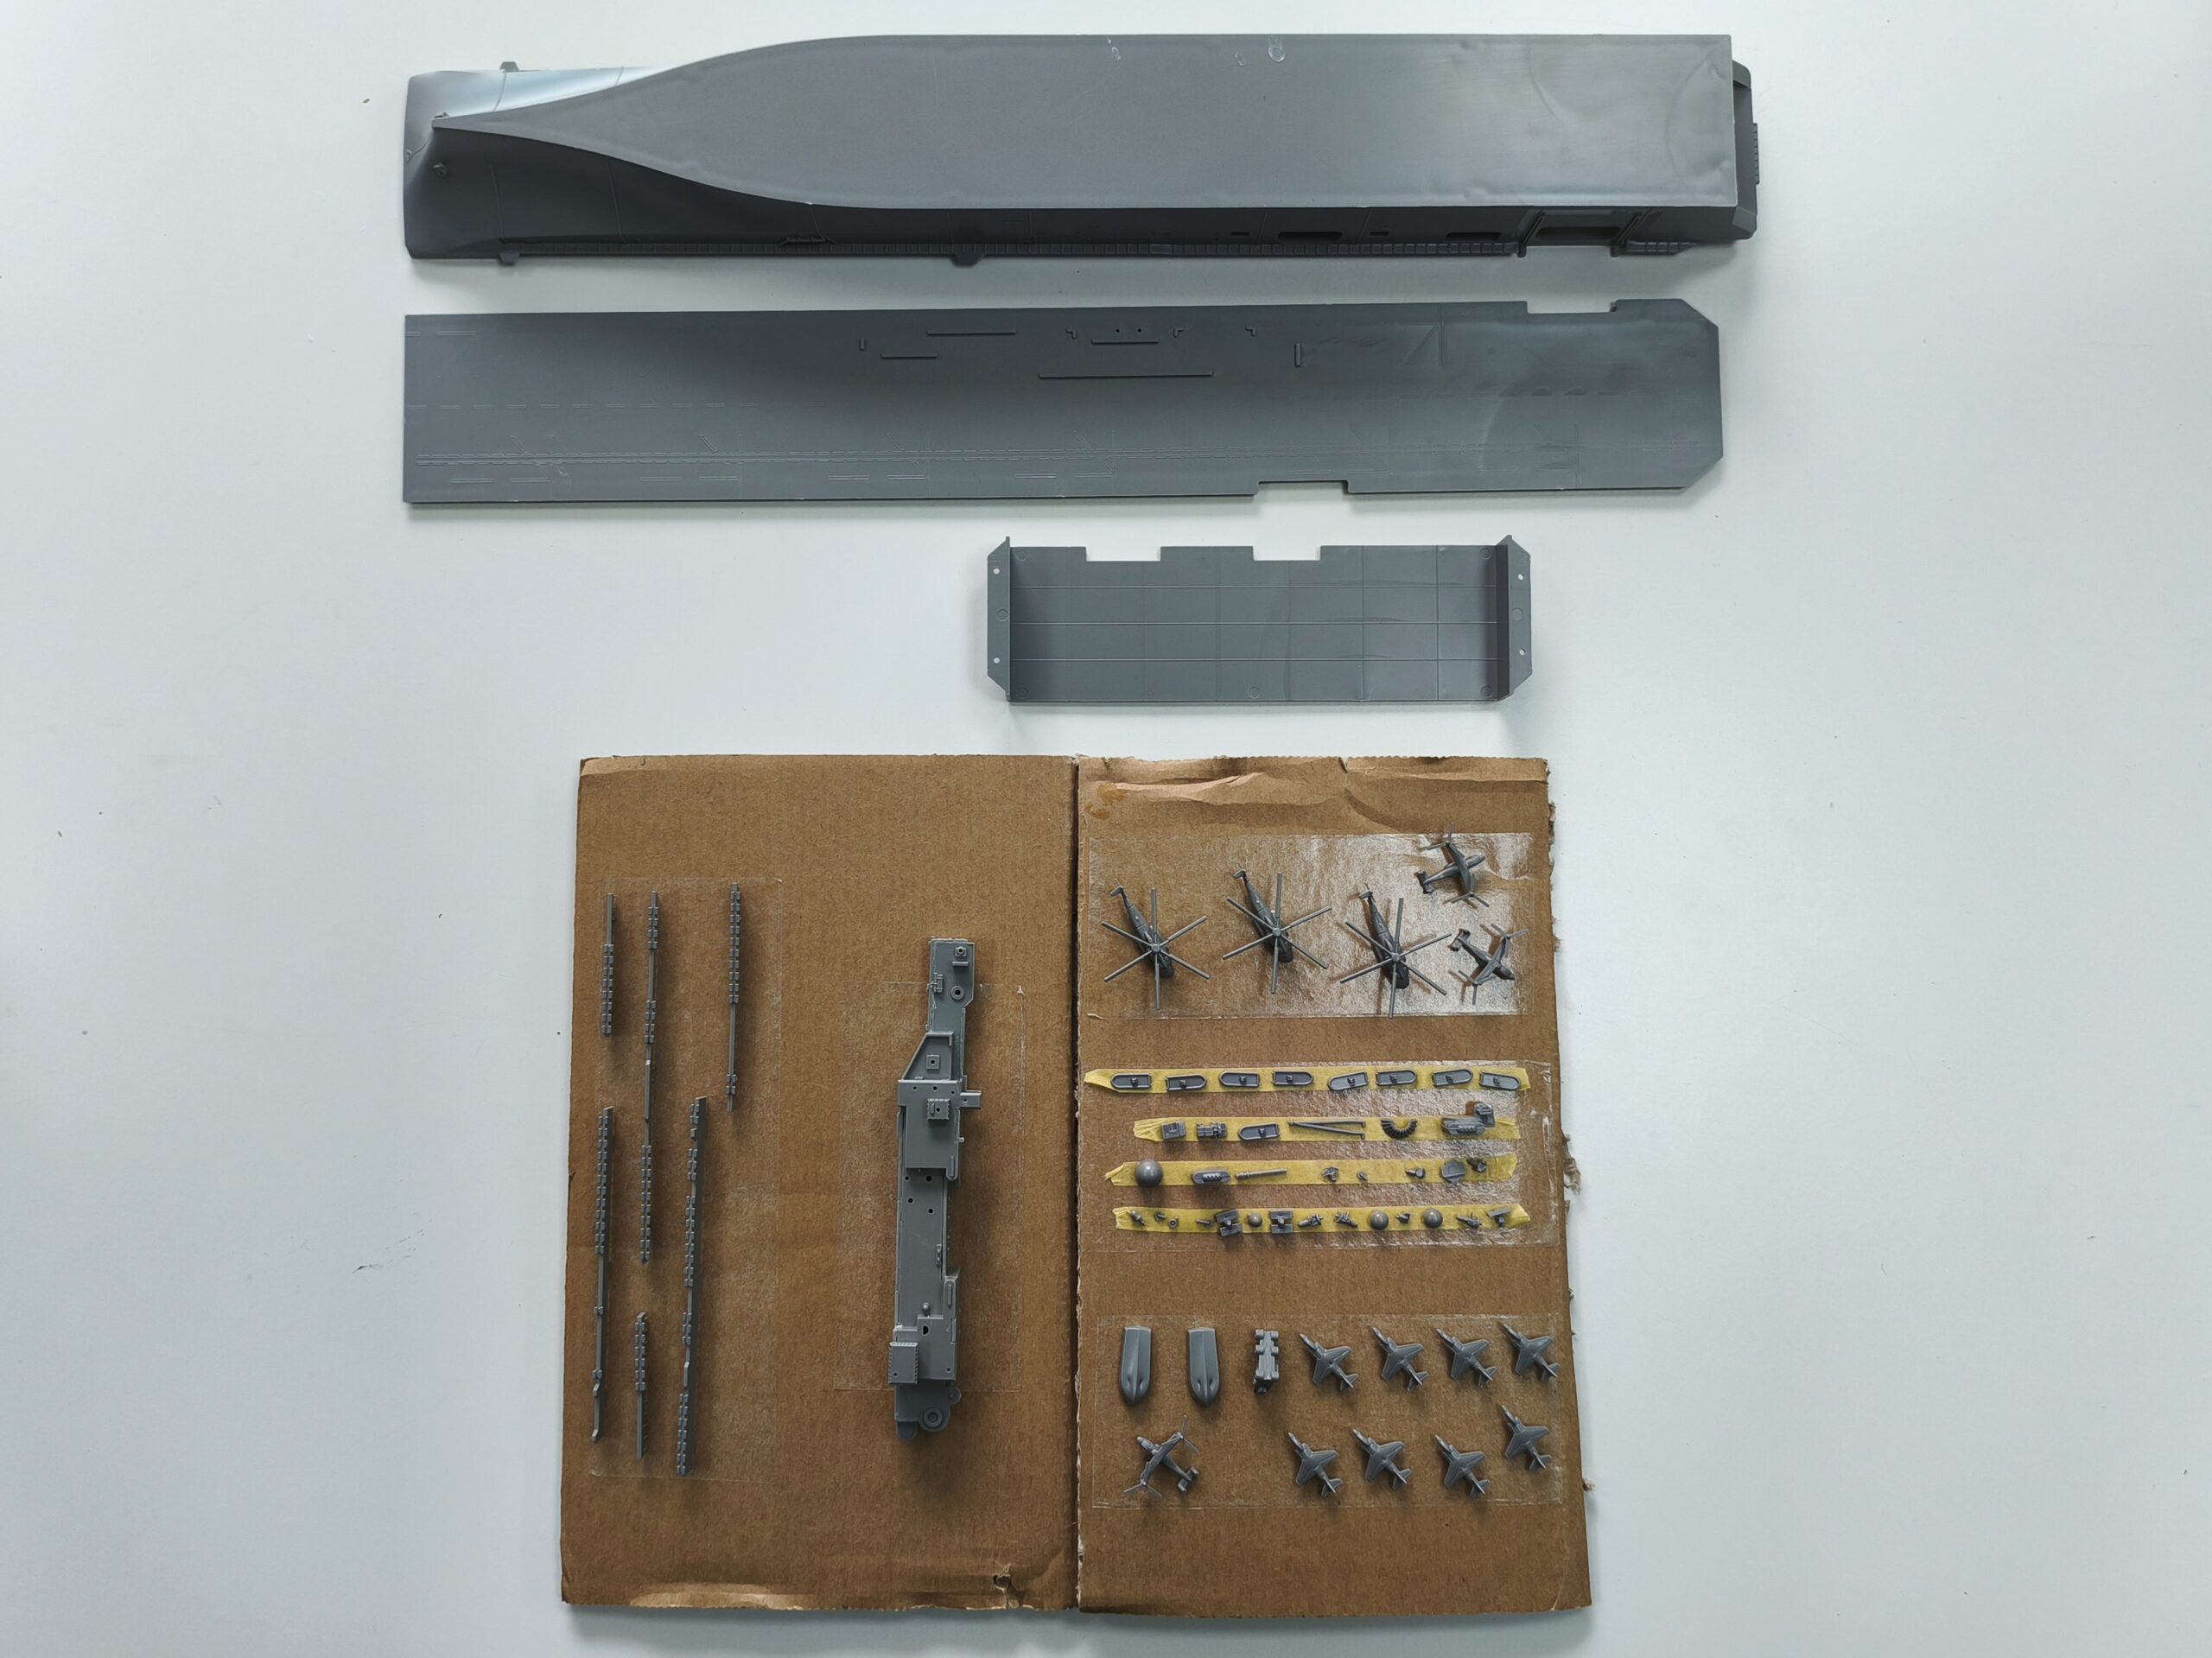
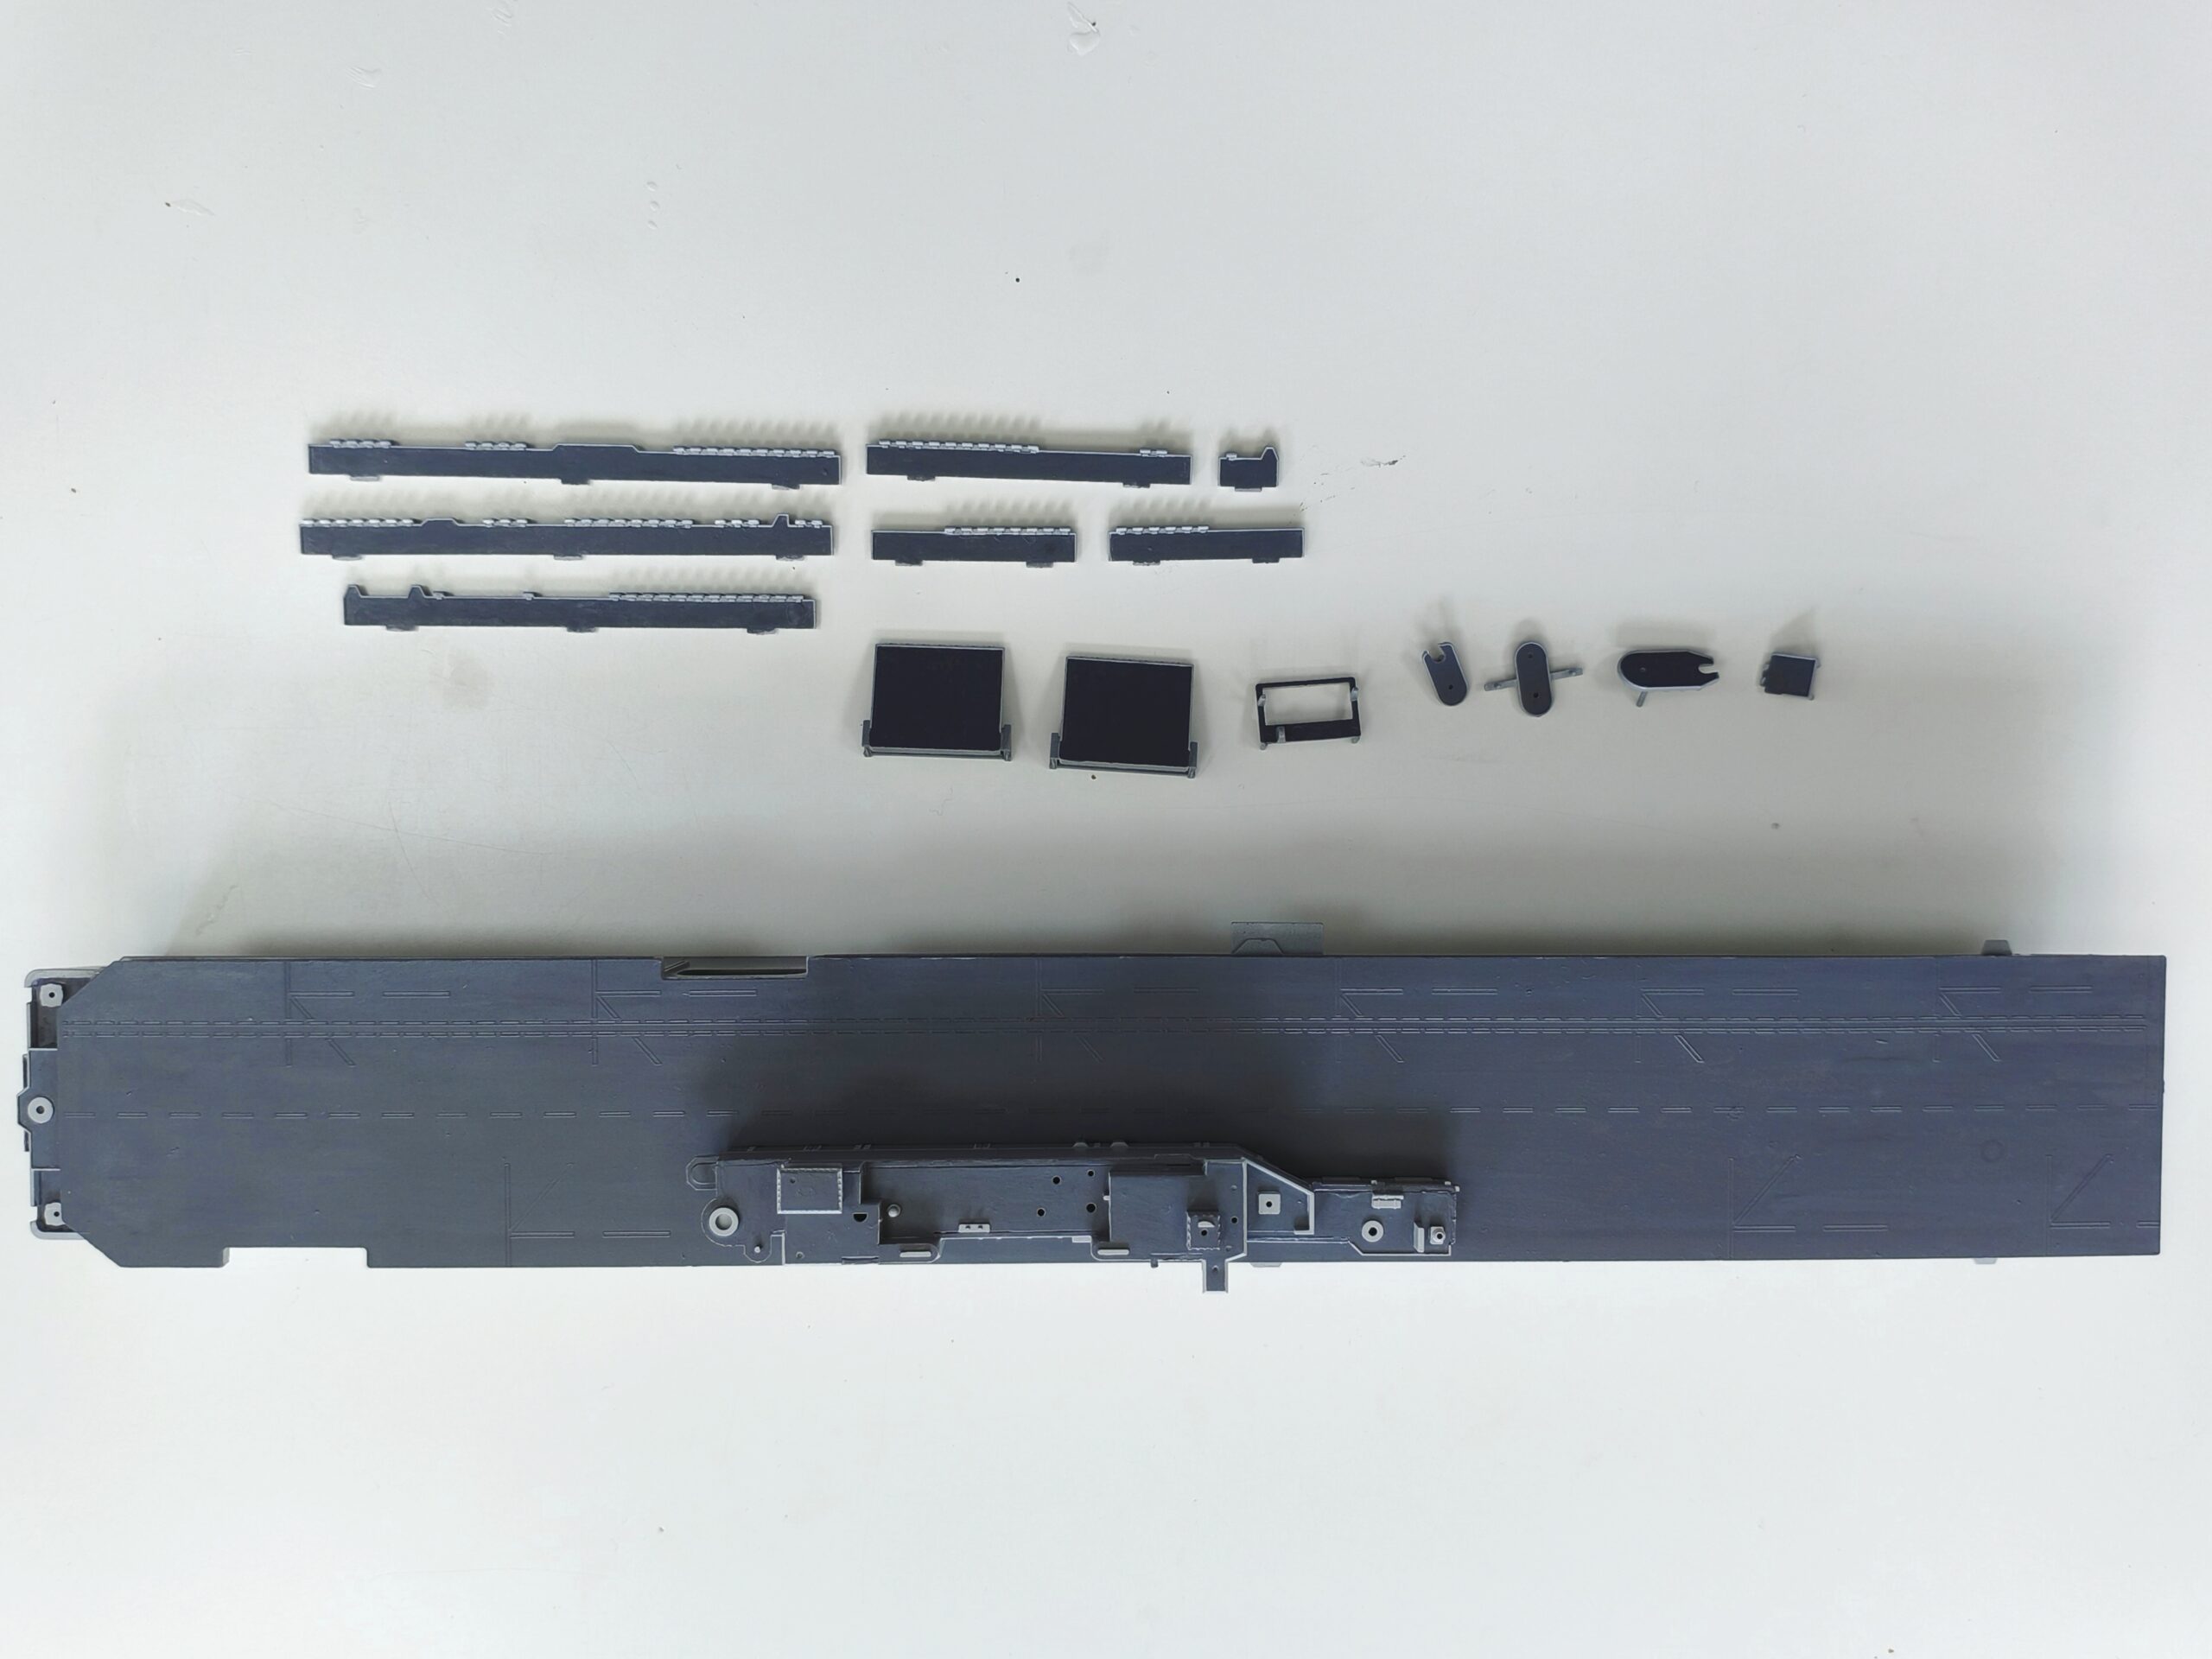
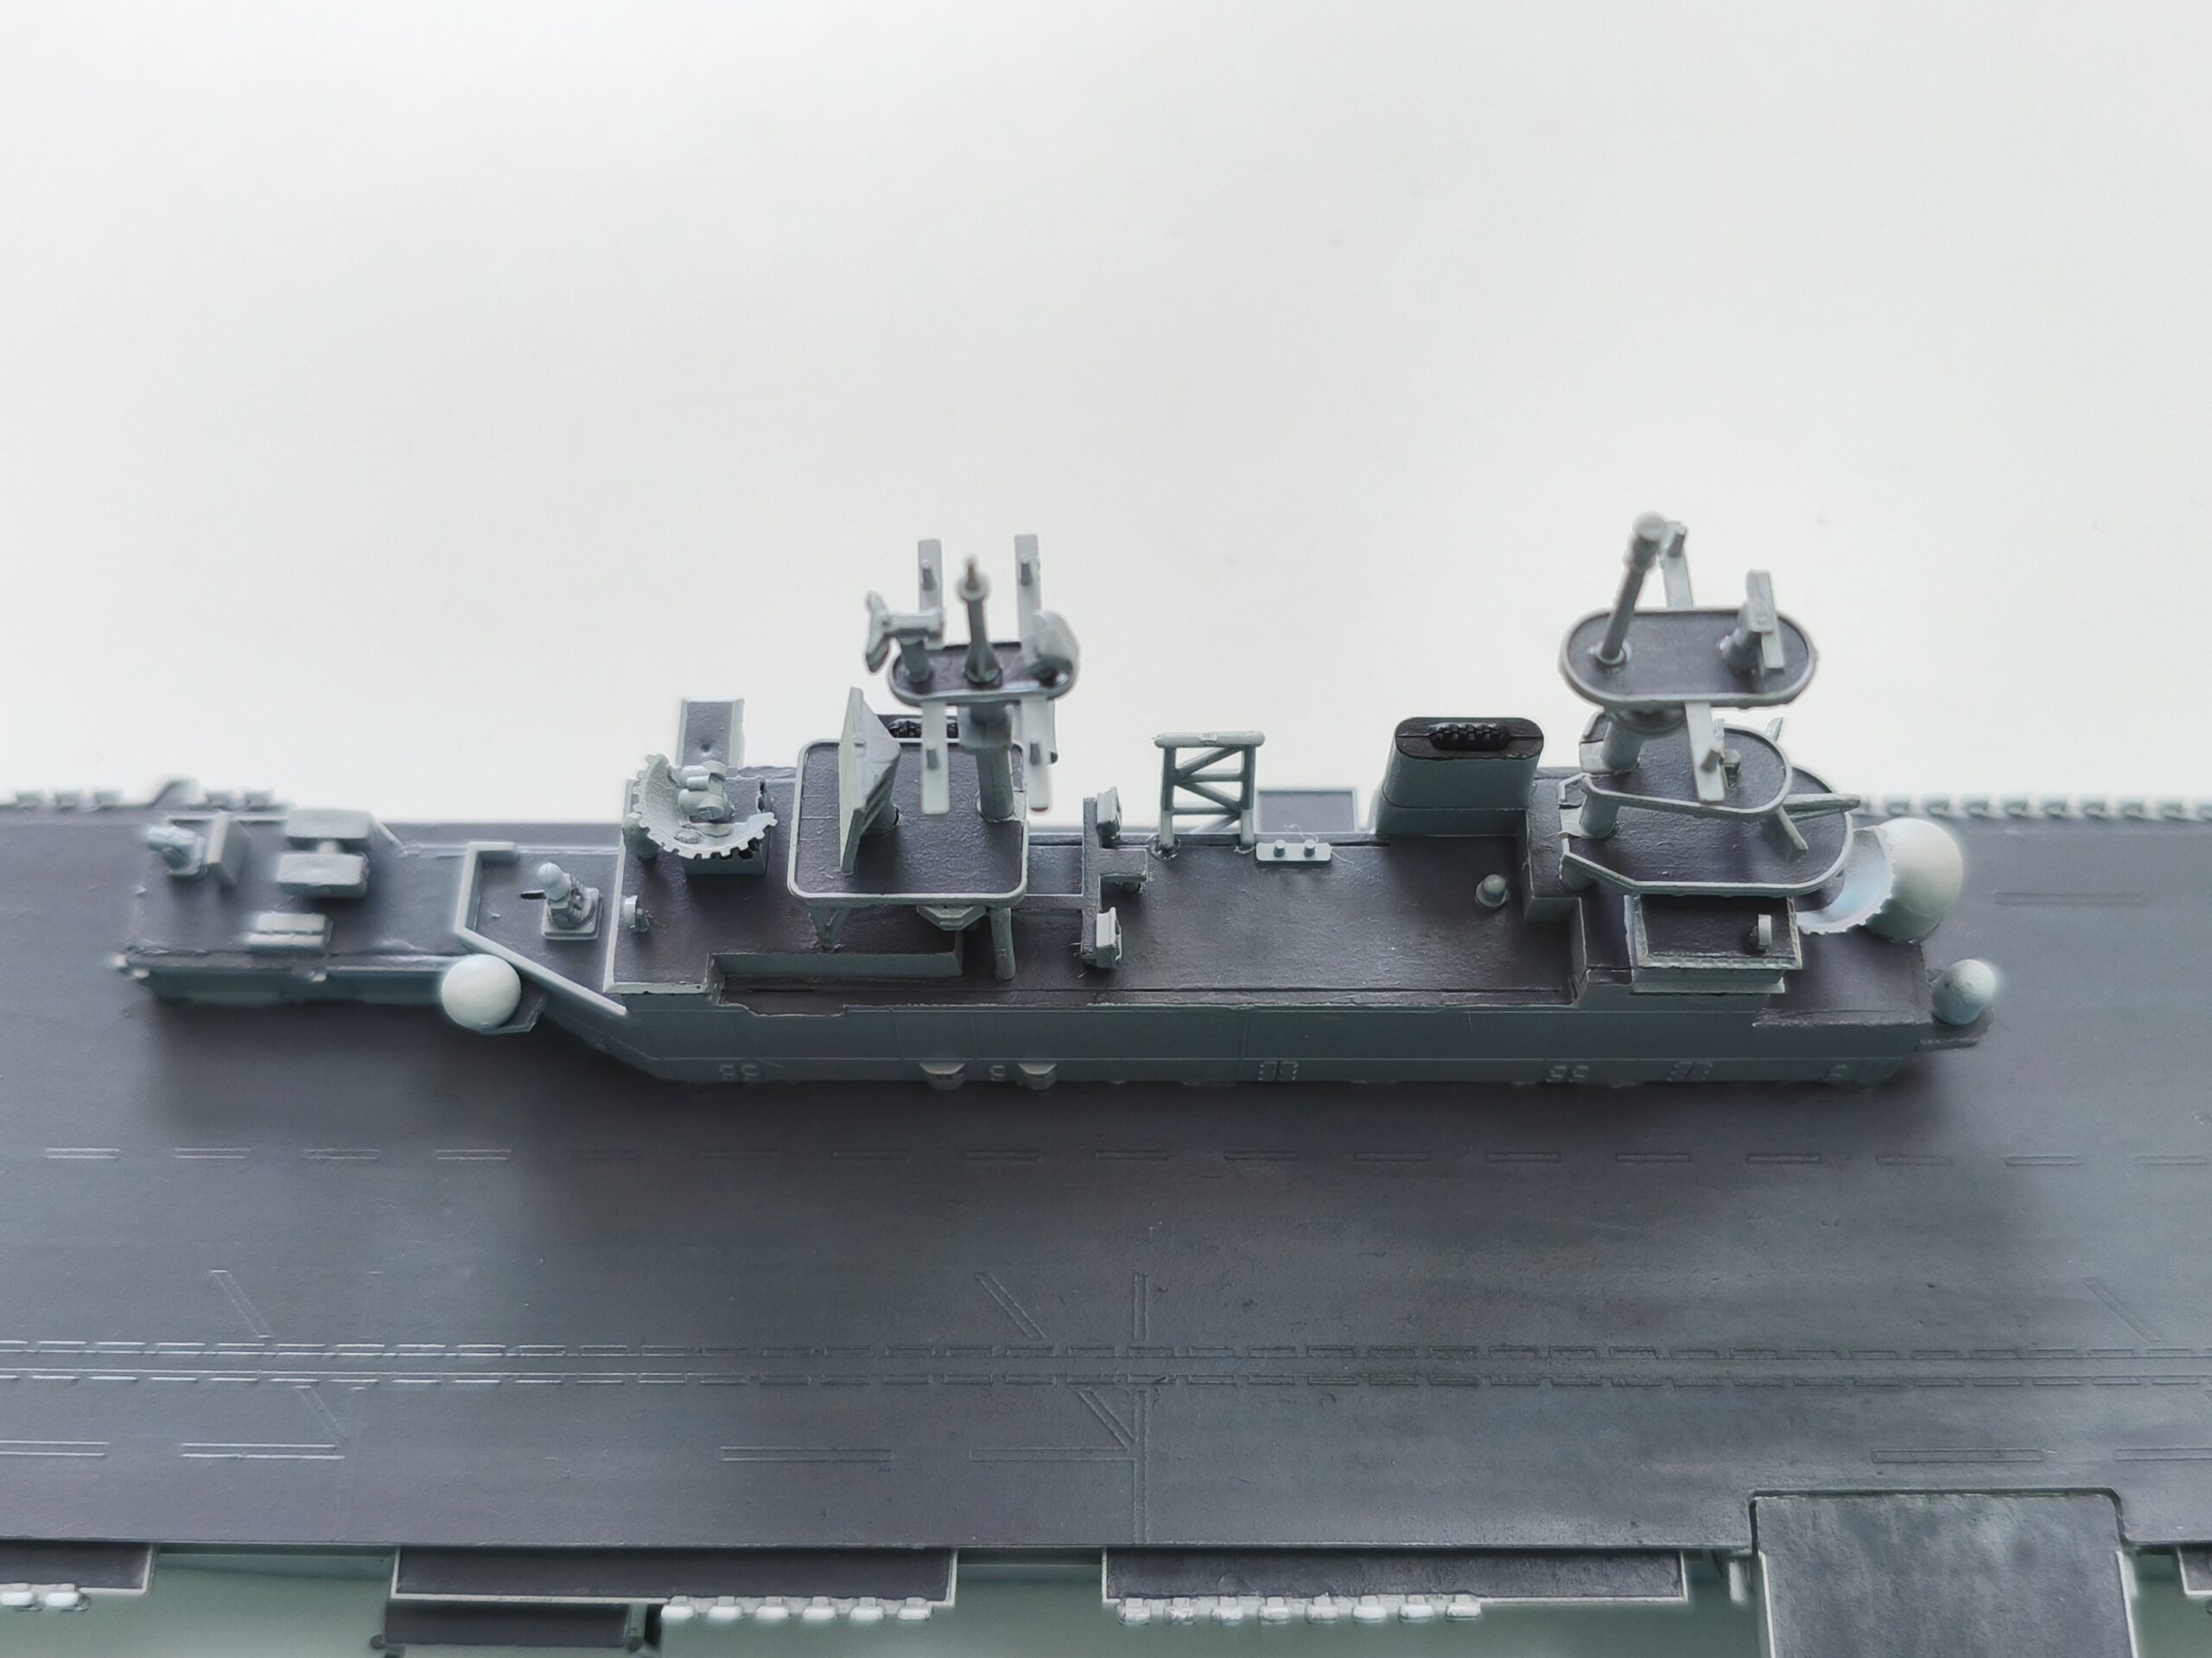
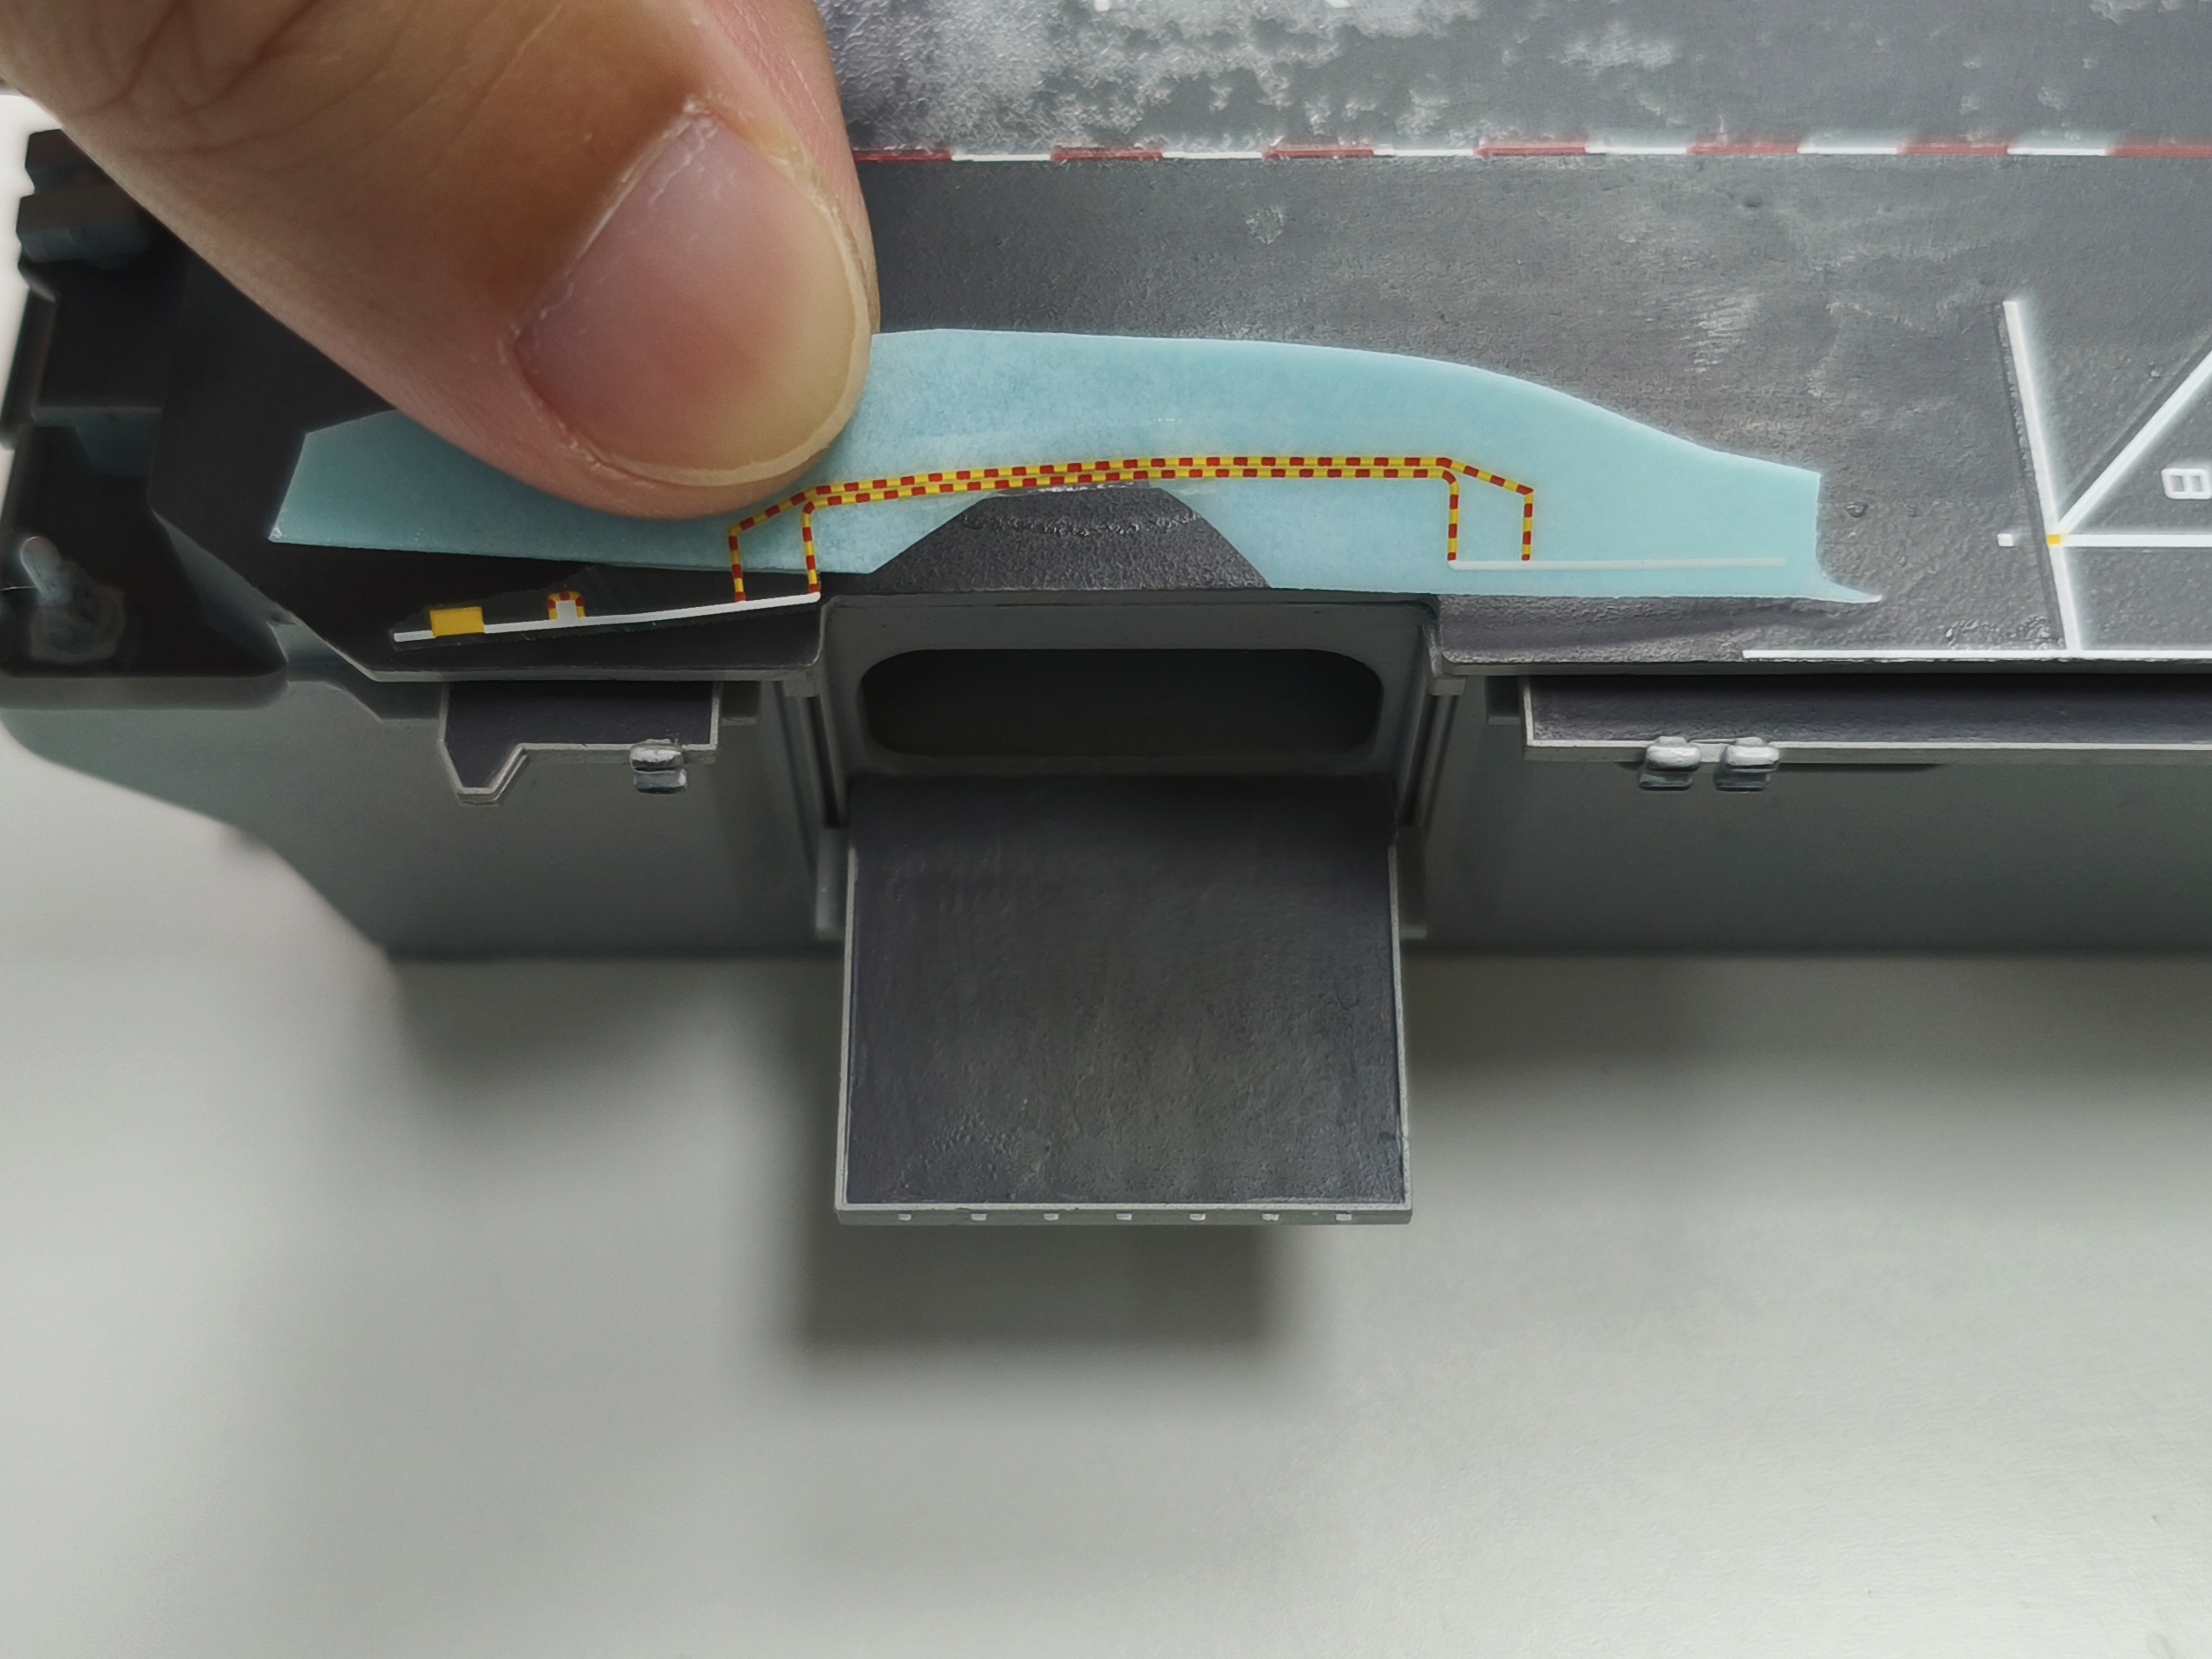
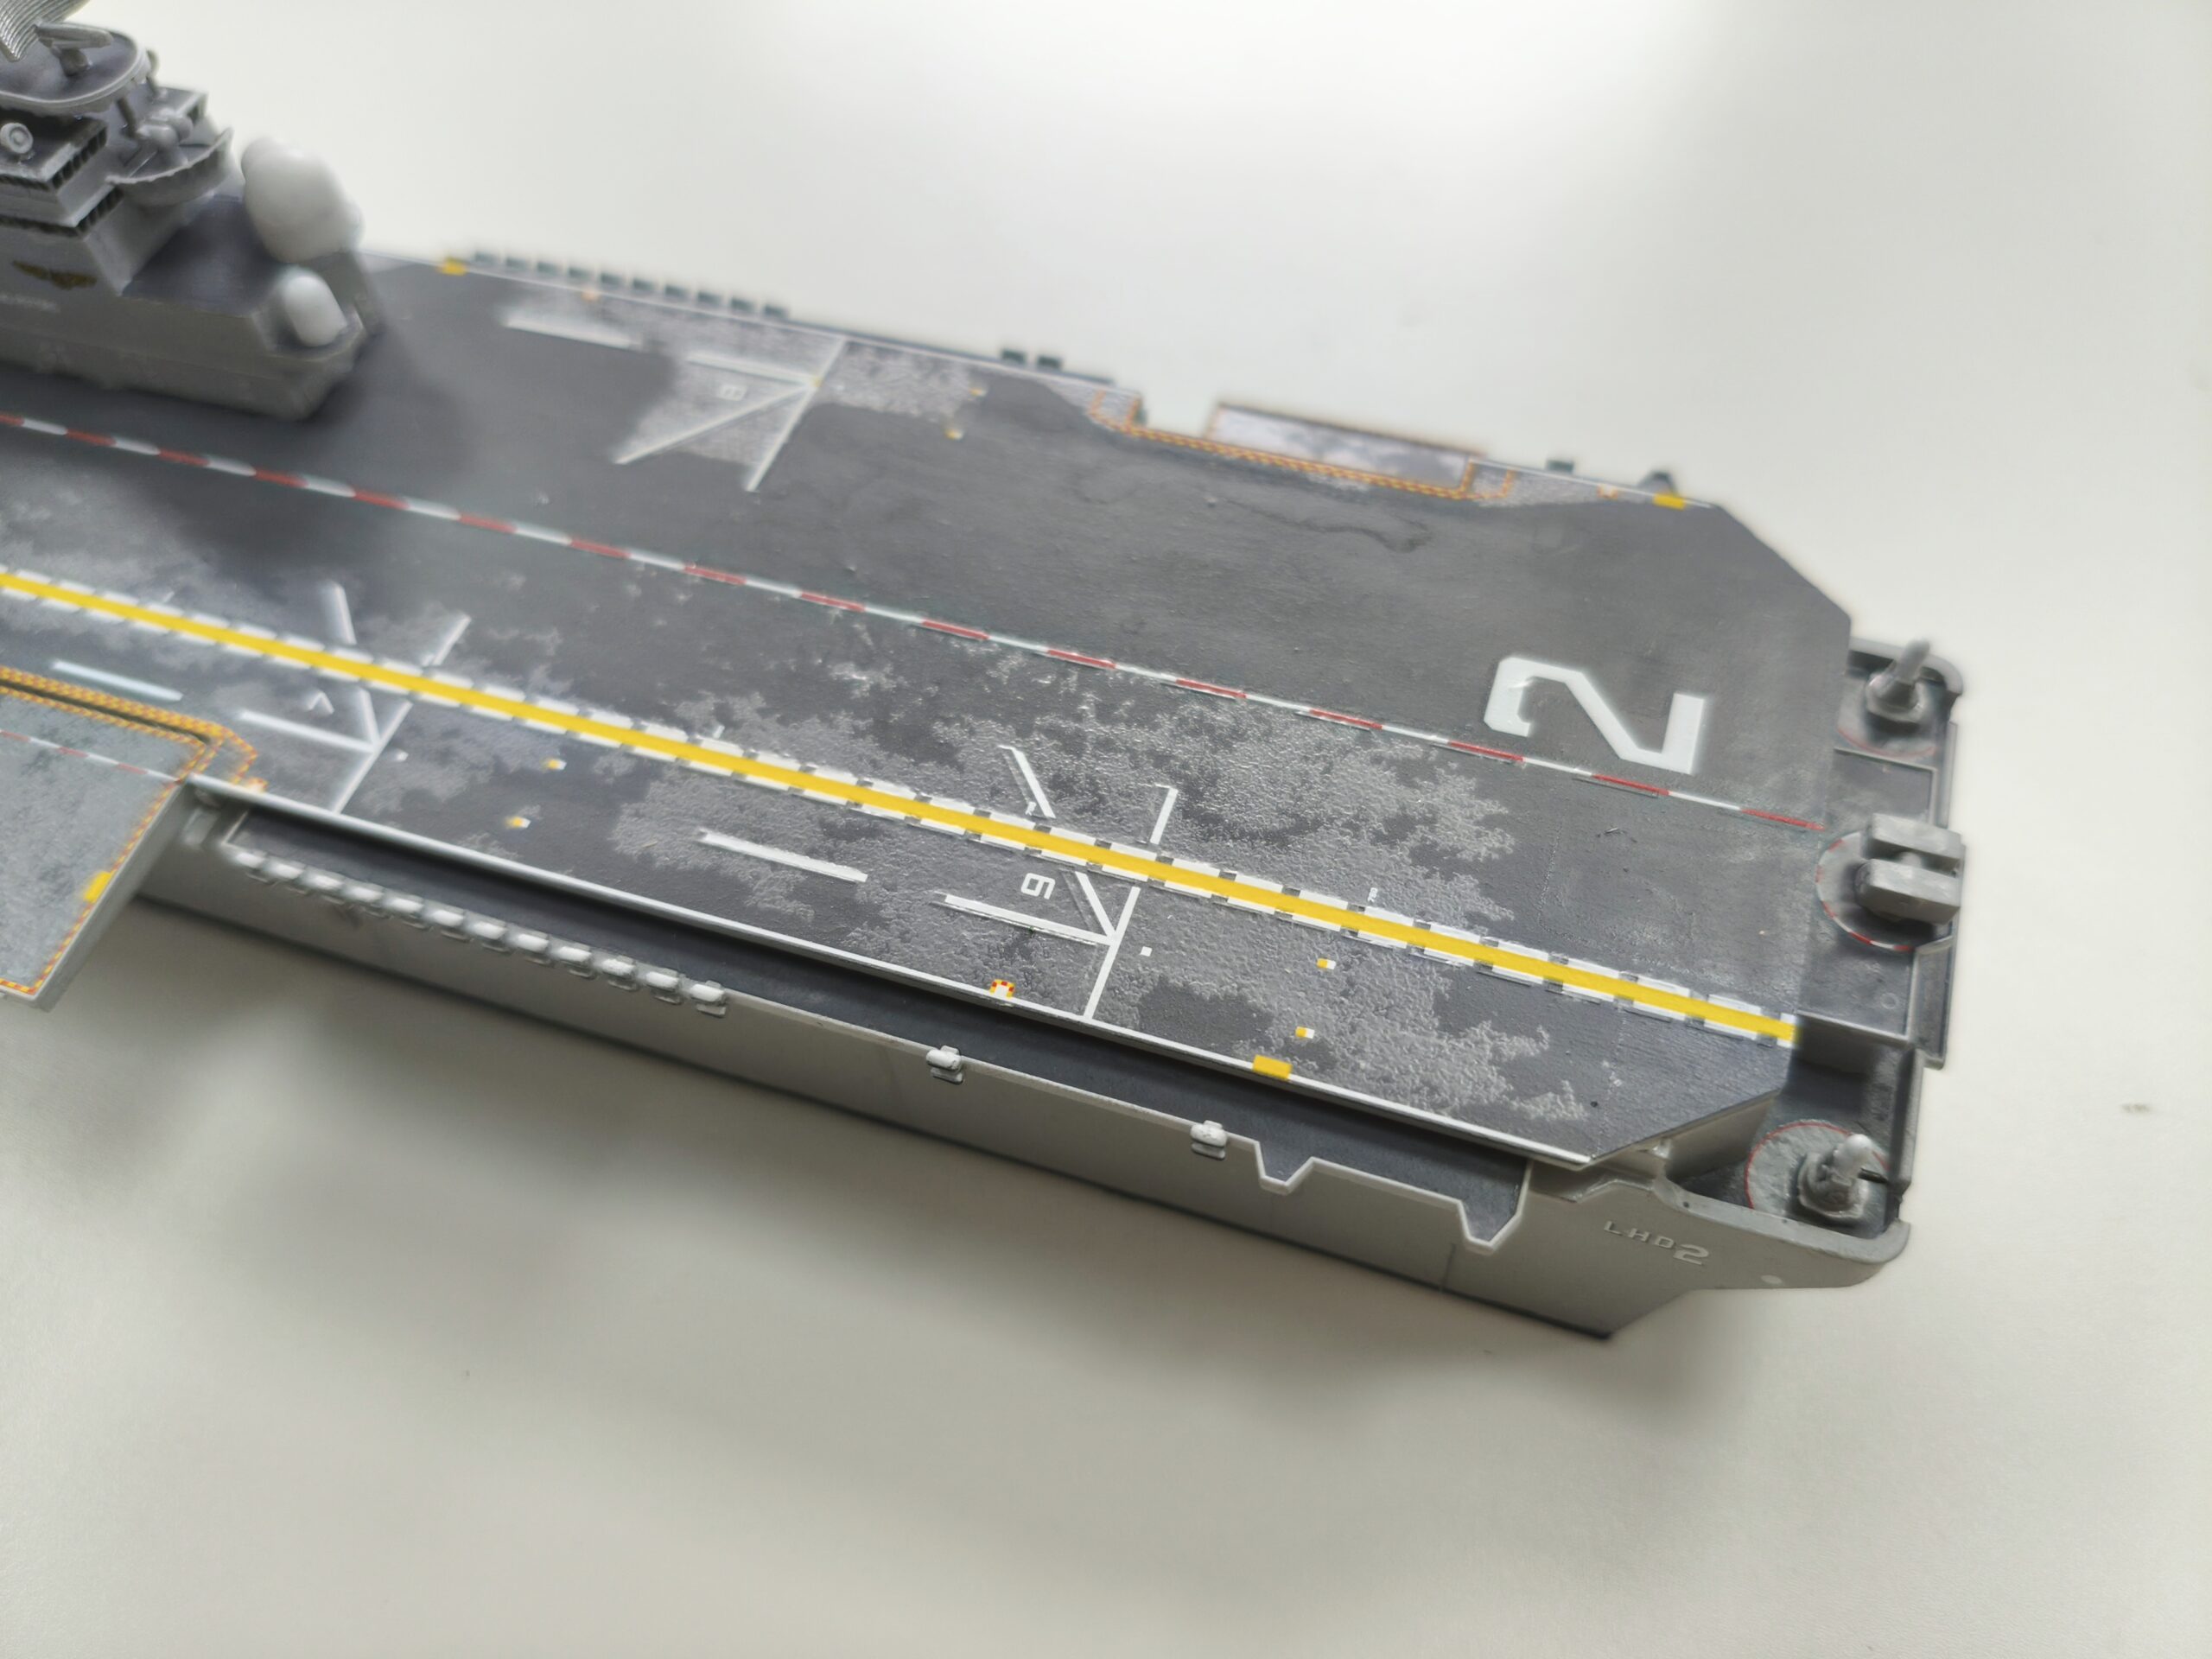
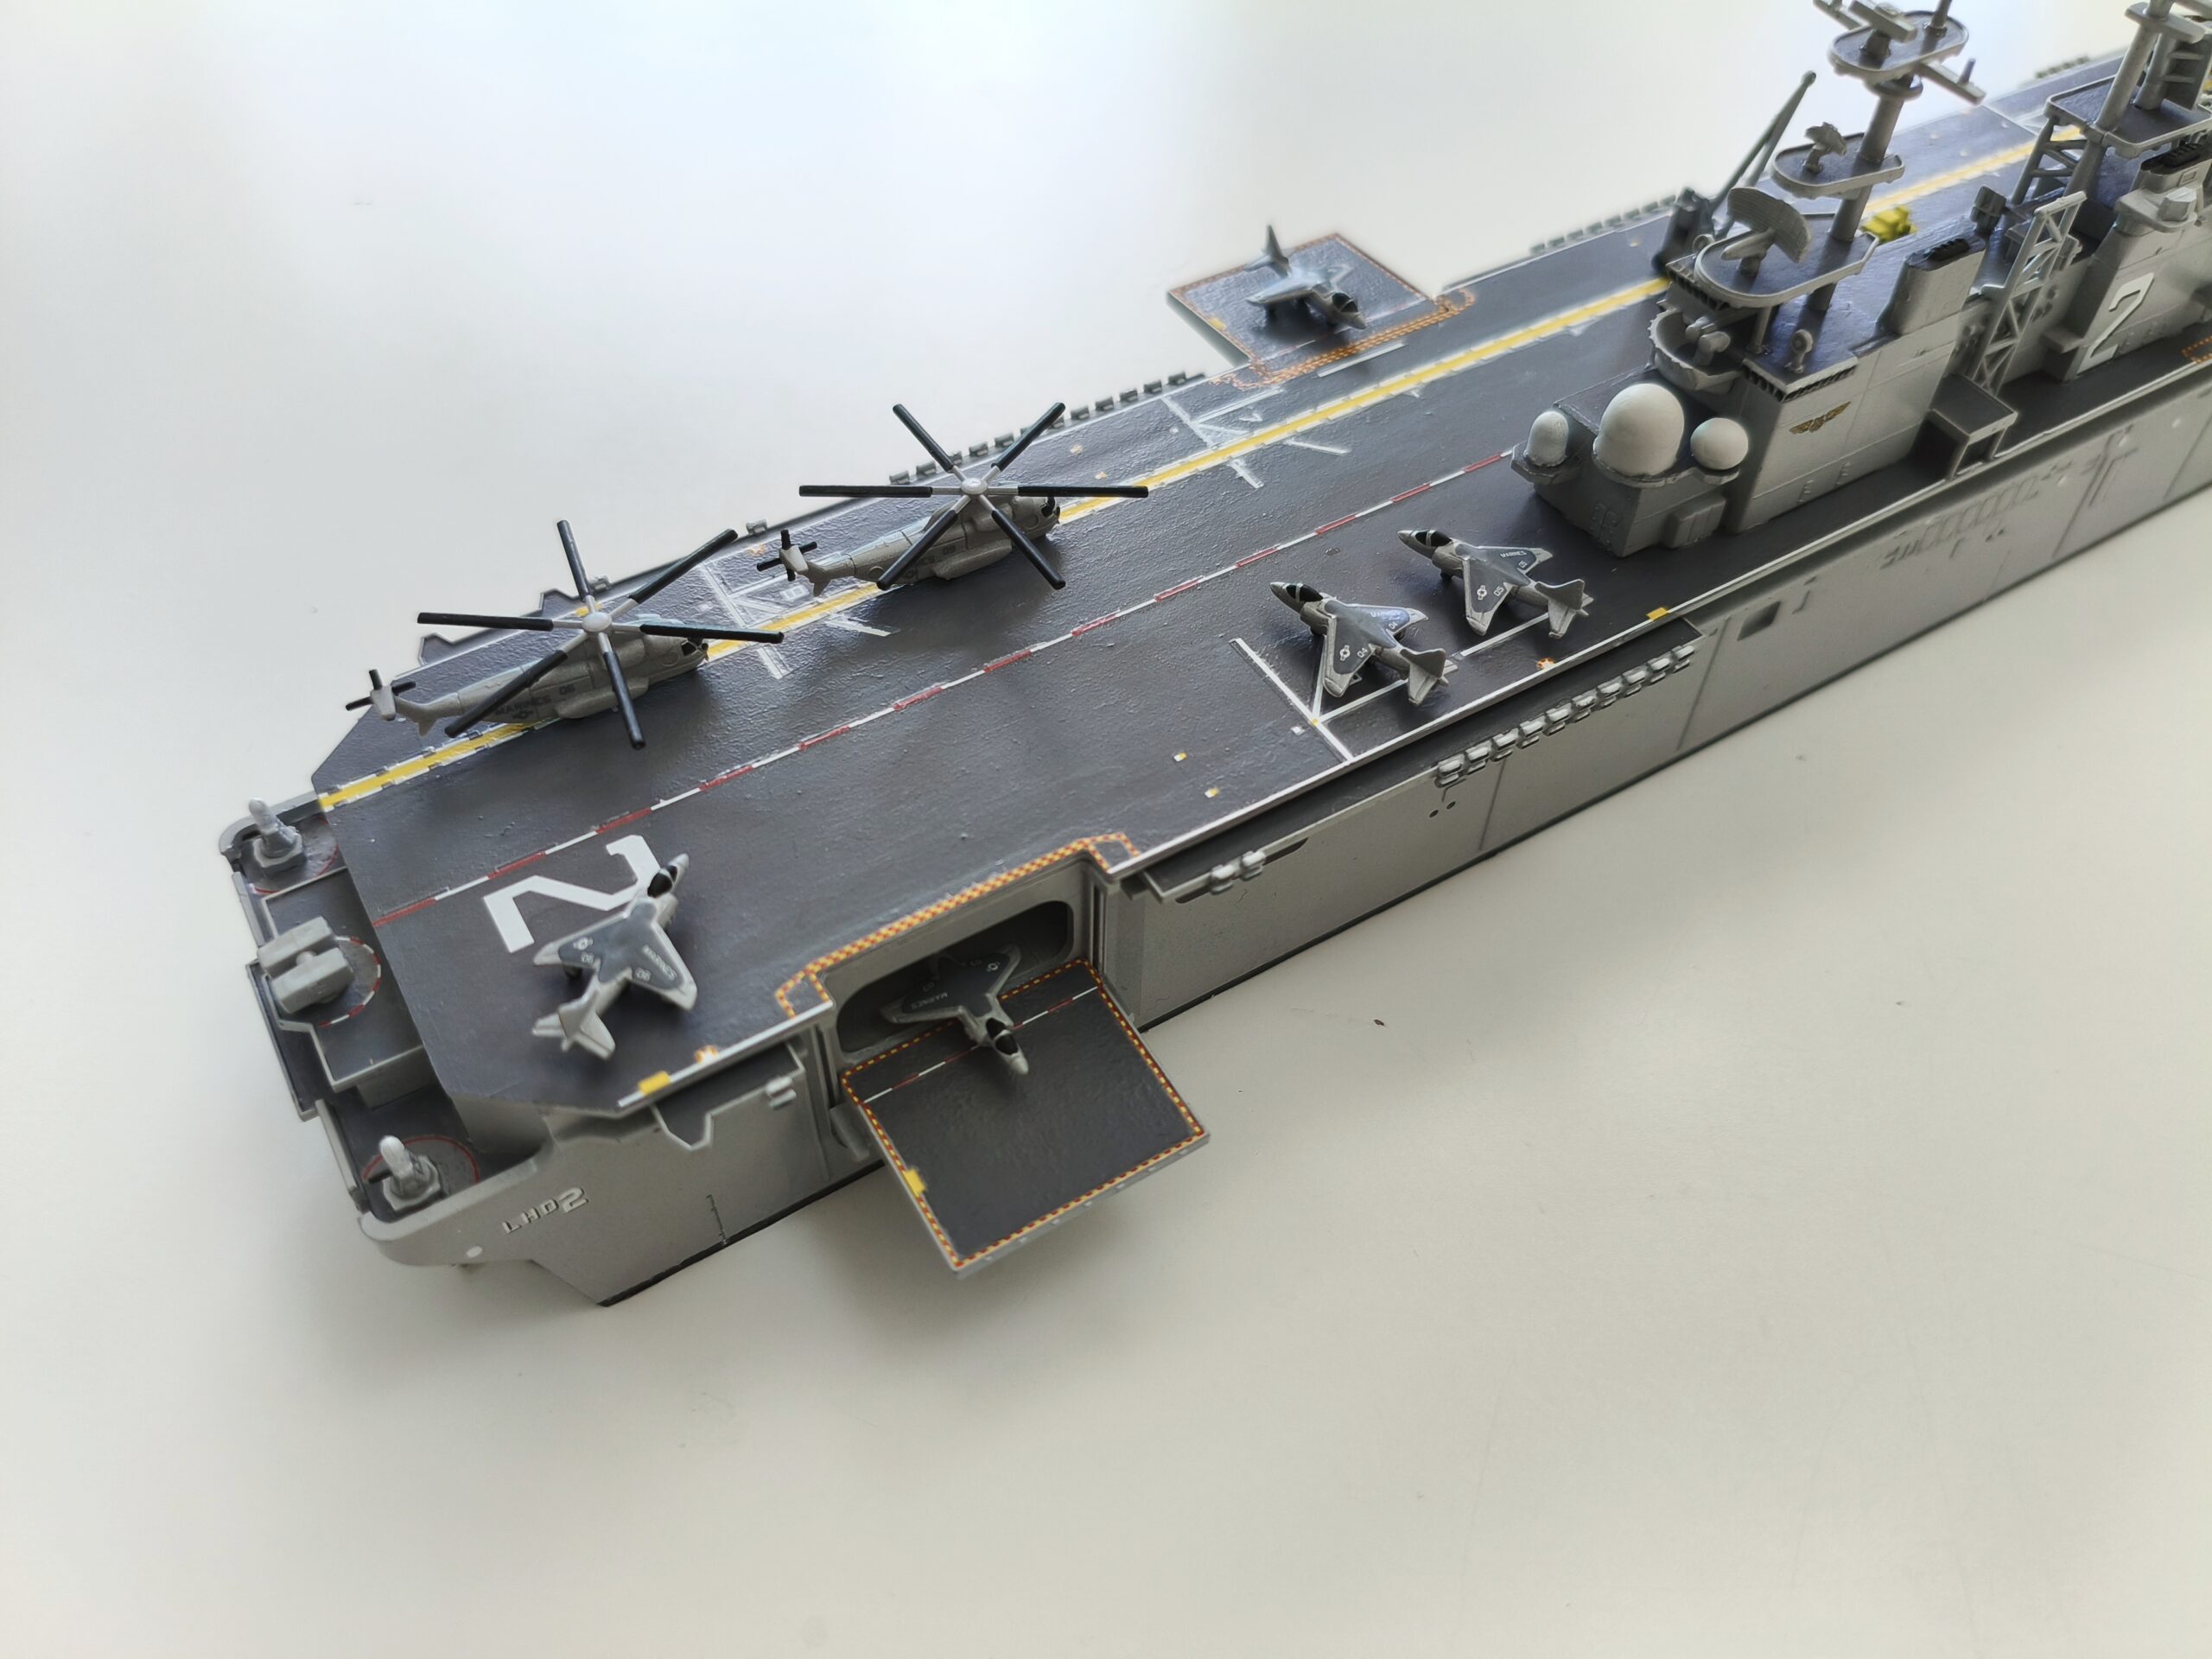
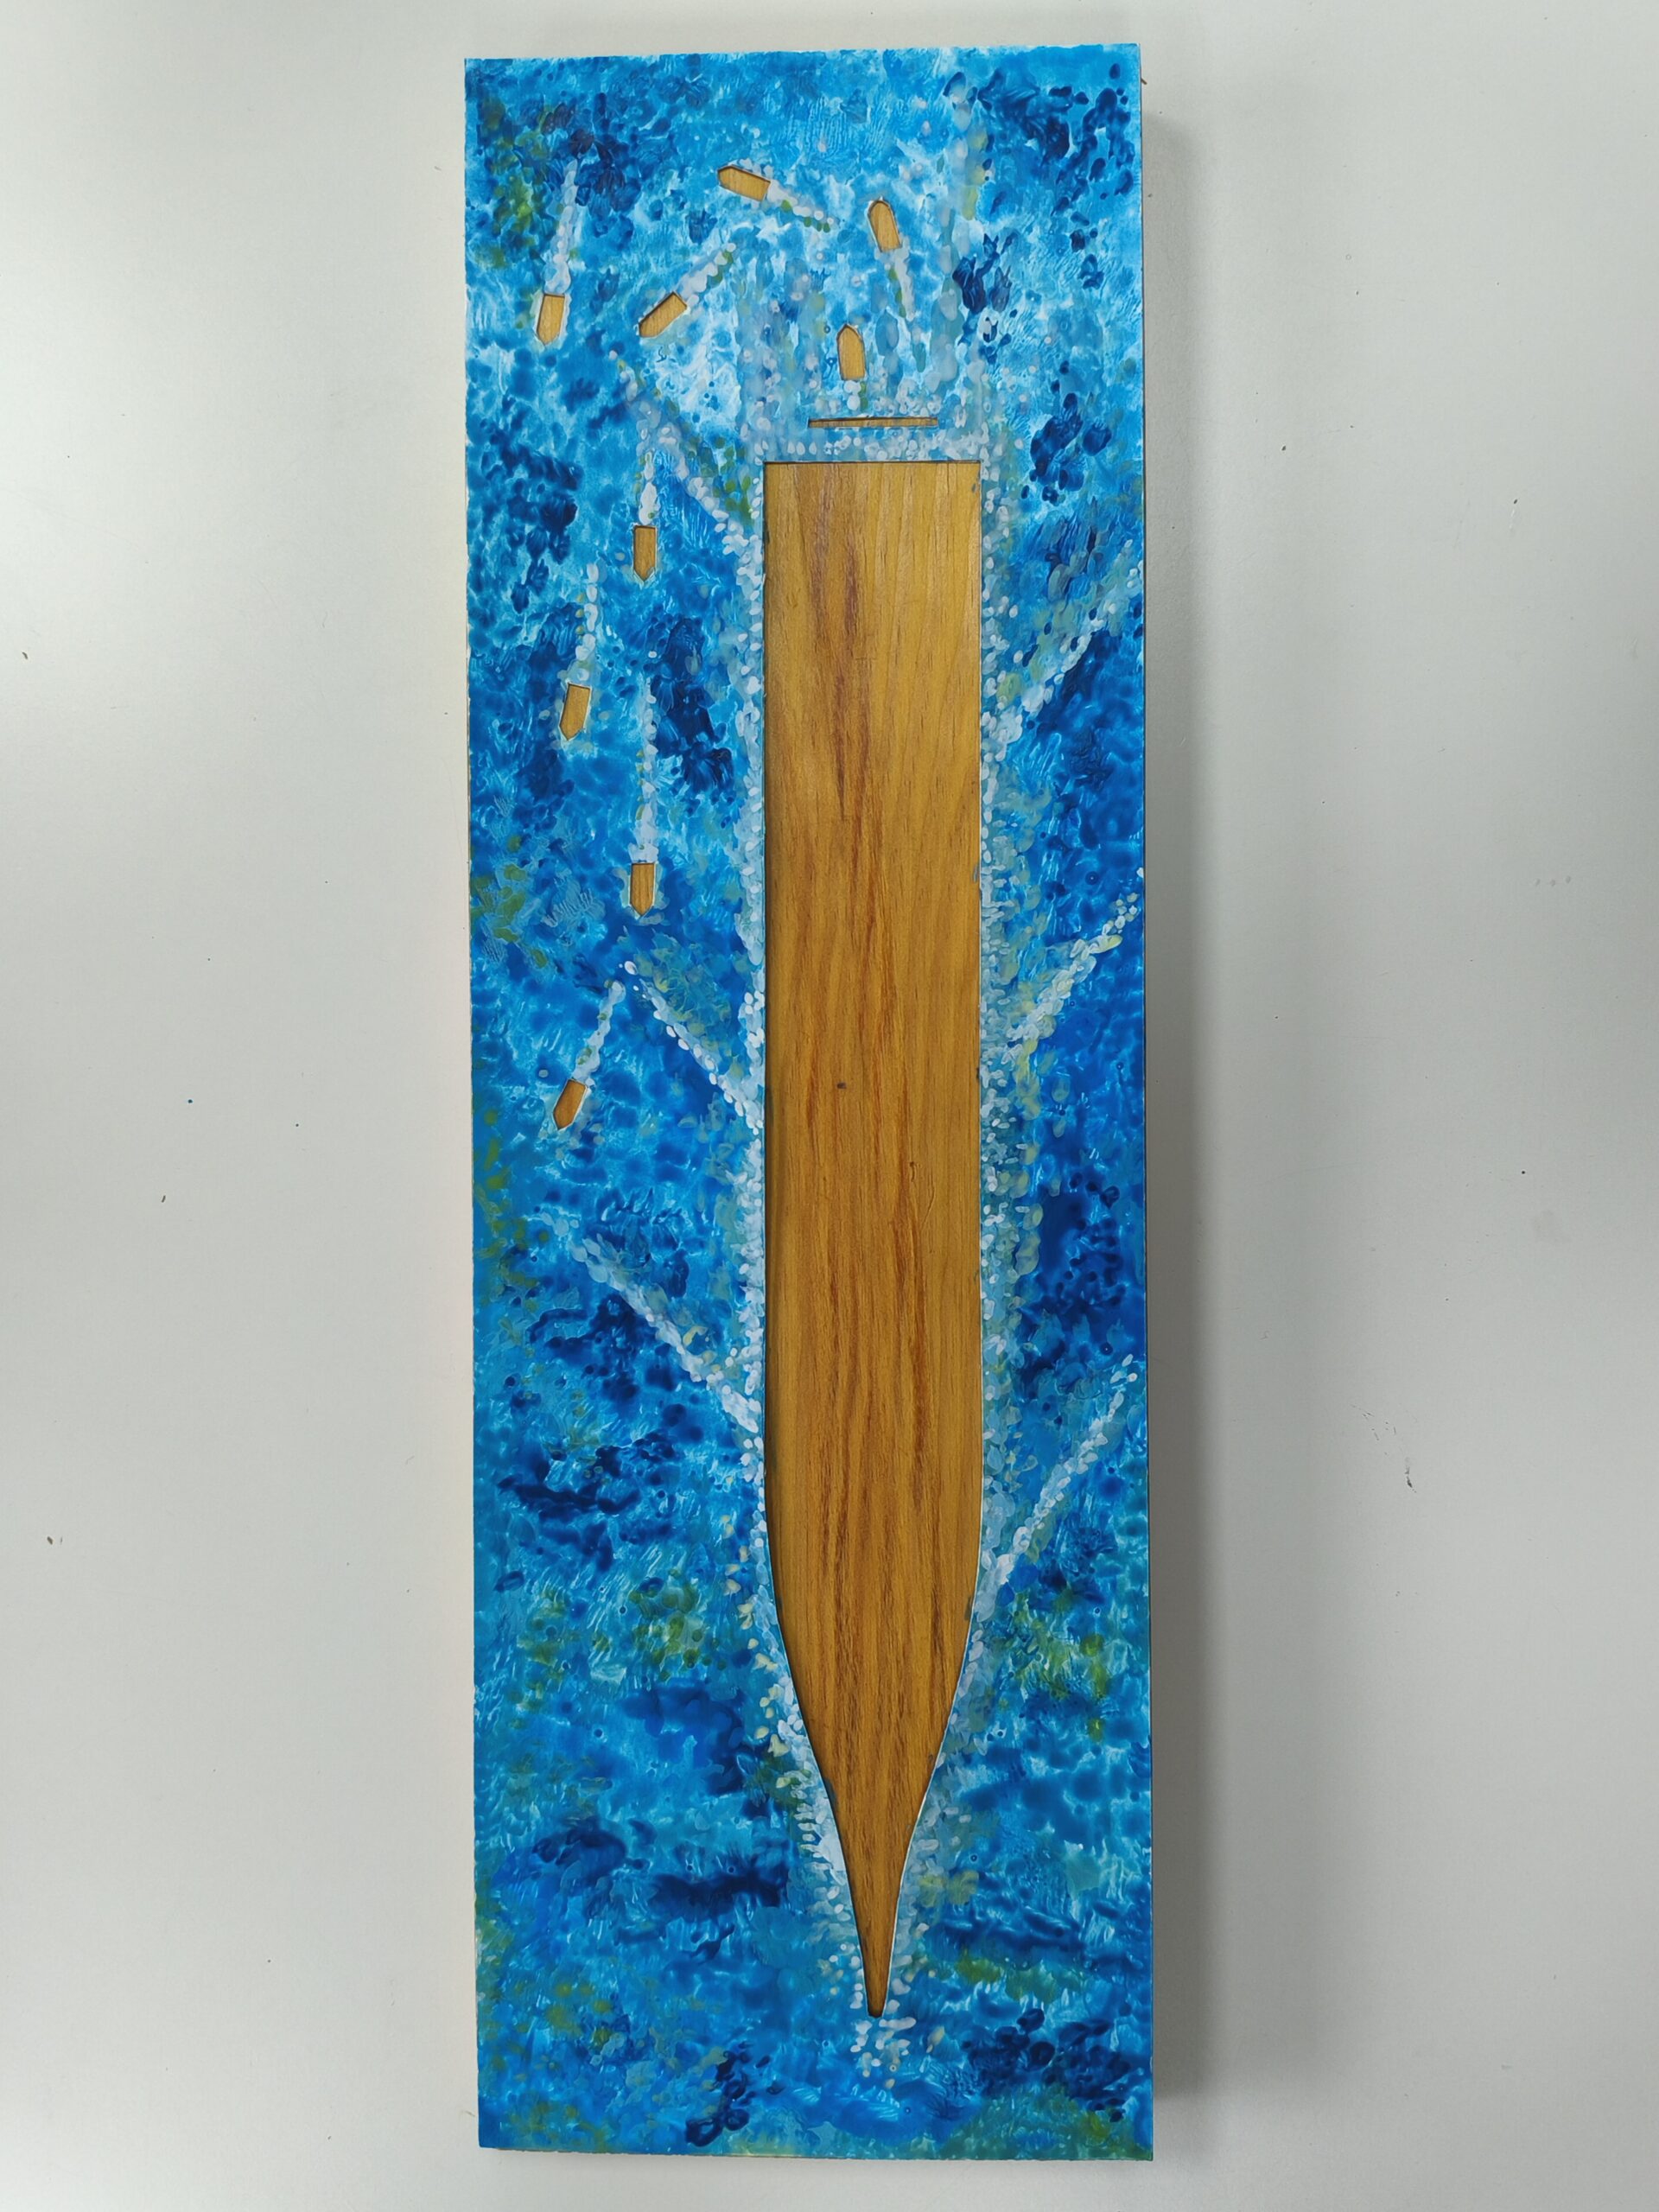
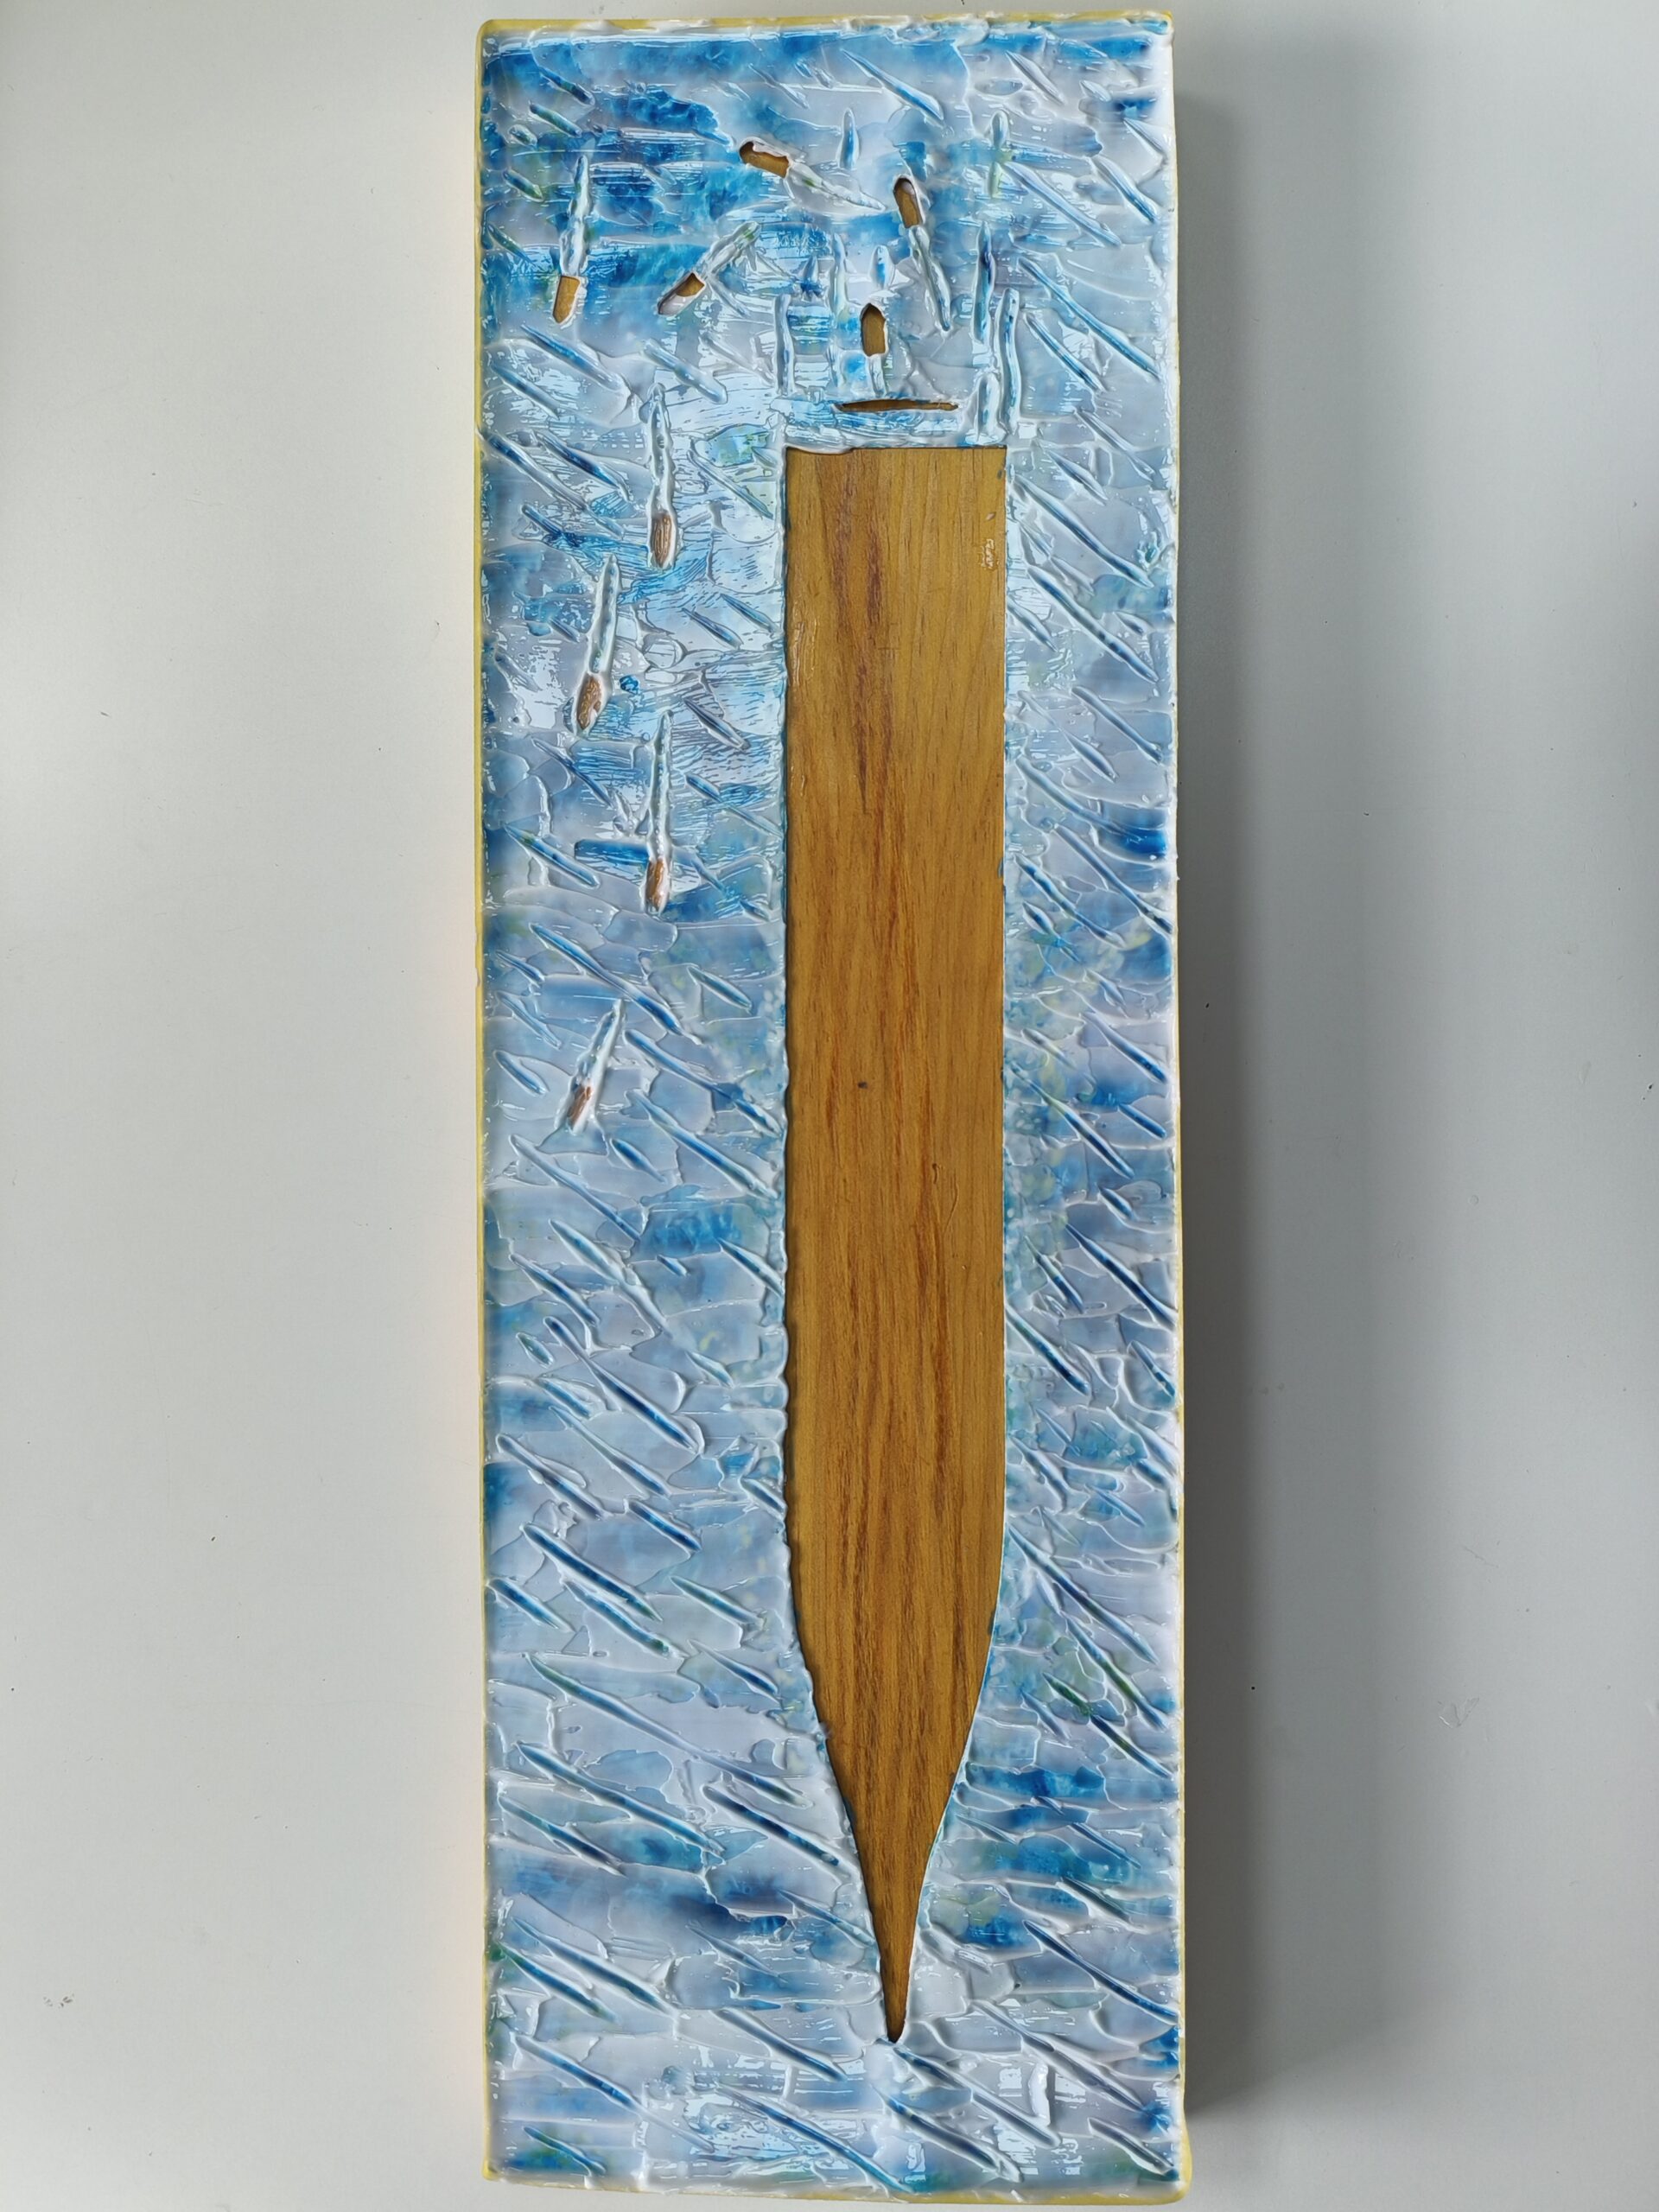
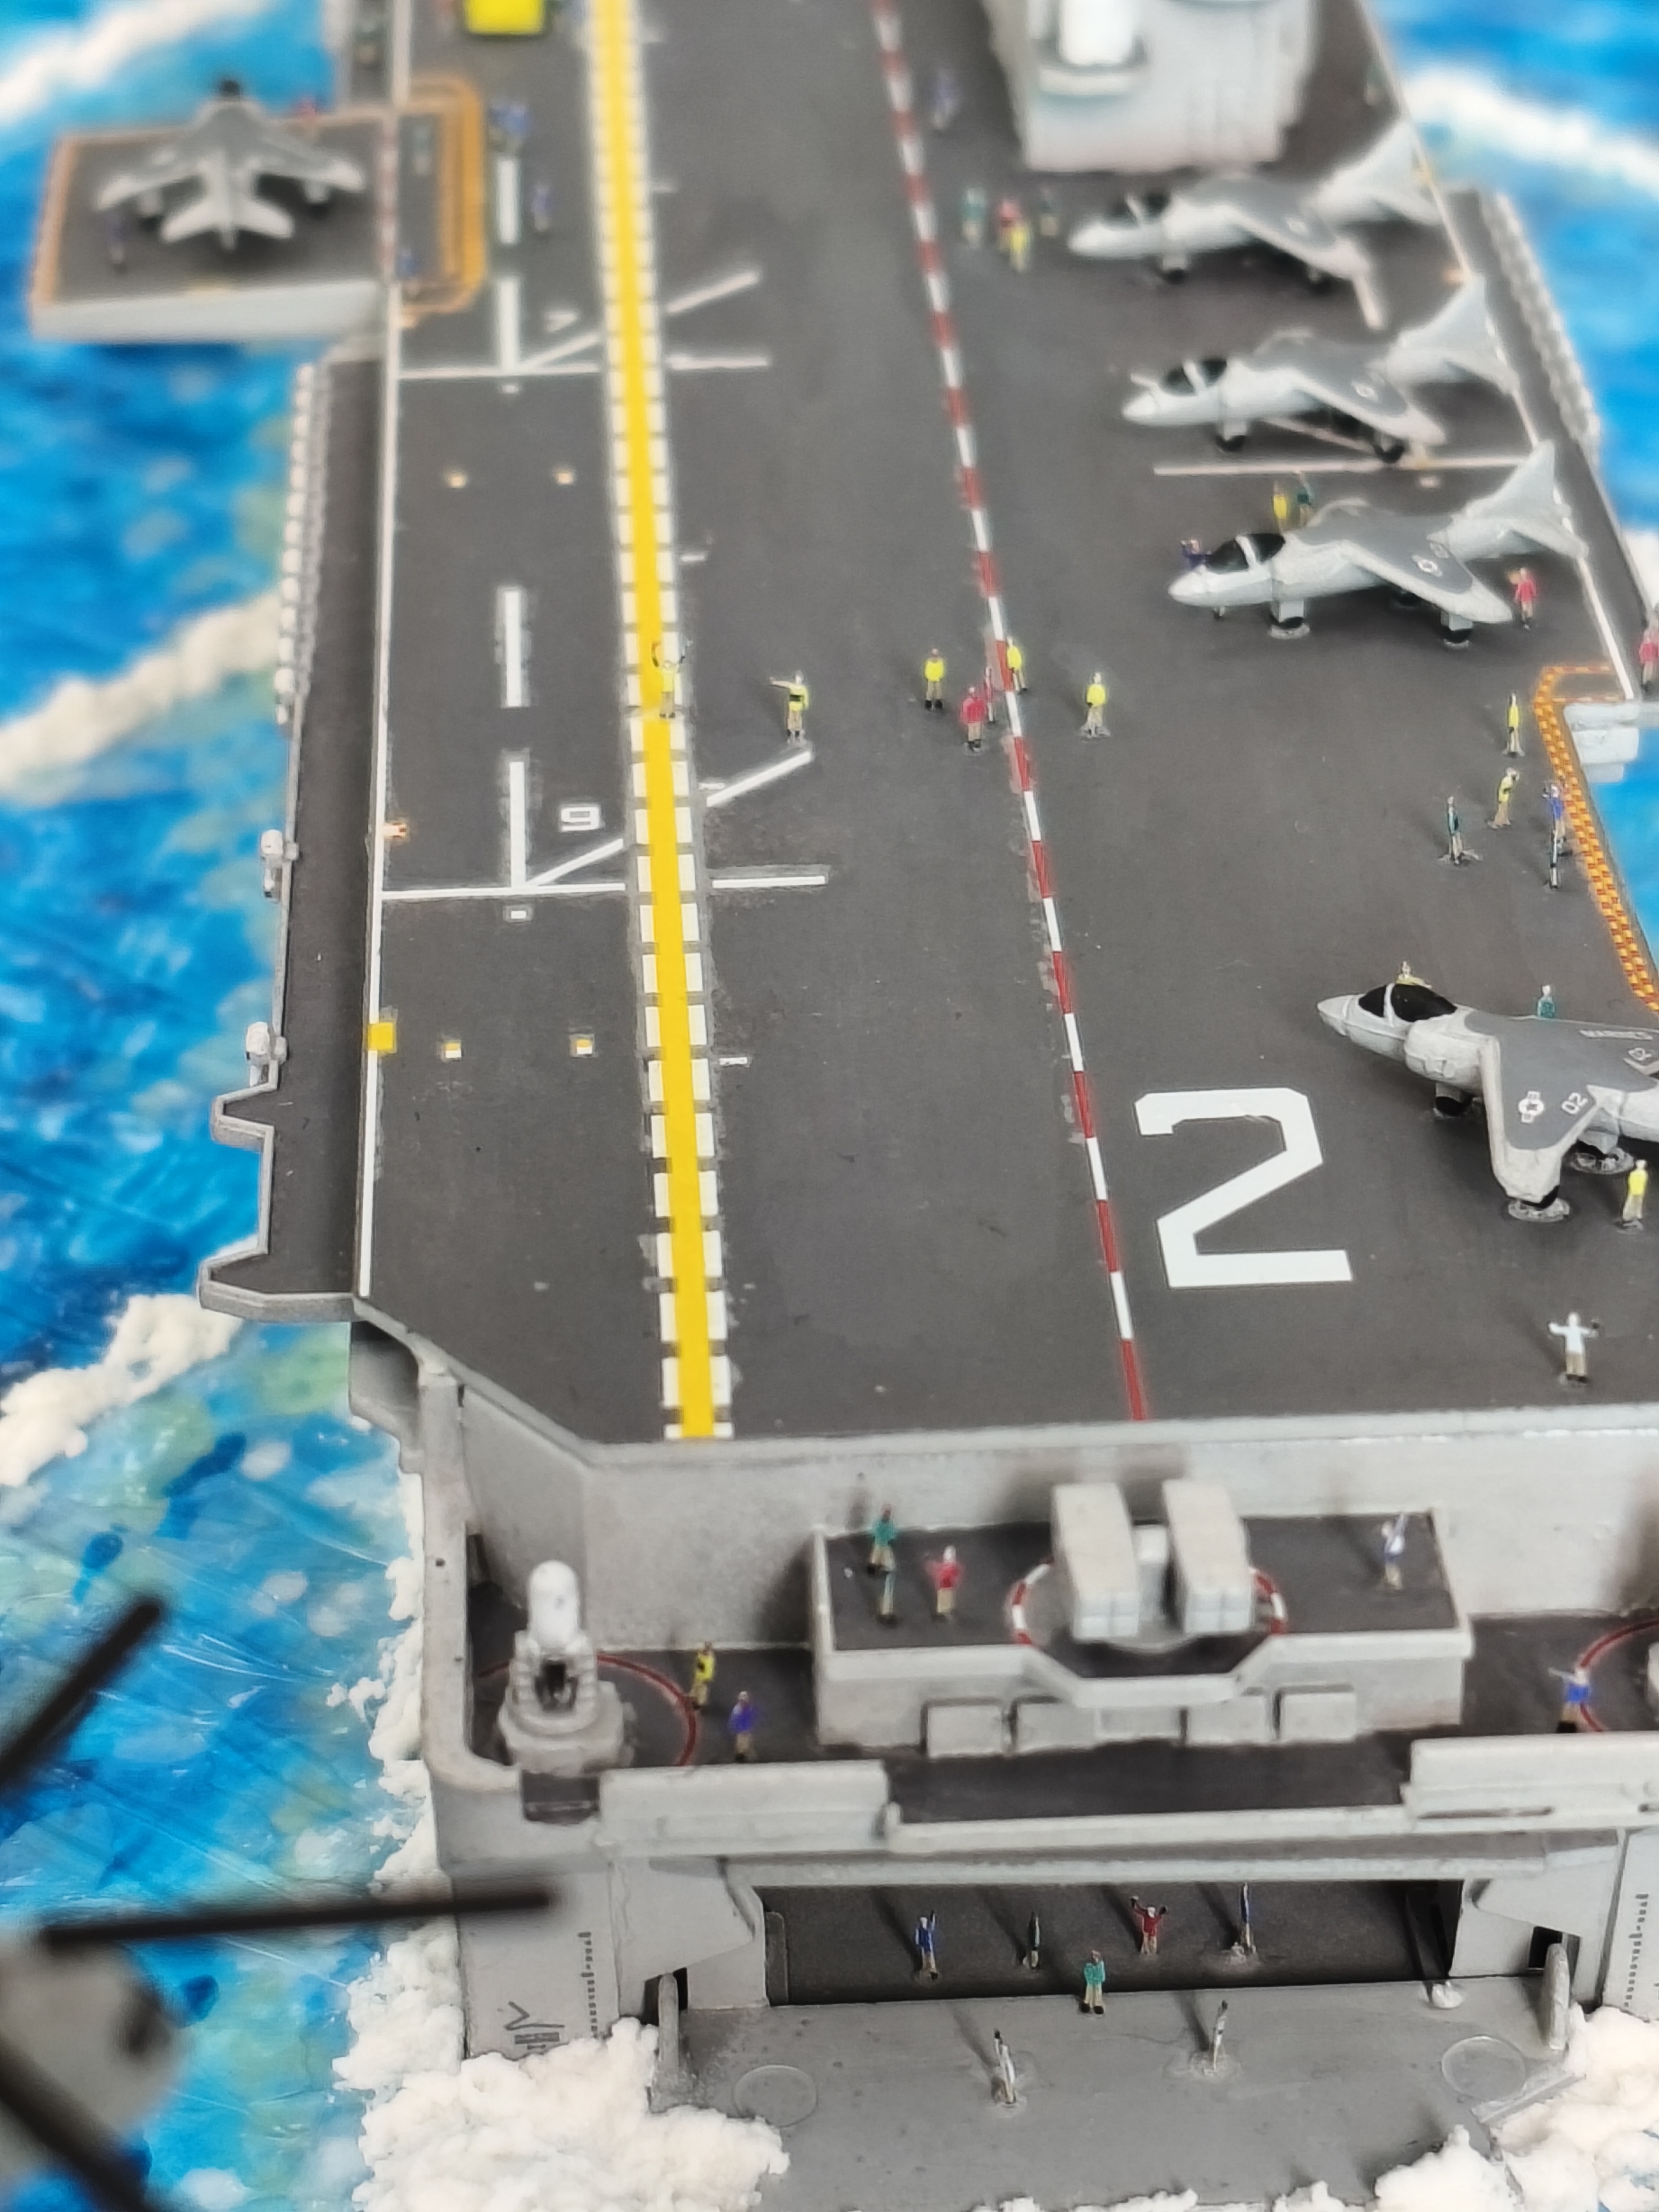
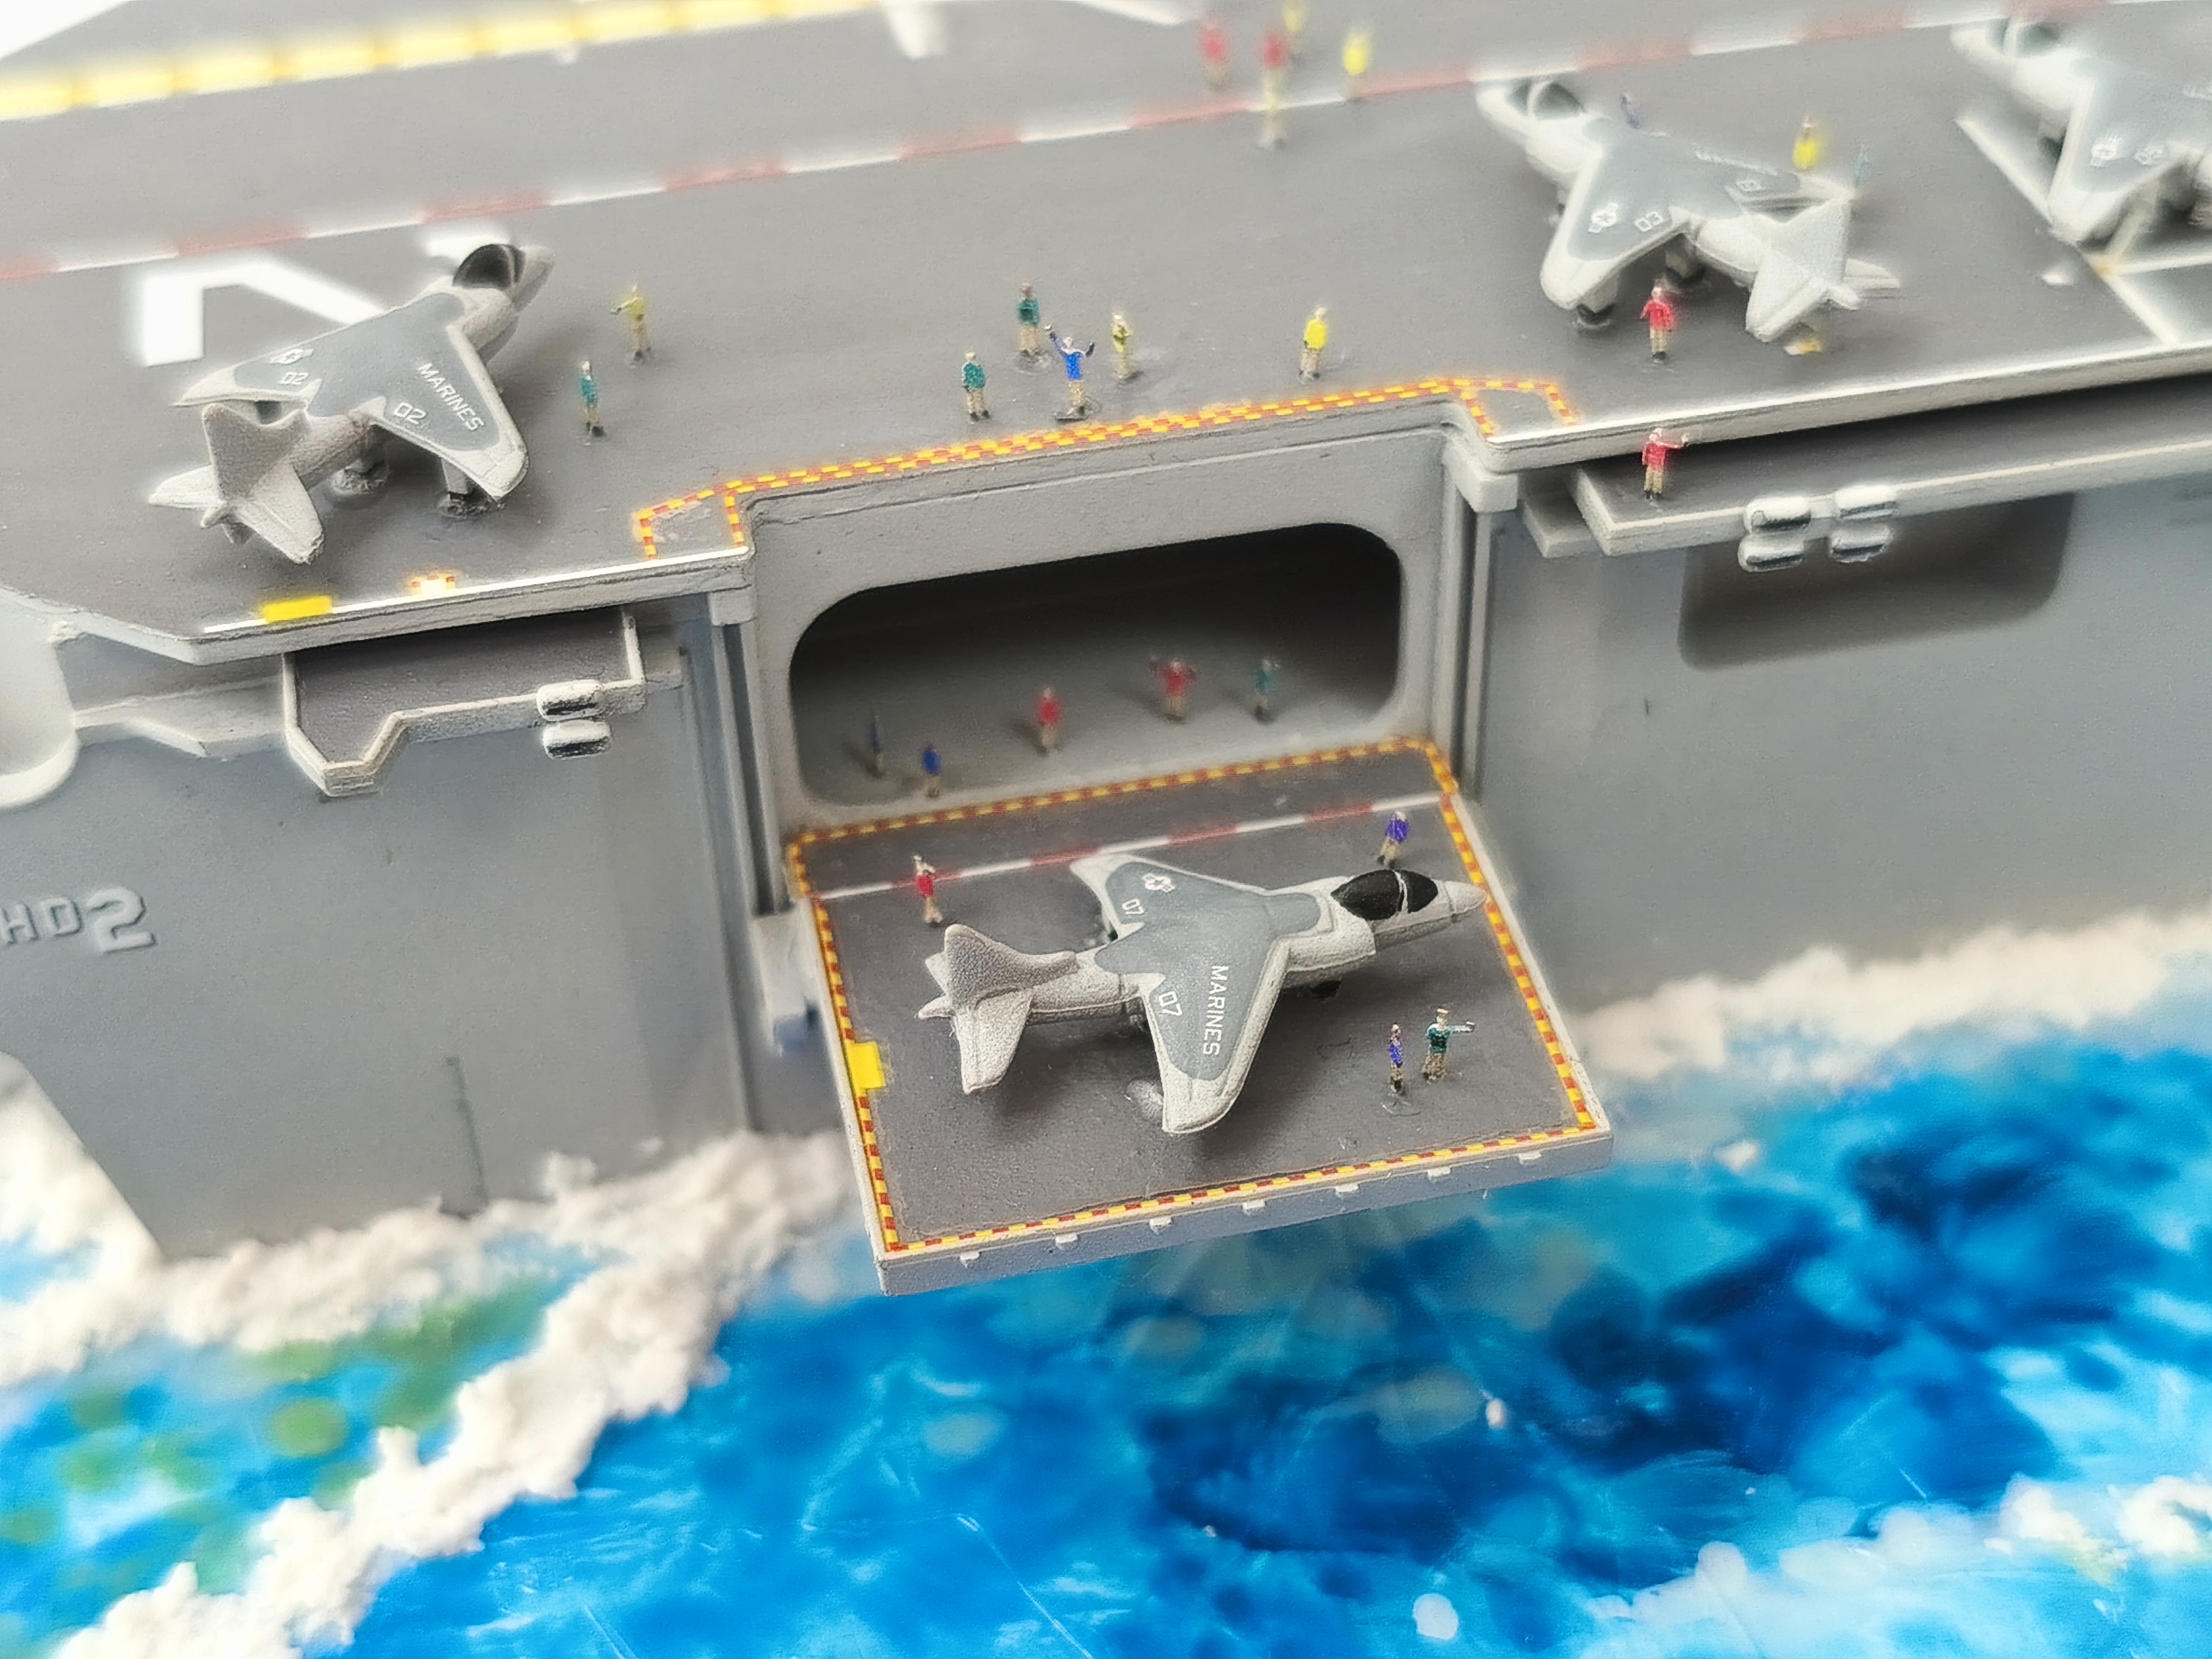
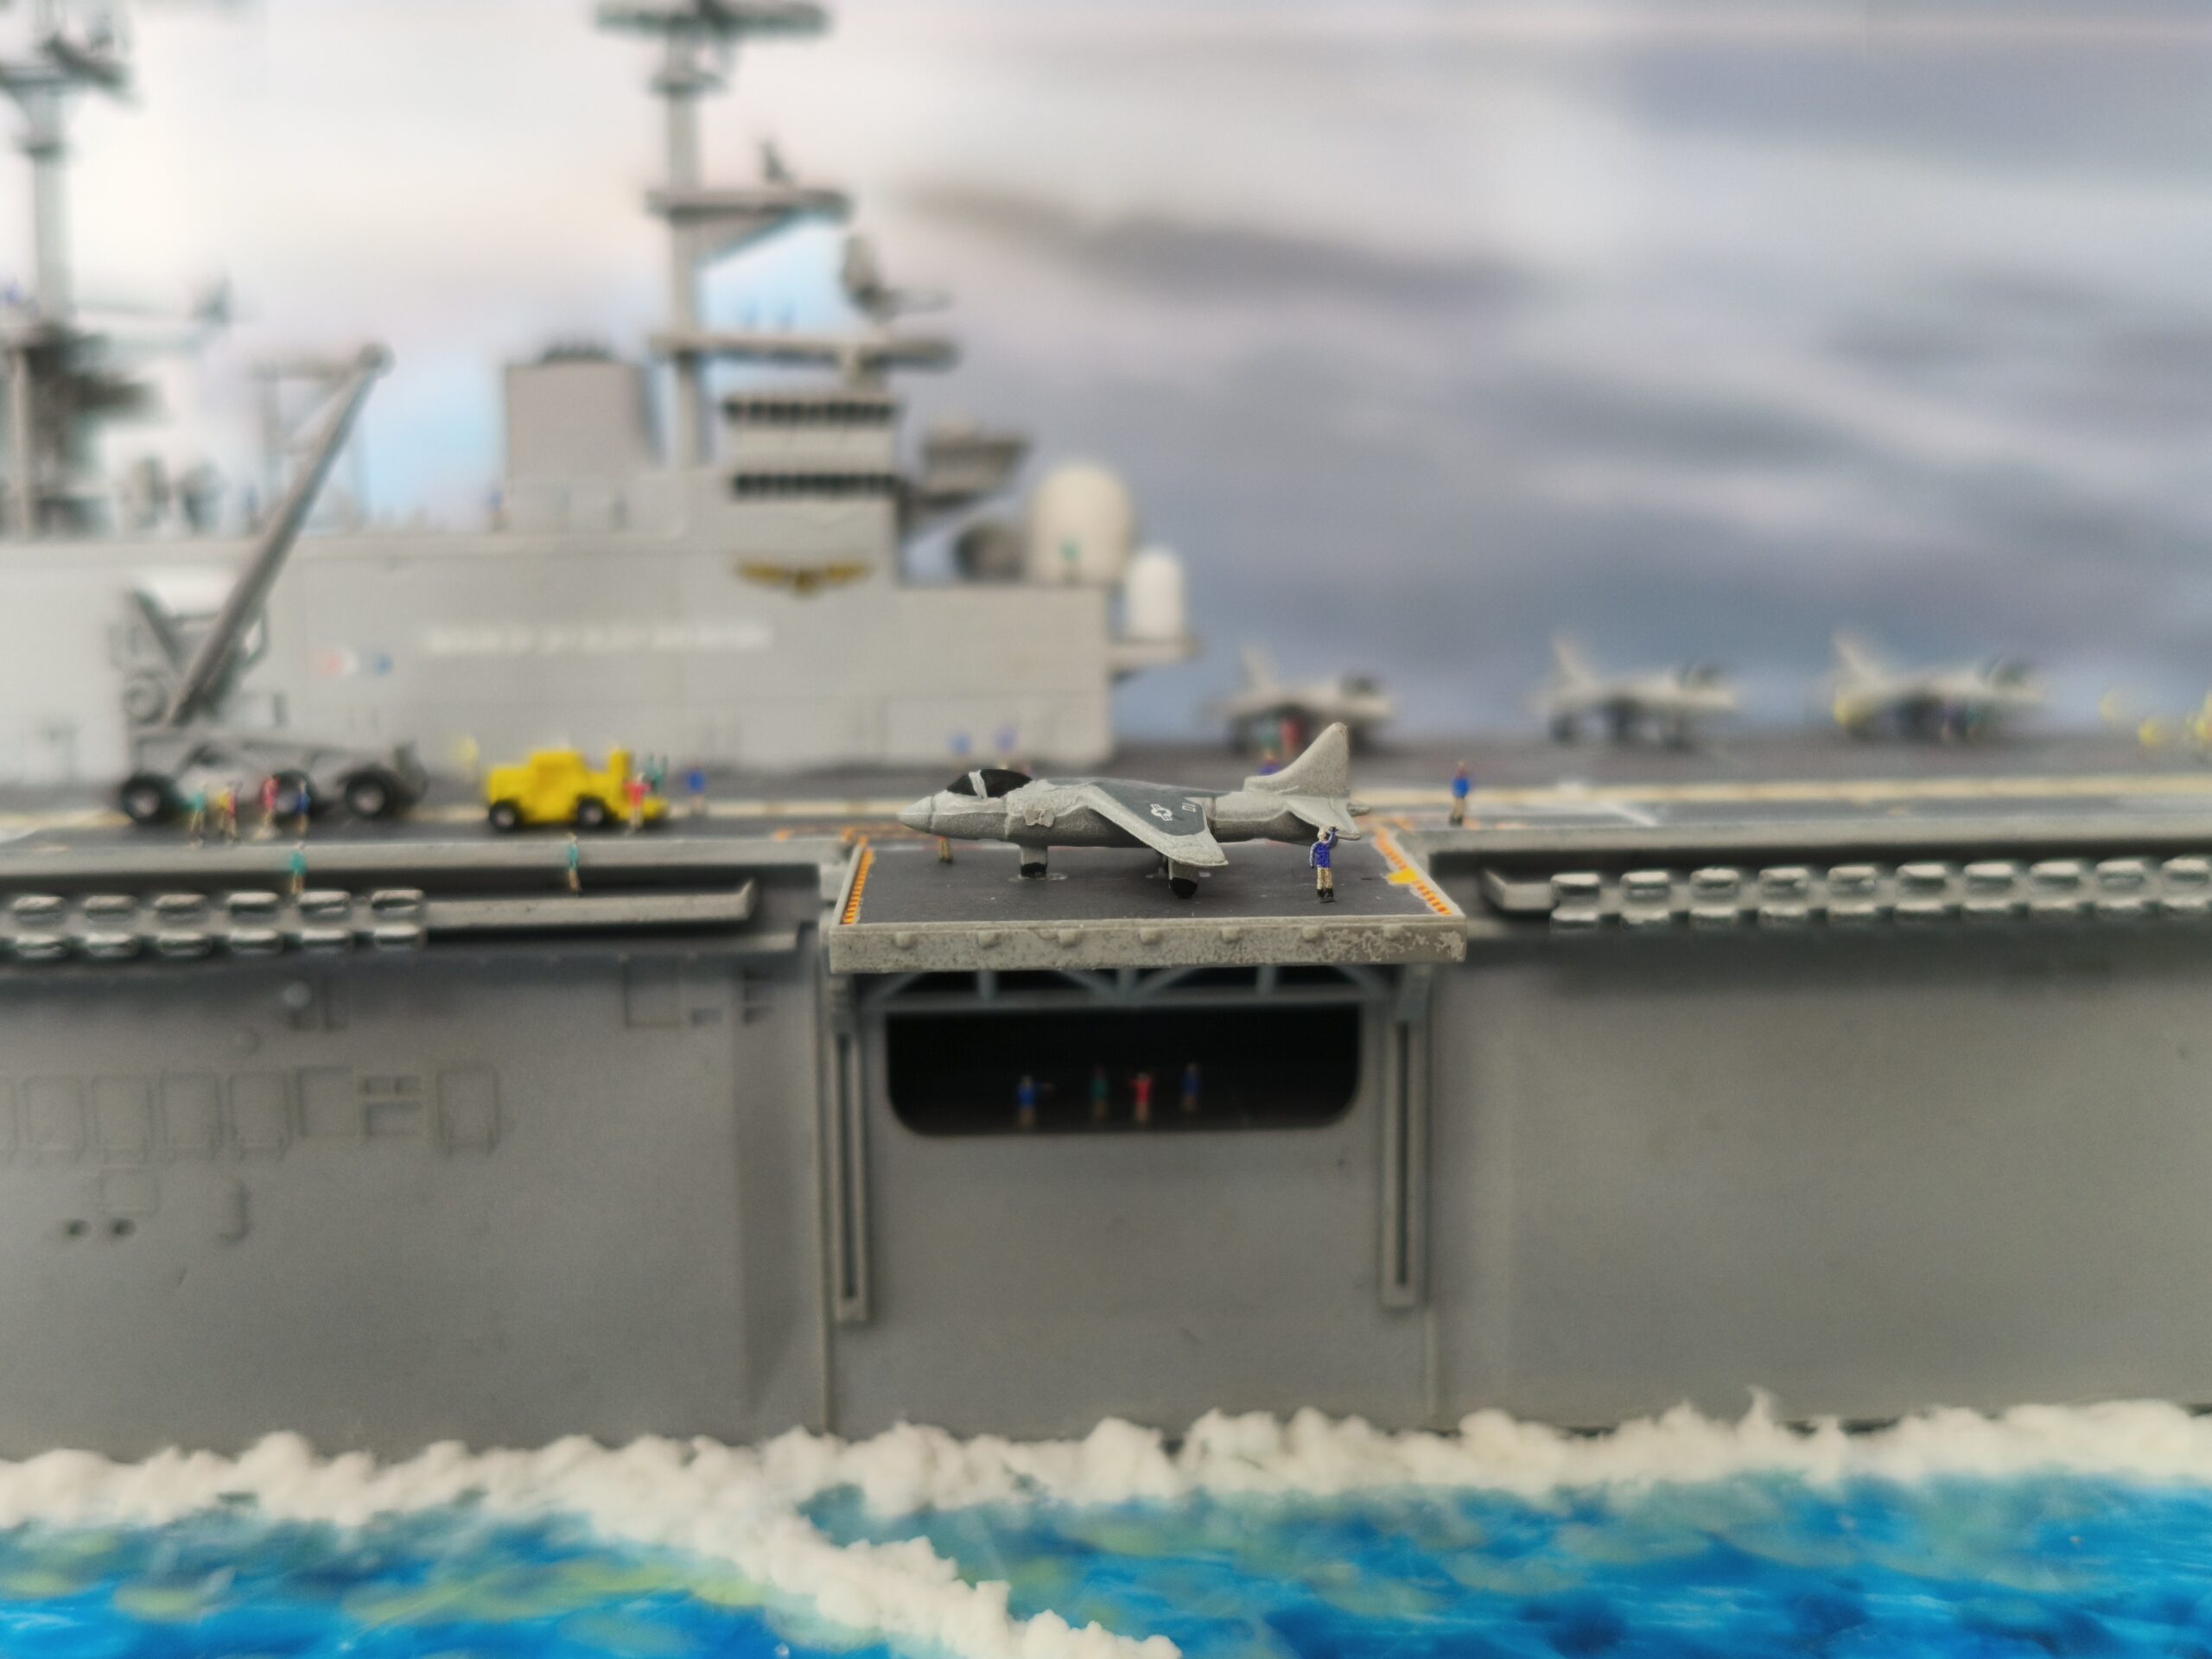
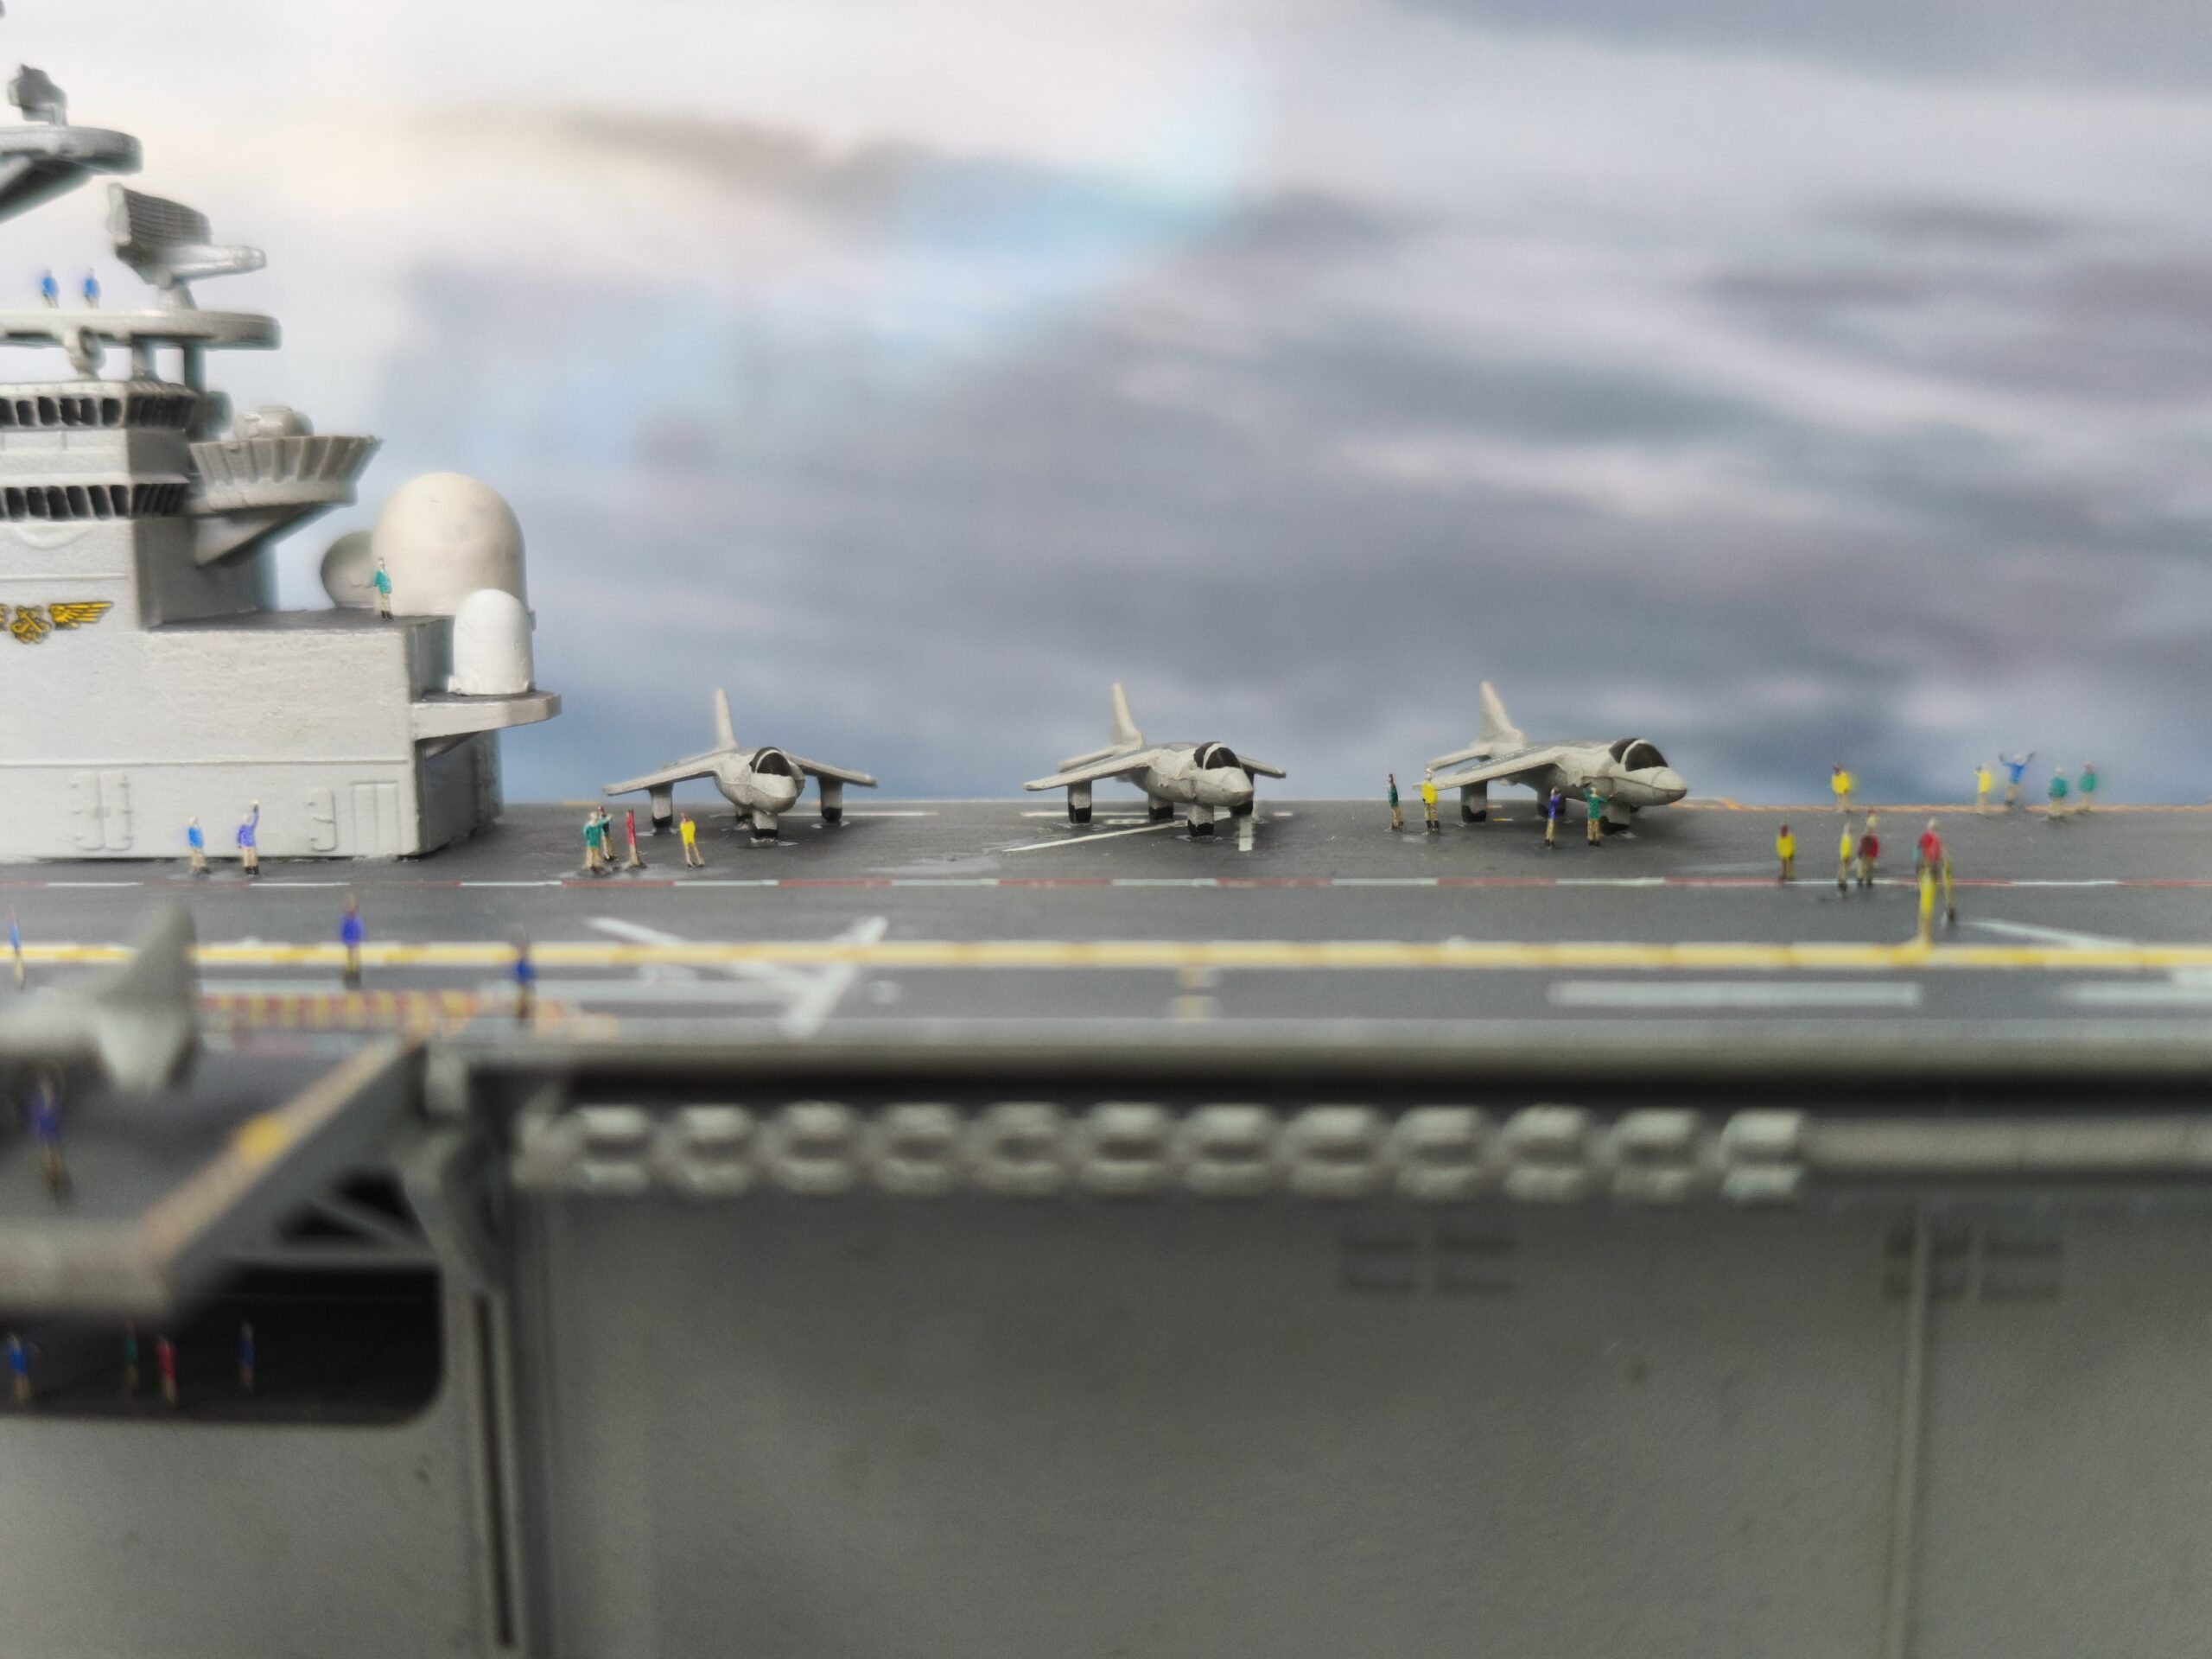
The Revell US Navy Assault Carrier USS Wasp Class is ideal for people who can’t make up their mind what to build because you don’t have to choose between making a boat, aircraft or vehicle; you get to make all three in one kit!
Included in this kit is a waterline USS Wasp Class ship.The superstructures, aircraft, boats, and vehicles.The decals provided.This kit does not come with any figures, so we supplied our own – Eduard 1/700 aircraft carrier figures.The majority of the ship will be light grey, with the deck being dark grey. As we build the ship, we are working out what could be glued together and what to leave part to make the painting a little easier later on.Here are the parts prepped for airbrushing.Some of the larger, angular parts are held with crocodile clips.The model was first airbrushed in light grey, and then the deck was hand-painted in dark grey.Next, the super-structure was built.Once the main ship was completed, the decals were added. This kit came with some large decals. It may be easier to cut them into smaller sections rather than attempting the entire piece in one go.Unfortunately the large decals trapped air underneath it resulting in some silvering.To fix it, we simple painted over the silvering. Another method to fix this is to apply Tamiya Extra Thin Cement or Mr Color Leveling Thinner.The aircraft and vehicles were positioned on the deck ready for gluing.With the model paintwork completed, we moved on to the diorama. First, we pestered a family member to cut out a wooden base. Then on card stock (watercolour paper would be ideal), we drawn and cut out where the boats will be sitting.The card stock was glued onto the base and we painted the sea with acrylic paints.We applied water gel. The gel dried surprisingly quick, so work fast to score the sea texture.Once the water dried, we glued the boats and aircraft in place.Texture snow paint was applied to create the sea foam.Finally, the figures were glued on with superglue.
Being dangerously close to the two-year mark since we last posted a construction project, we tried our hands on a Chateau by Sarissa Precision. Sarissa Precision produces a range a MDF buildings in 15mm, 20mm, and 28mm scale that can be used for wargaming and dioramas. We made the 28mm version, which came with laser-cut cardboard roof tiles.
Included in the kit are laser-cut cardboard roof tiles and window shutters.This kit came with 5 A4-size MDF sheets. Here are the floors and support structures.Here are the walls and window surrounds.The main building structure ‘snaps’ together – no glue is necessary. If you are using it for wargaming and want to keep the roof and each floor separated, you might want to loosen the inter-locking parts. Otherwise it is very hard to get it apart again once snapped together.The window and door surrounds were glued on with superglue.The roof tiles were attached using masking tape to see how they fitted before gluing on permanently.Here is the entire building assembled.The building was covered with a layer of PVA glue to stop it soaking up too much paint. A wood filler was used to add texture and cover up any gaps.We hand-brushed the entire building with Army Painter acrylic paint and added stone scatters.
RT-Diorama offers premium 1/35 scale dioramas, model buildings, and 3D-printed accessories. Our meticulously crafted products enable modelers to create realistic, detailed scenes with ease and precision, delivering quality that stands apart from the rest.
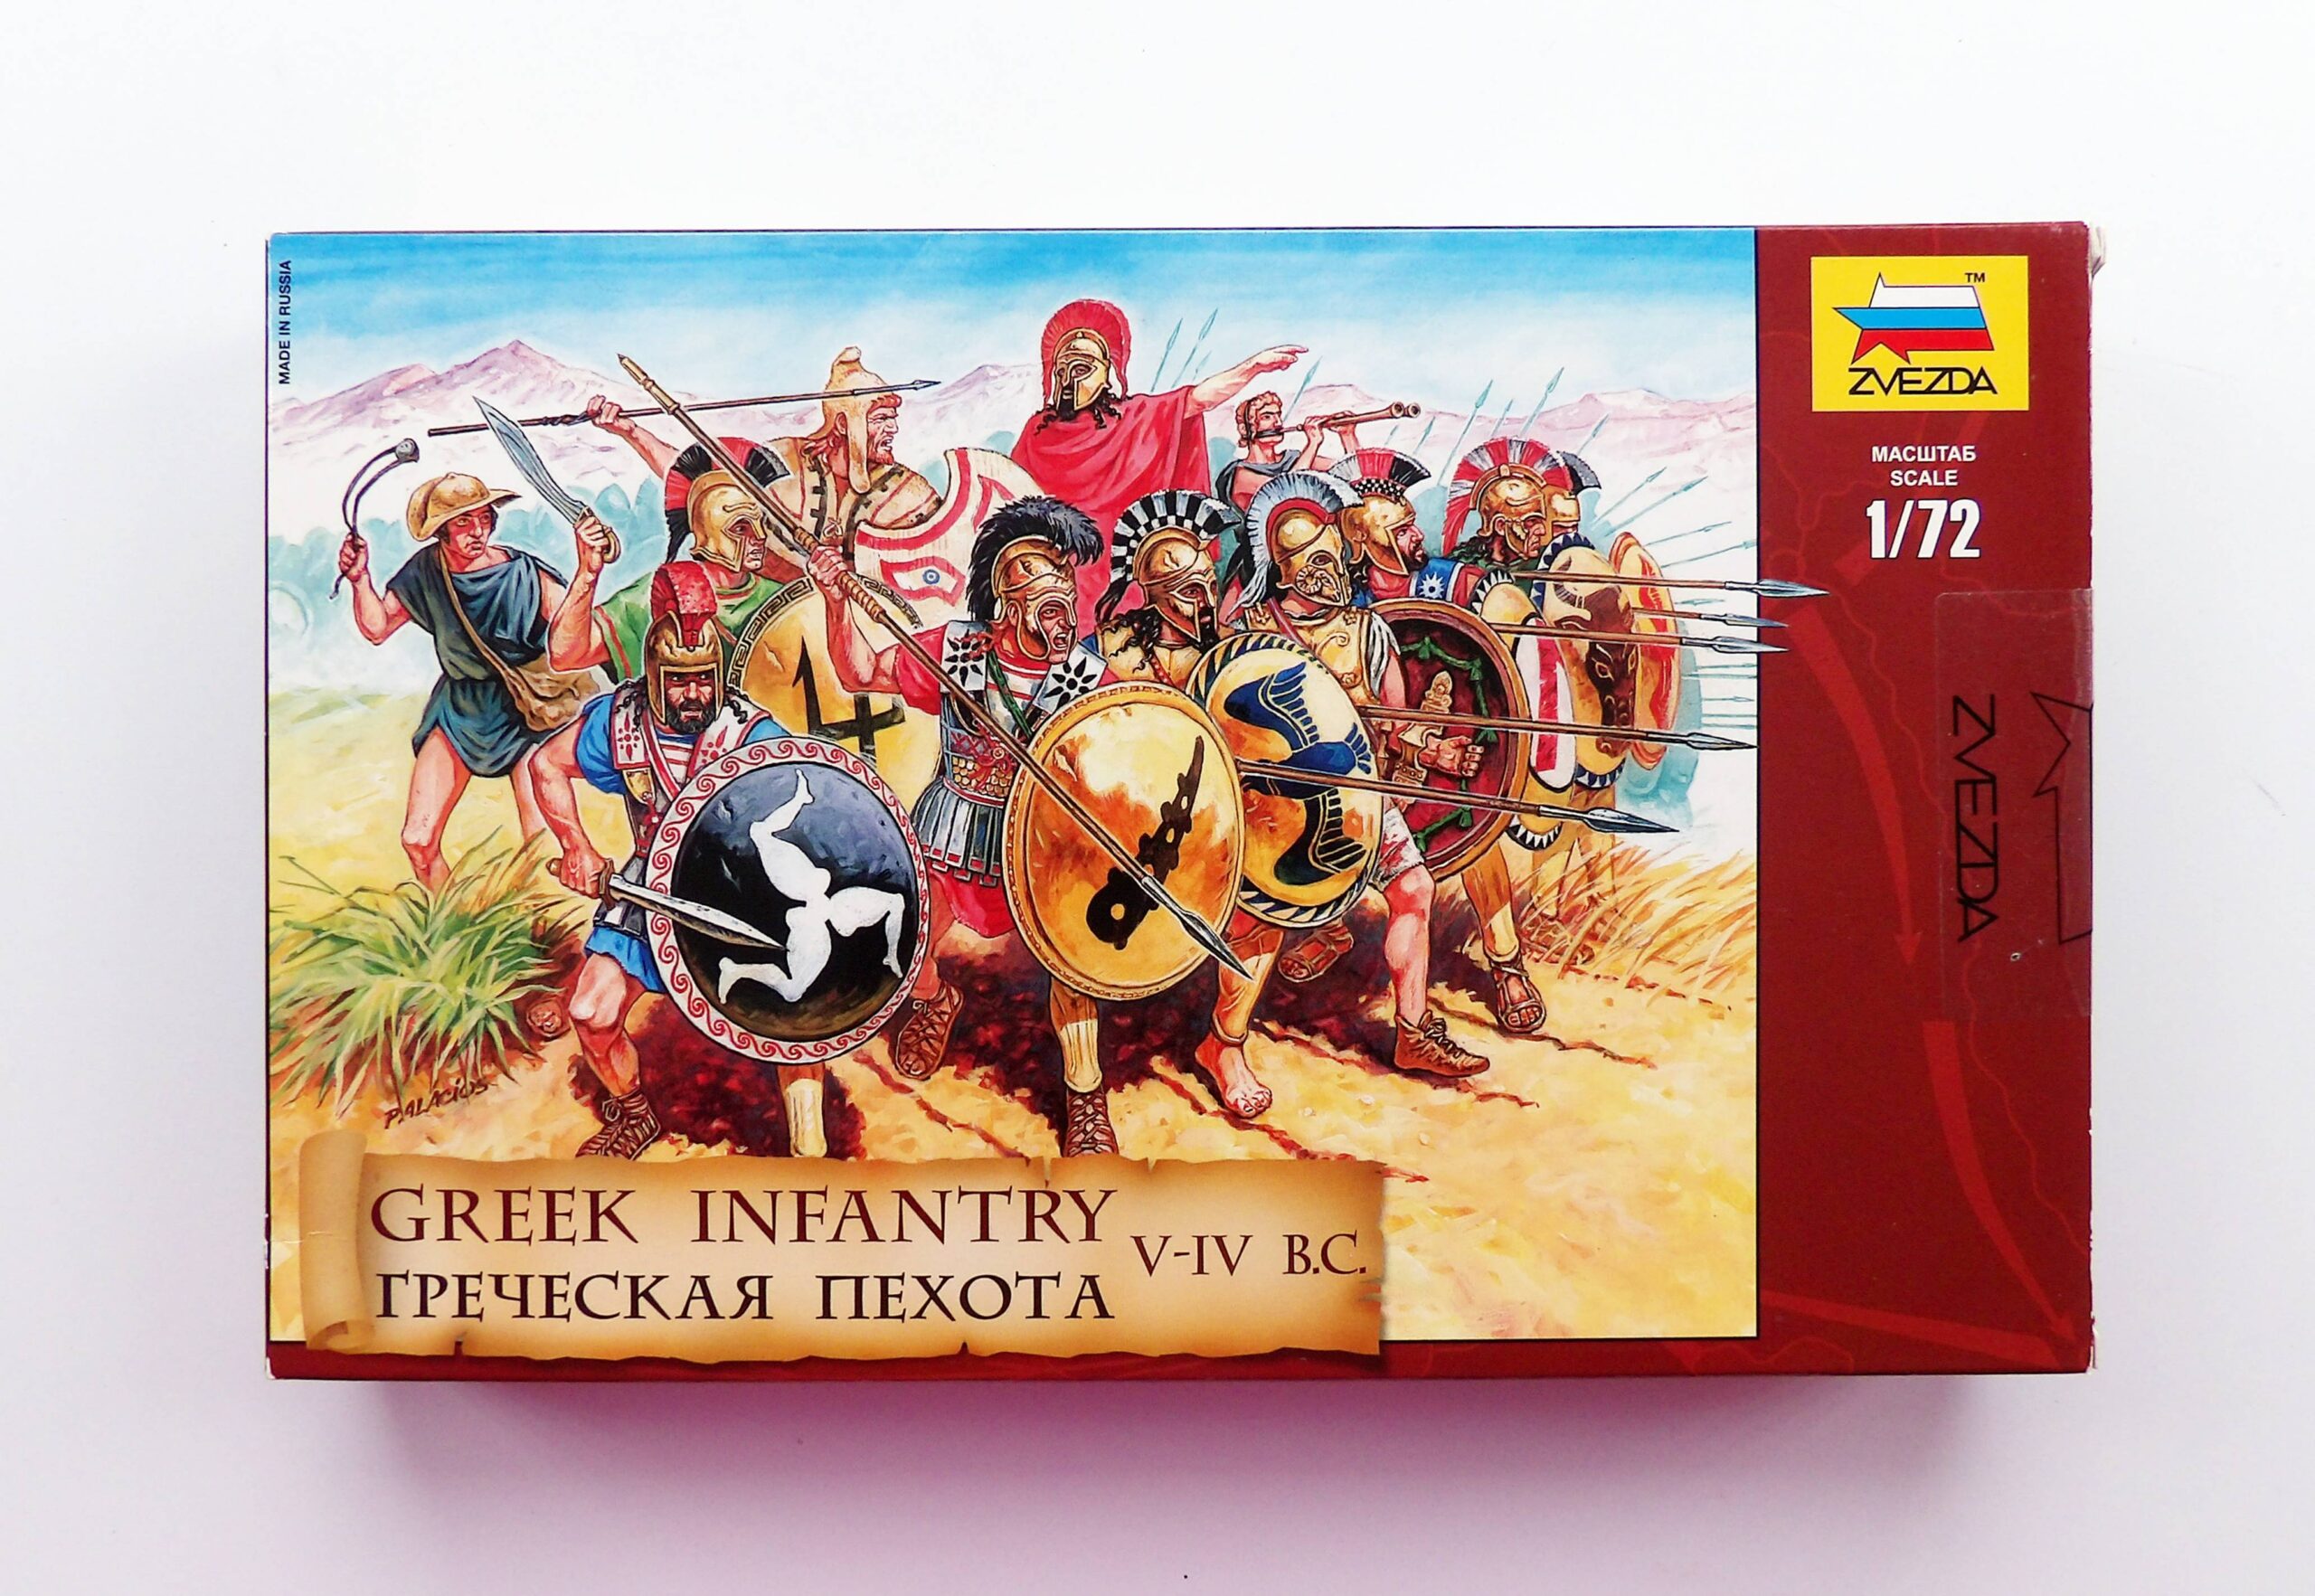
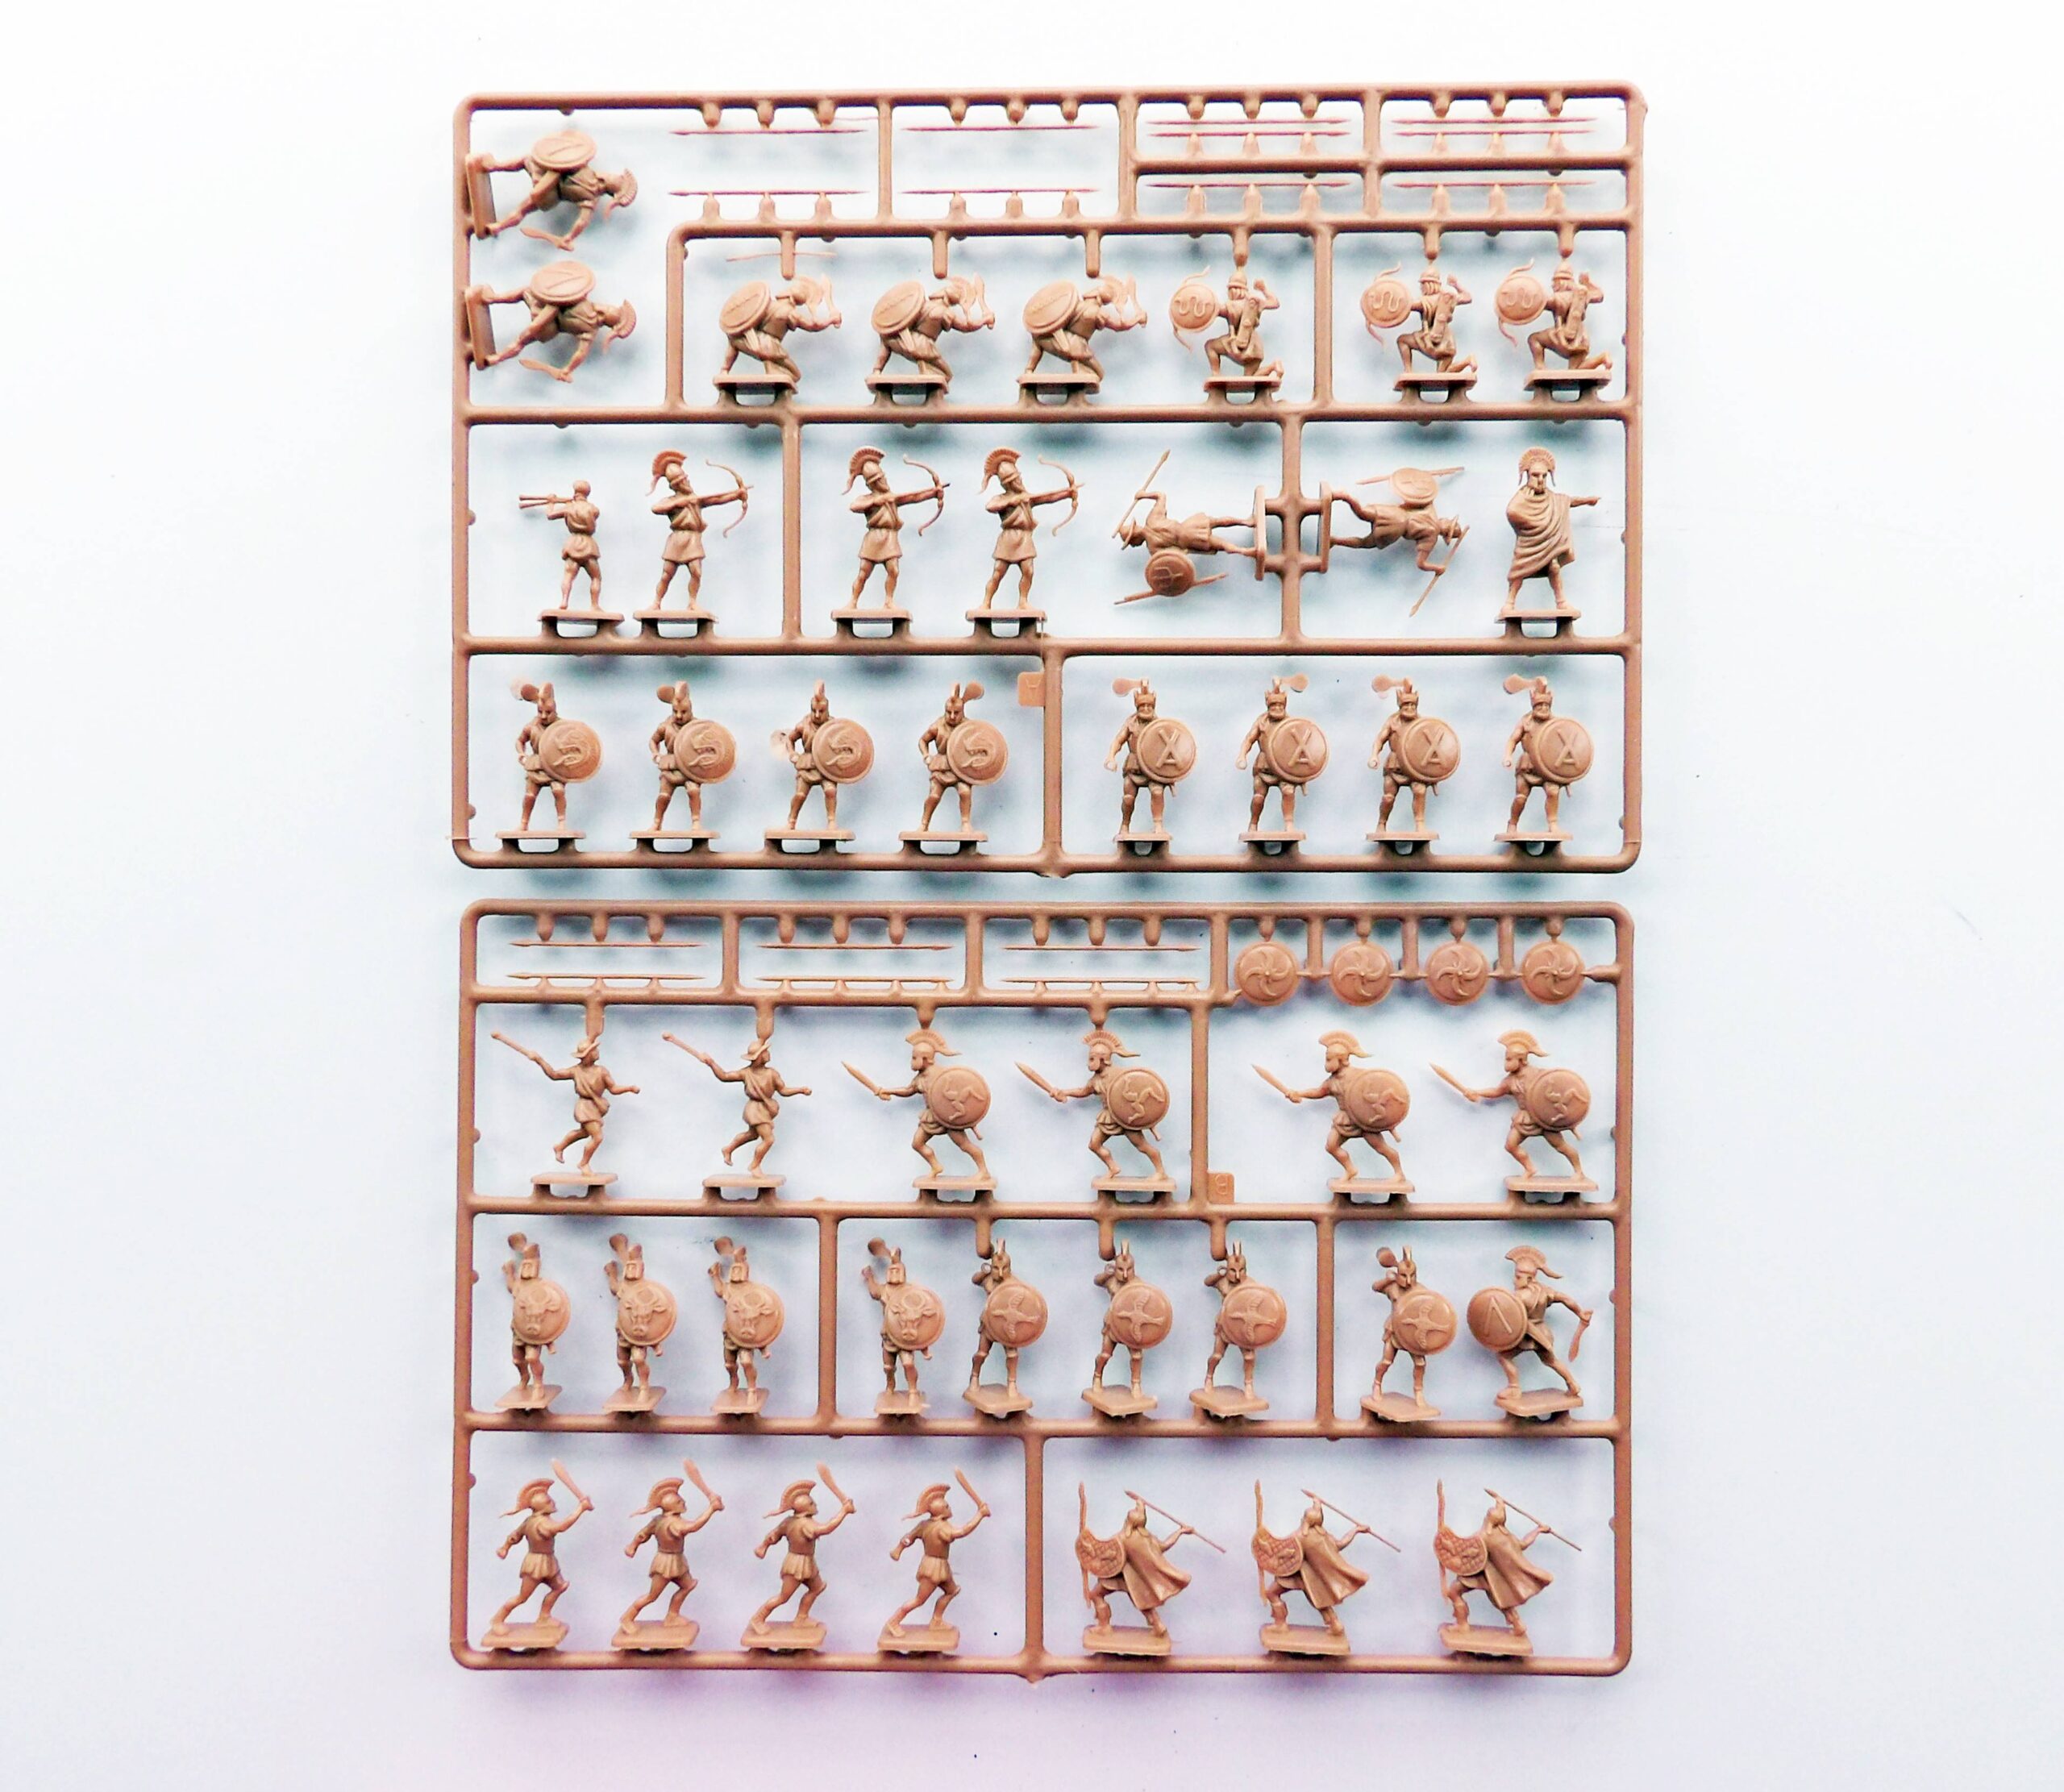
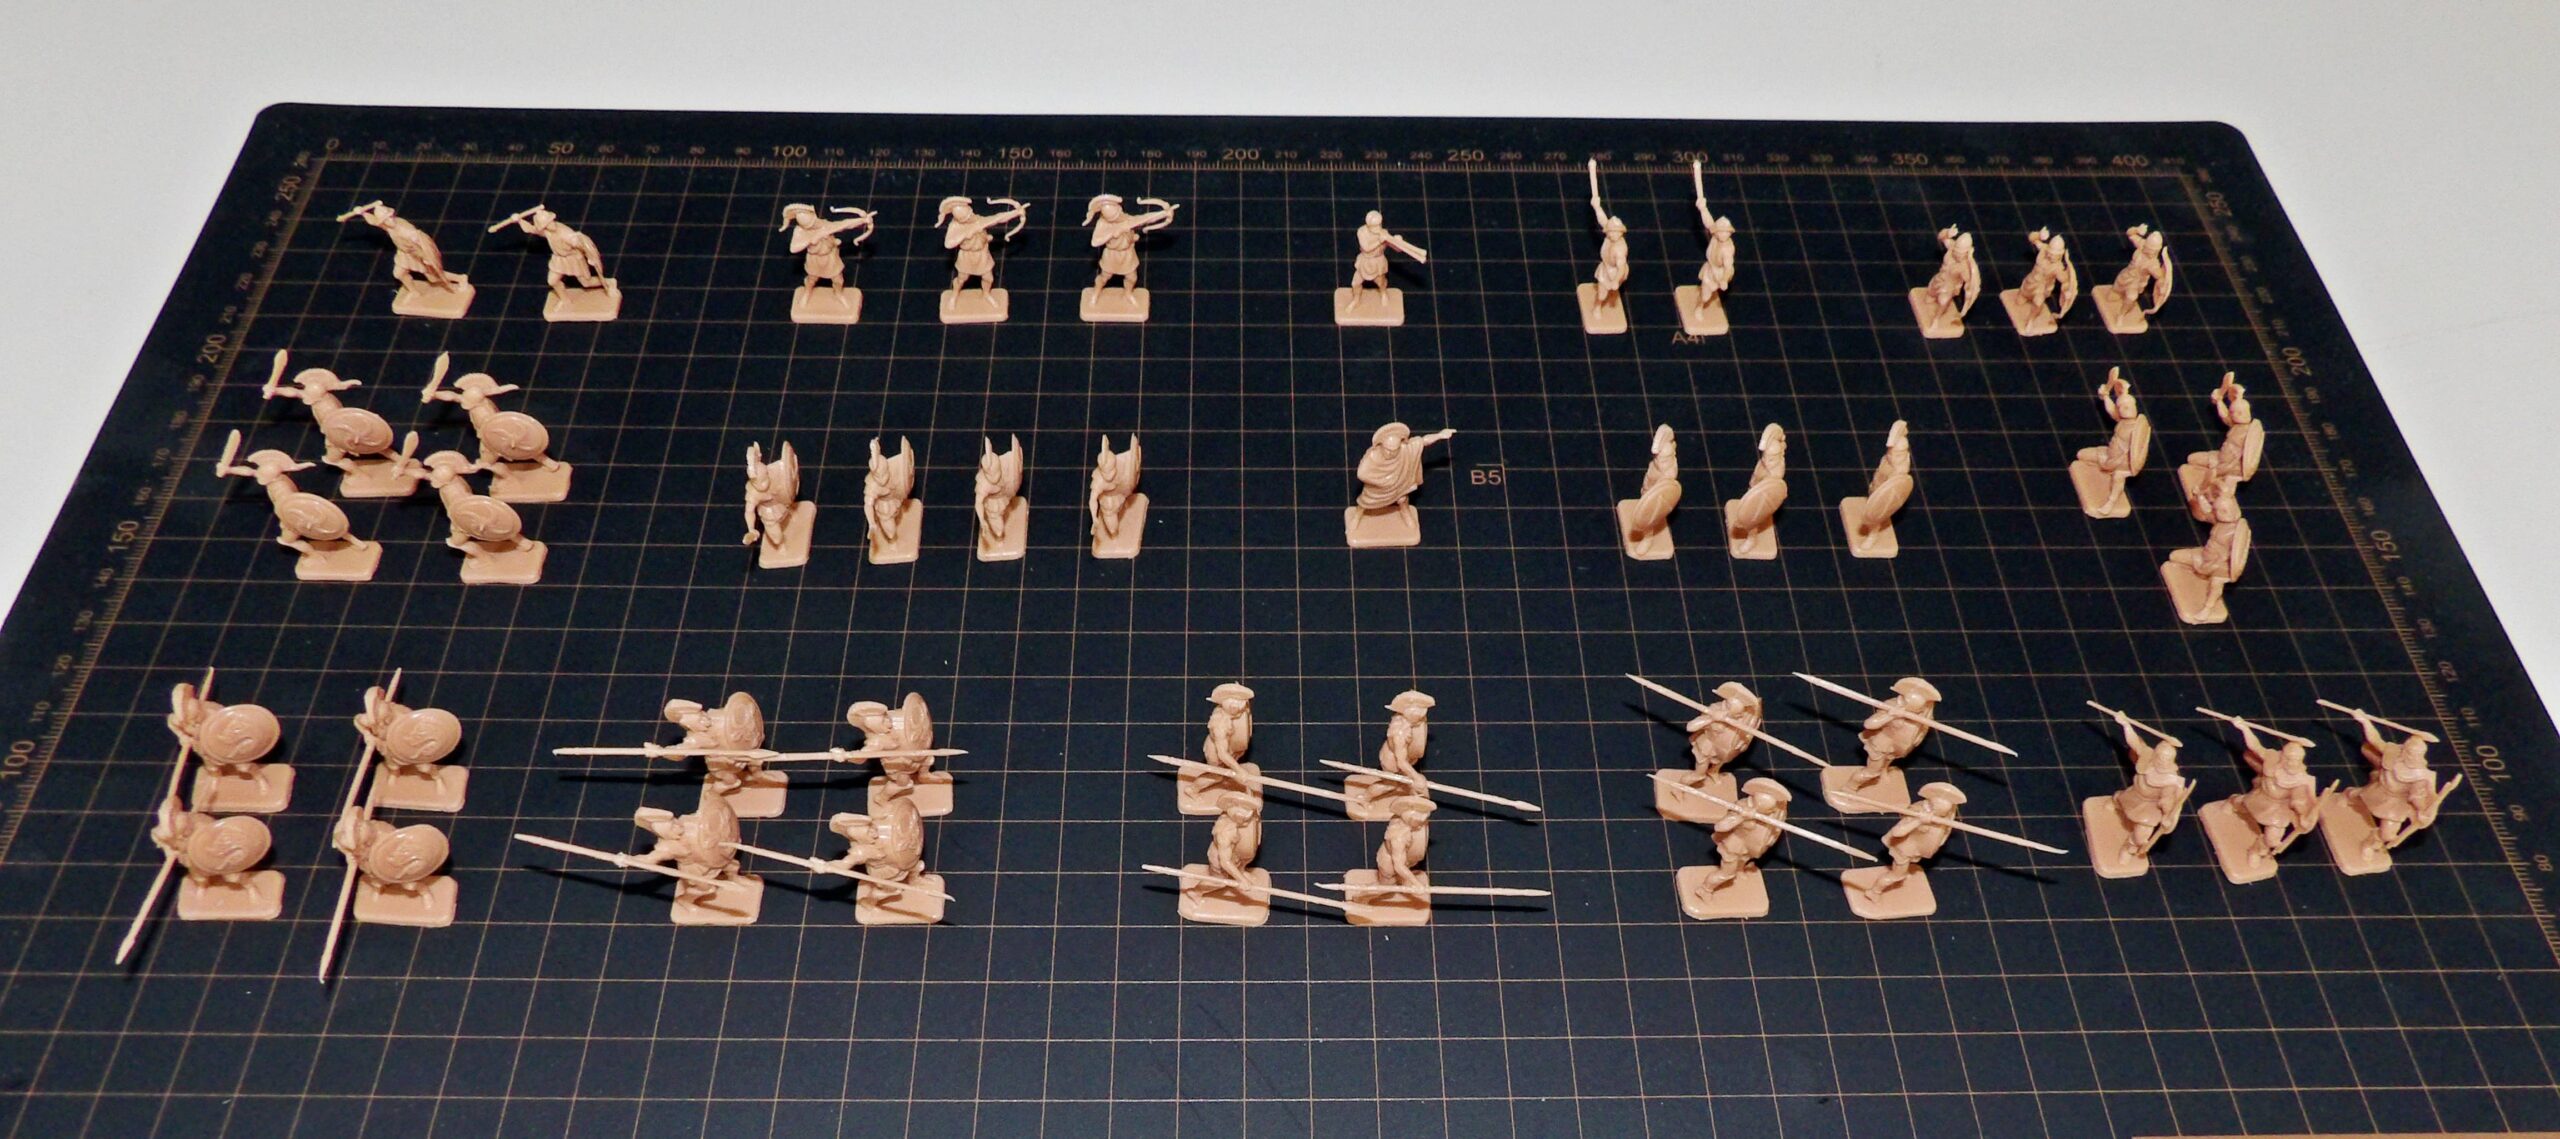
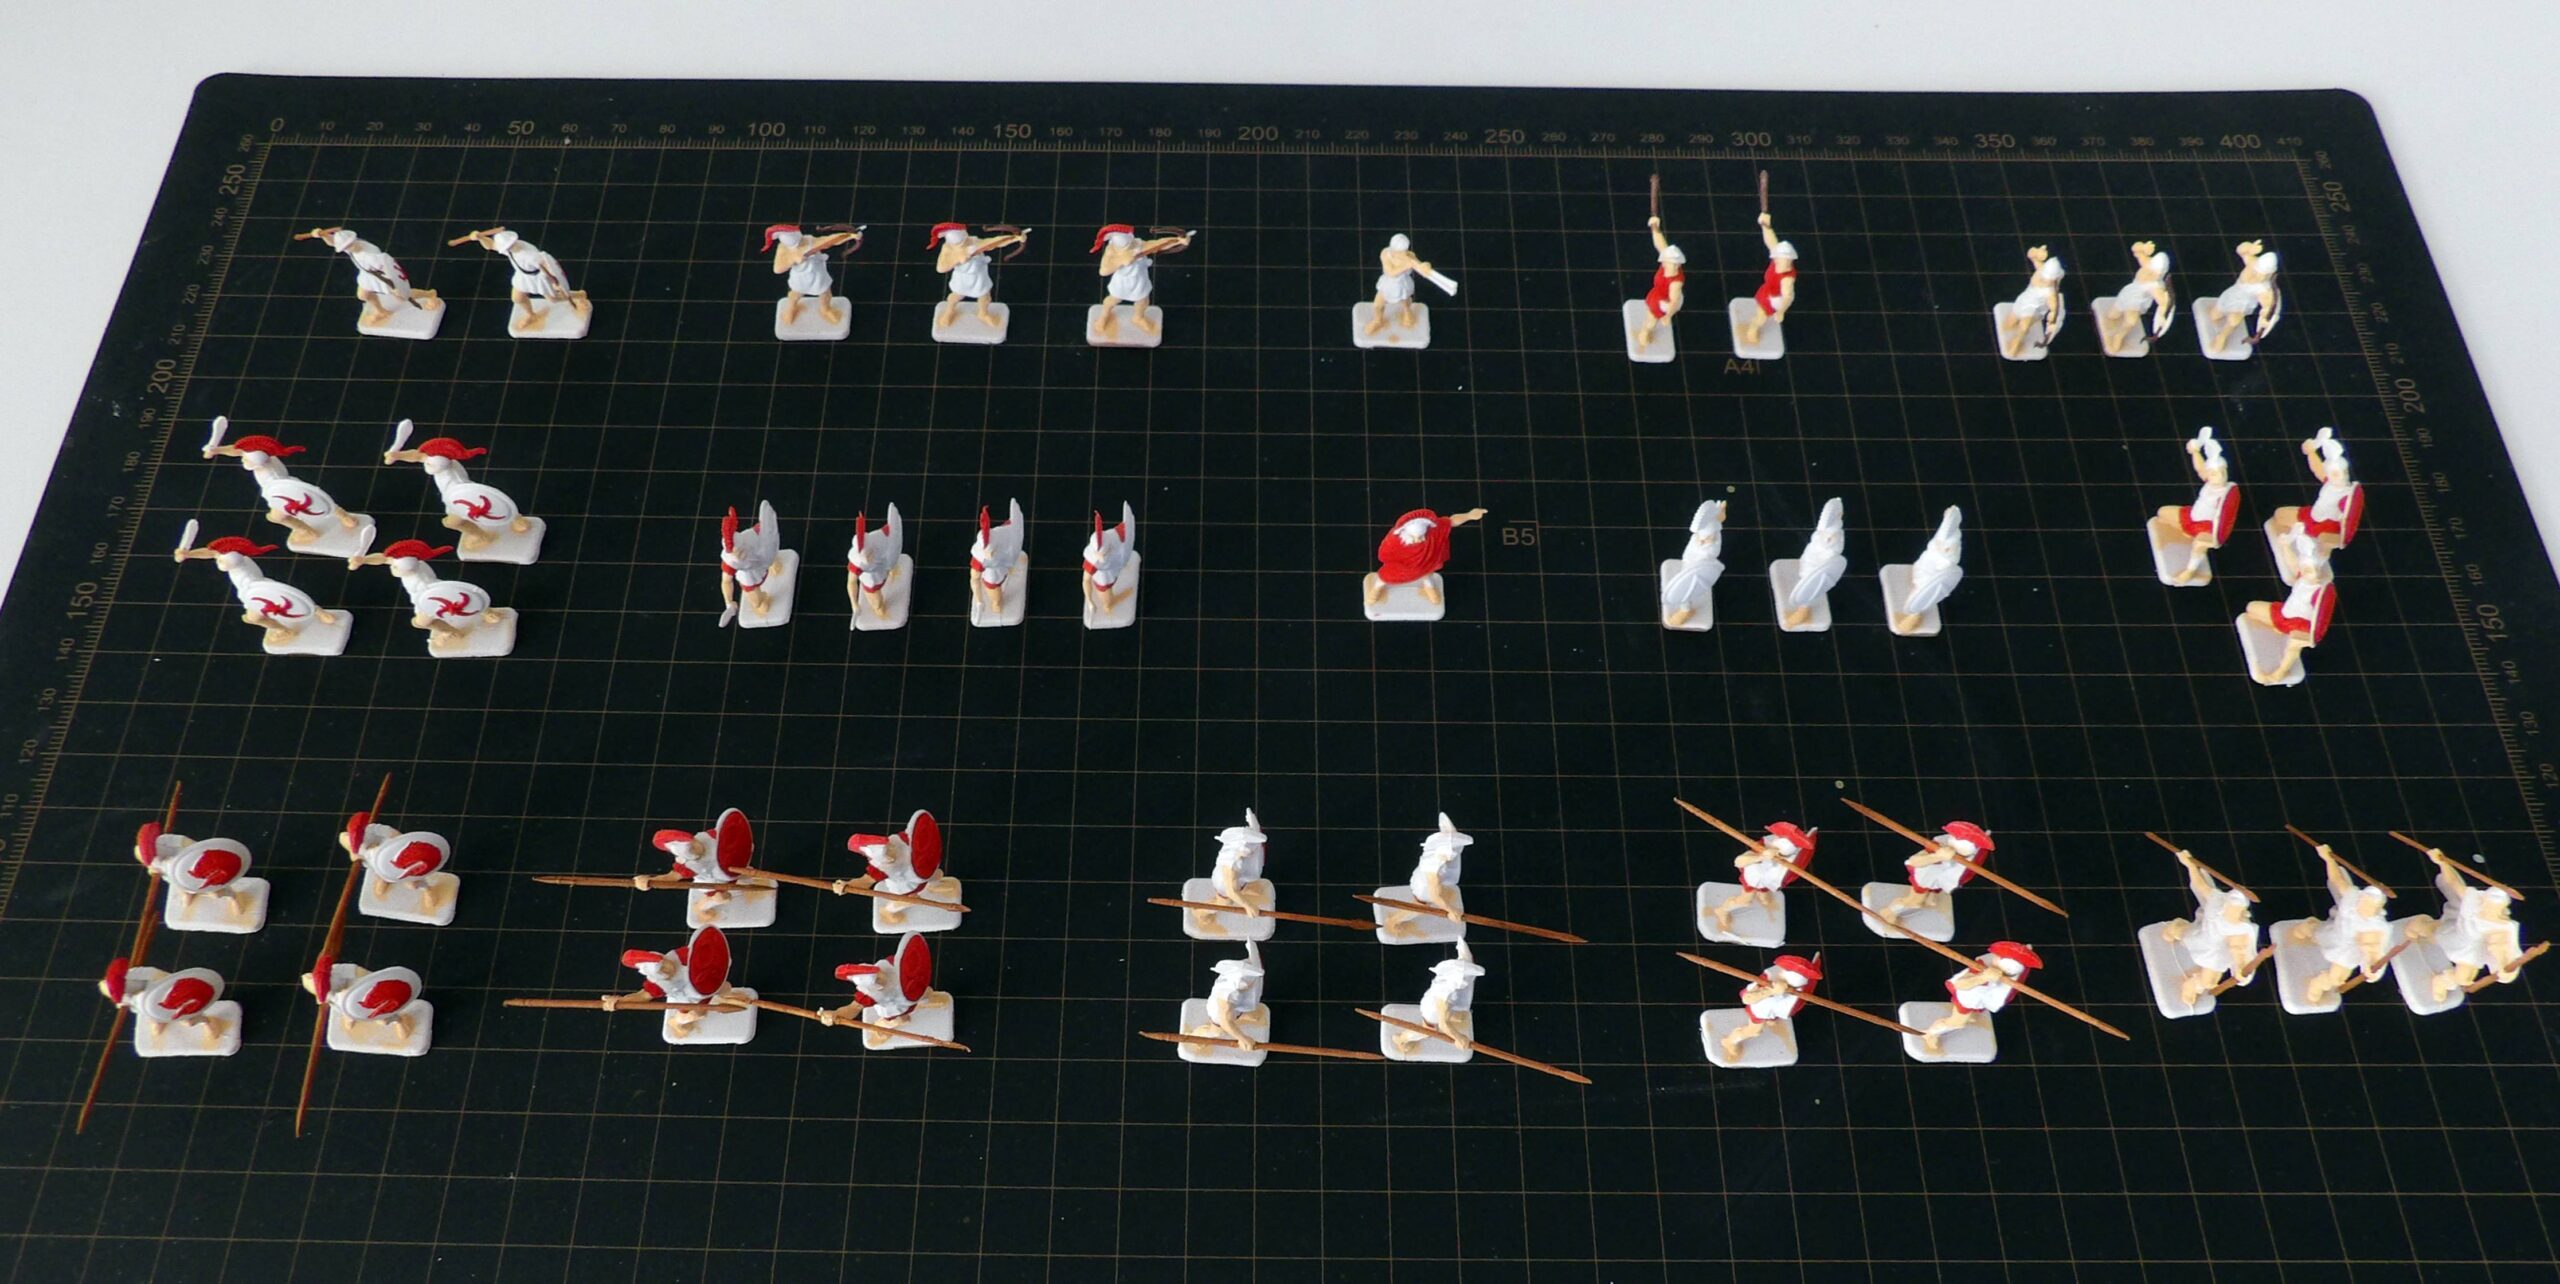
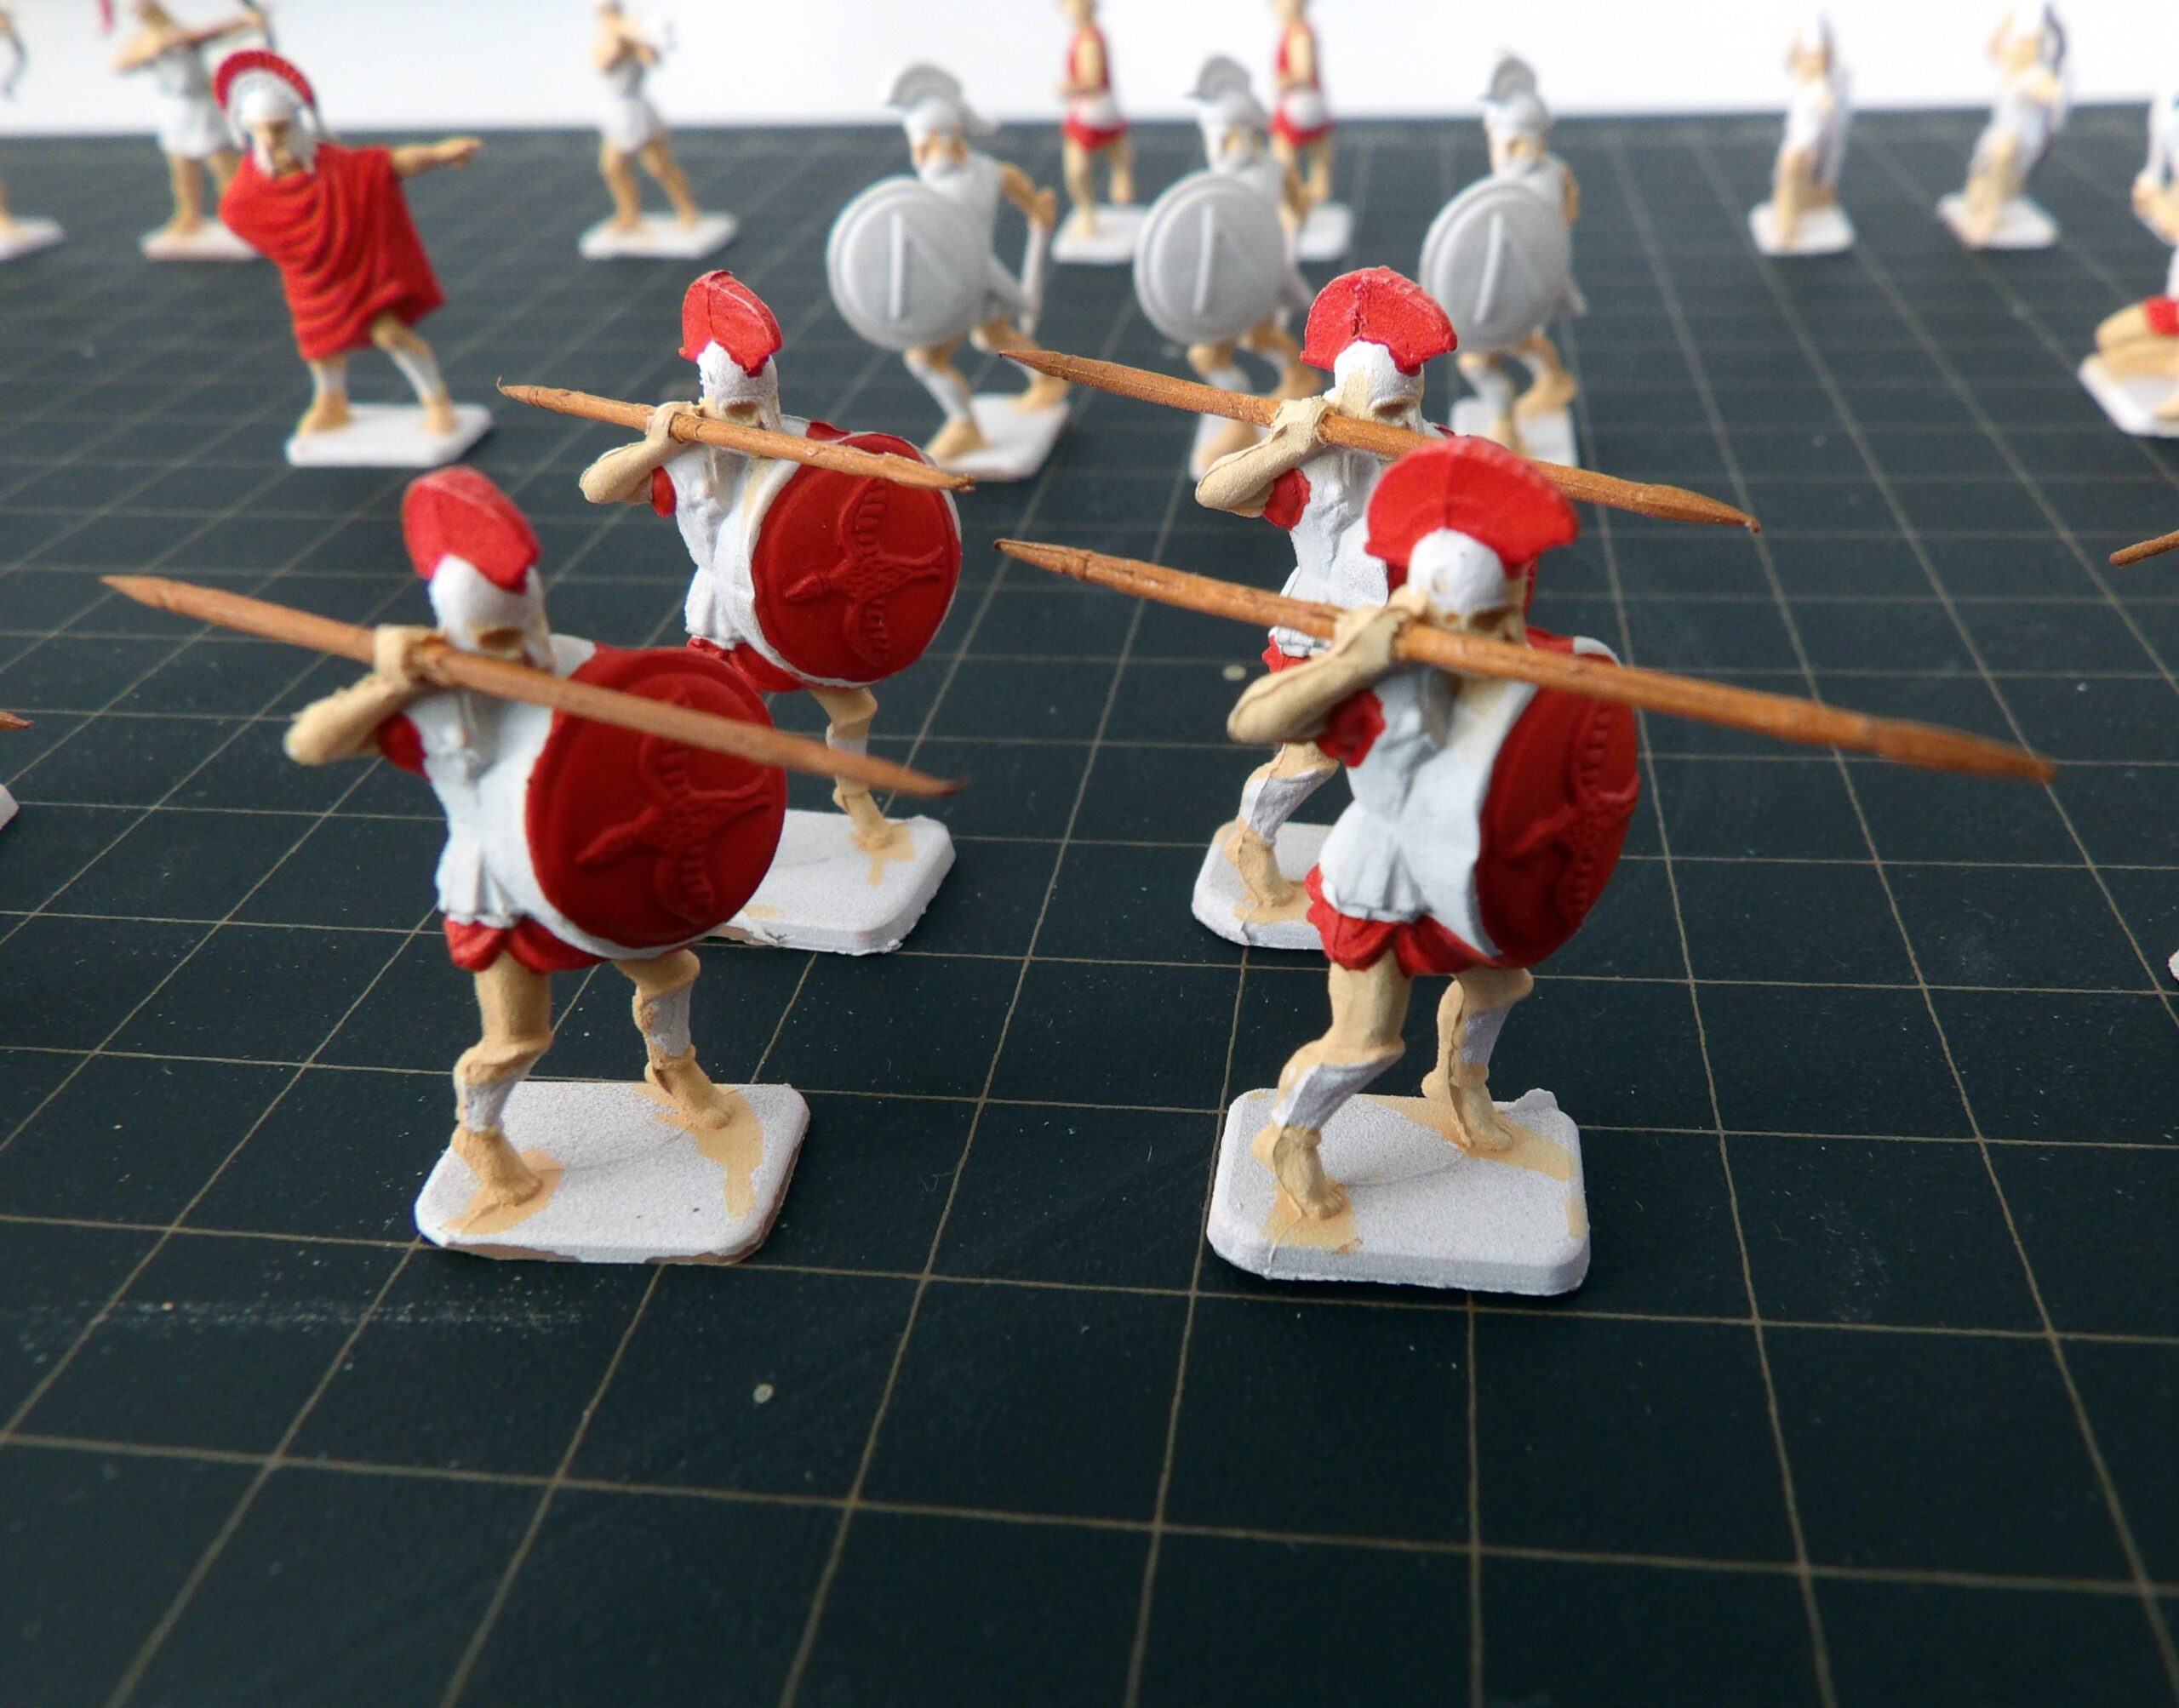
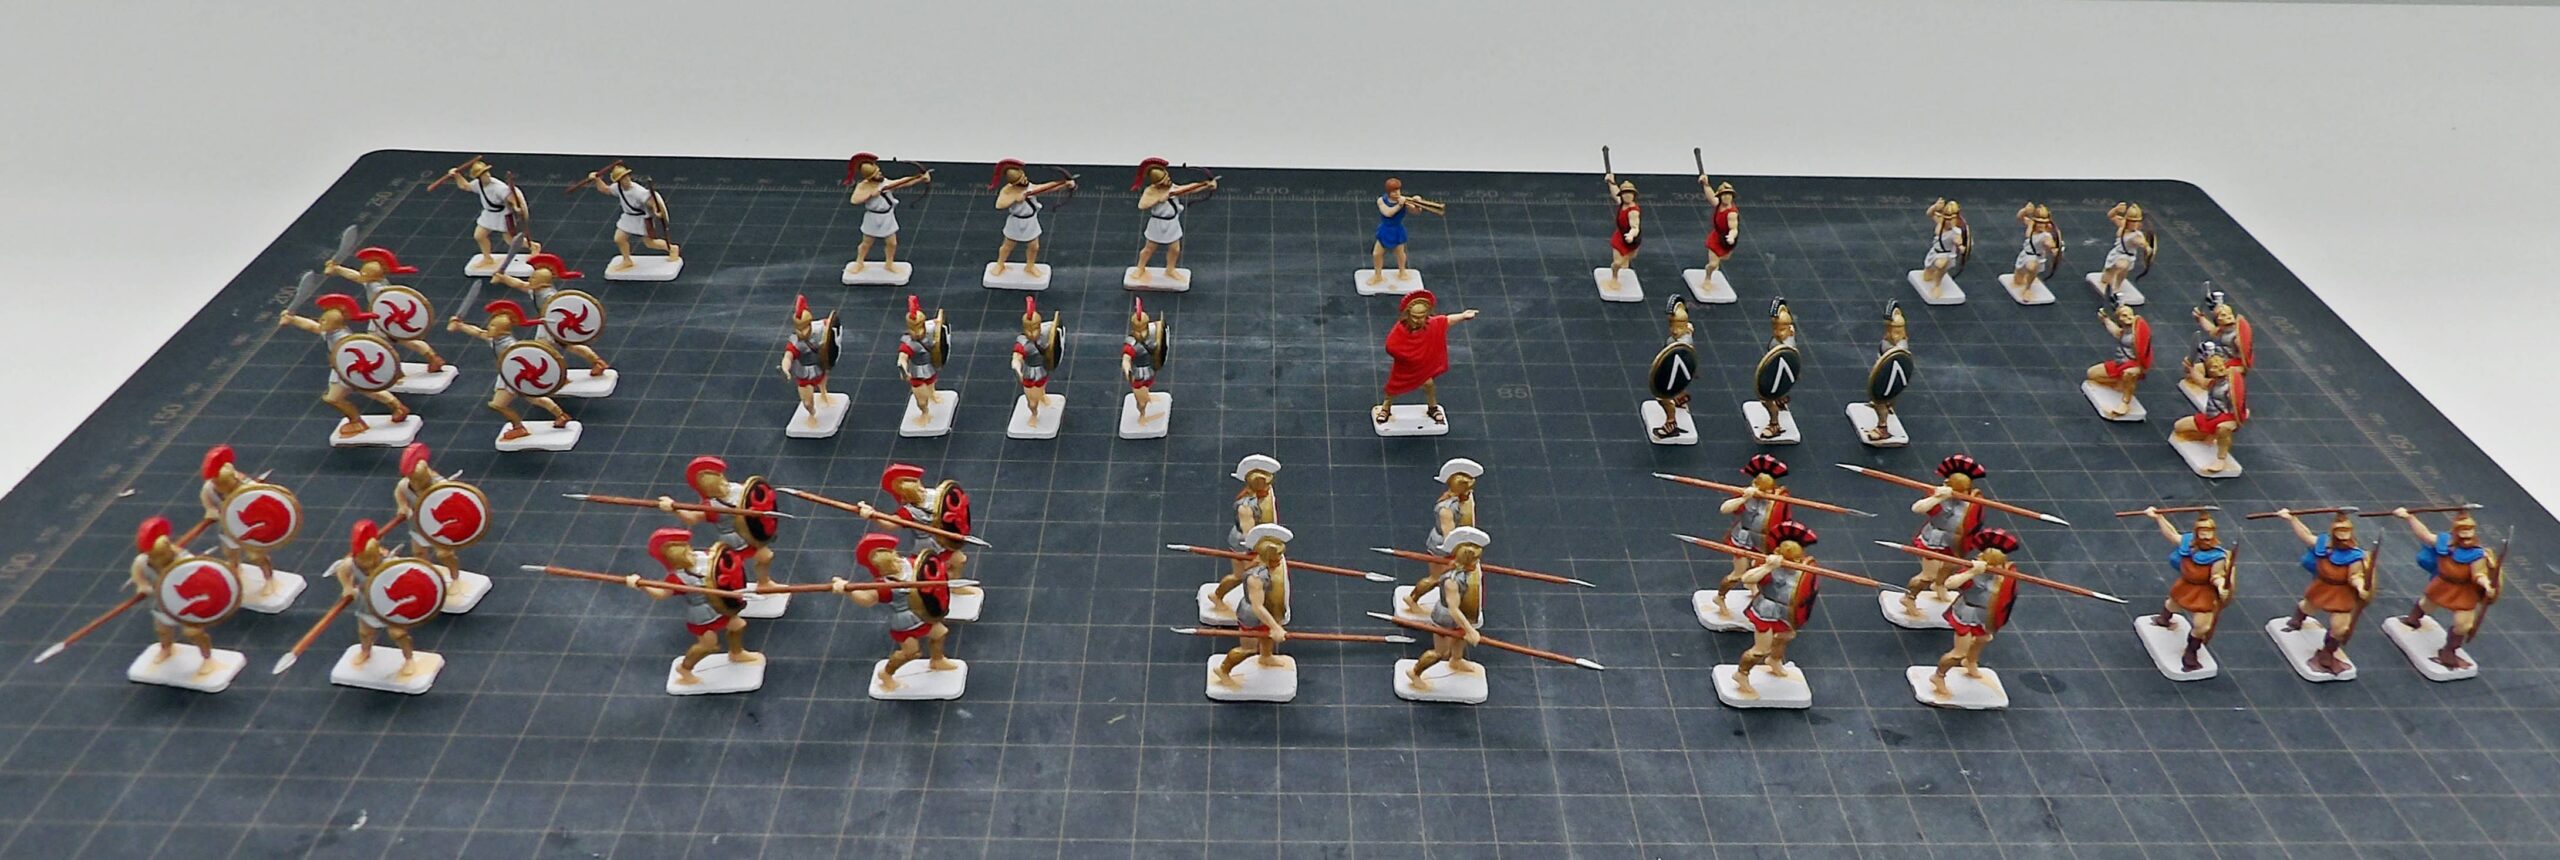
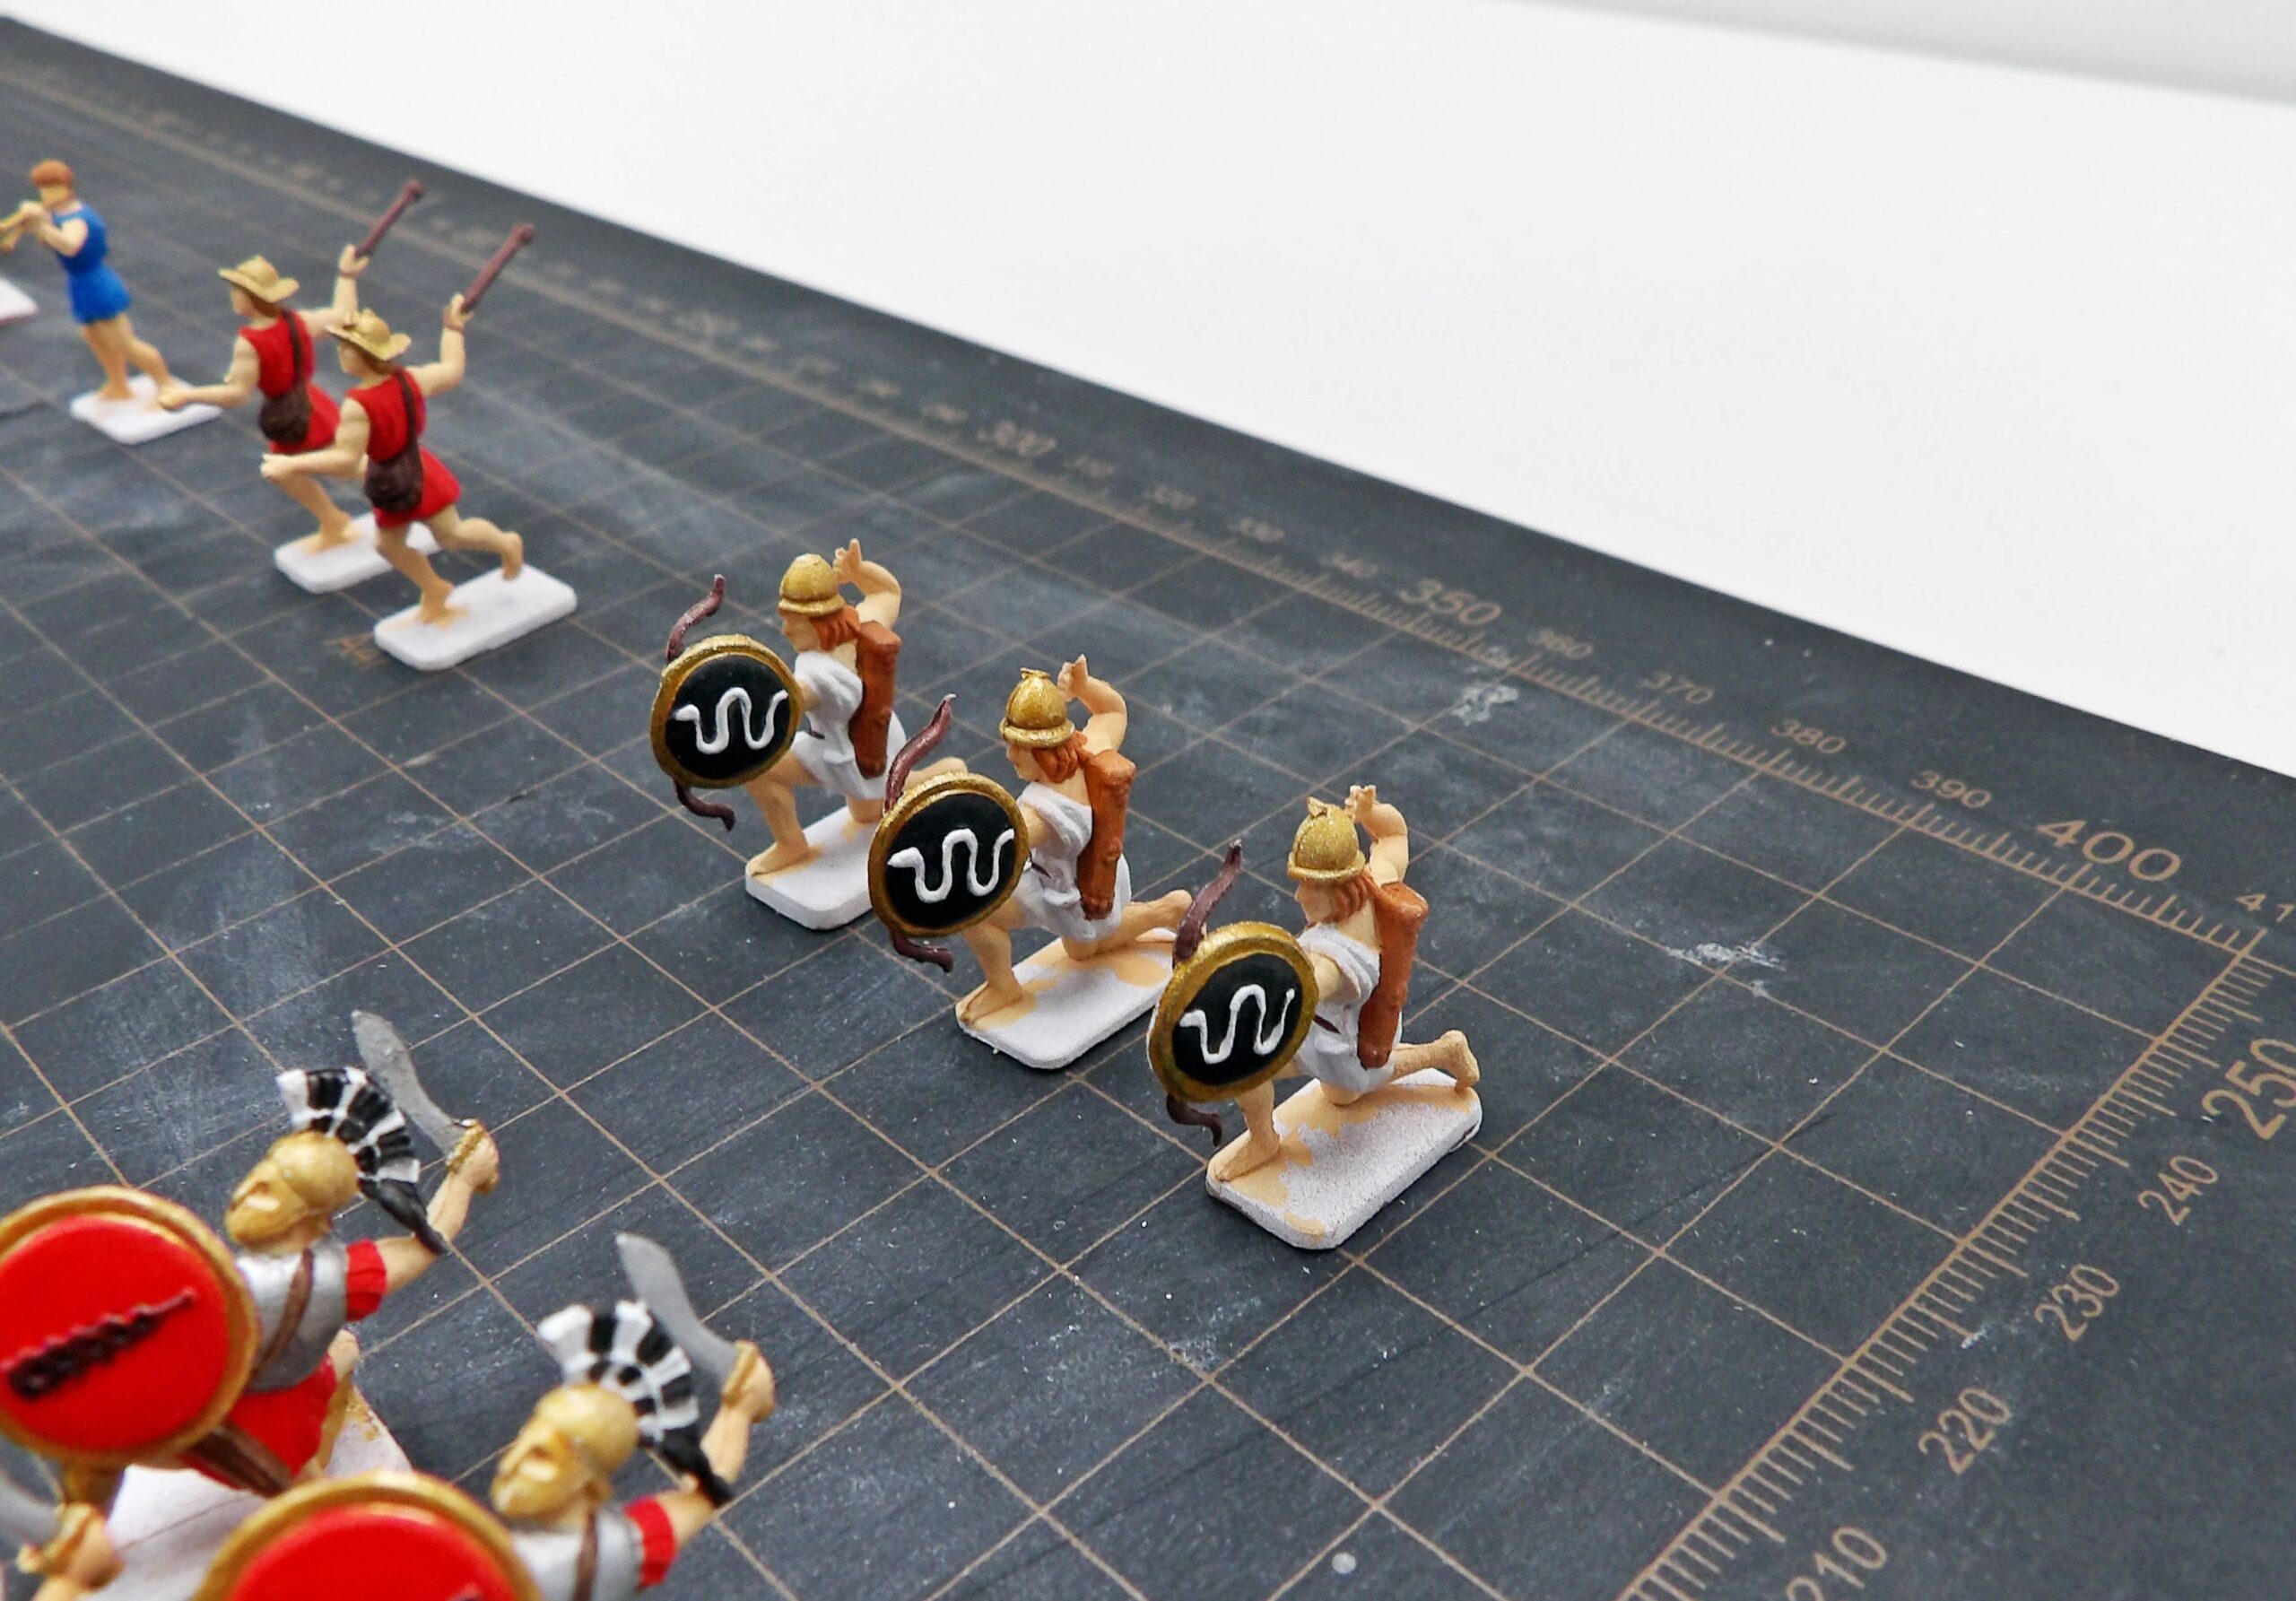
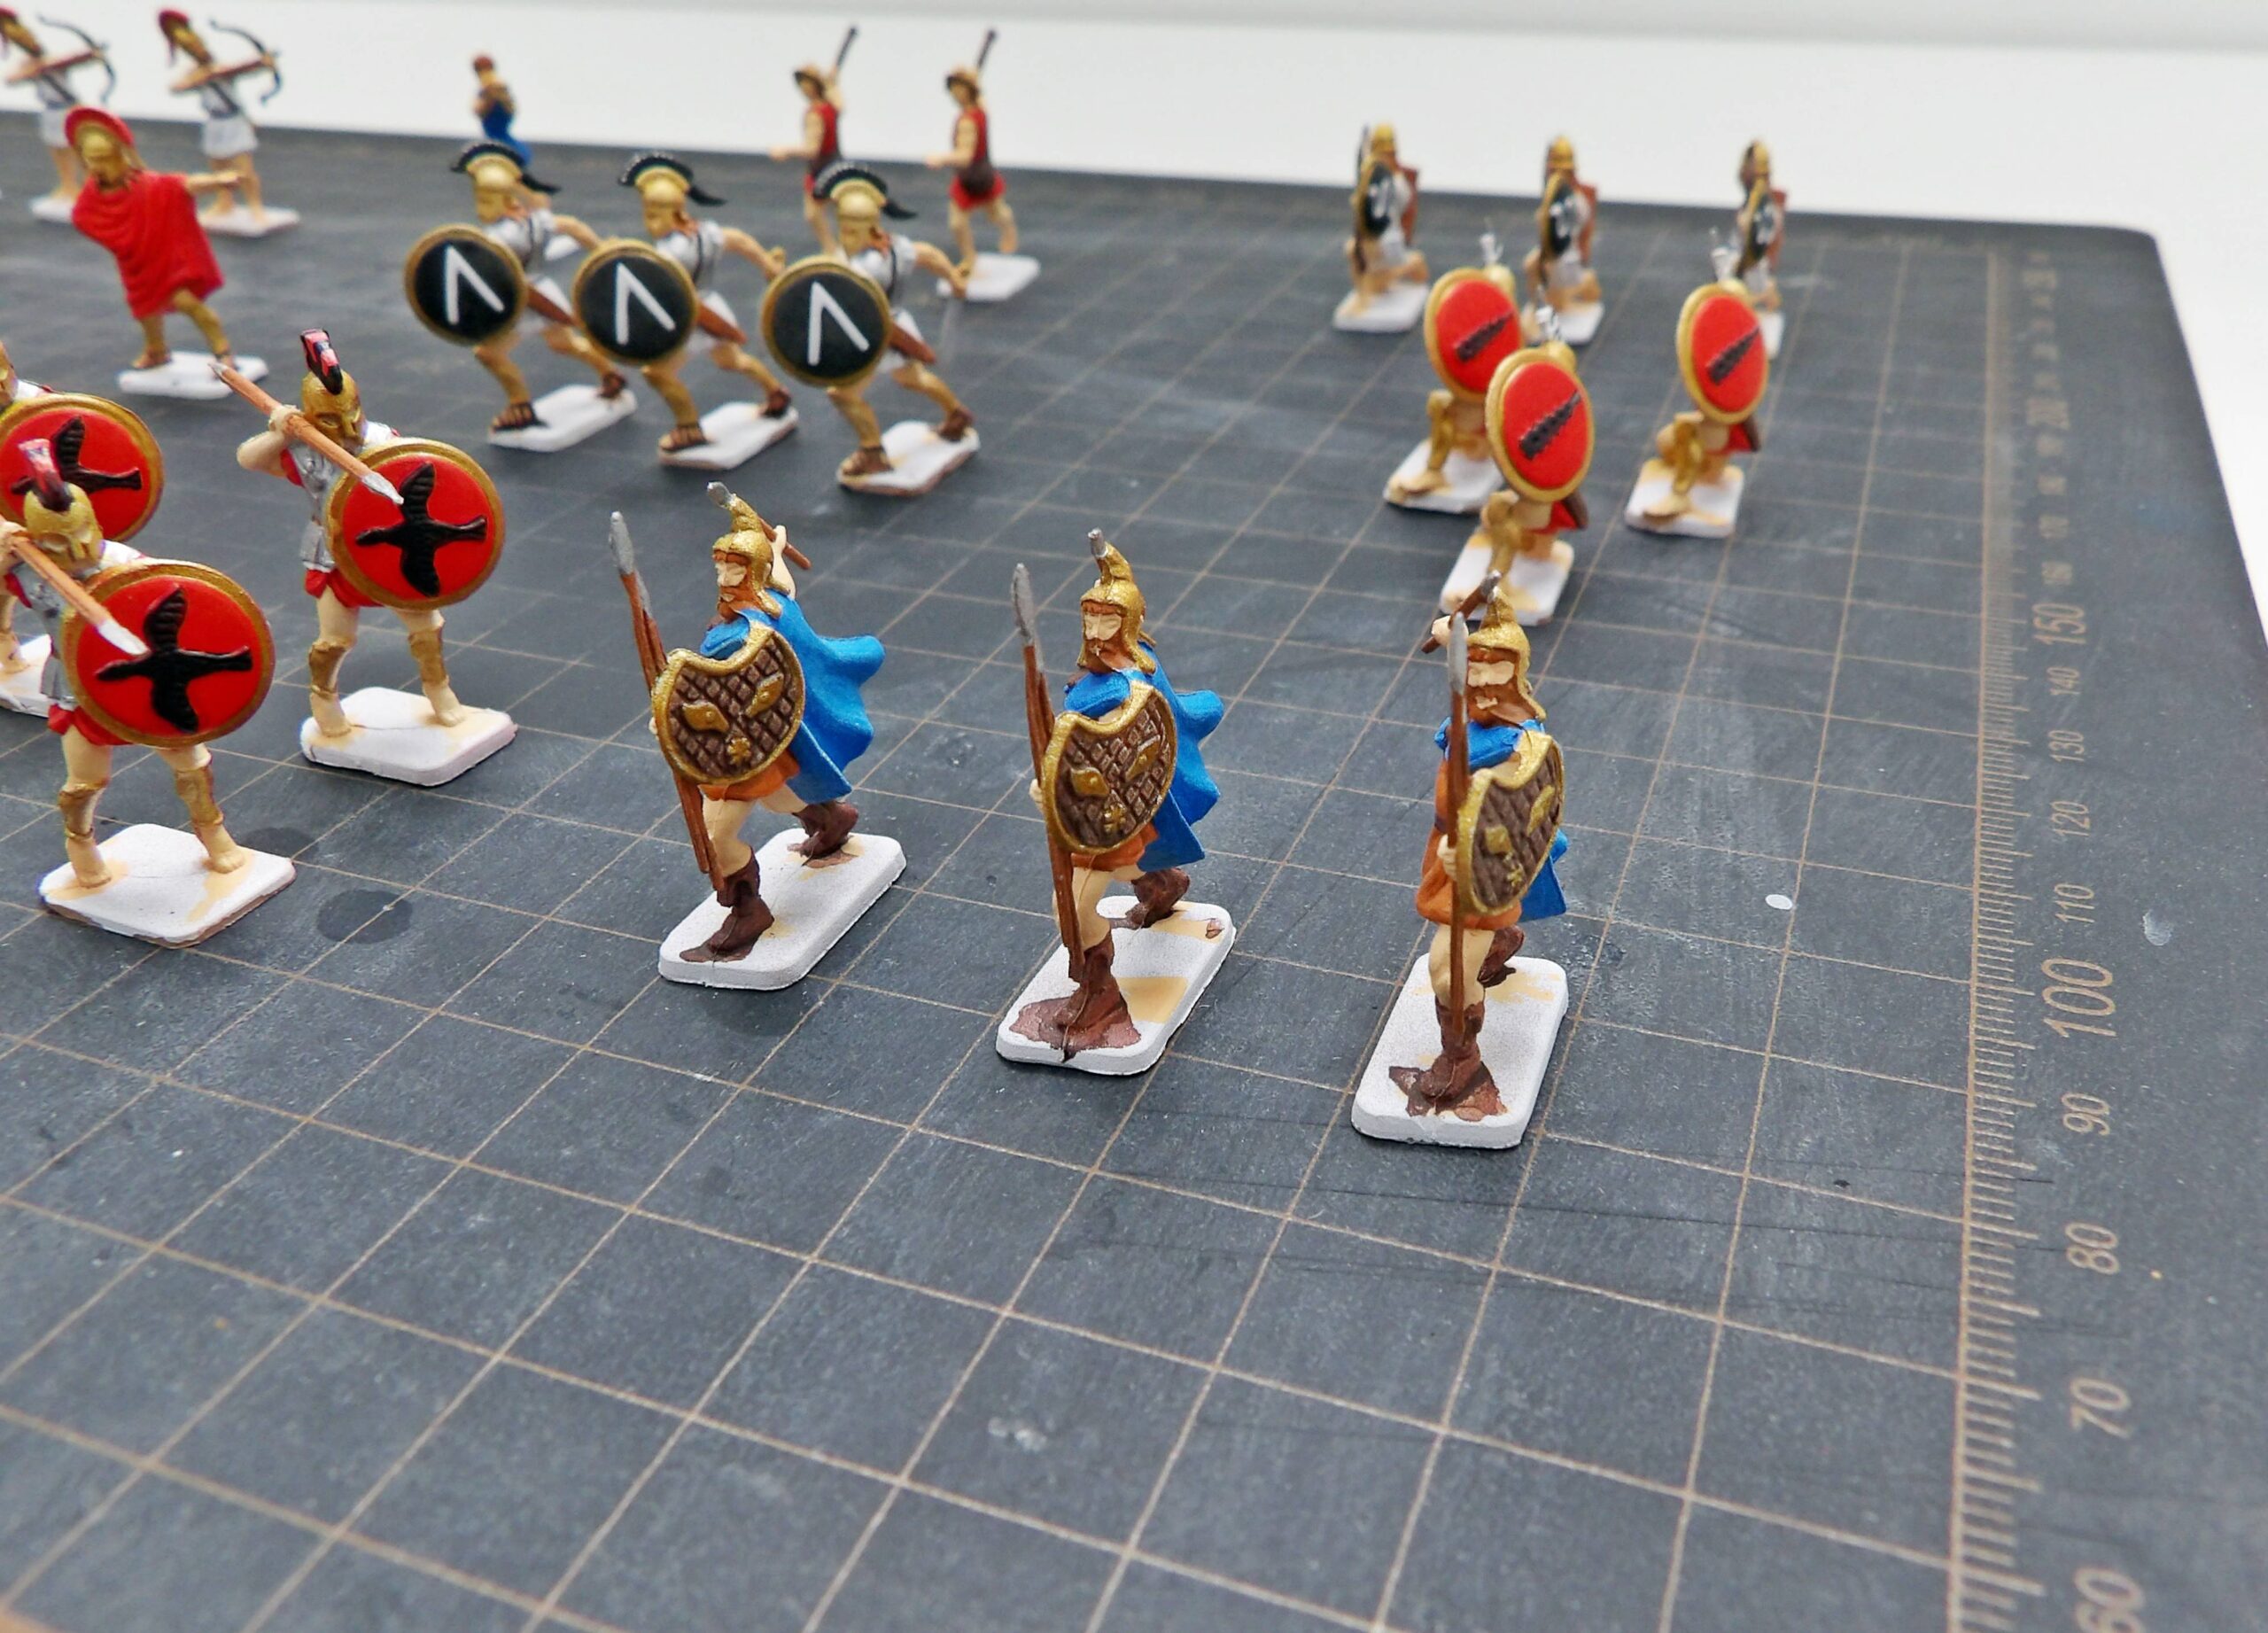
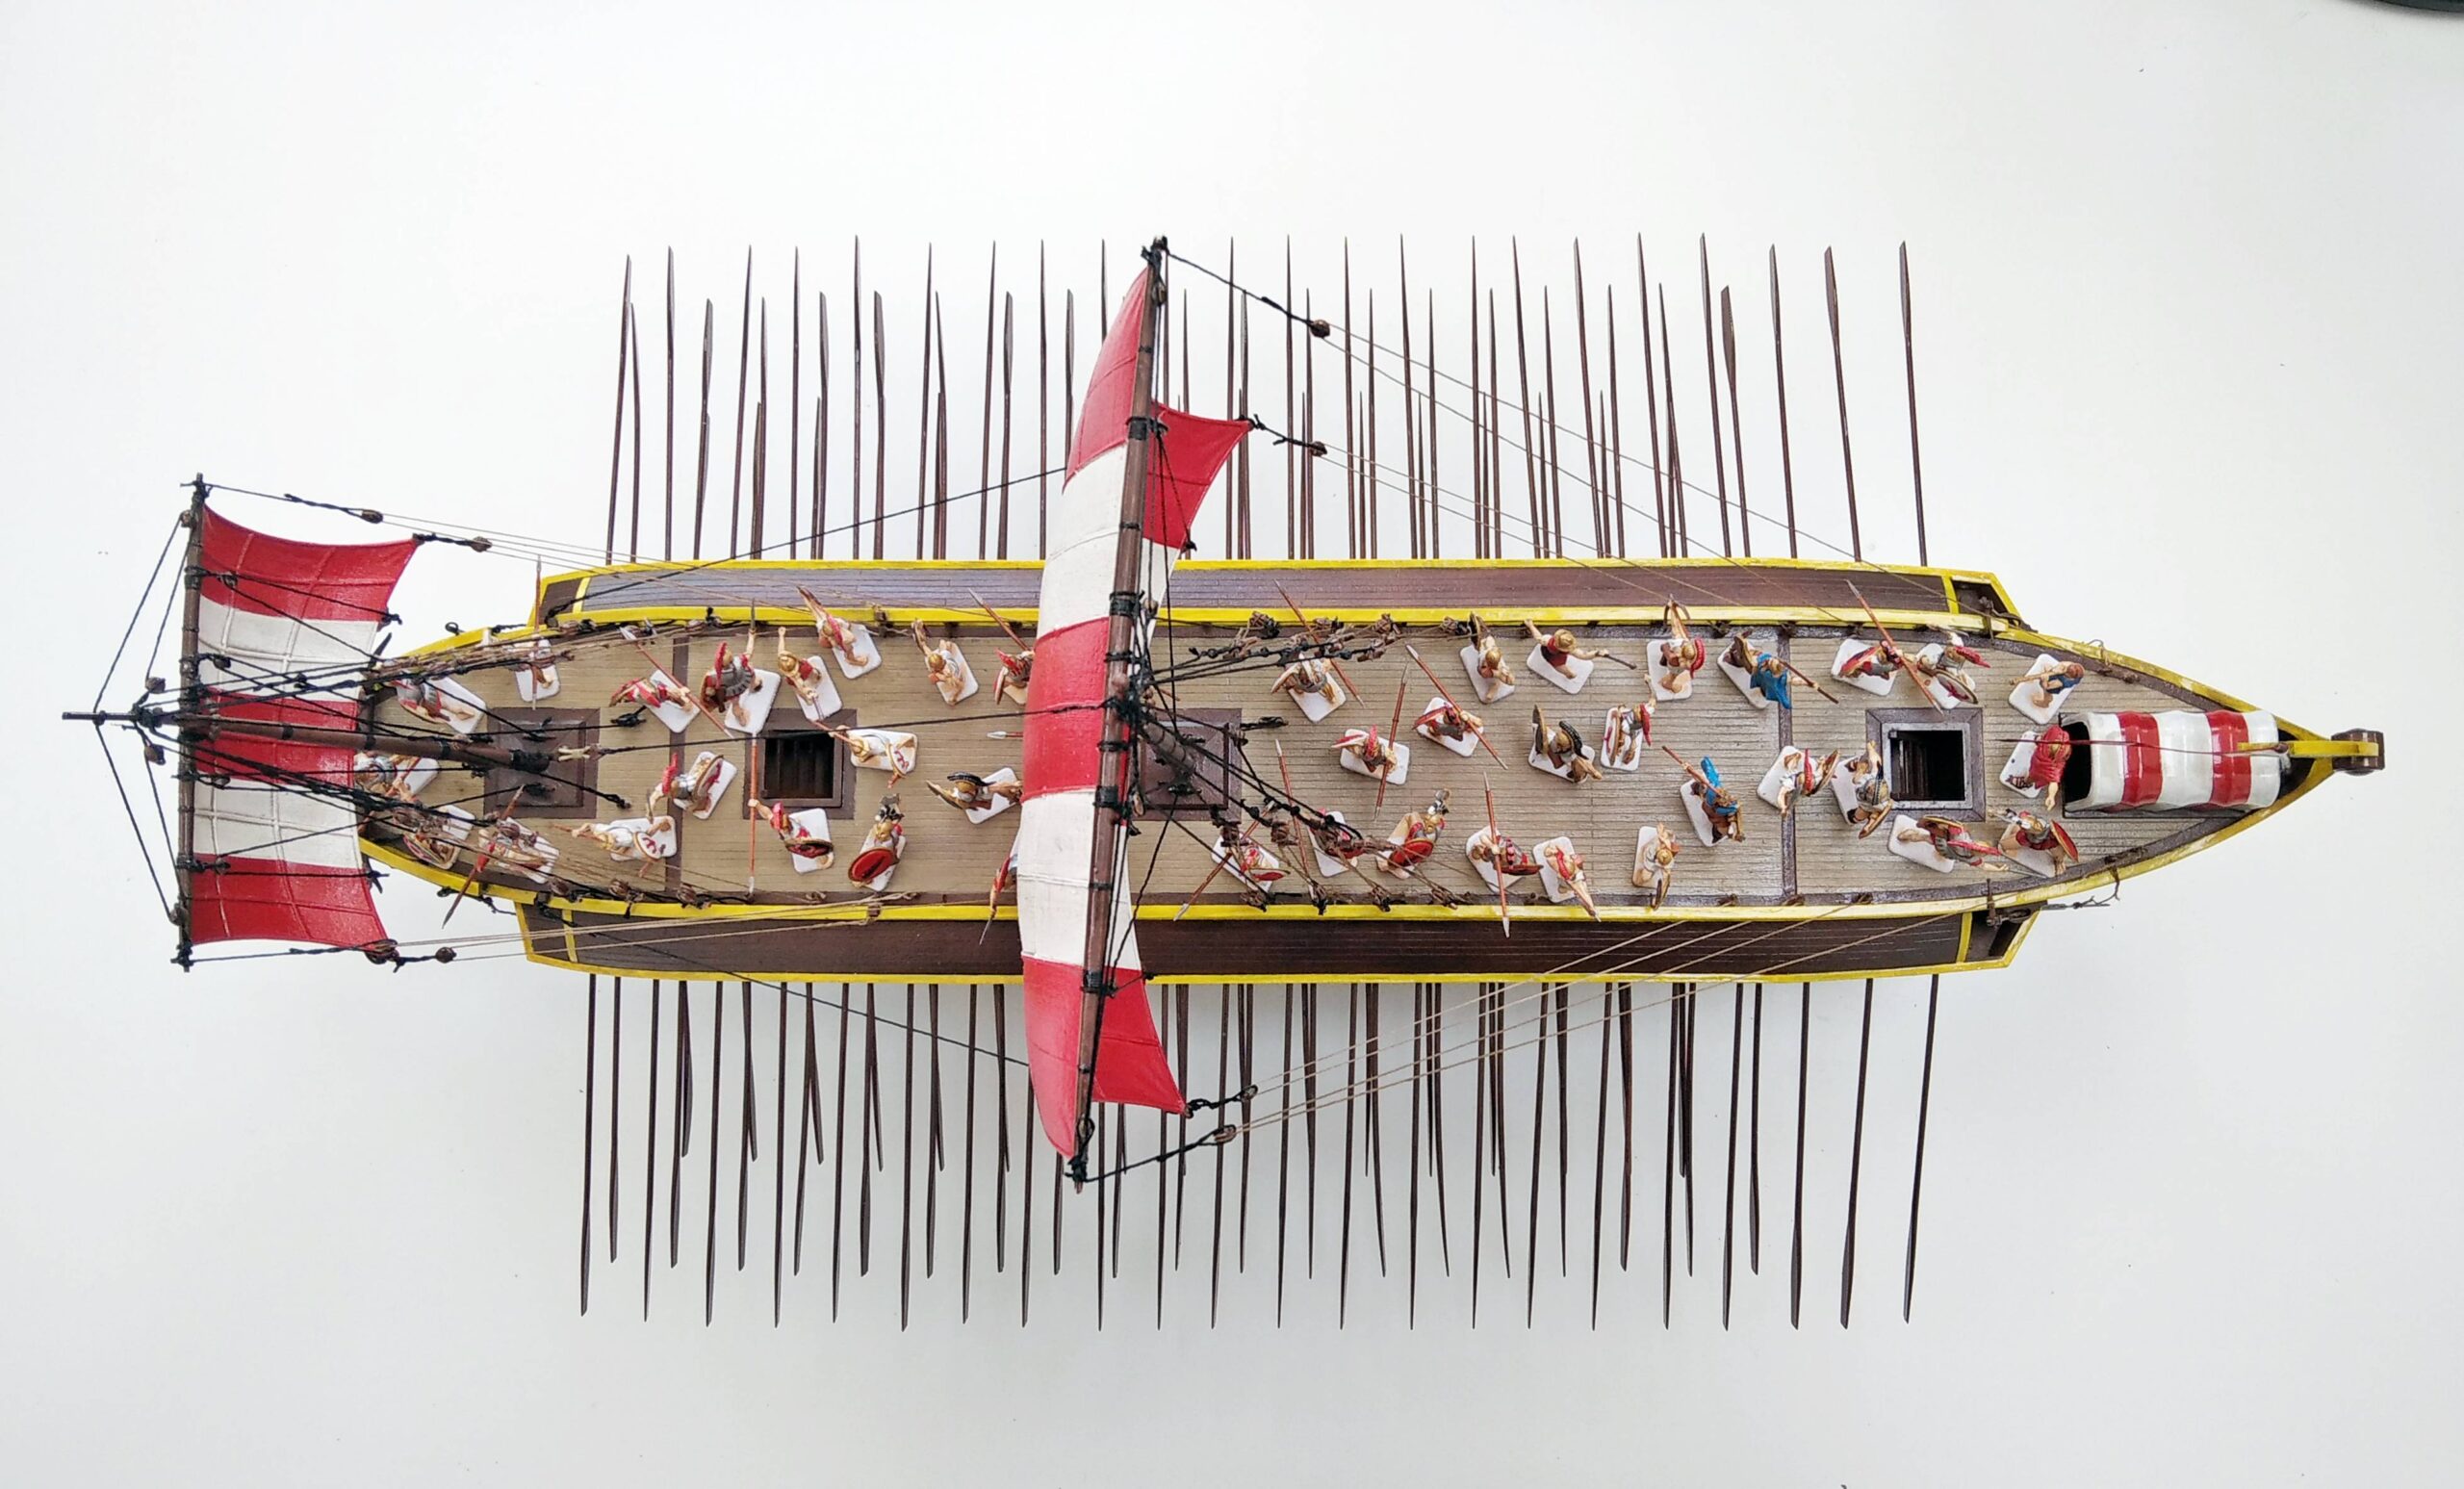
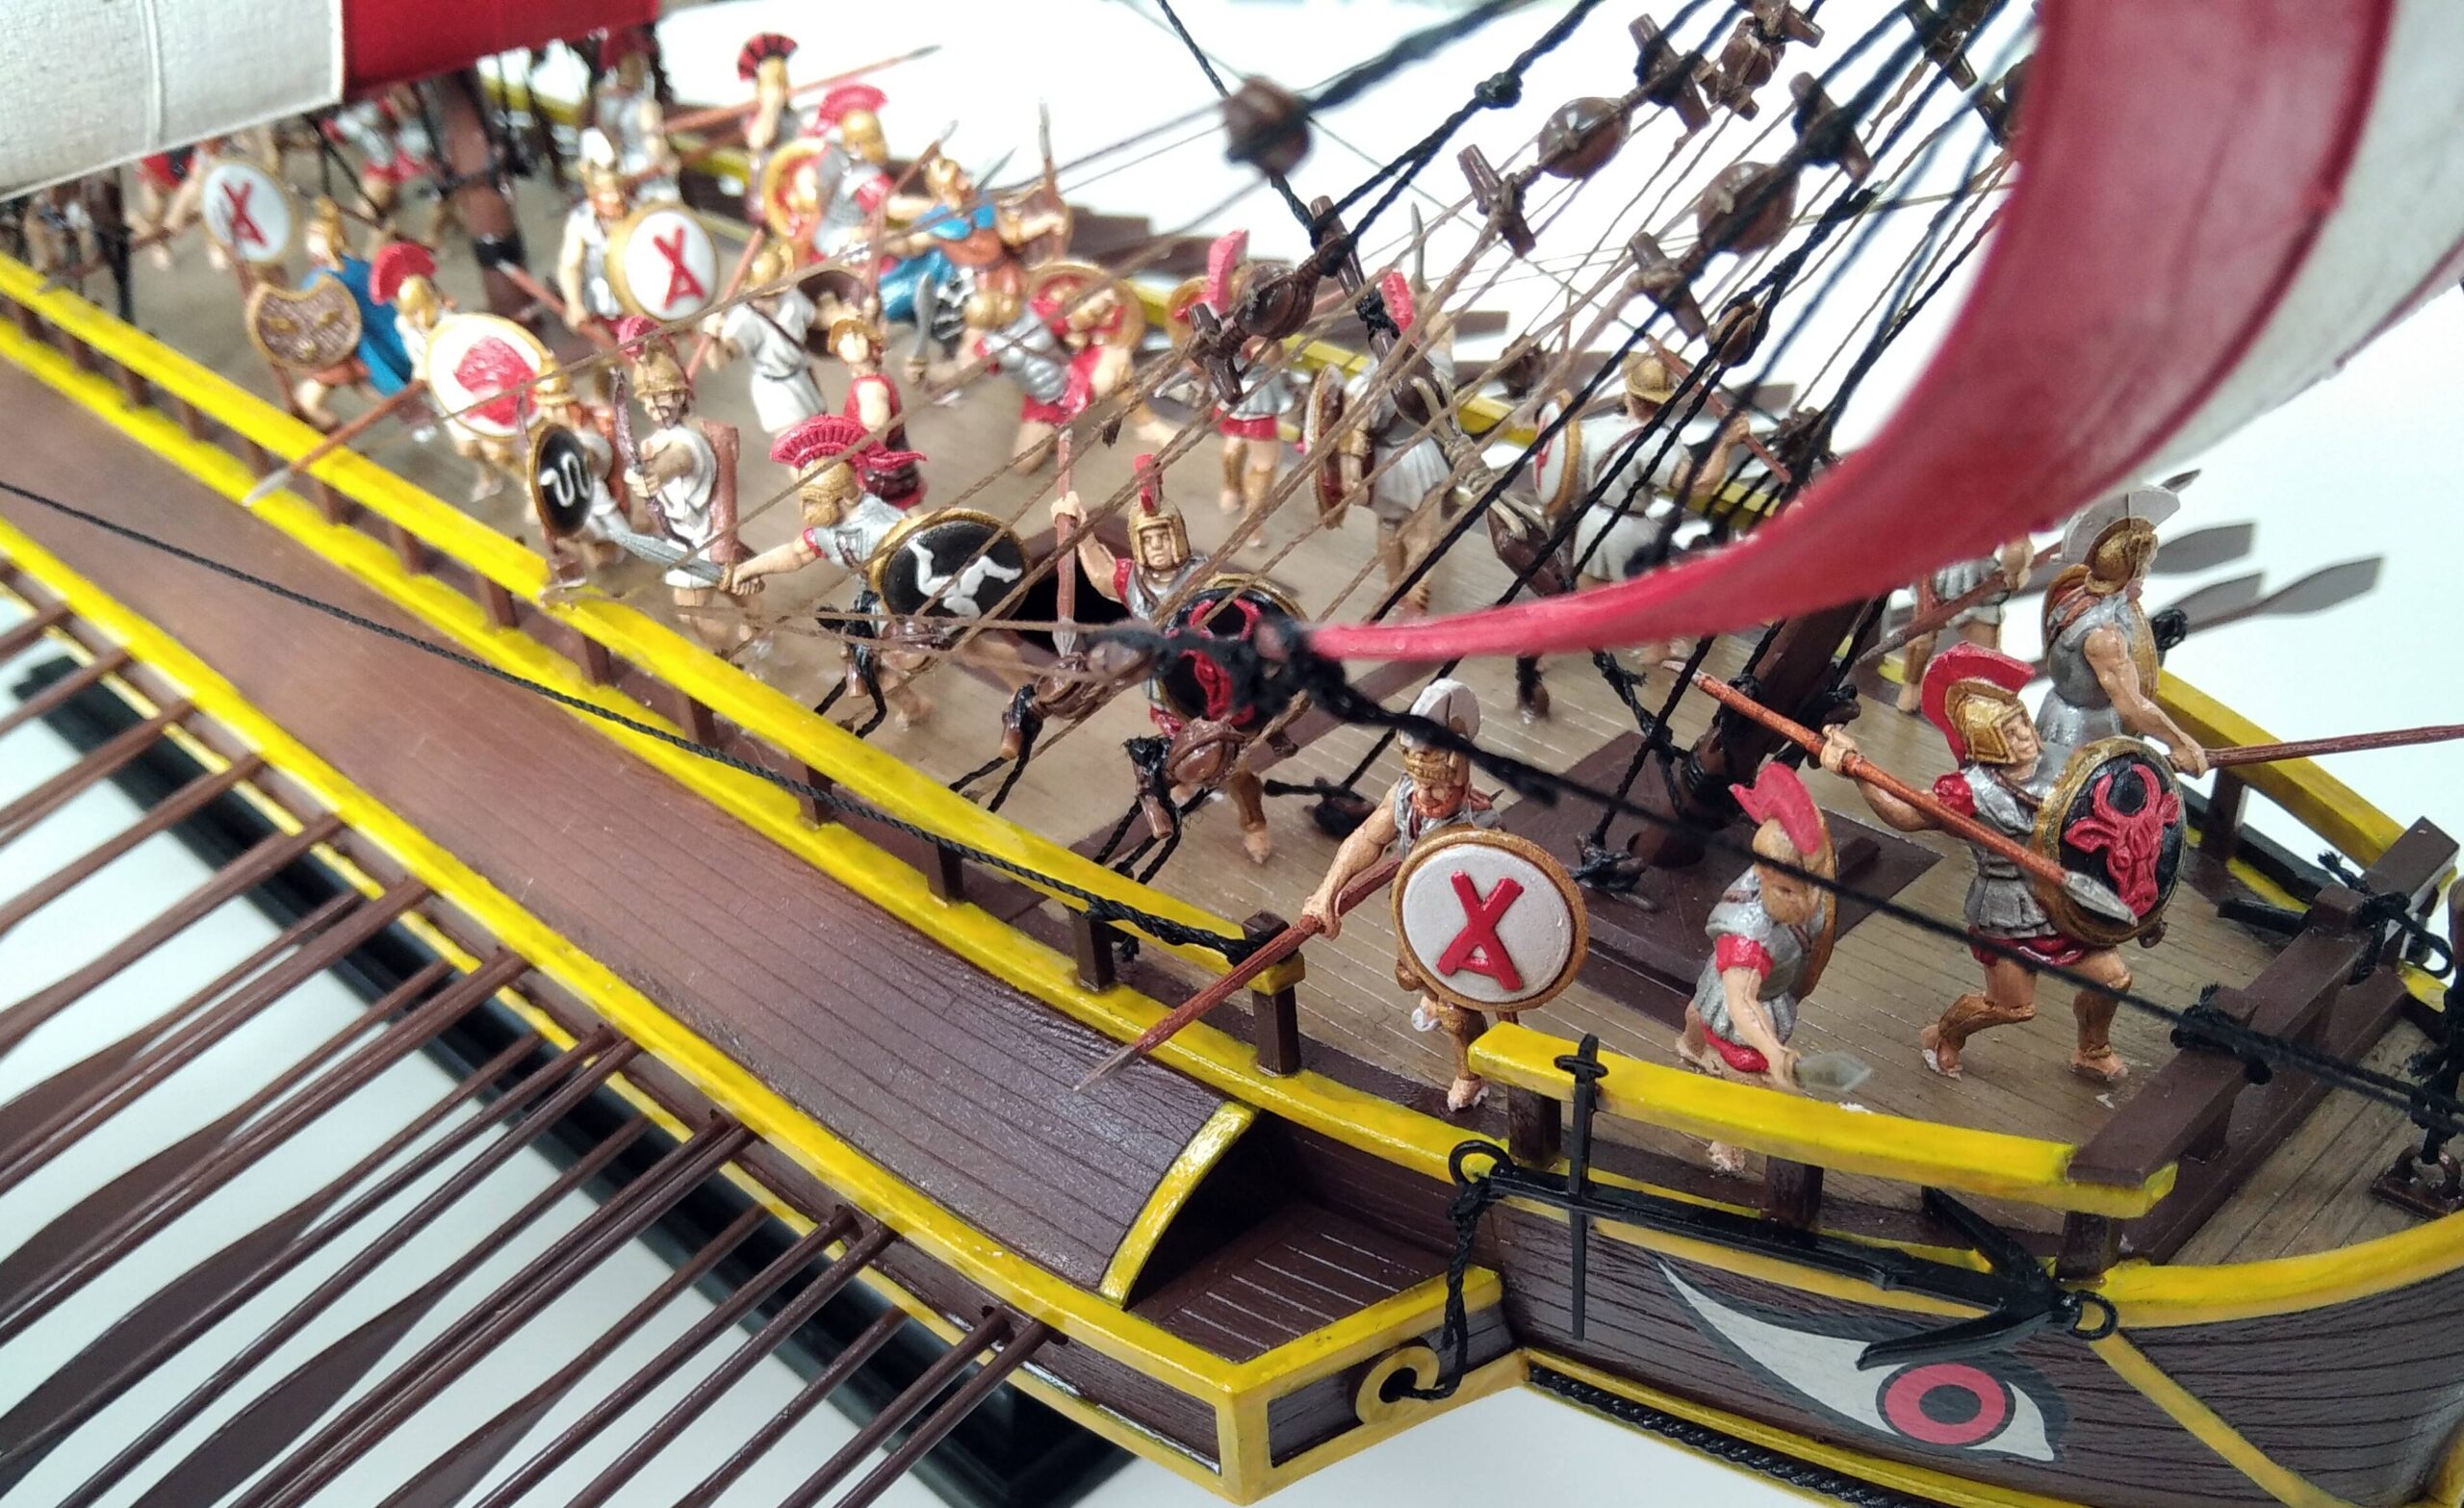
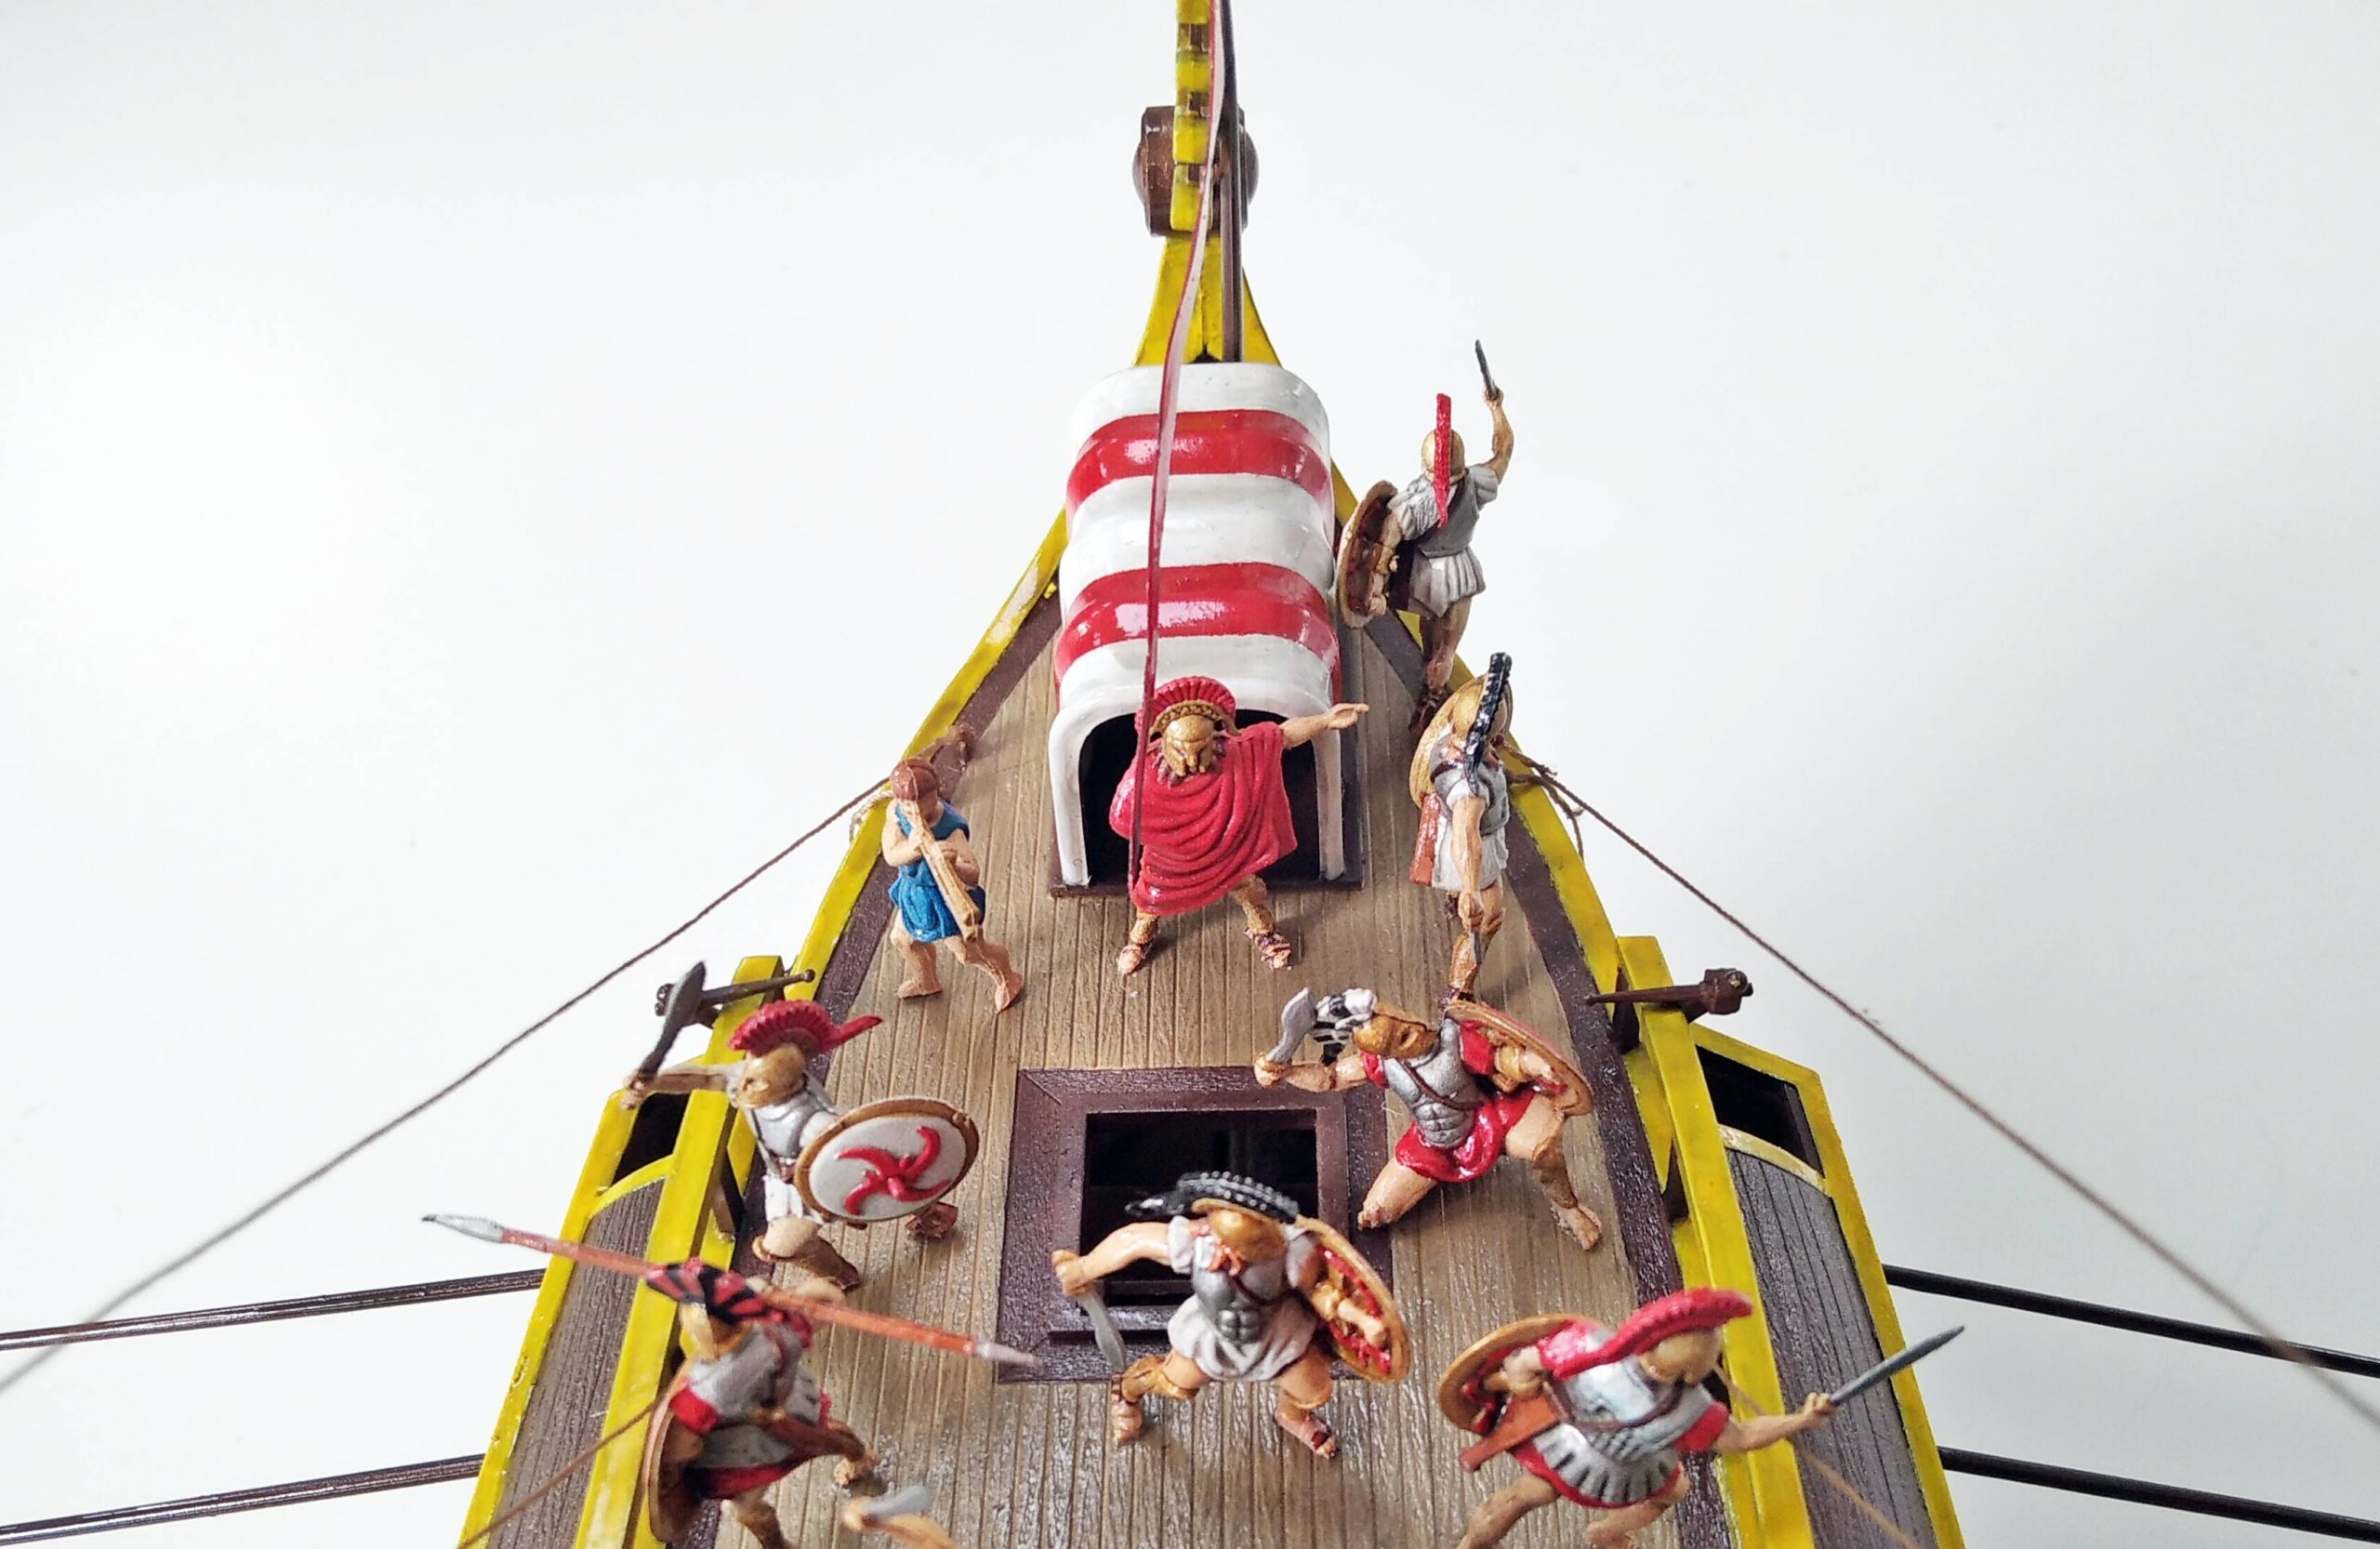
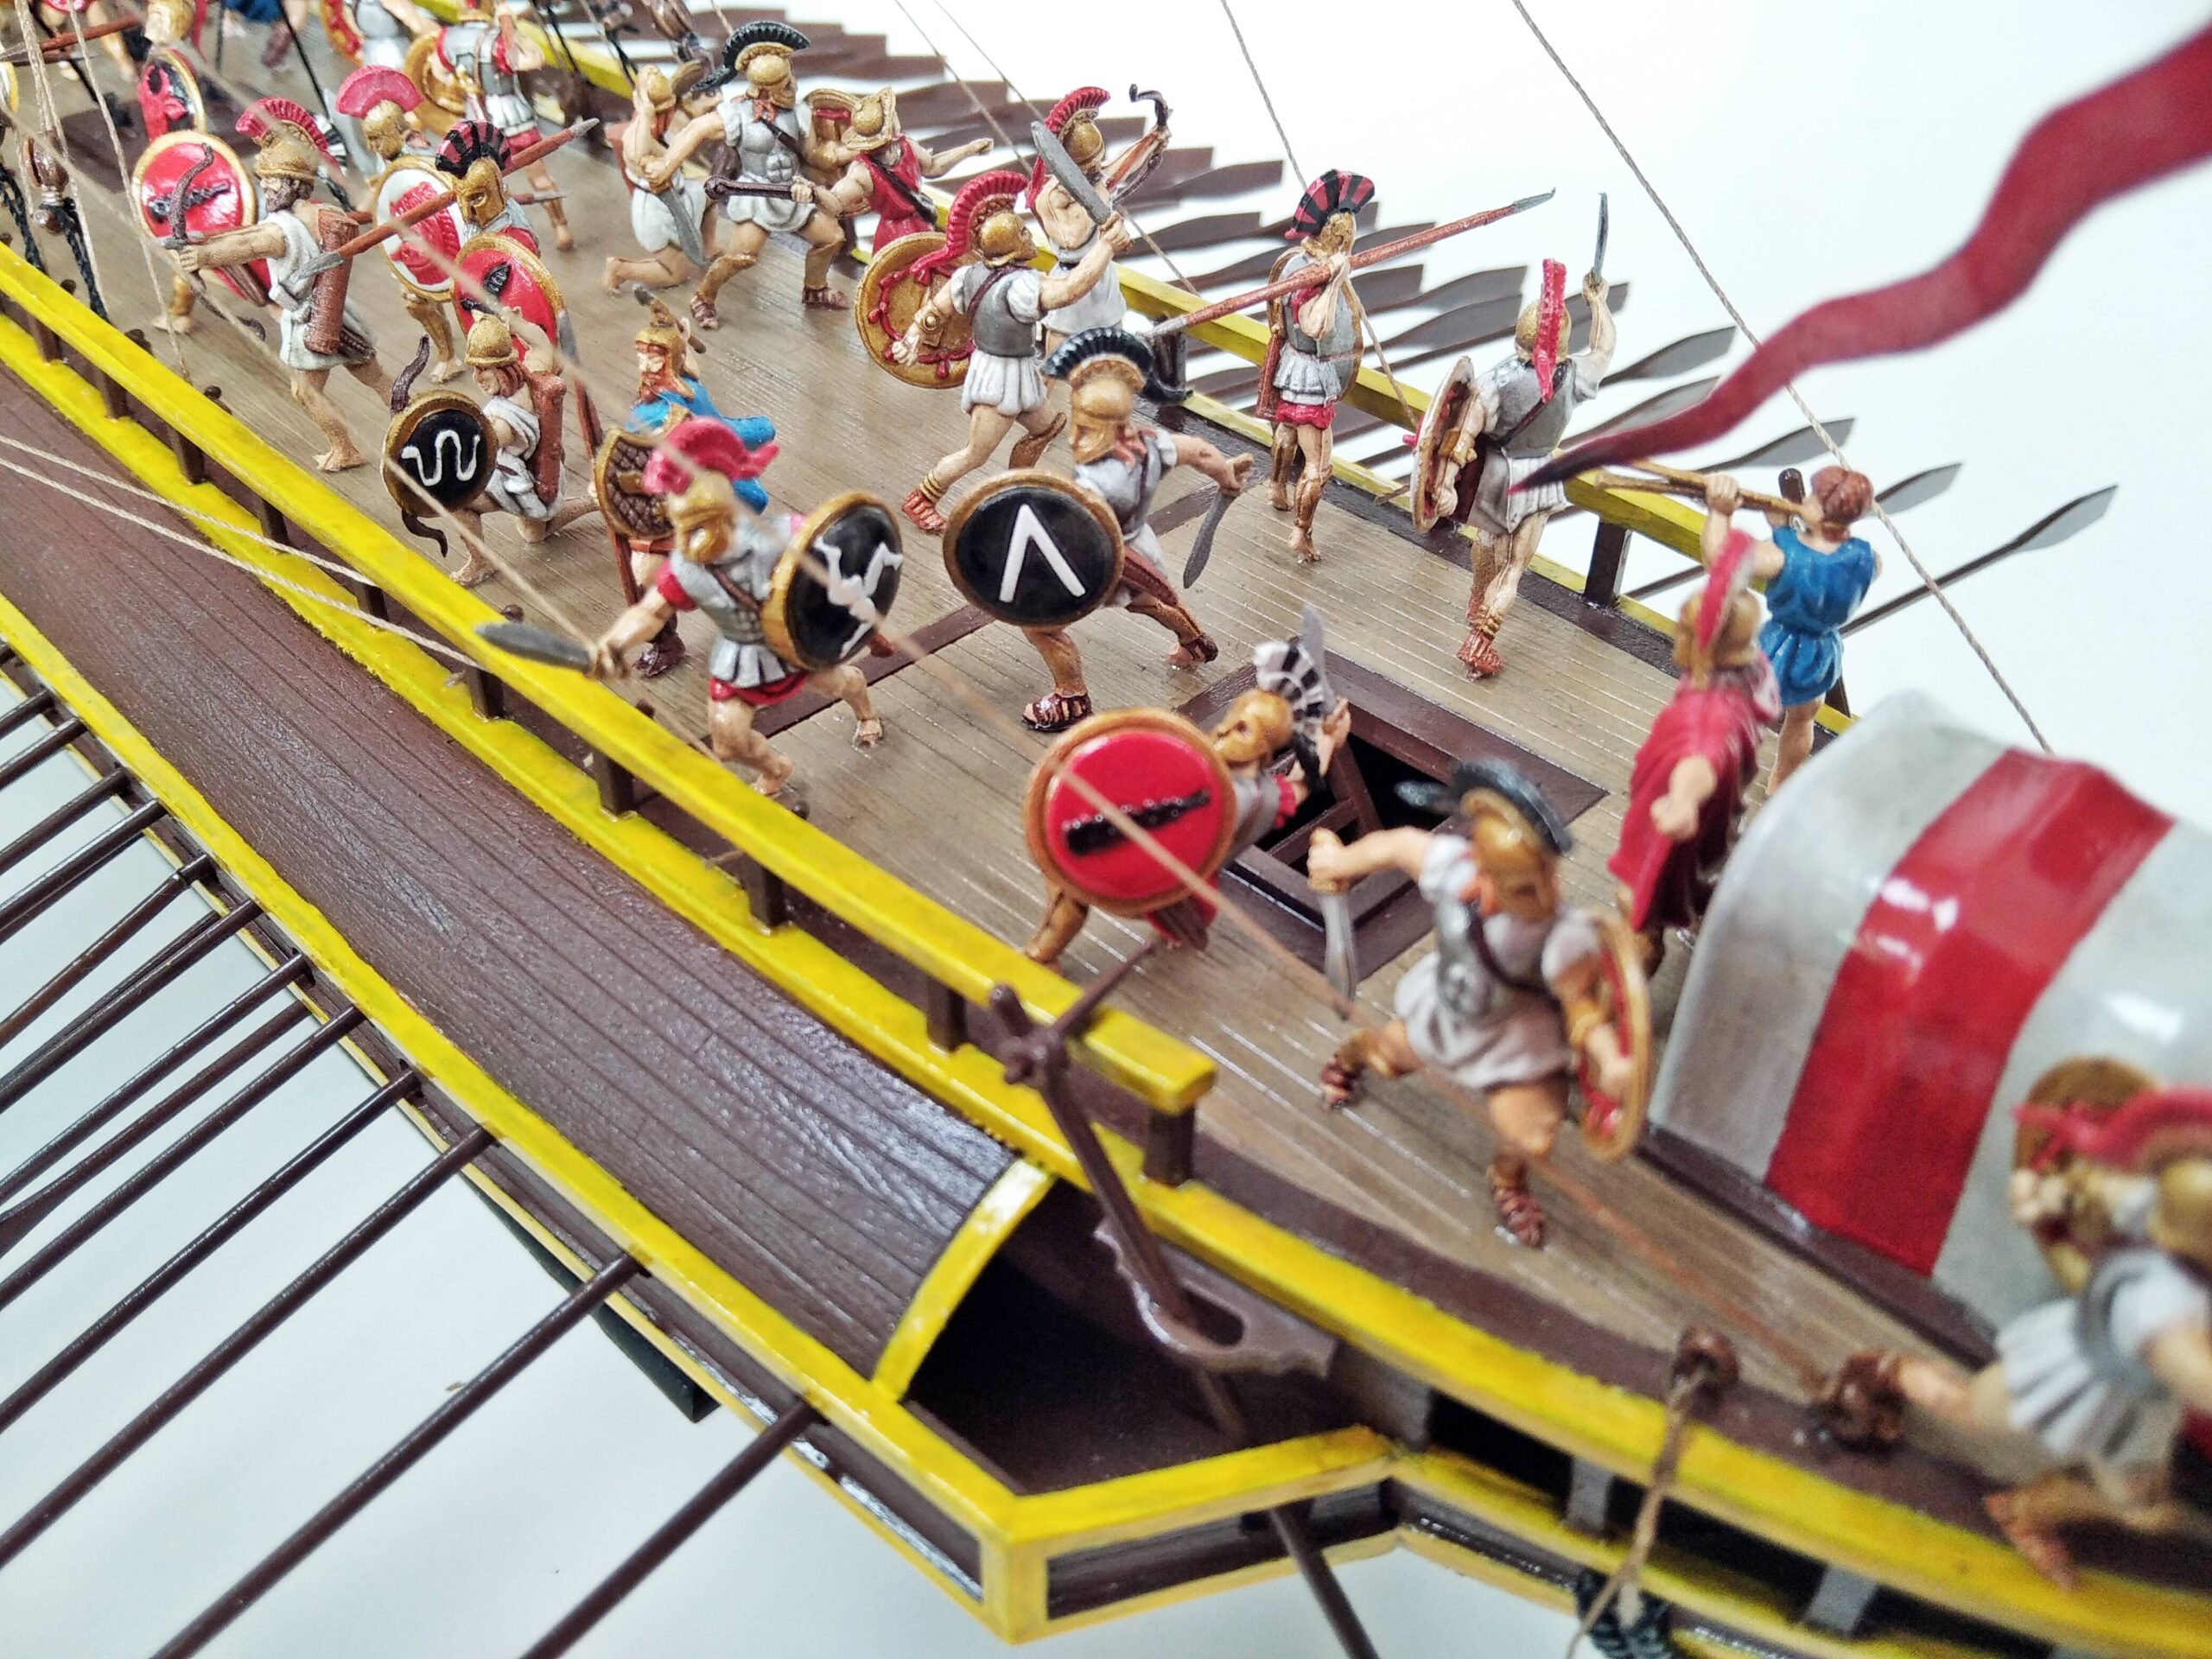
As we sit through another day of pouring rain, we finally got around to post our finished Greek Infantry!
Both the Greek Trireme we completed earlier, and these figures are 1:72 scale, perfect match!Not too much construction in this kit – glue on the spears and shields and you’re done.Here are the unpainted figures nicely arranged.The figures in the photo have been primed and partially painted.The painting is complete. Our cutting mat has changed colour since we started this project!The figures are carefully arranged on the trireme.Finally, we snipped the figures from the bases (taking care not to chop off any limbs in the process) and glued them onto the trireme.
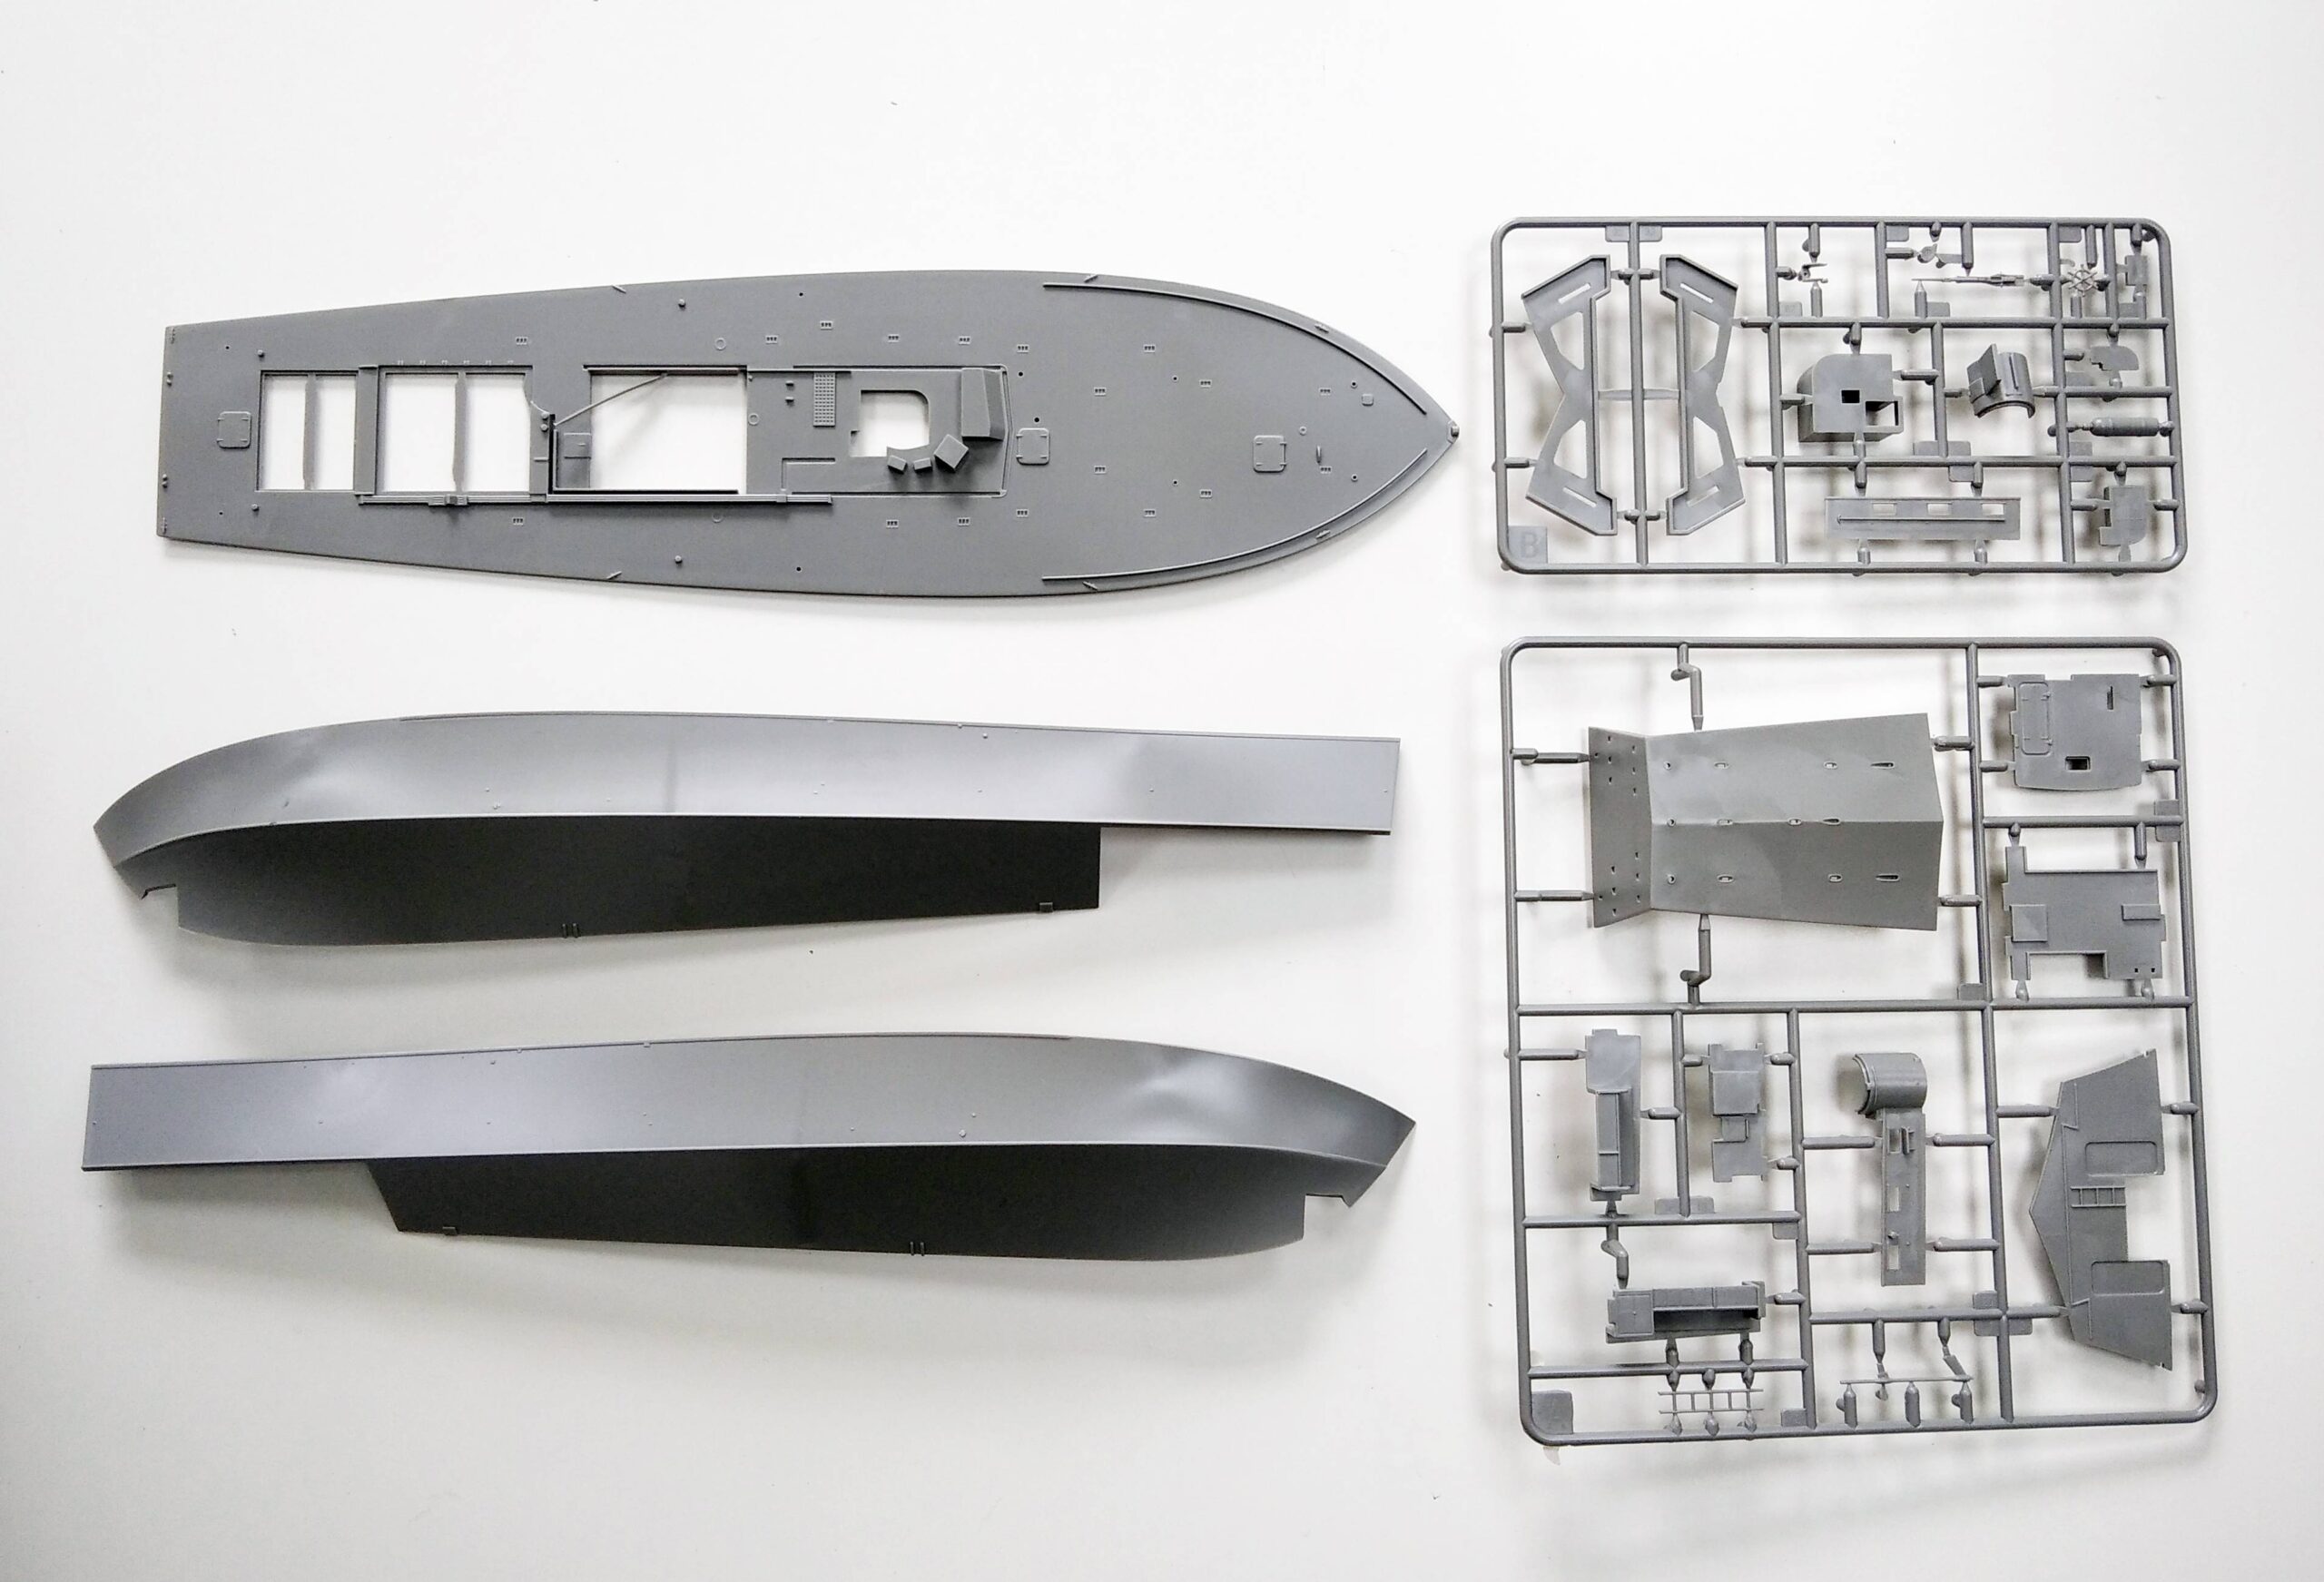
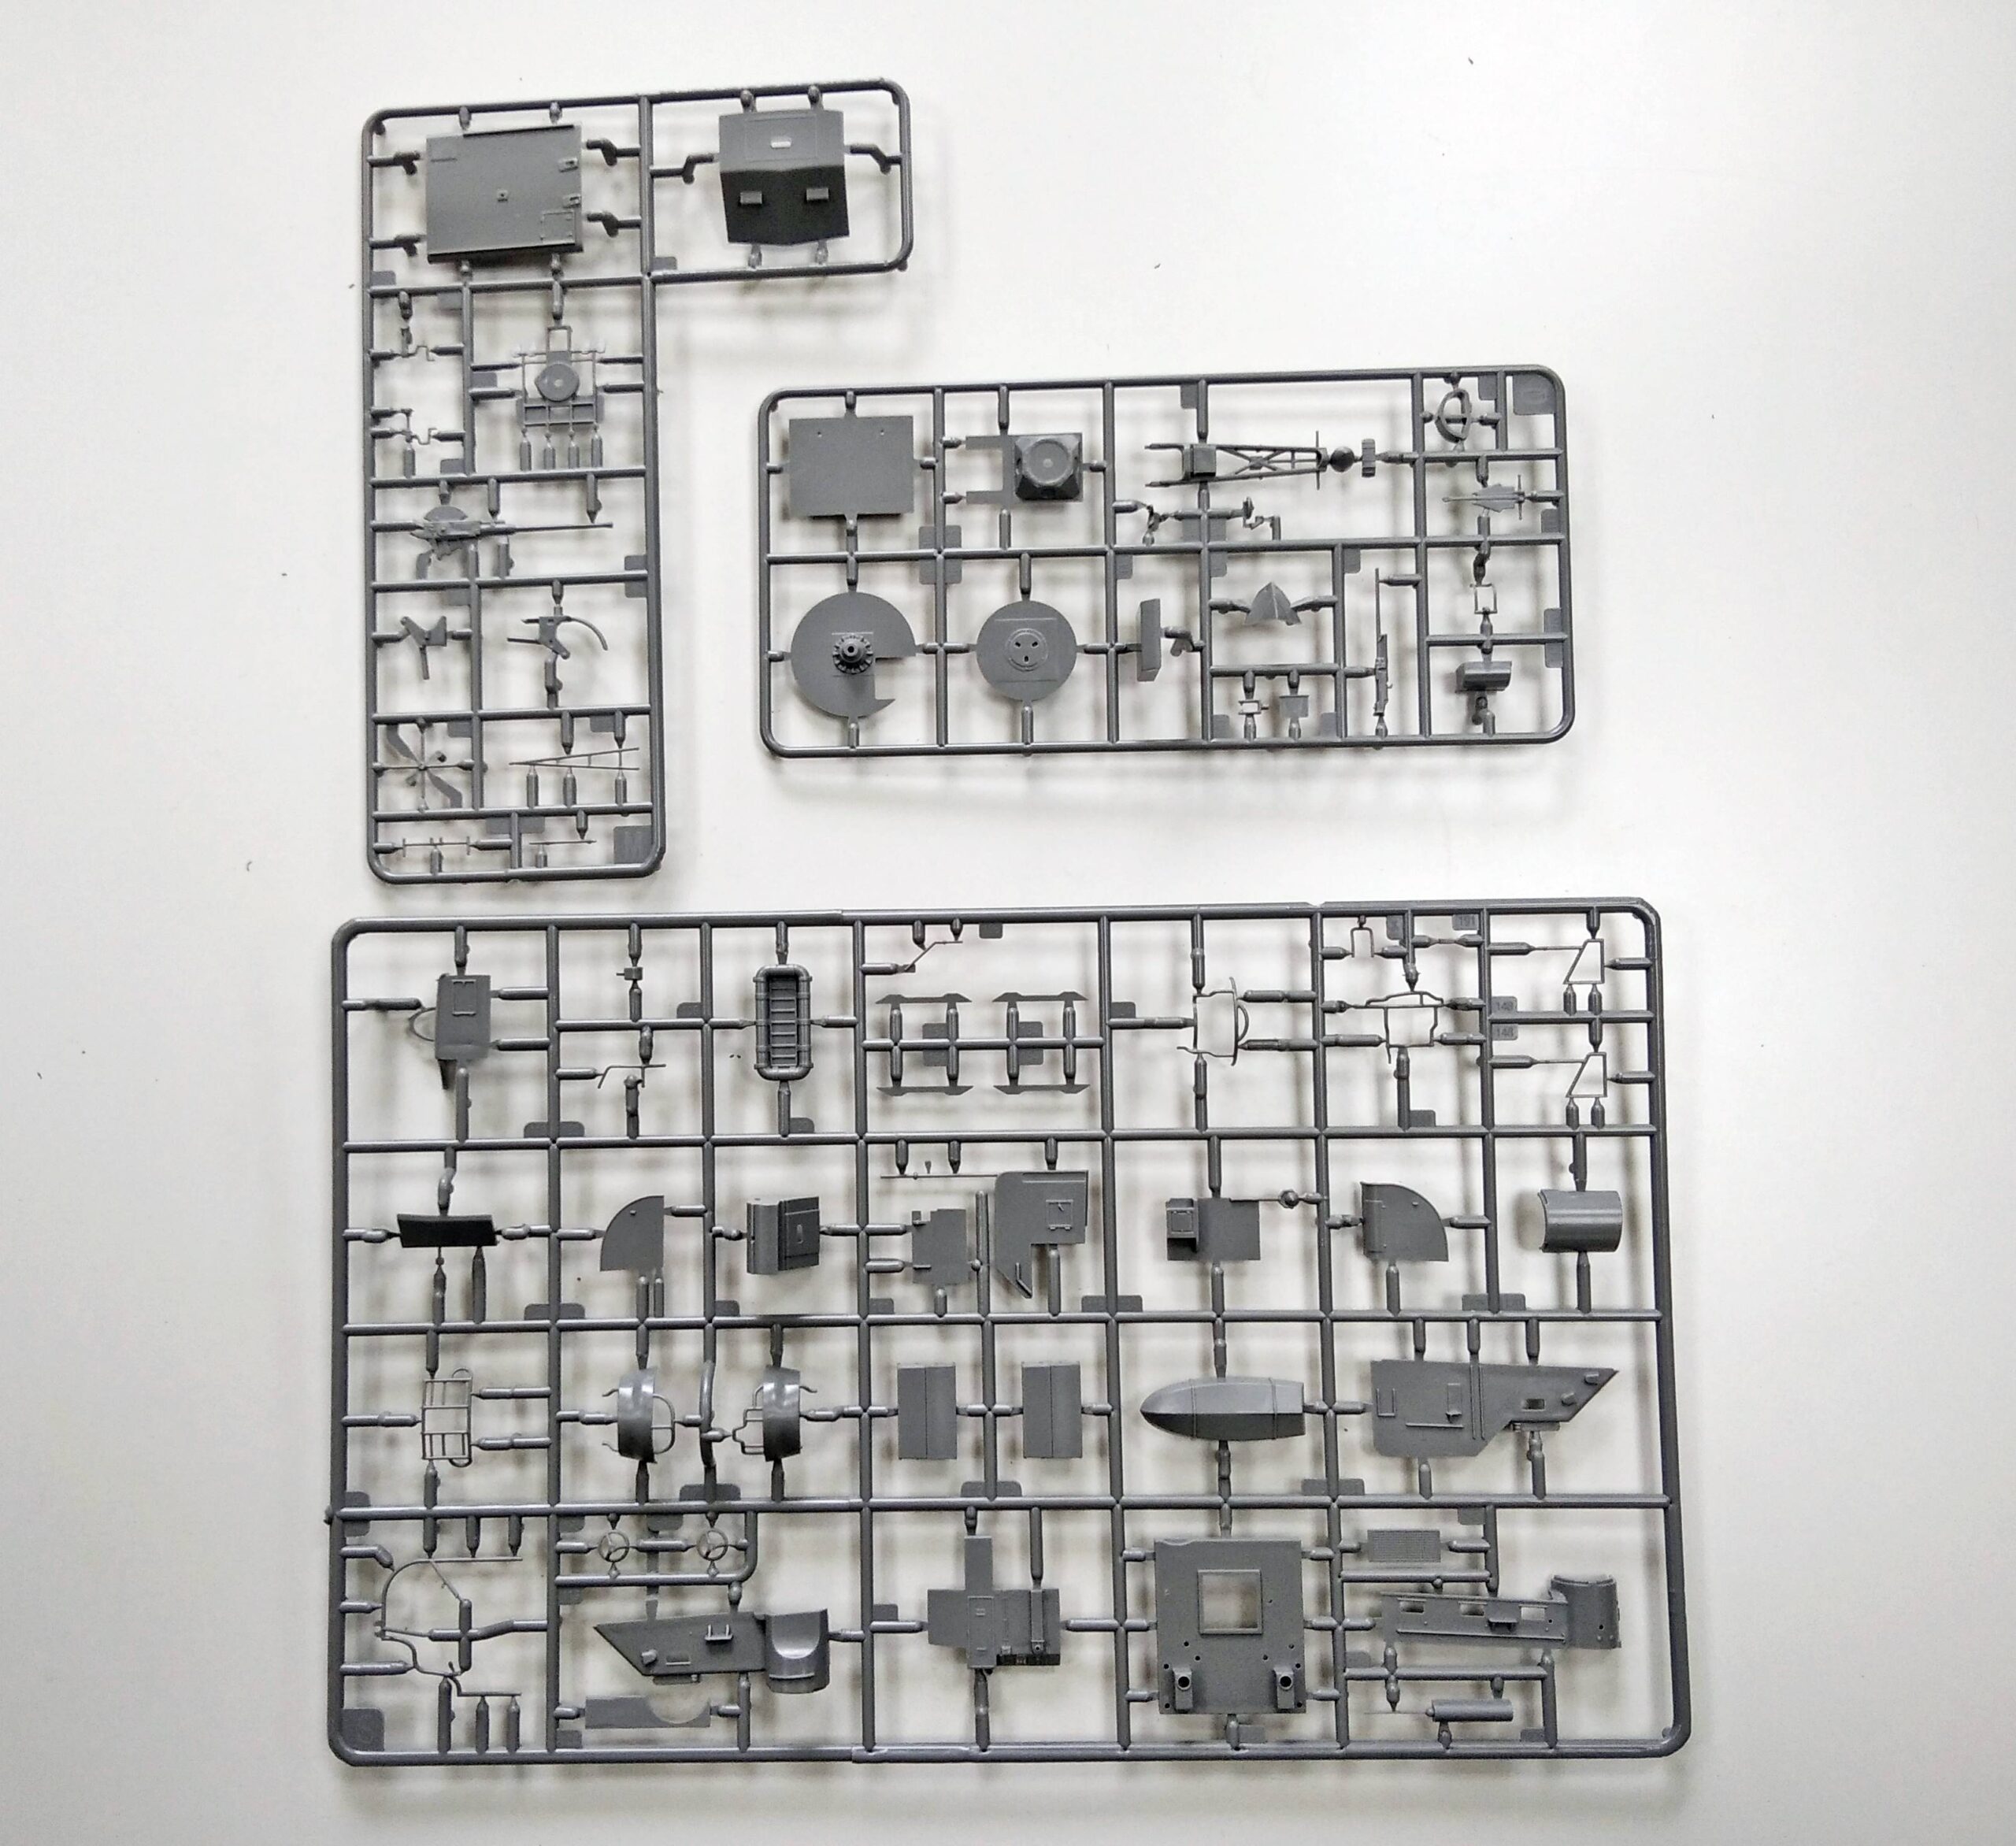
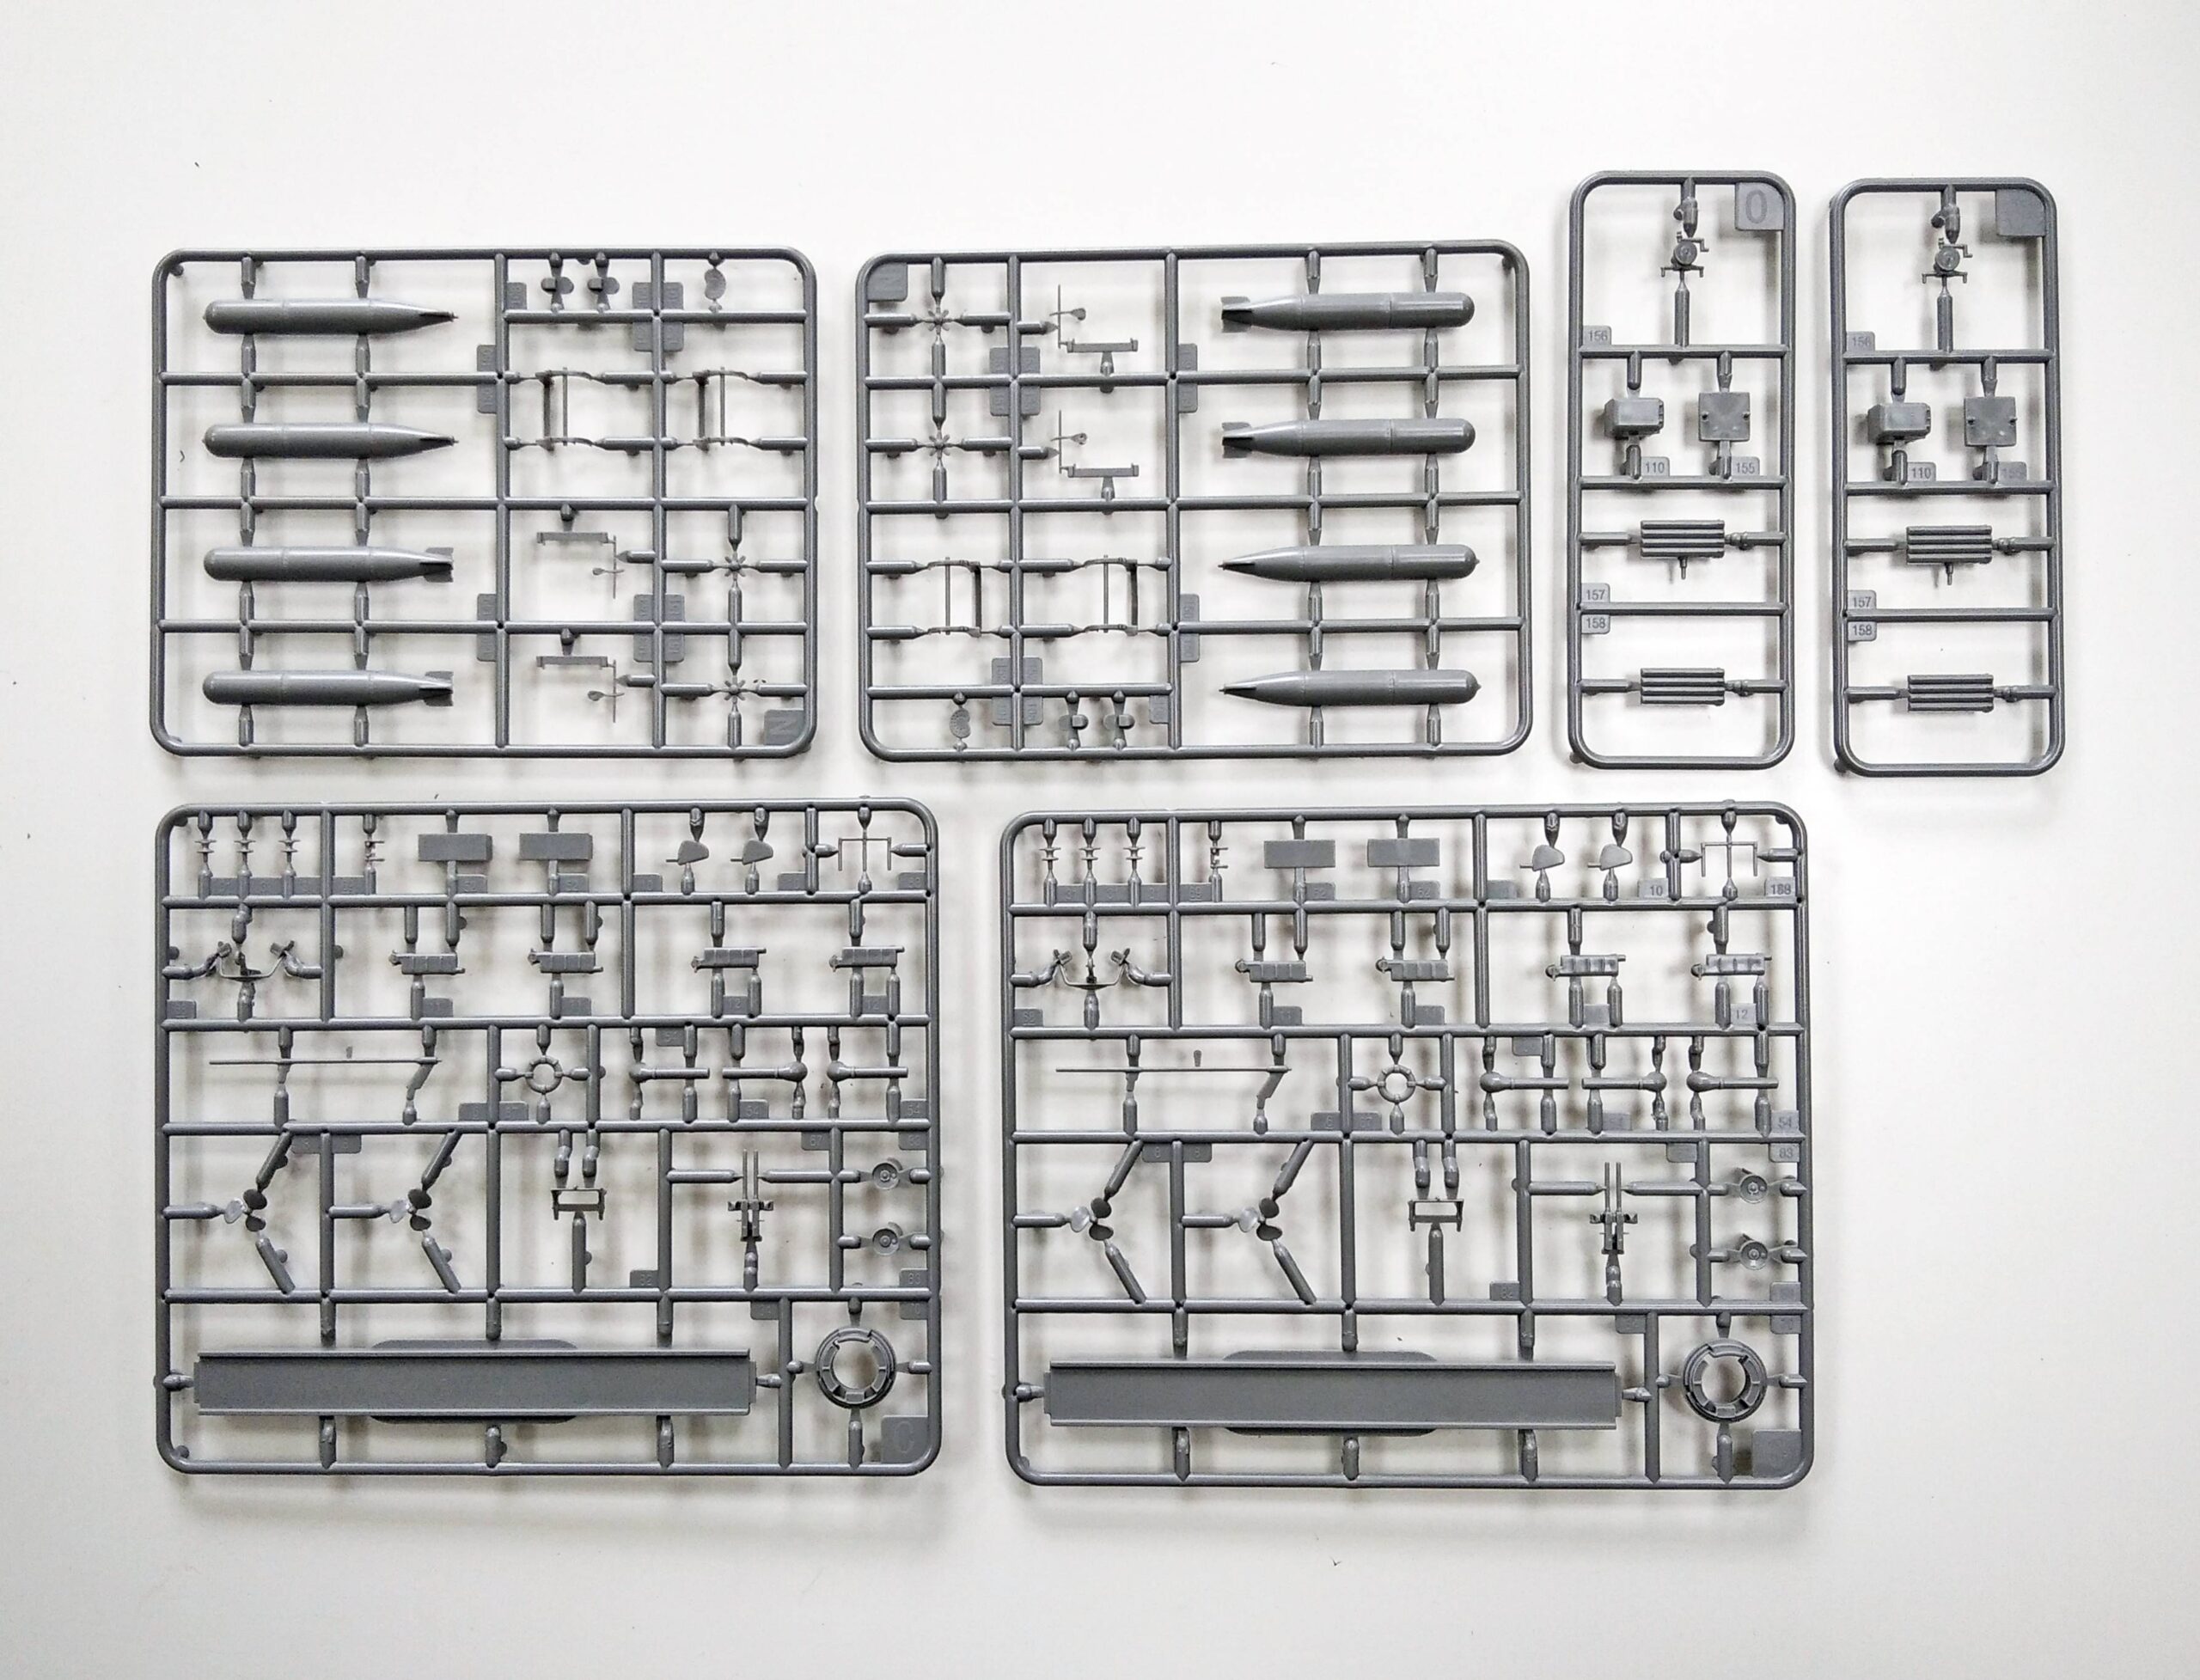
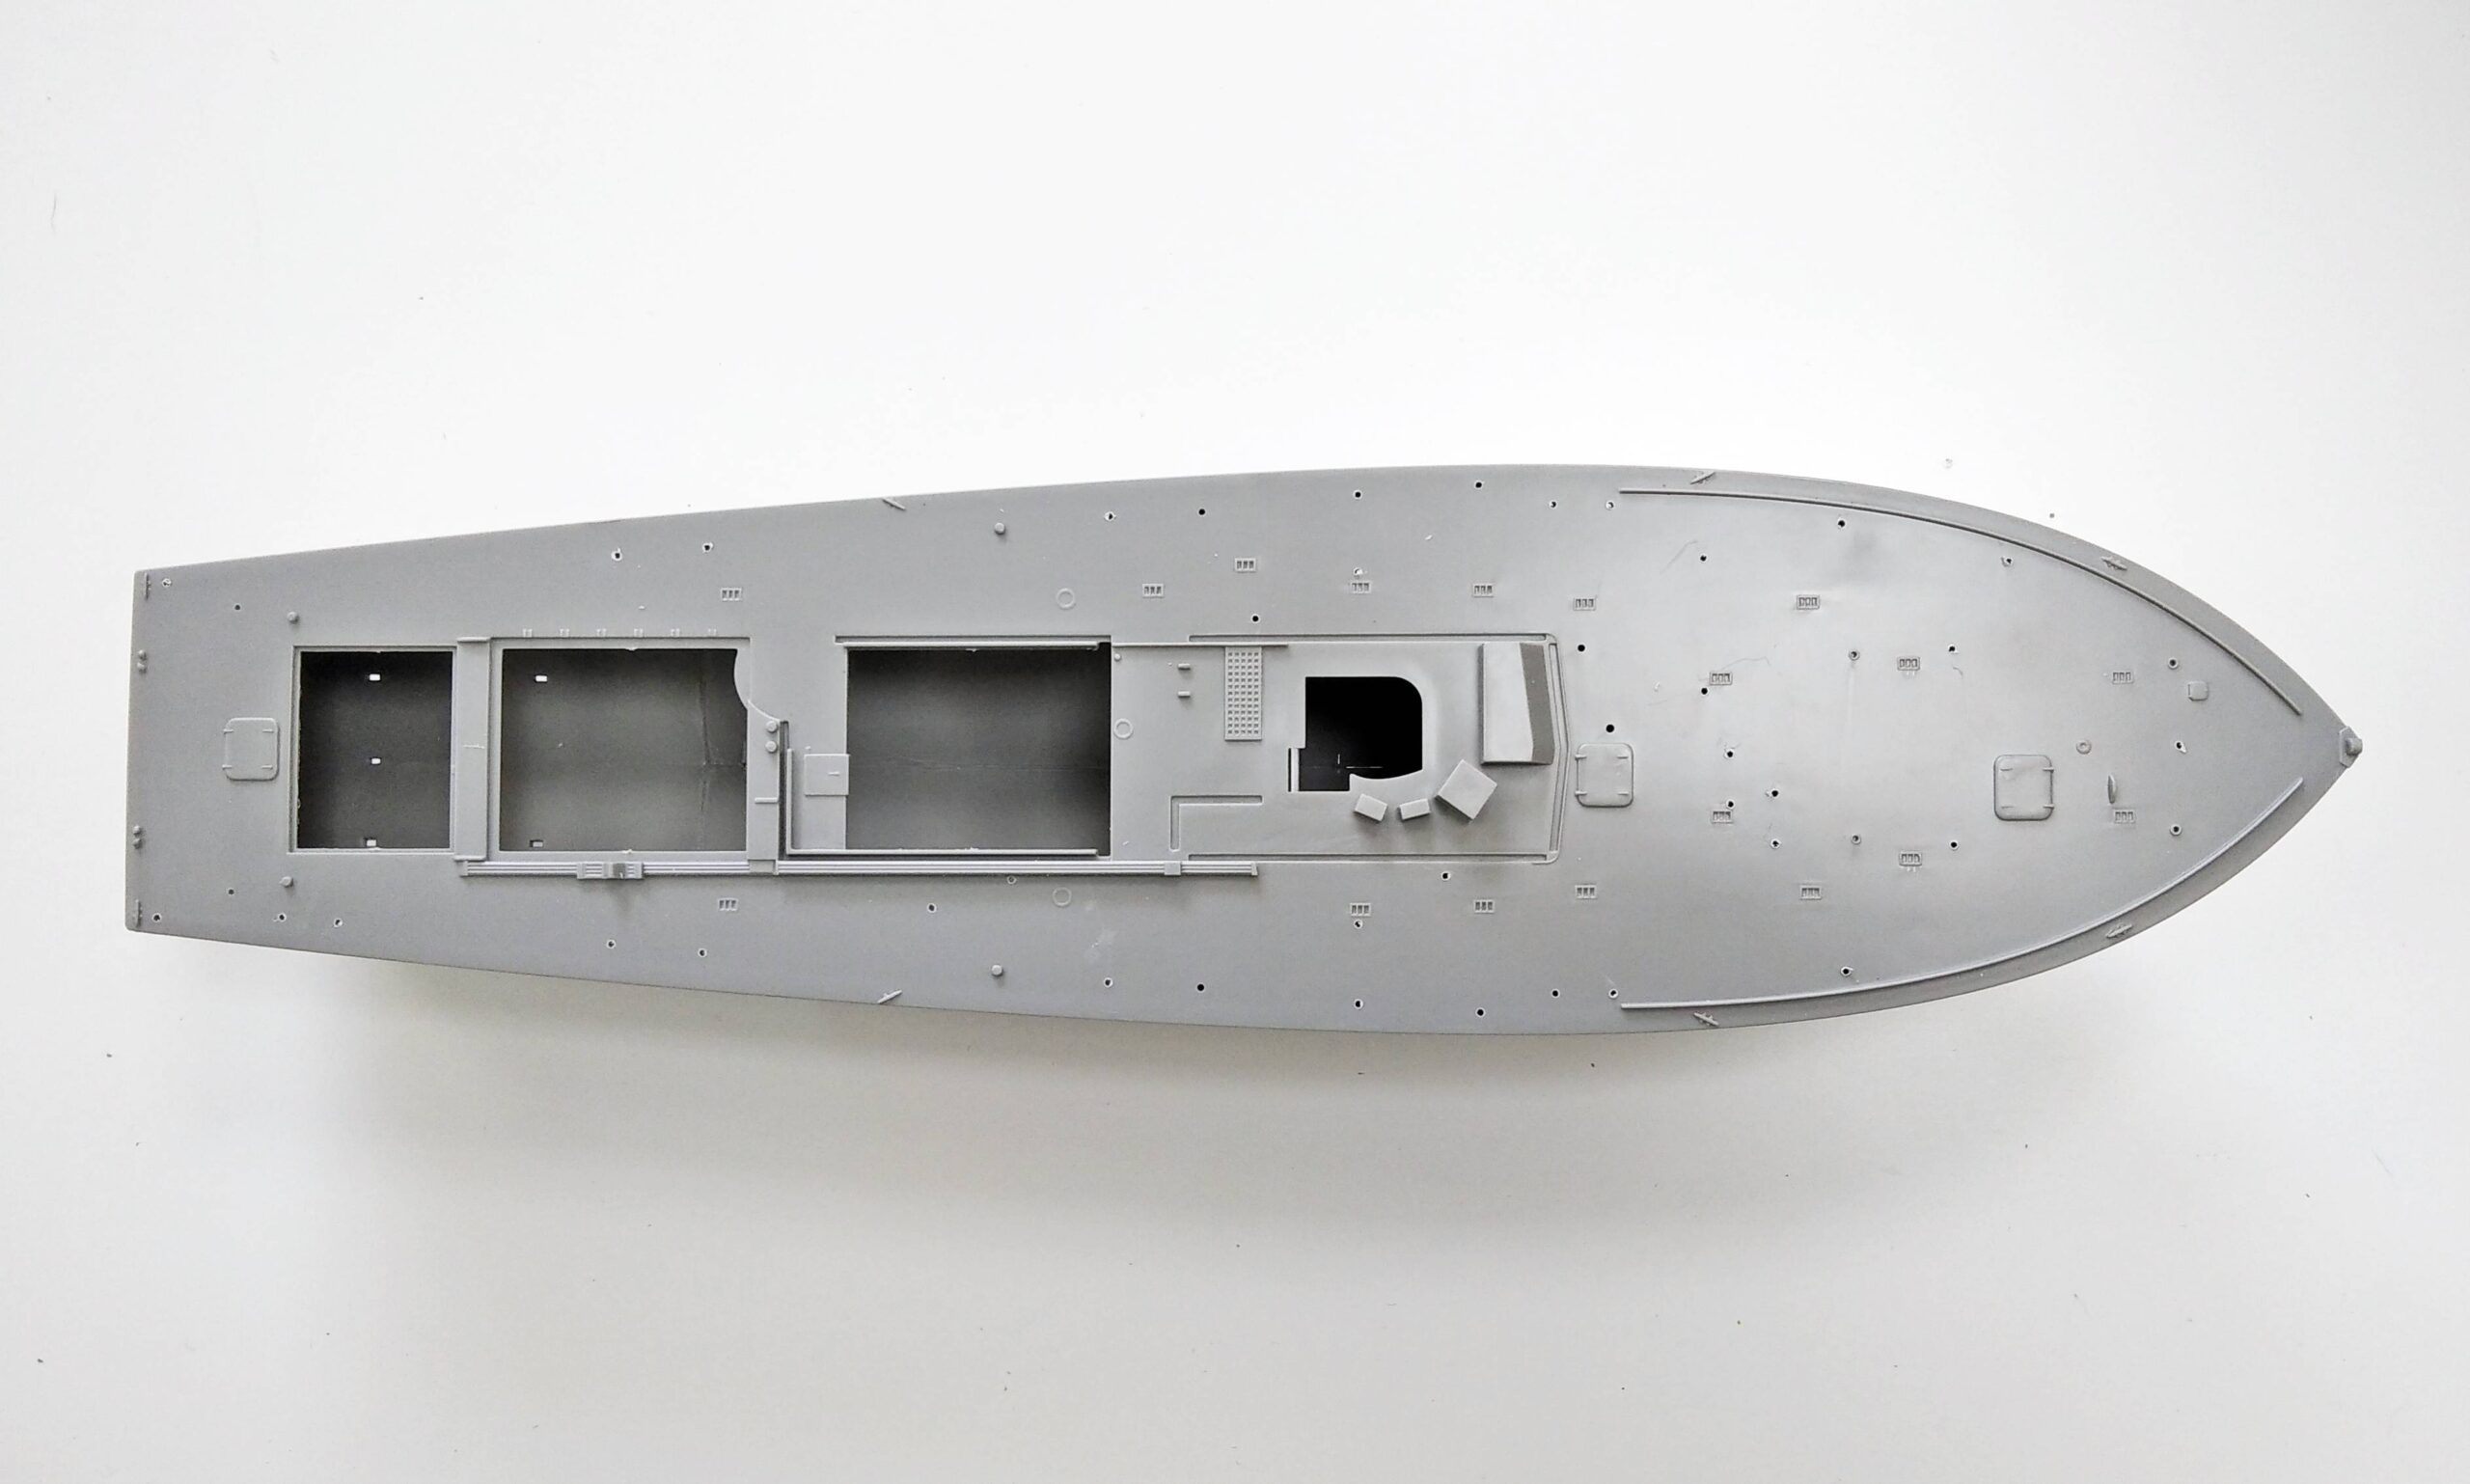
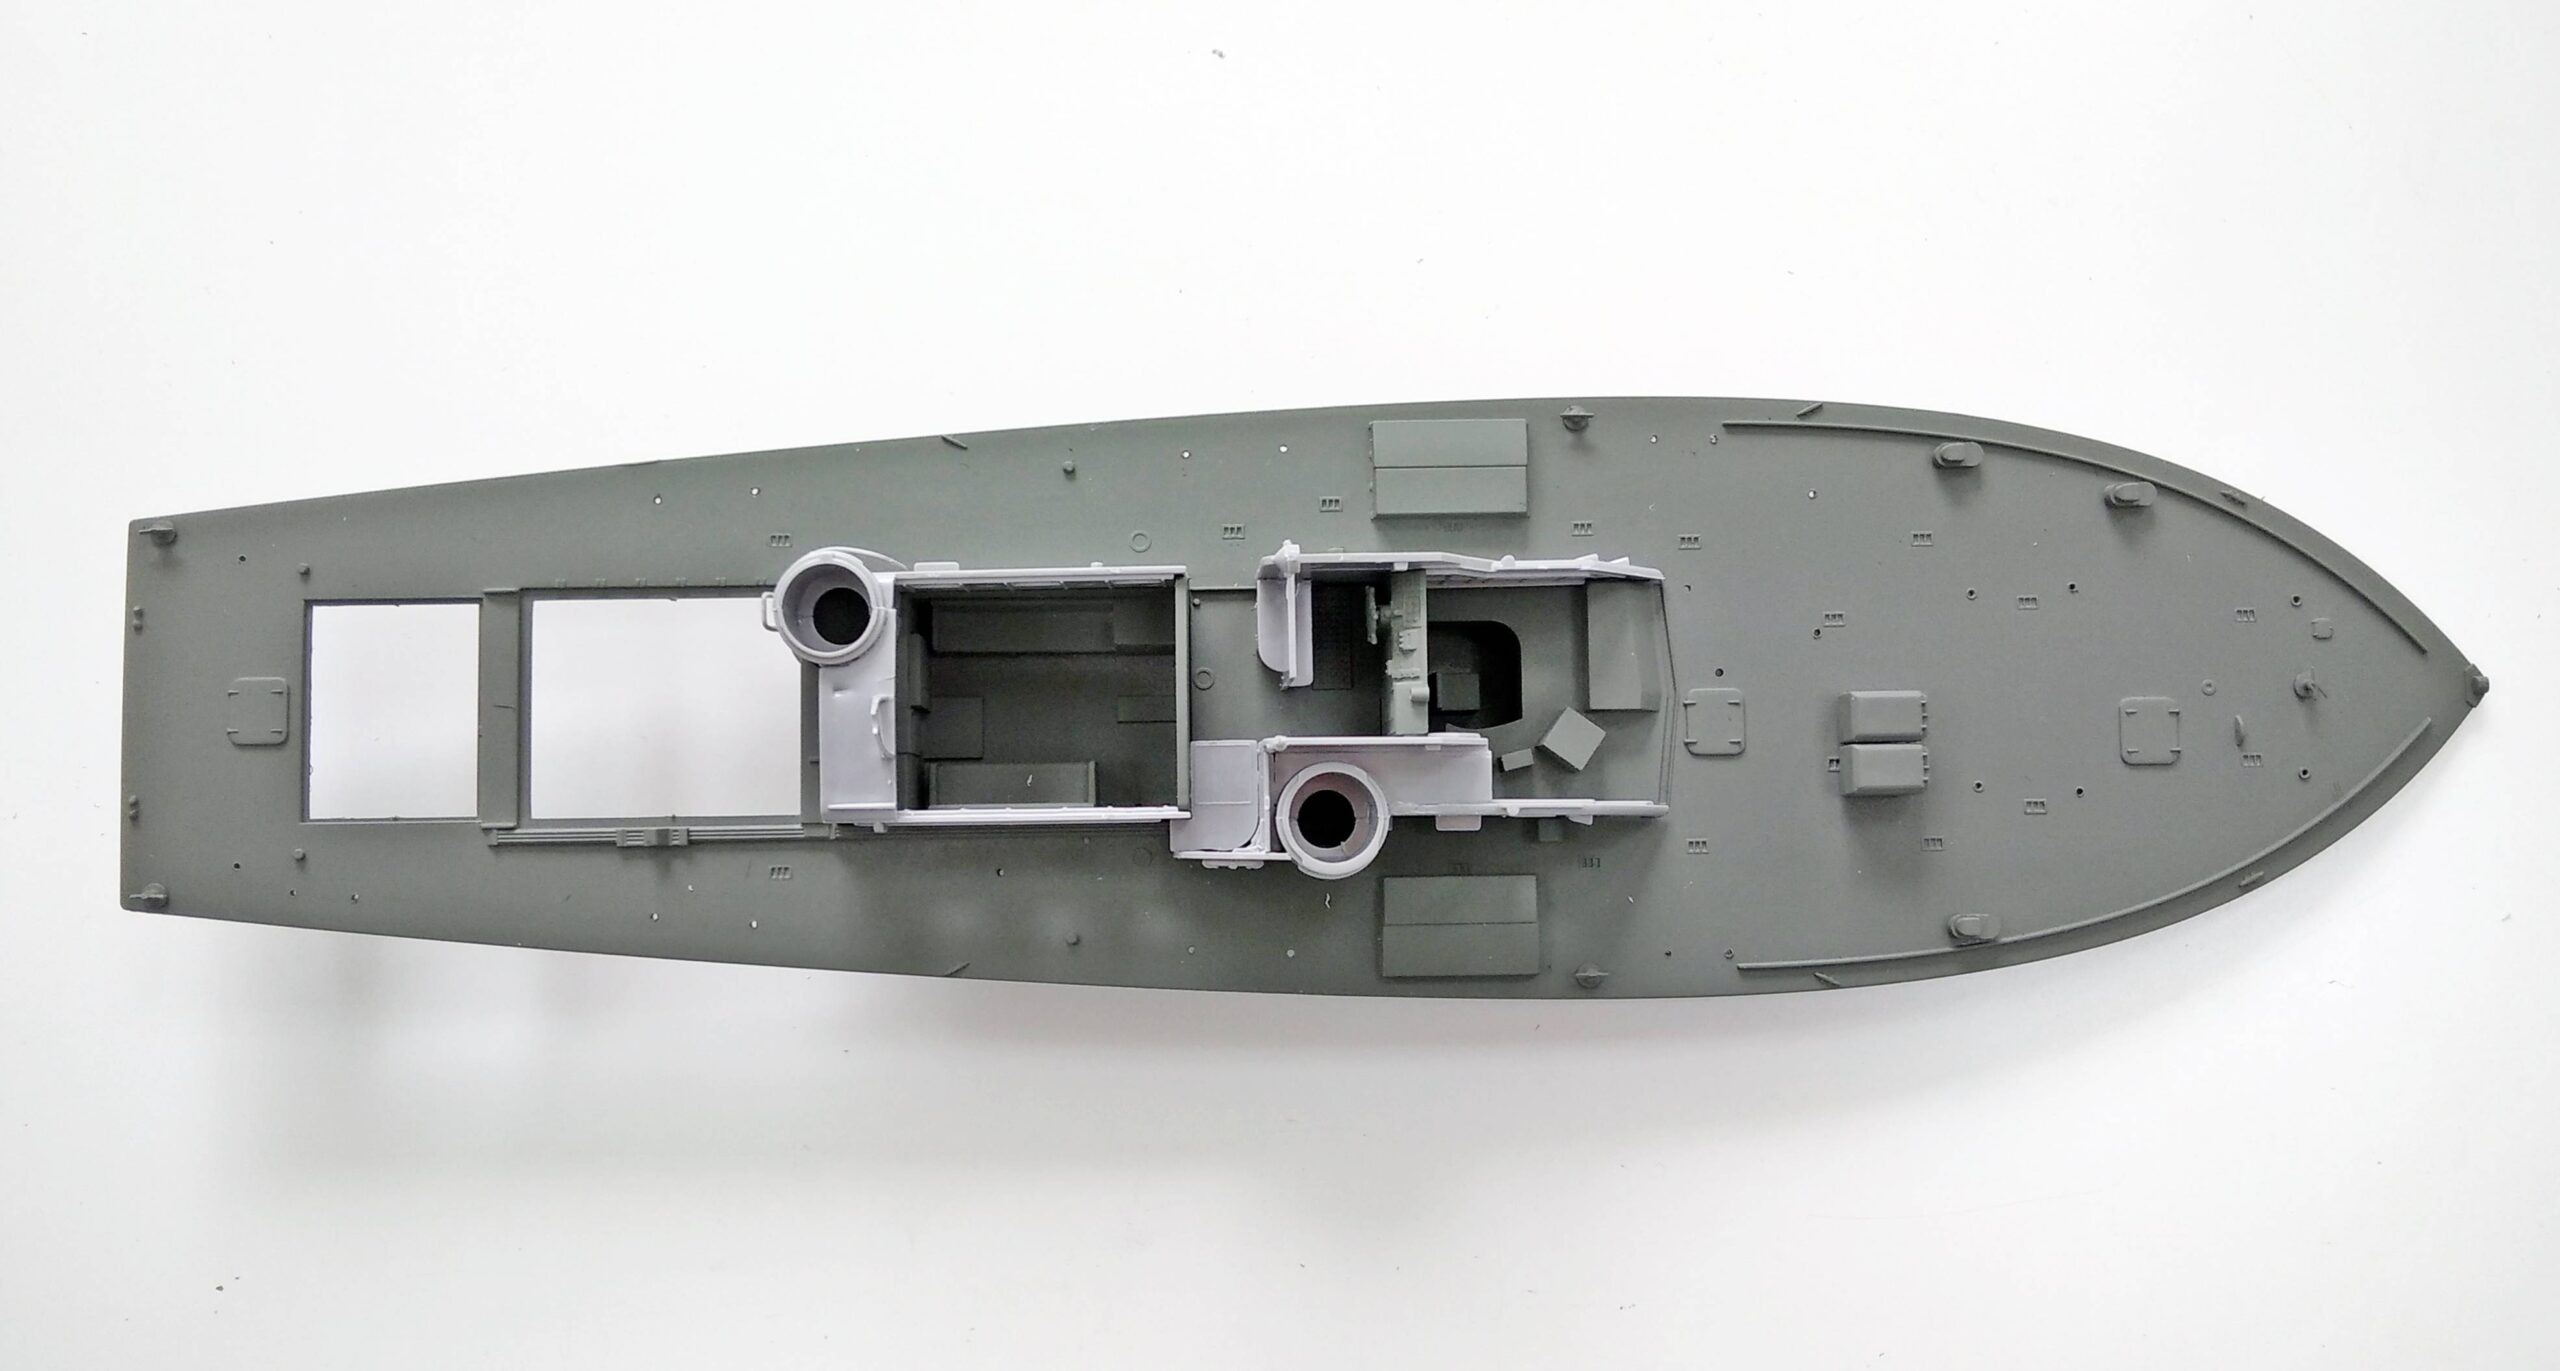
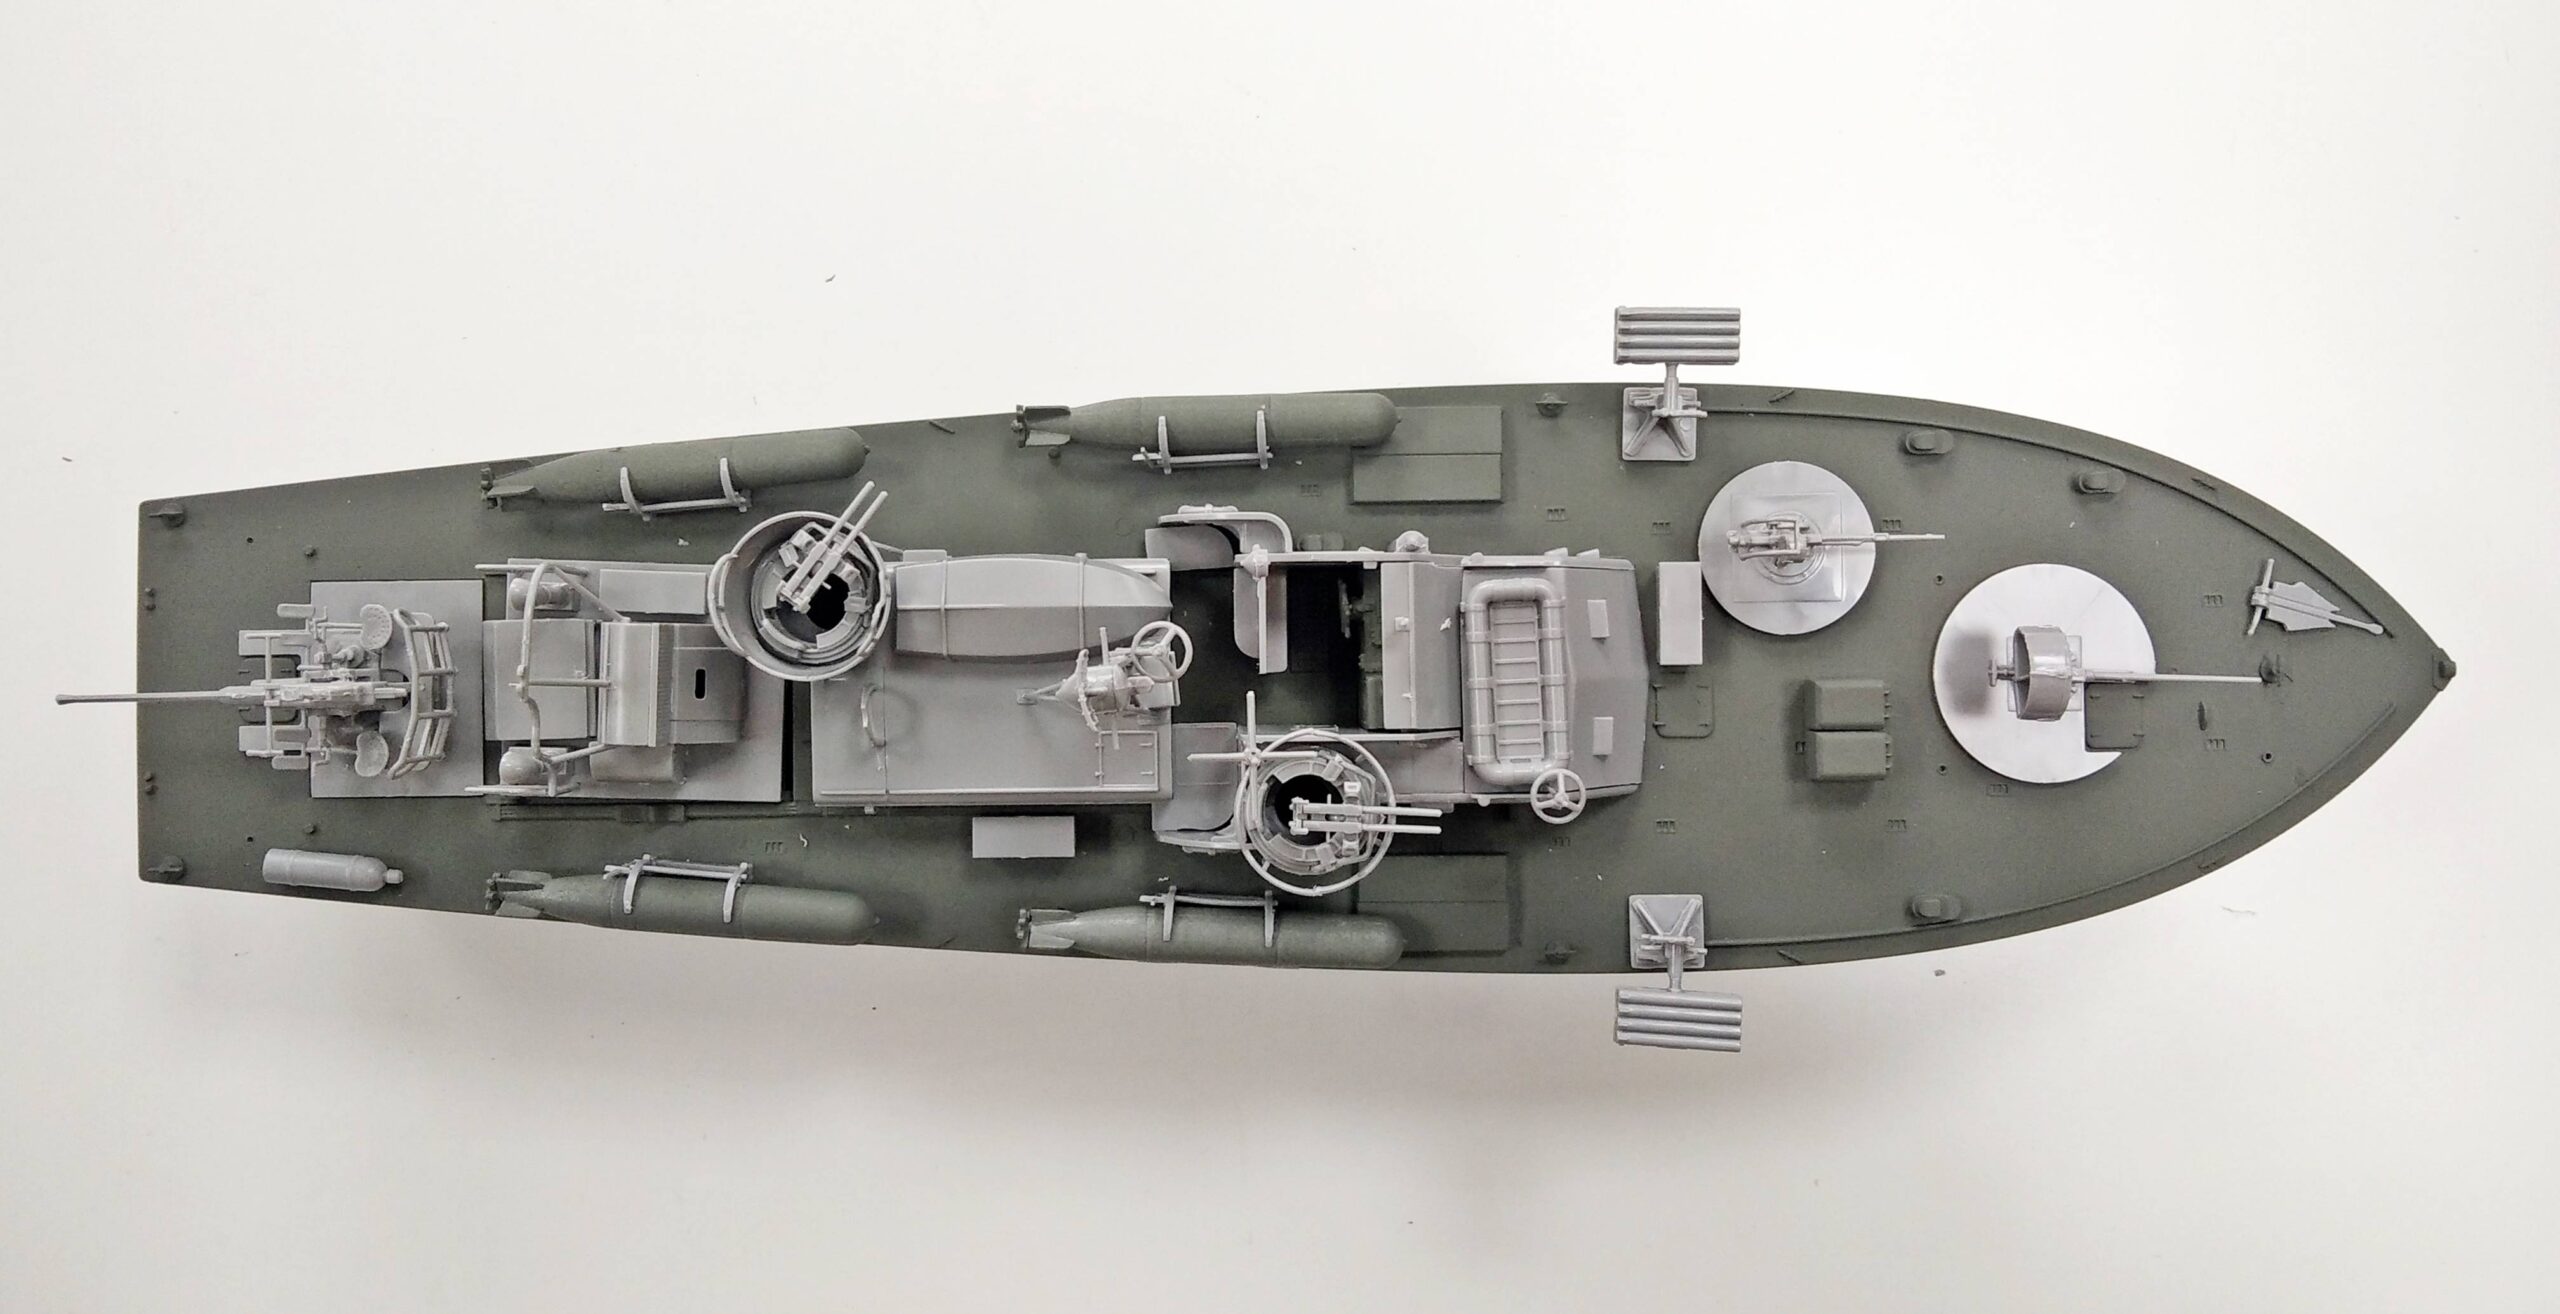
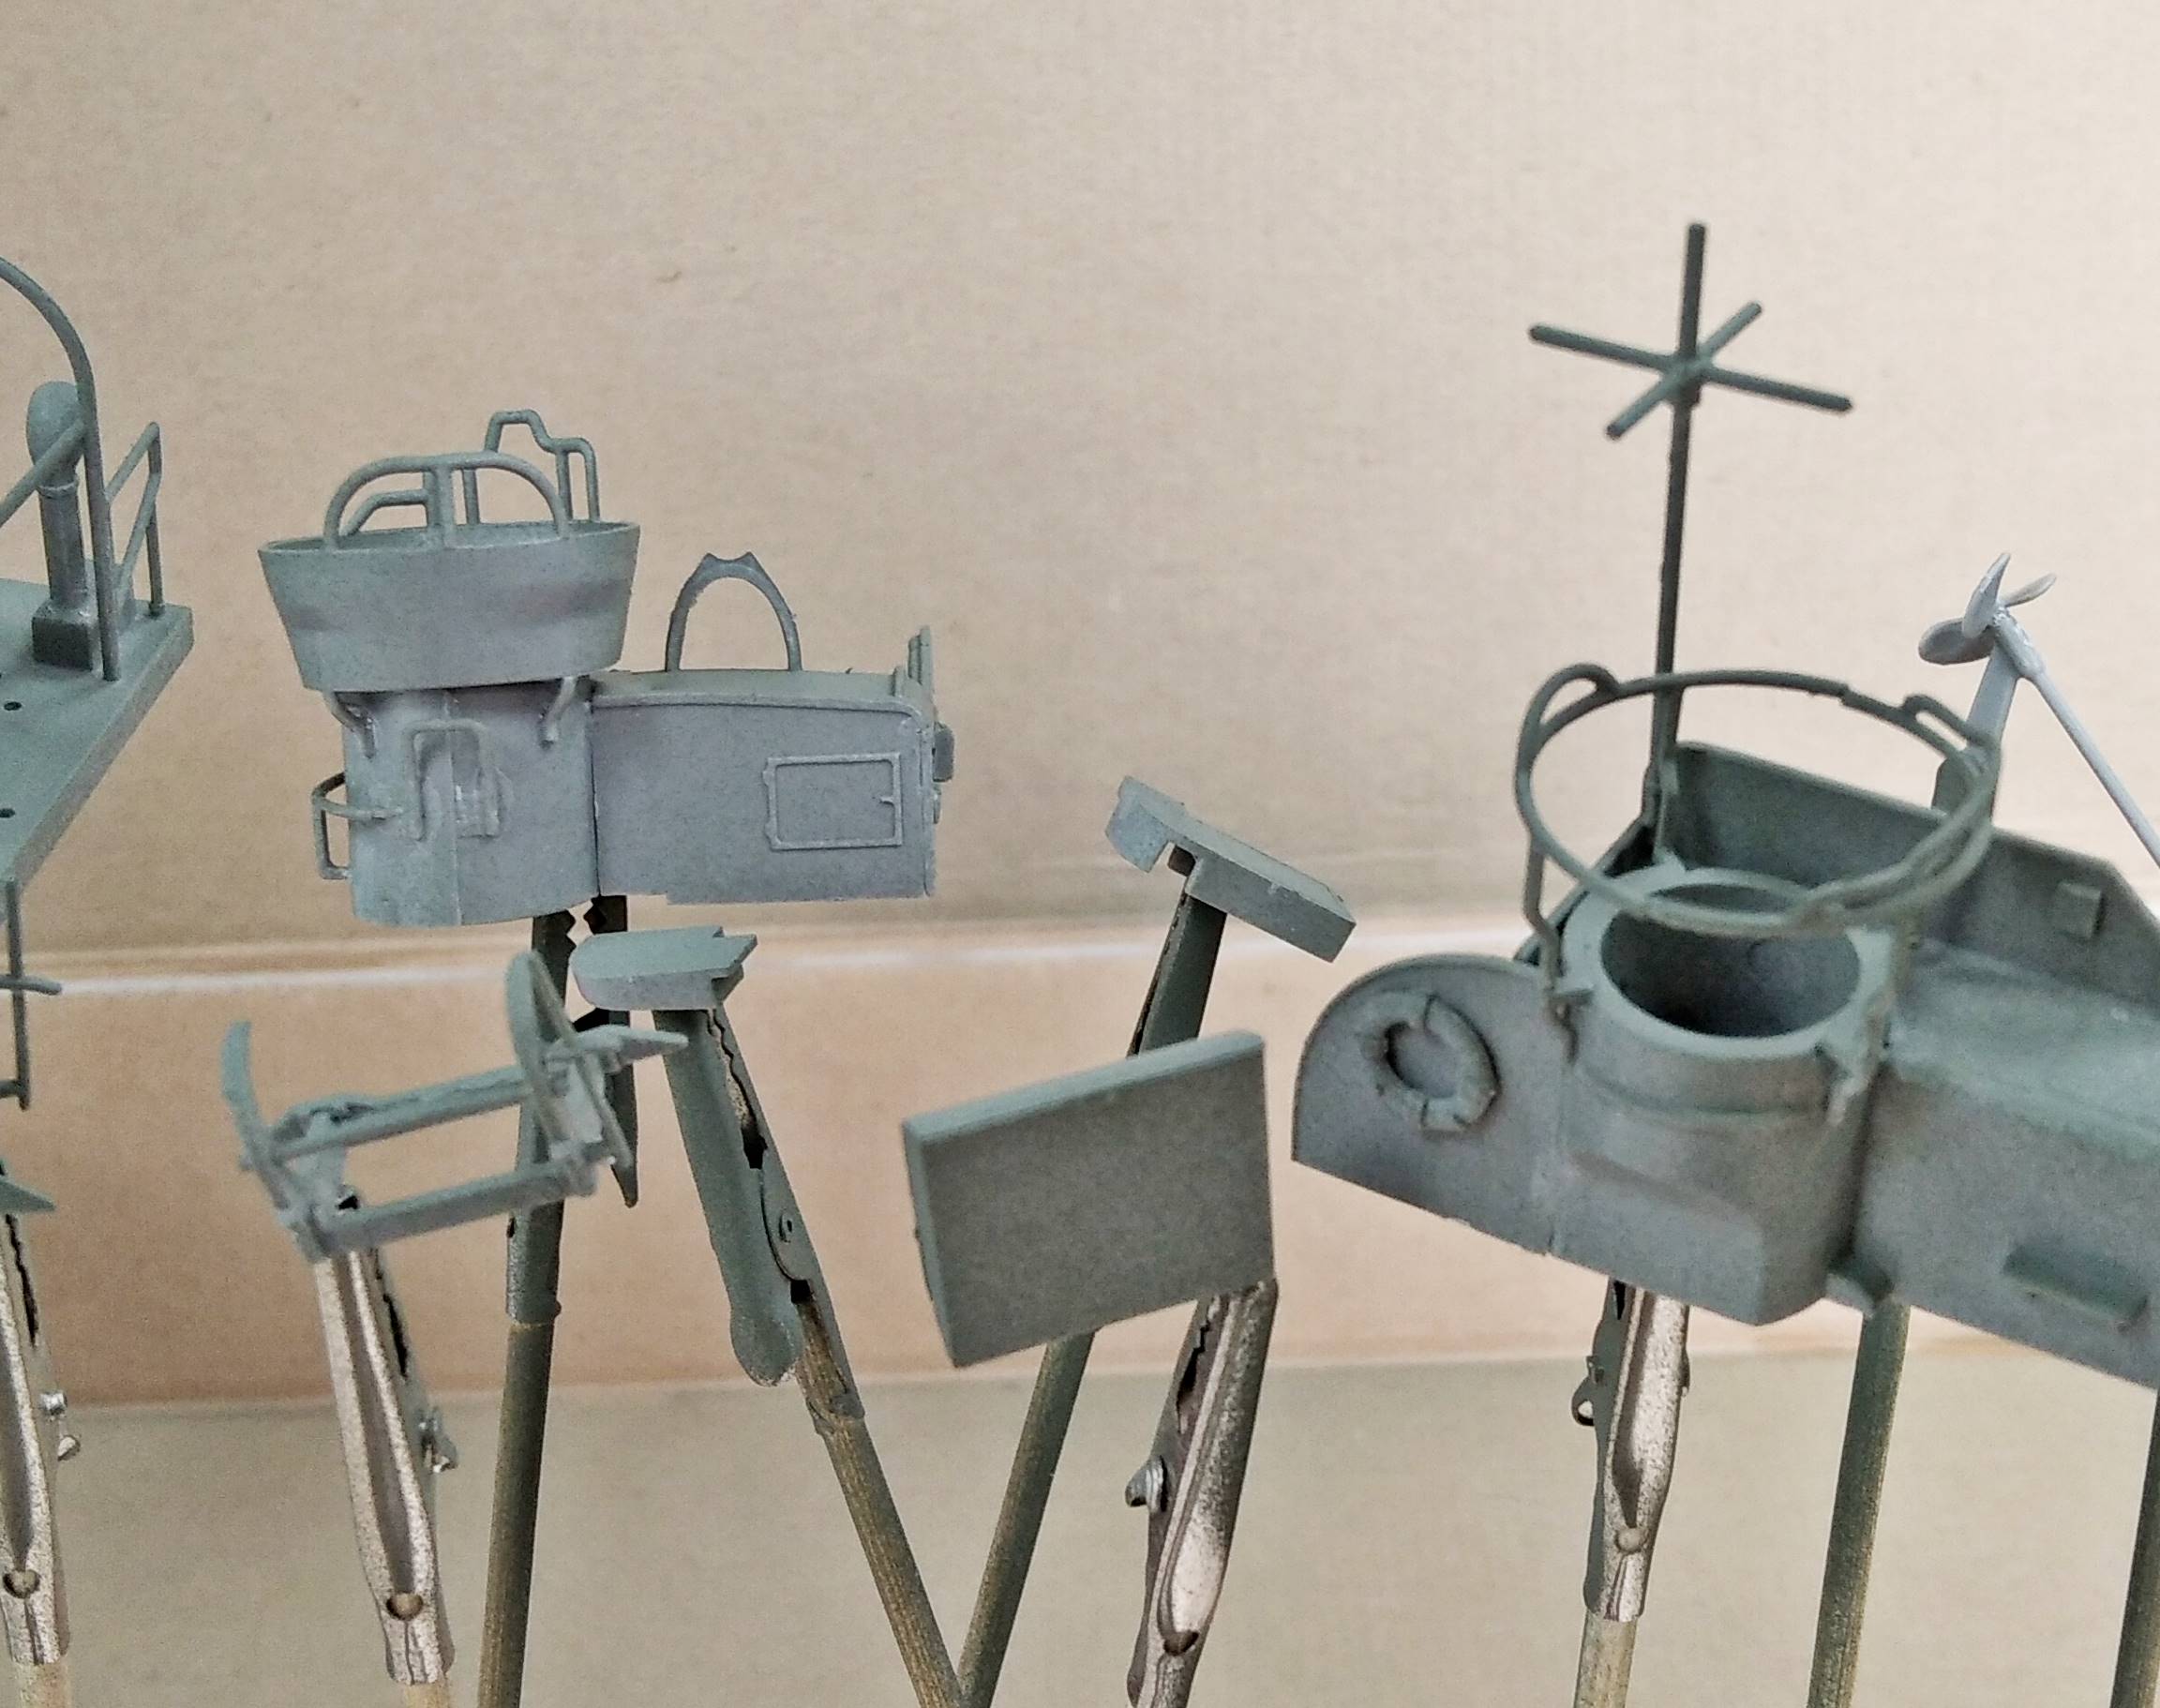
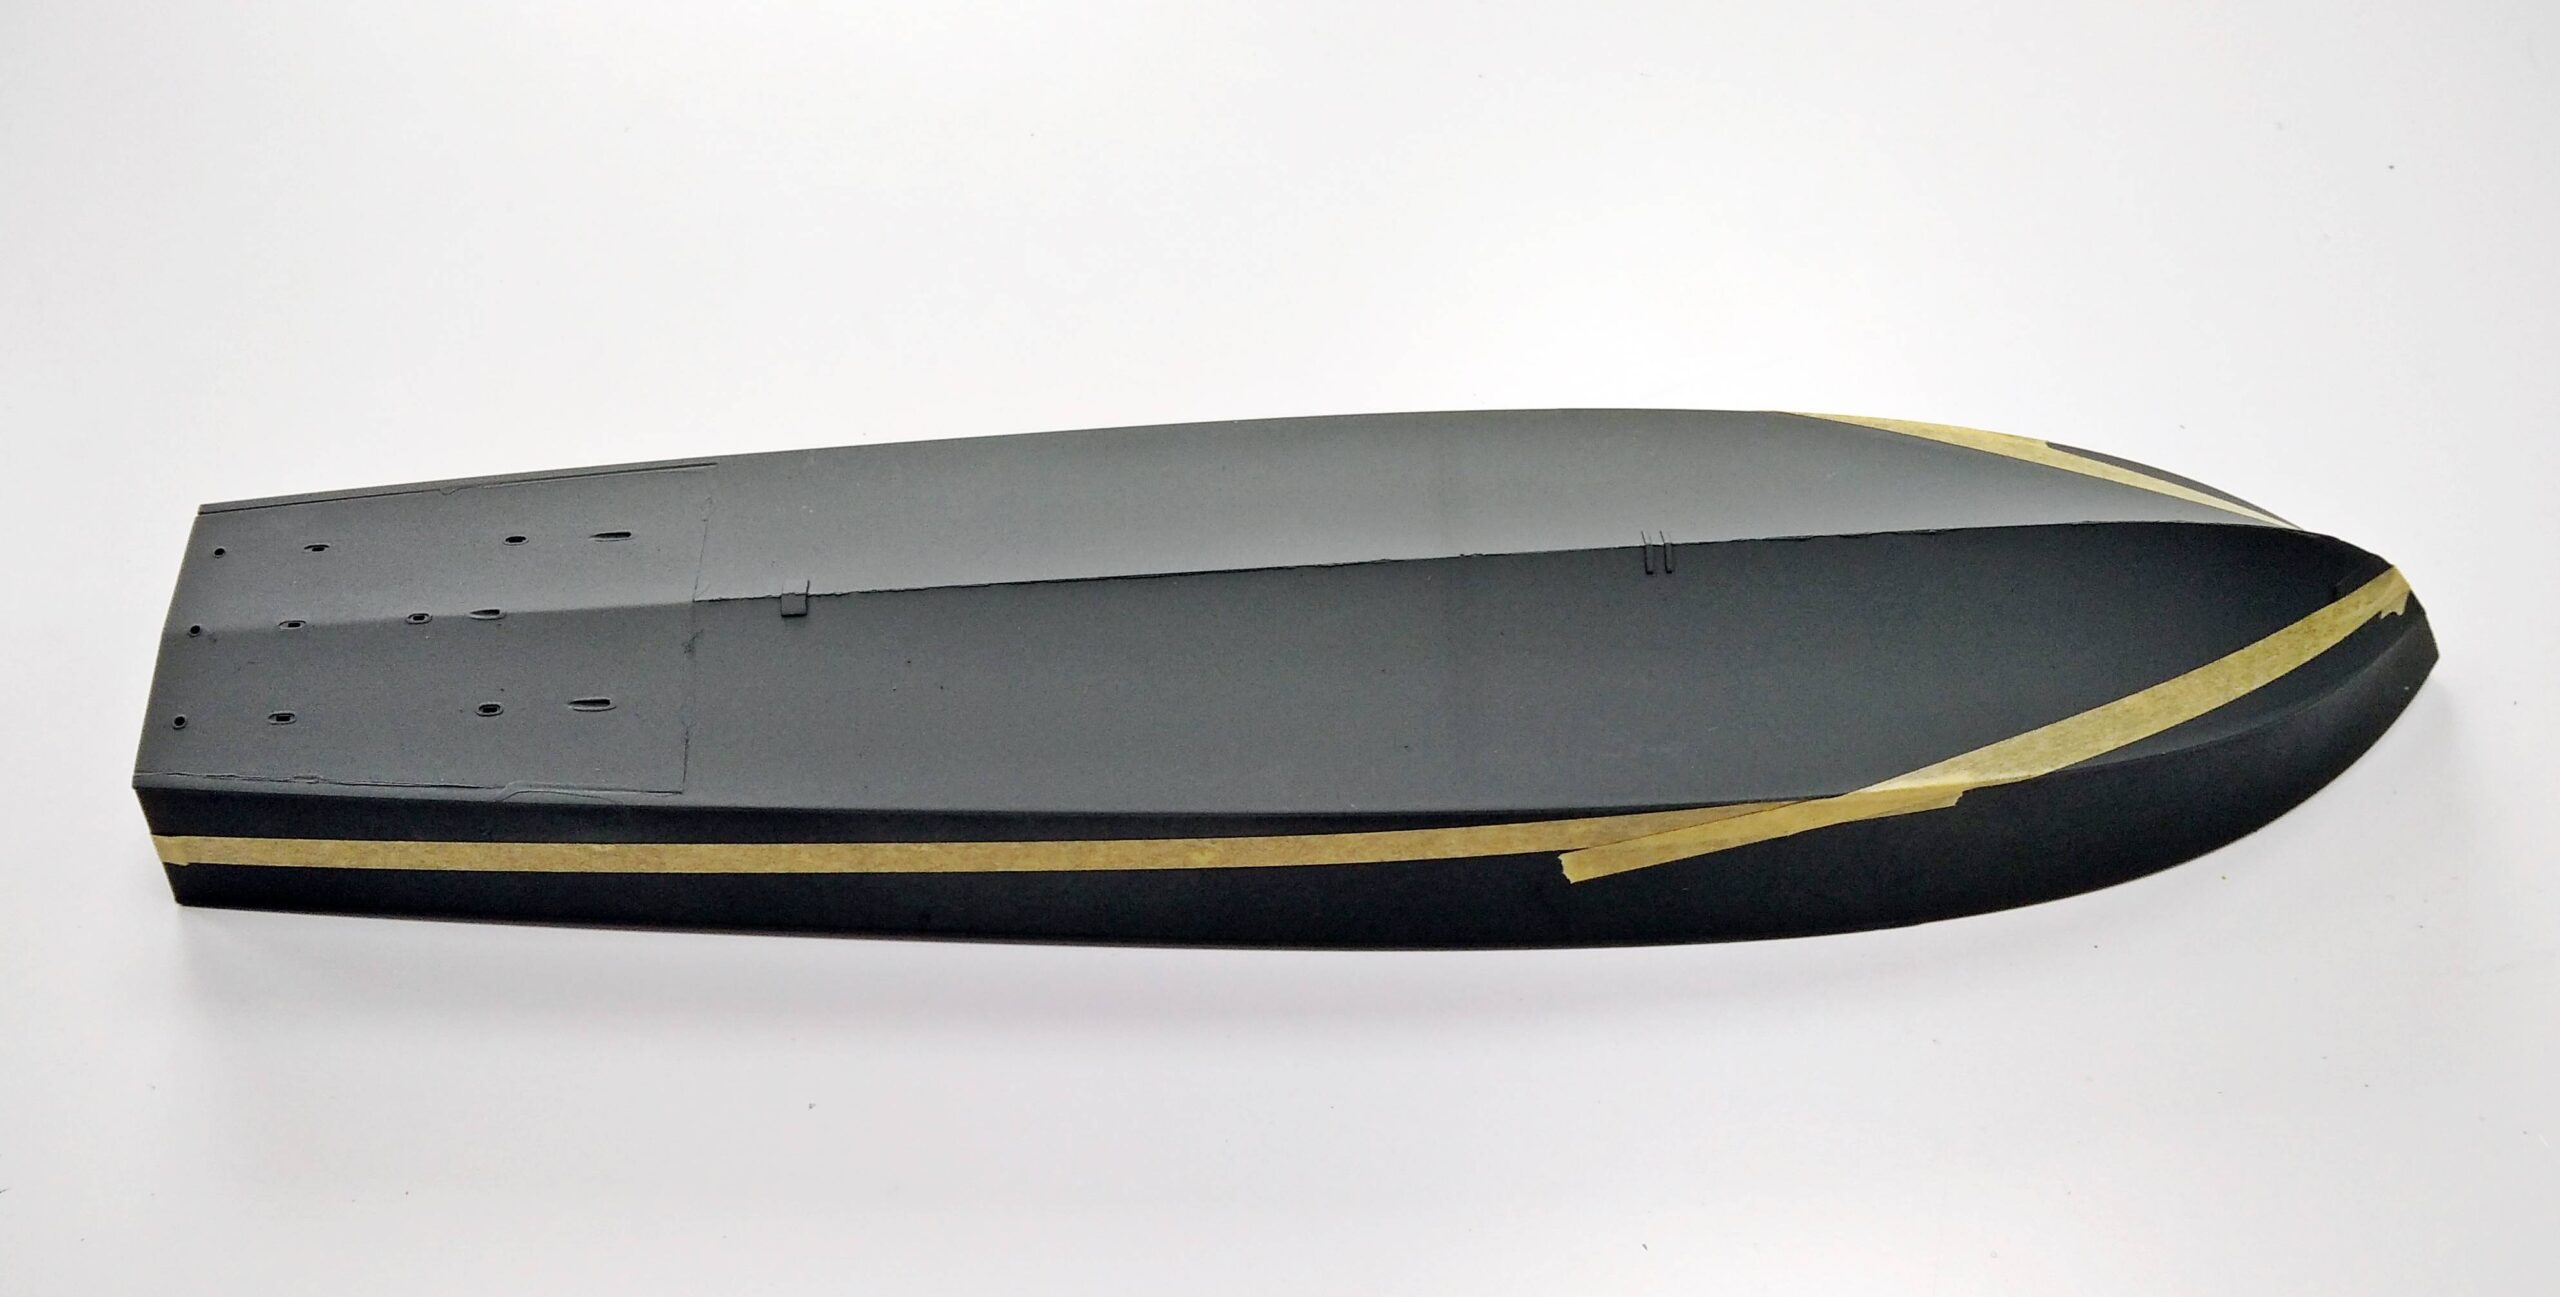
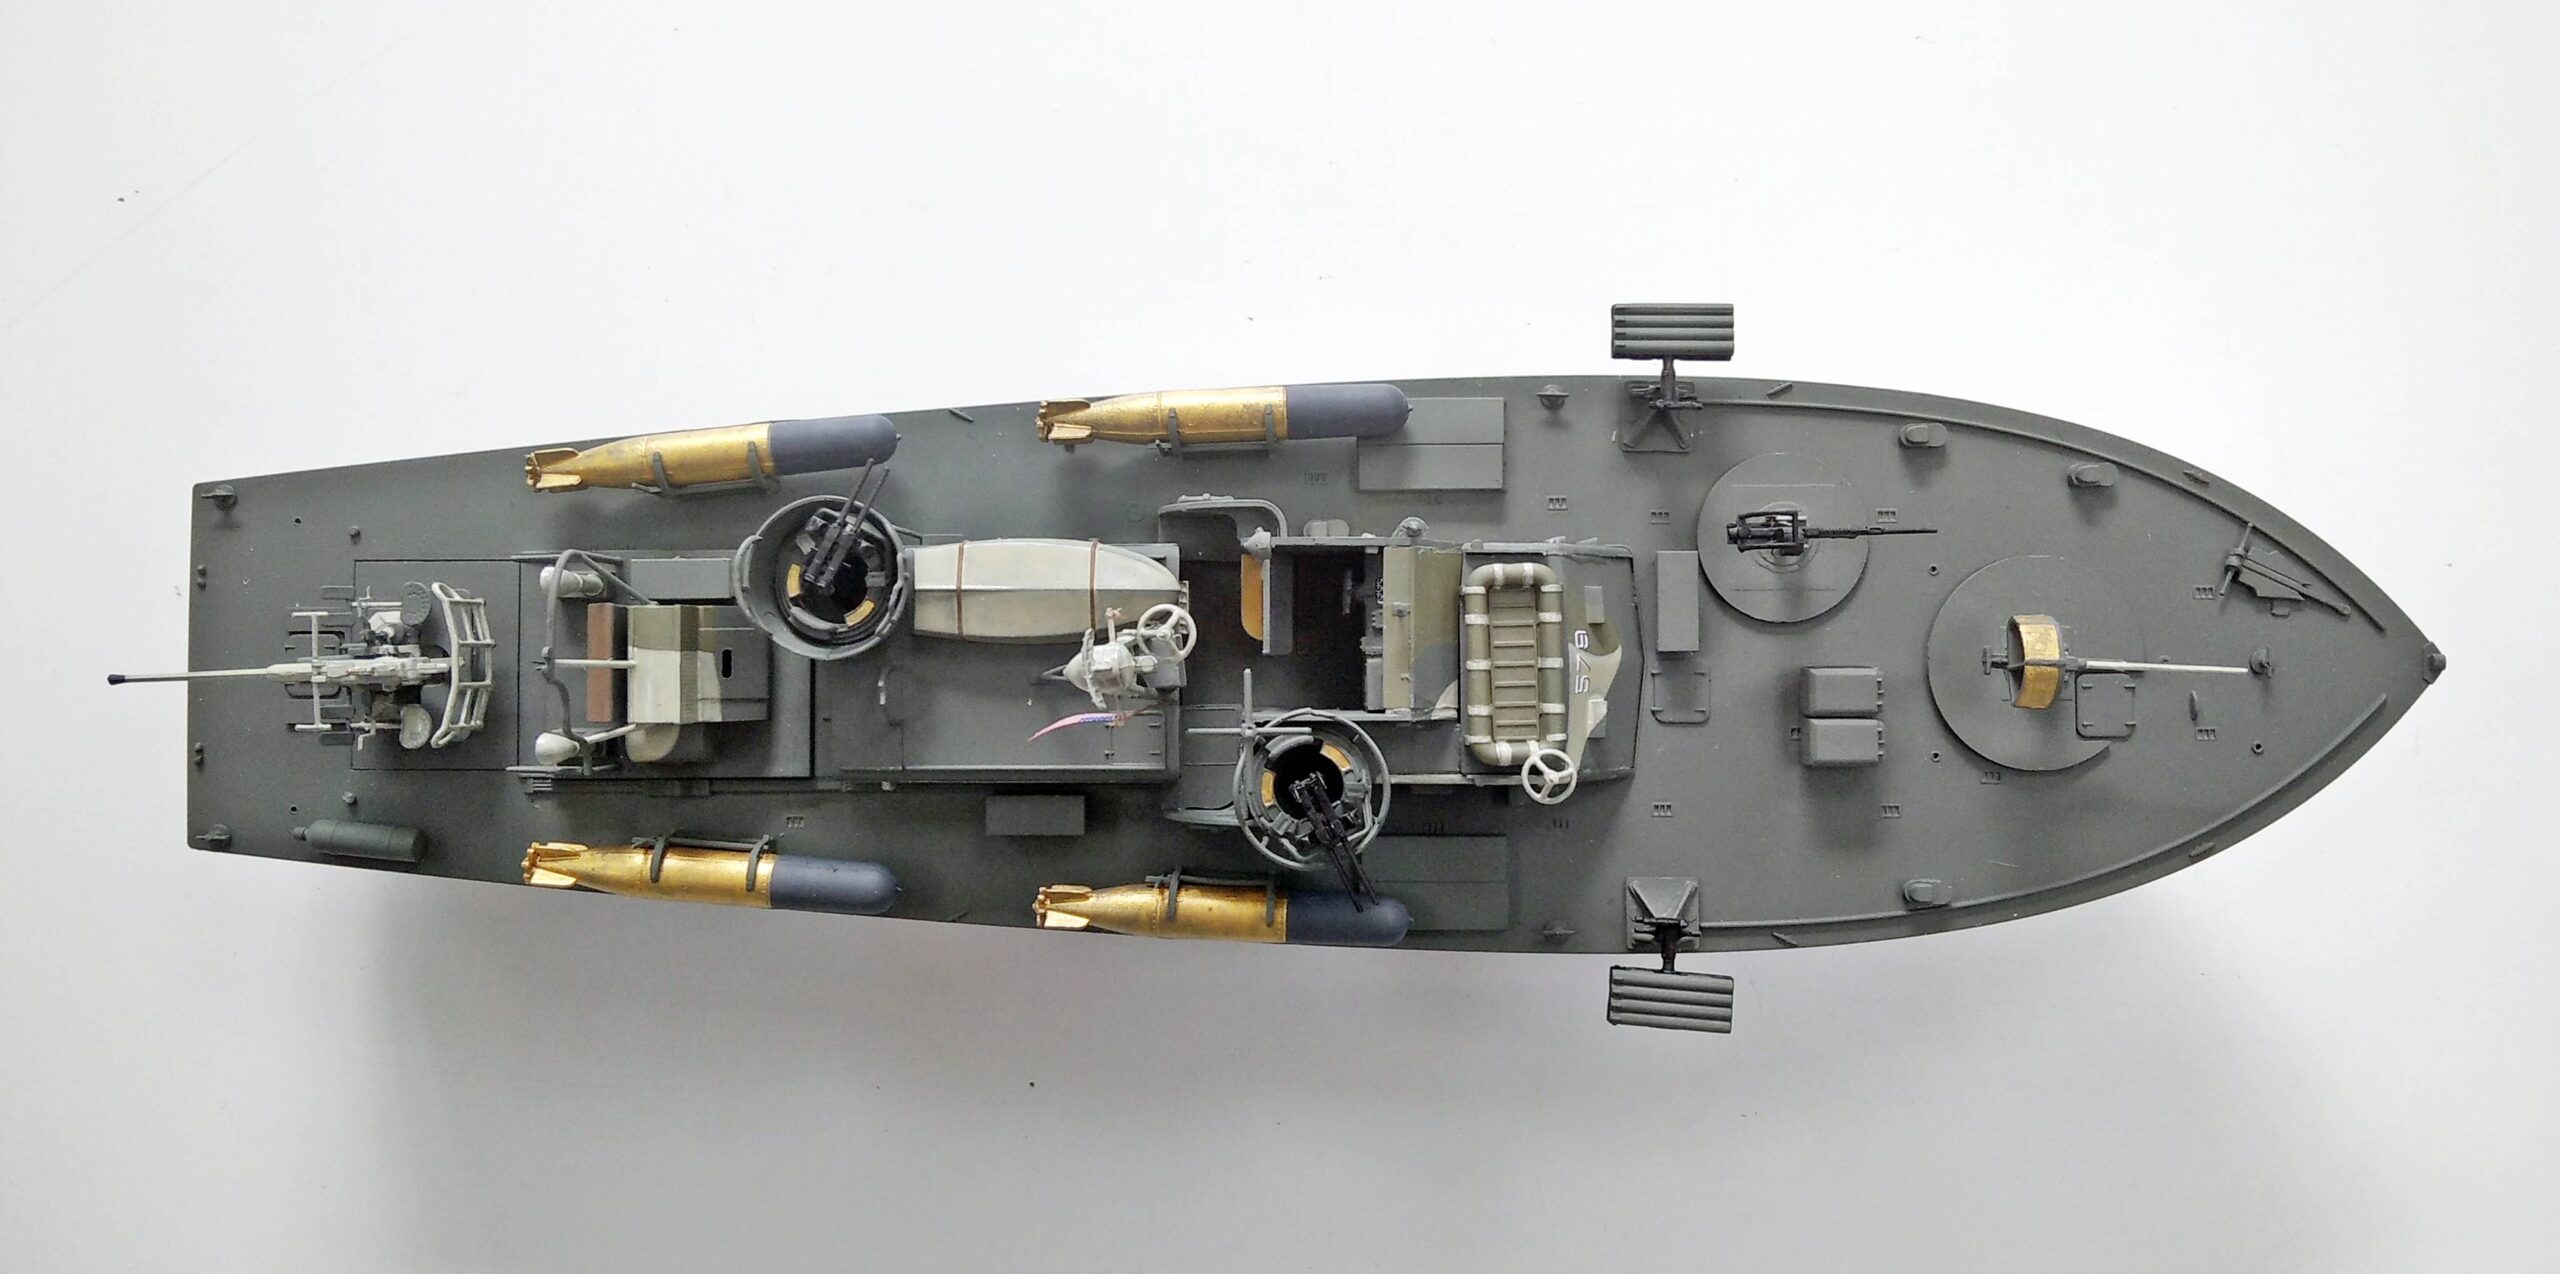
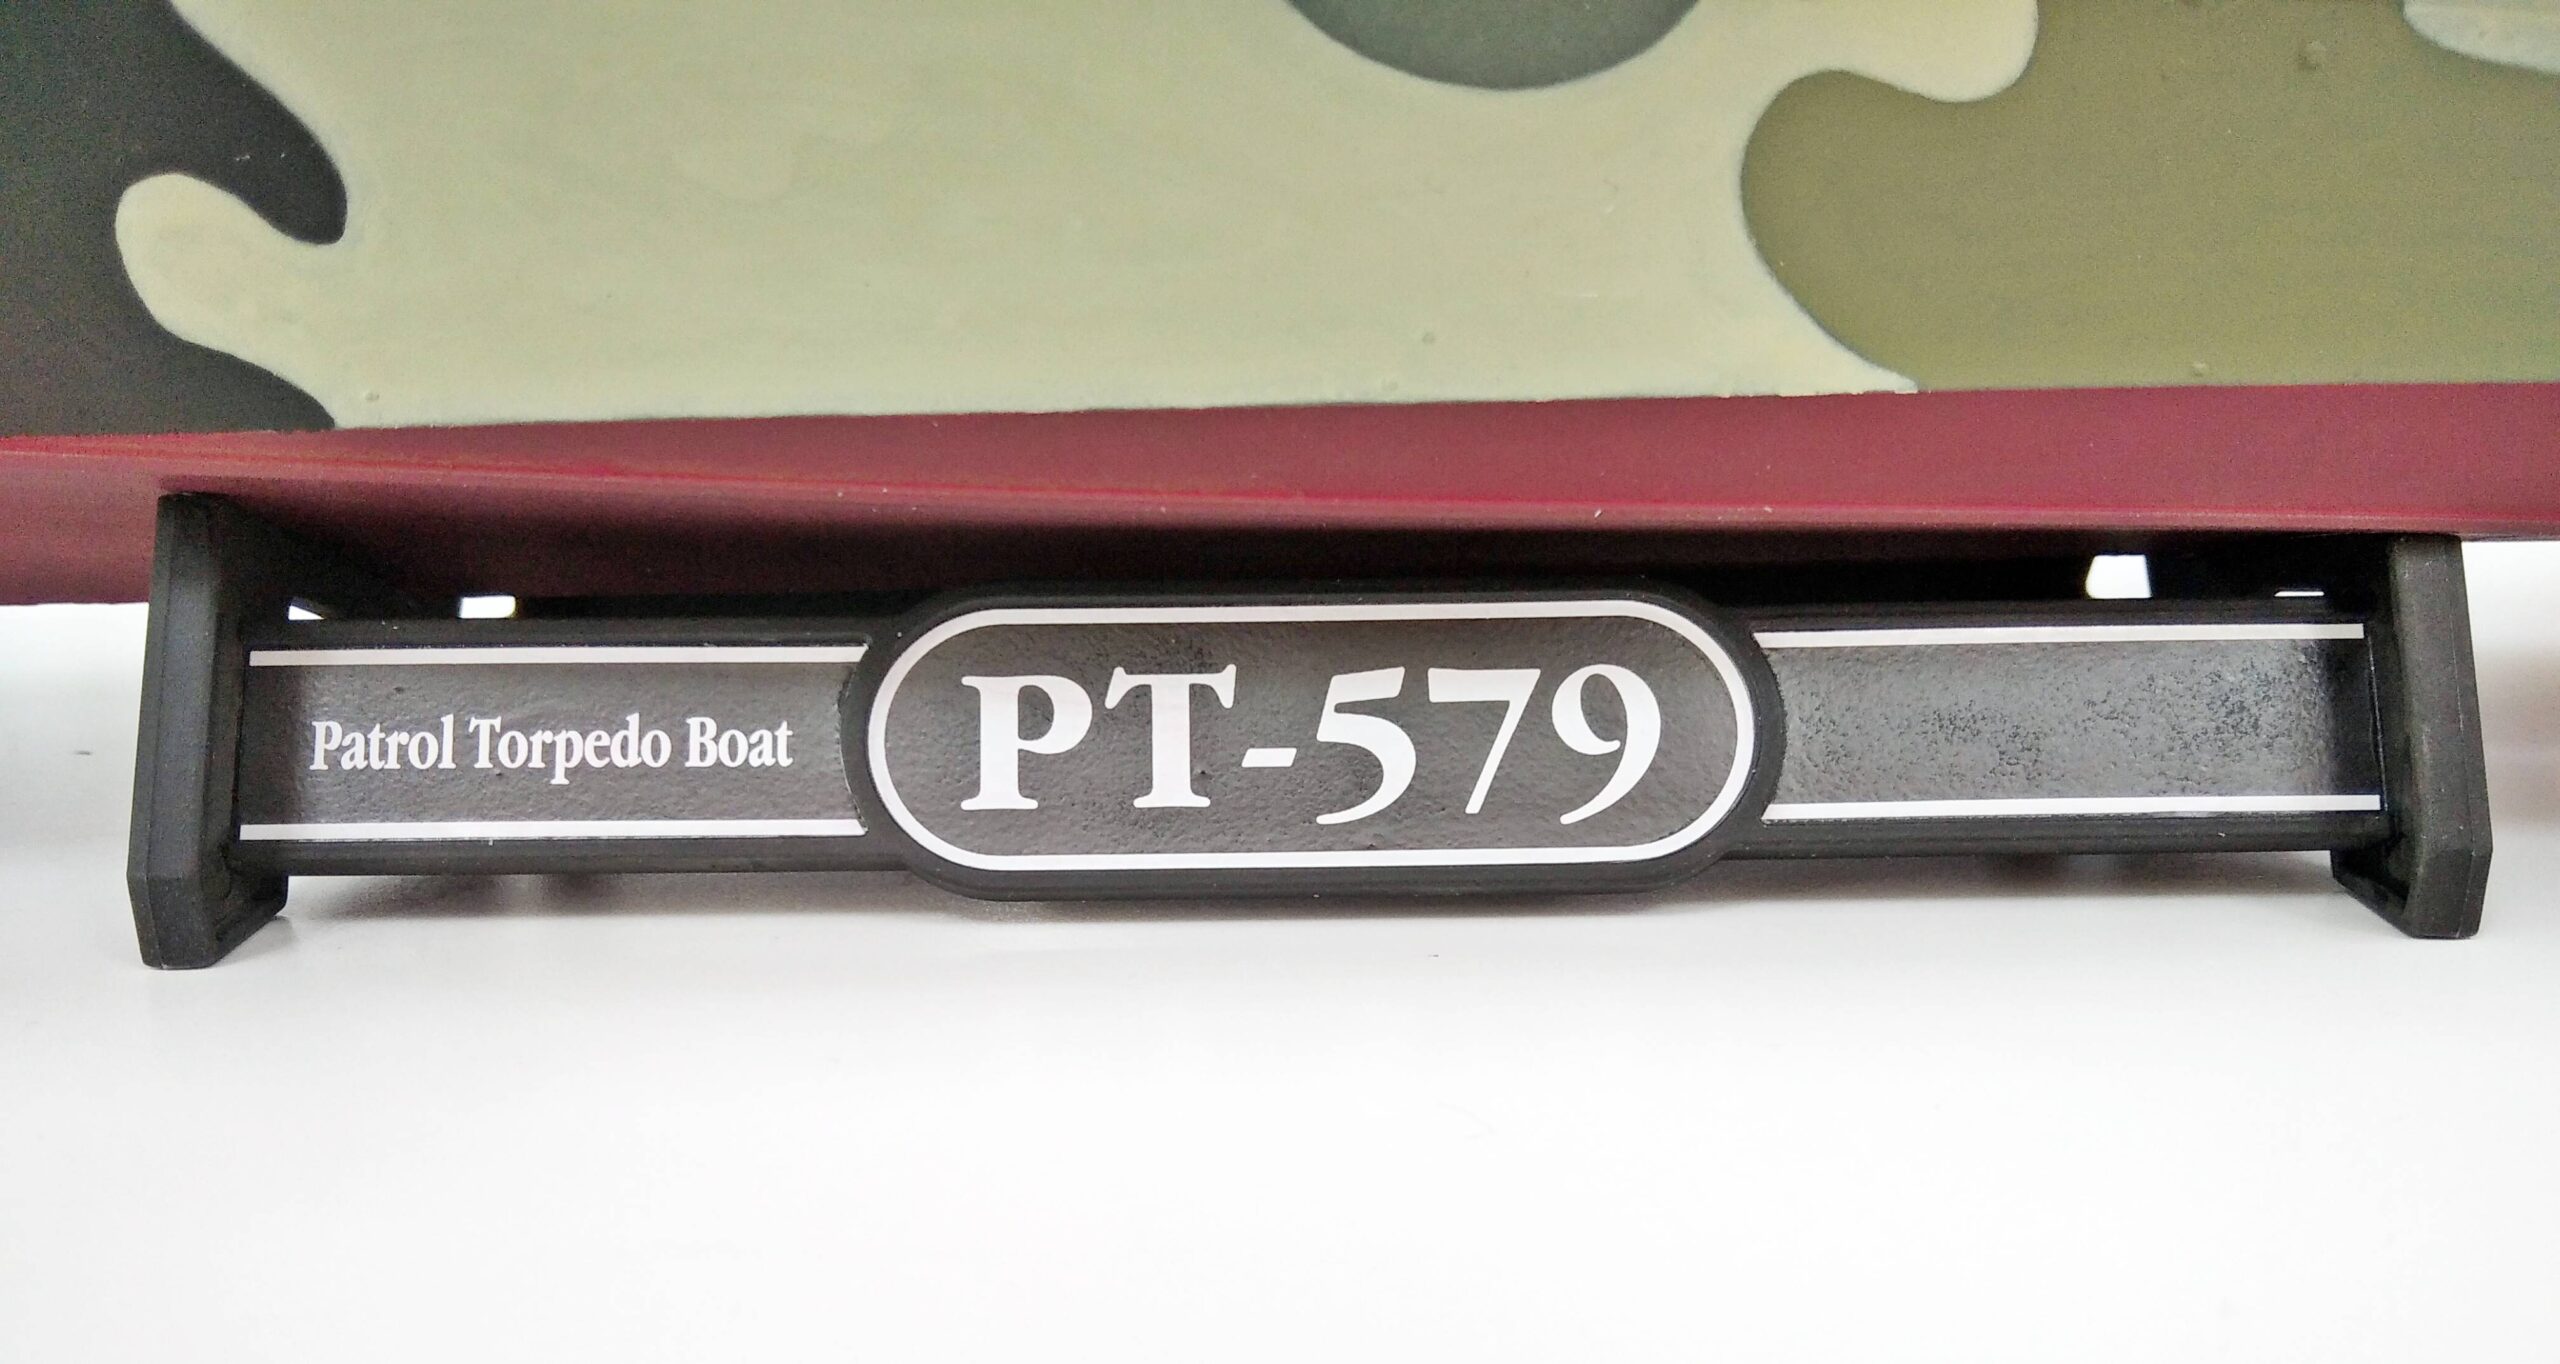
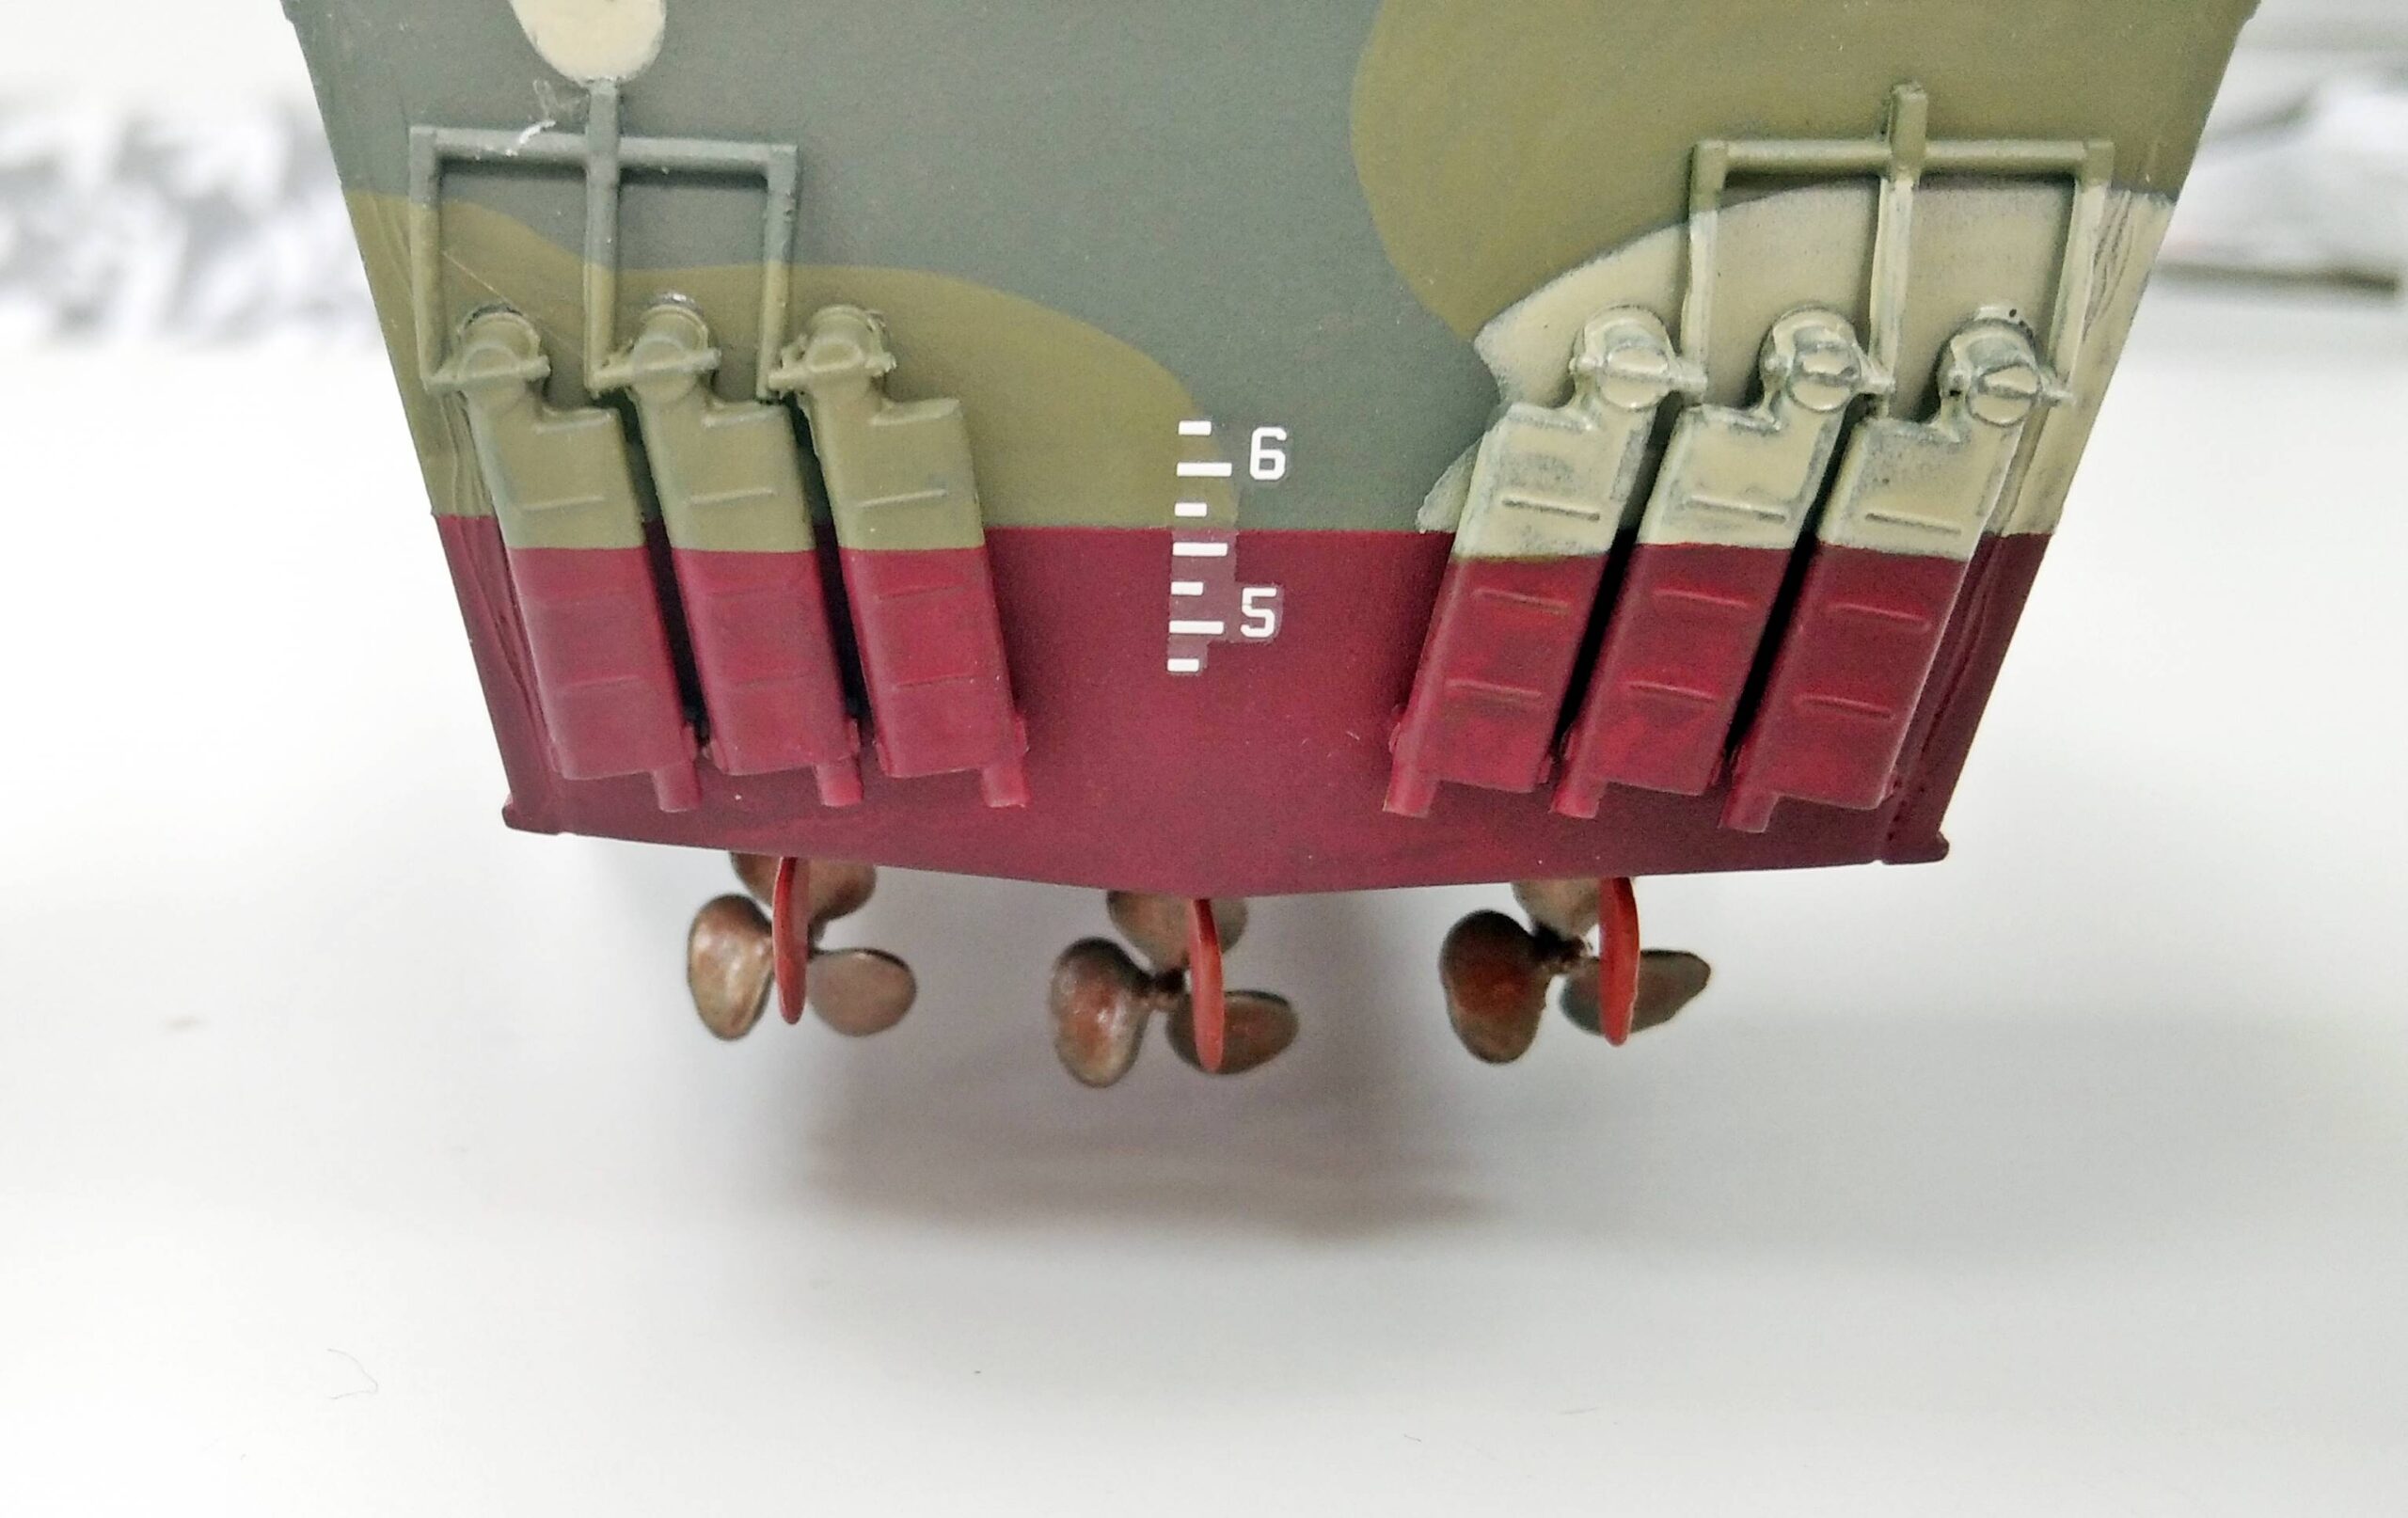
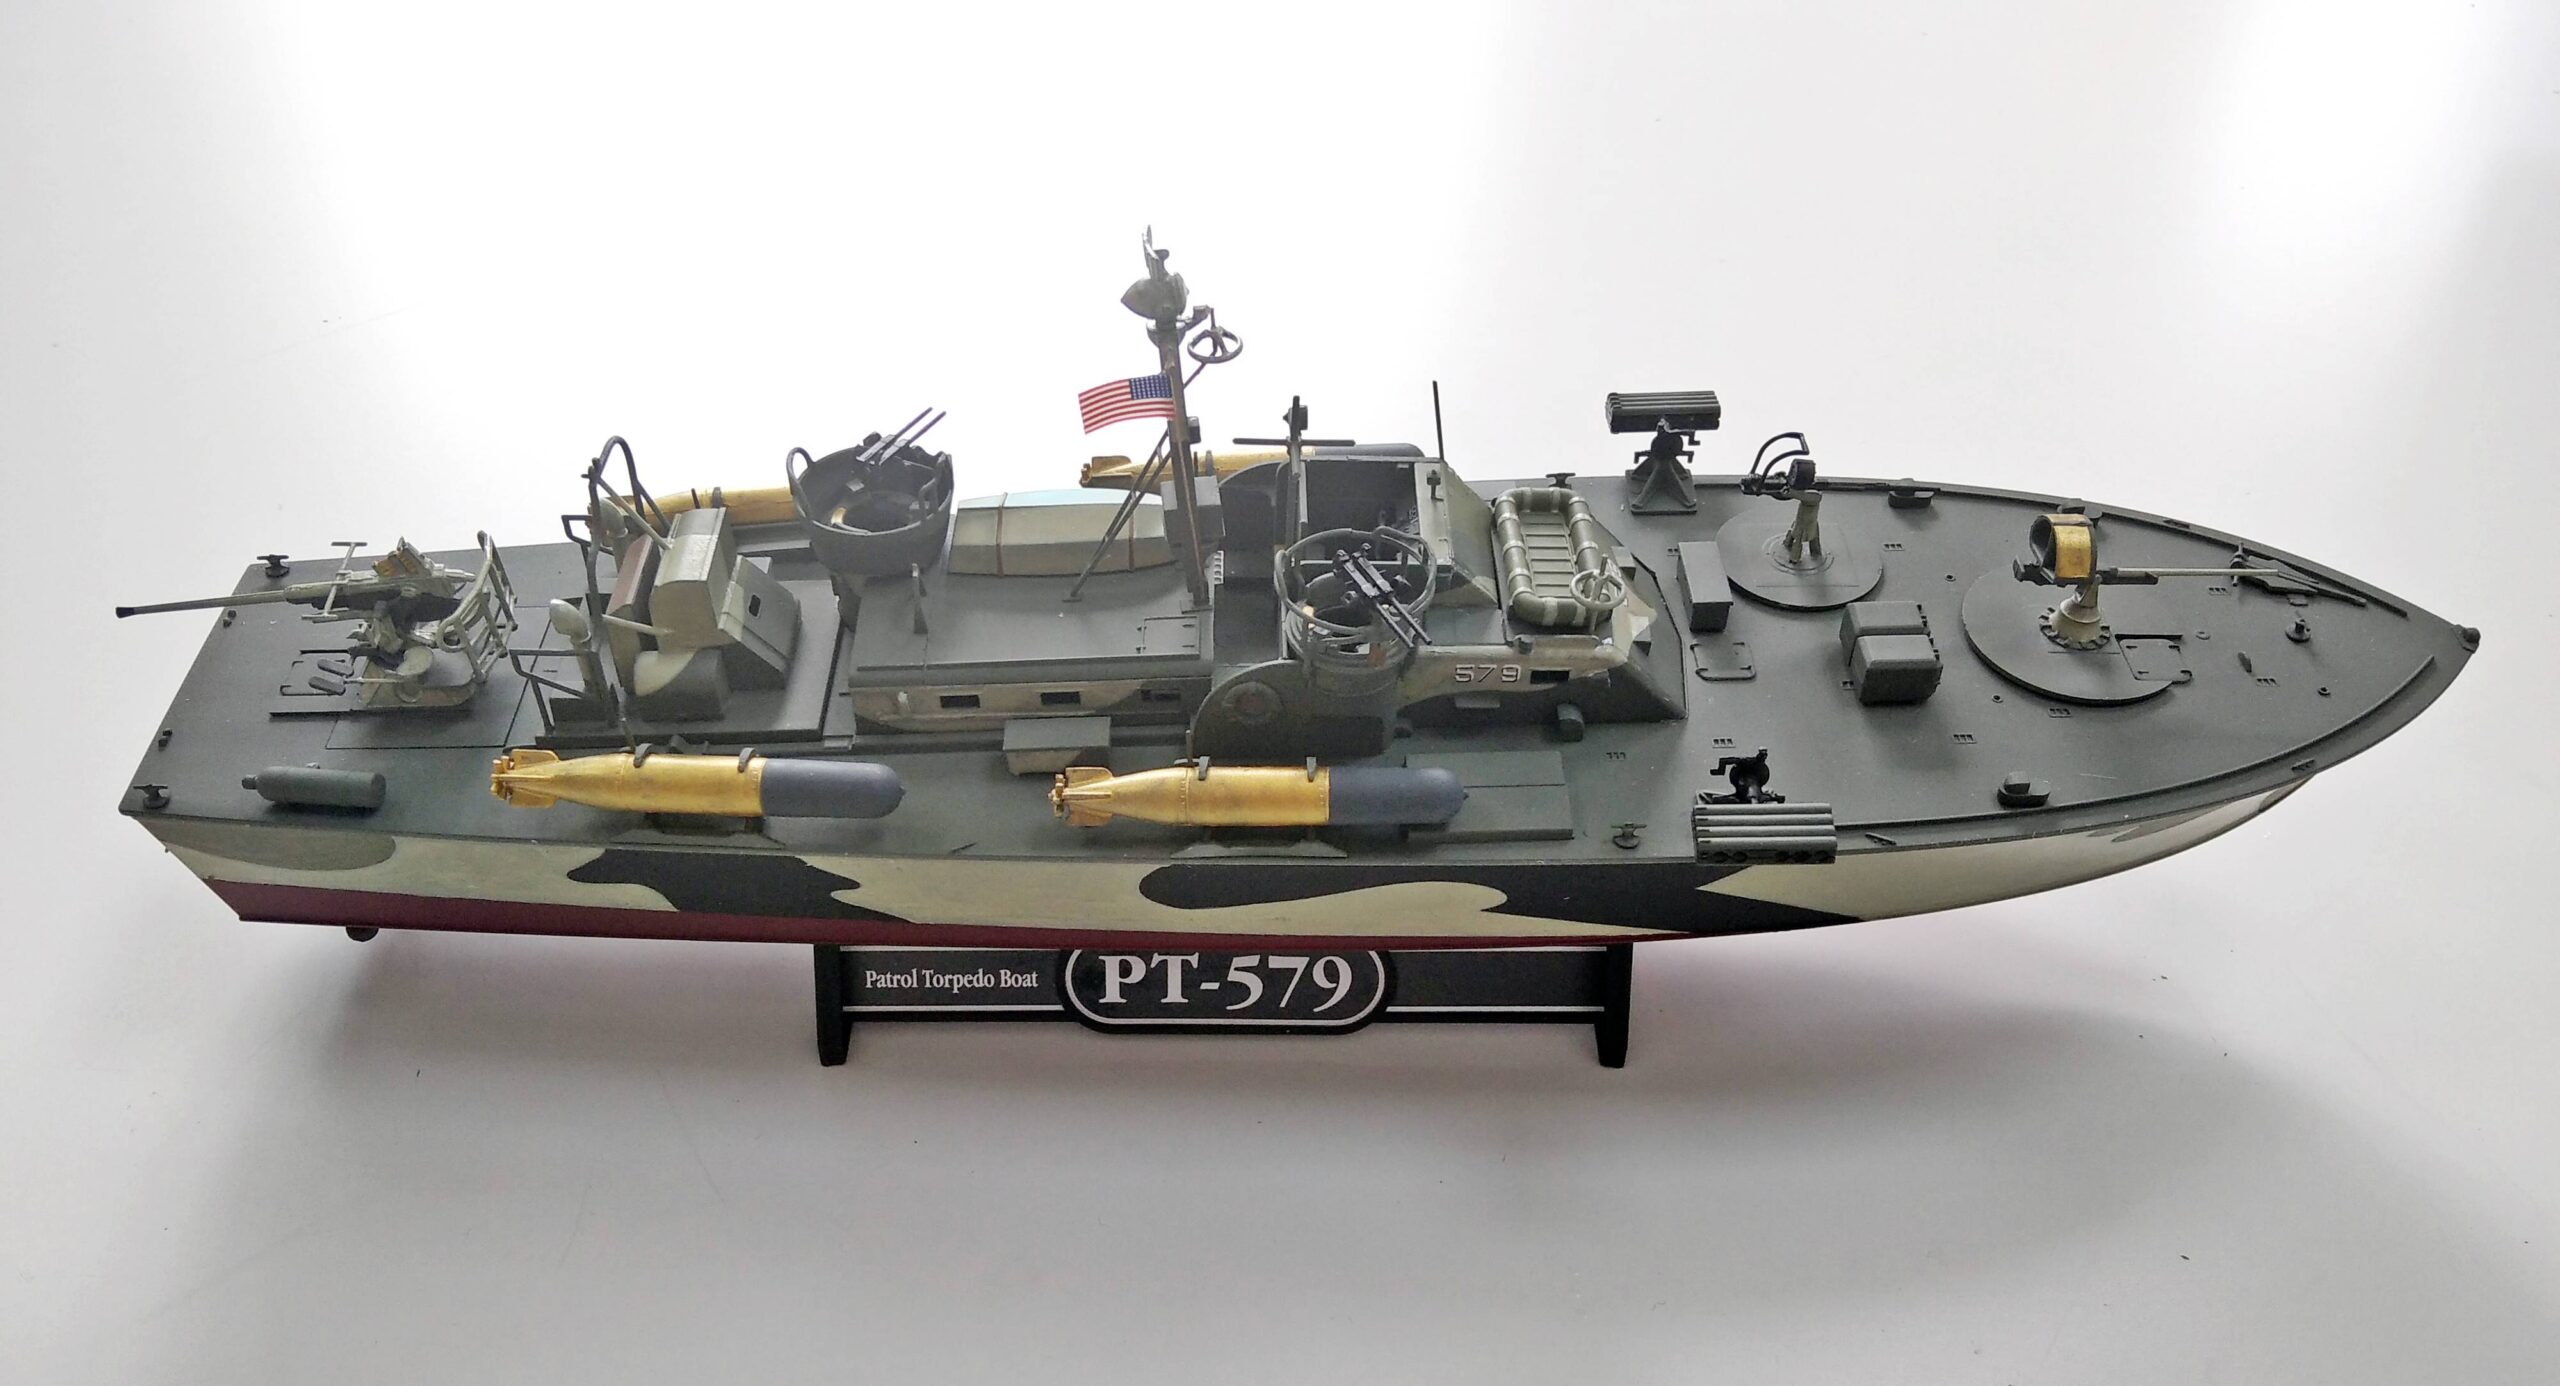
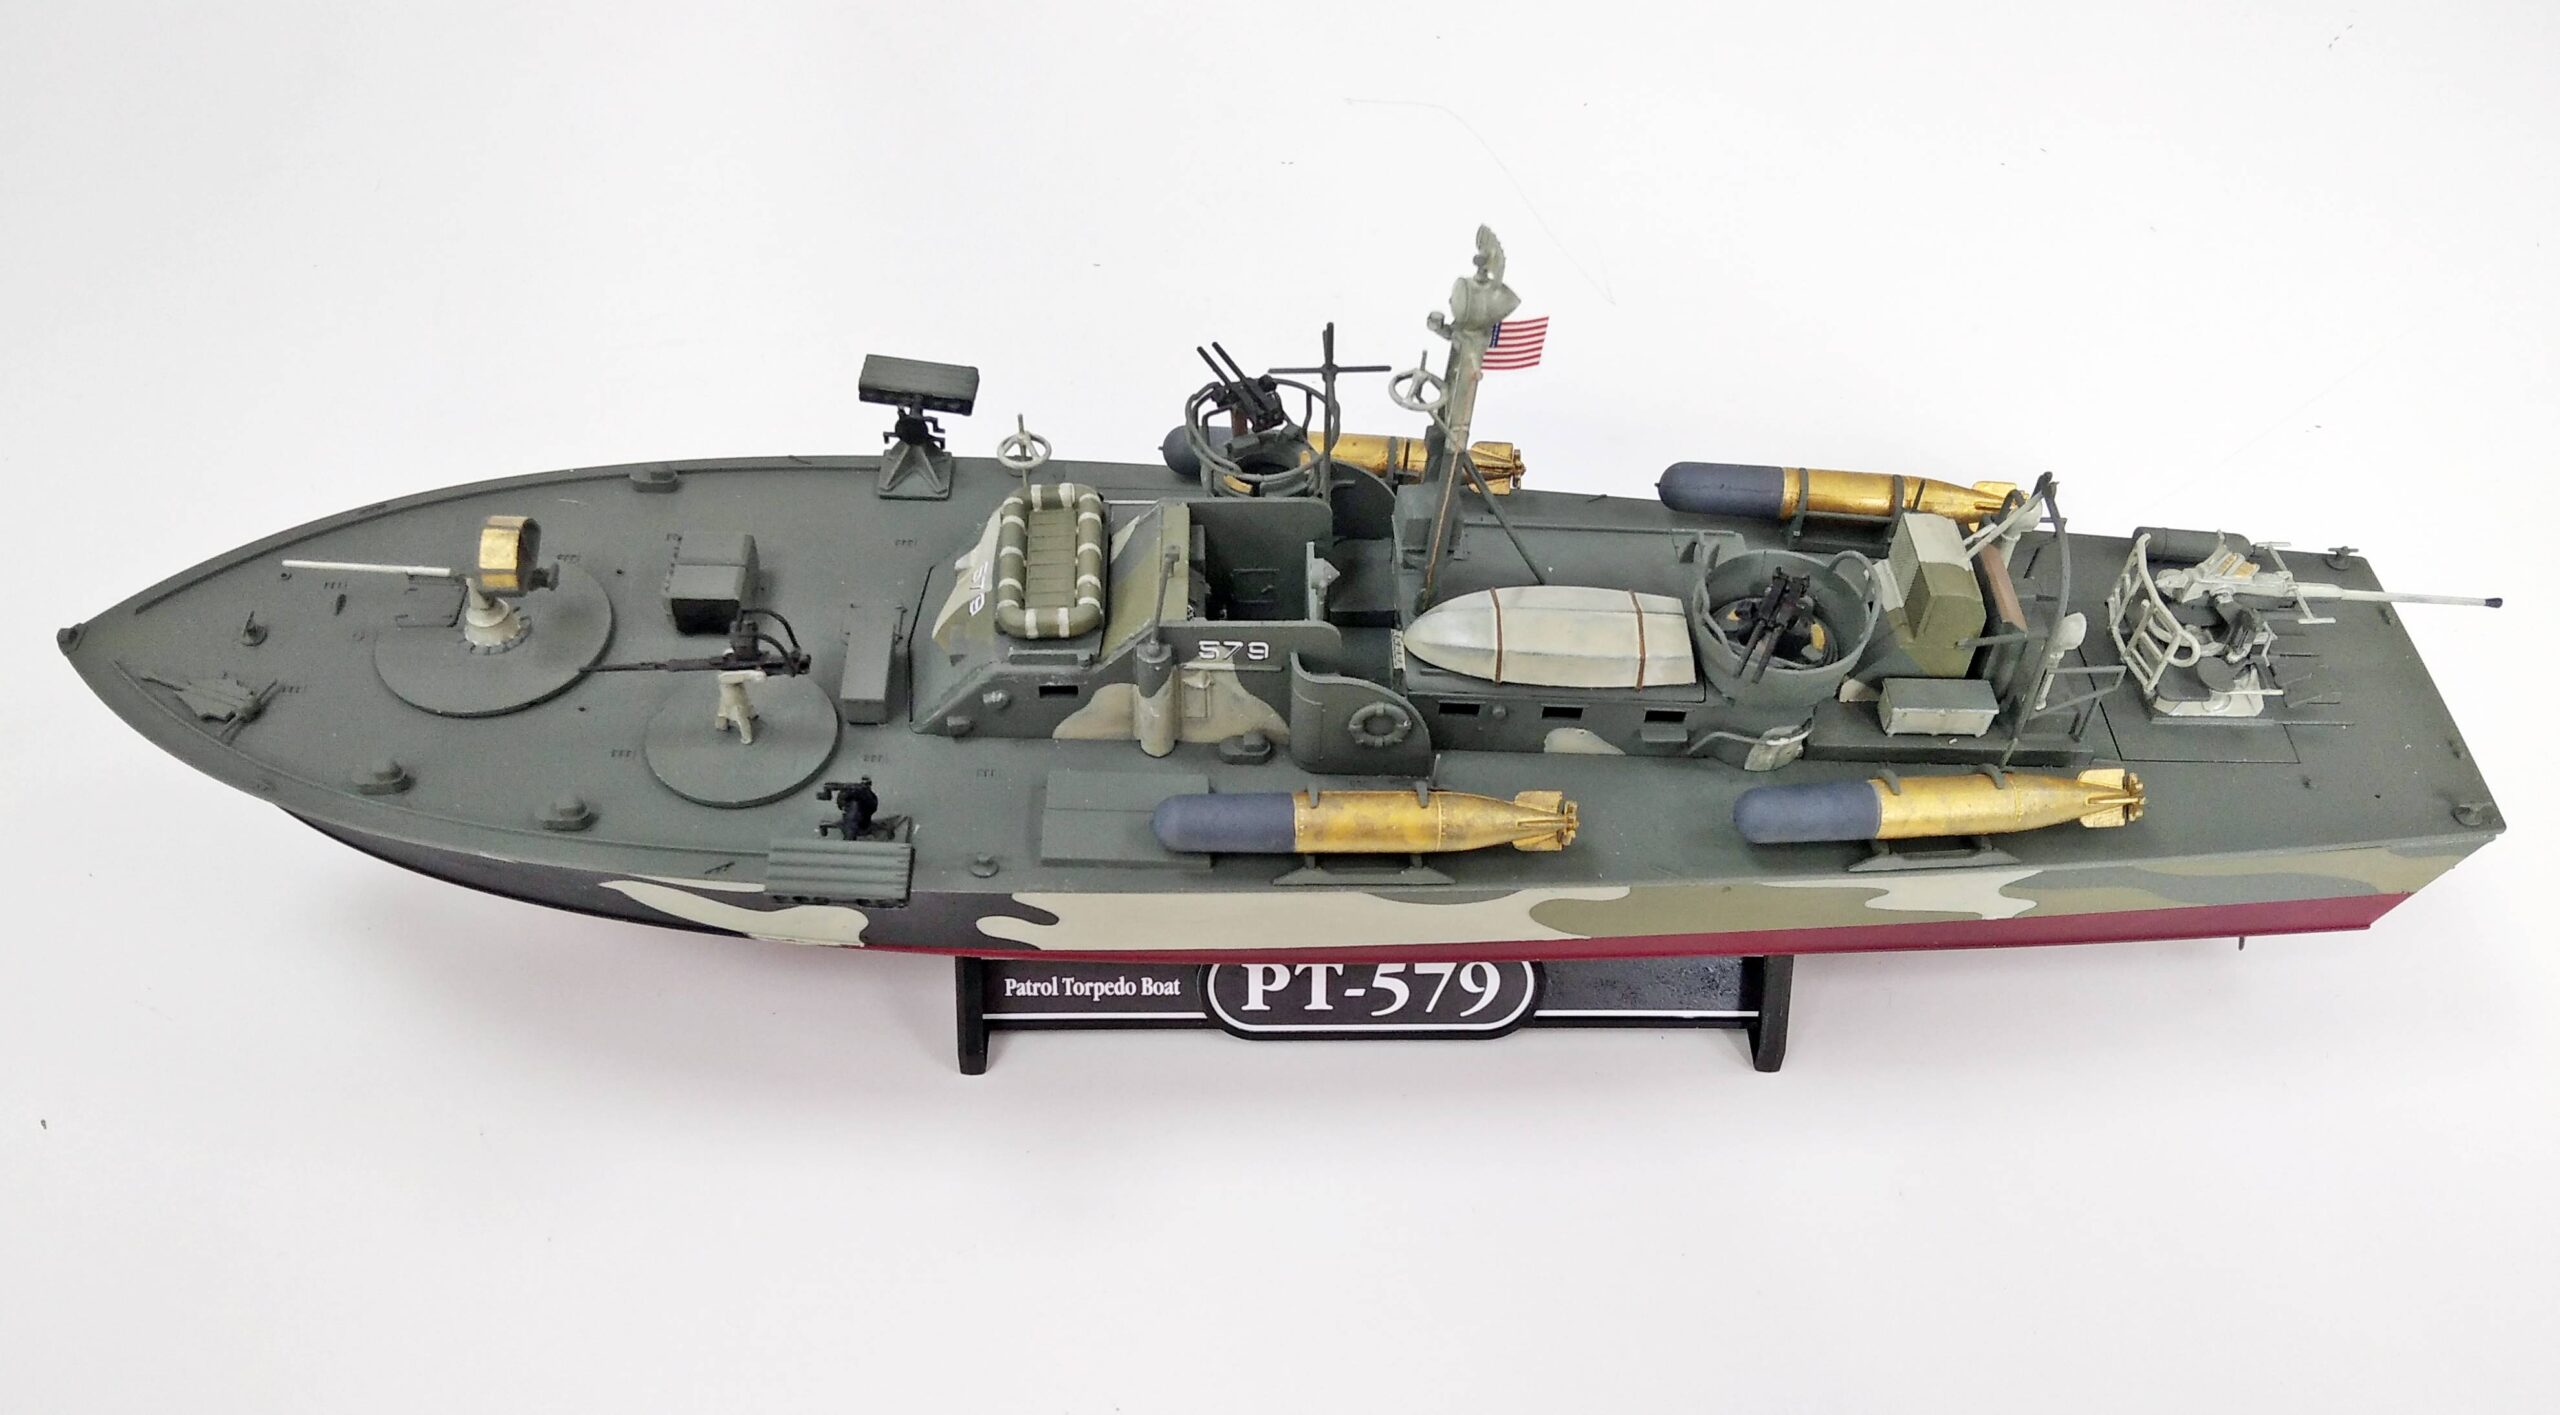
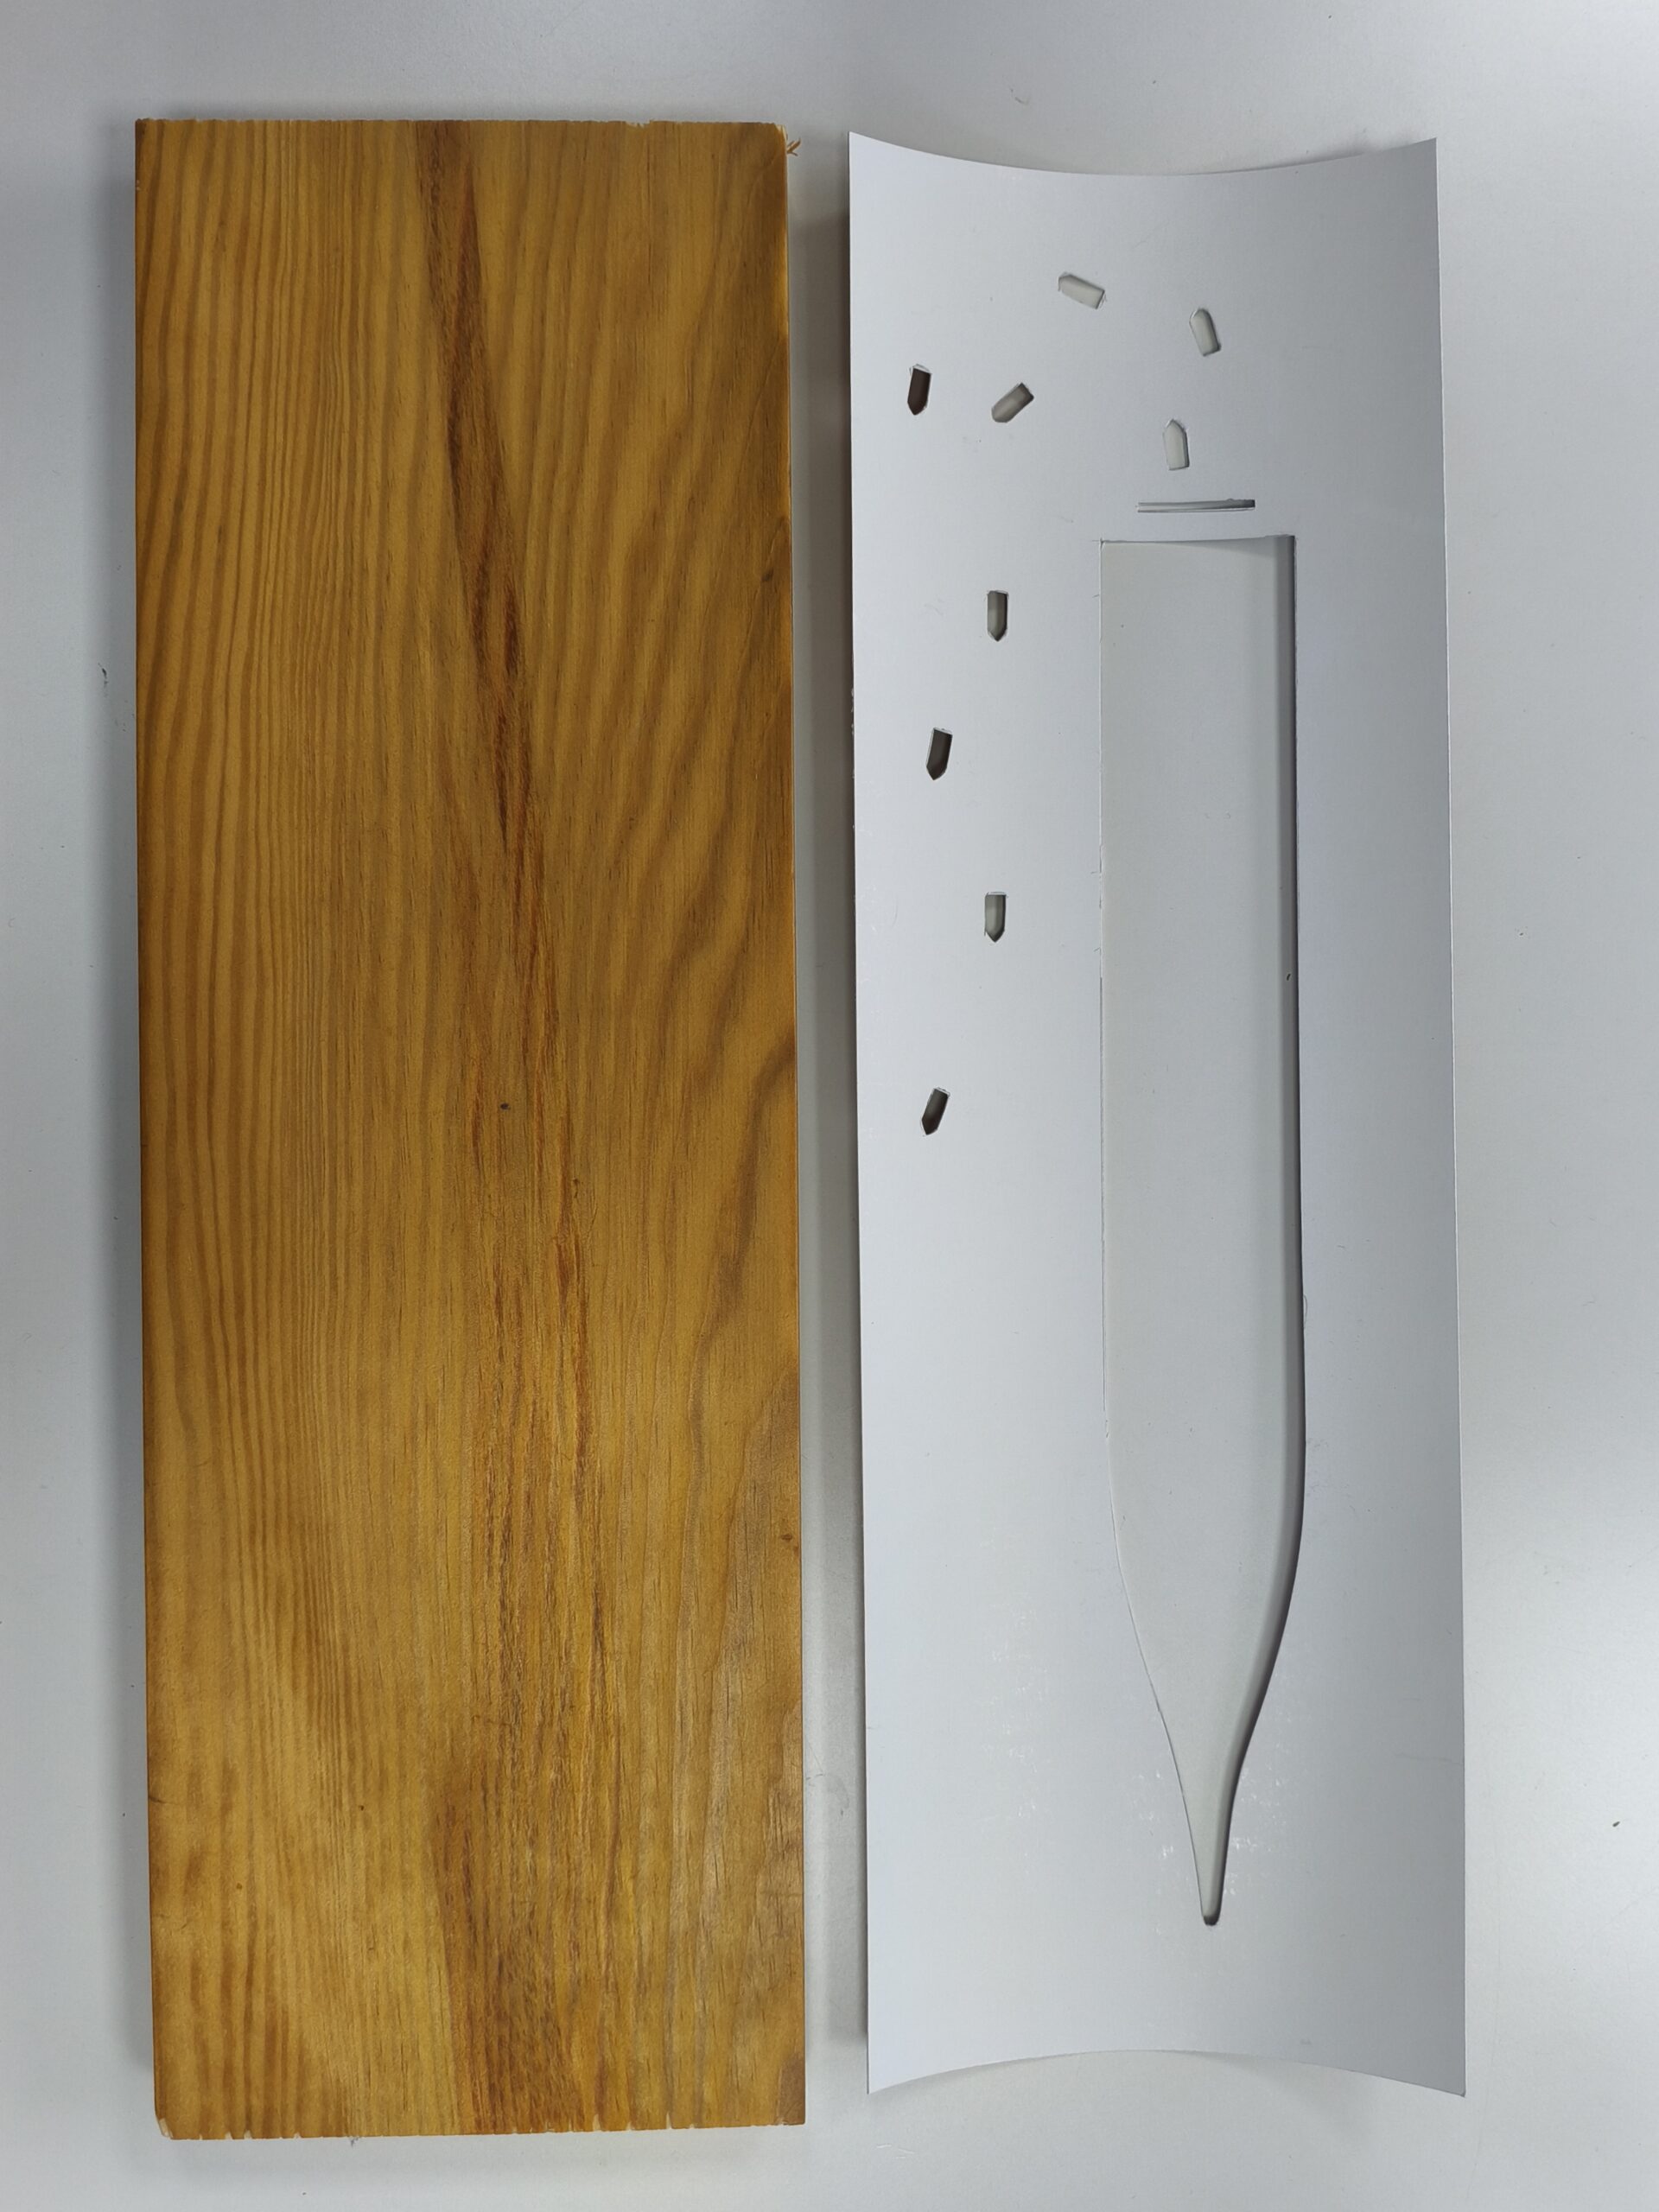
We were commissioned to build a Torpedo boat! Couldn’t tell who was happier – the customer, who had their boat built, or us, who got to make something instead of doing paperwork.
We decided not to add the clear windows because they were a little fiddly to glue on and you can’t really see through them.The deck appears to be used for another Torpedo boat kit, so right at the start we drilled around 30 holes onto it. The positions of the holes are clearly labelled on the bottom.We glued on the parts that are same colour as the deck and spray-painted it. Next, we constructed the remaining components and dry-fitted it on to the deck.We primed the remaining components and painted on the camouflage scheme.The hull was masked and painted.Finally, we glued all the parts together and here is the finished boat.