So…Christmas was a little different from what we expected. With tons of spare time and nowhere to go, we ended up racing through this model in just one week!
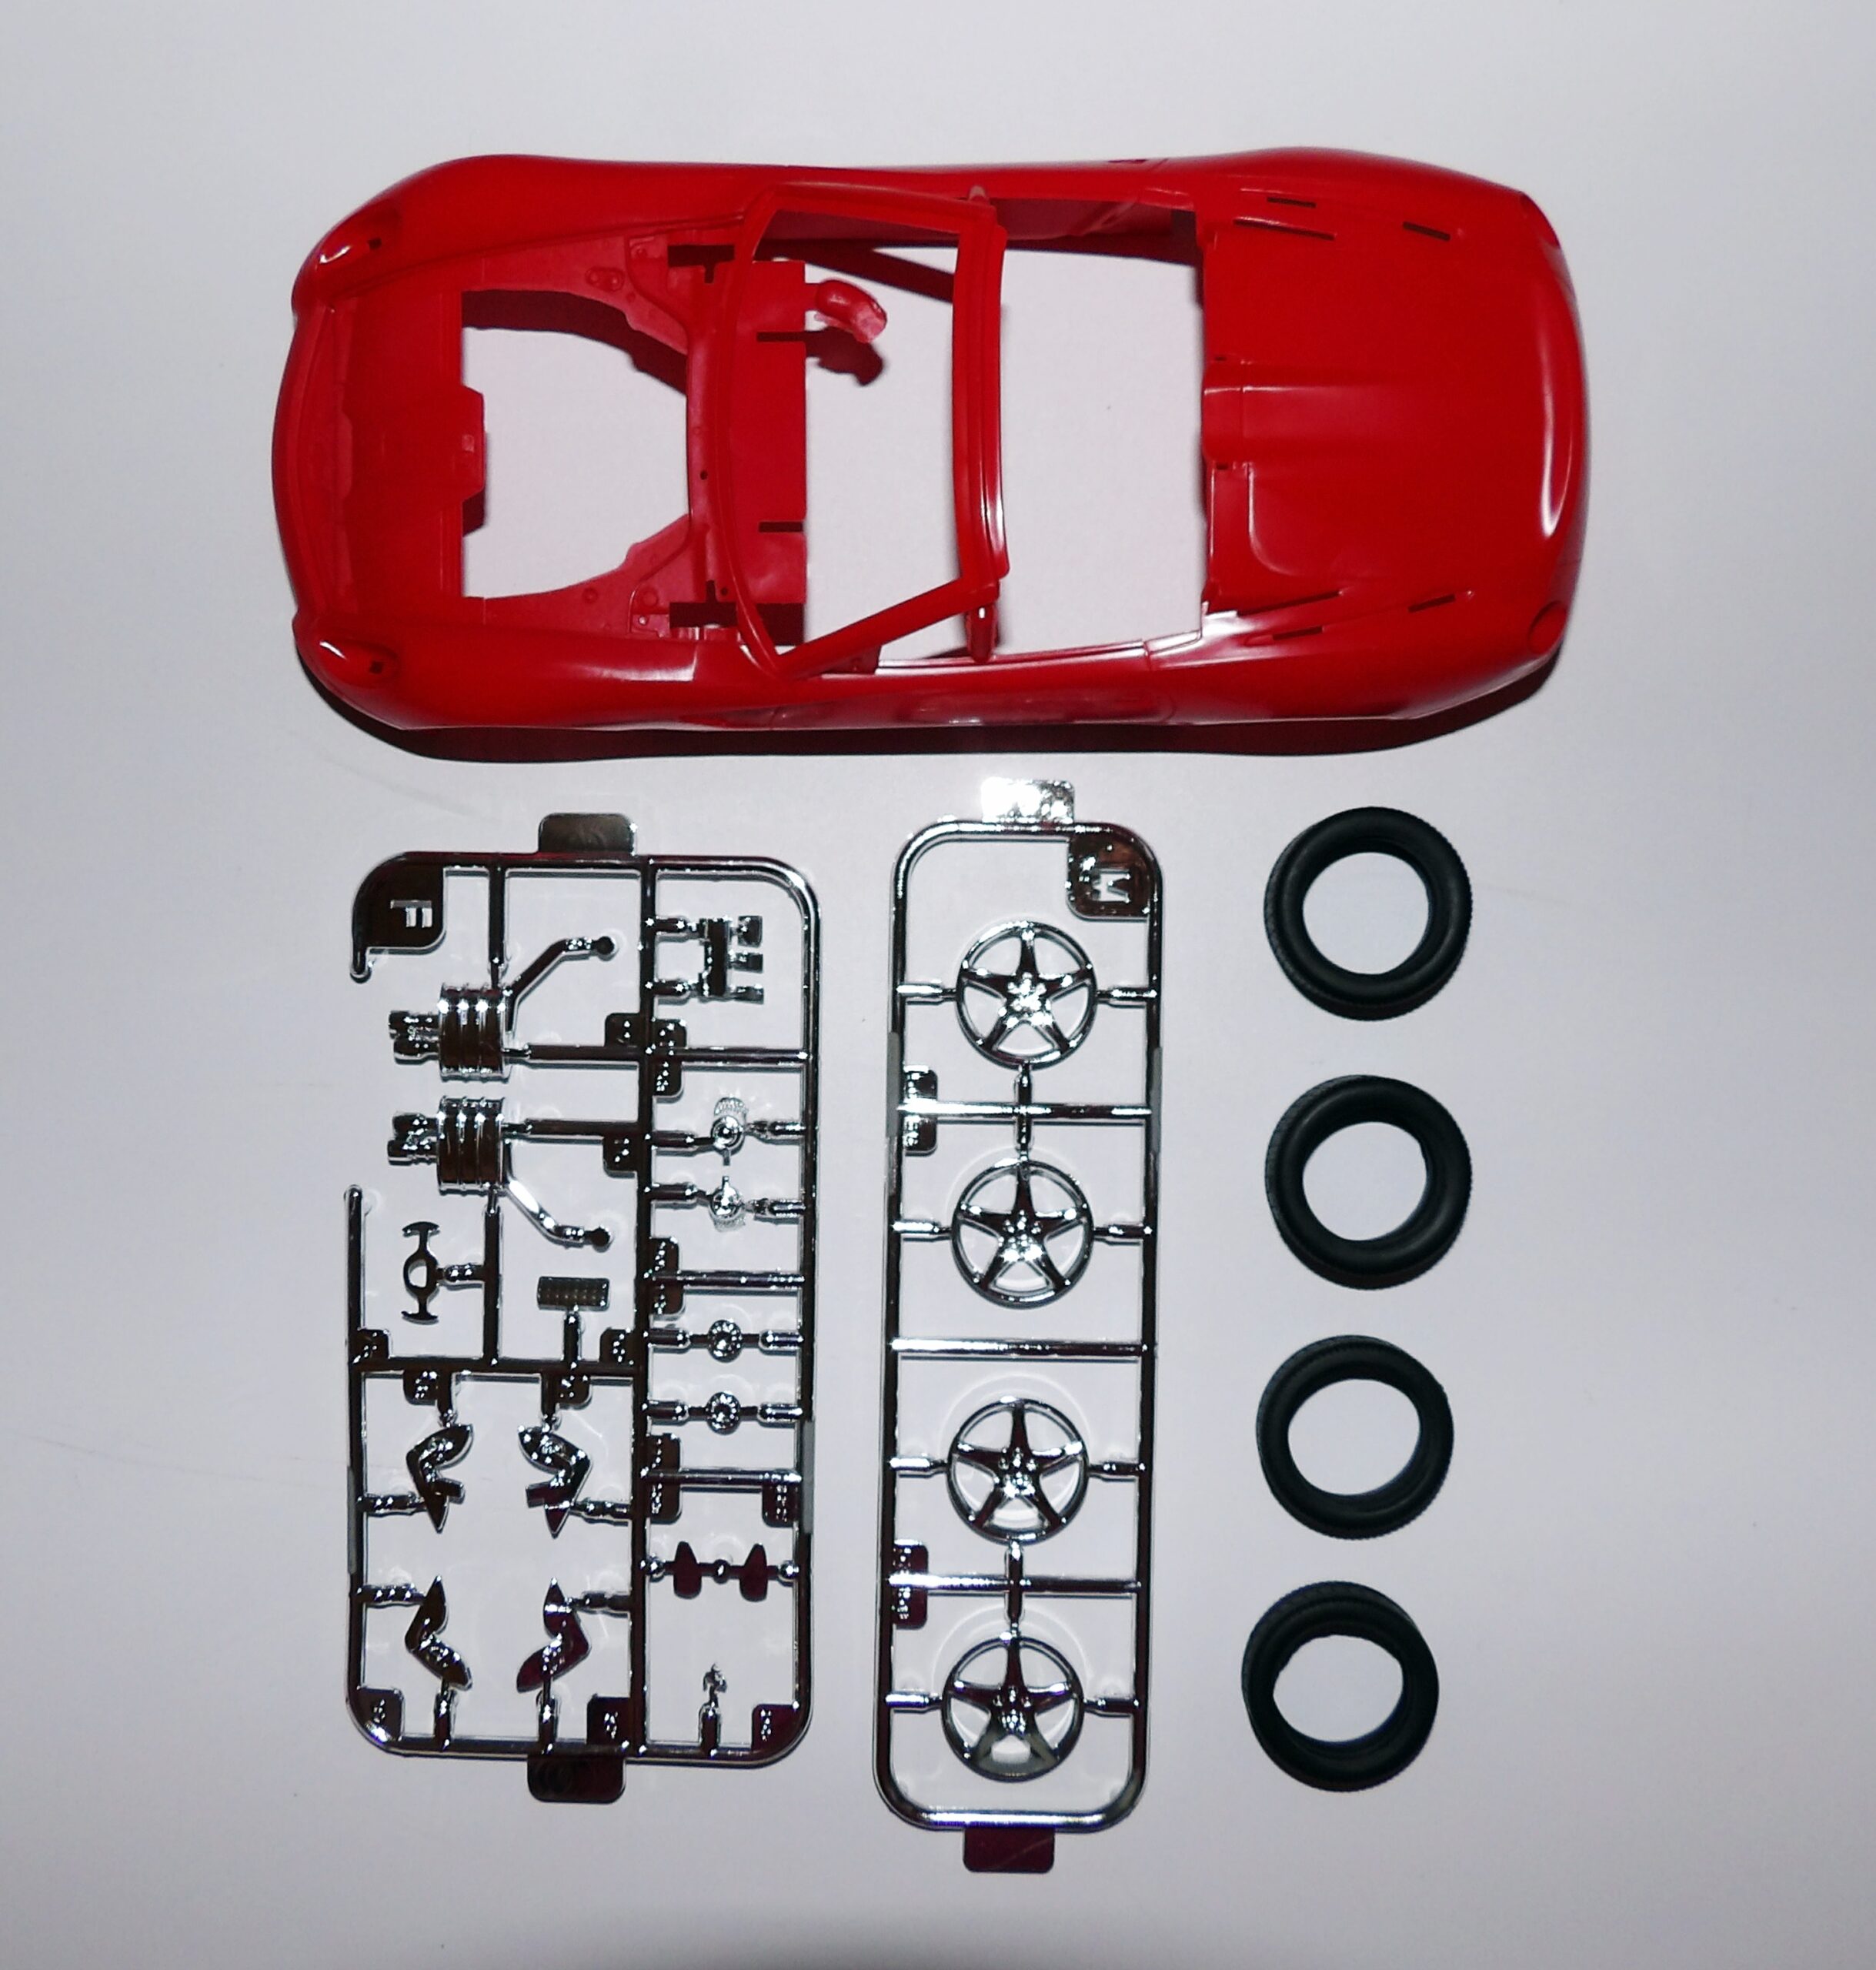
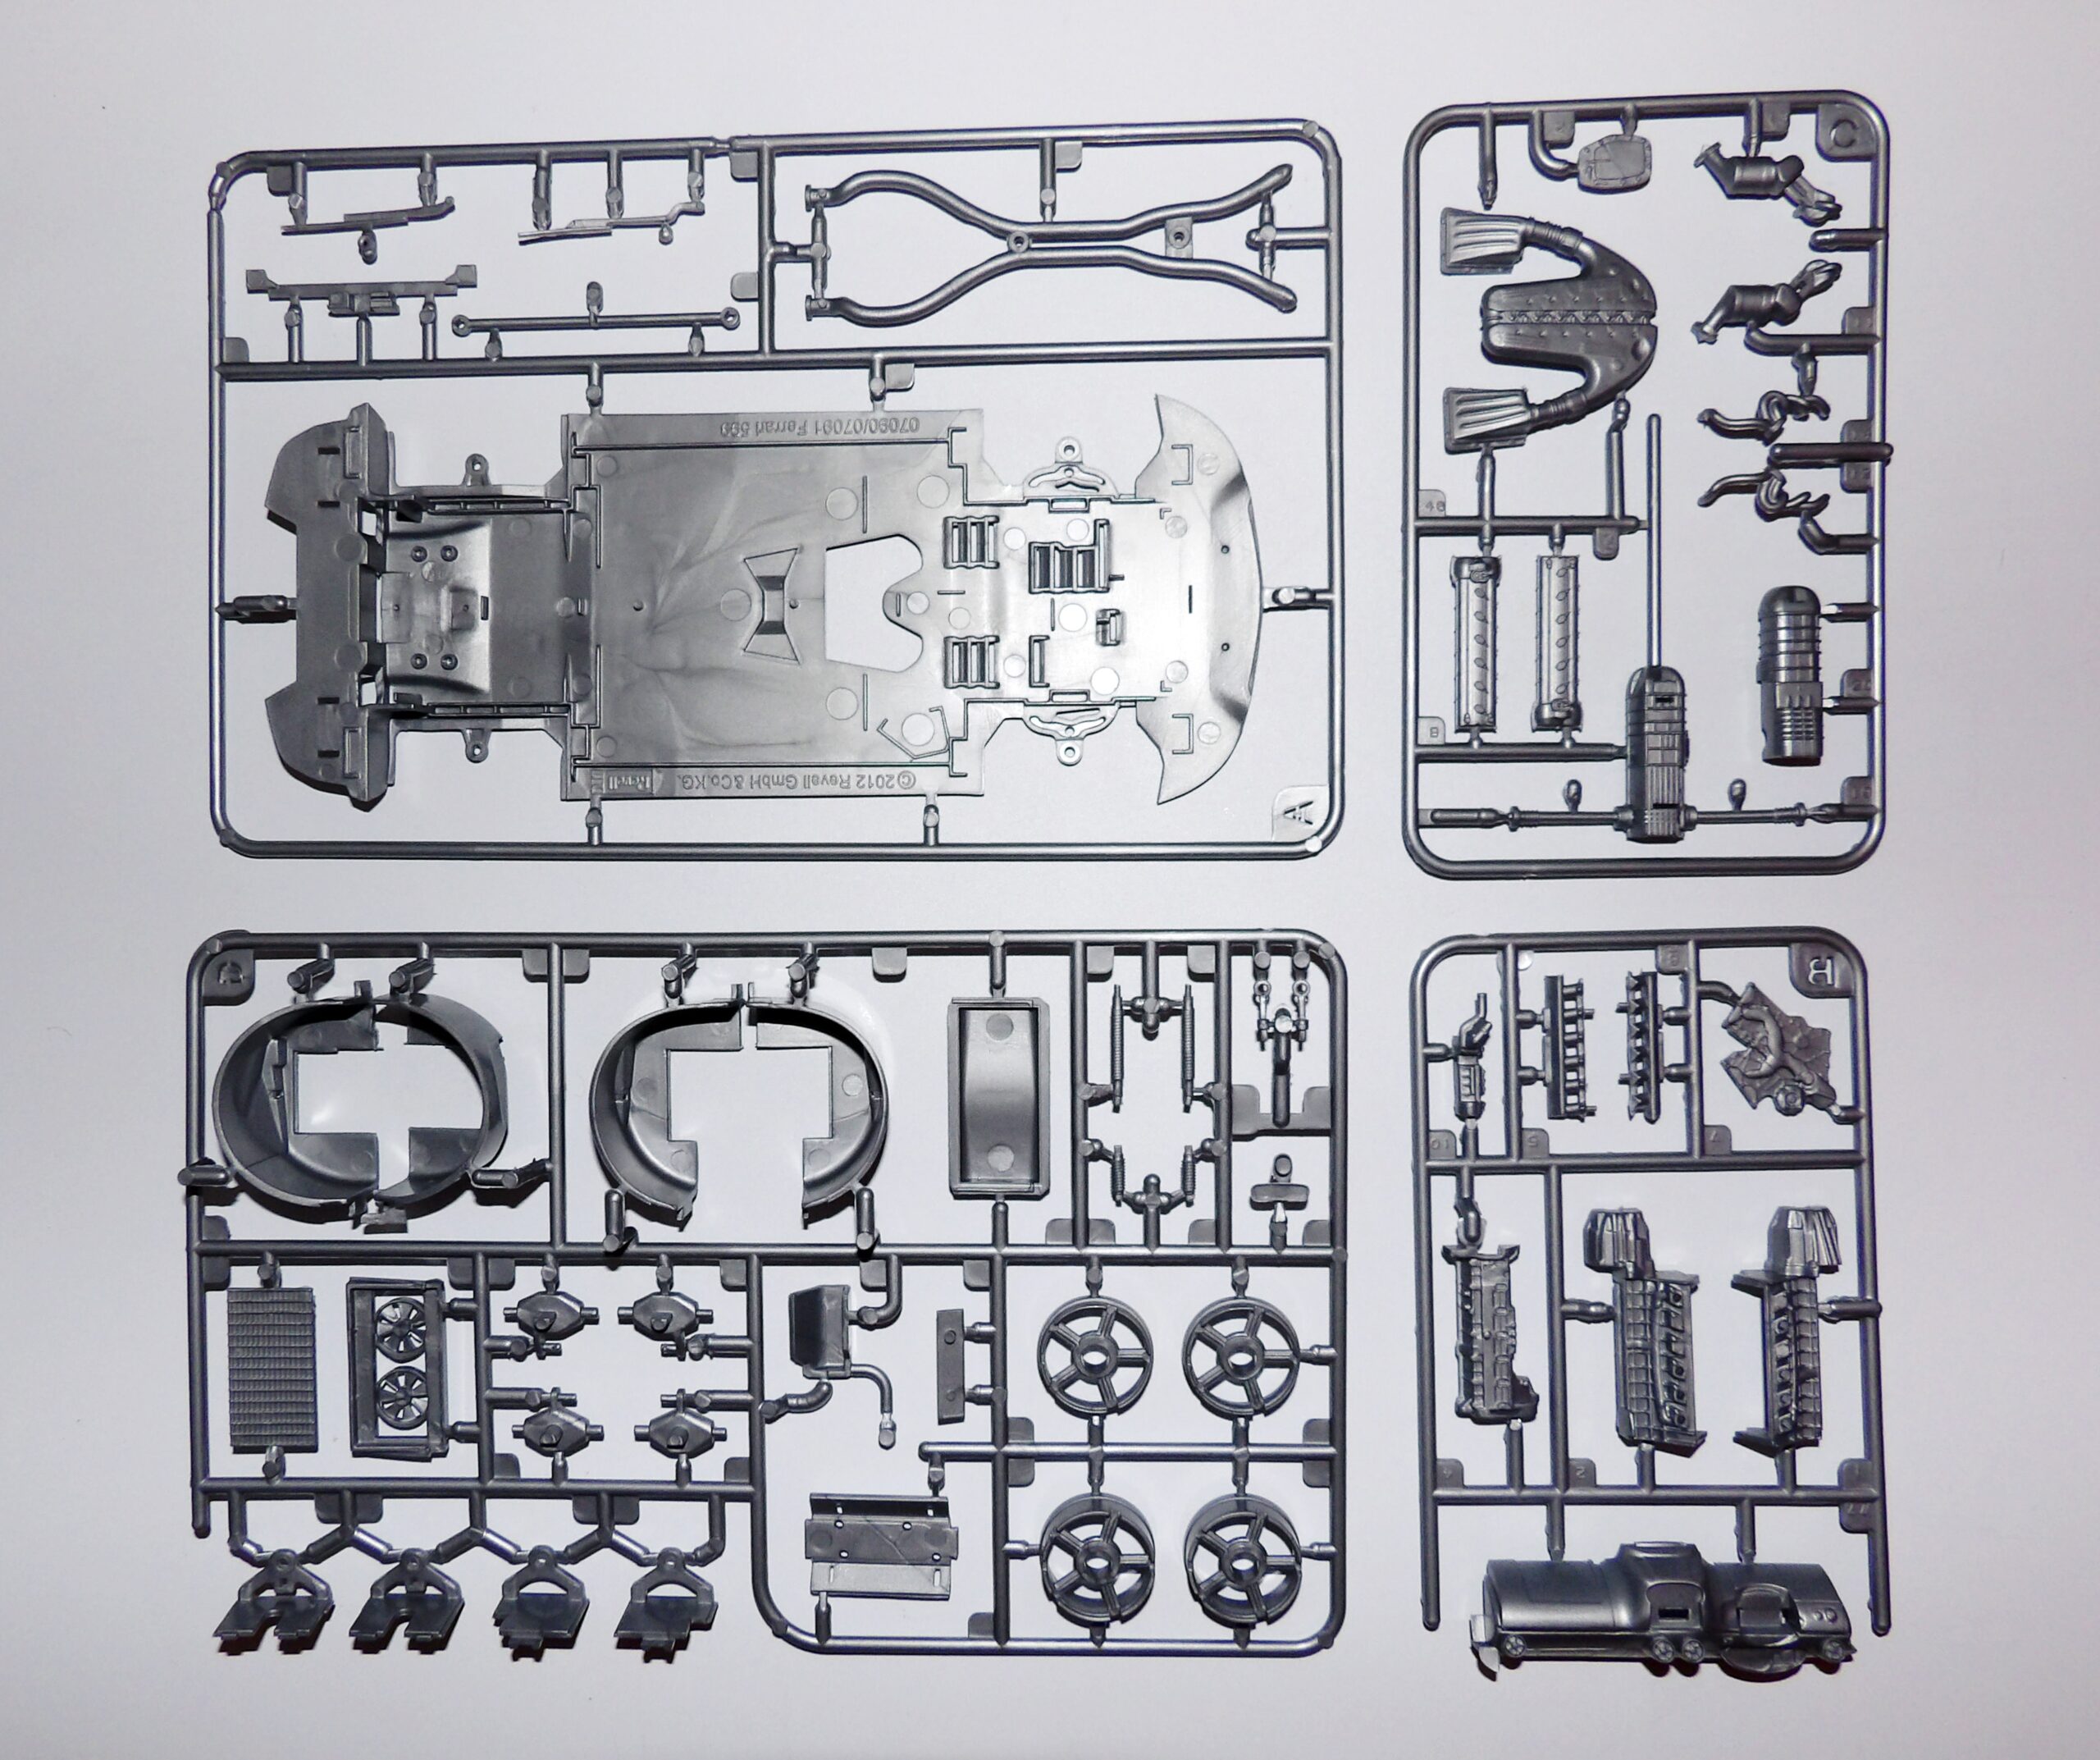
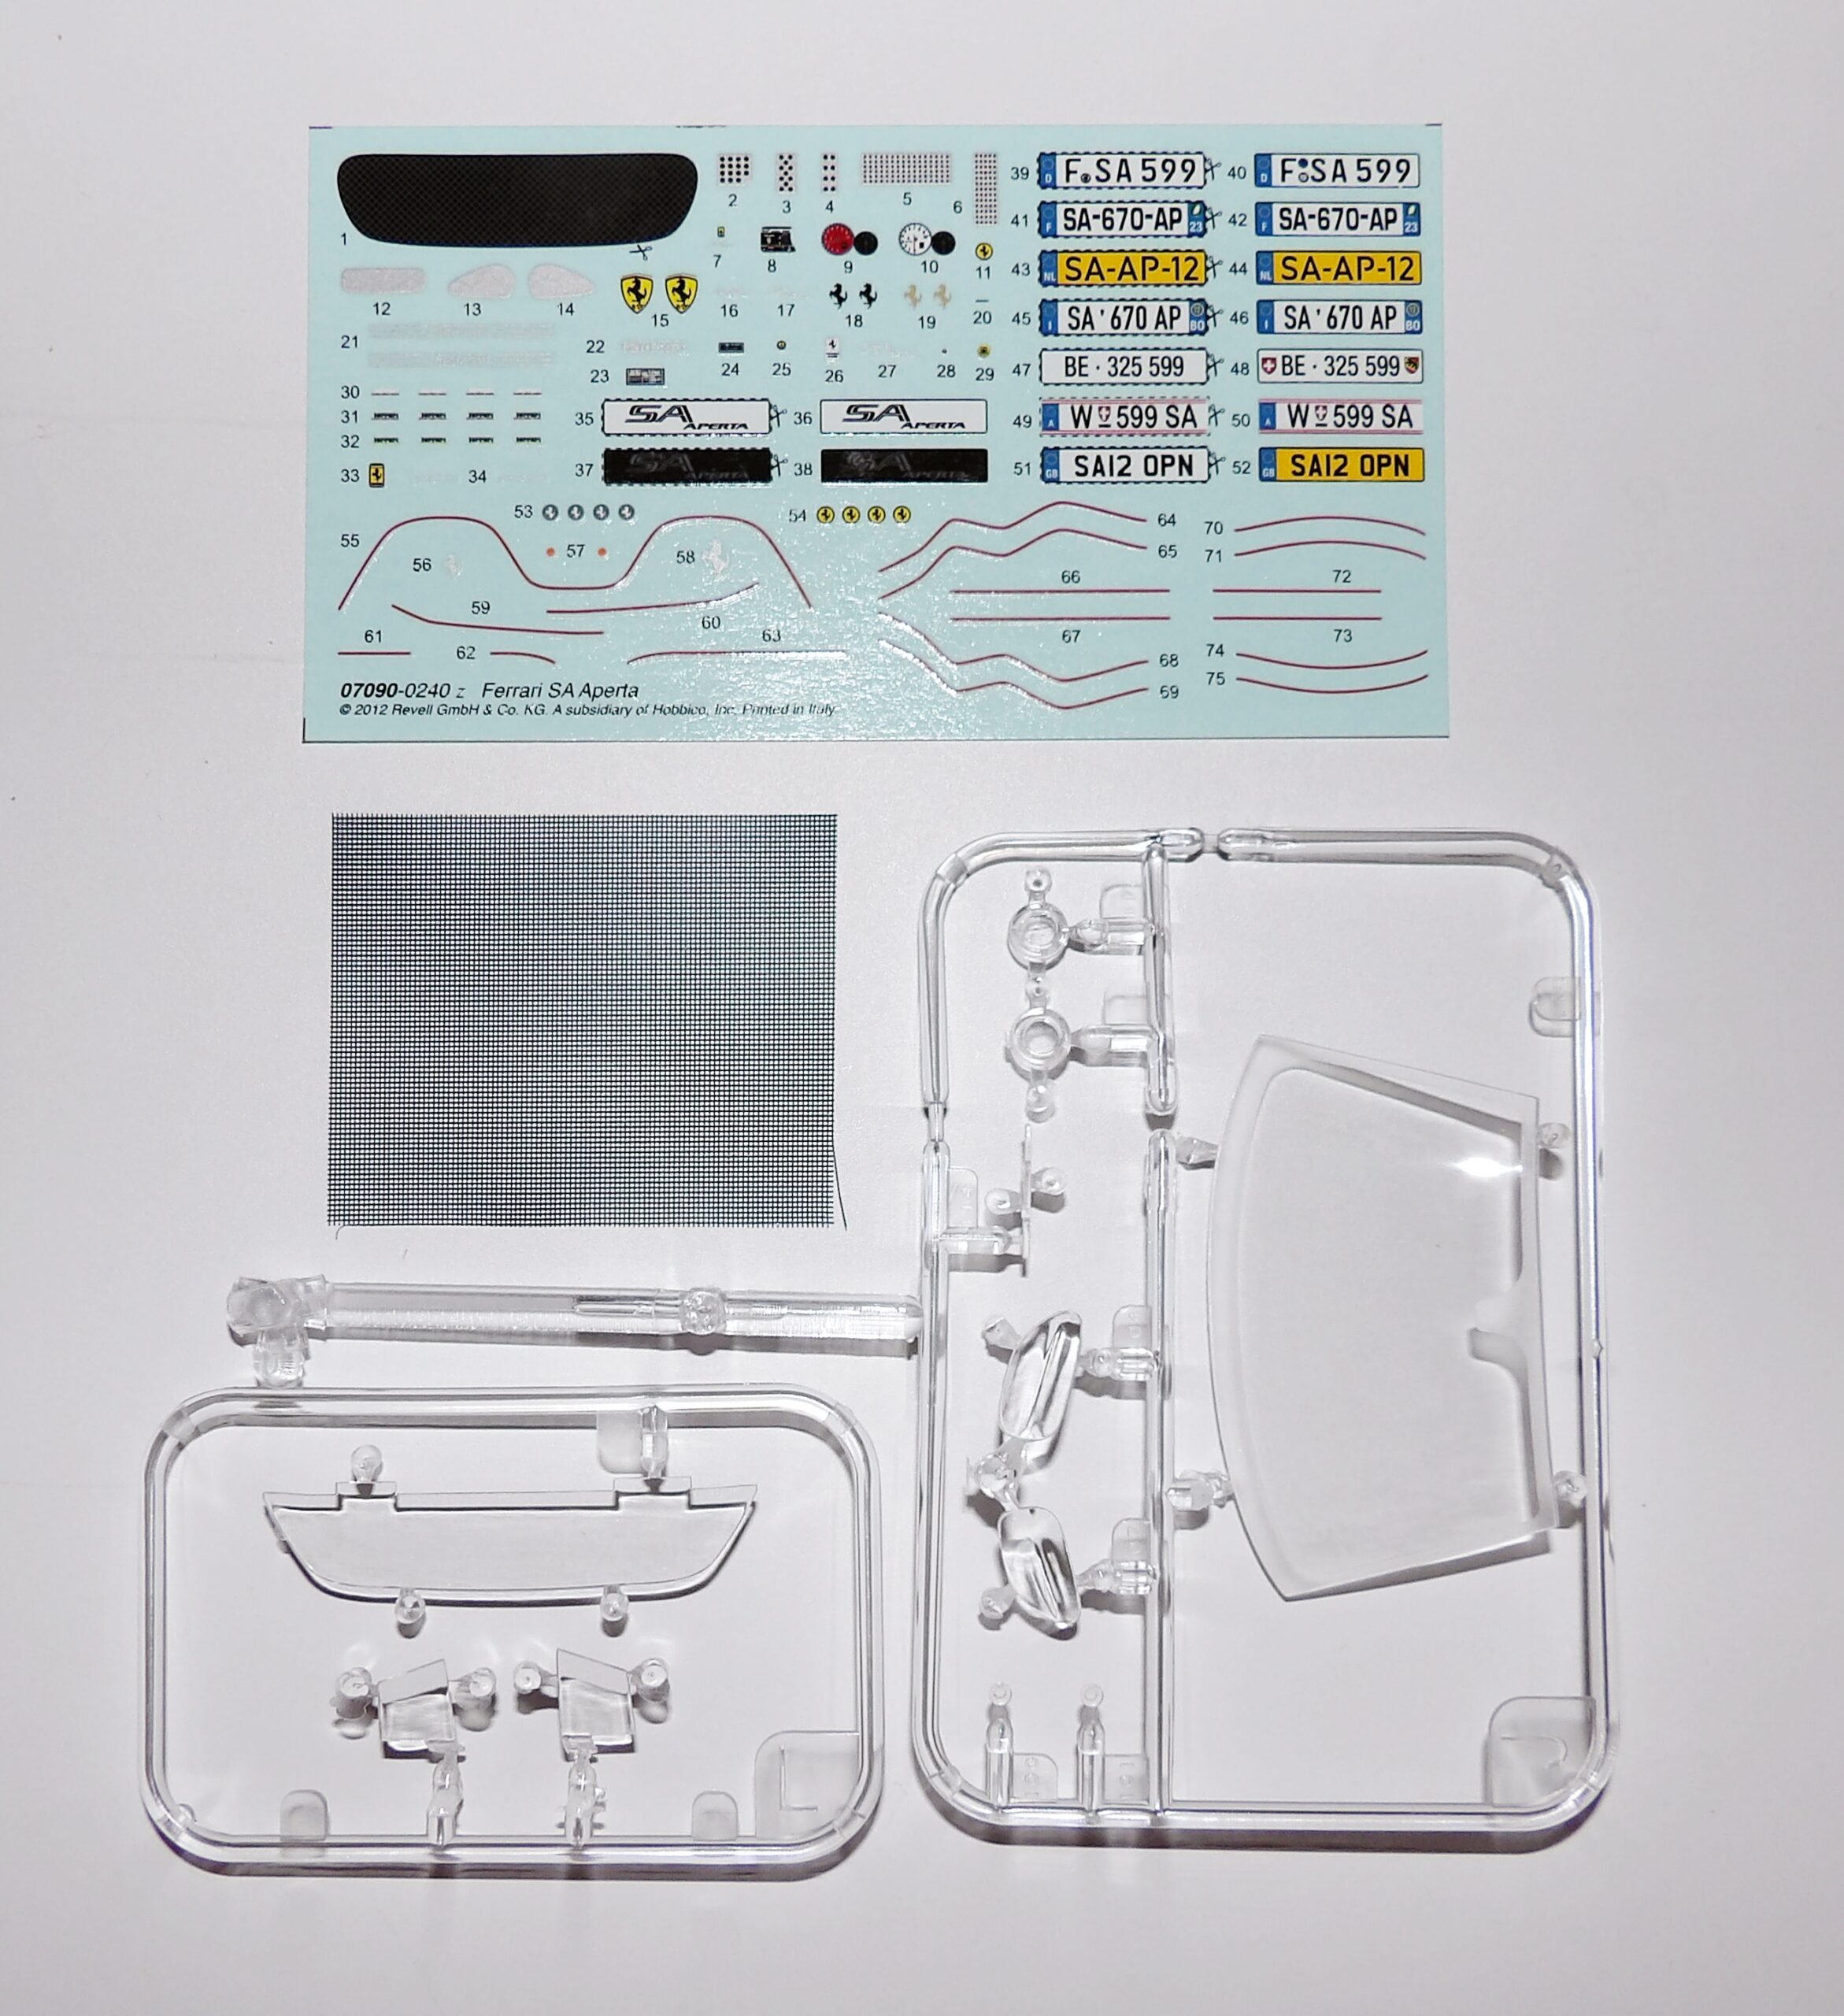
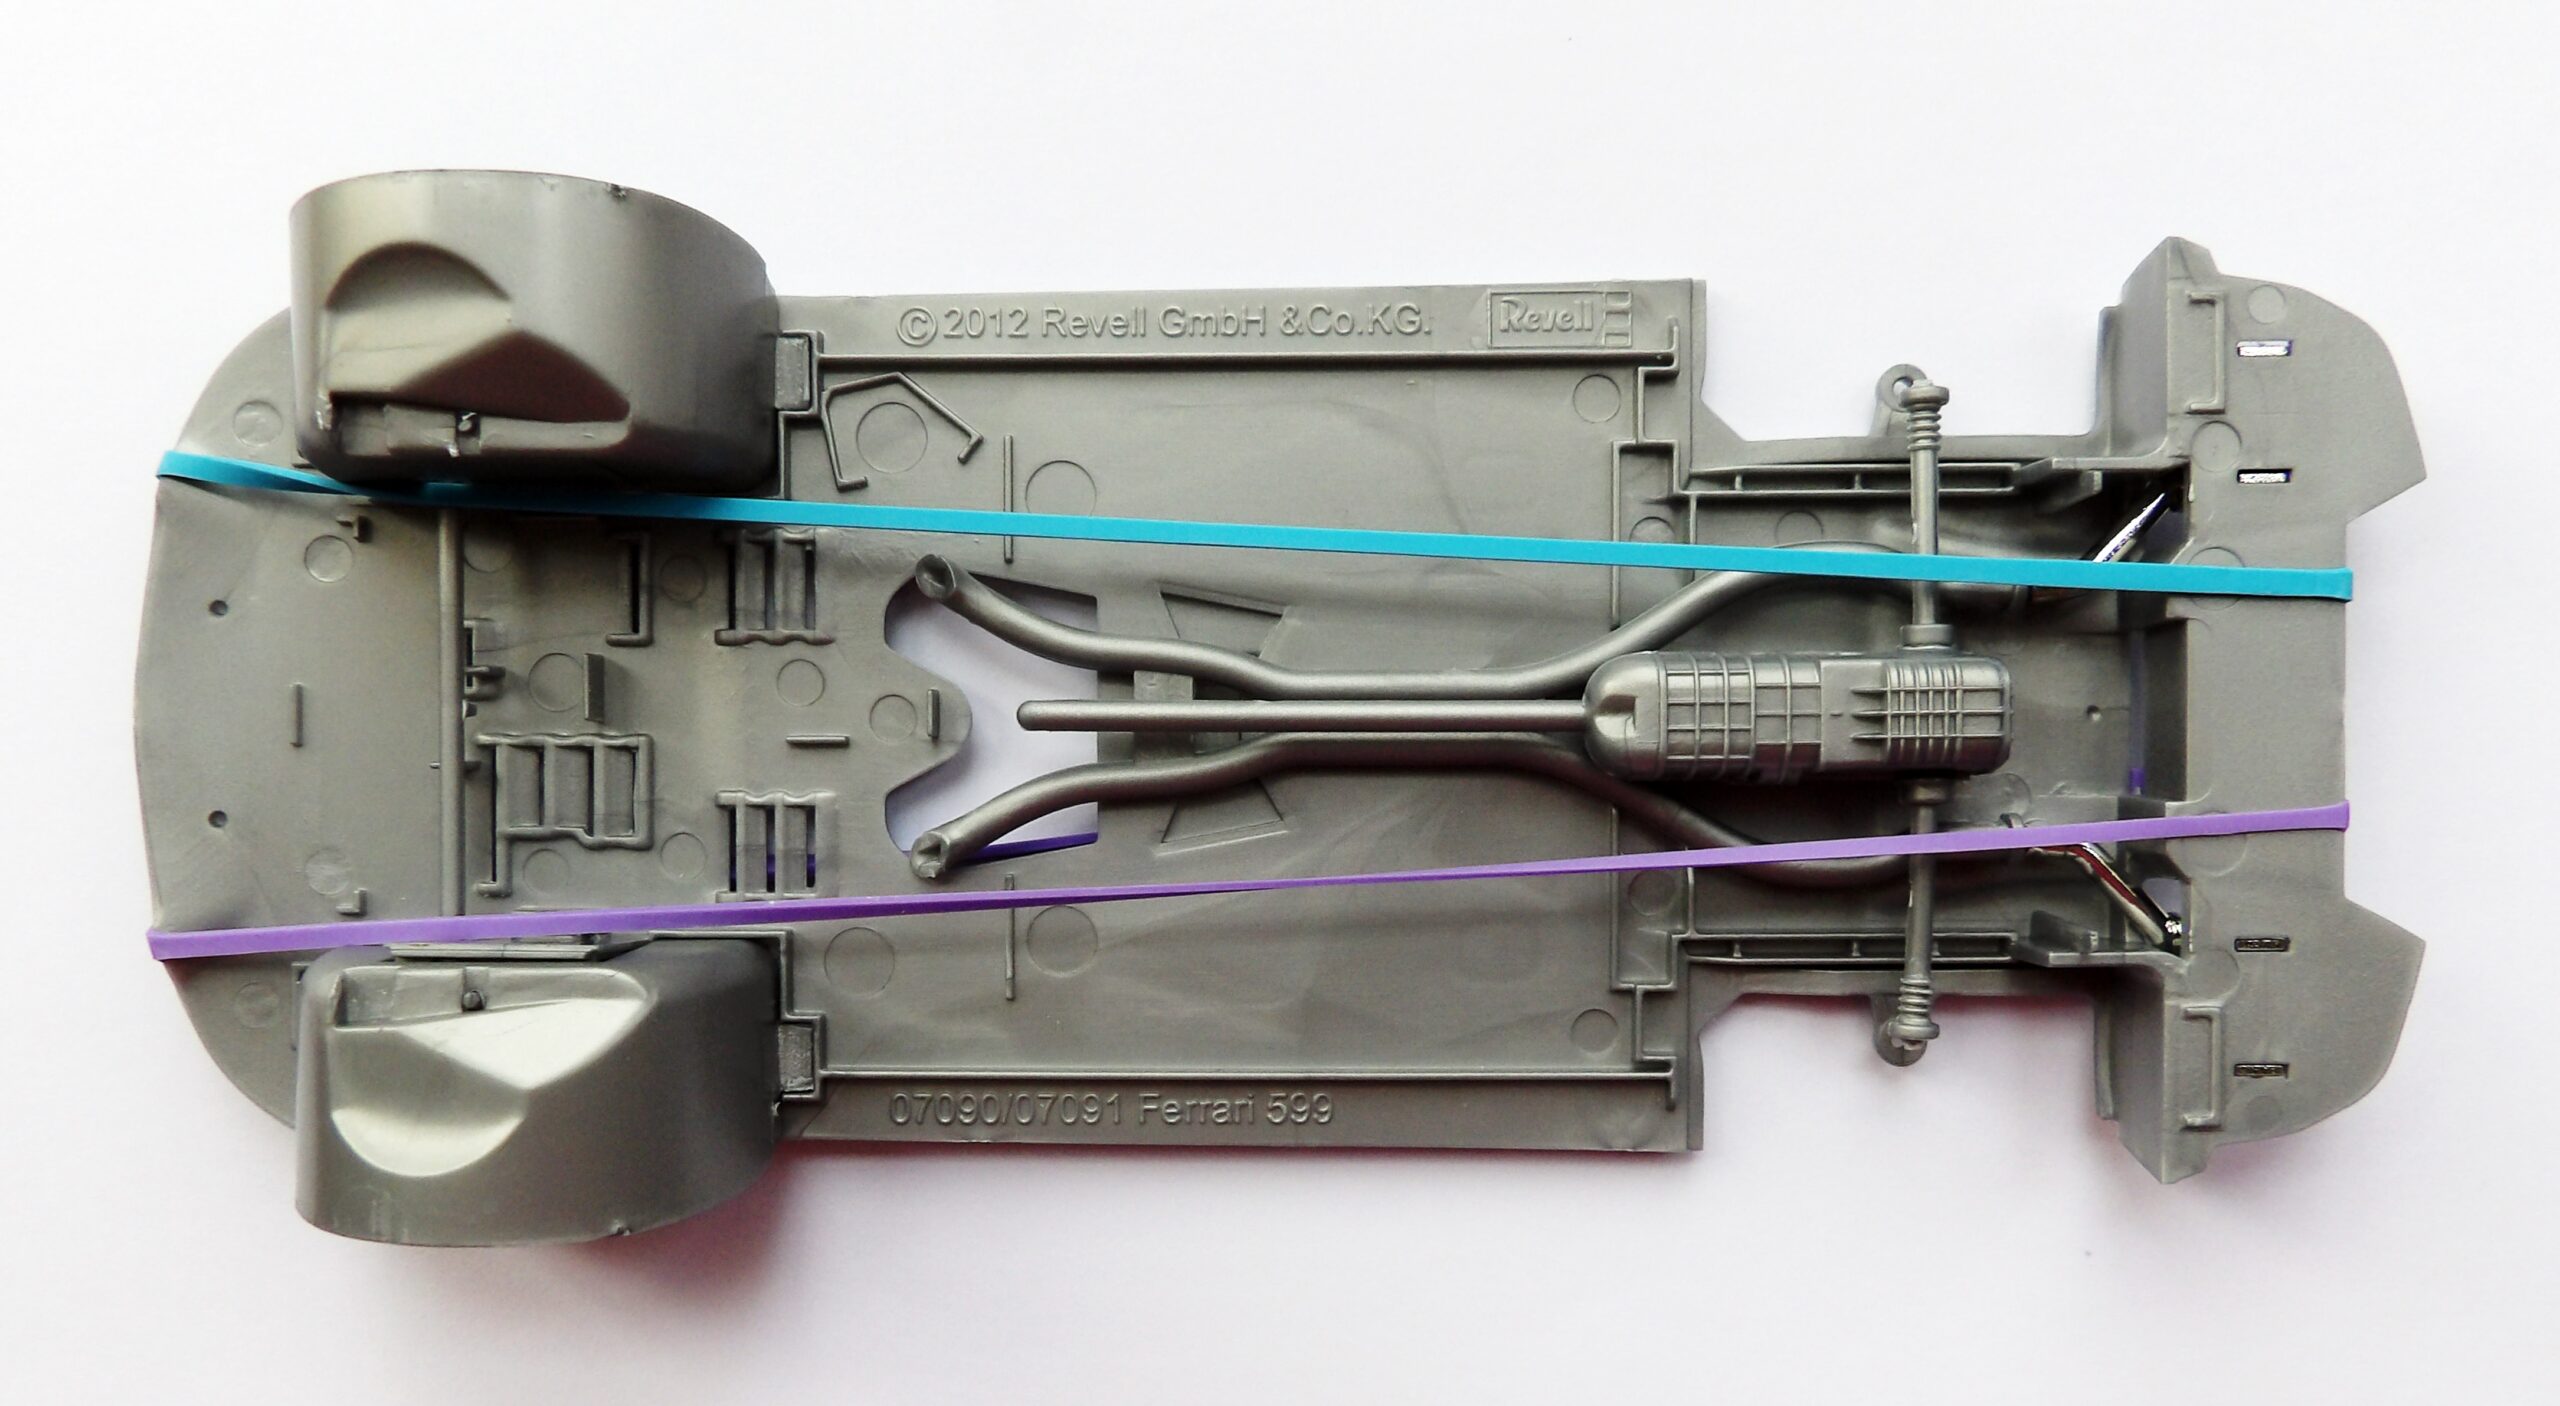
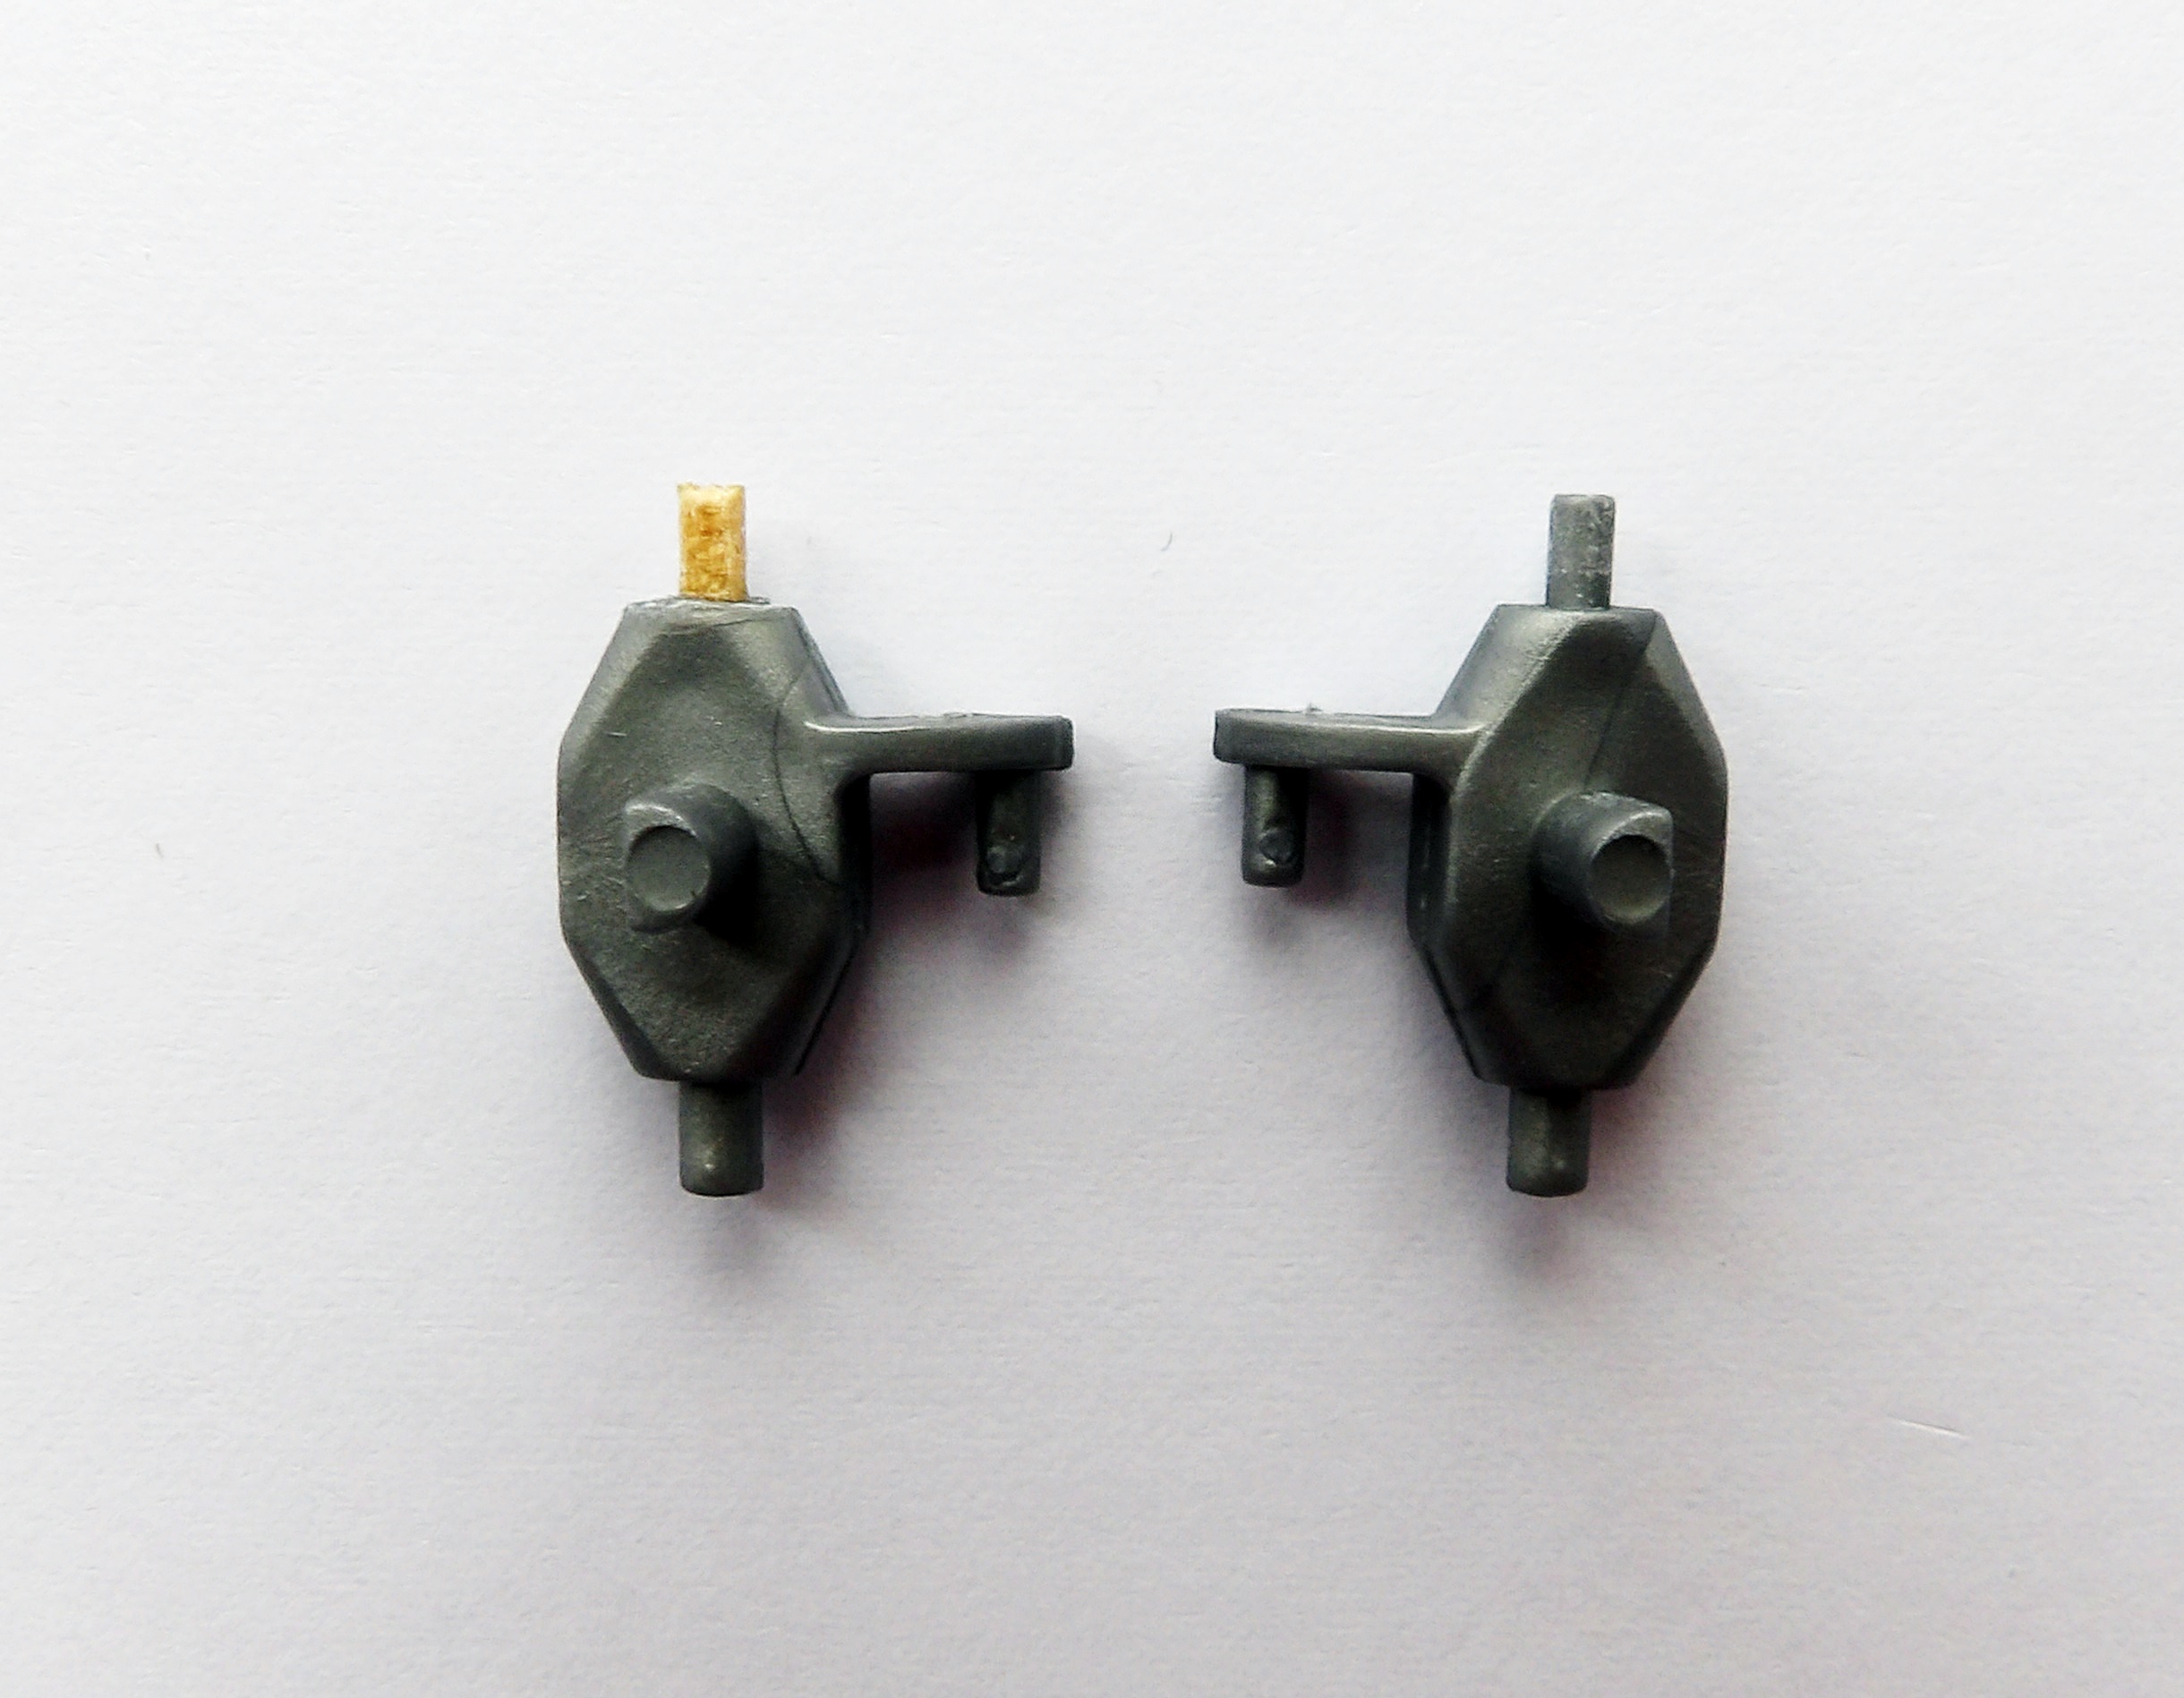
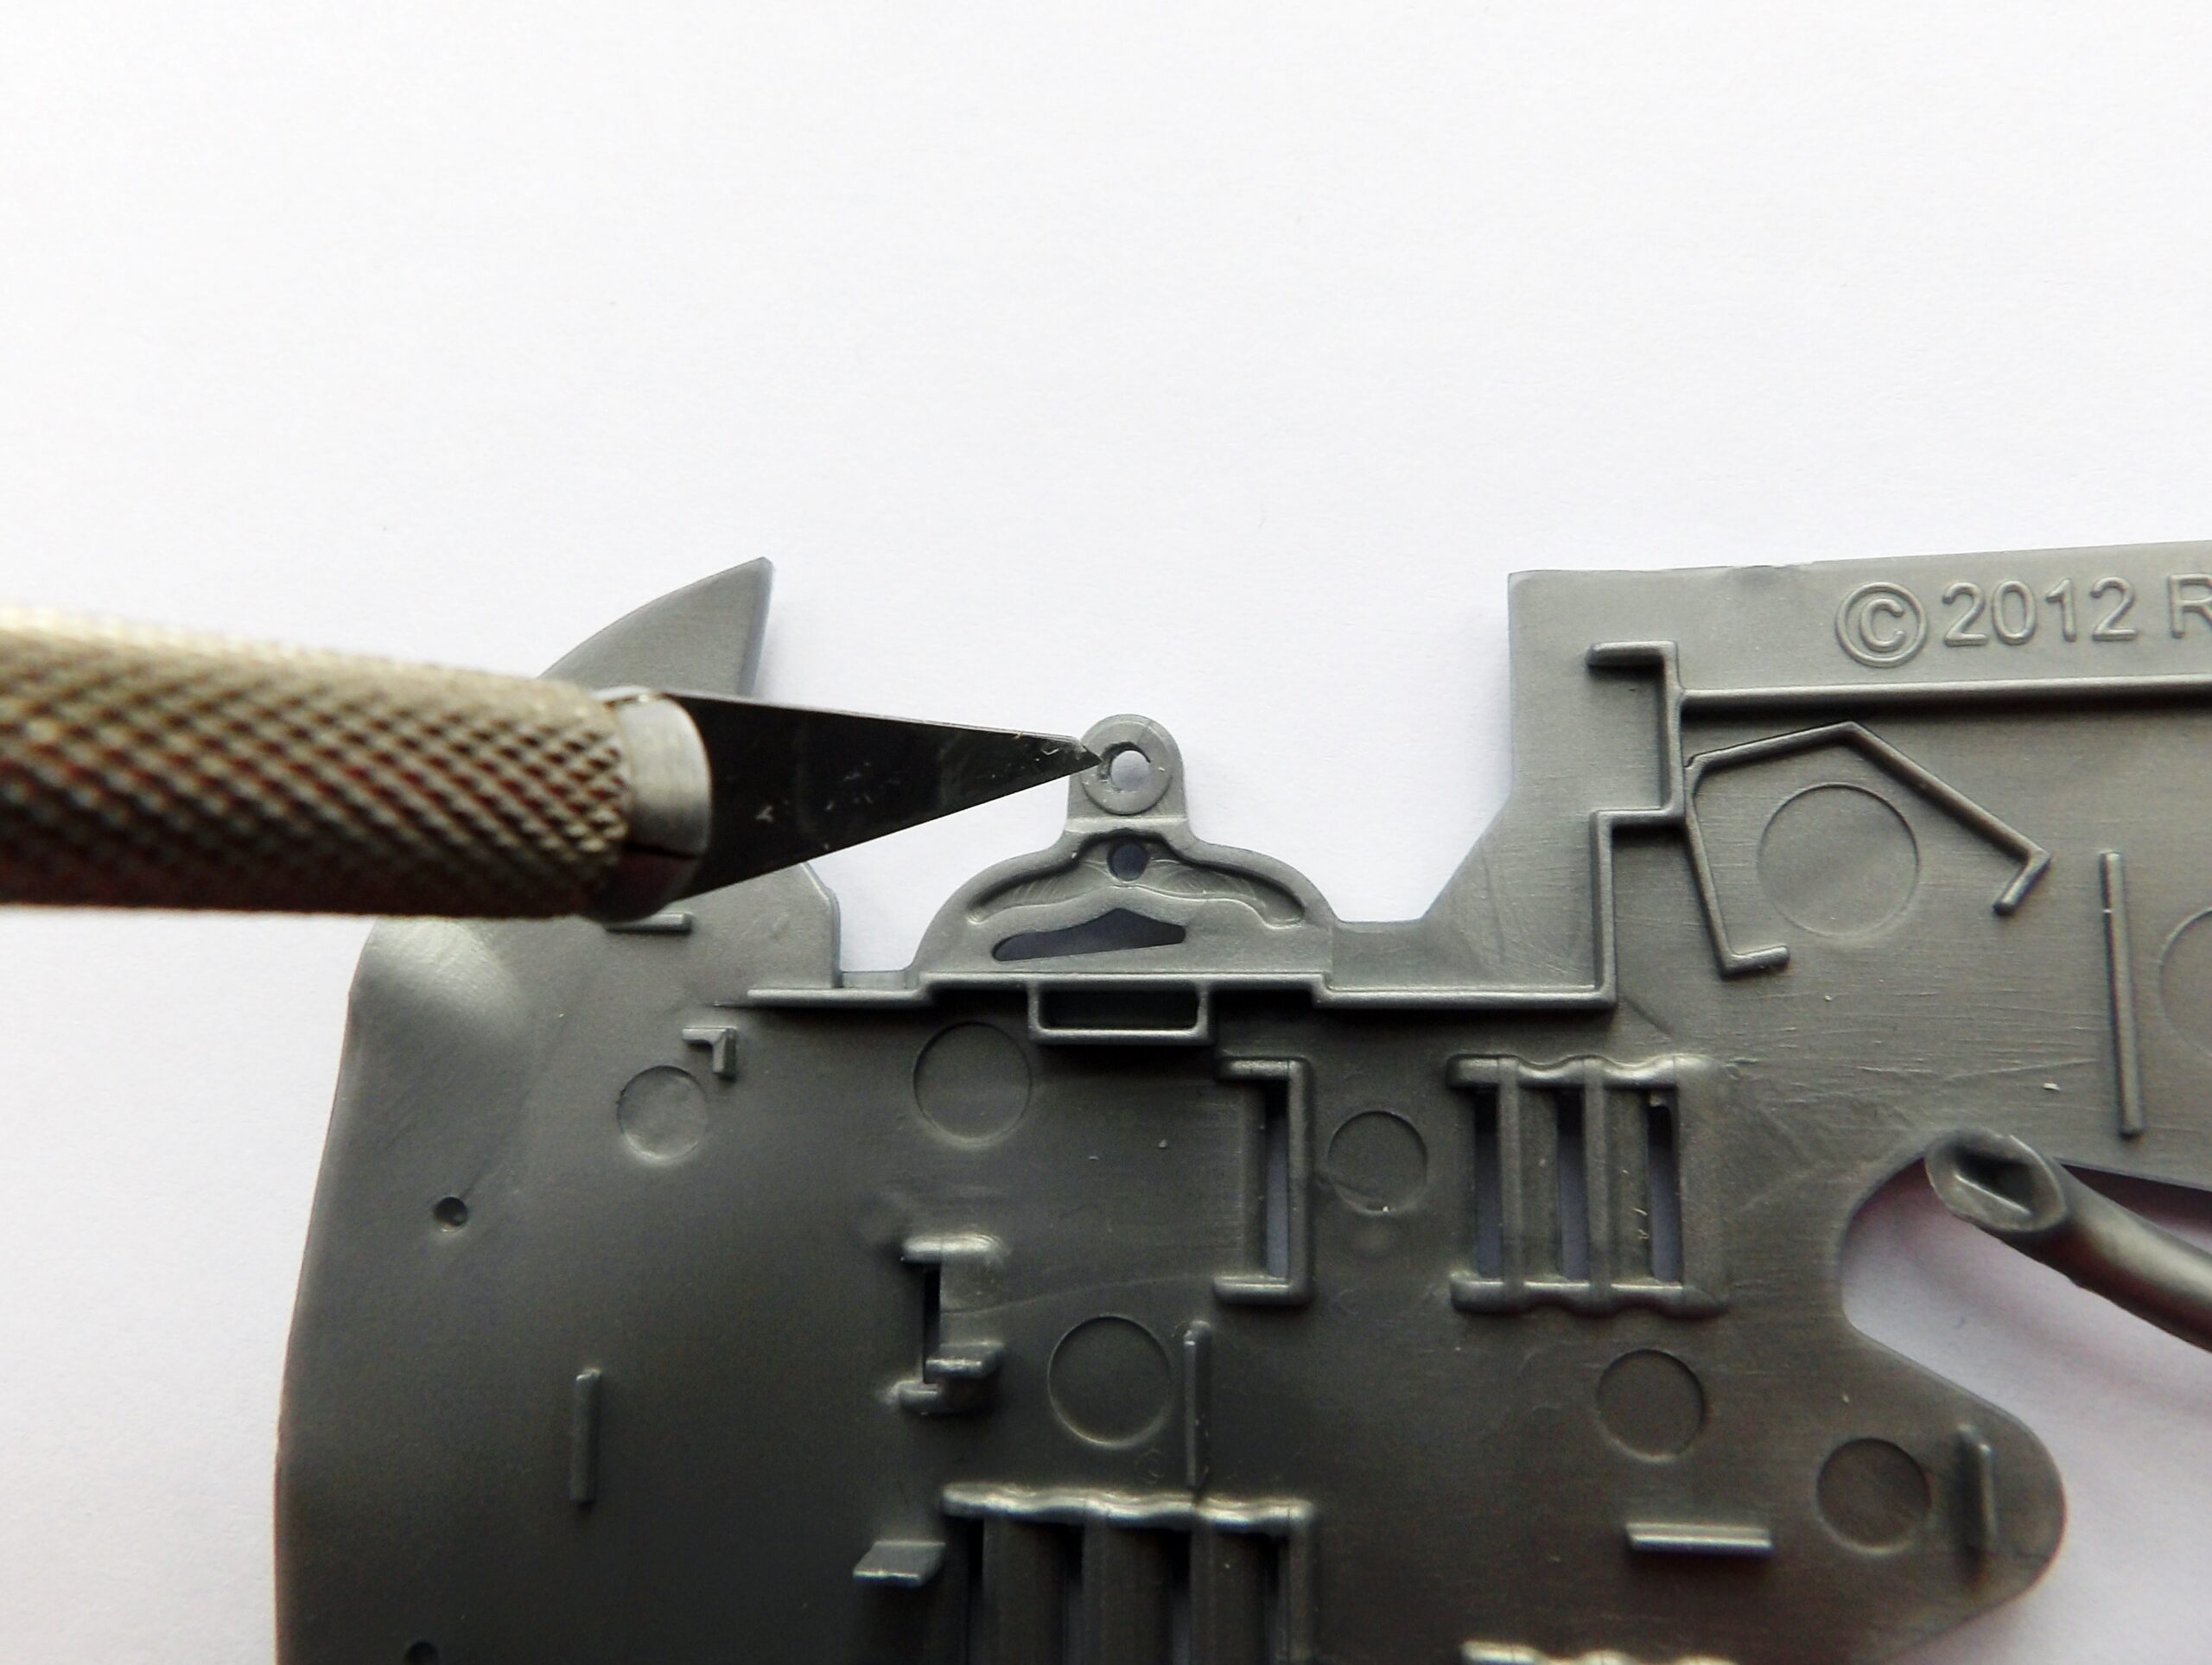
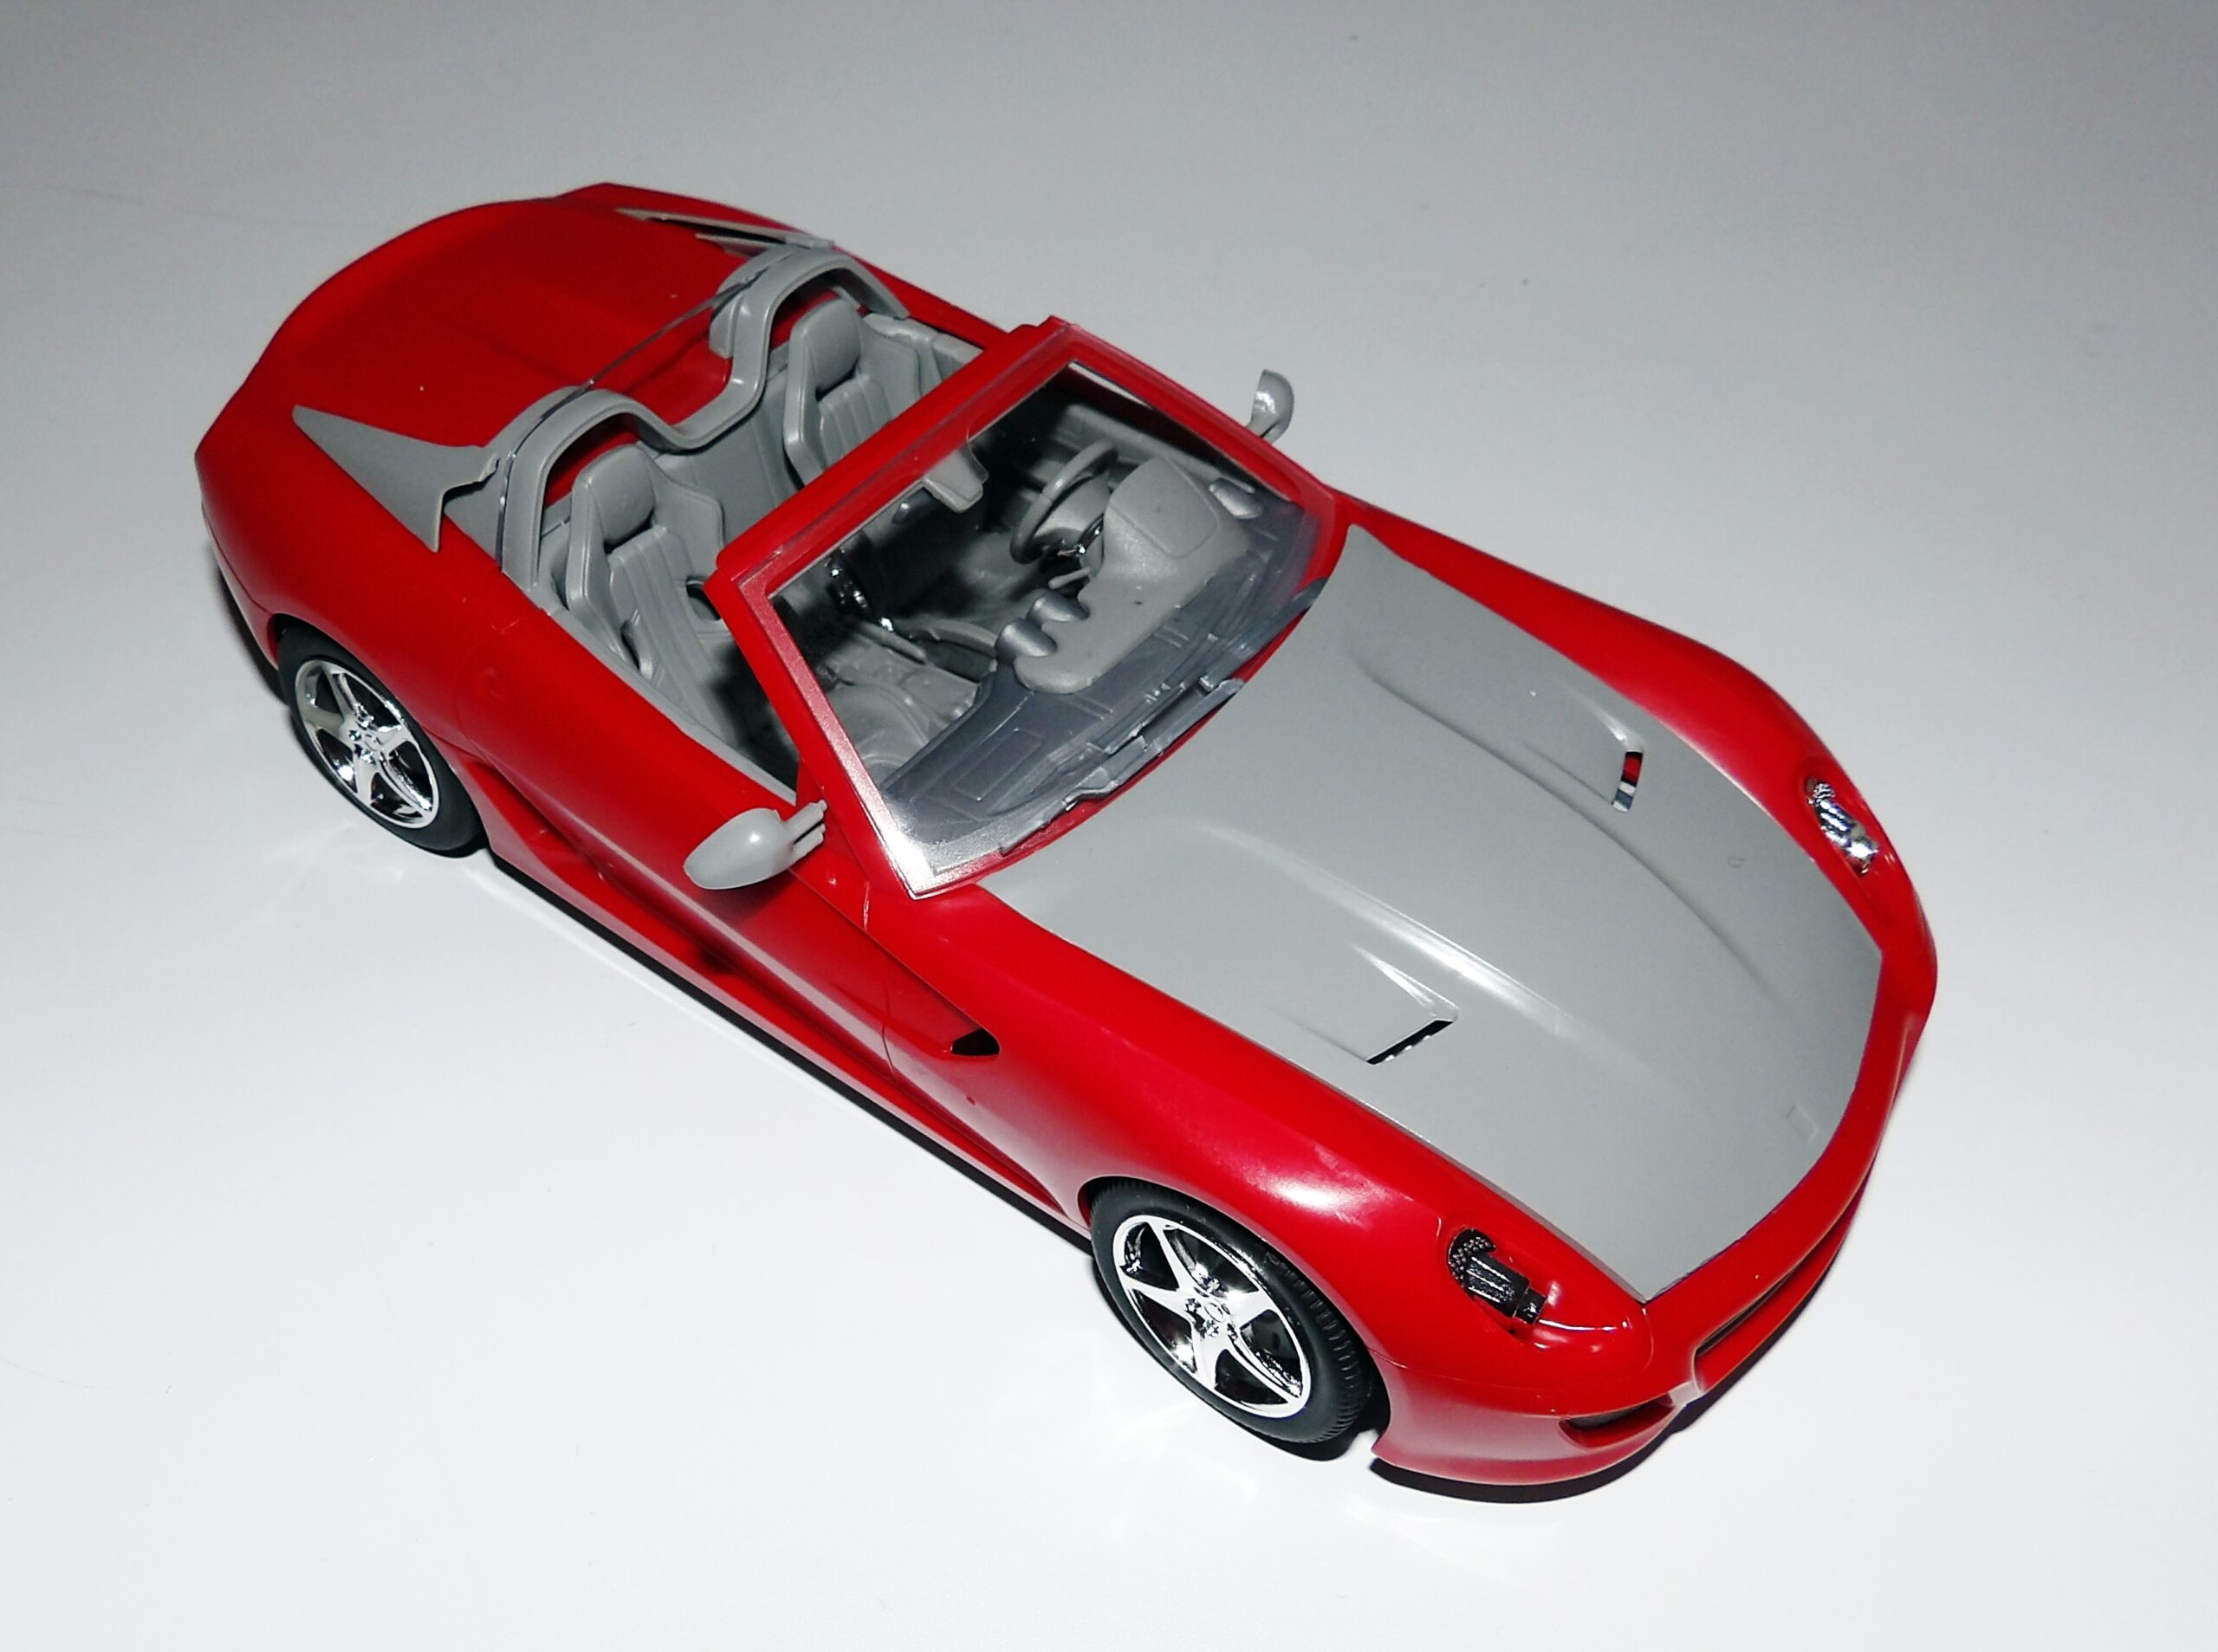
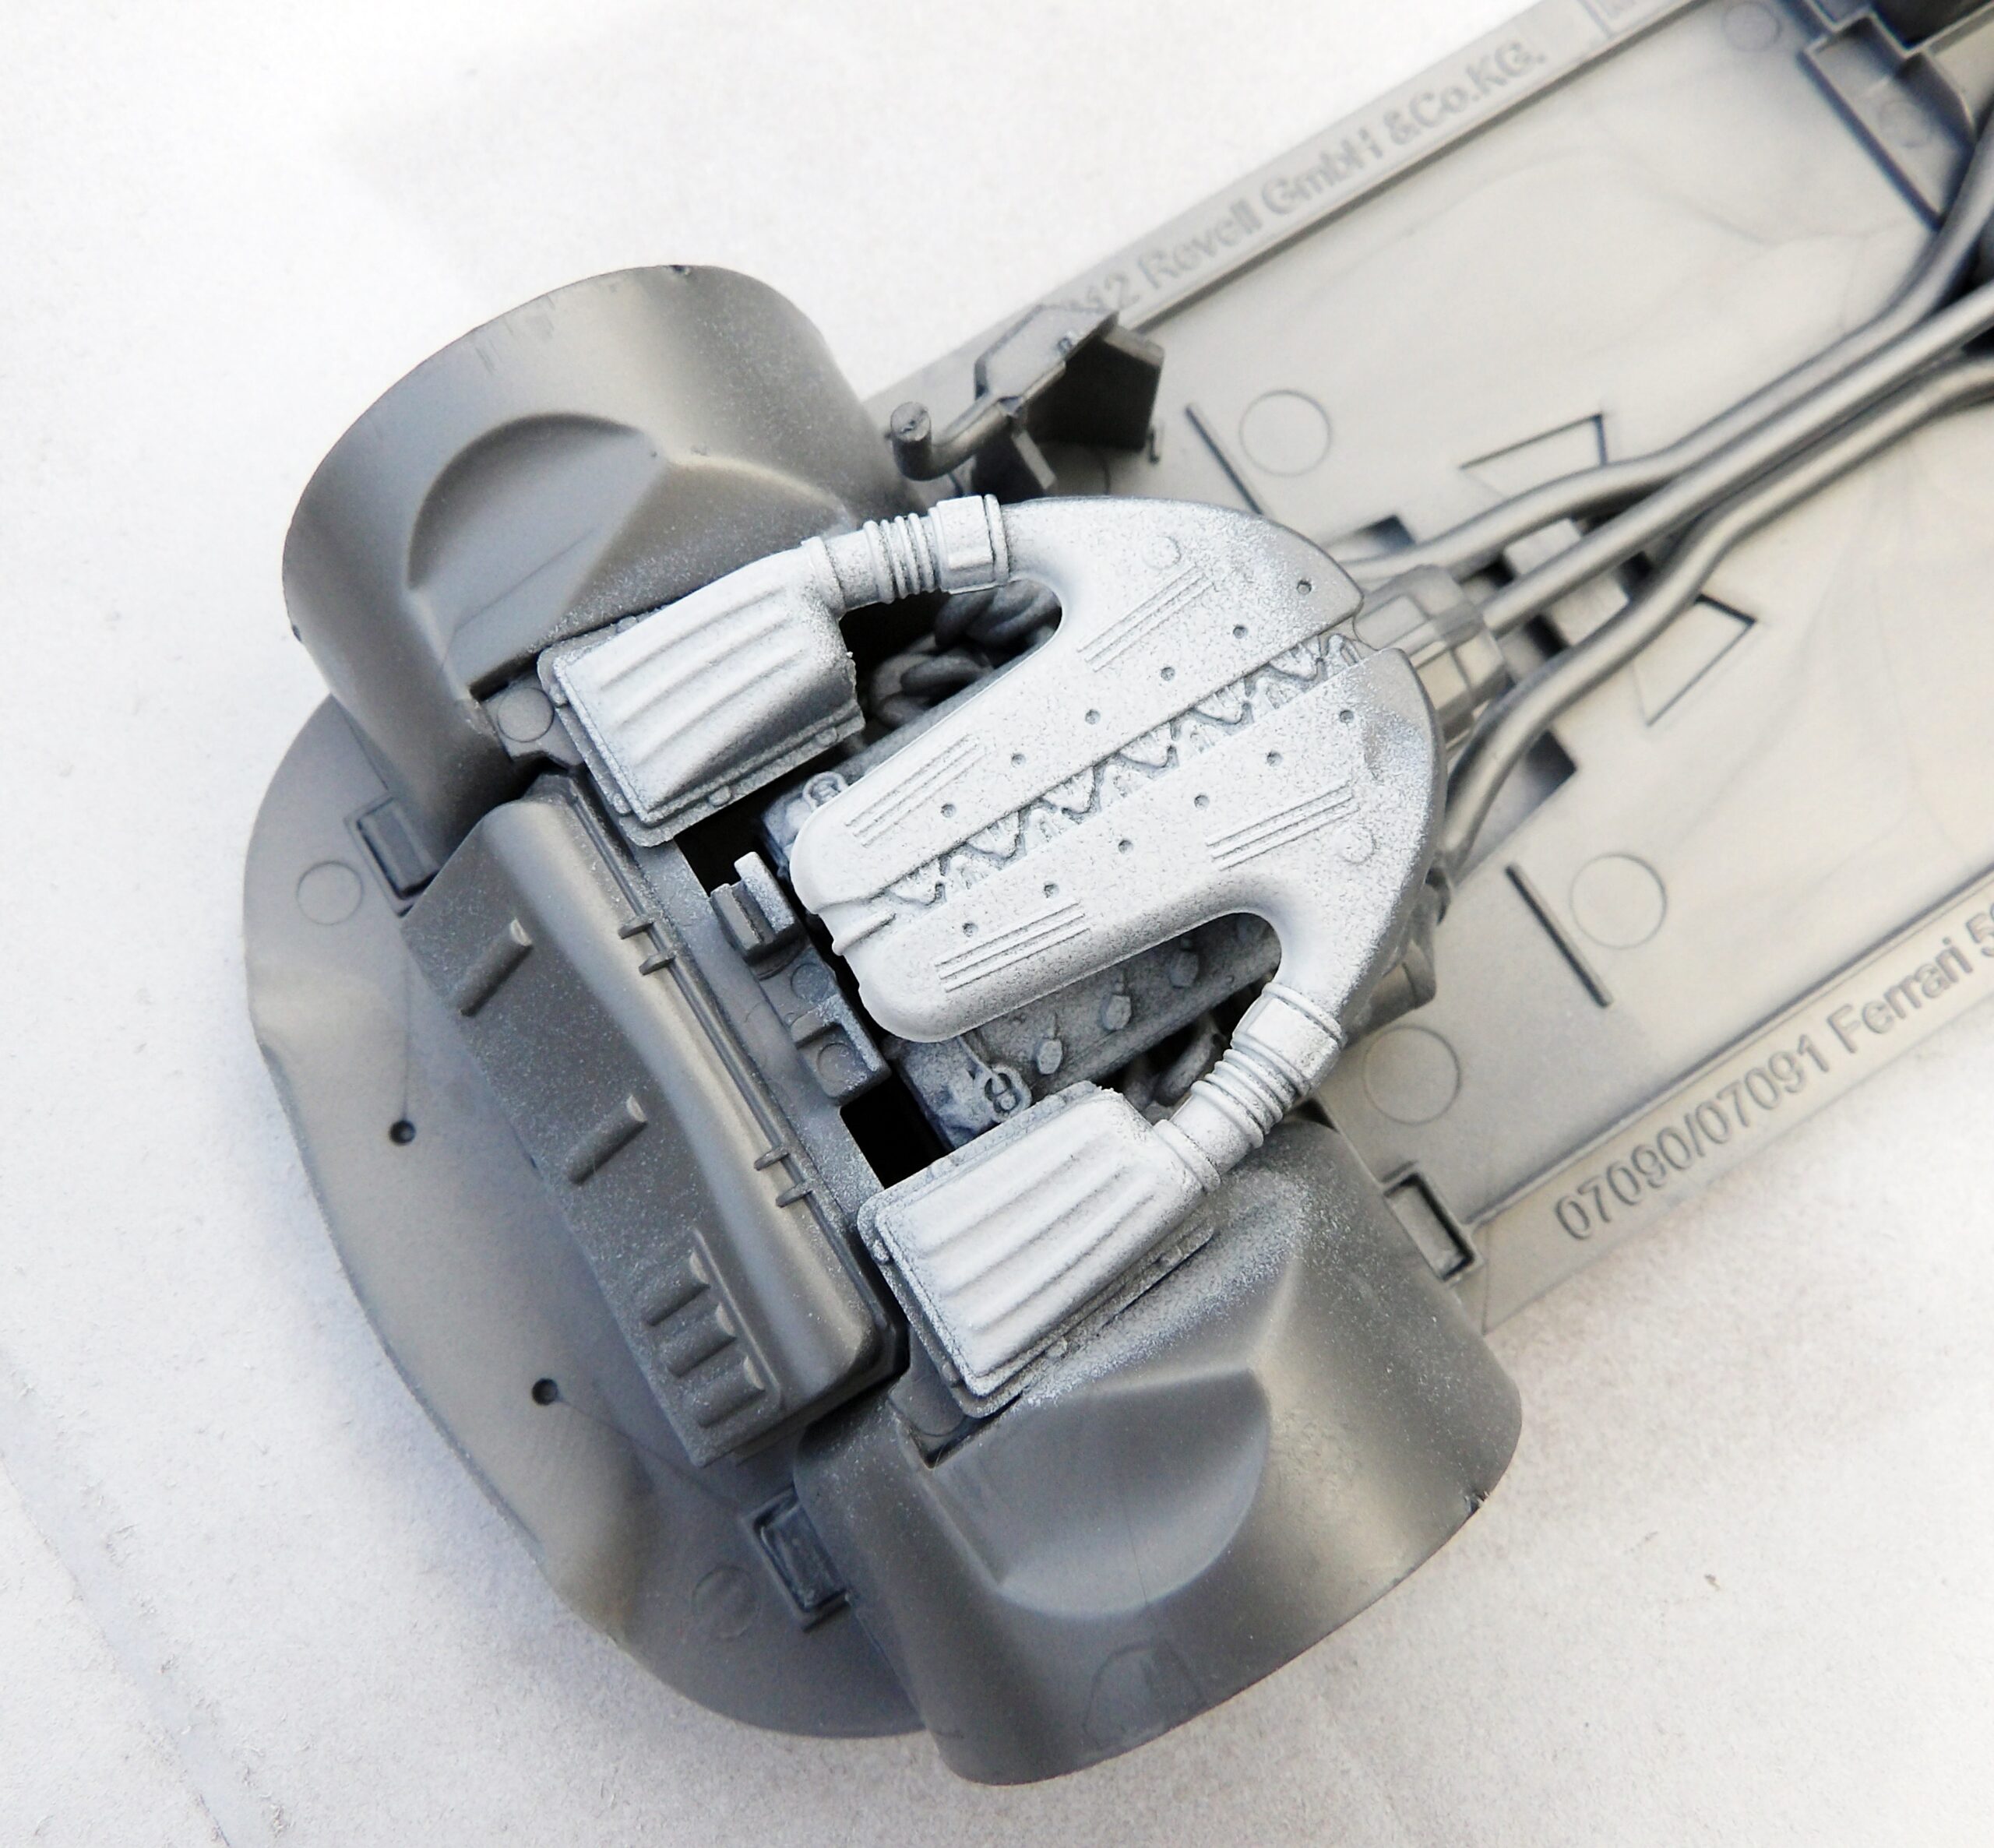
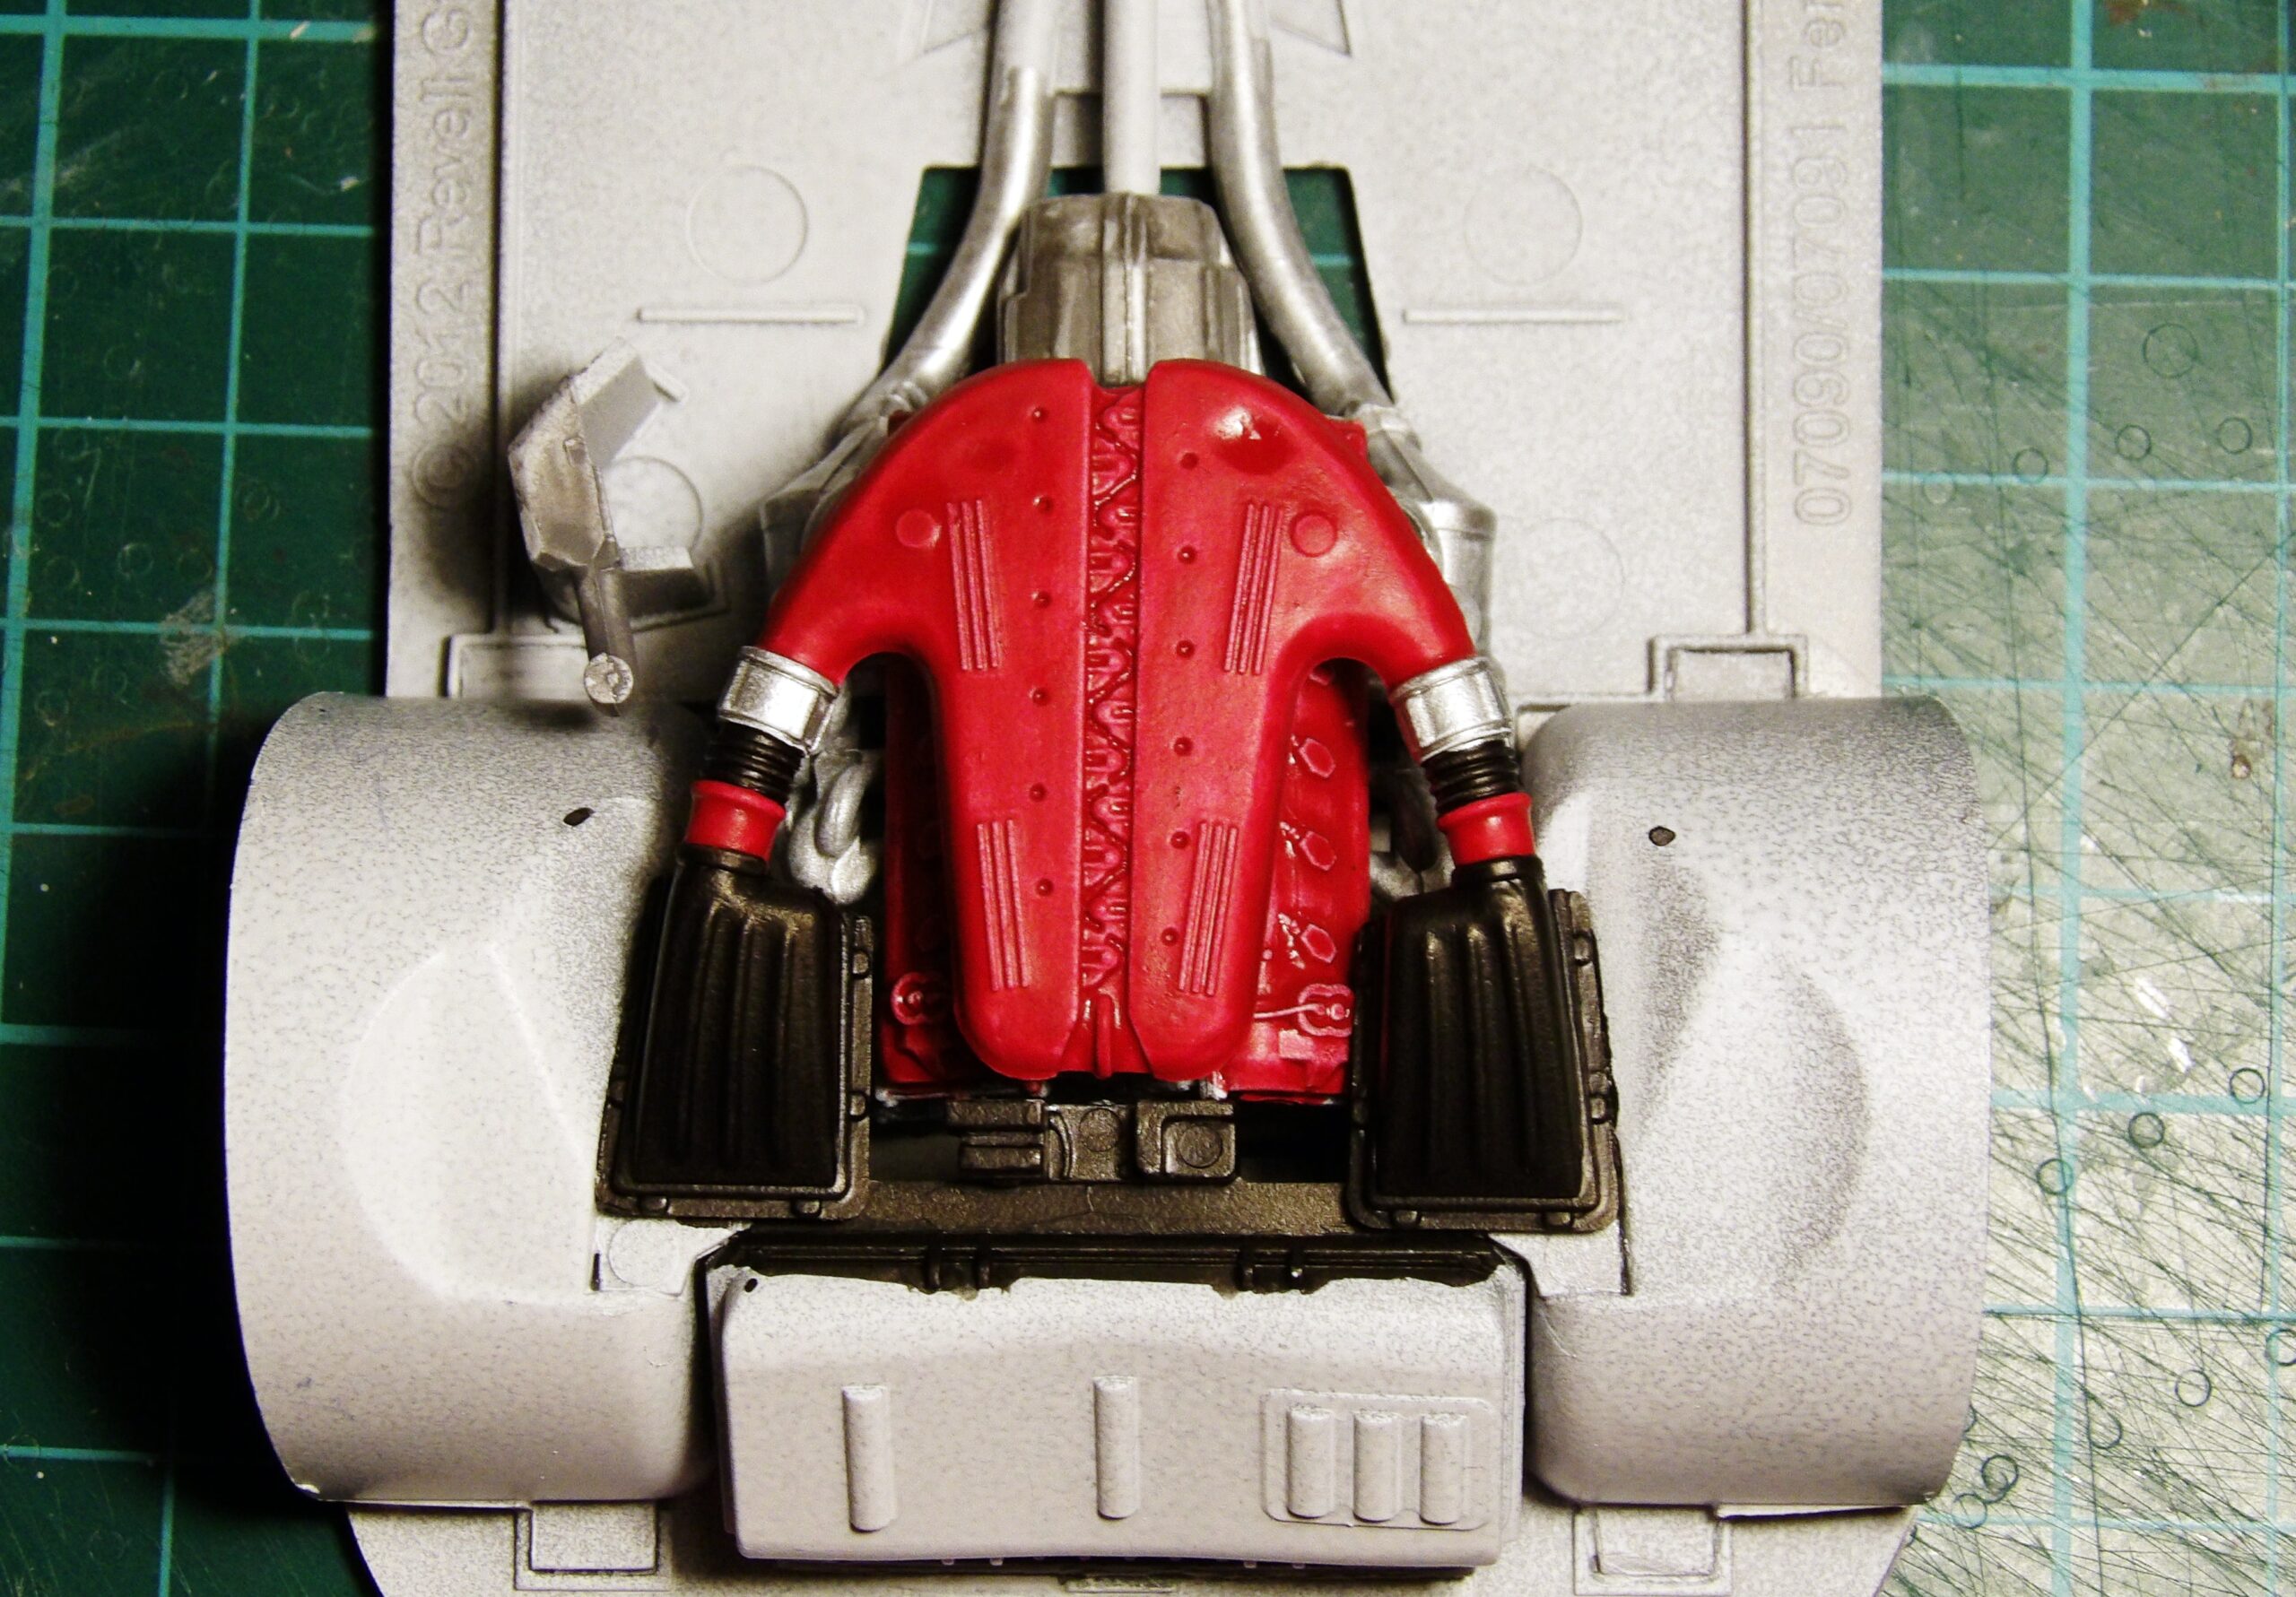
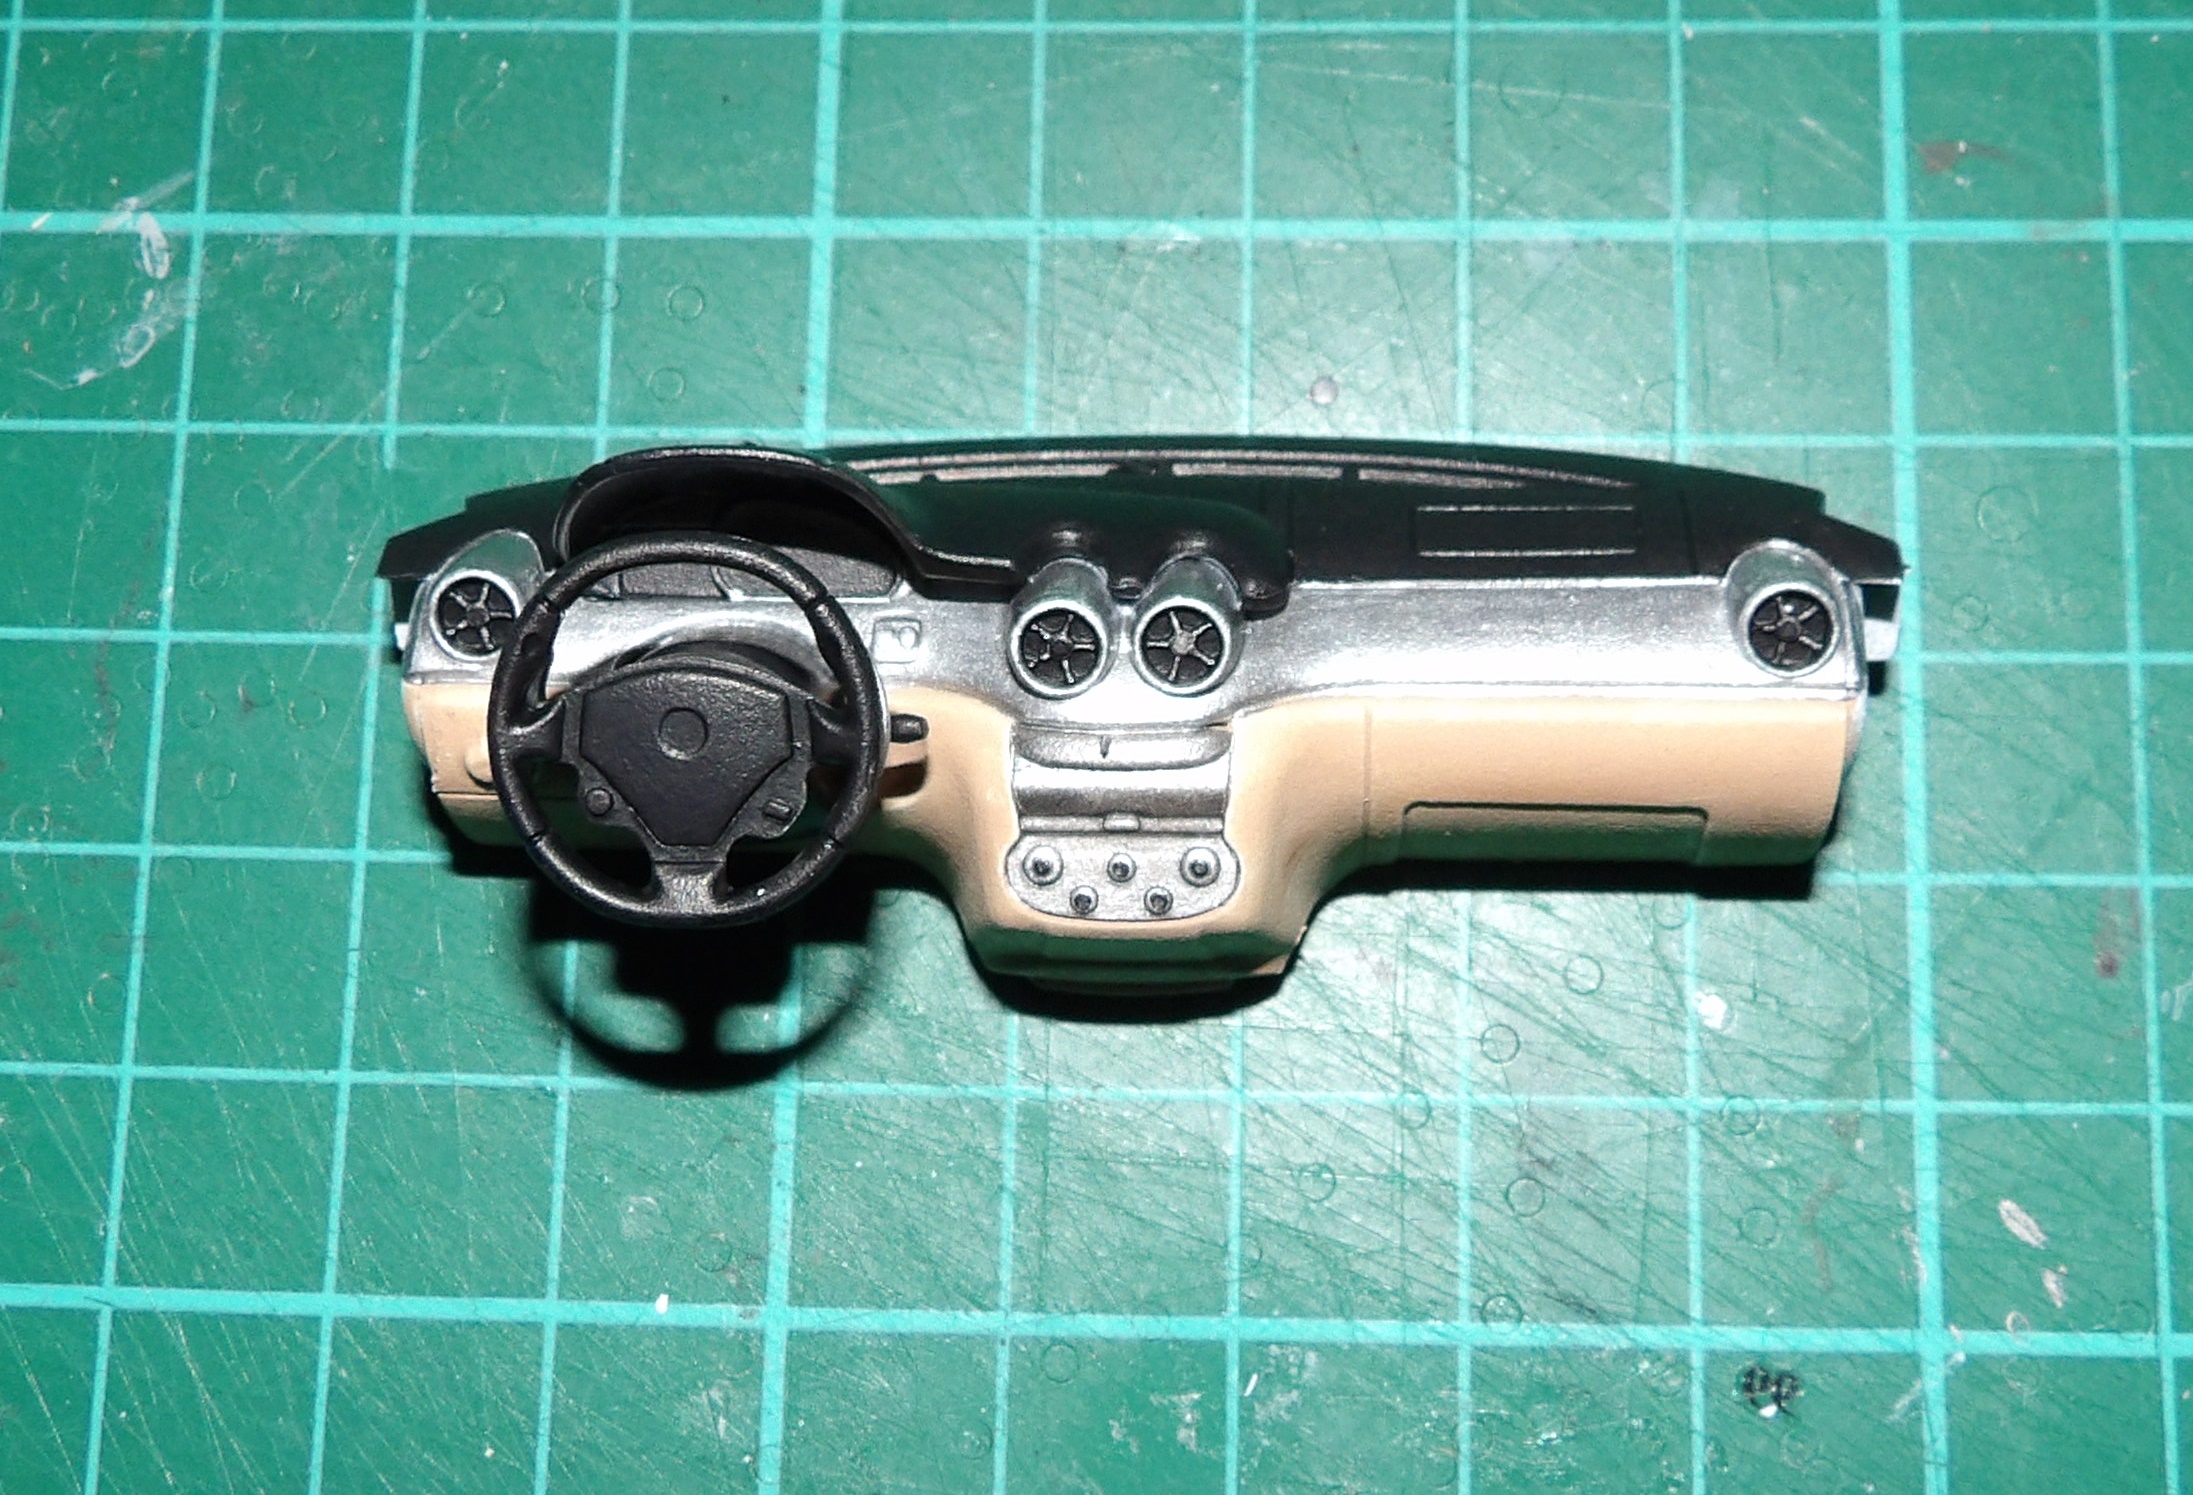
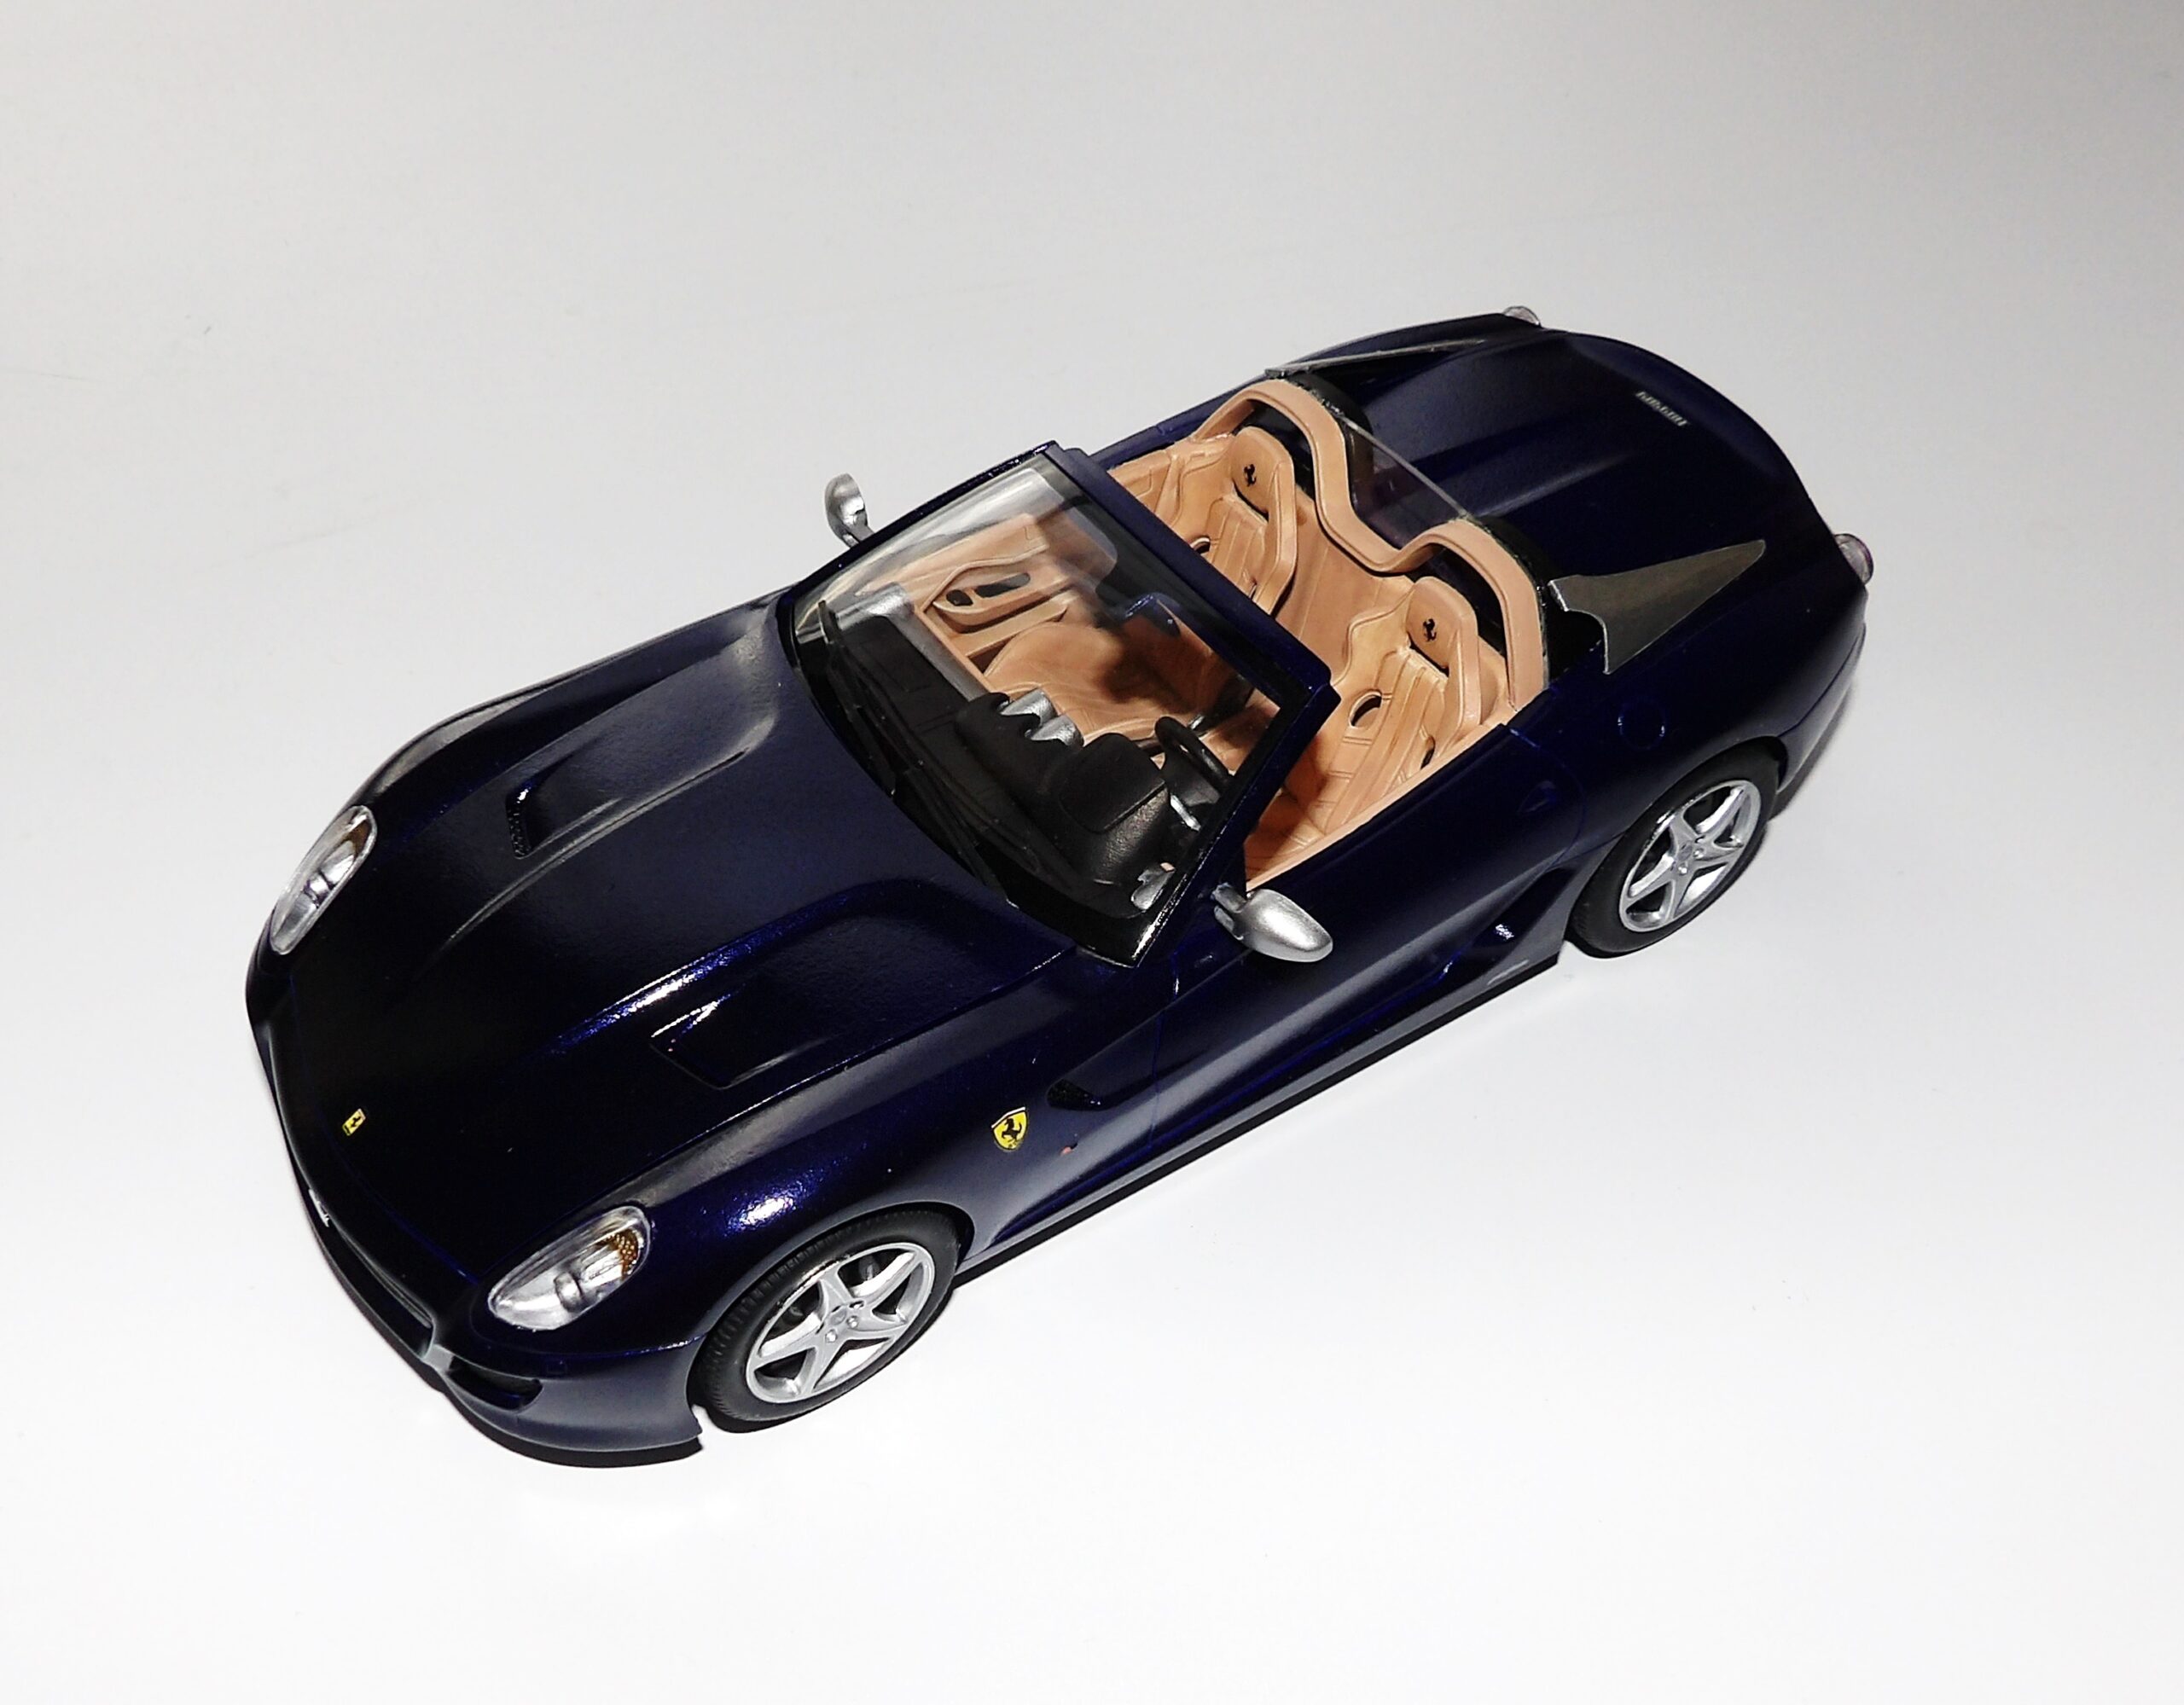
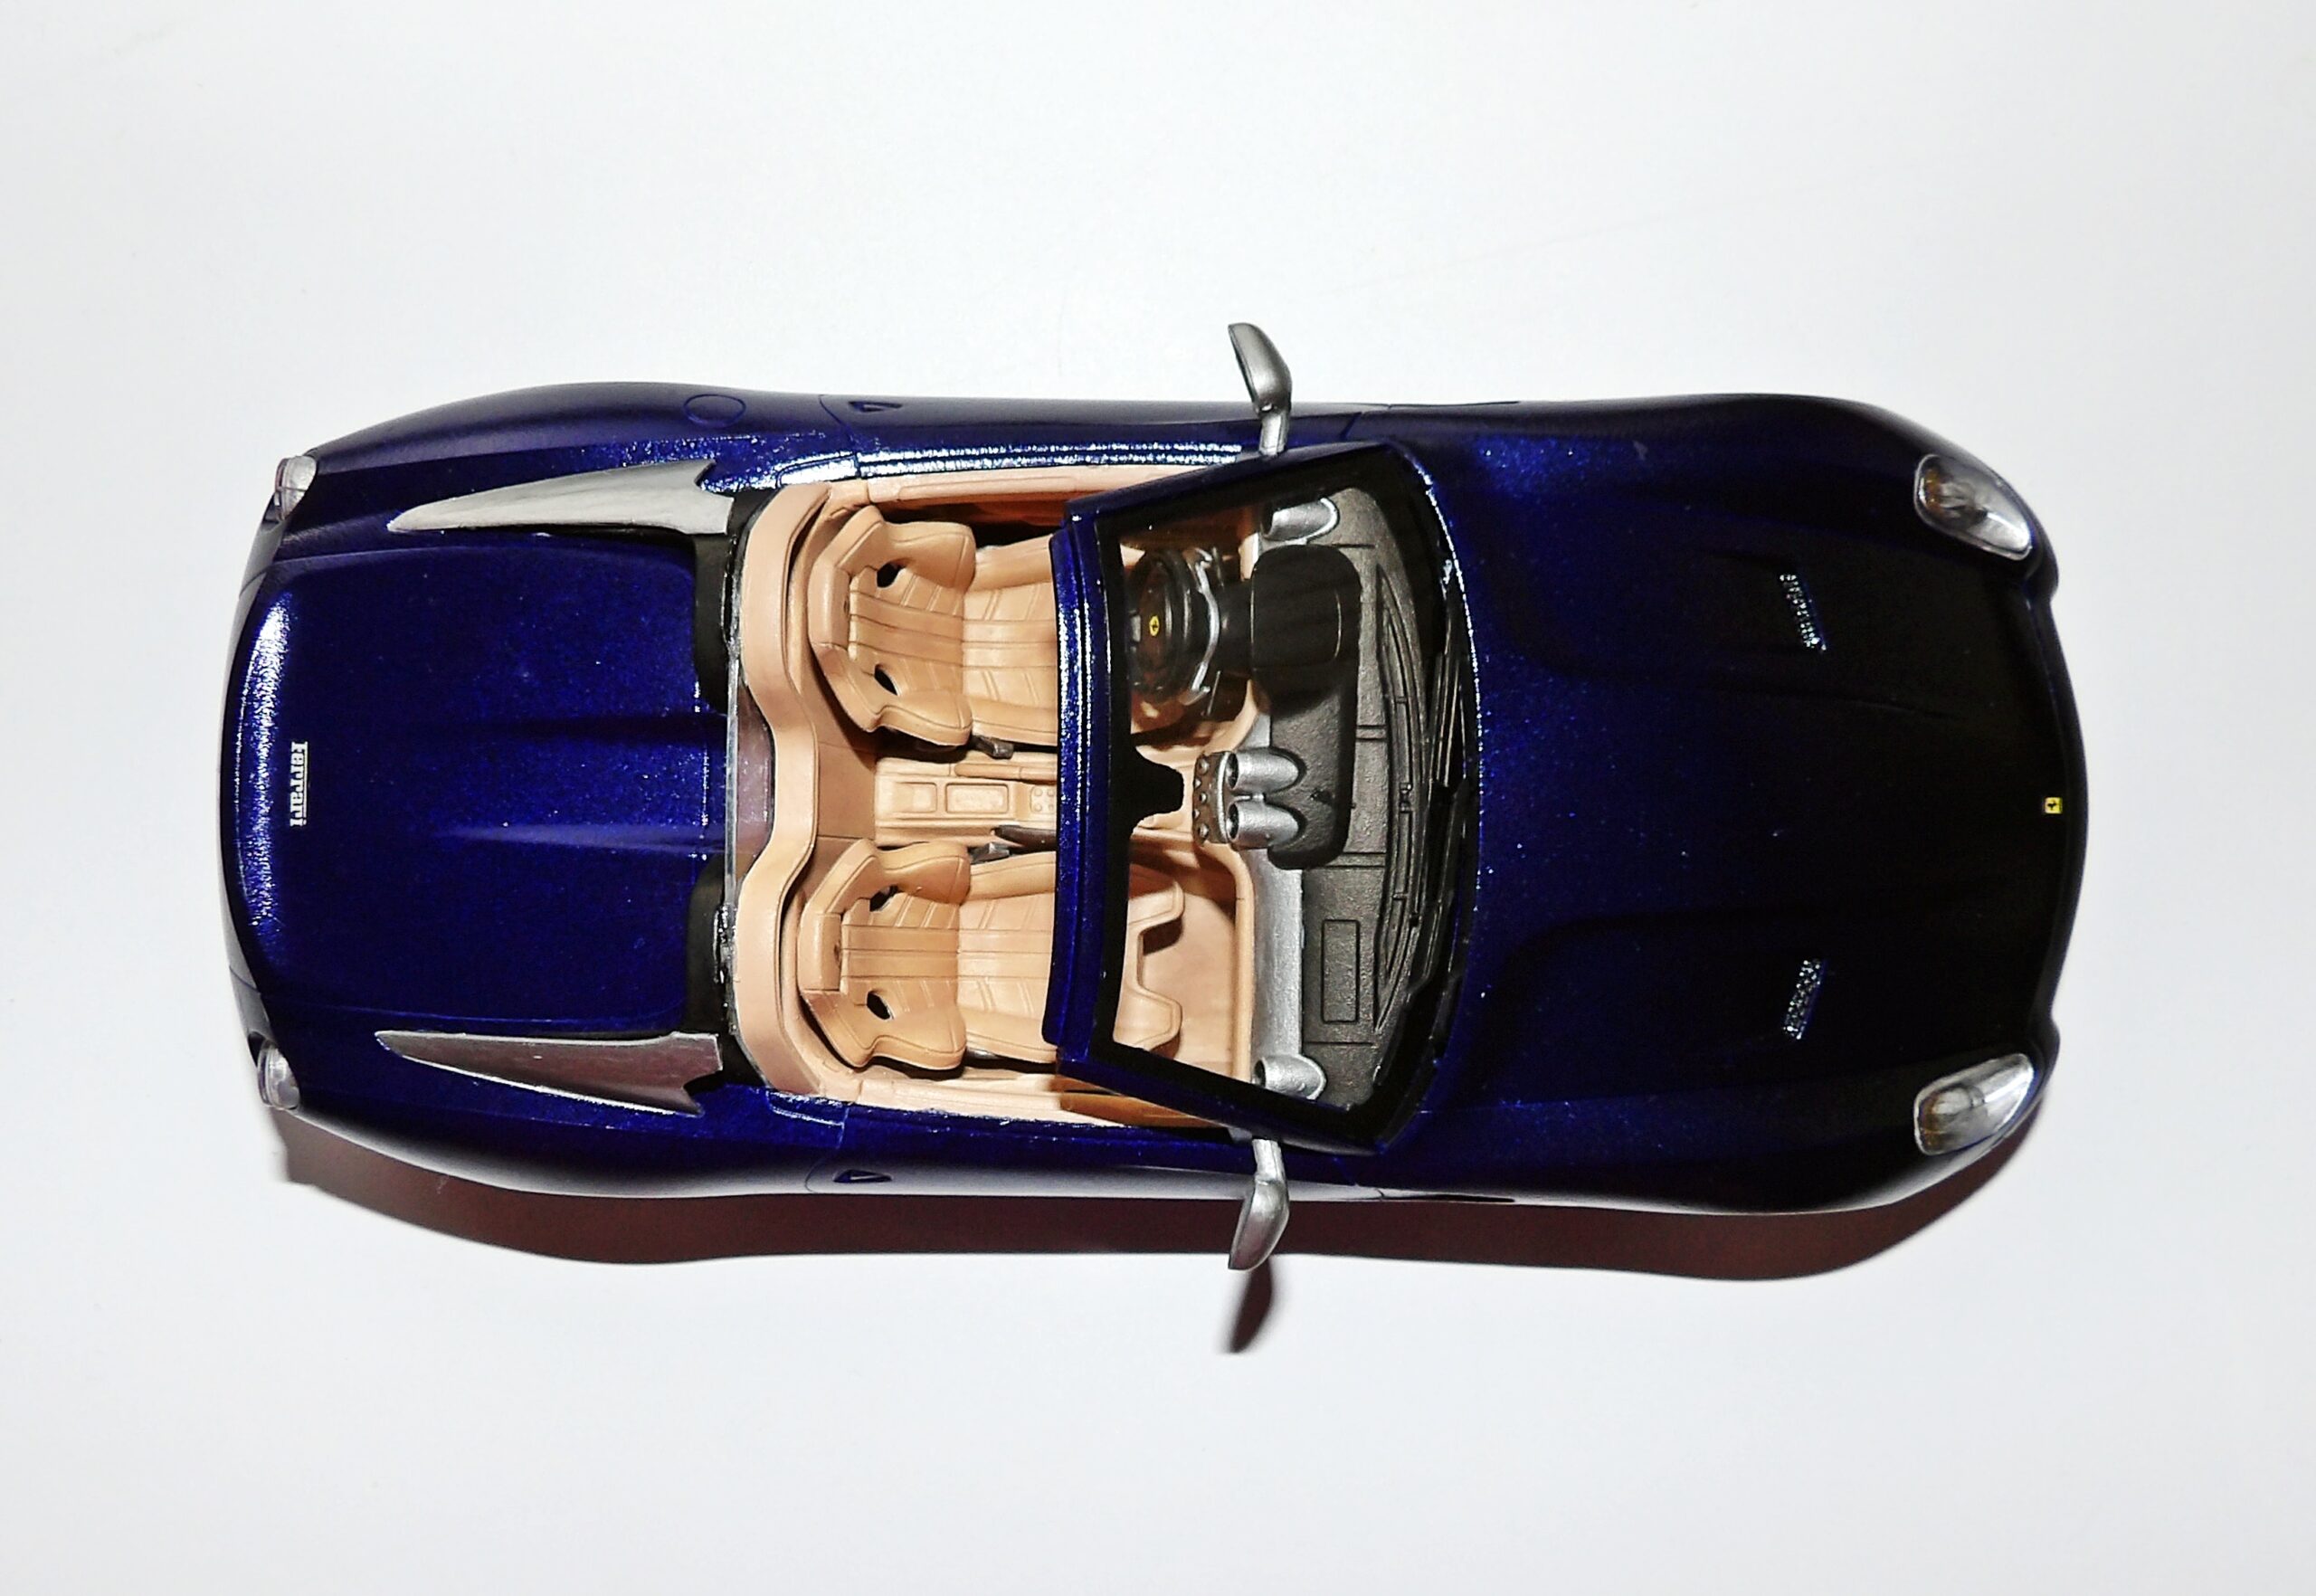
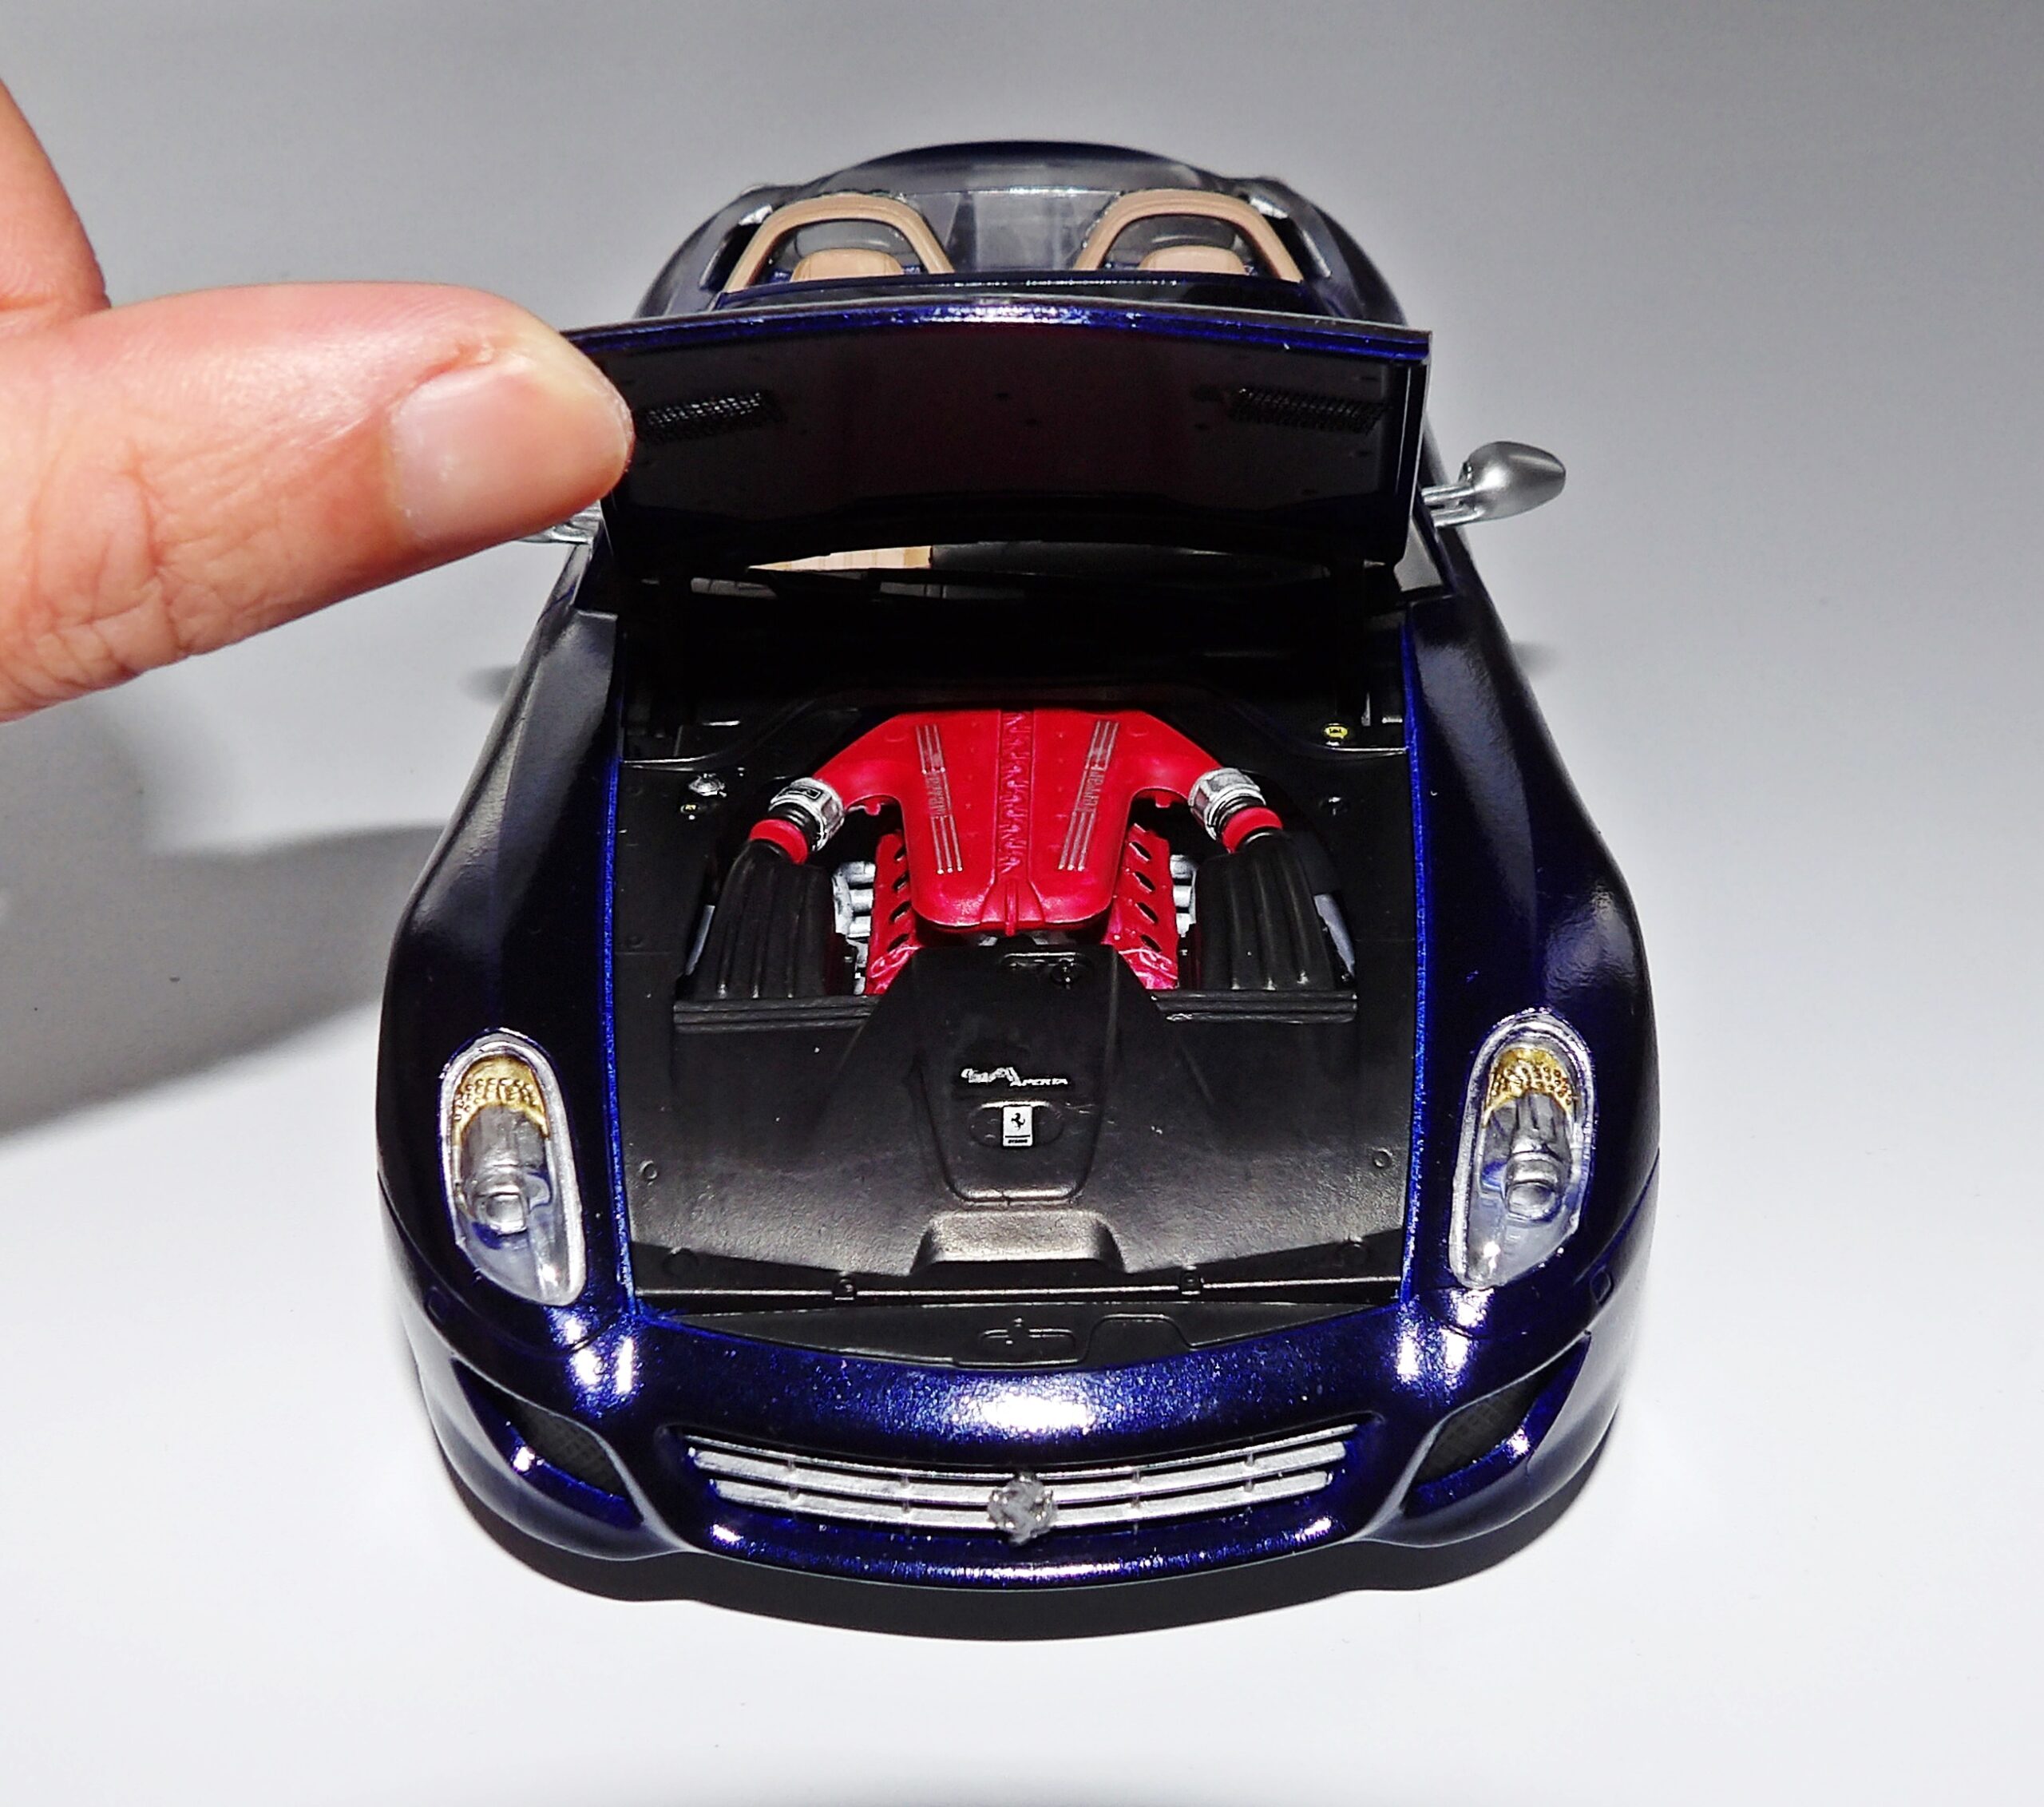
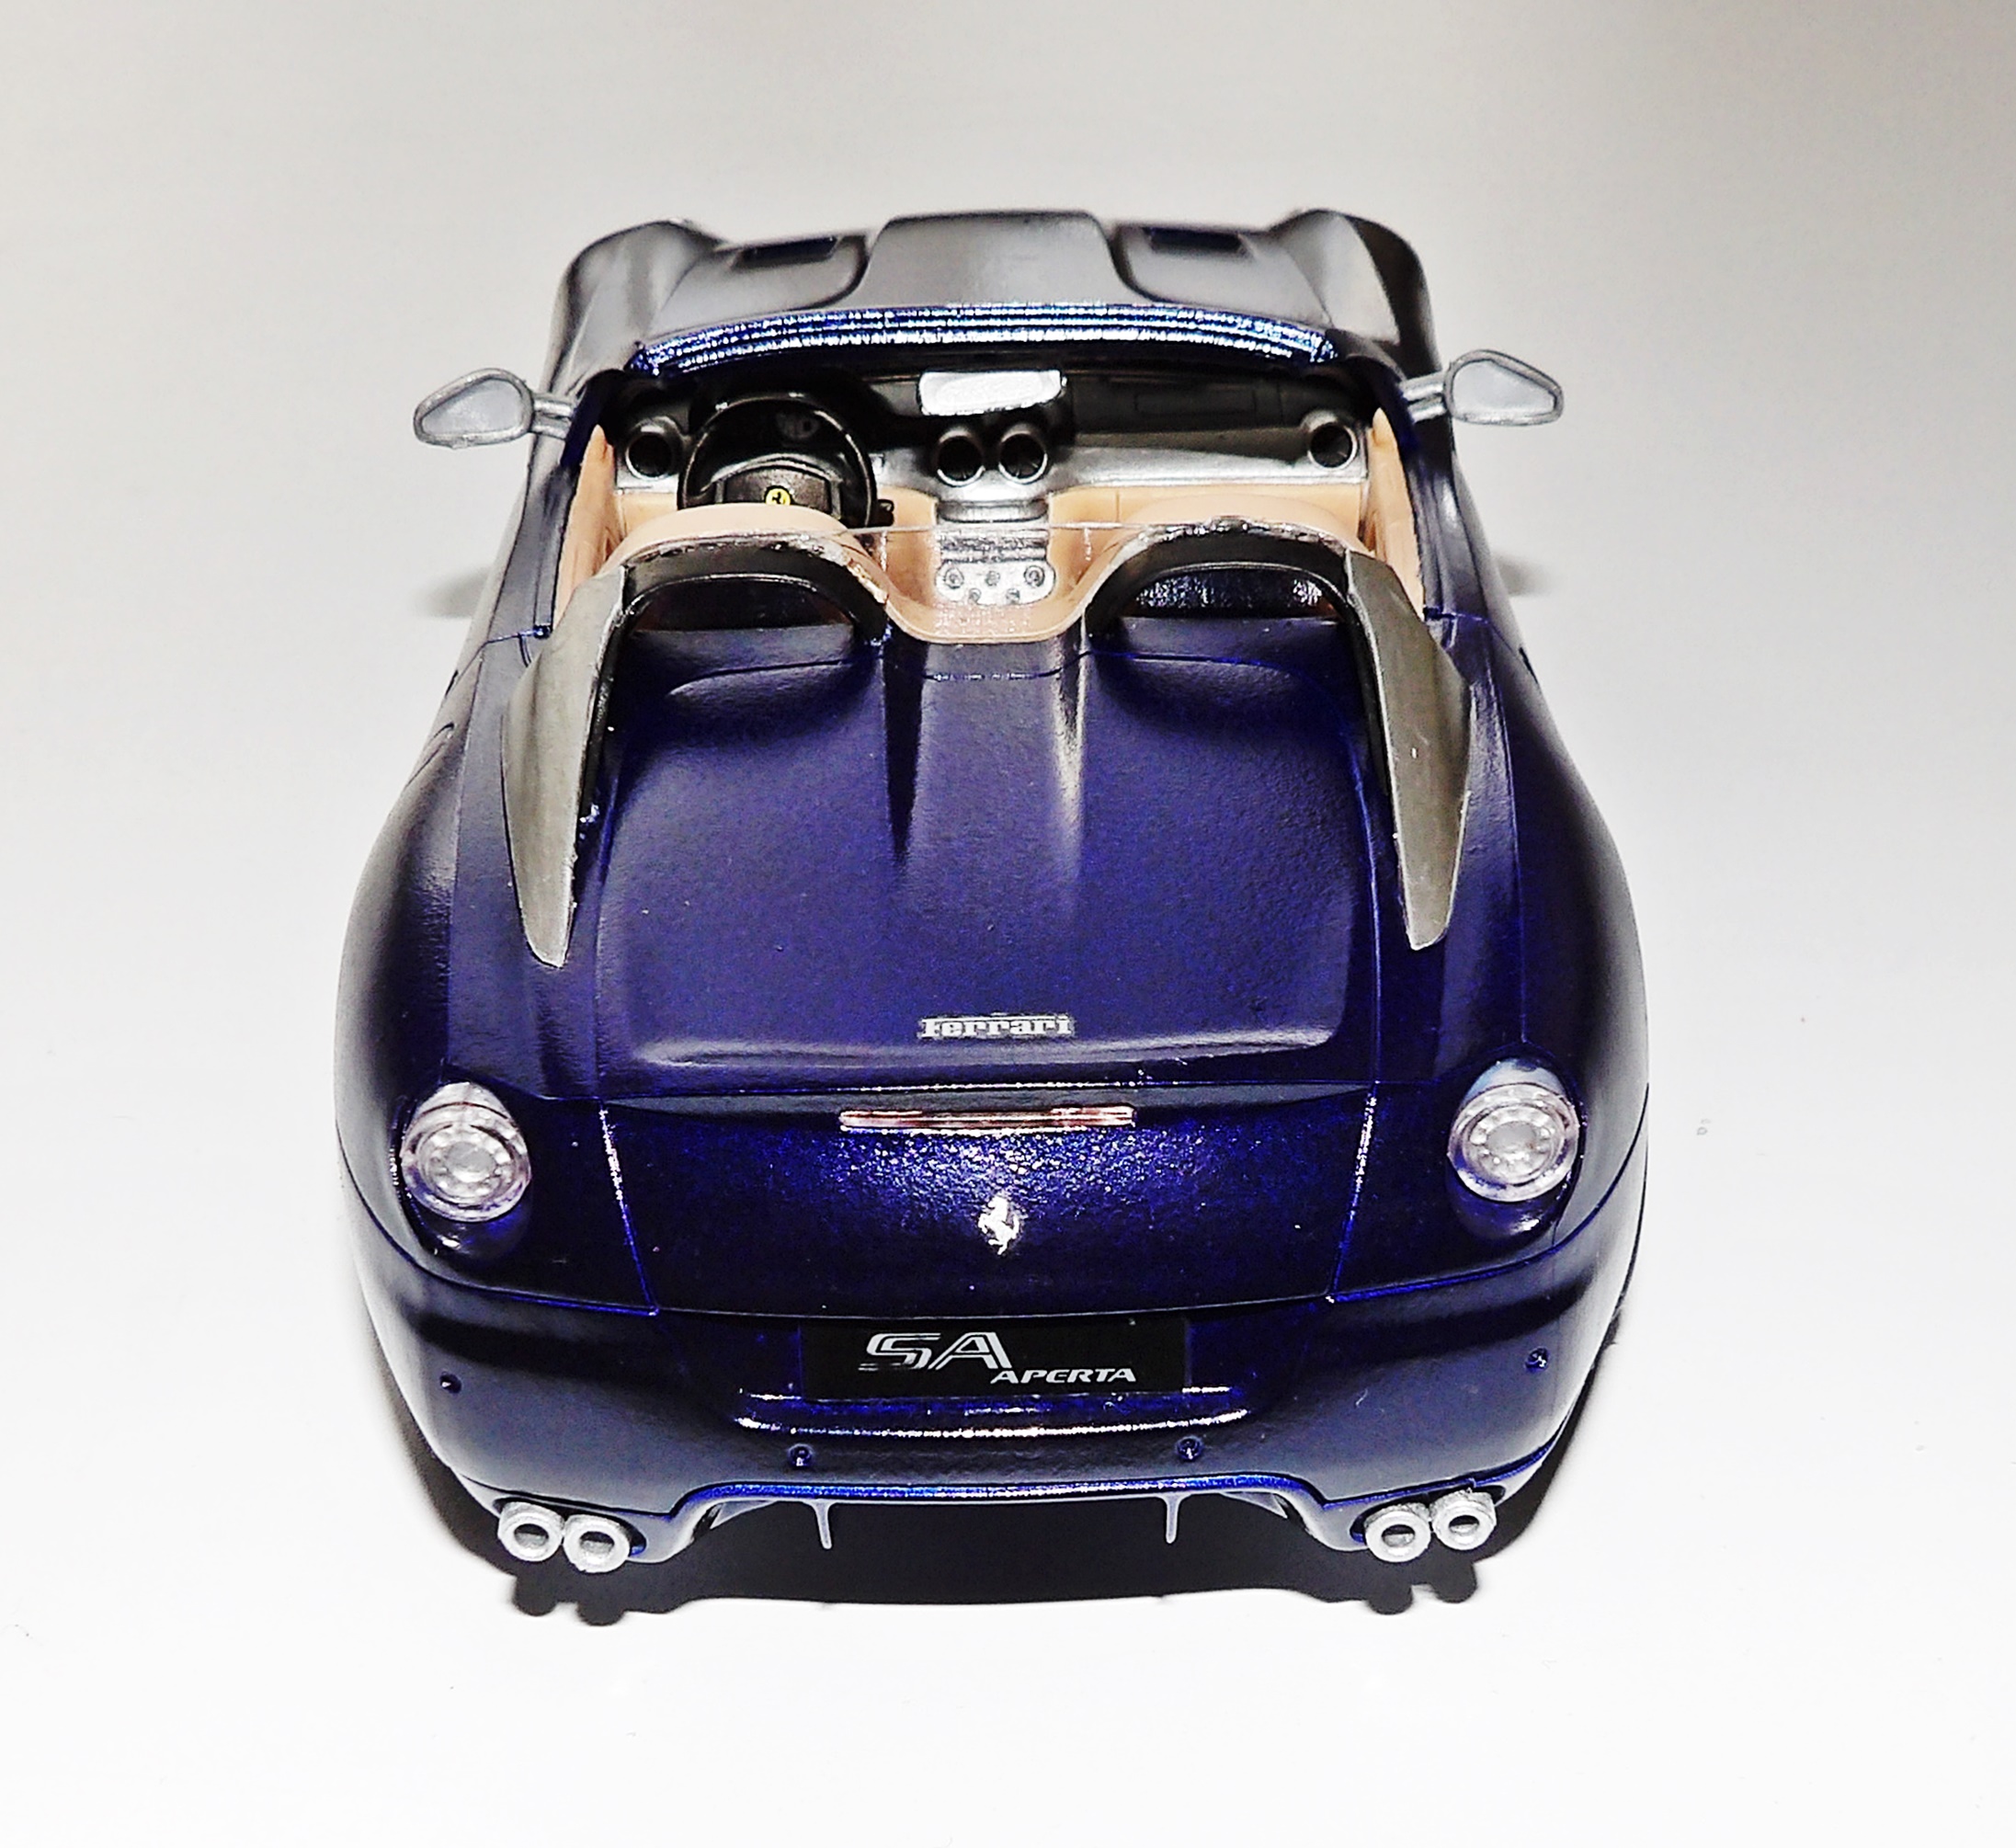
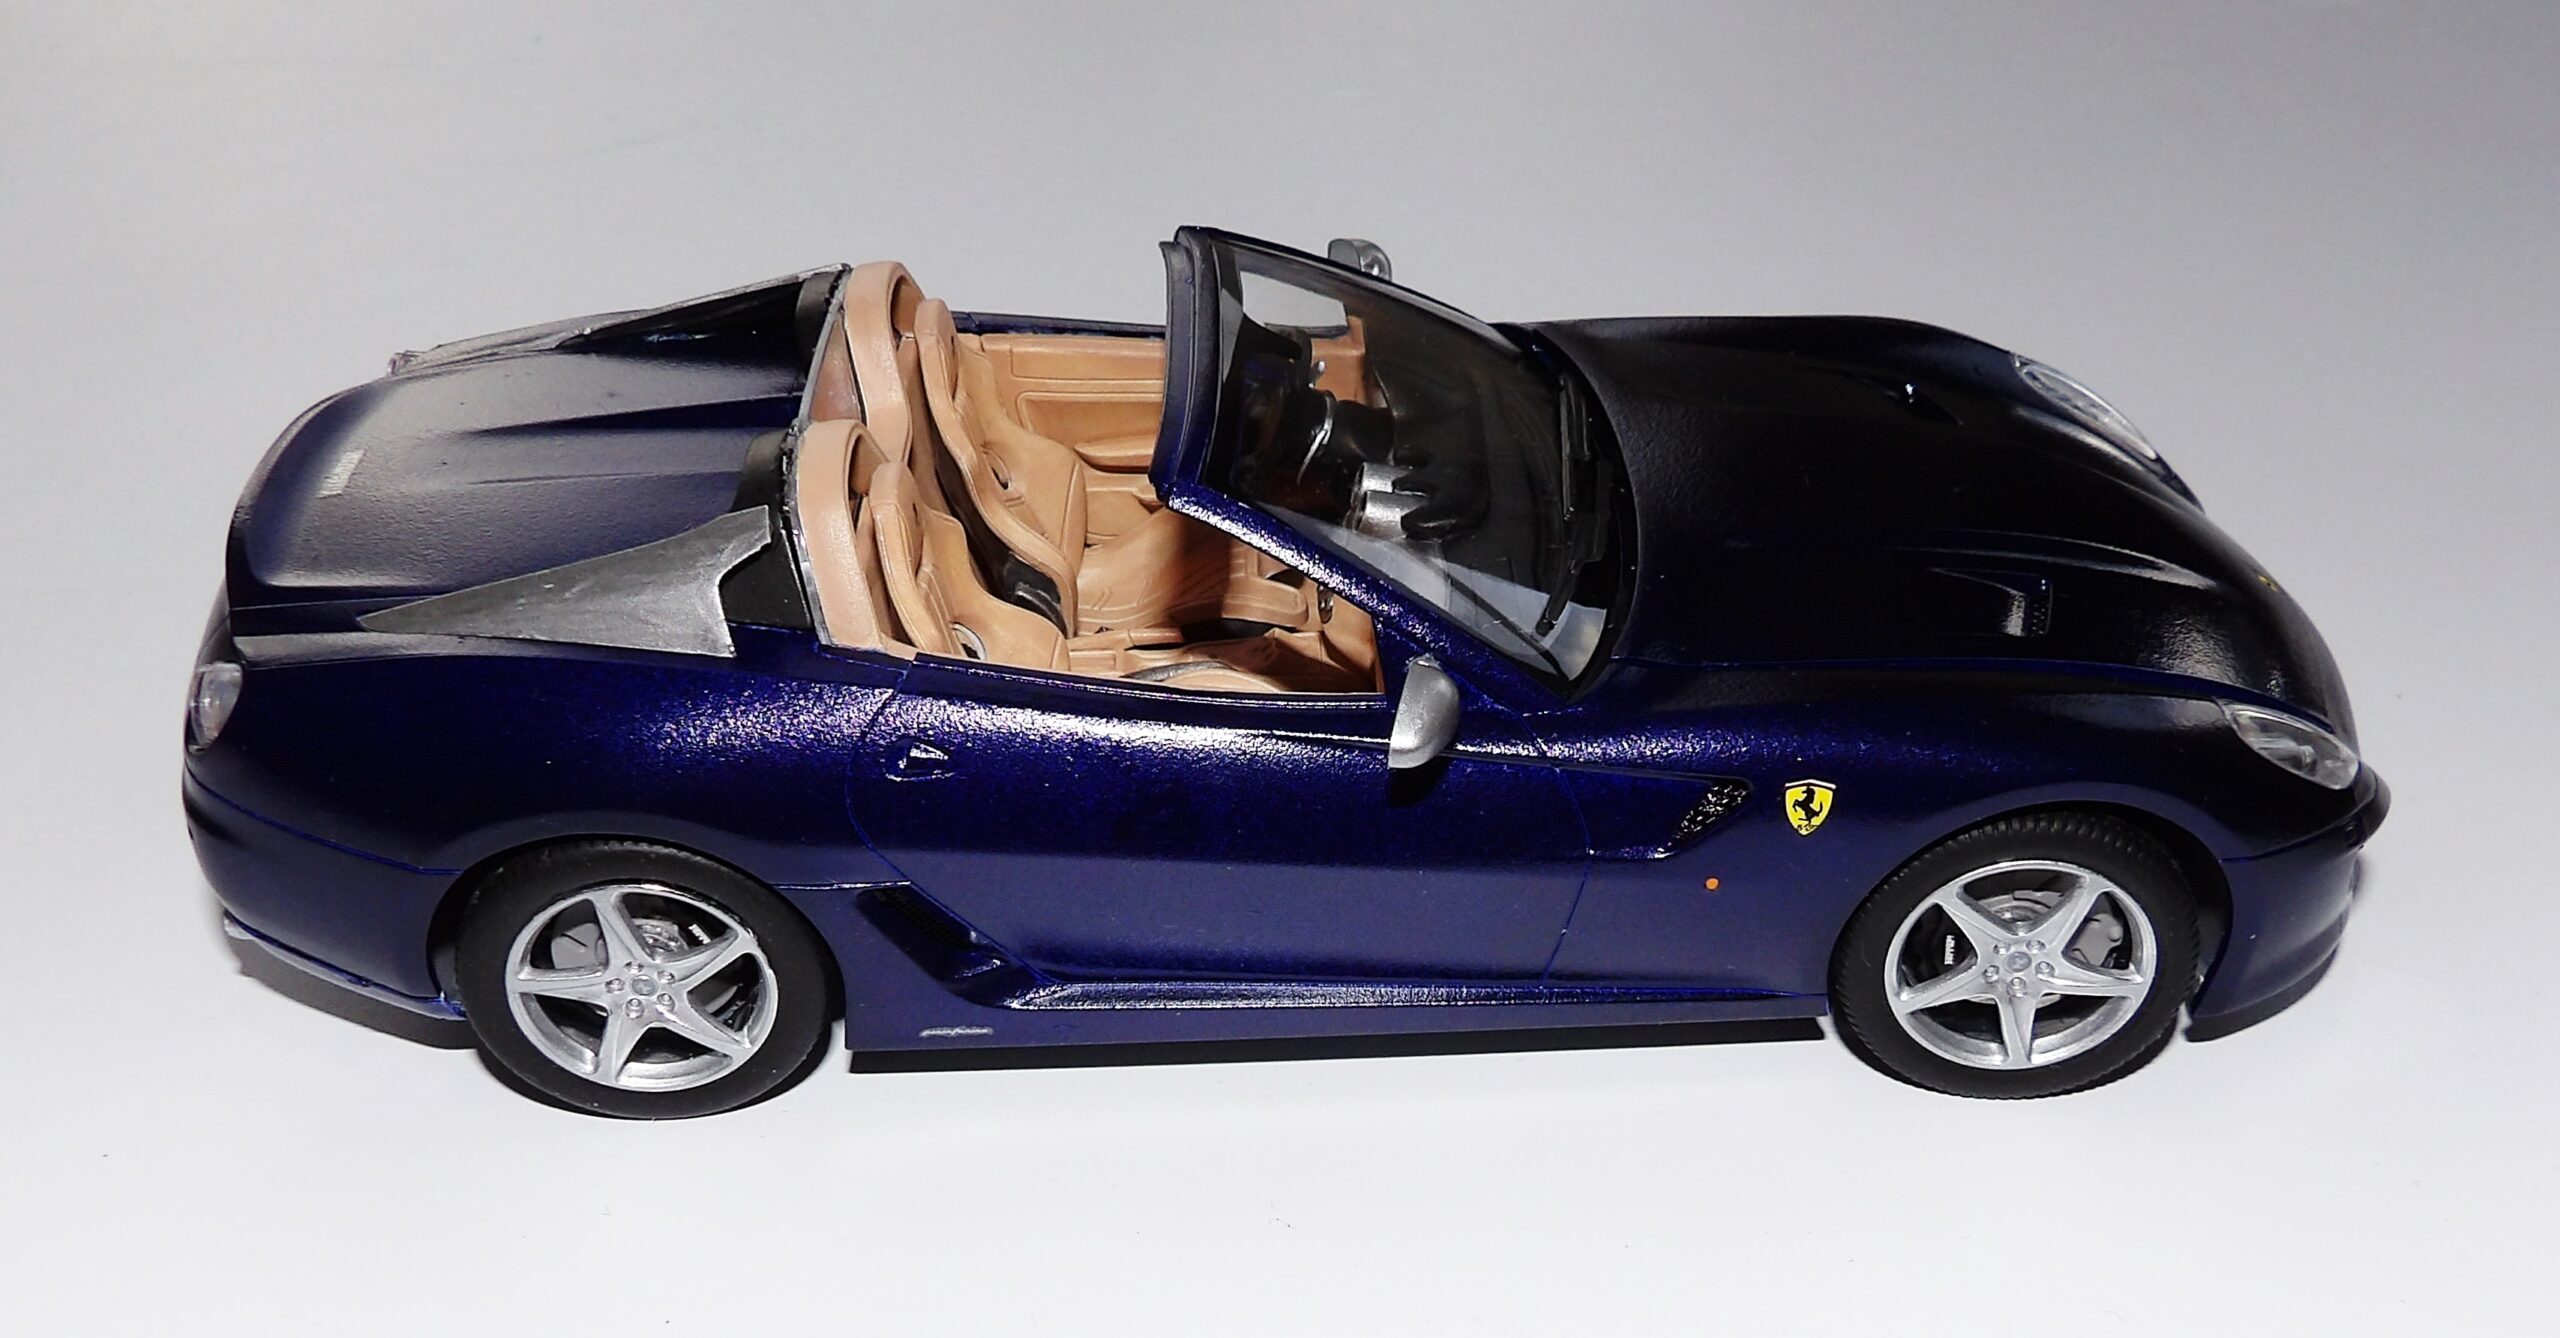
We have been eyeing this kit for a while, but high expectations have been holding us back!This is one of those kits that comes with coloured spures – an excellent choice for any modeller who just want to built something quickly without worrying about the painting.Ah, those seats look comfy. We were hoping Santa would bring us a comfy chair this year. But no, it didn’t happen. Next year, maybe?Engine parts and lots of it. Here is the decal sheet with lots of number plates to choose from.Learning from the mistakes of our last car, we dry fitted the parts before gluing and painting. Take special cares with cars, because some parts are not meant to be glued otherwise the wheels won’t turn!And BAM! We made our first mistake. These are parts of the steering linkage. Each one was supposed to slot into the bottom panel. Except they didn’t. Instead, the first one we tried was stuck half way through and then broke off! We had to replace it with a match stick.This is the diagram that tripped us. We were confused by the bottom logo. Apparently you’re supposed to heat the plastic after you slotted it in – we have already broken the piece before any heating could occur!This is what we should have done: rotate a scalpel a few times to enlarge the slot. This is what the car looks like before painting.We took it outside for a quick spray. We kept the parts intact so we can see what needs to be painted and what can be left as it is.This is the engine after it was sprayed. Only the centre part needs to be painted, the rest can be left as it is since it would be covered up anyway.This is what the engine looks like once it has been painted.The dashboard and steering wheel are shown here. It was a little surprising how well The Army Painter Matt Black turned out – not a stroke line in sight!Here is the finished car once all the decals were applied.We painted the windscreen border with just a paint brush – partly because we wanted to test our dexterity, but mostly because we were too lazy to find masking tape…This is what the engine looks like under the bonnet.We decided to go with a generic number plate, seeing the GB plate had not aged well.We used Tamiya TS53 Deep Metallic Blue for the body, which turned out great if we may say so! The only problem with Tamiya sprays is that they don’t always have matching paints for touch ups. To mitigate this problem, we sprayed some paints into a jar and applied it with brush.That’s all folks! It’s time to take it for a spin. Anyone has an enlarge-ray-gun? Kevin? Bob? Dave?