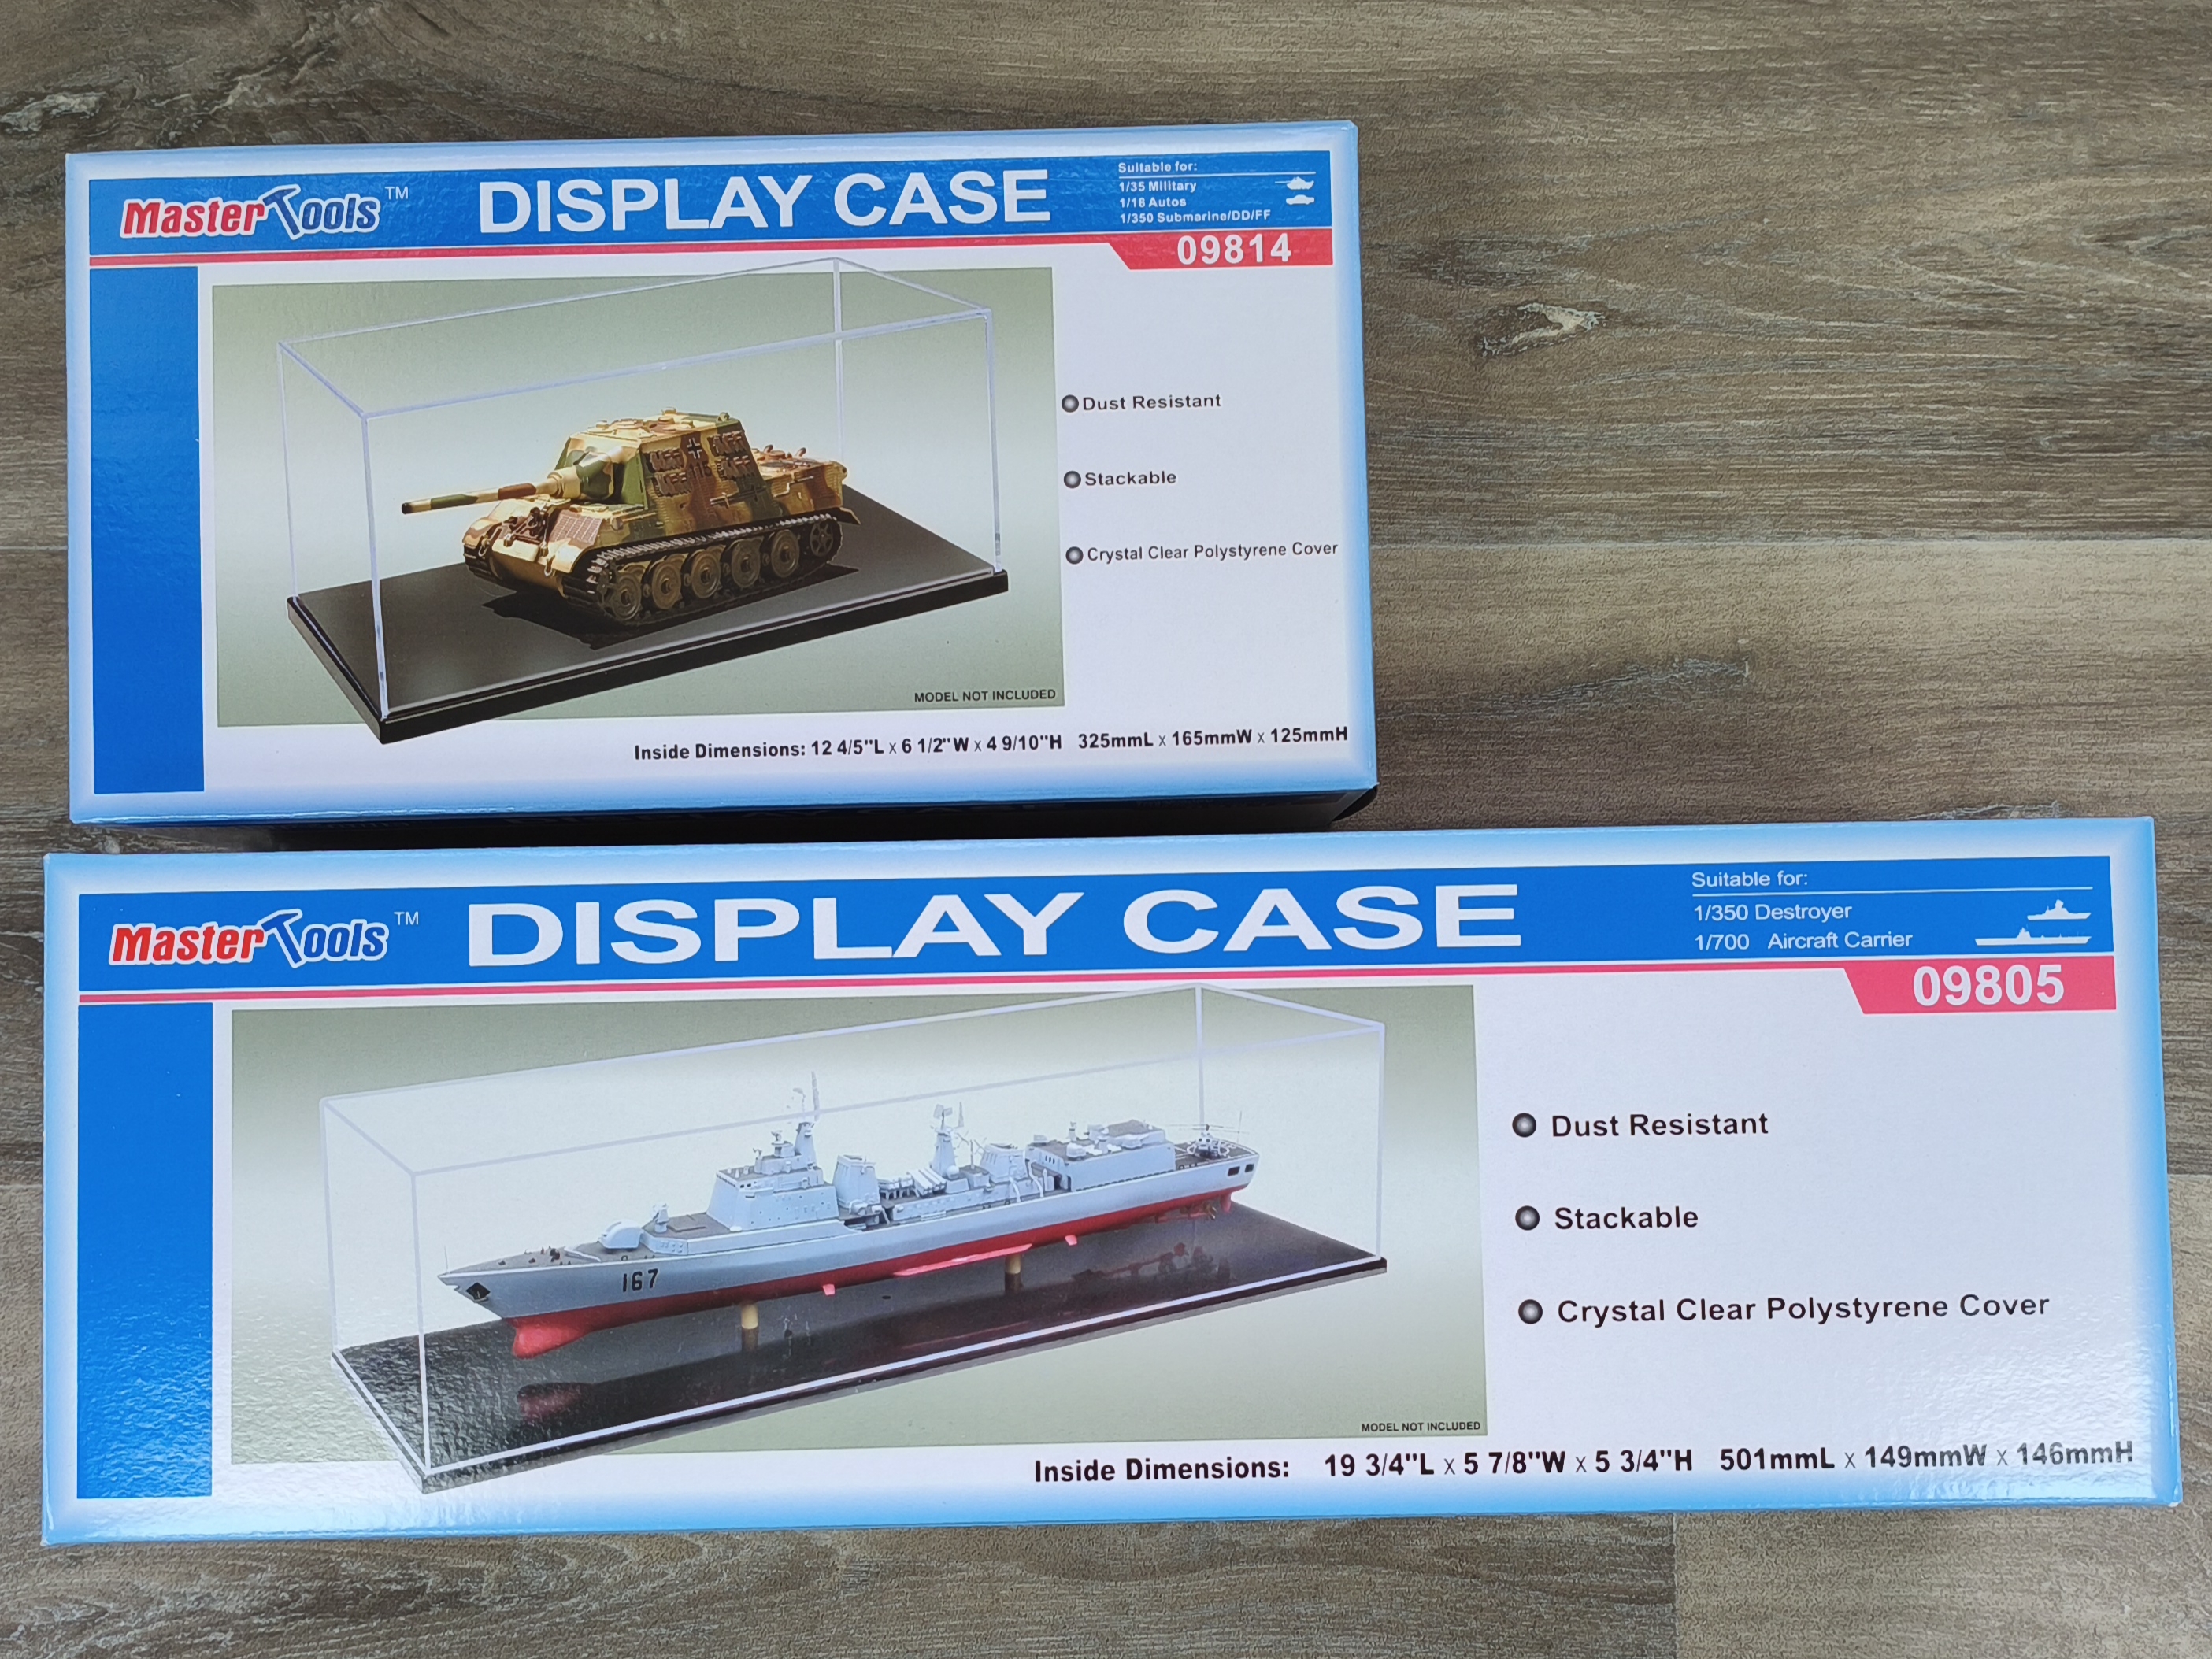
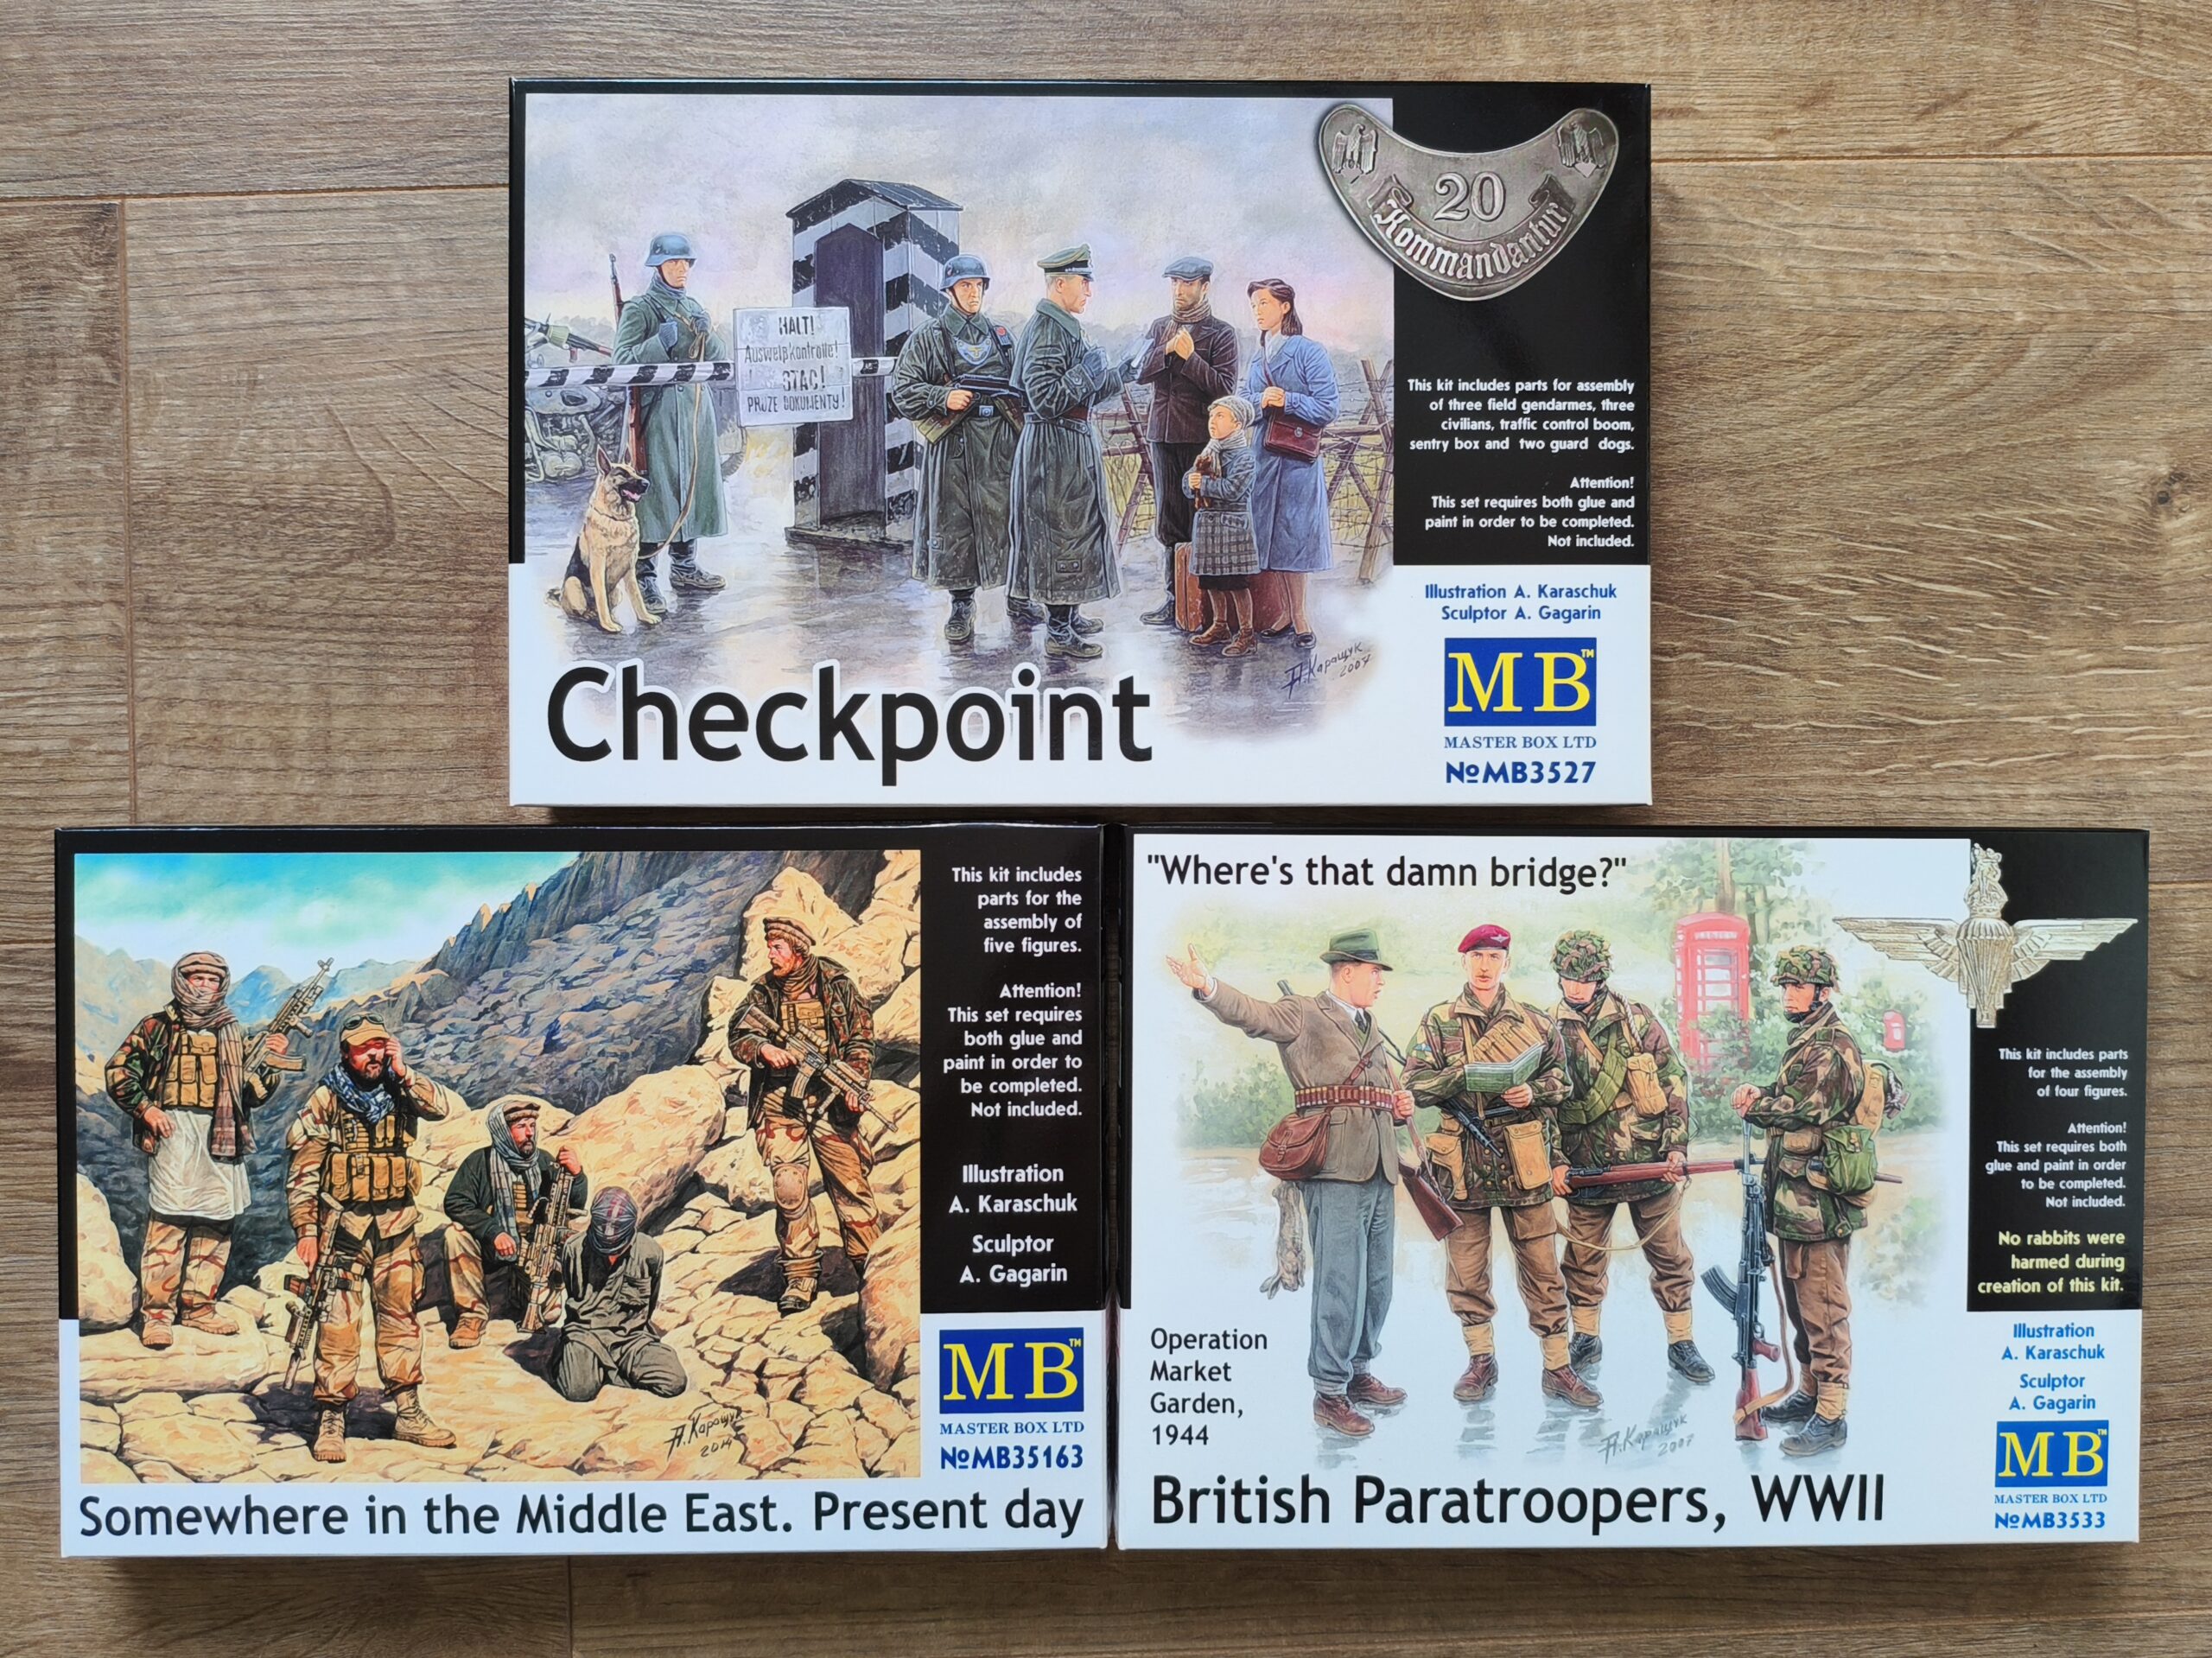
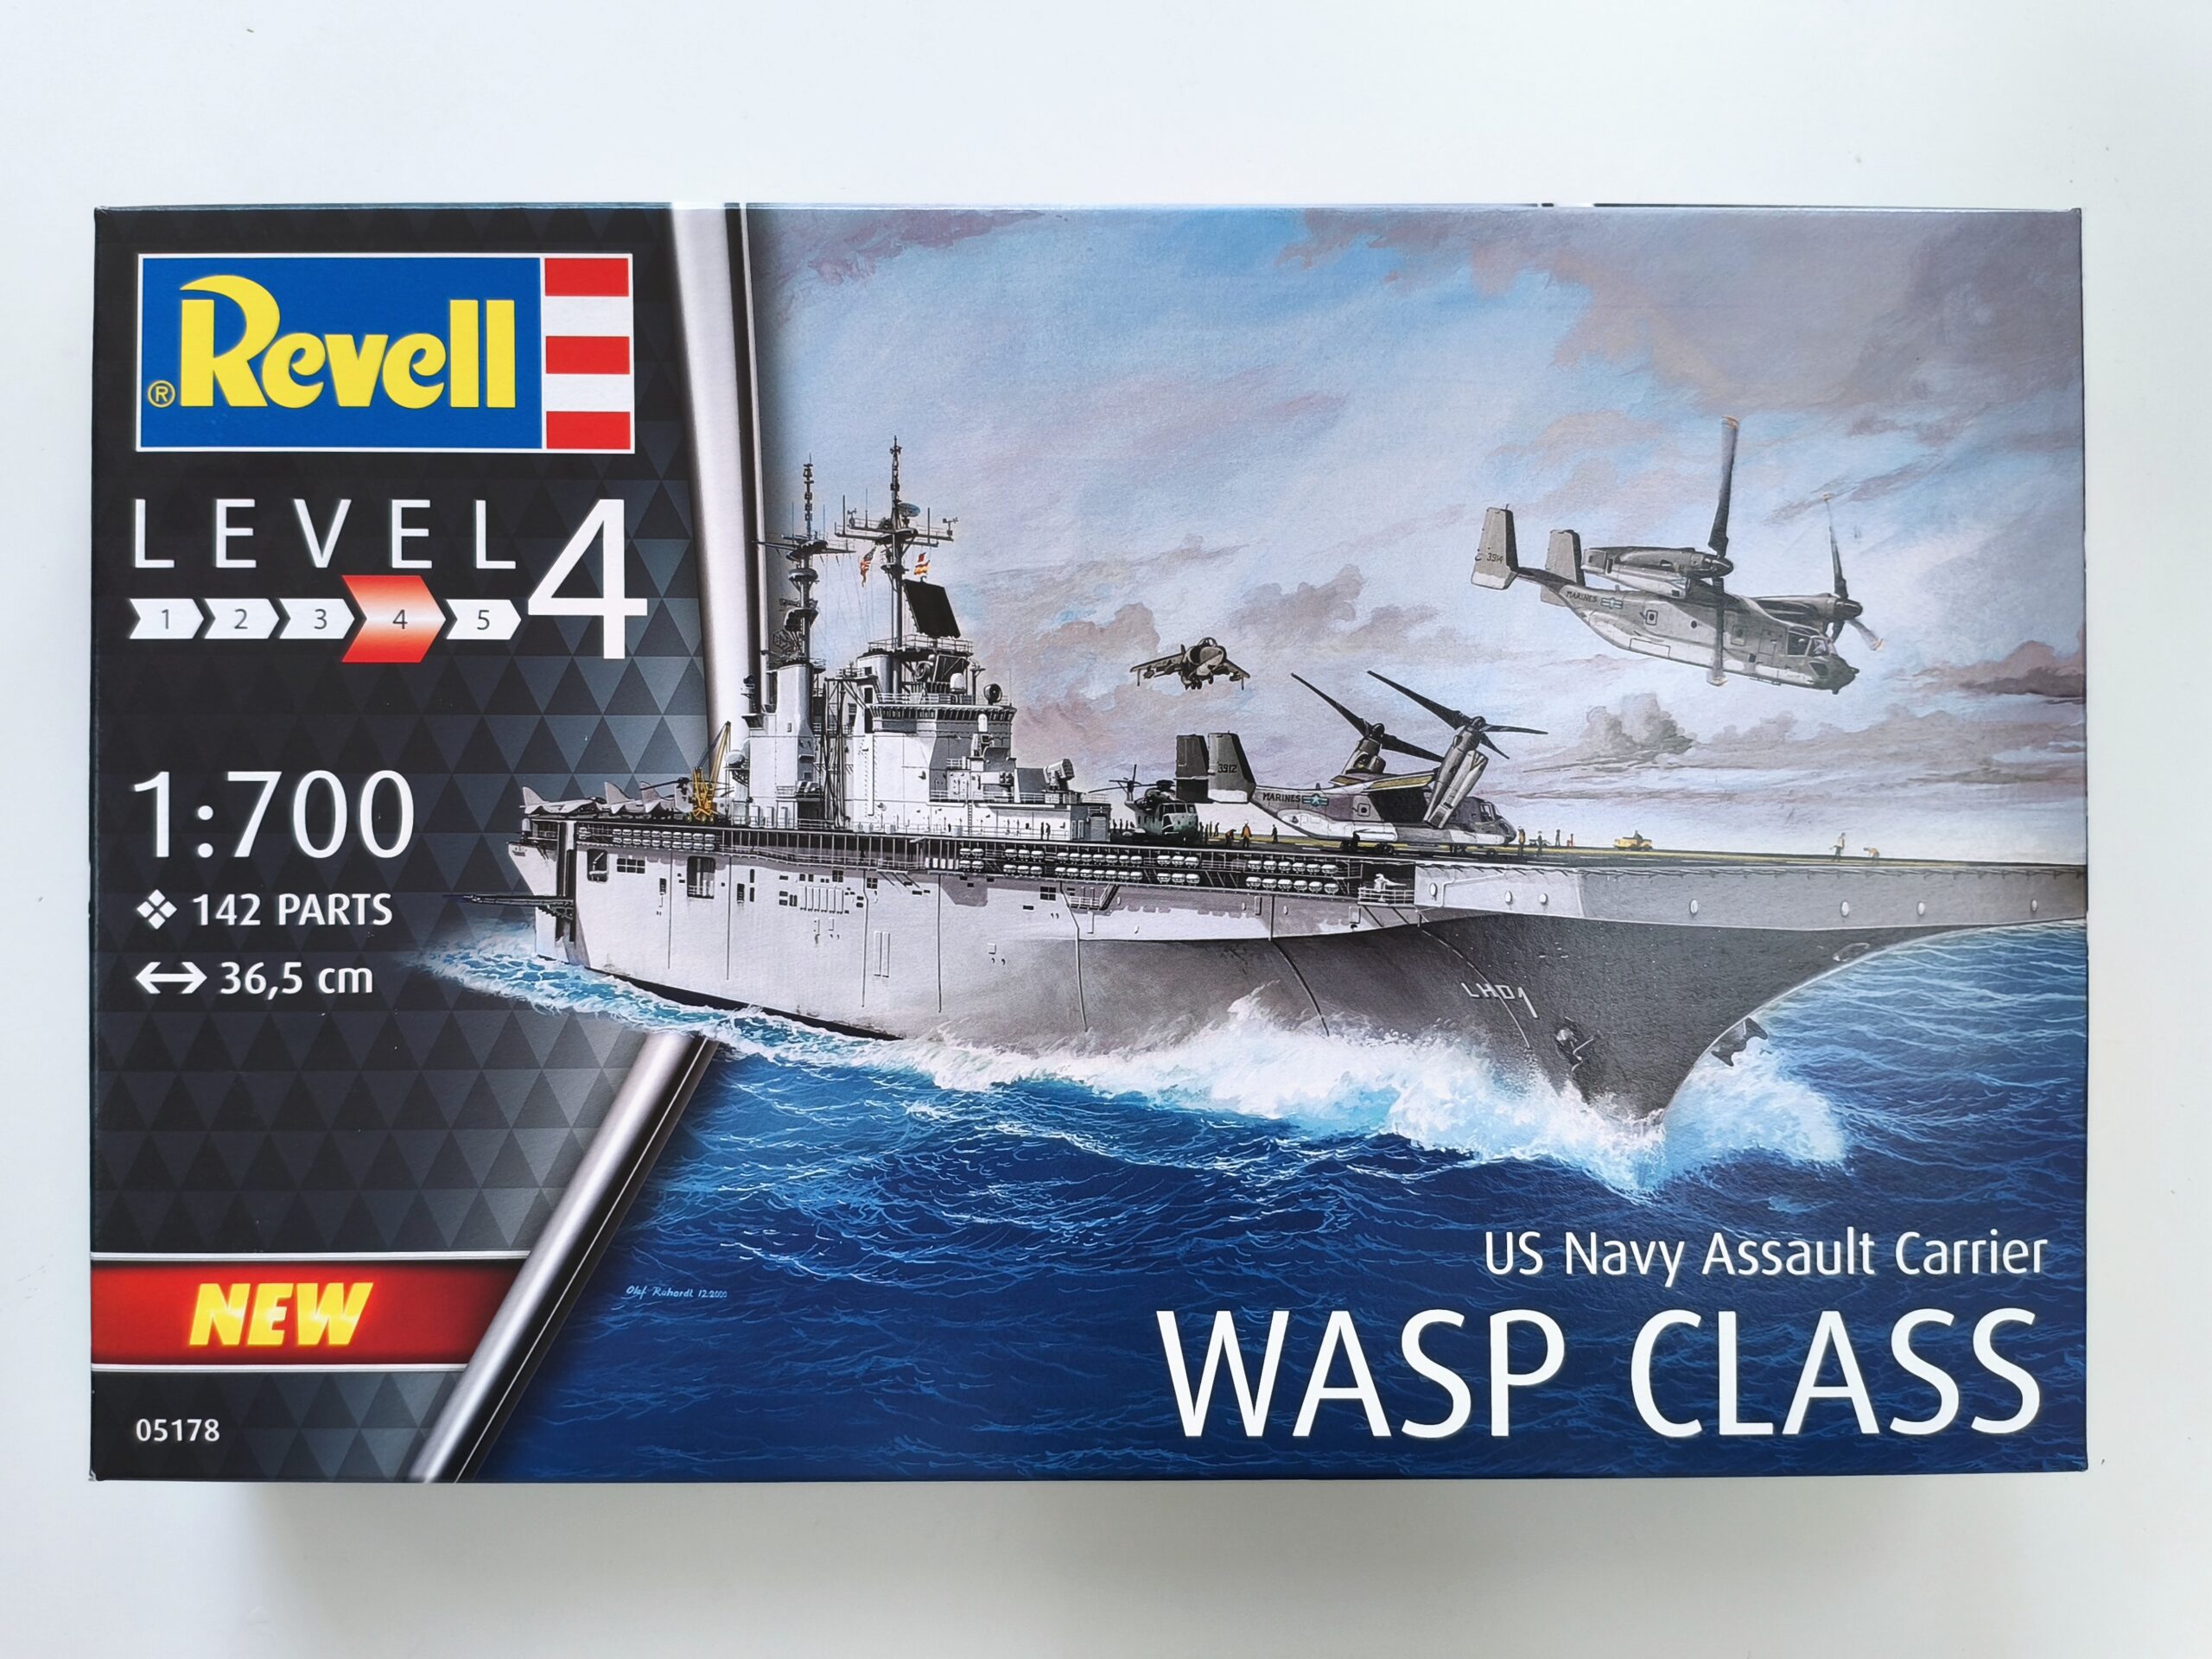
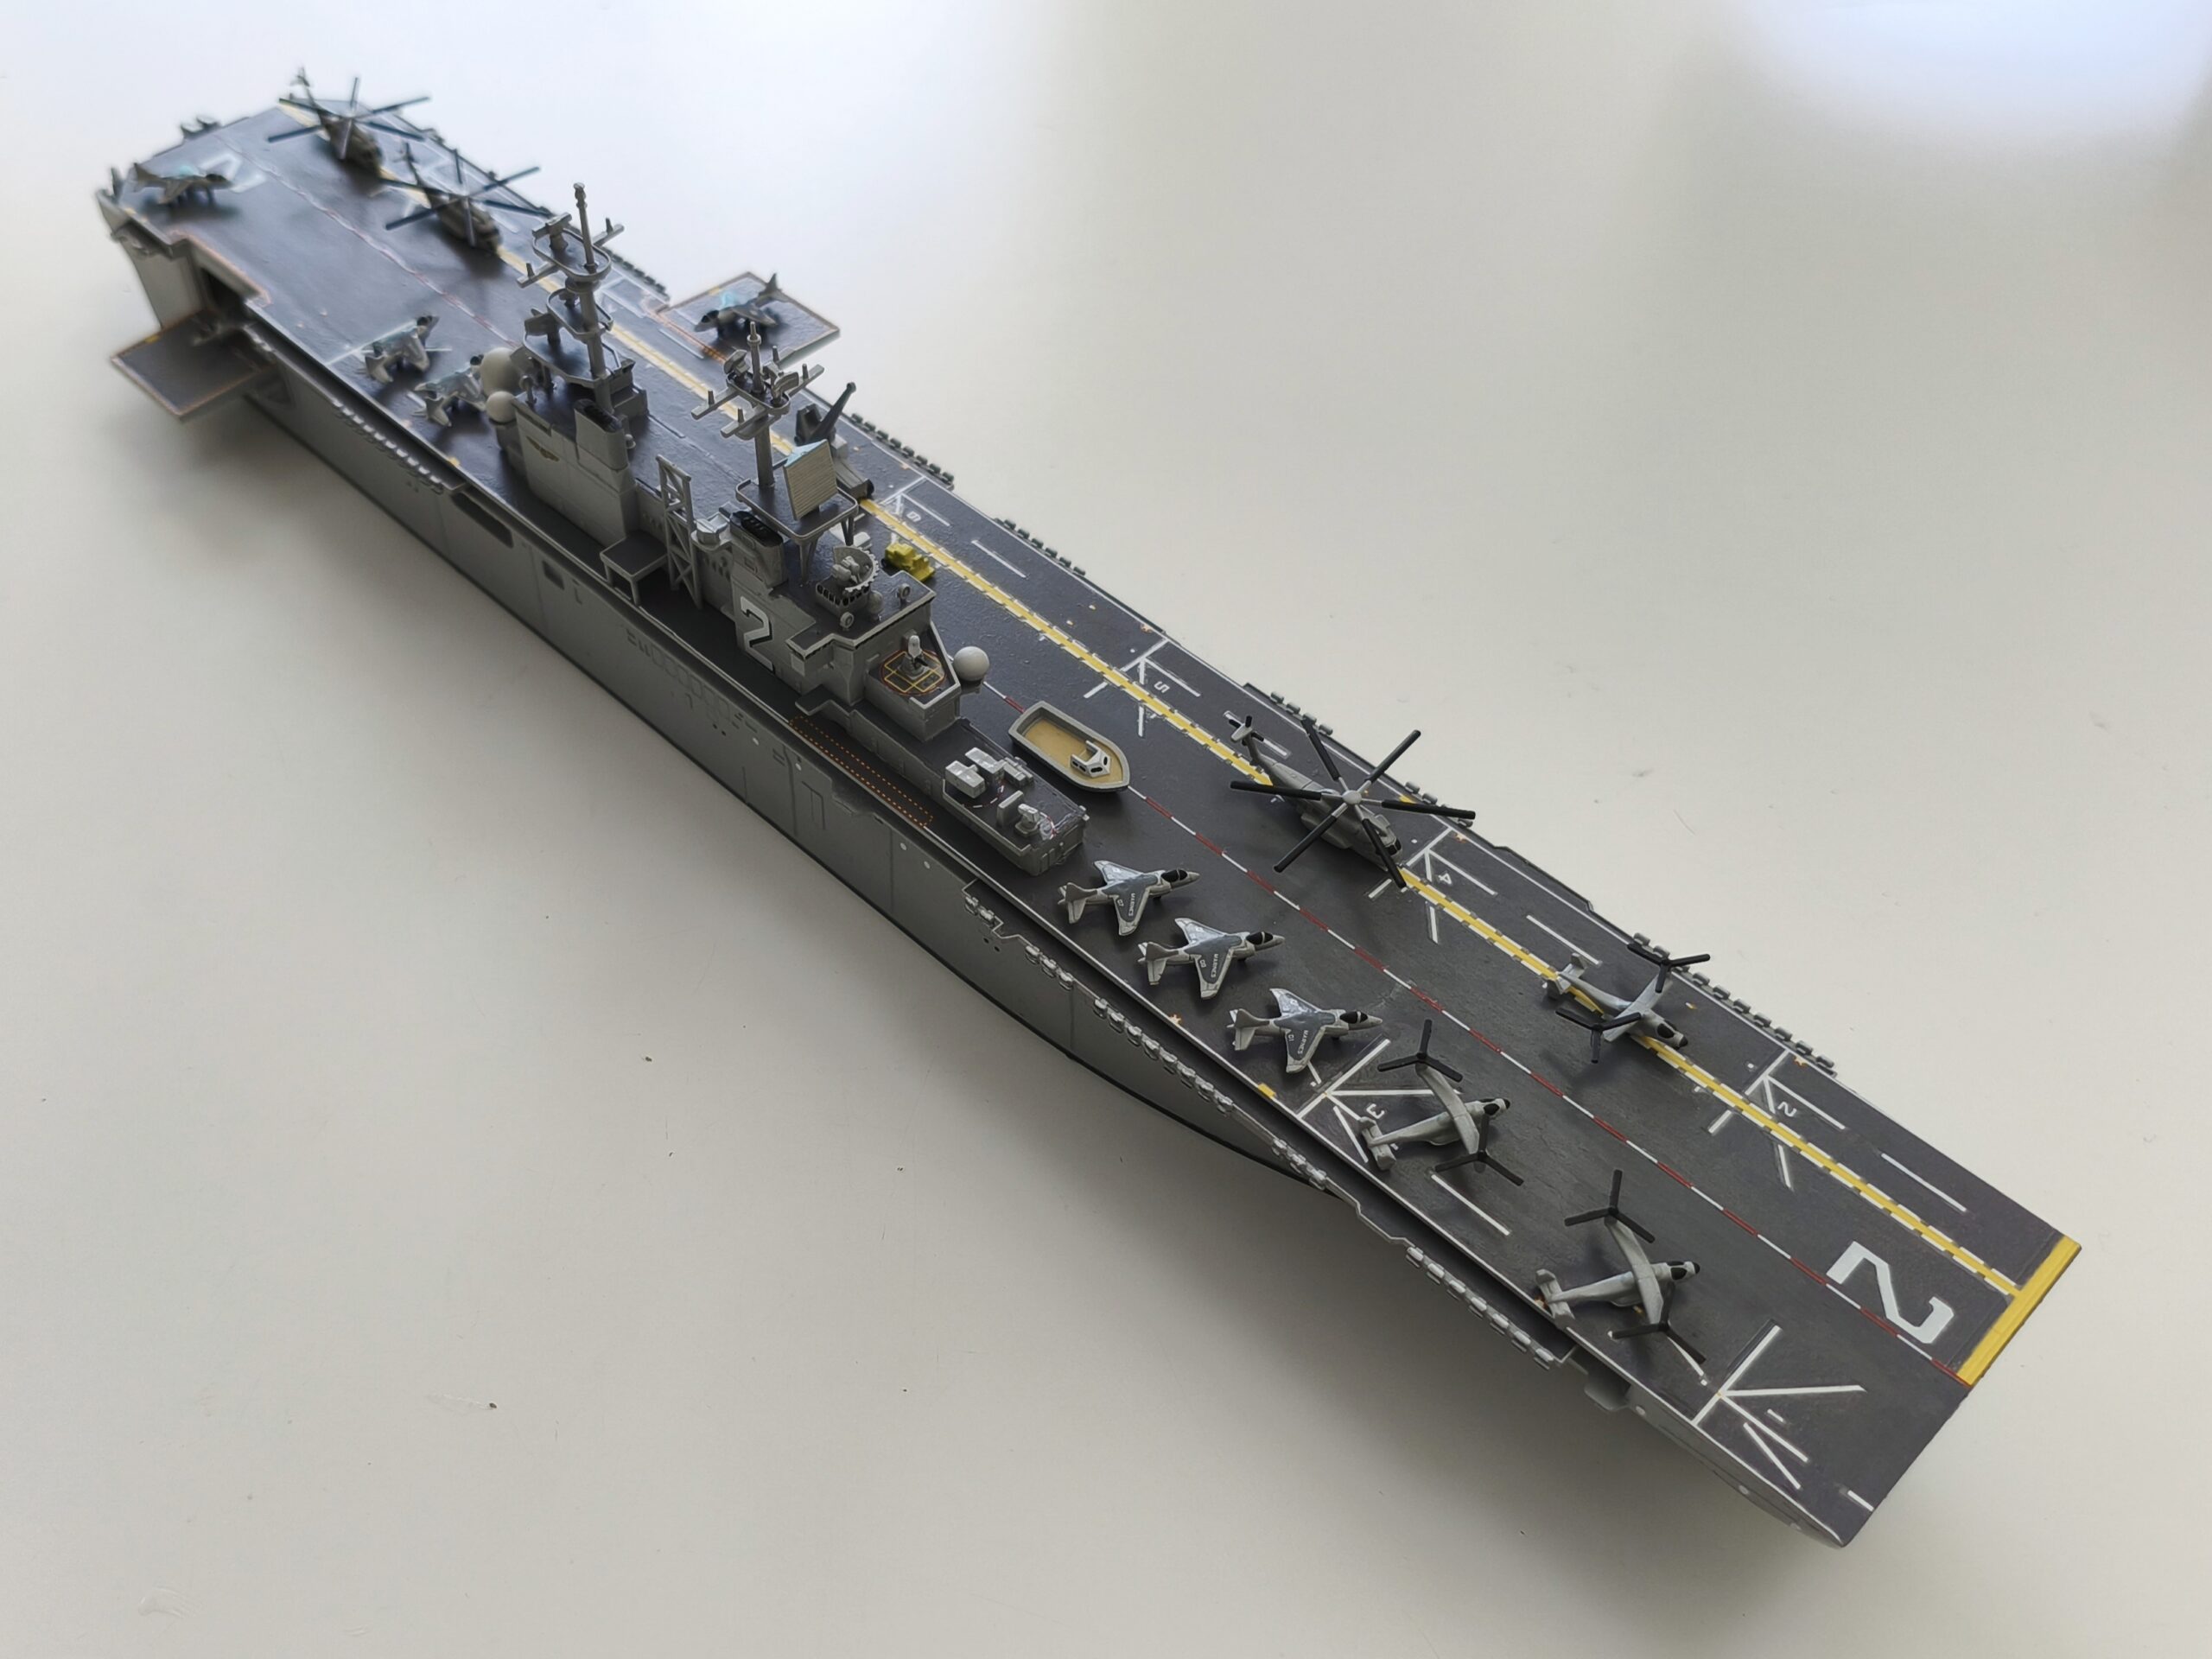
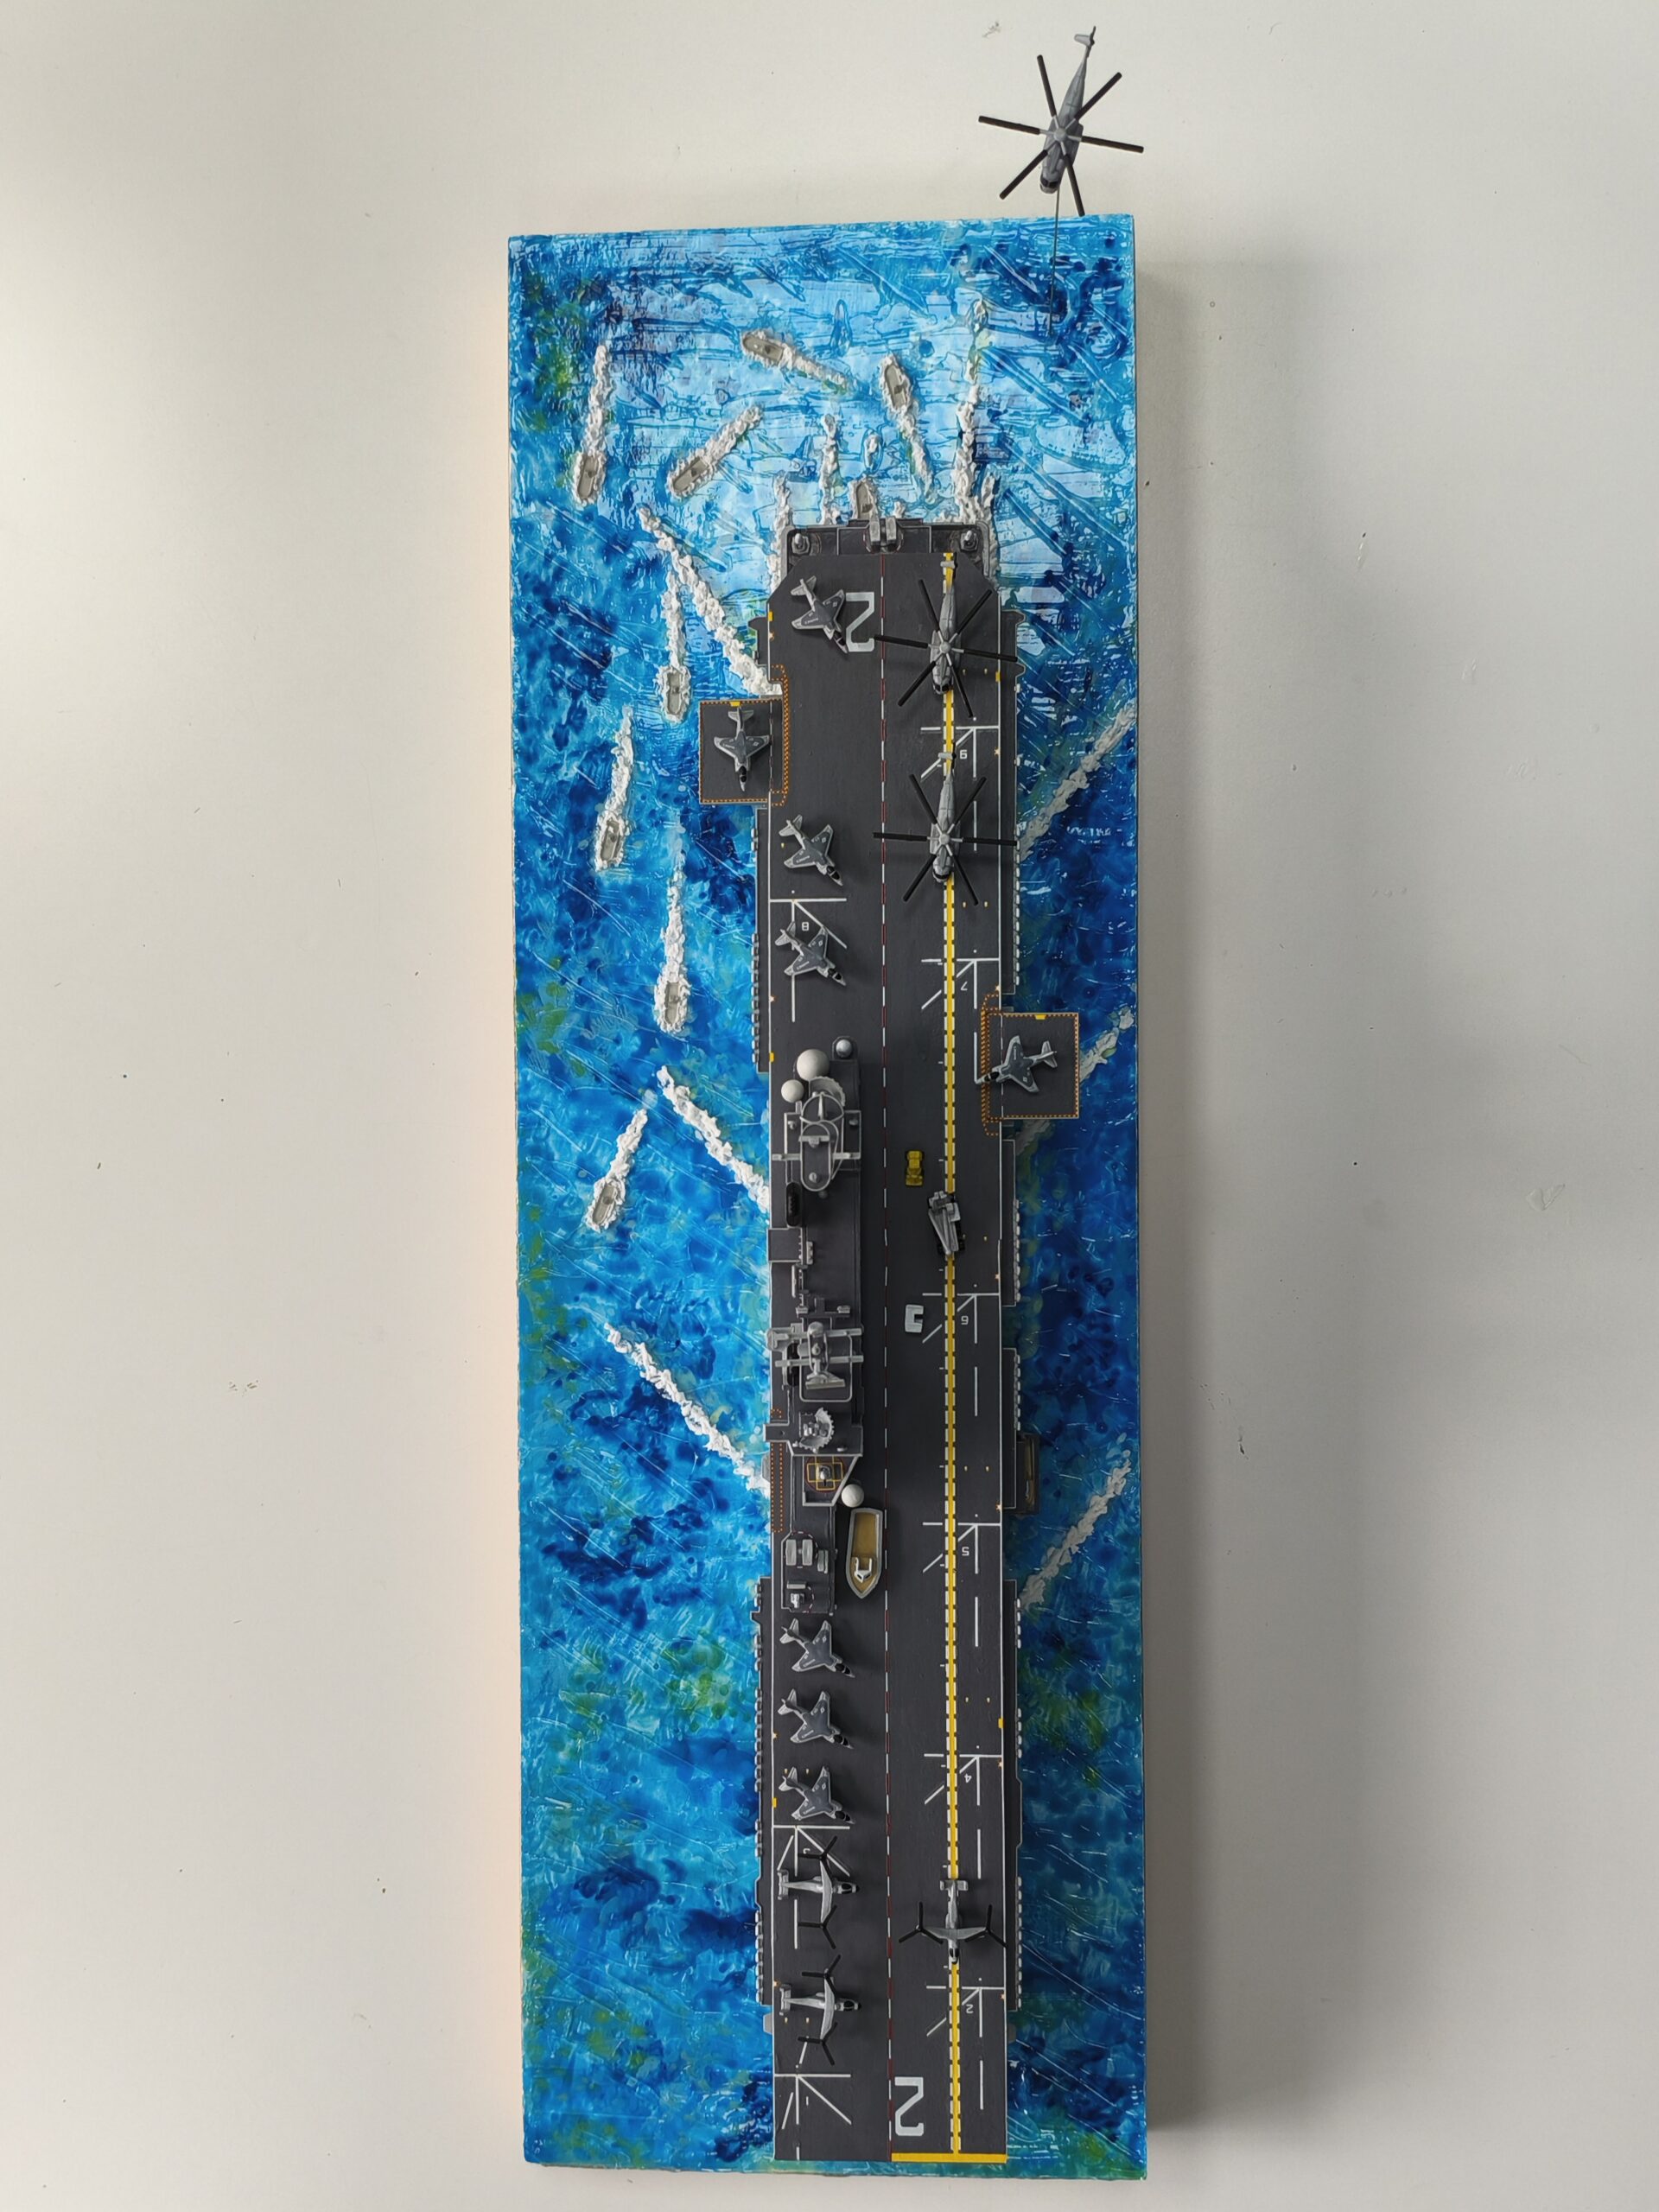
Assault carriers are designed to support short-range aircraft and landing crafts. In global conflicts or humanitarian crises, they can quickly supply troops or equipment onto shores.
The Revell US Navy Assault Carrier USS Wasp Class is ideal for people who can’t make up their mind what to build because you don’t have to choose between making a boat, aircraft or vehicle; you get to make all three in one kit!
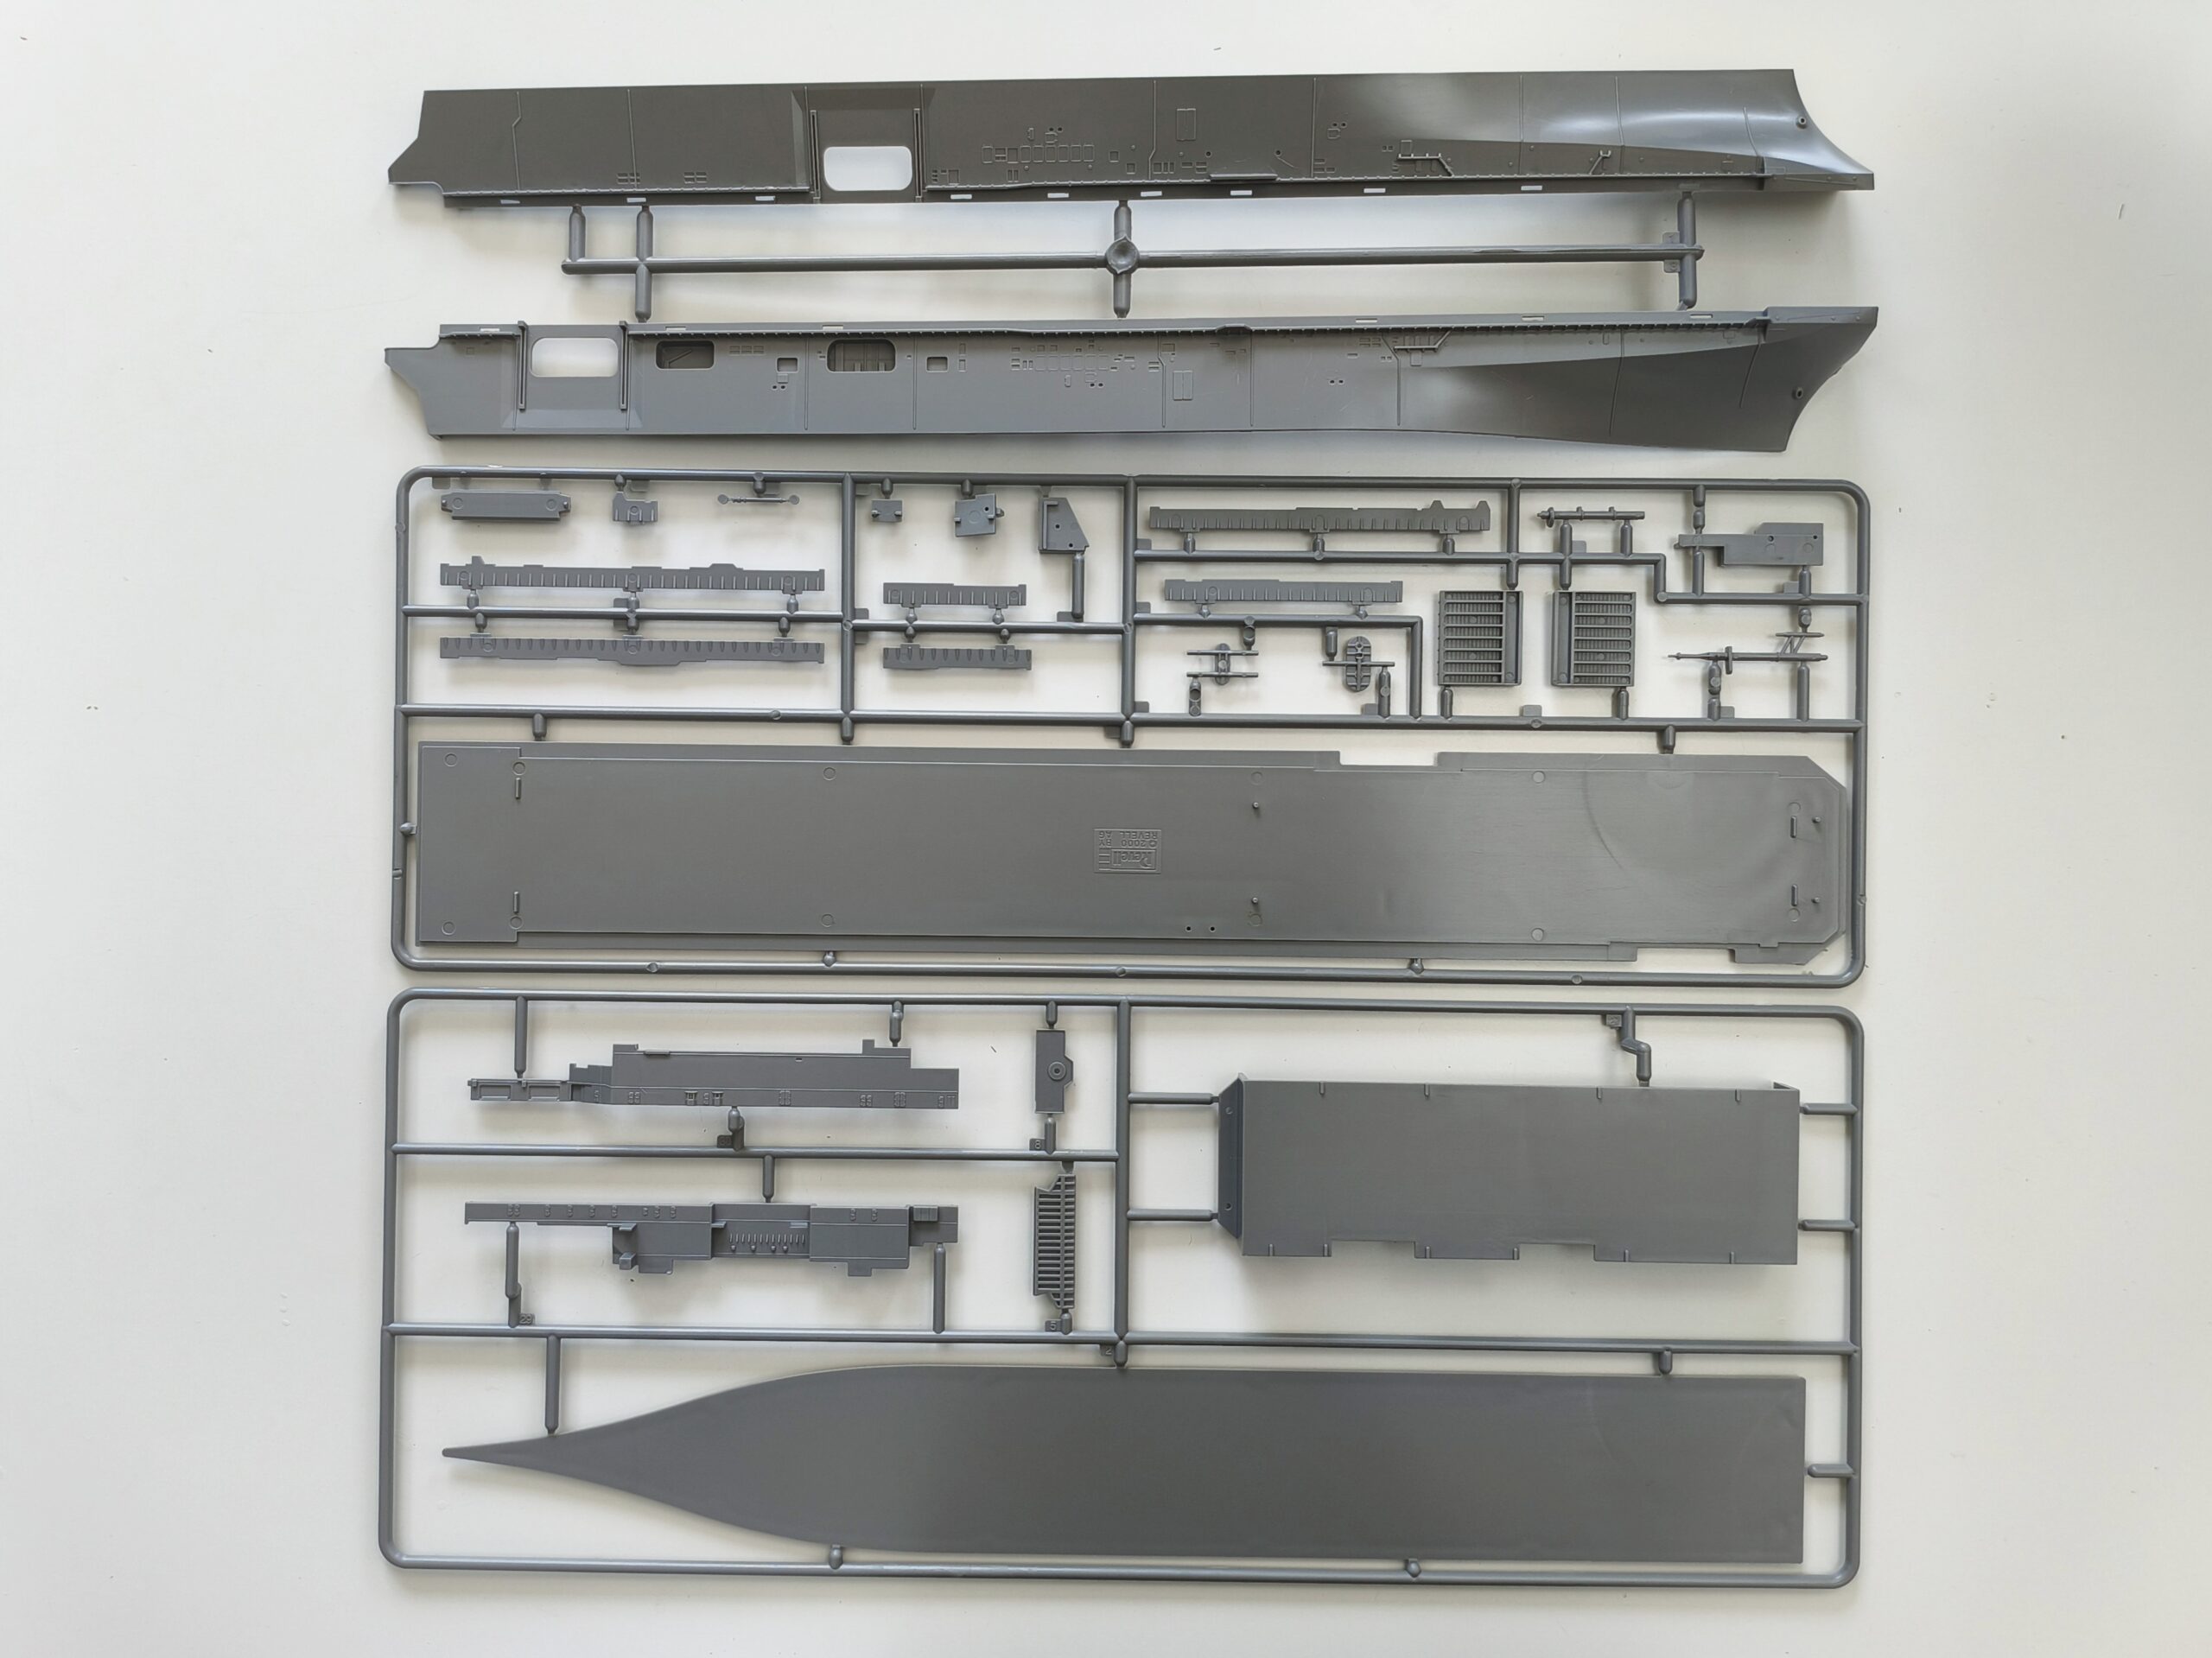
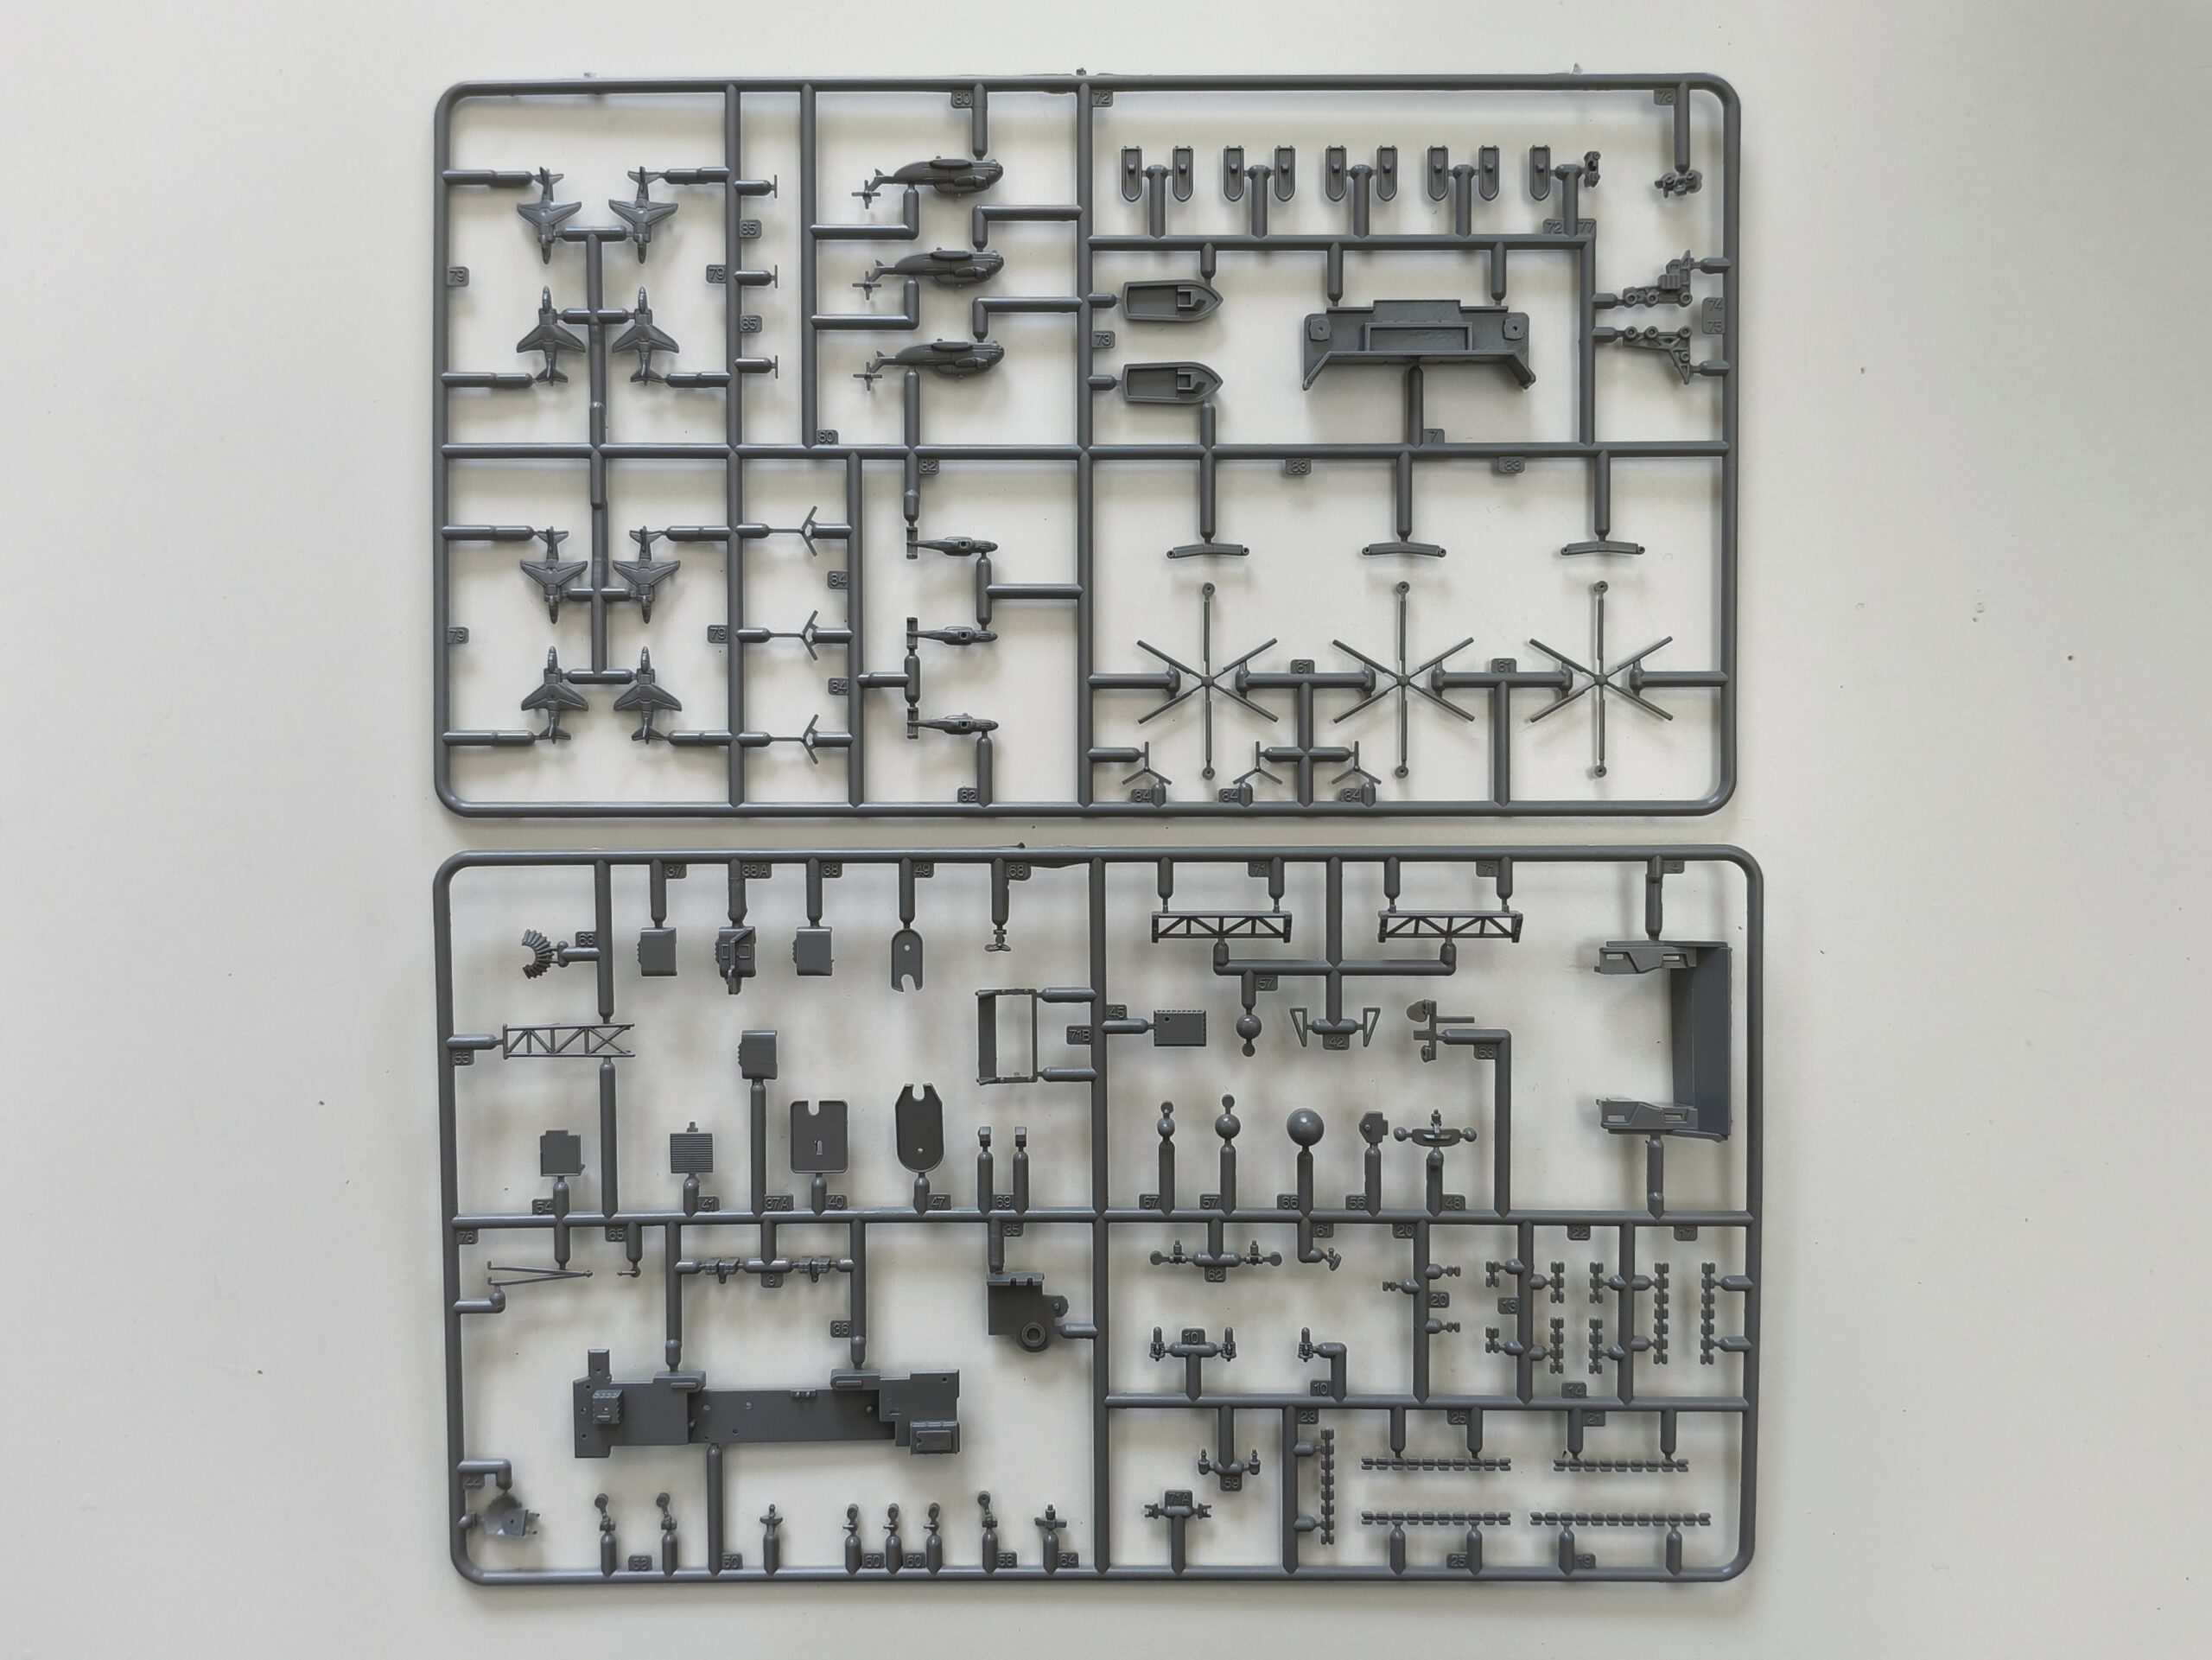
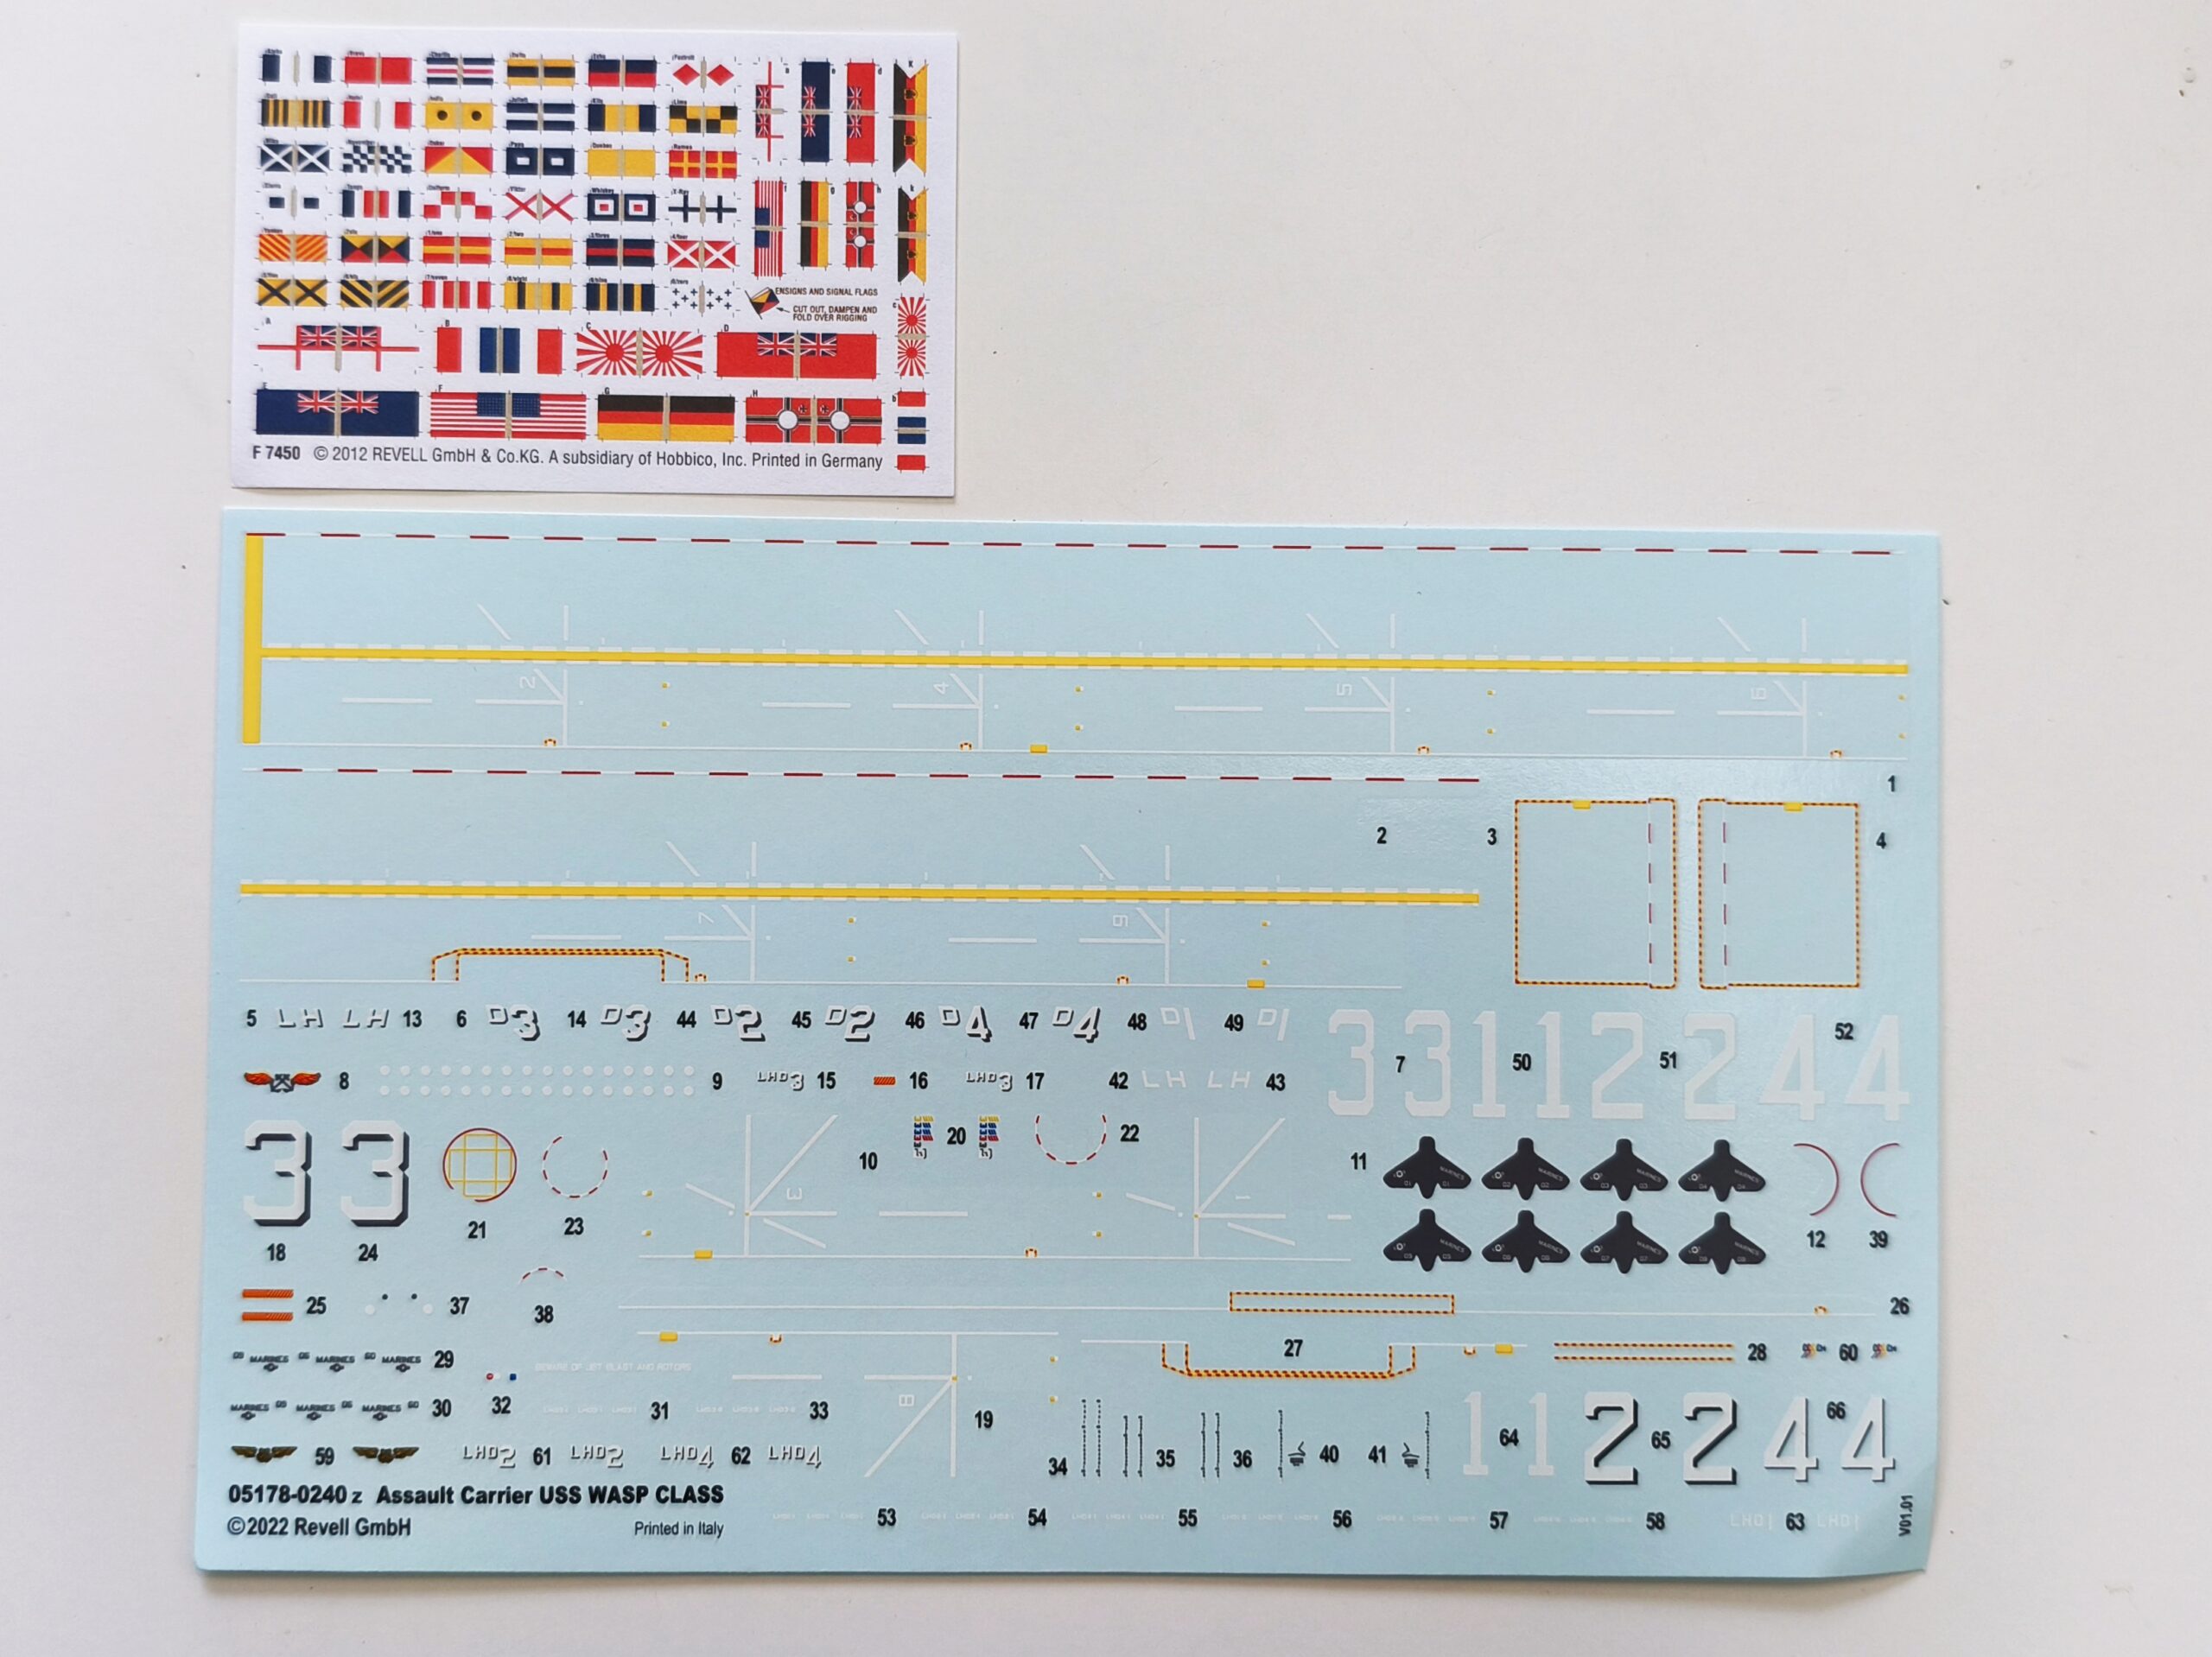
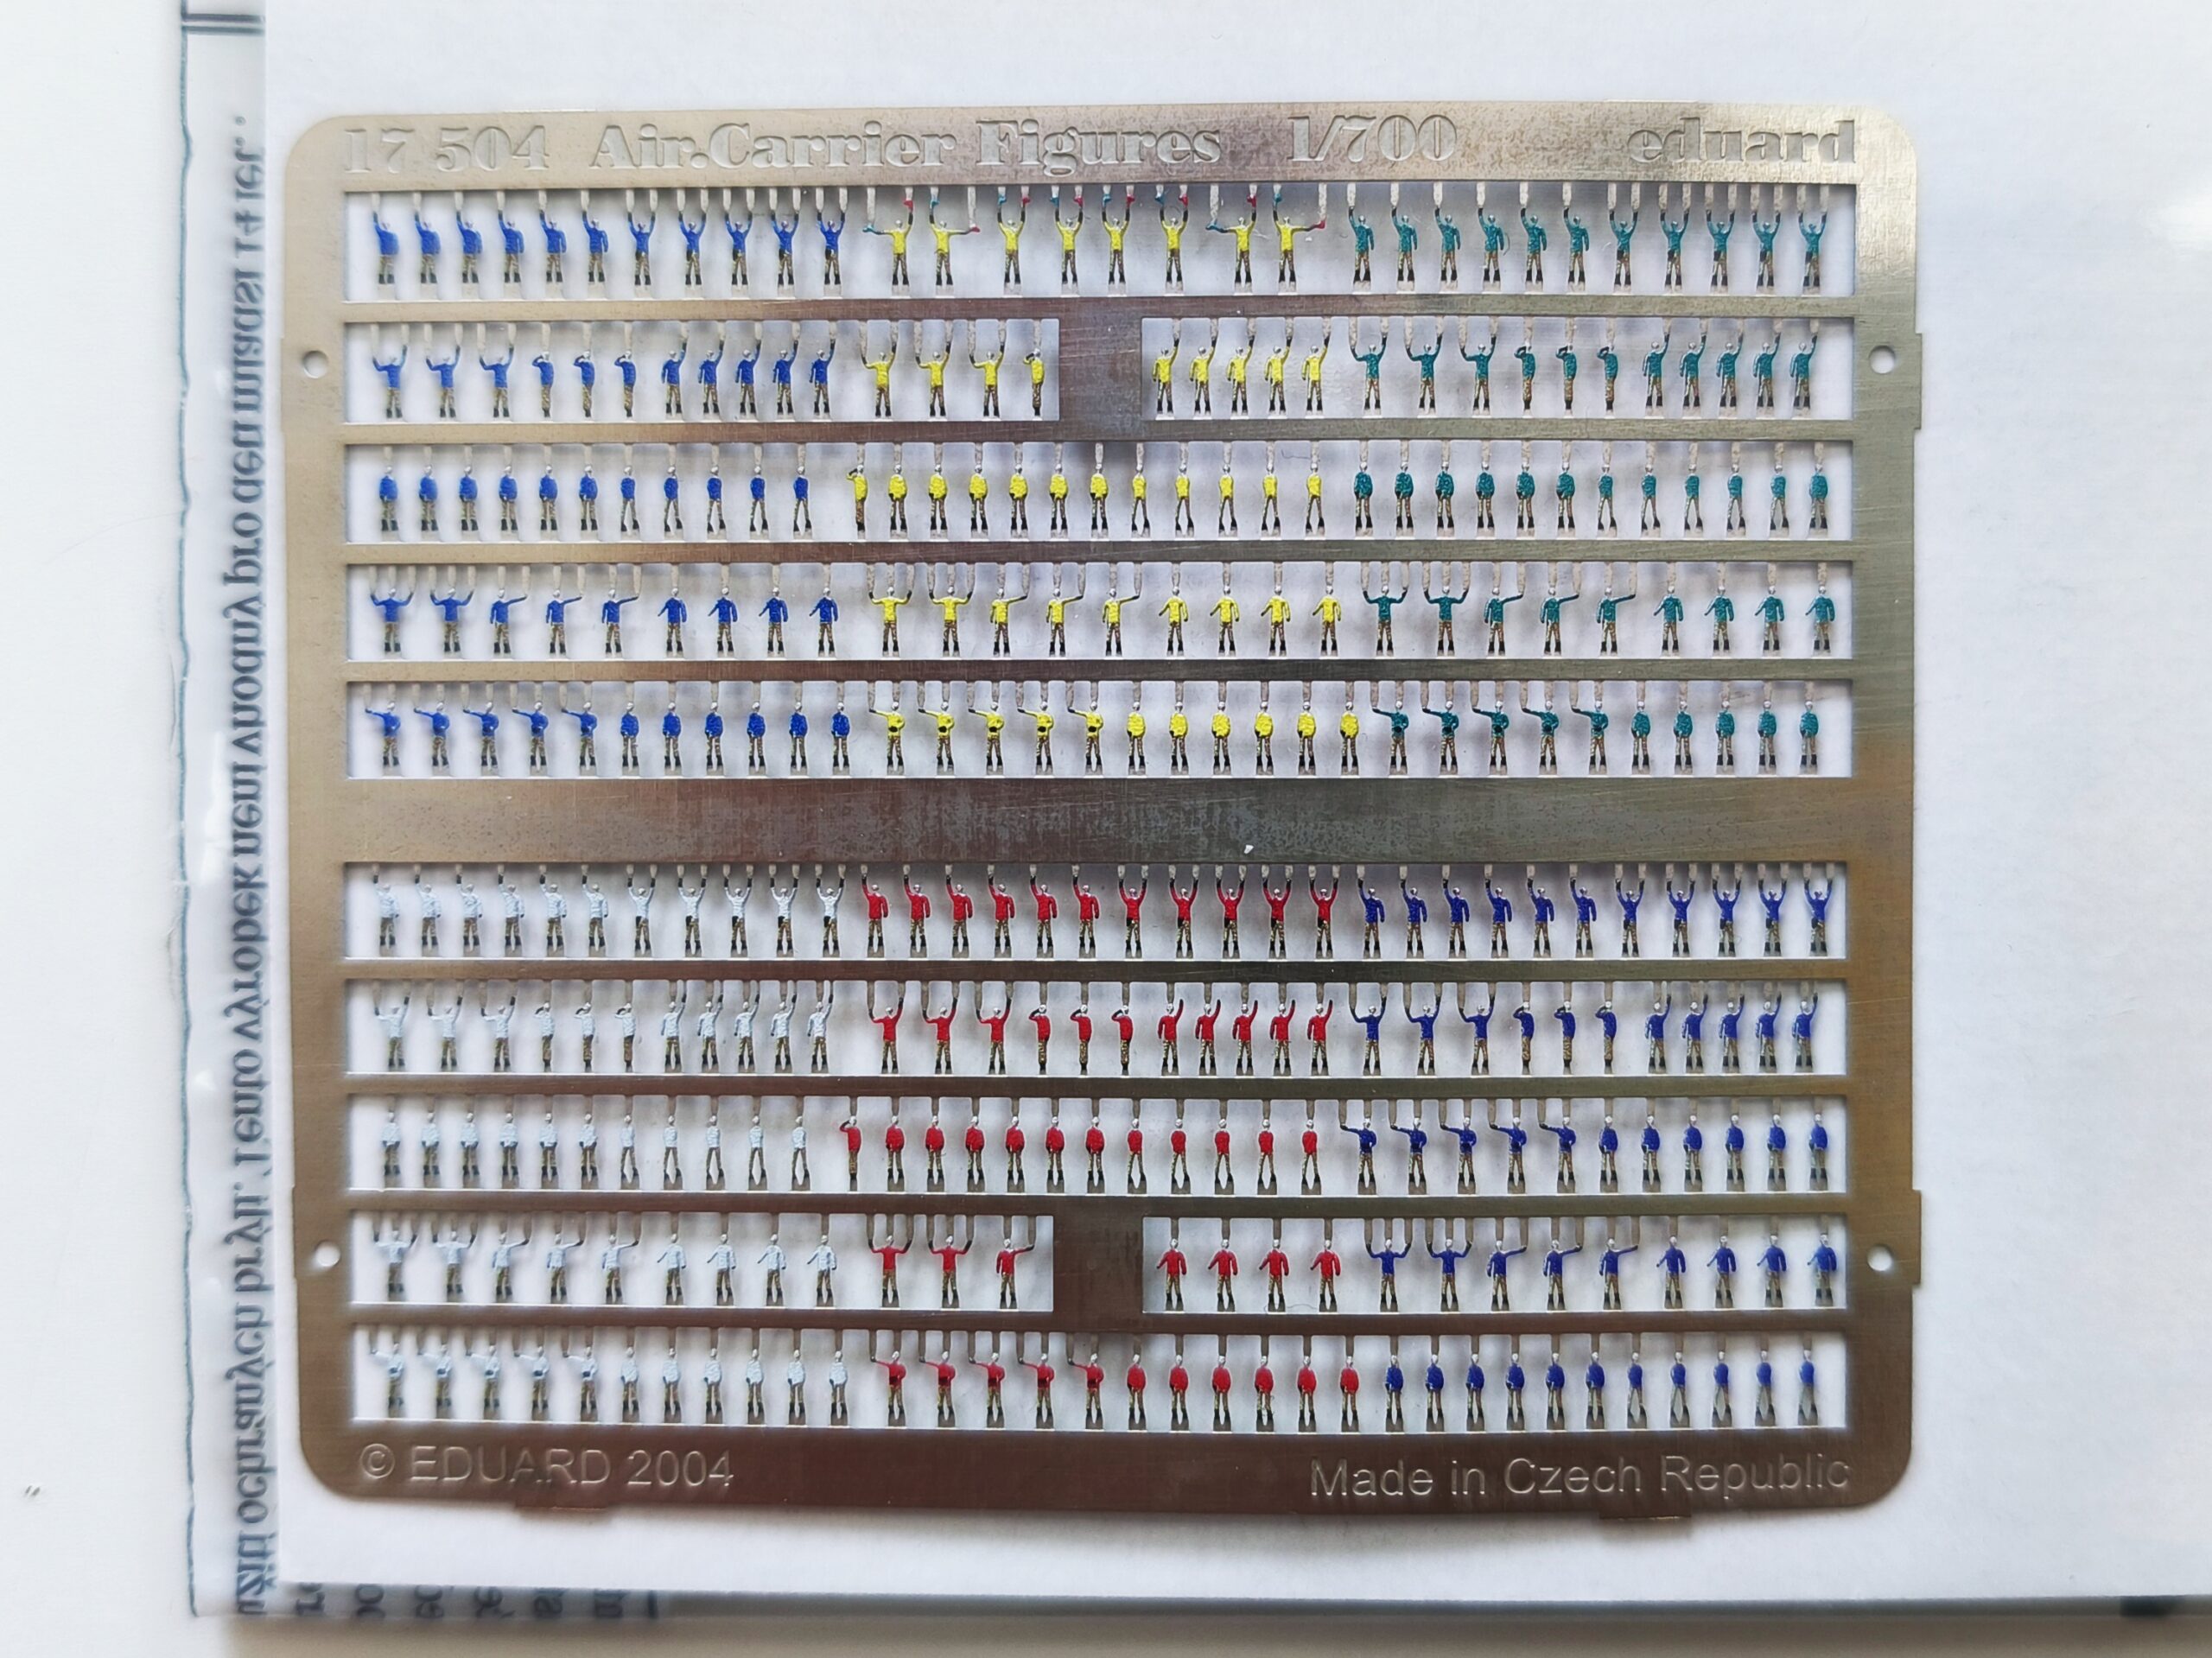
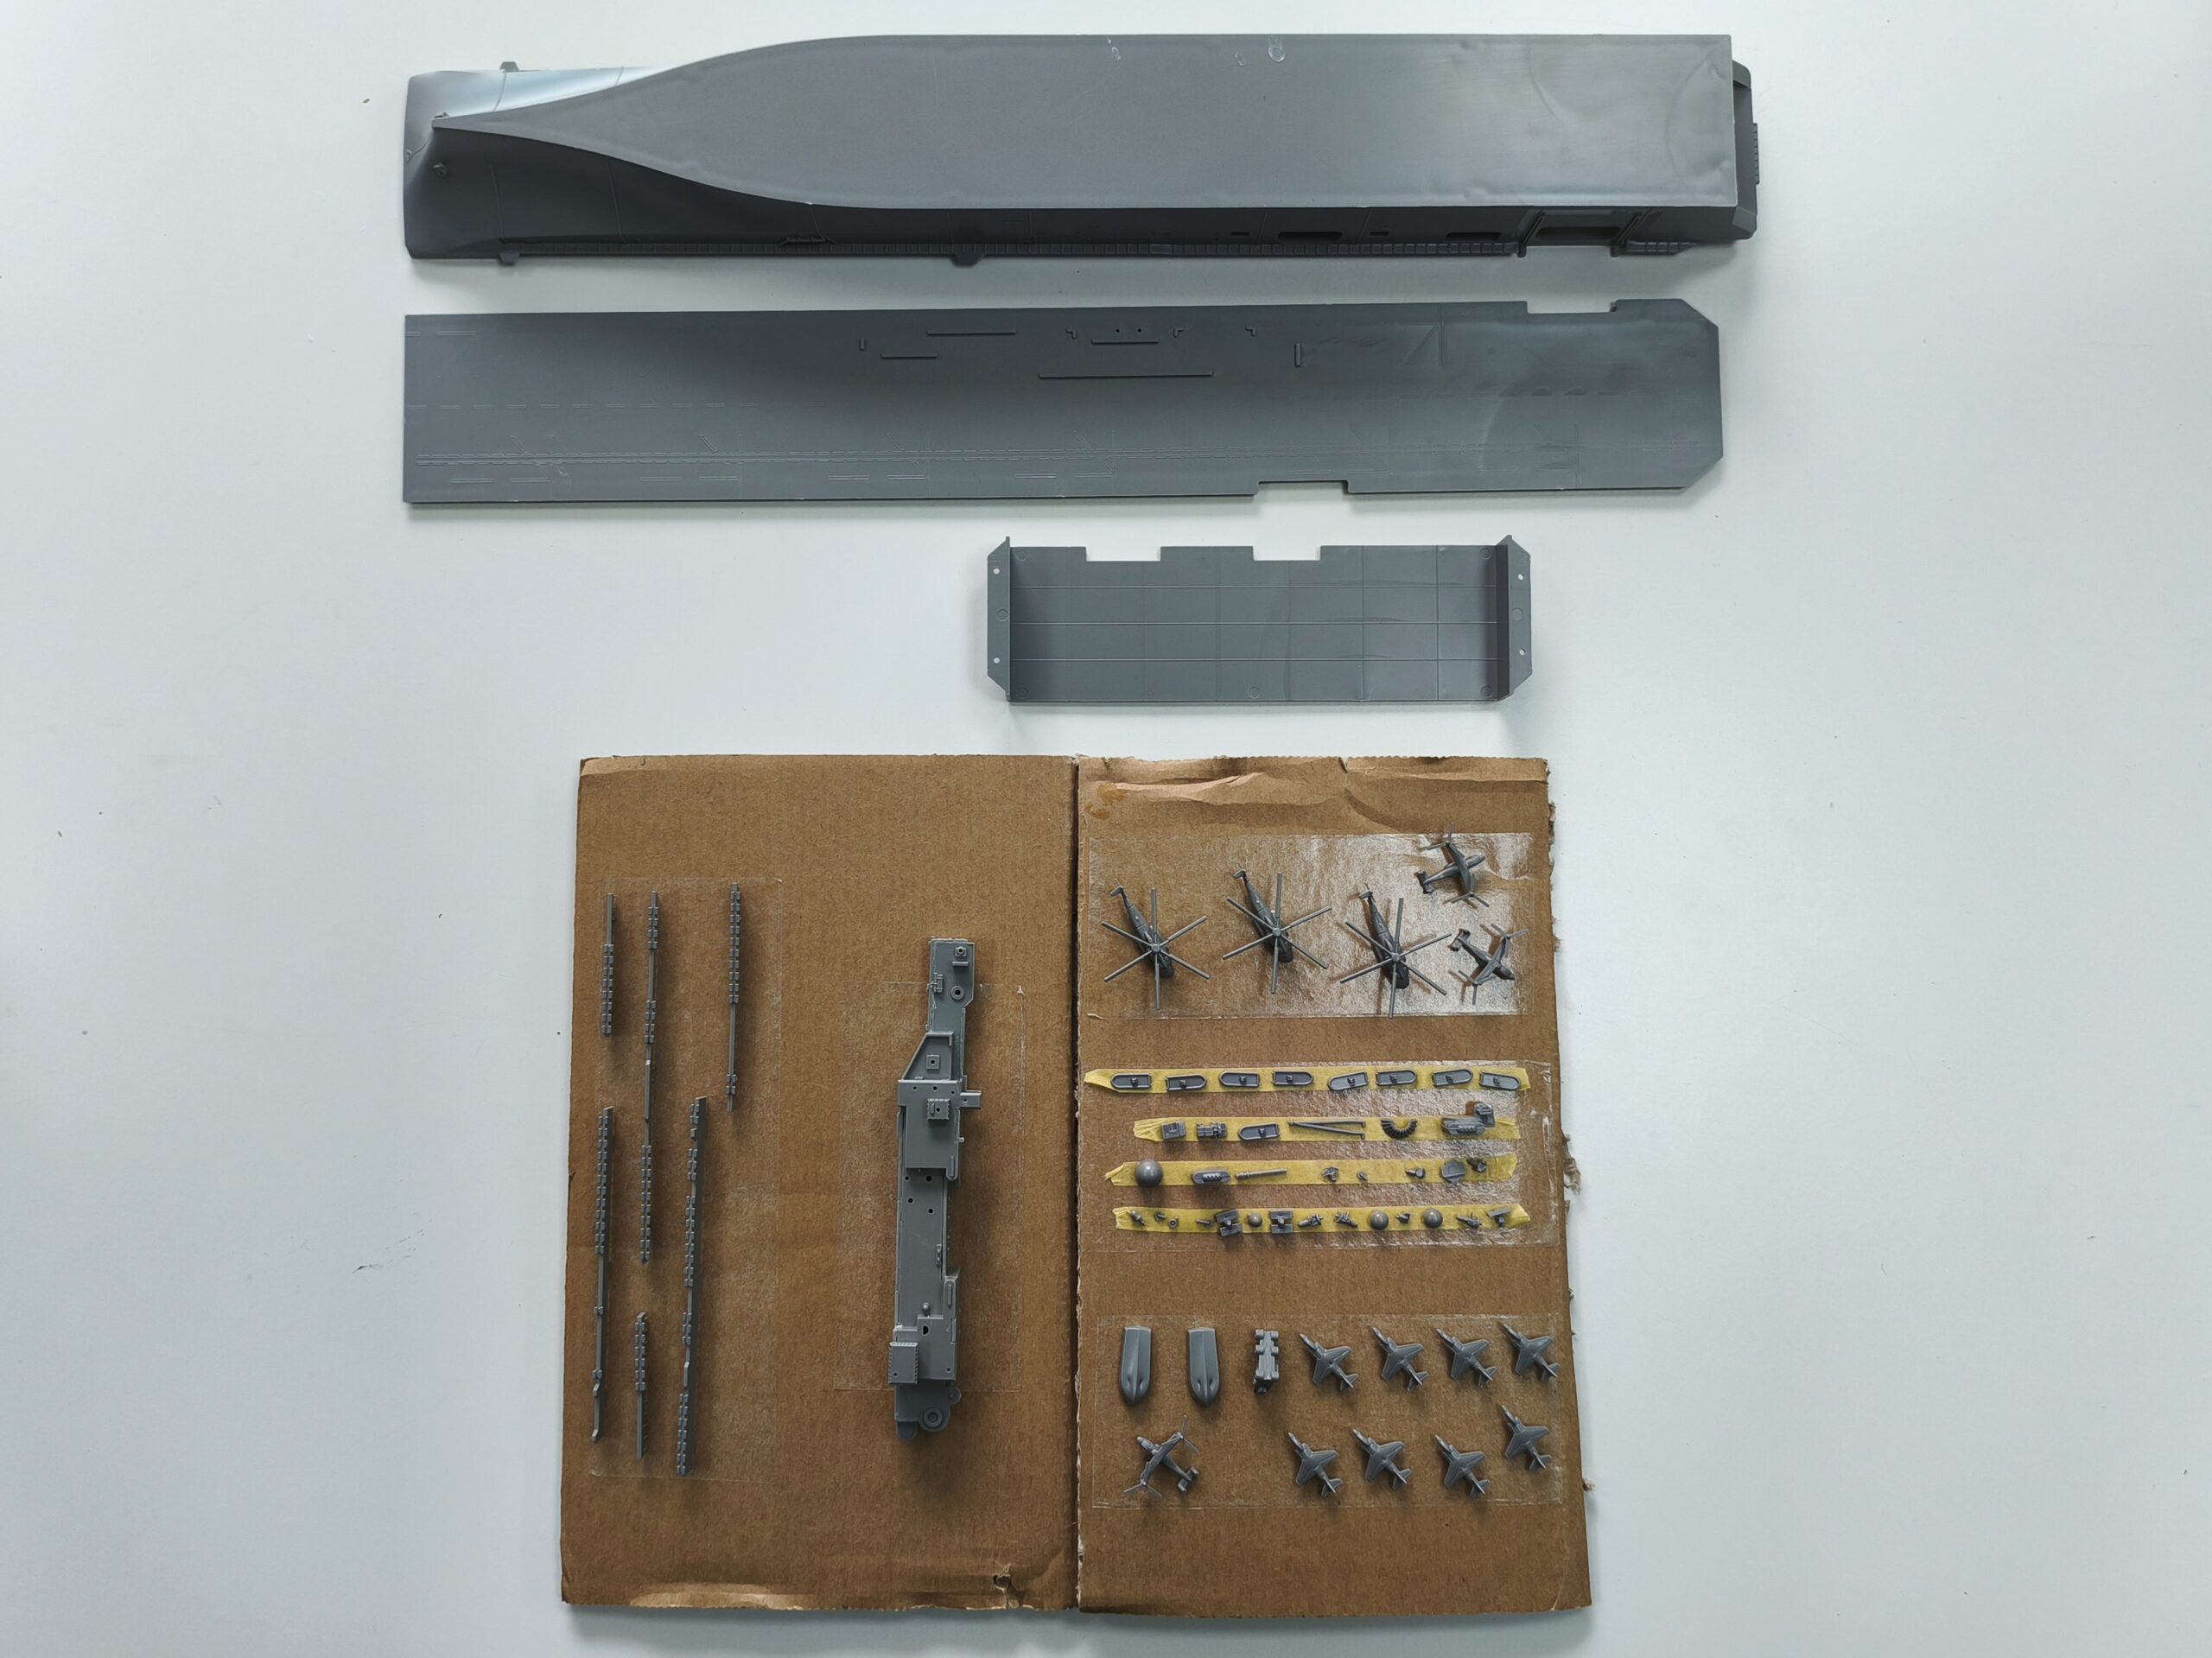
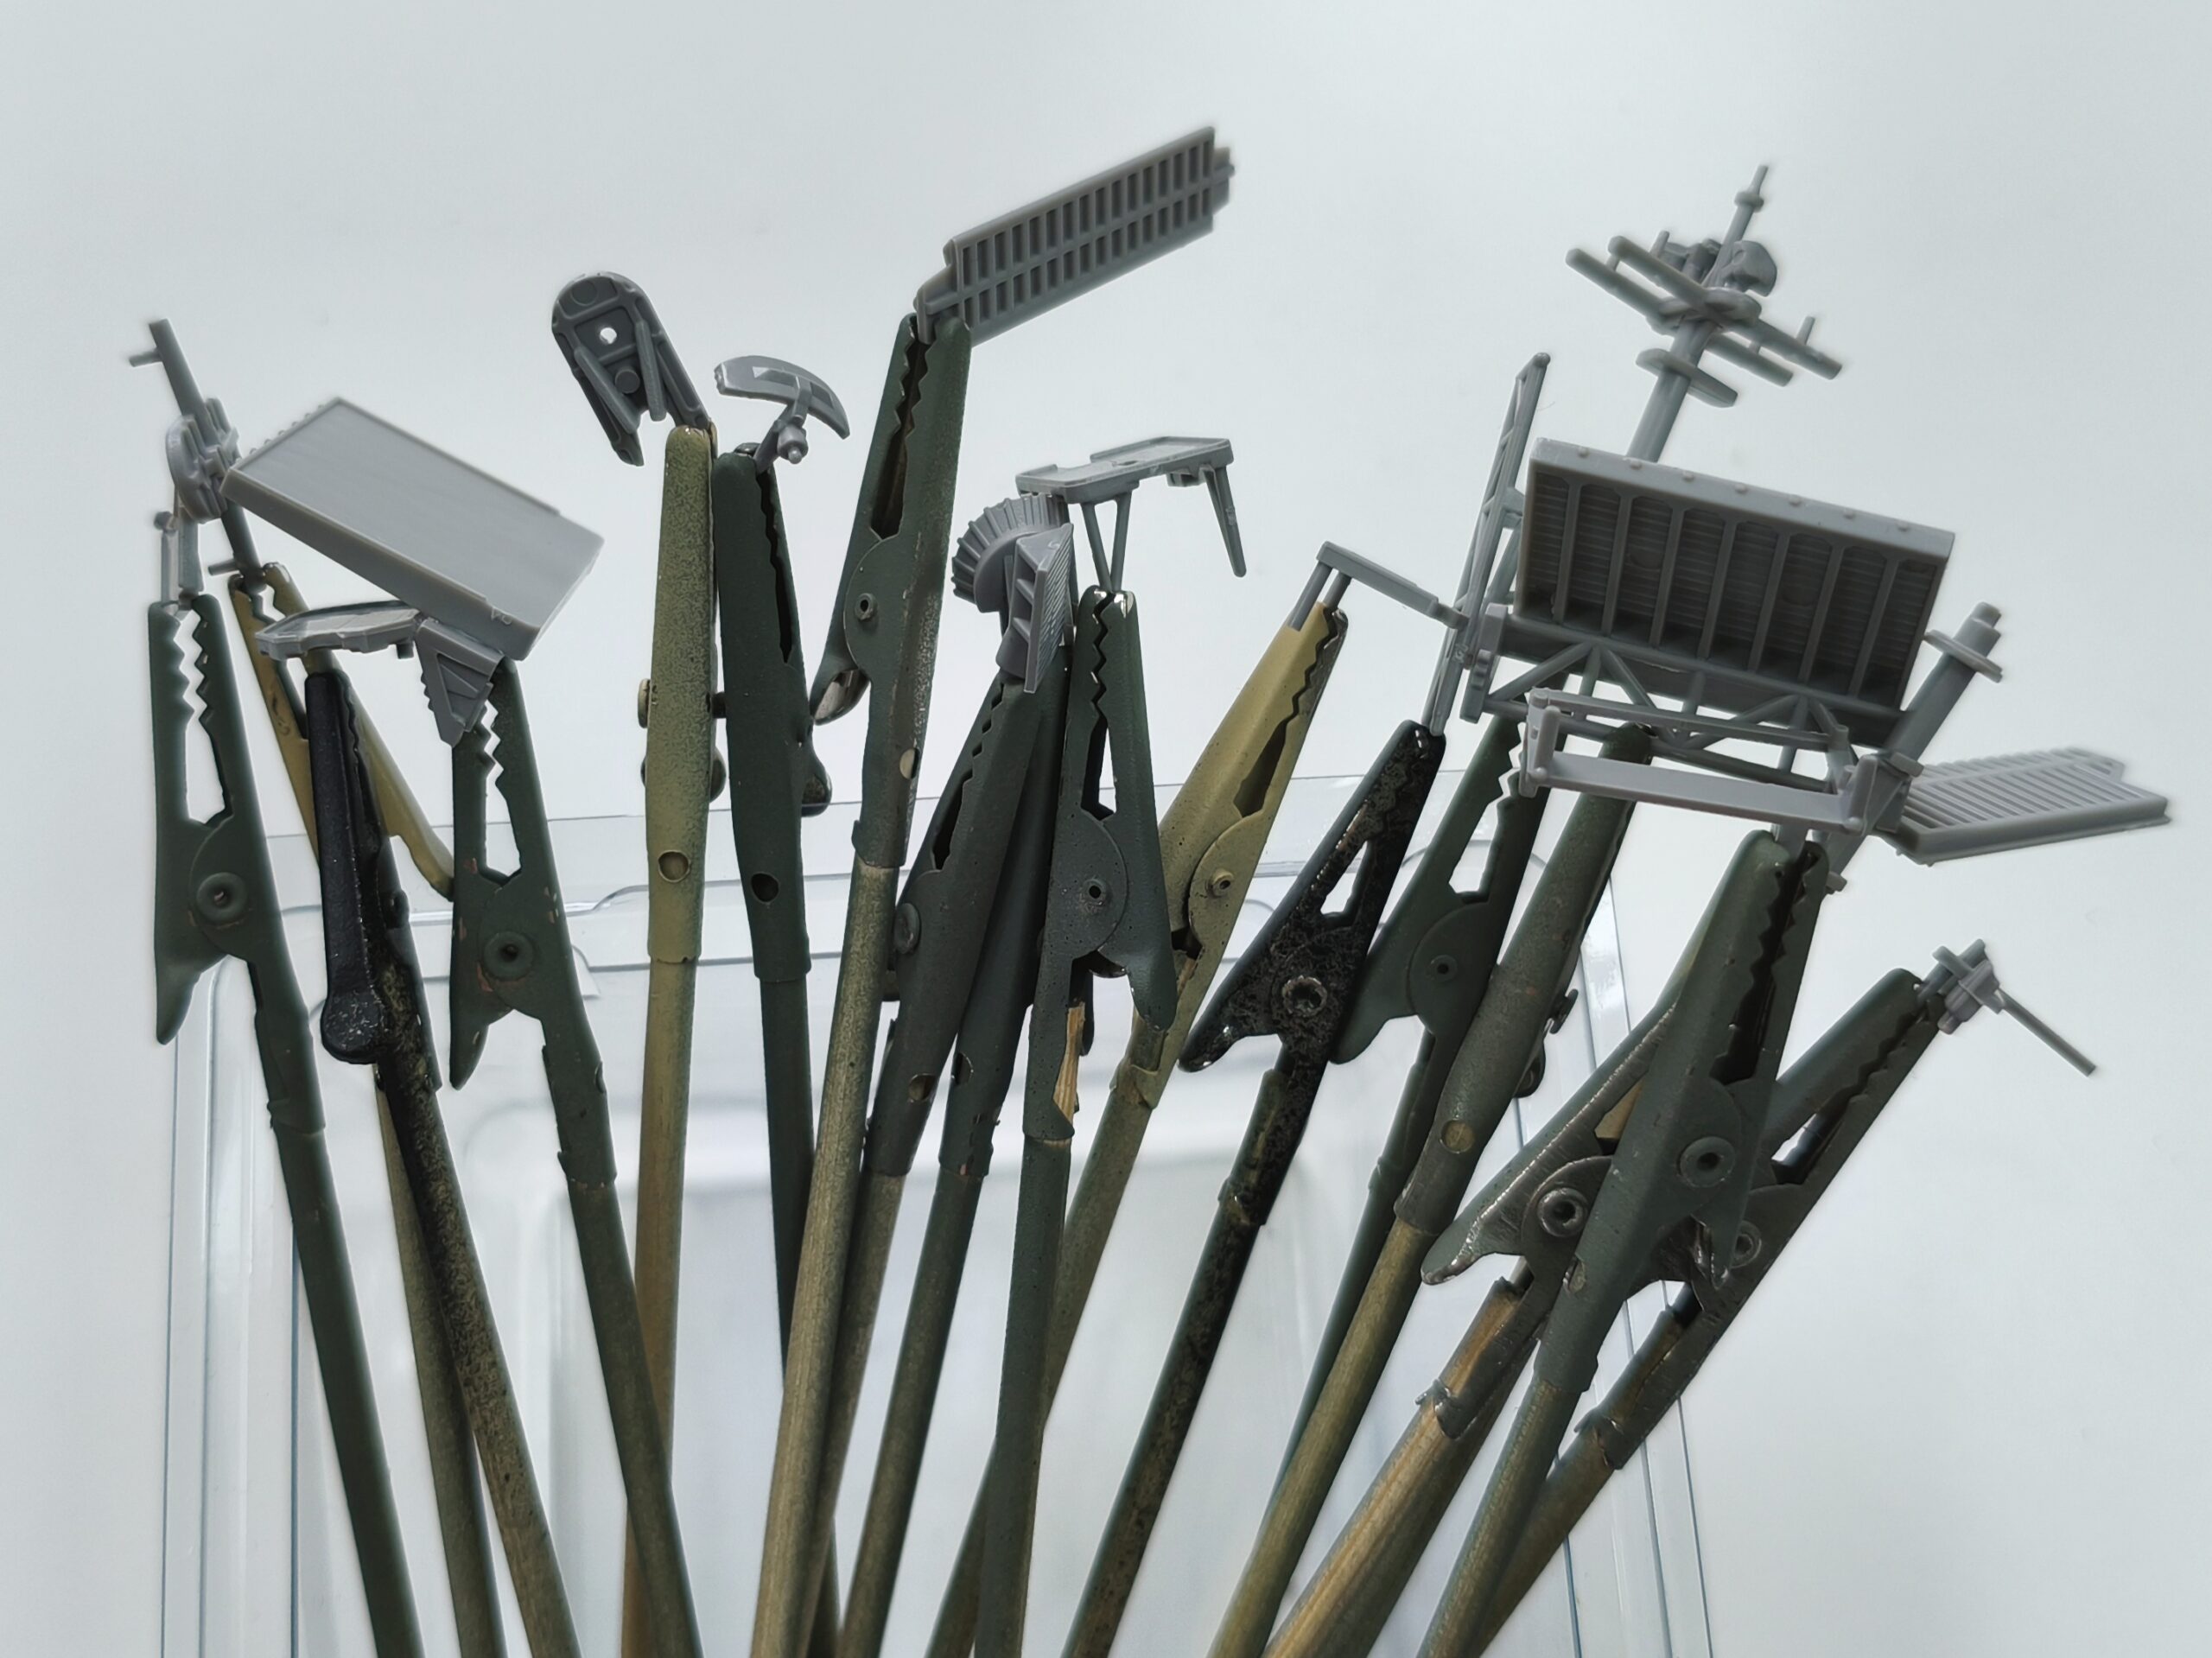
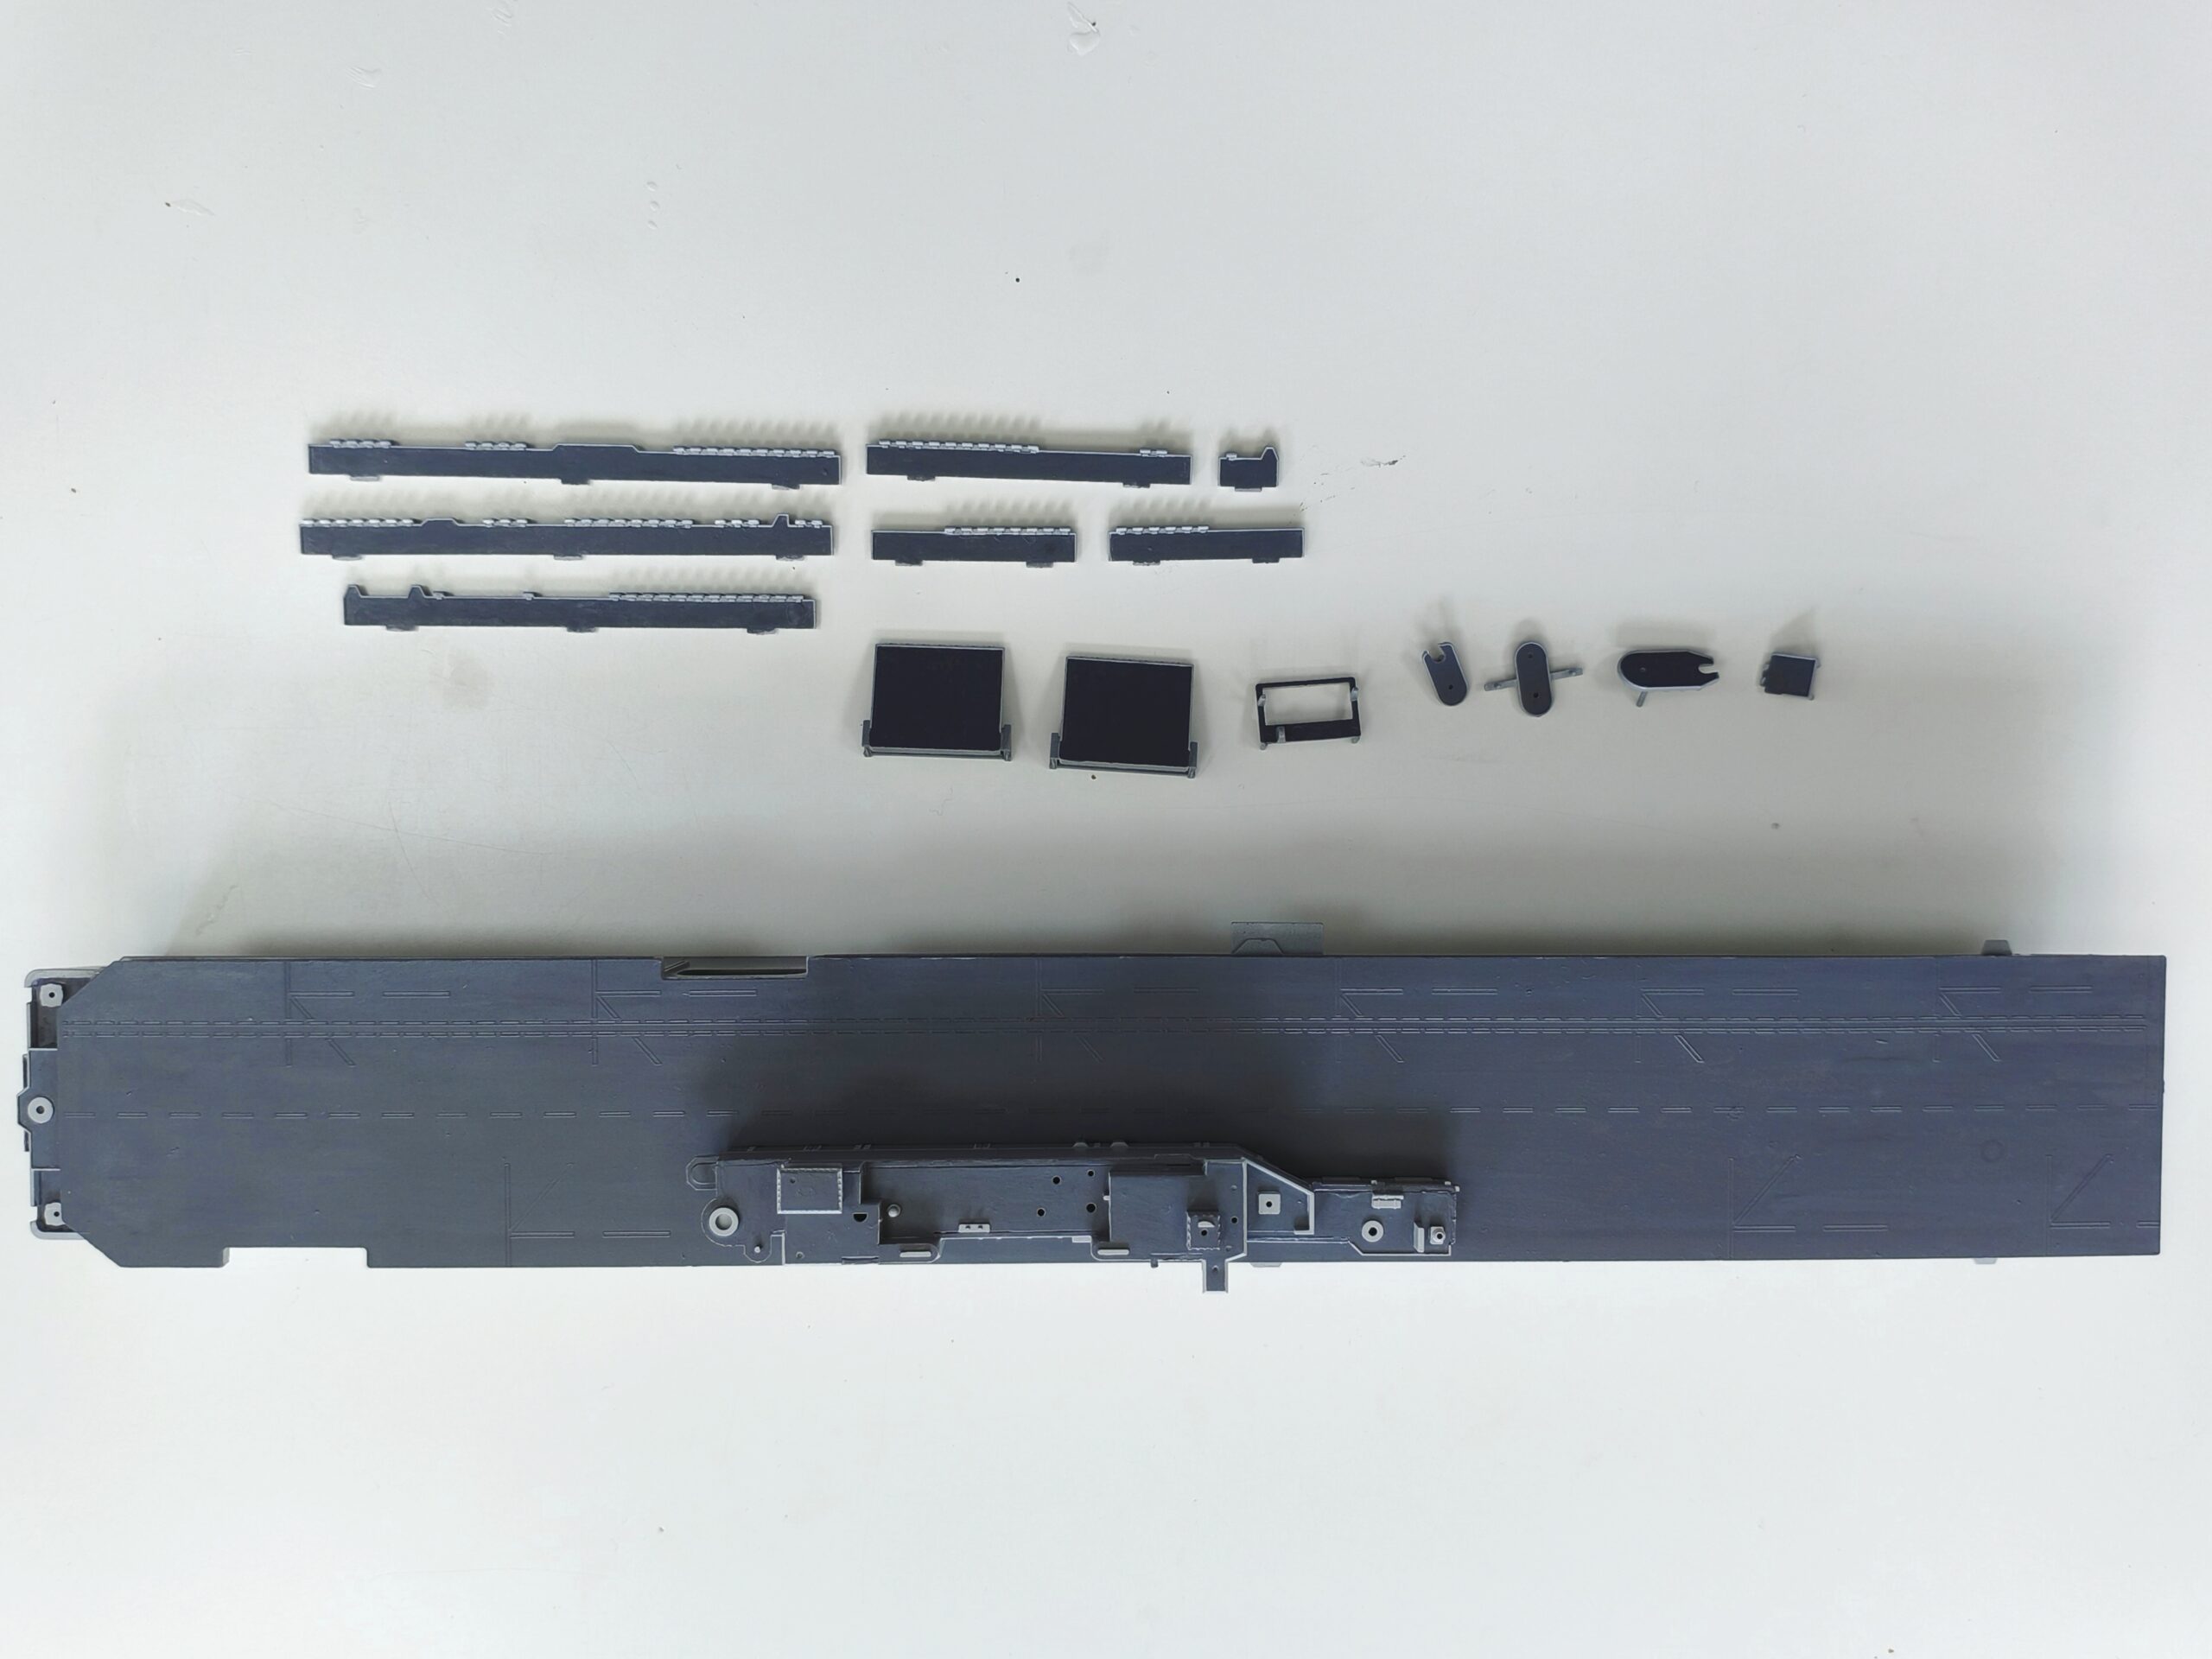
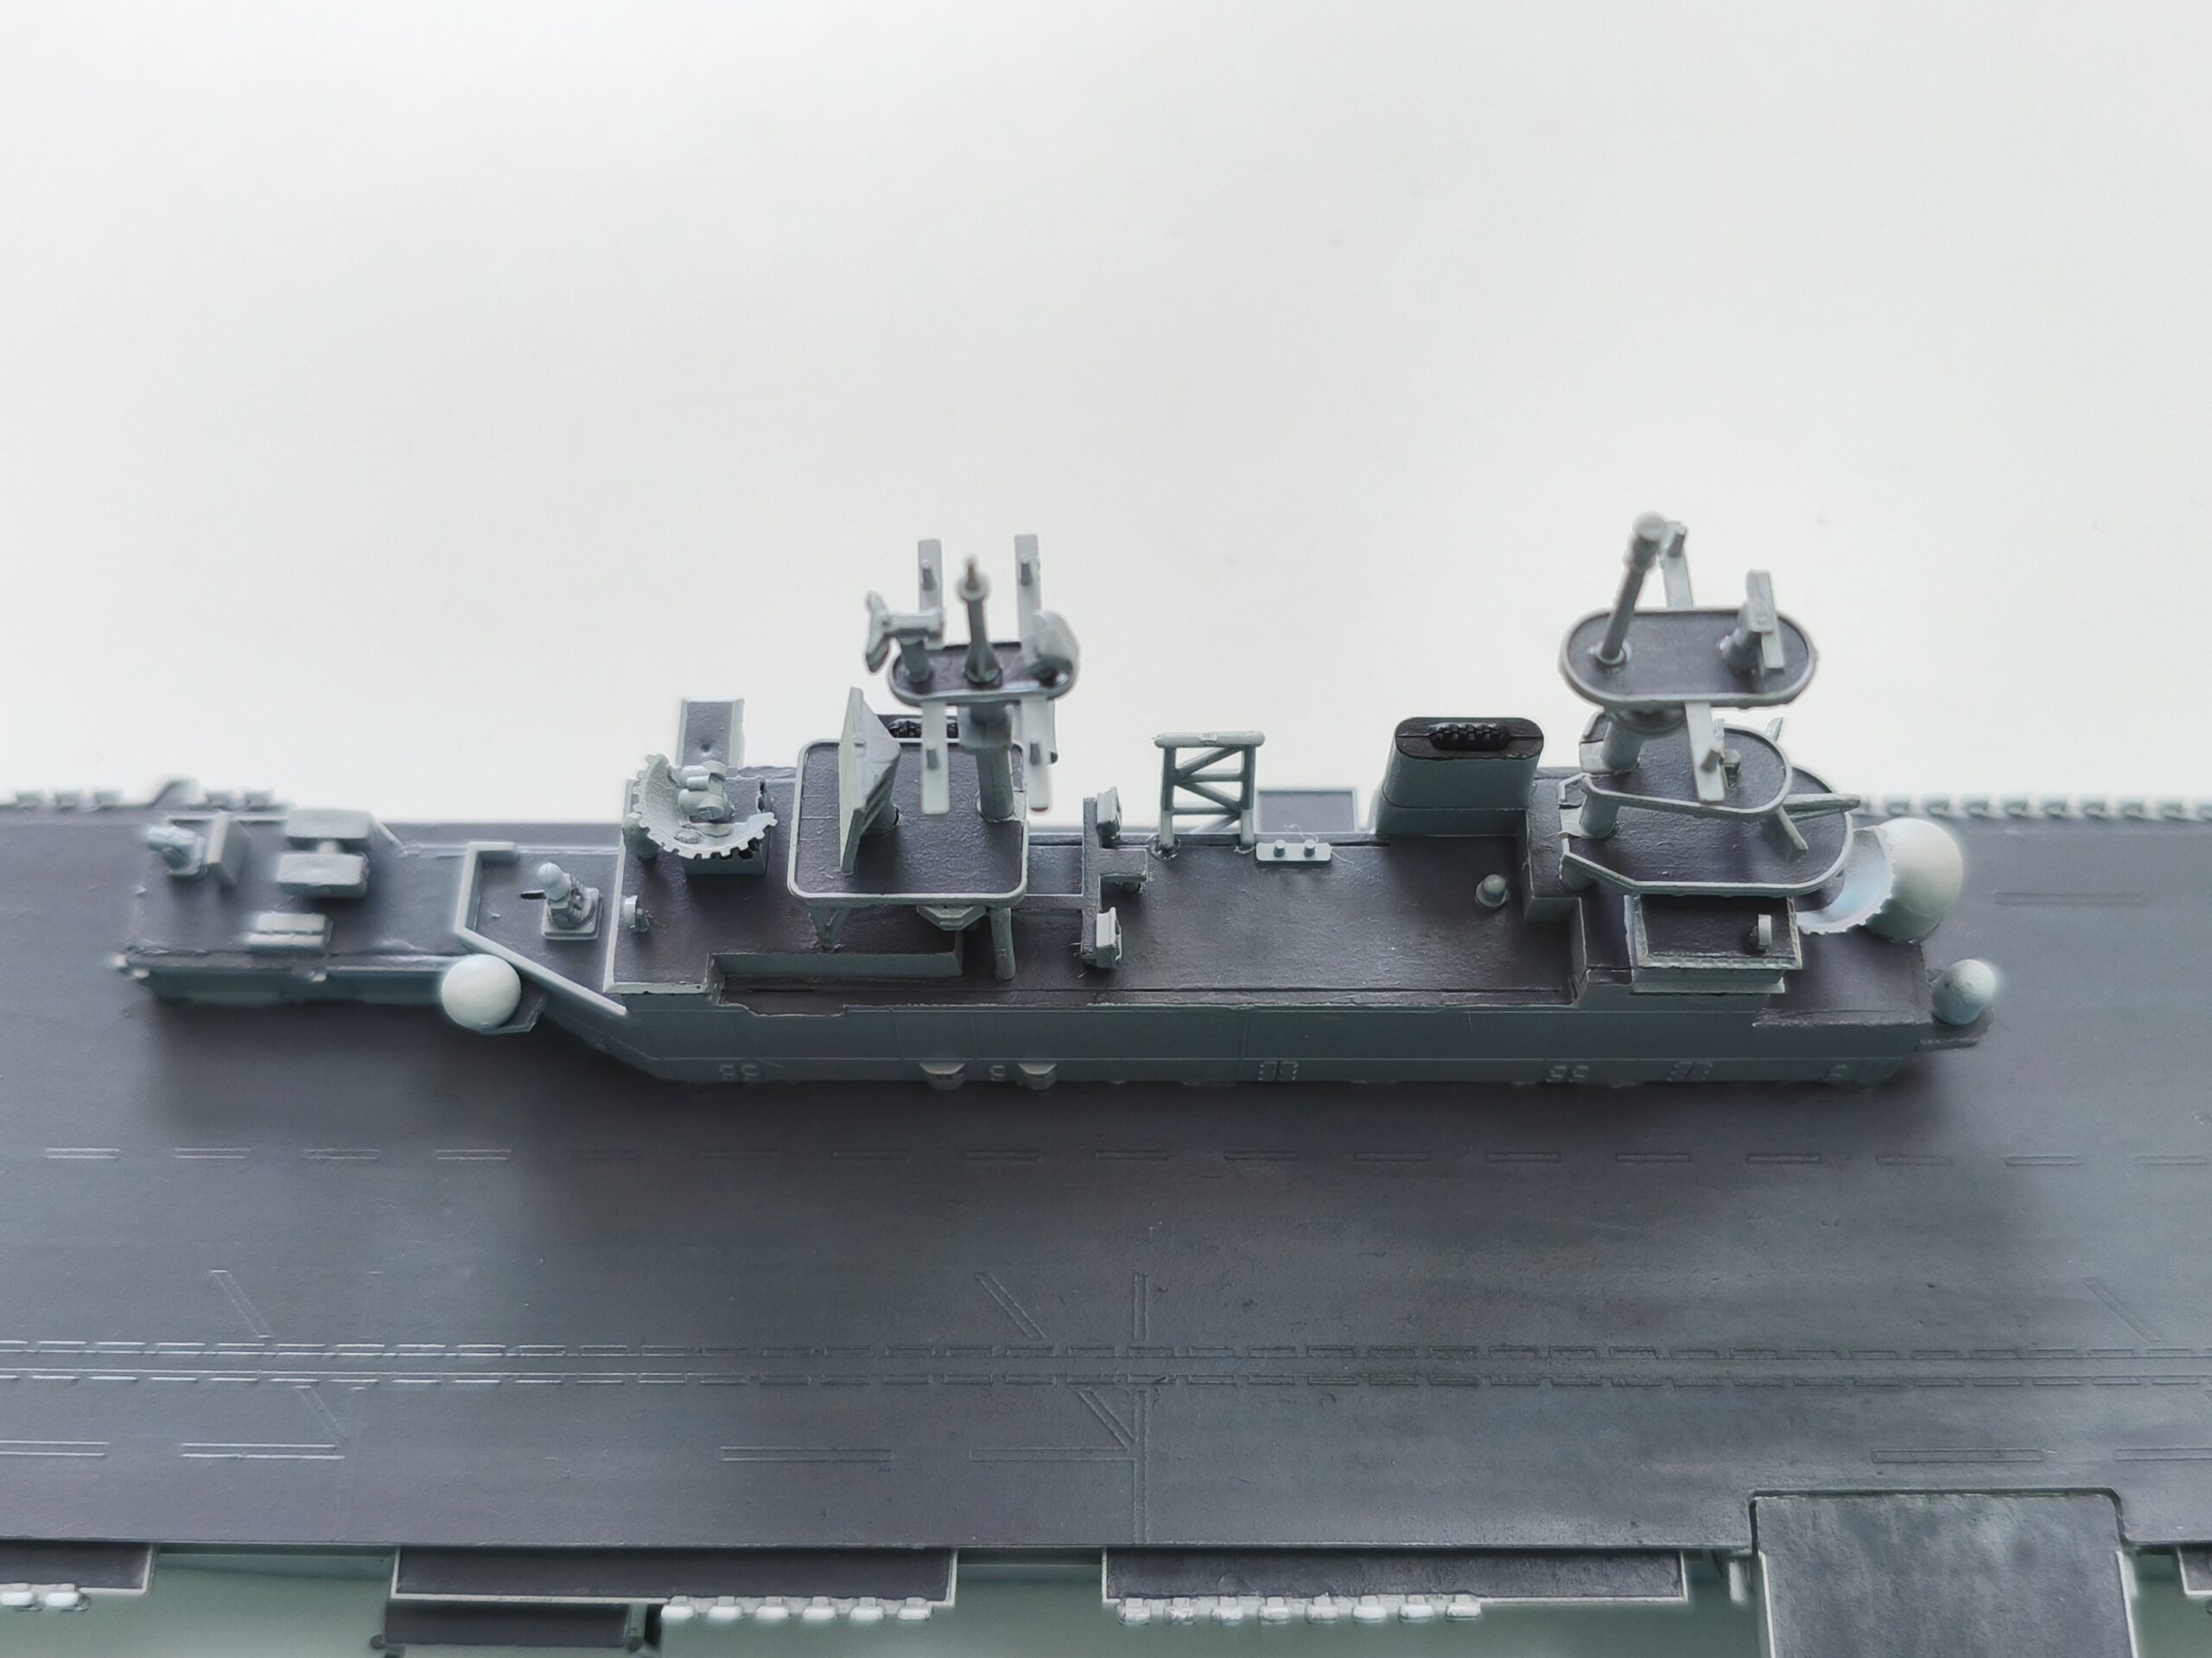
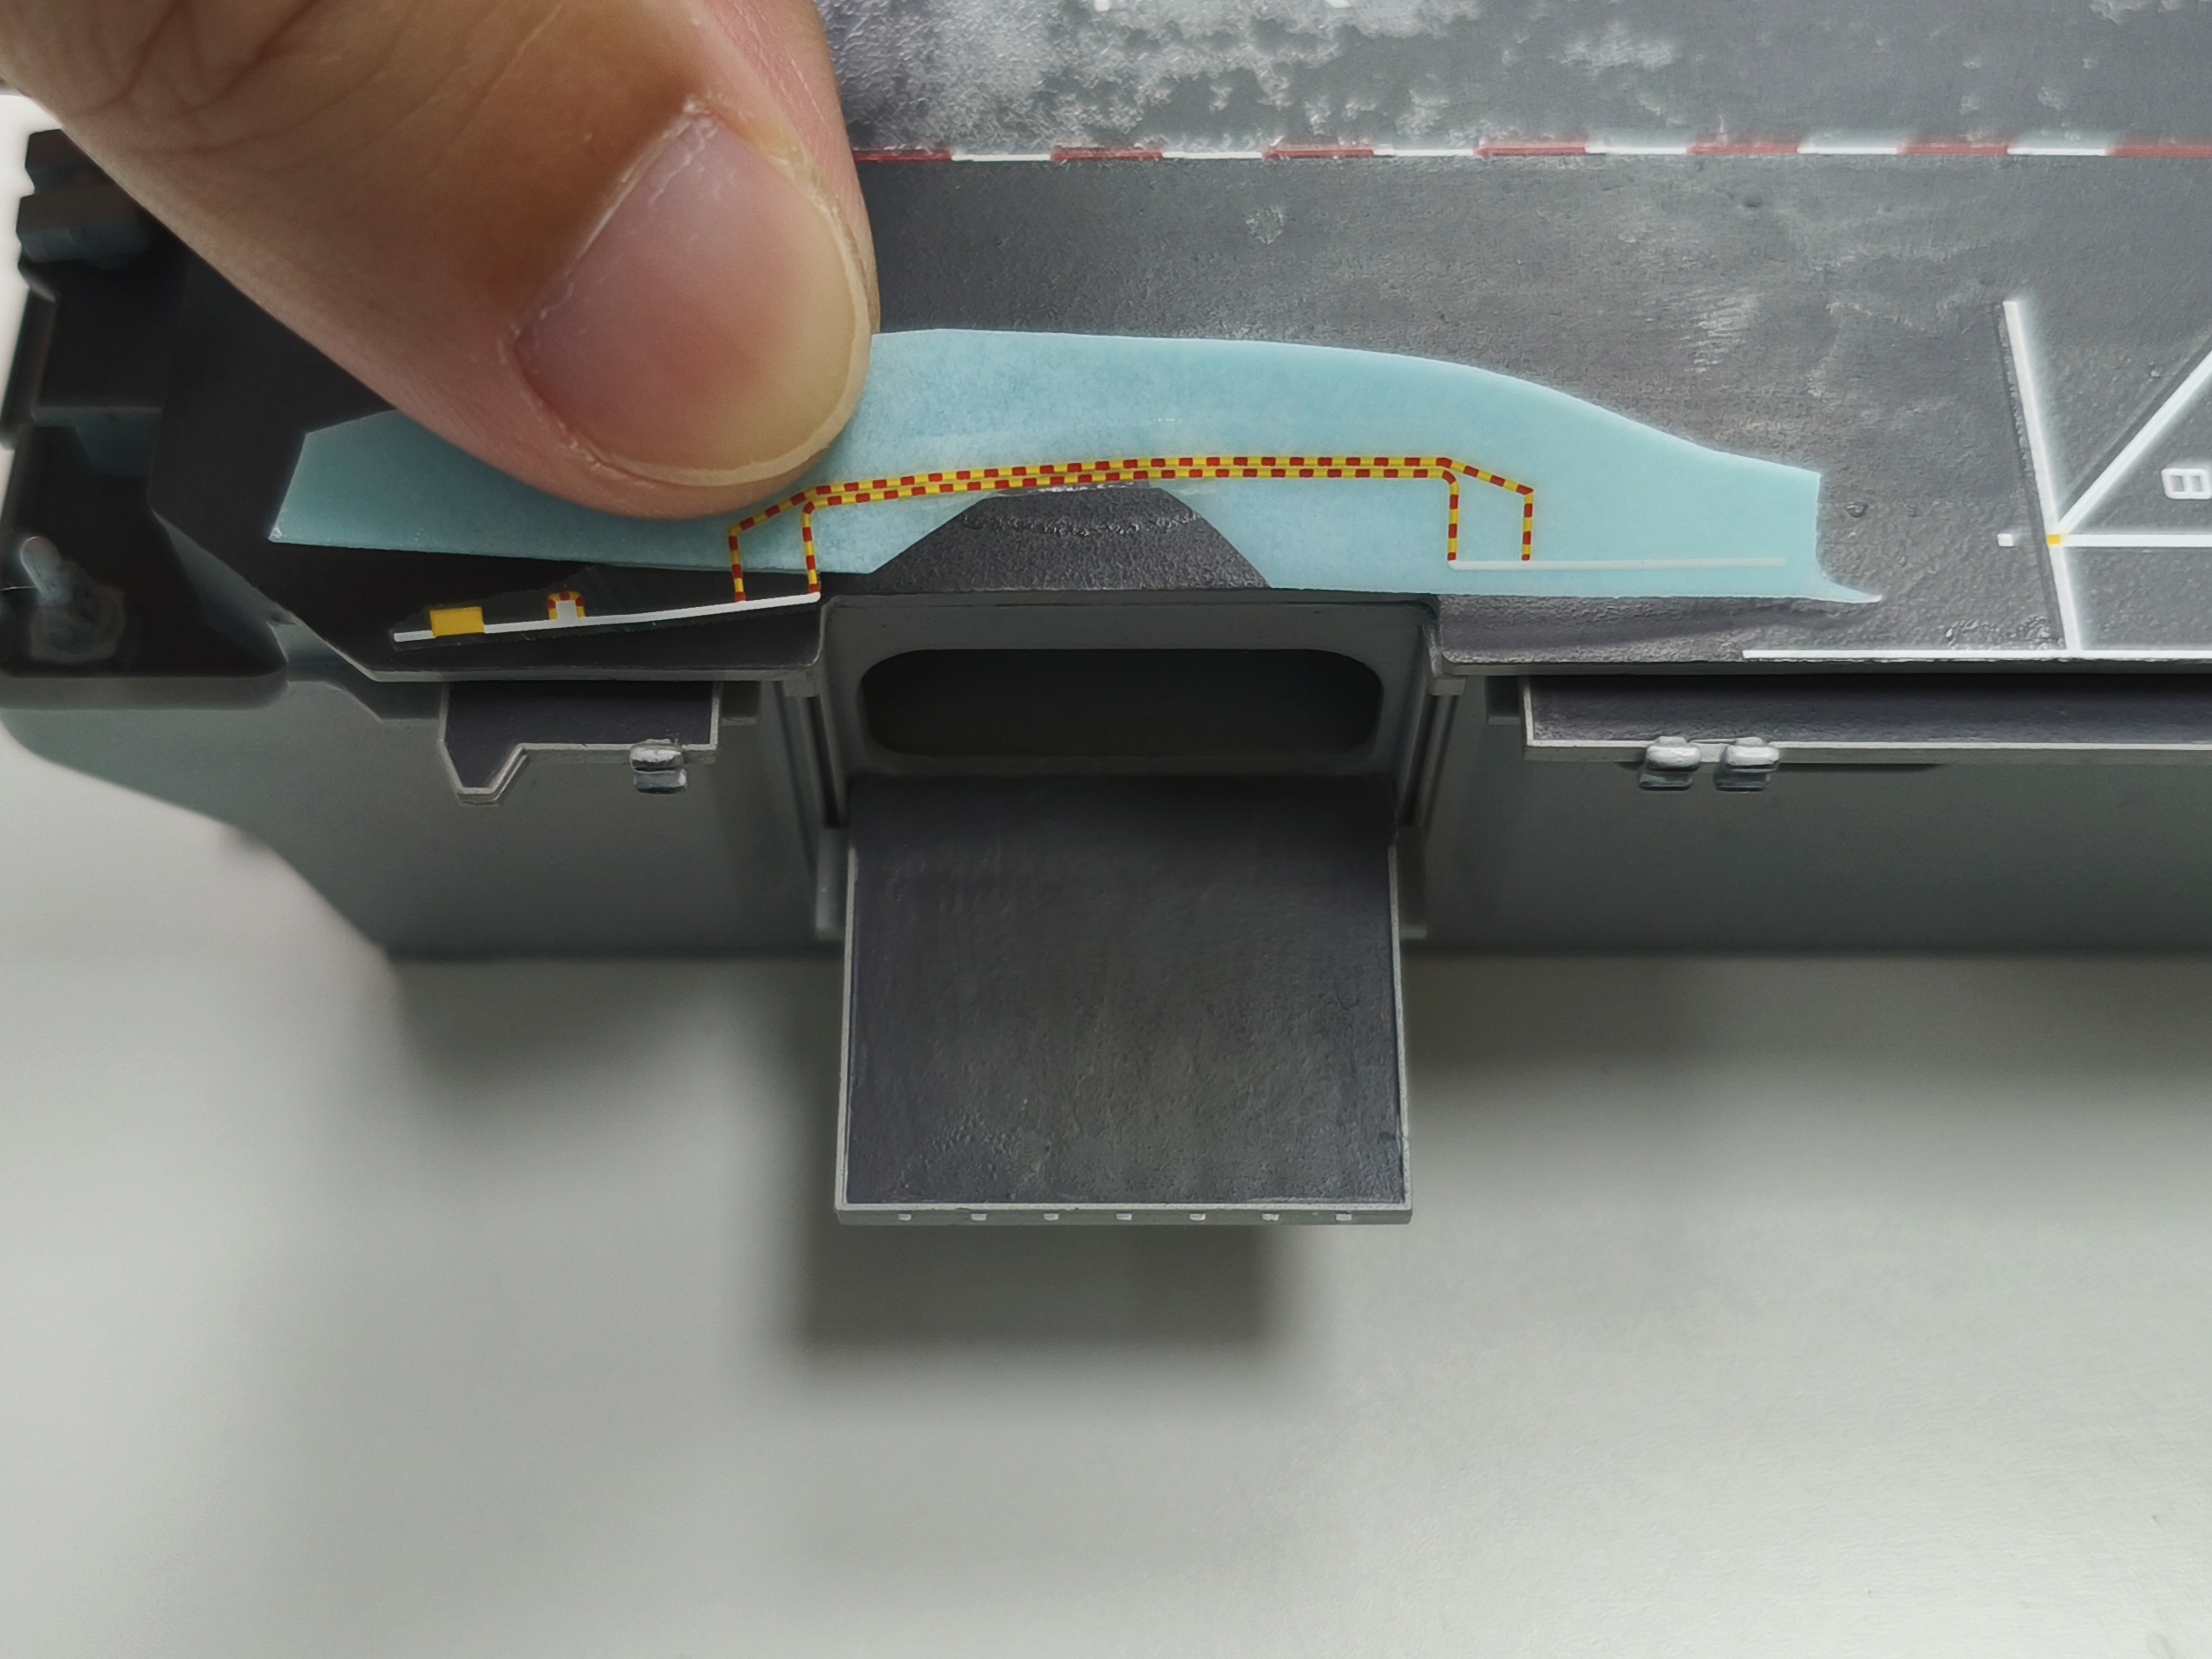
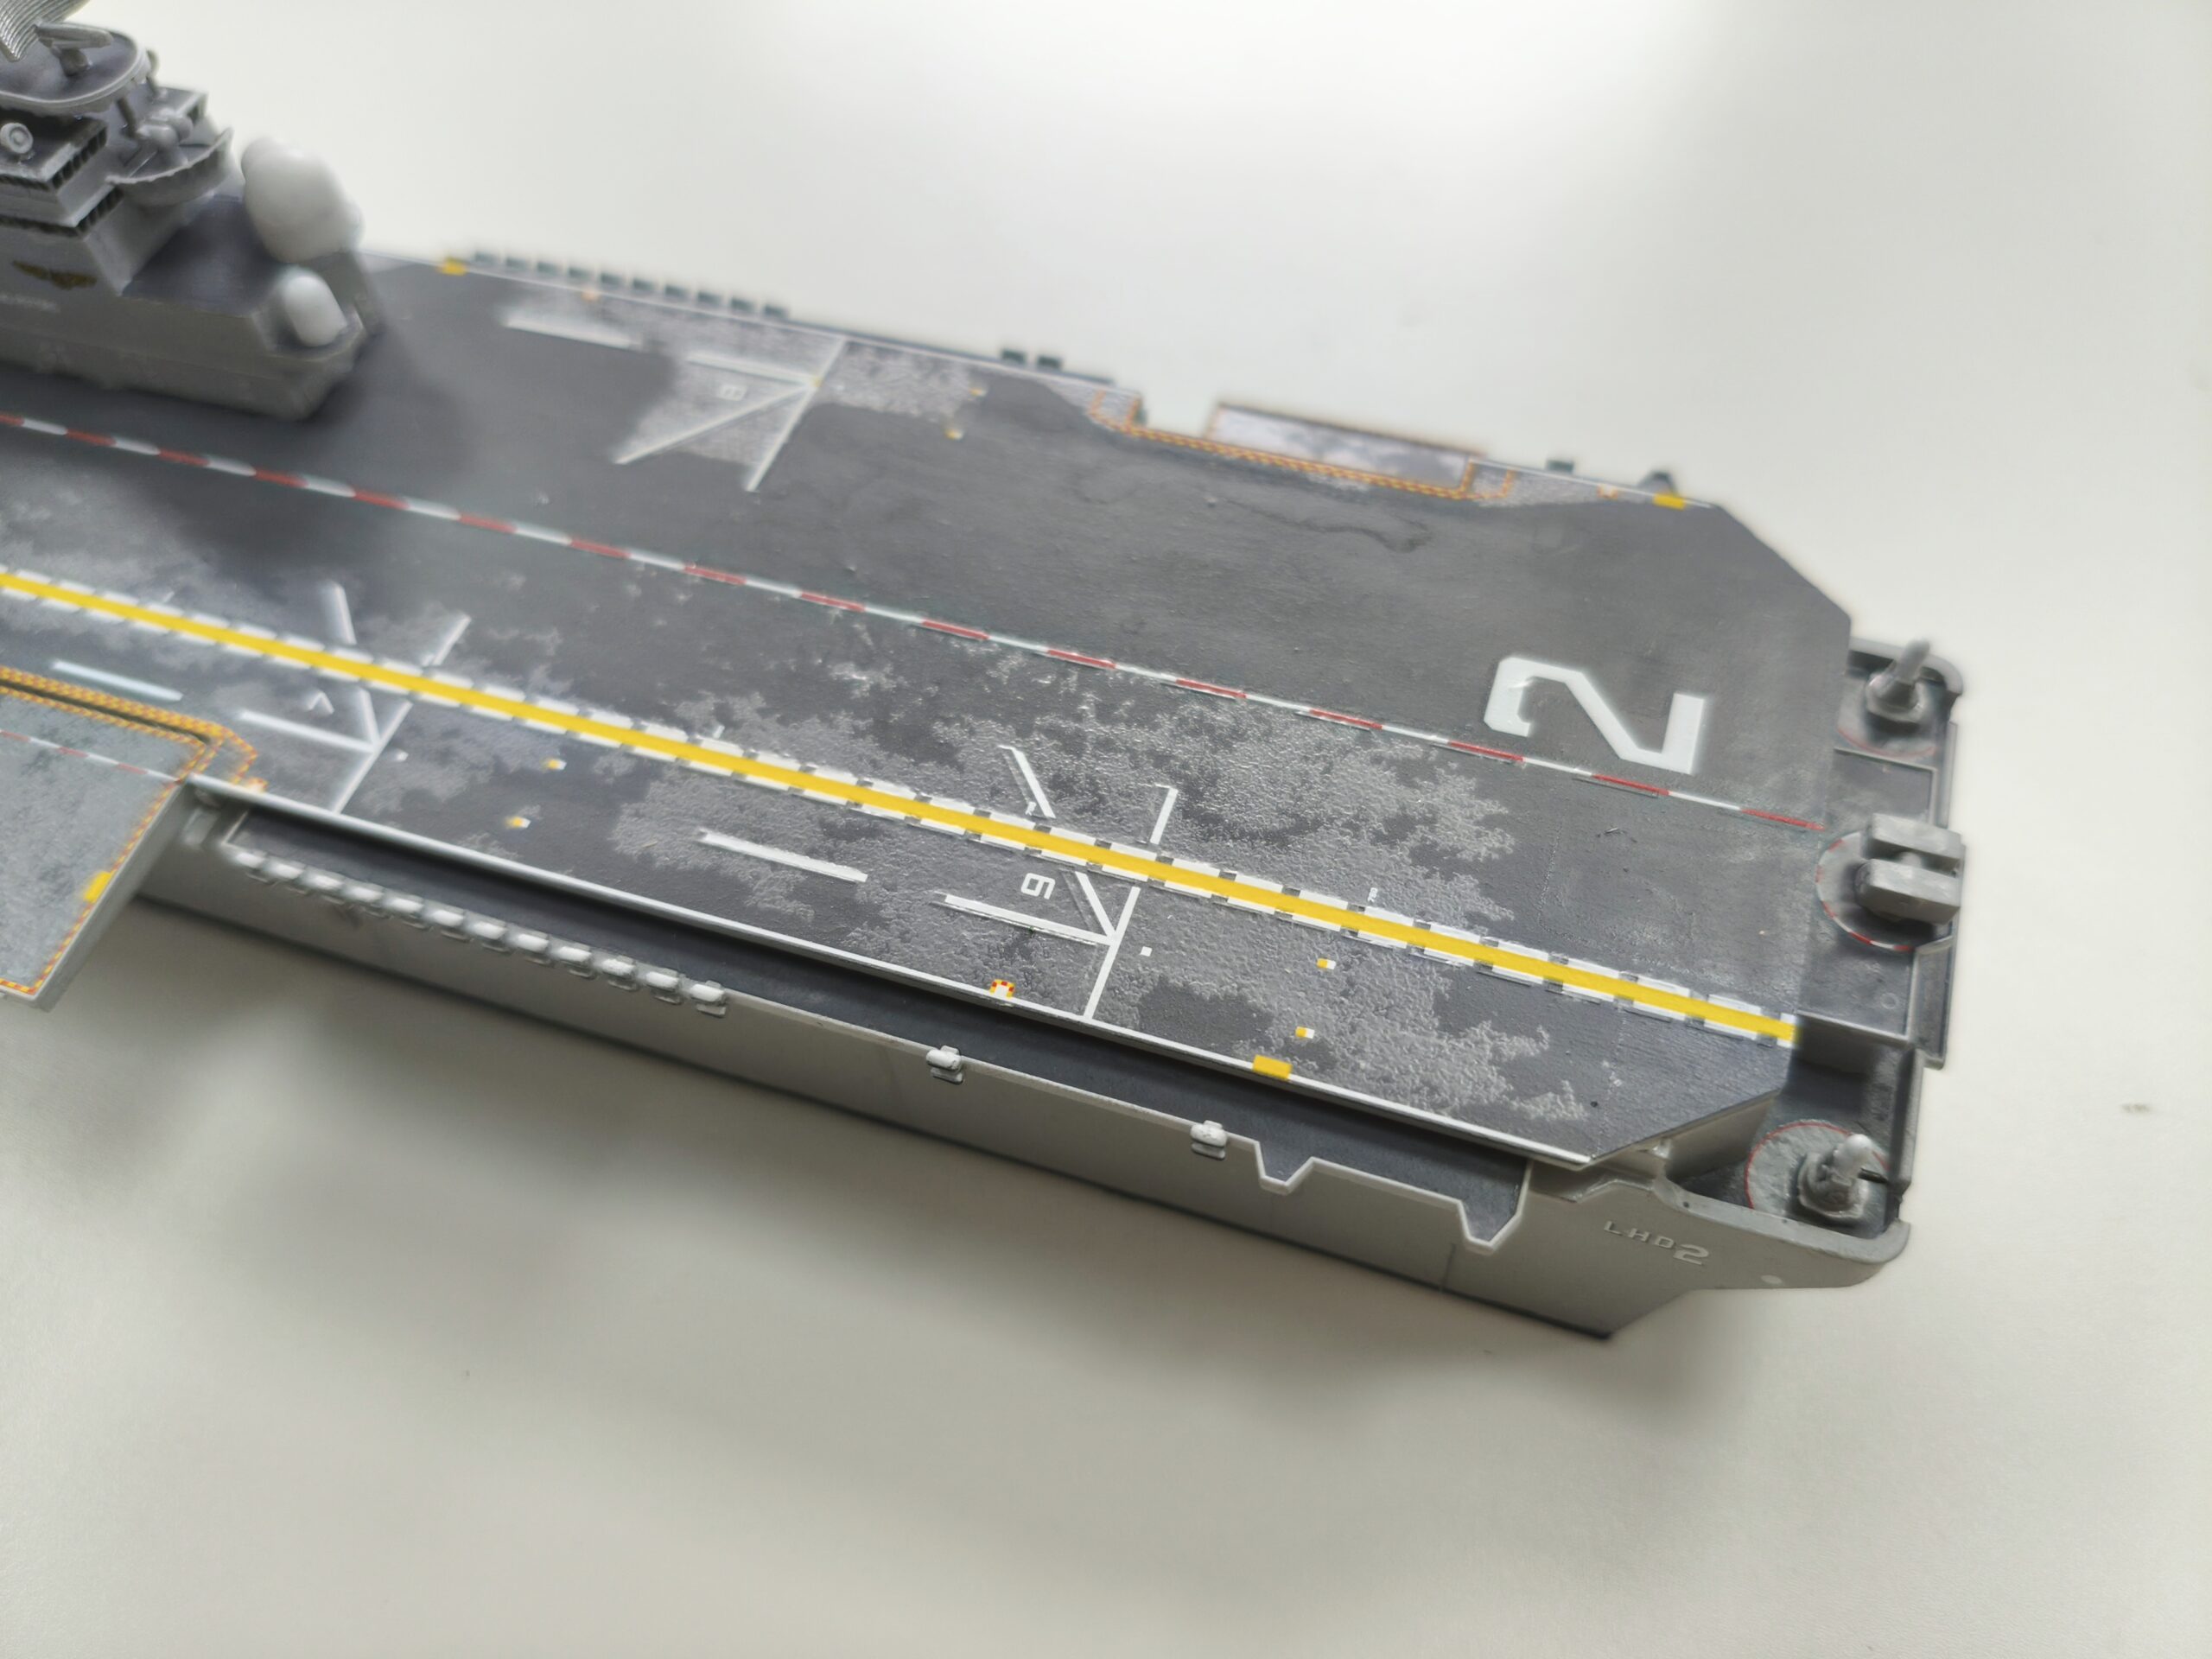
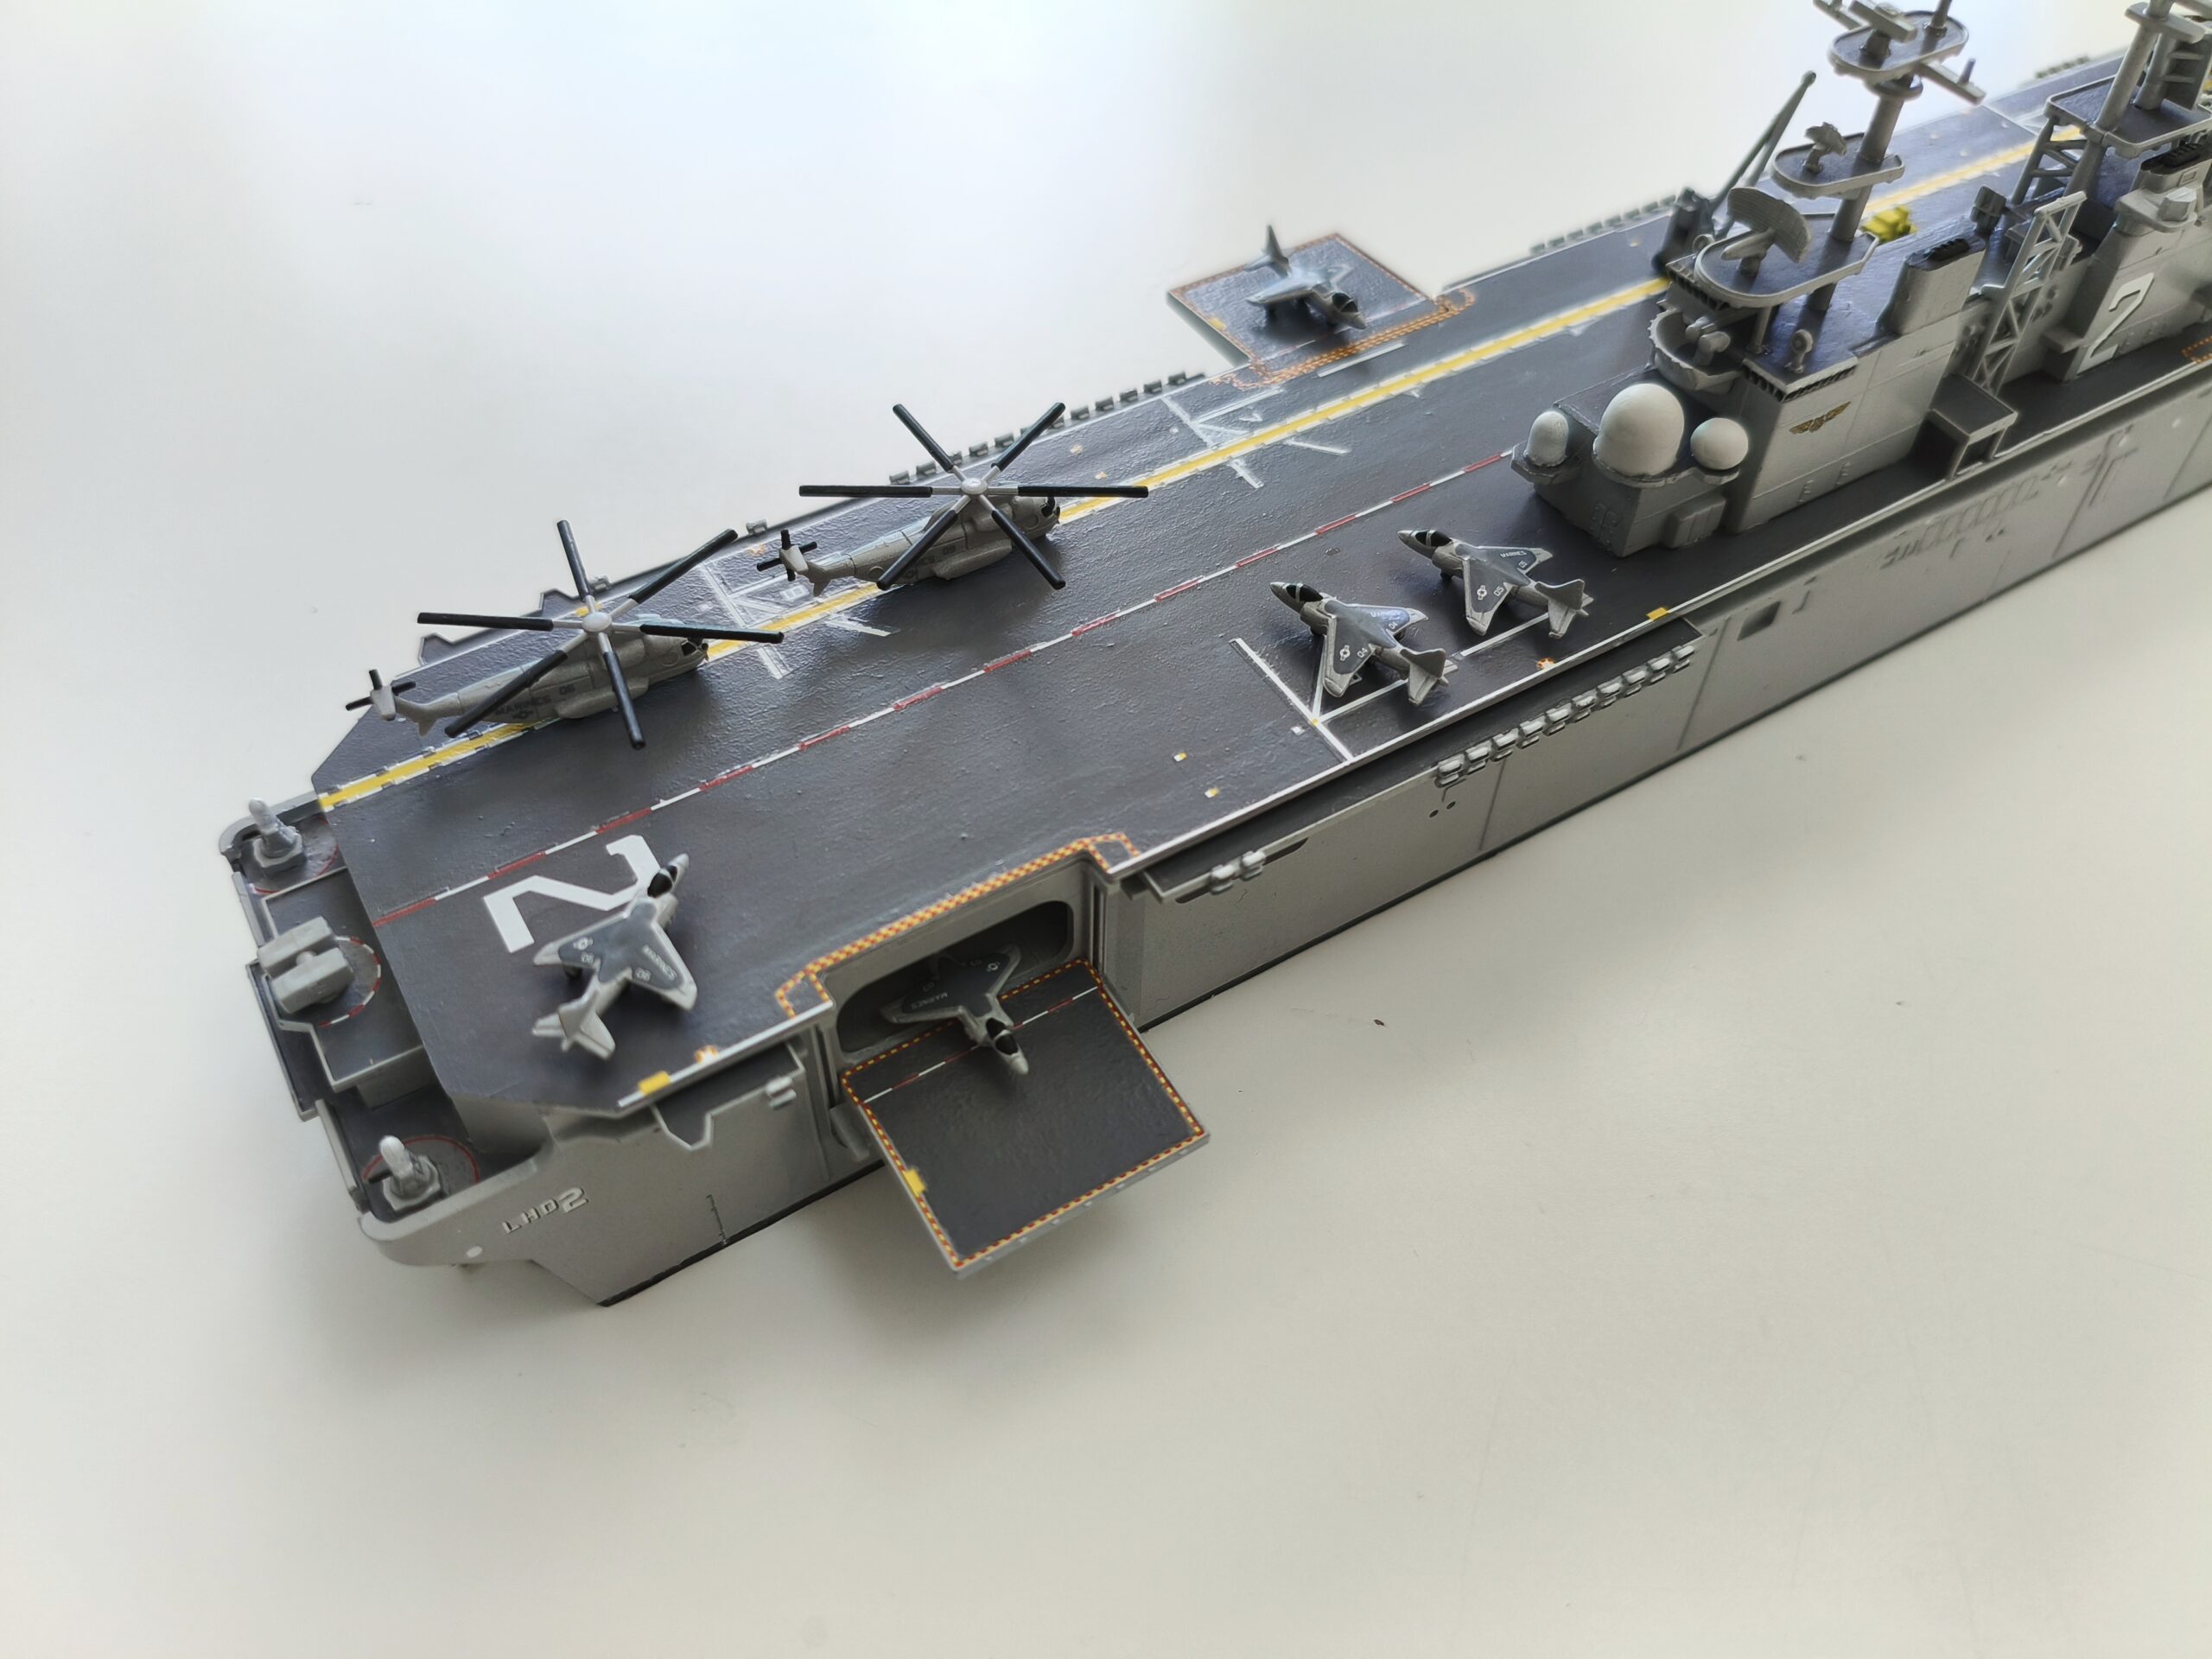
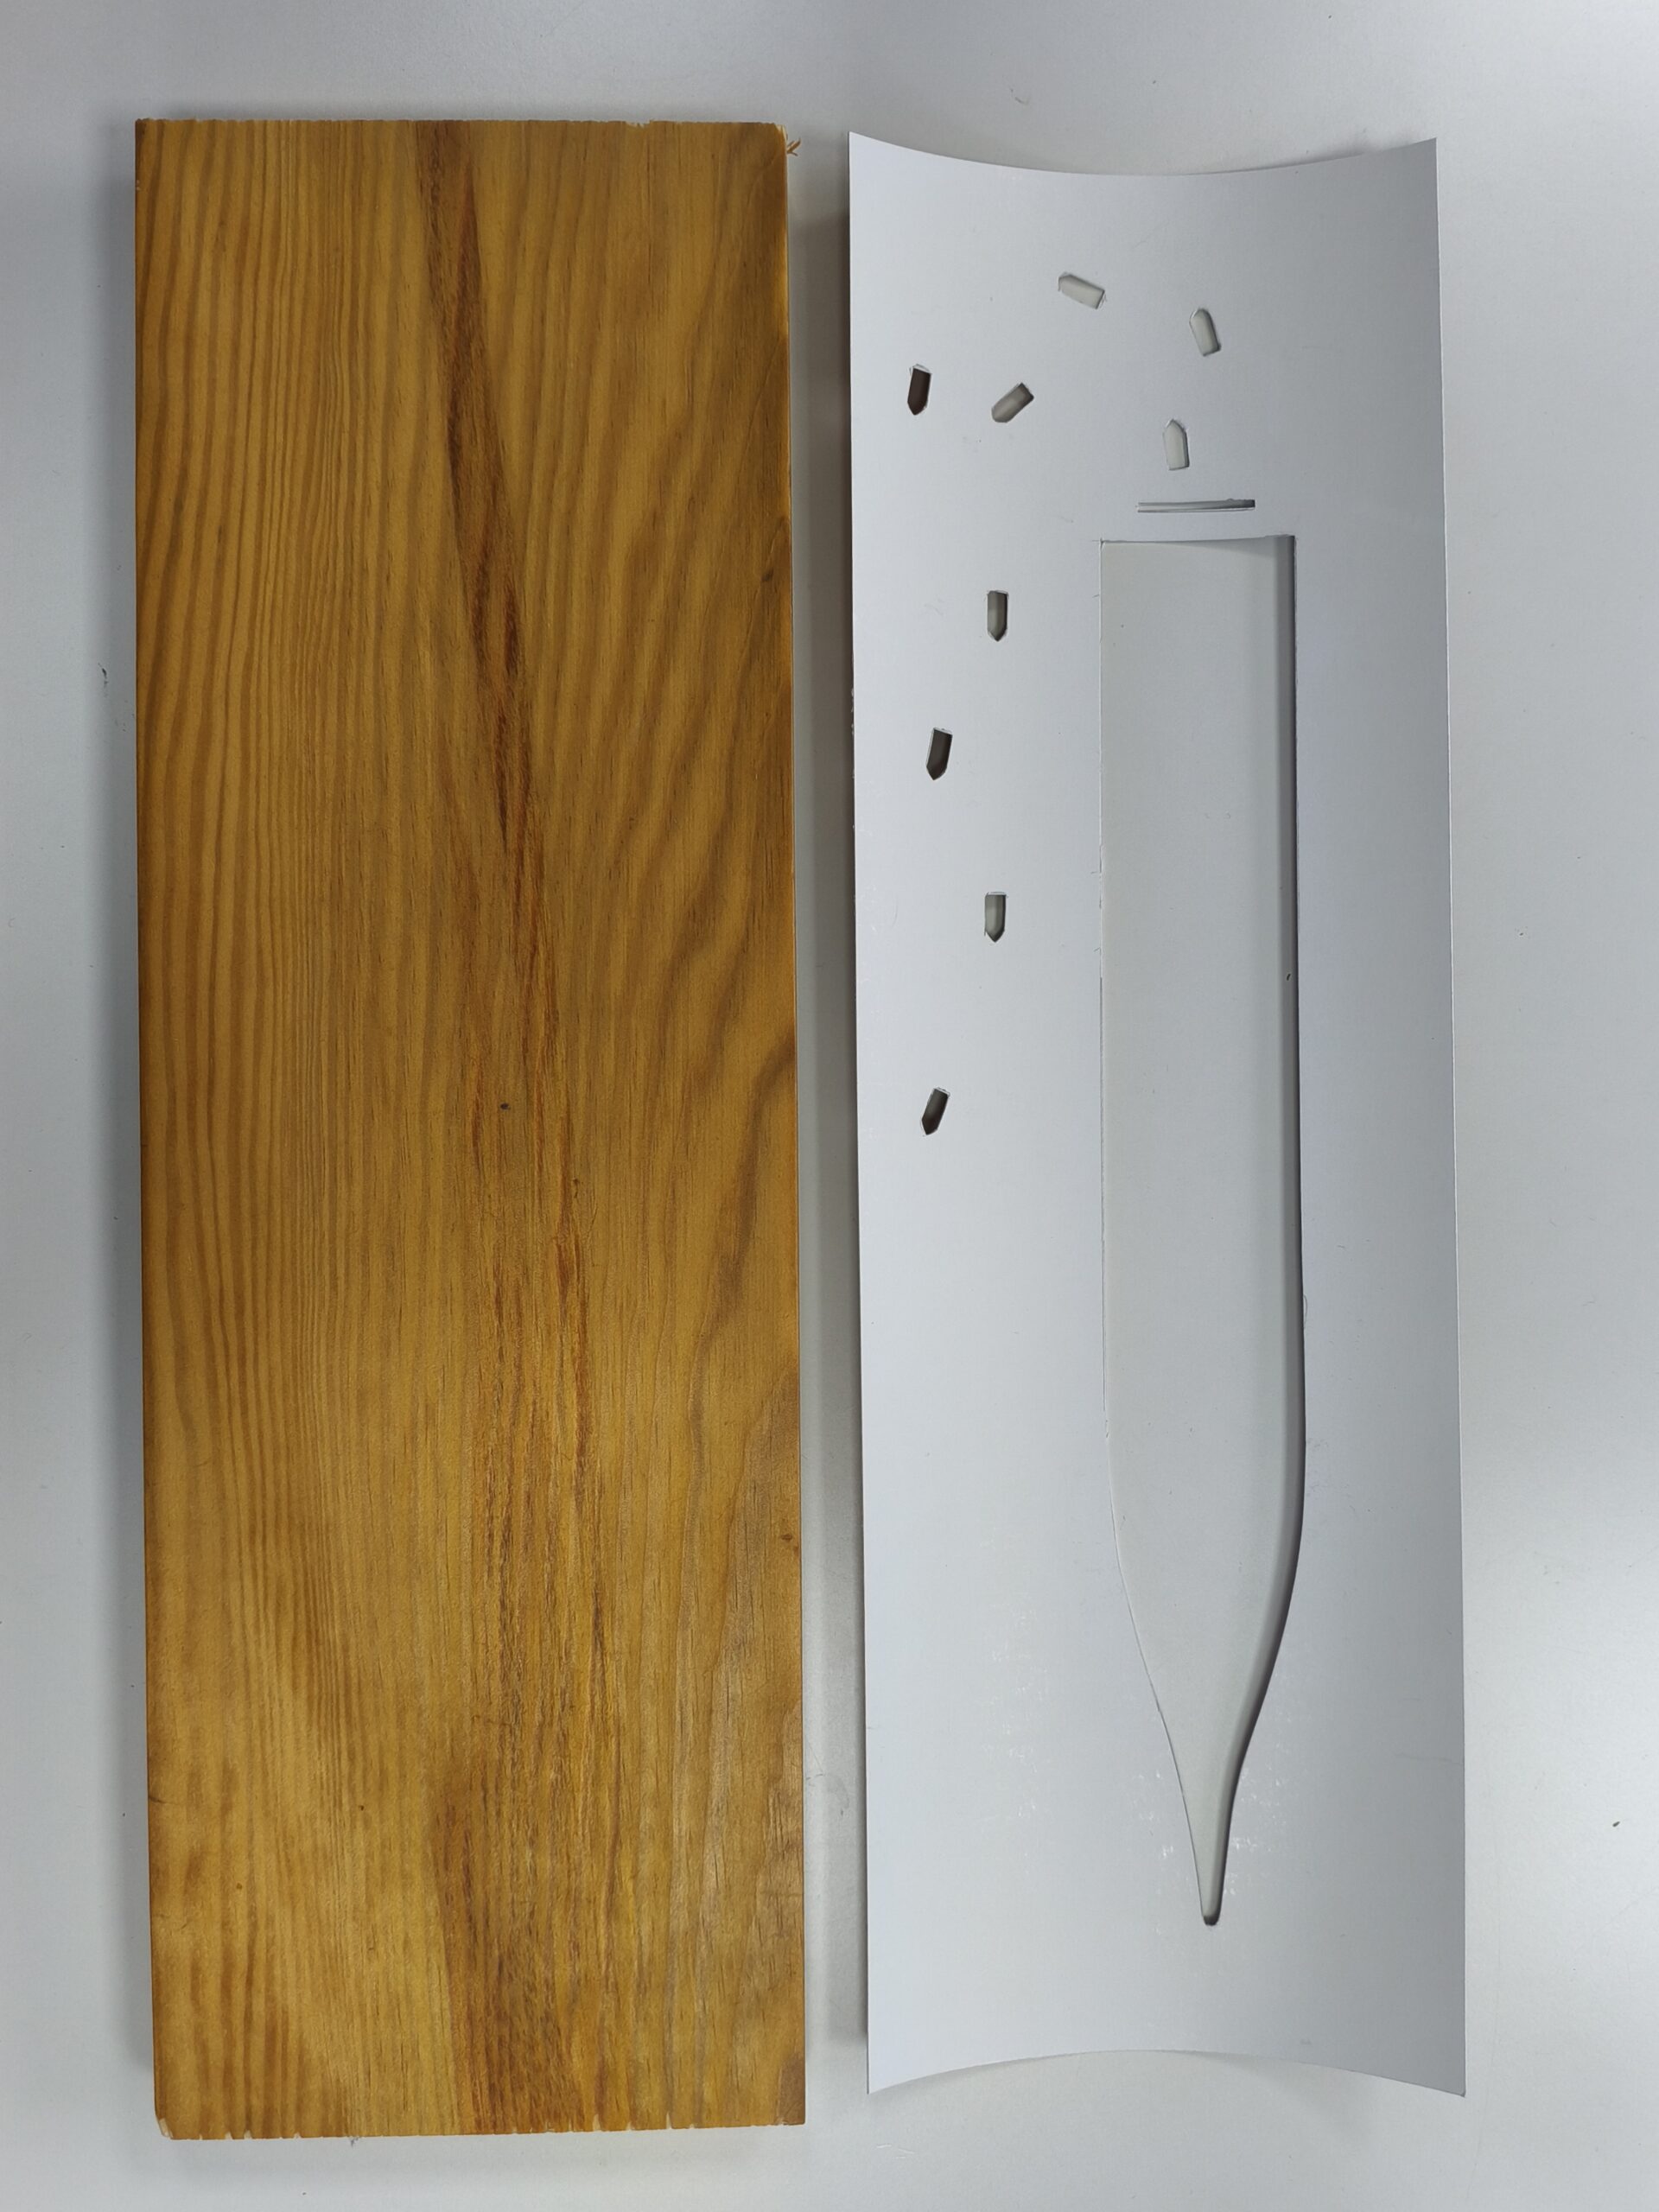
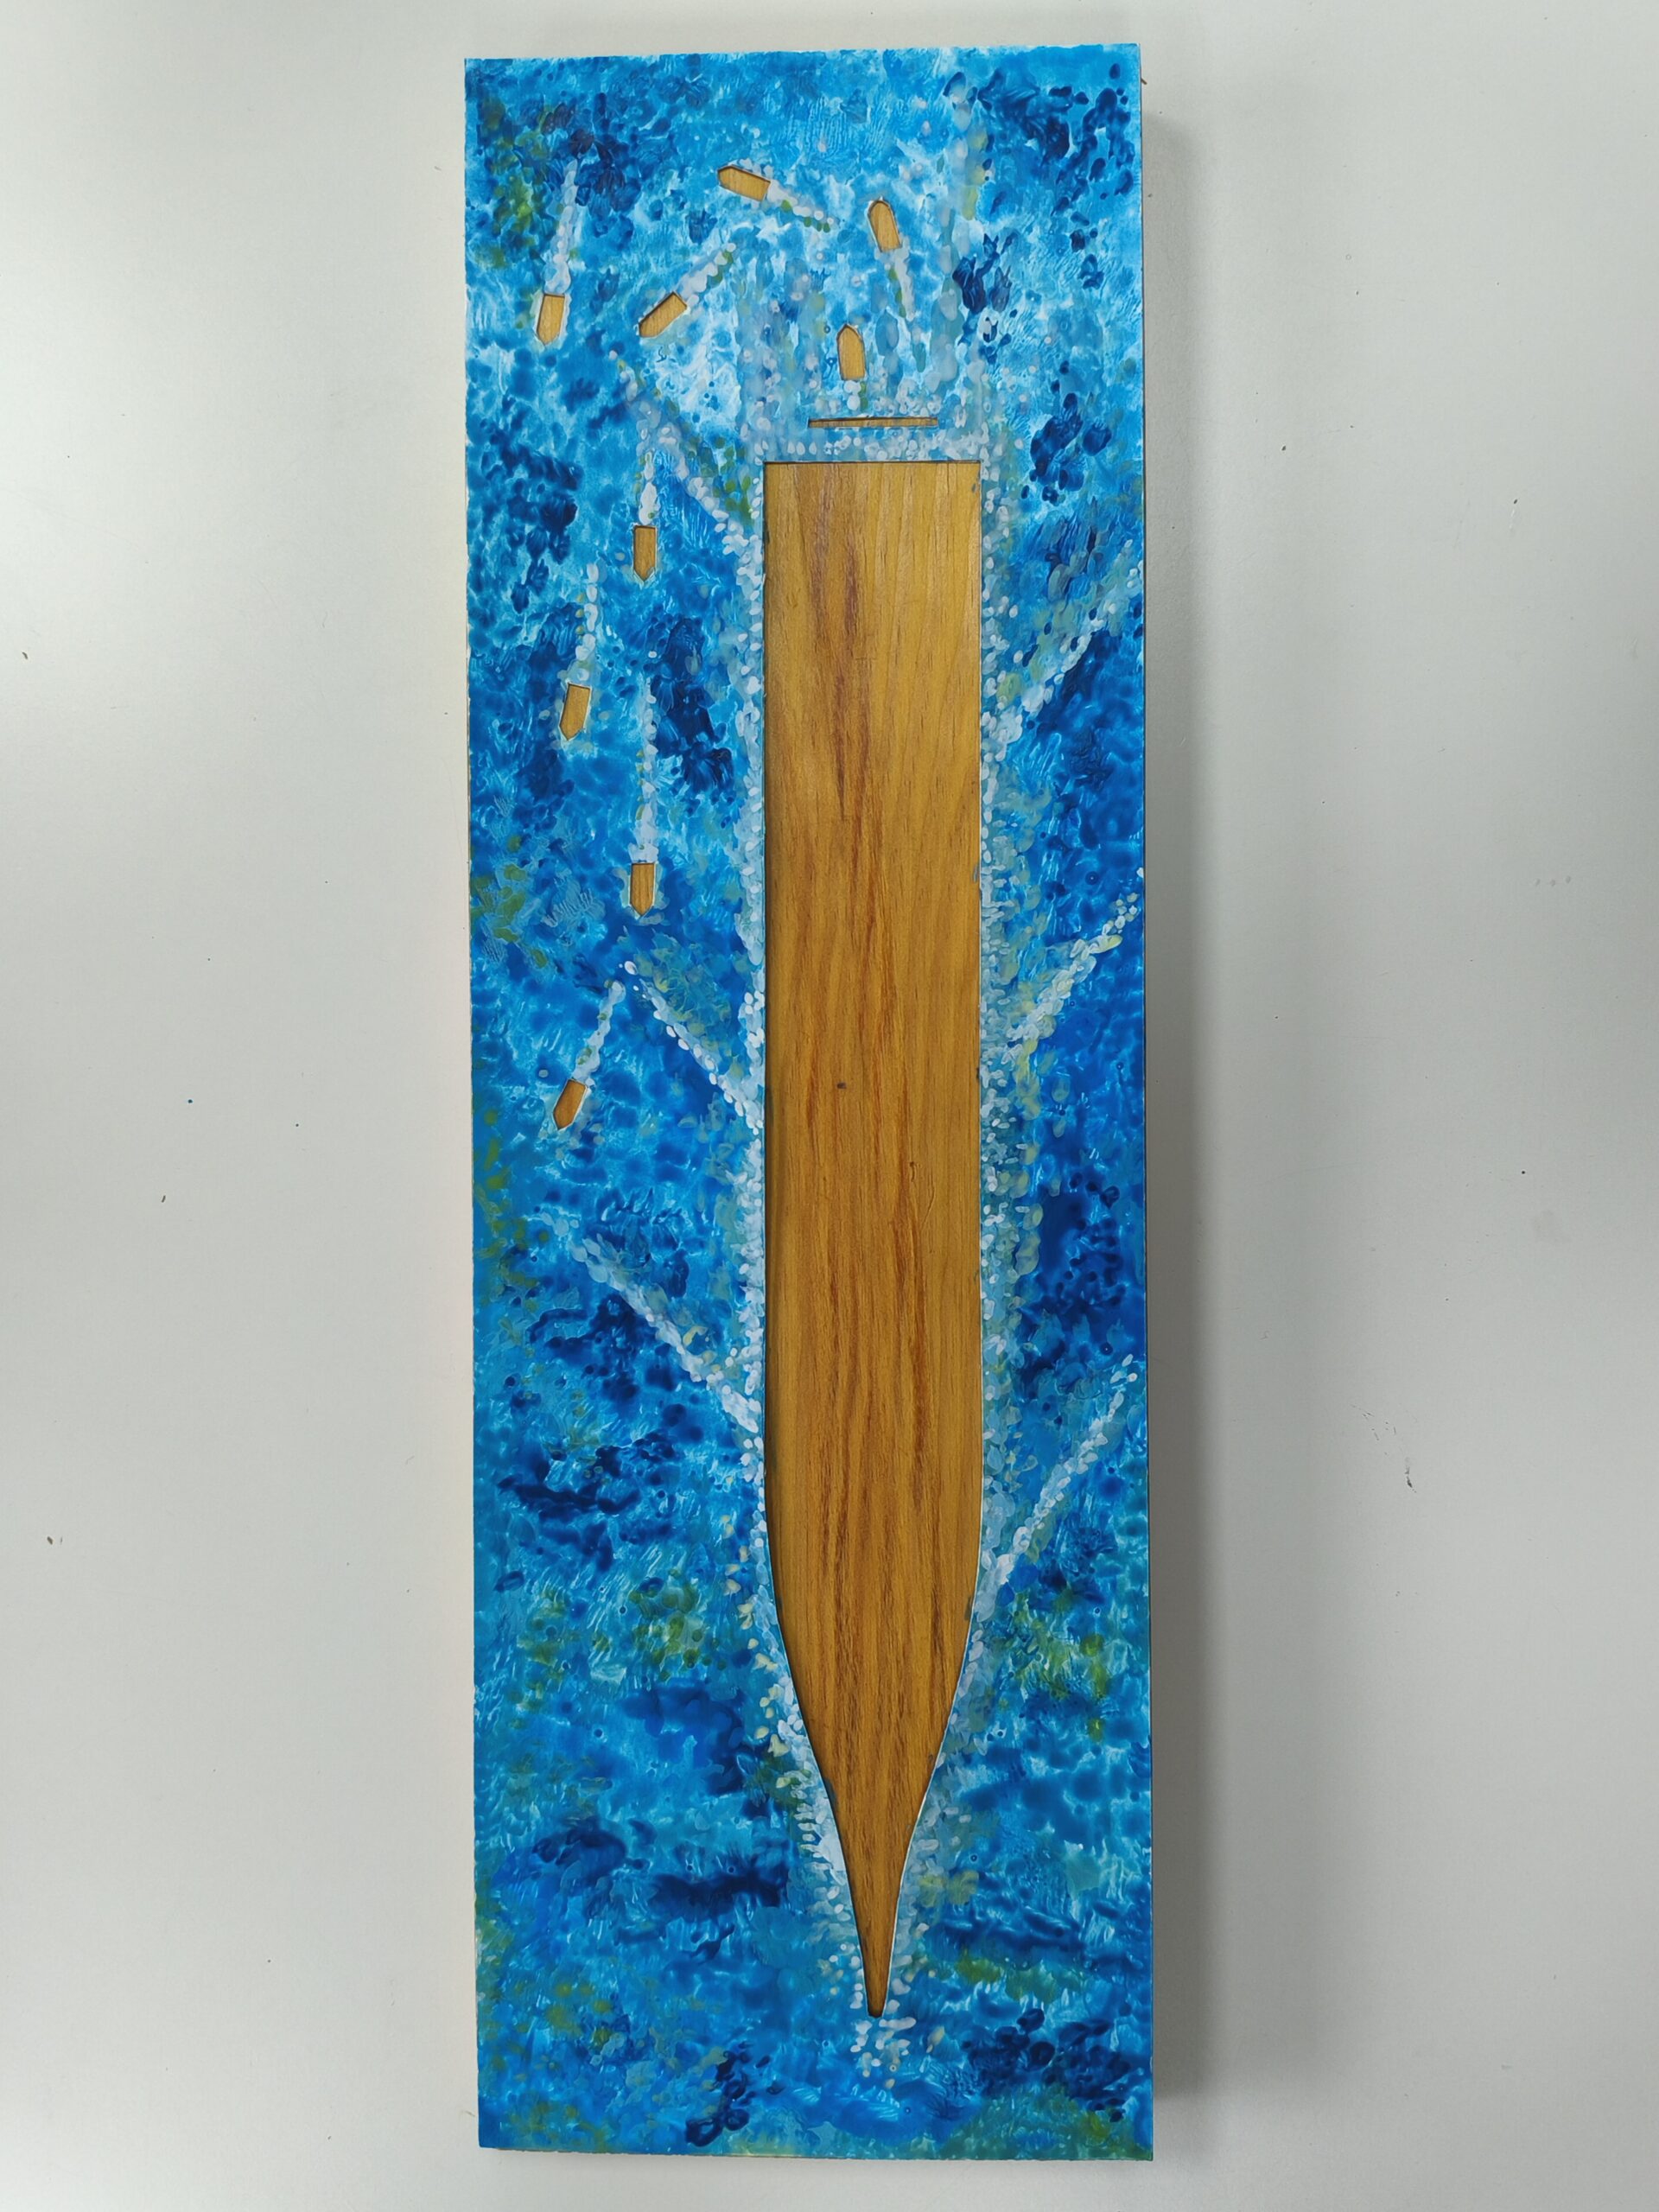
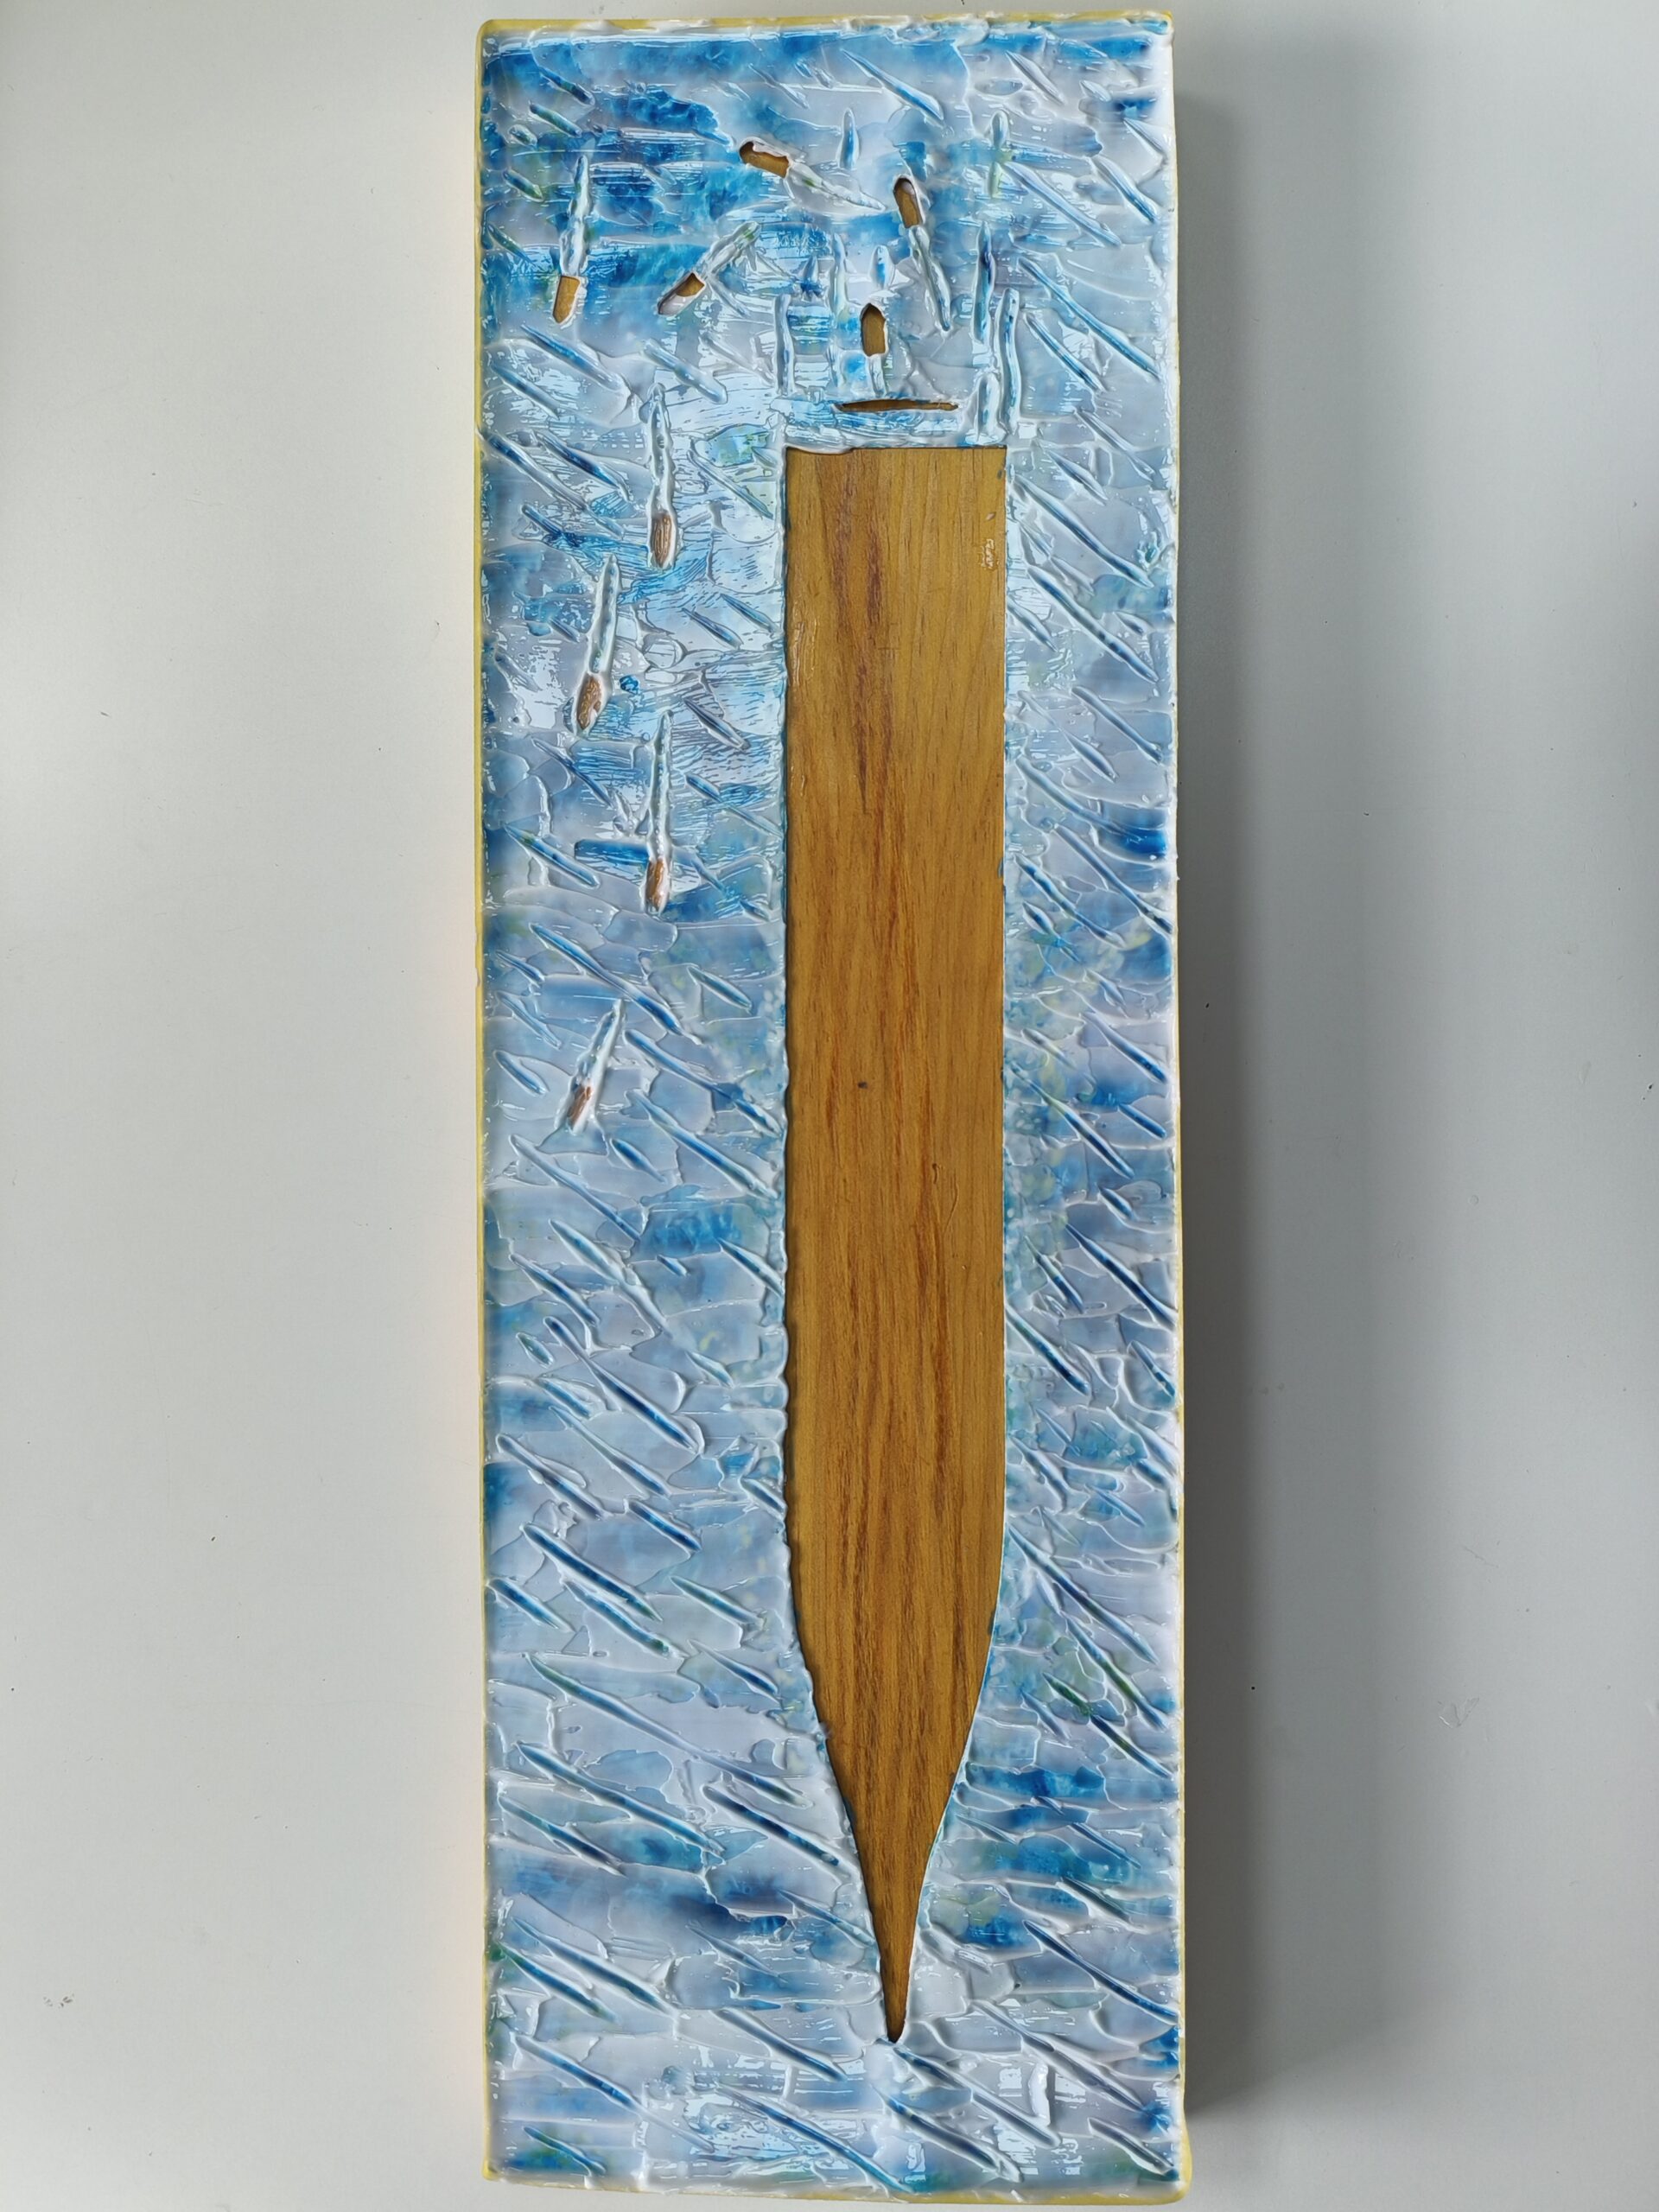
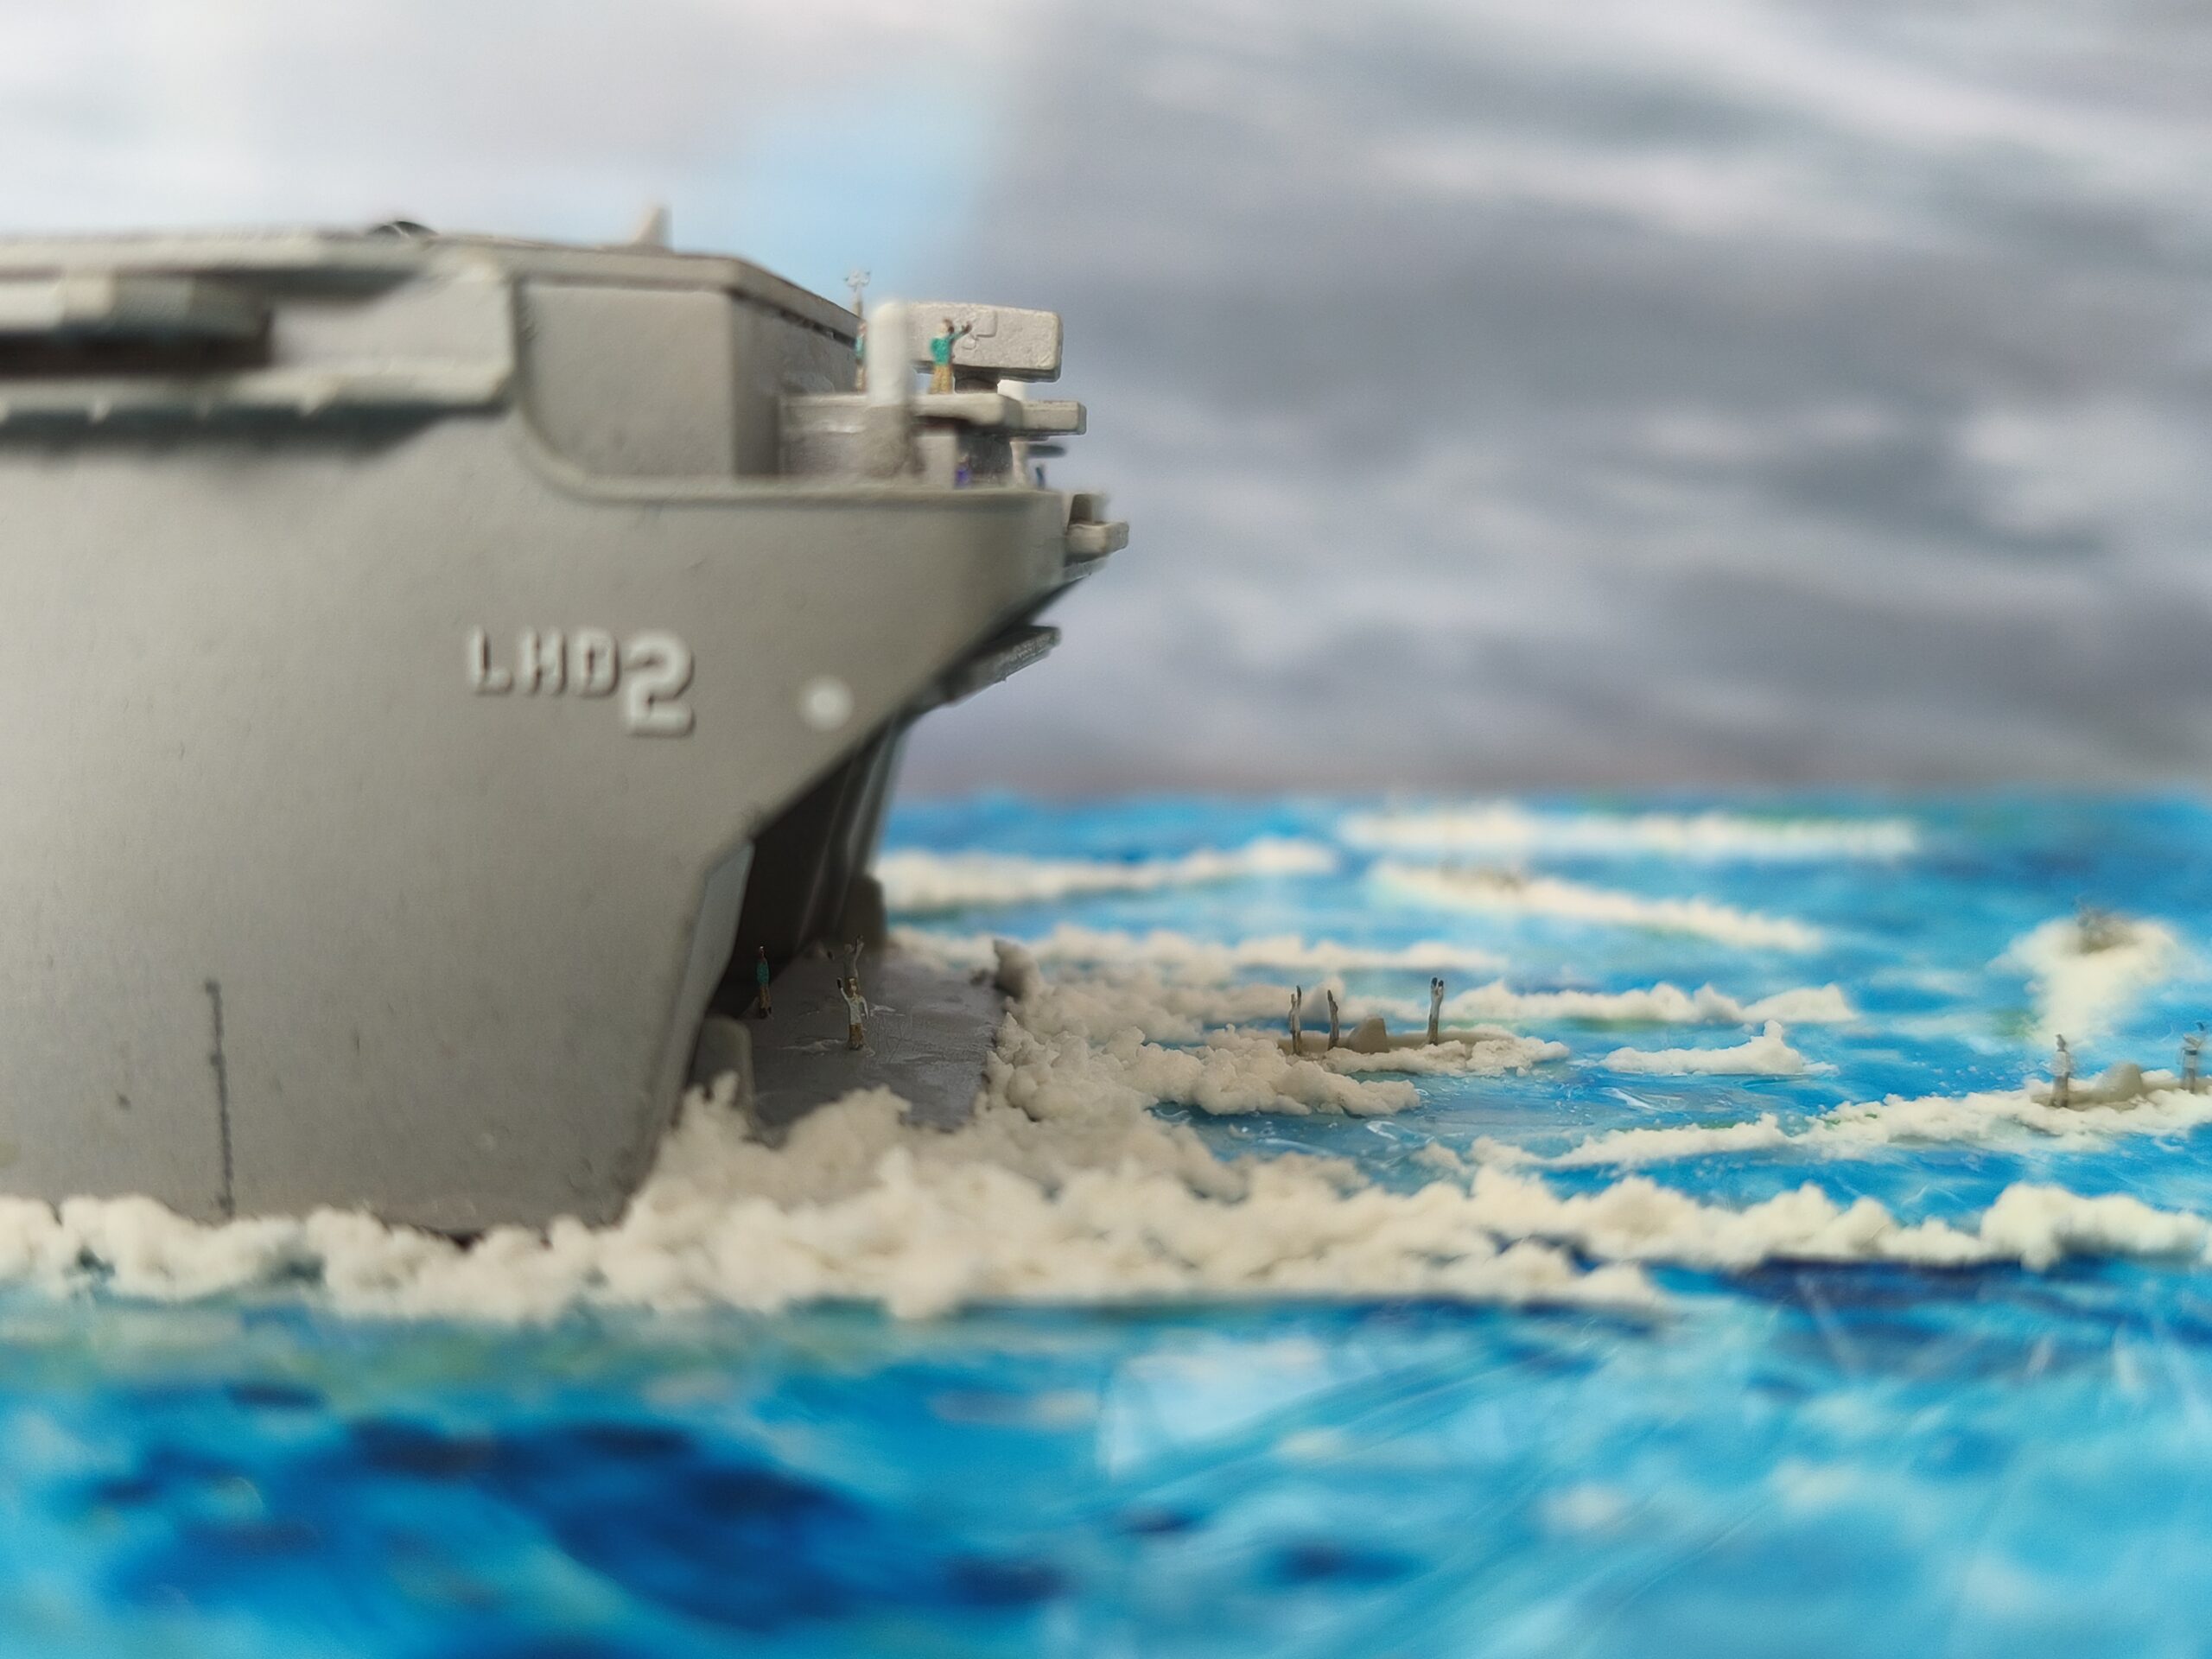
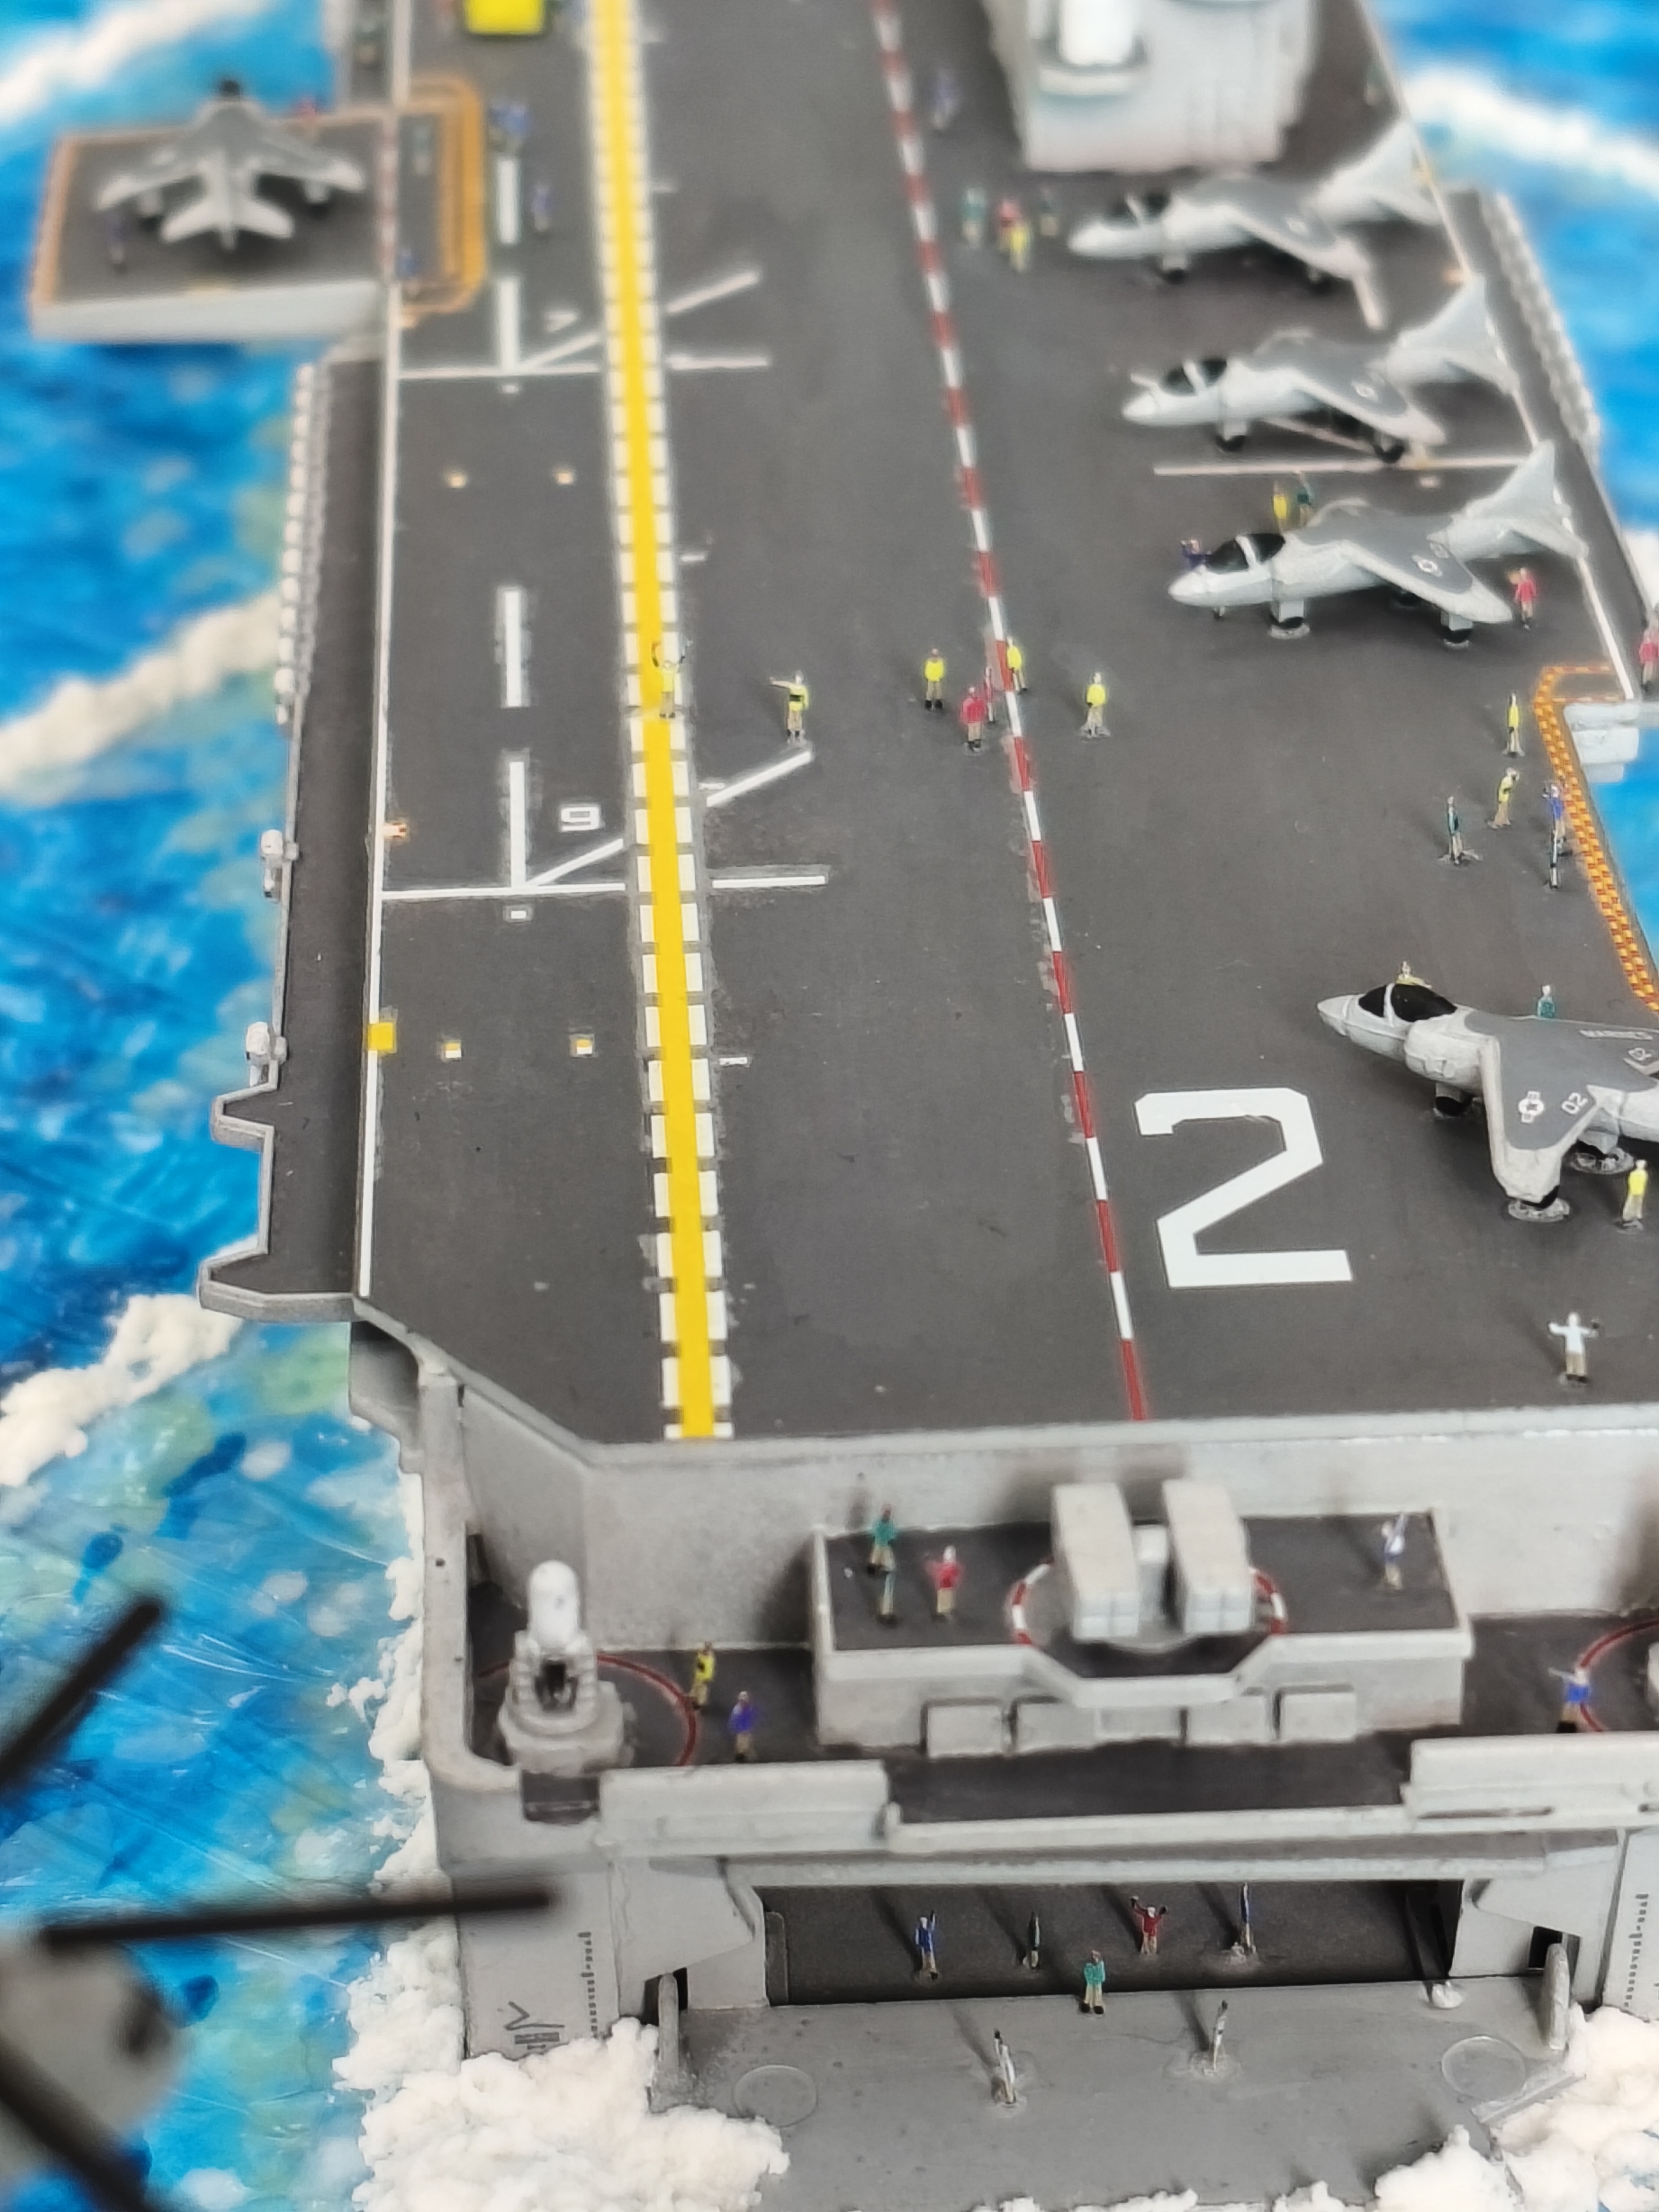
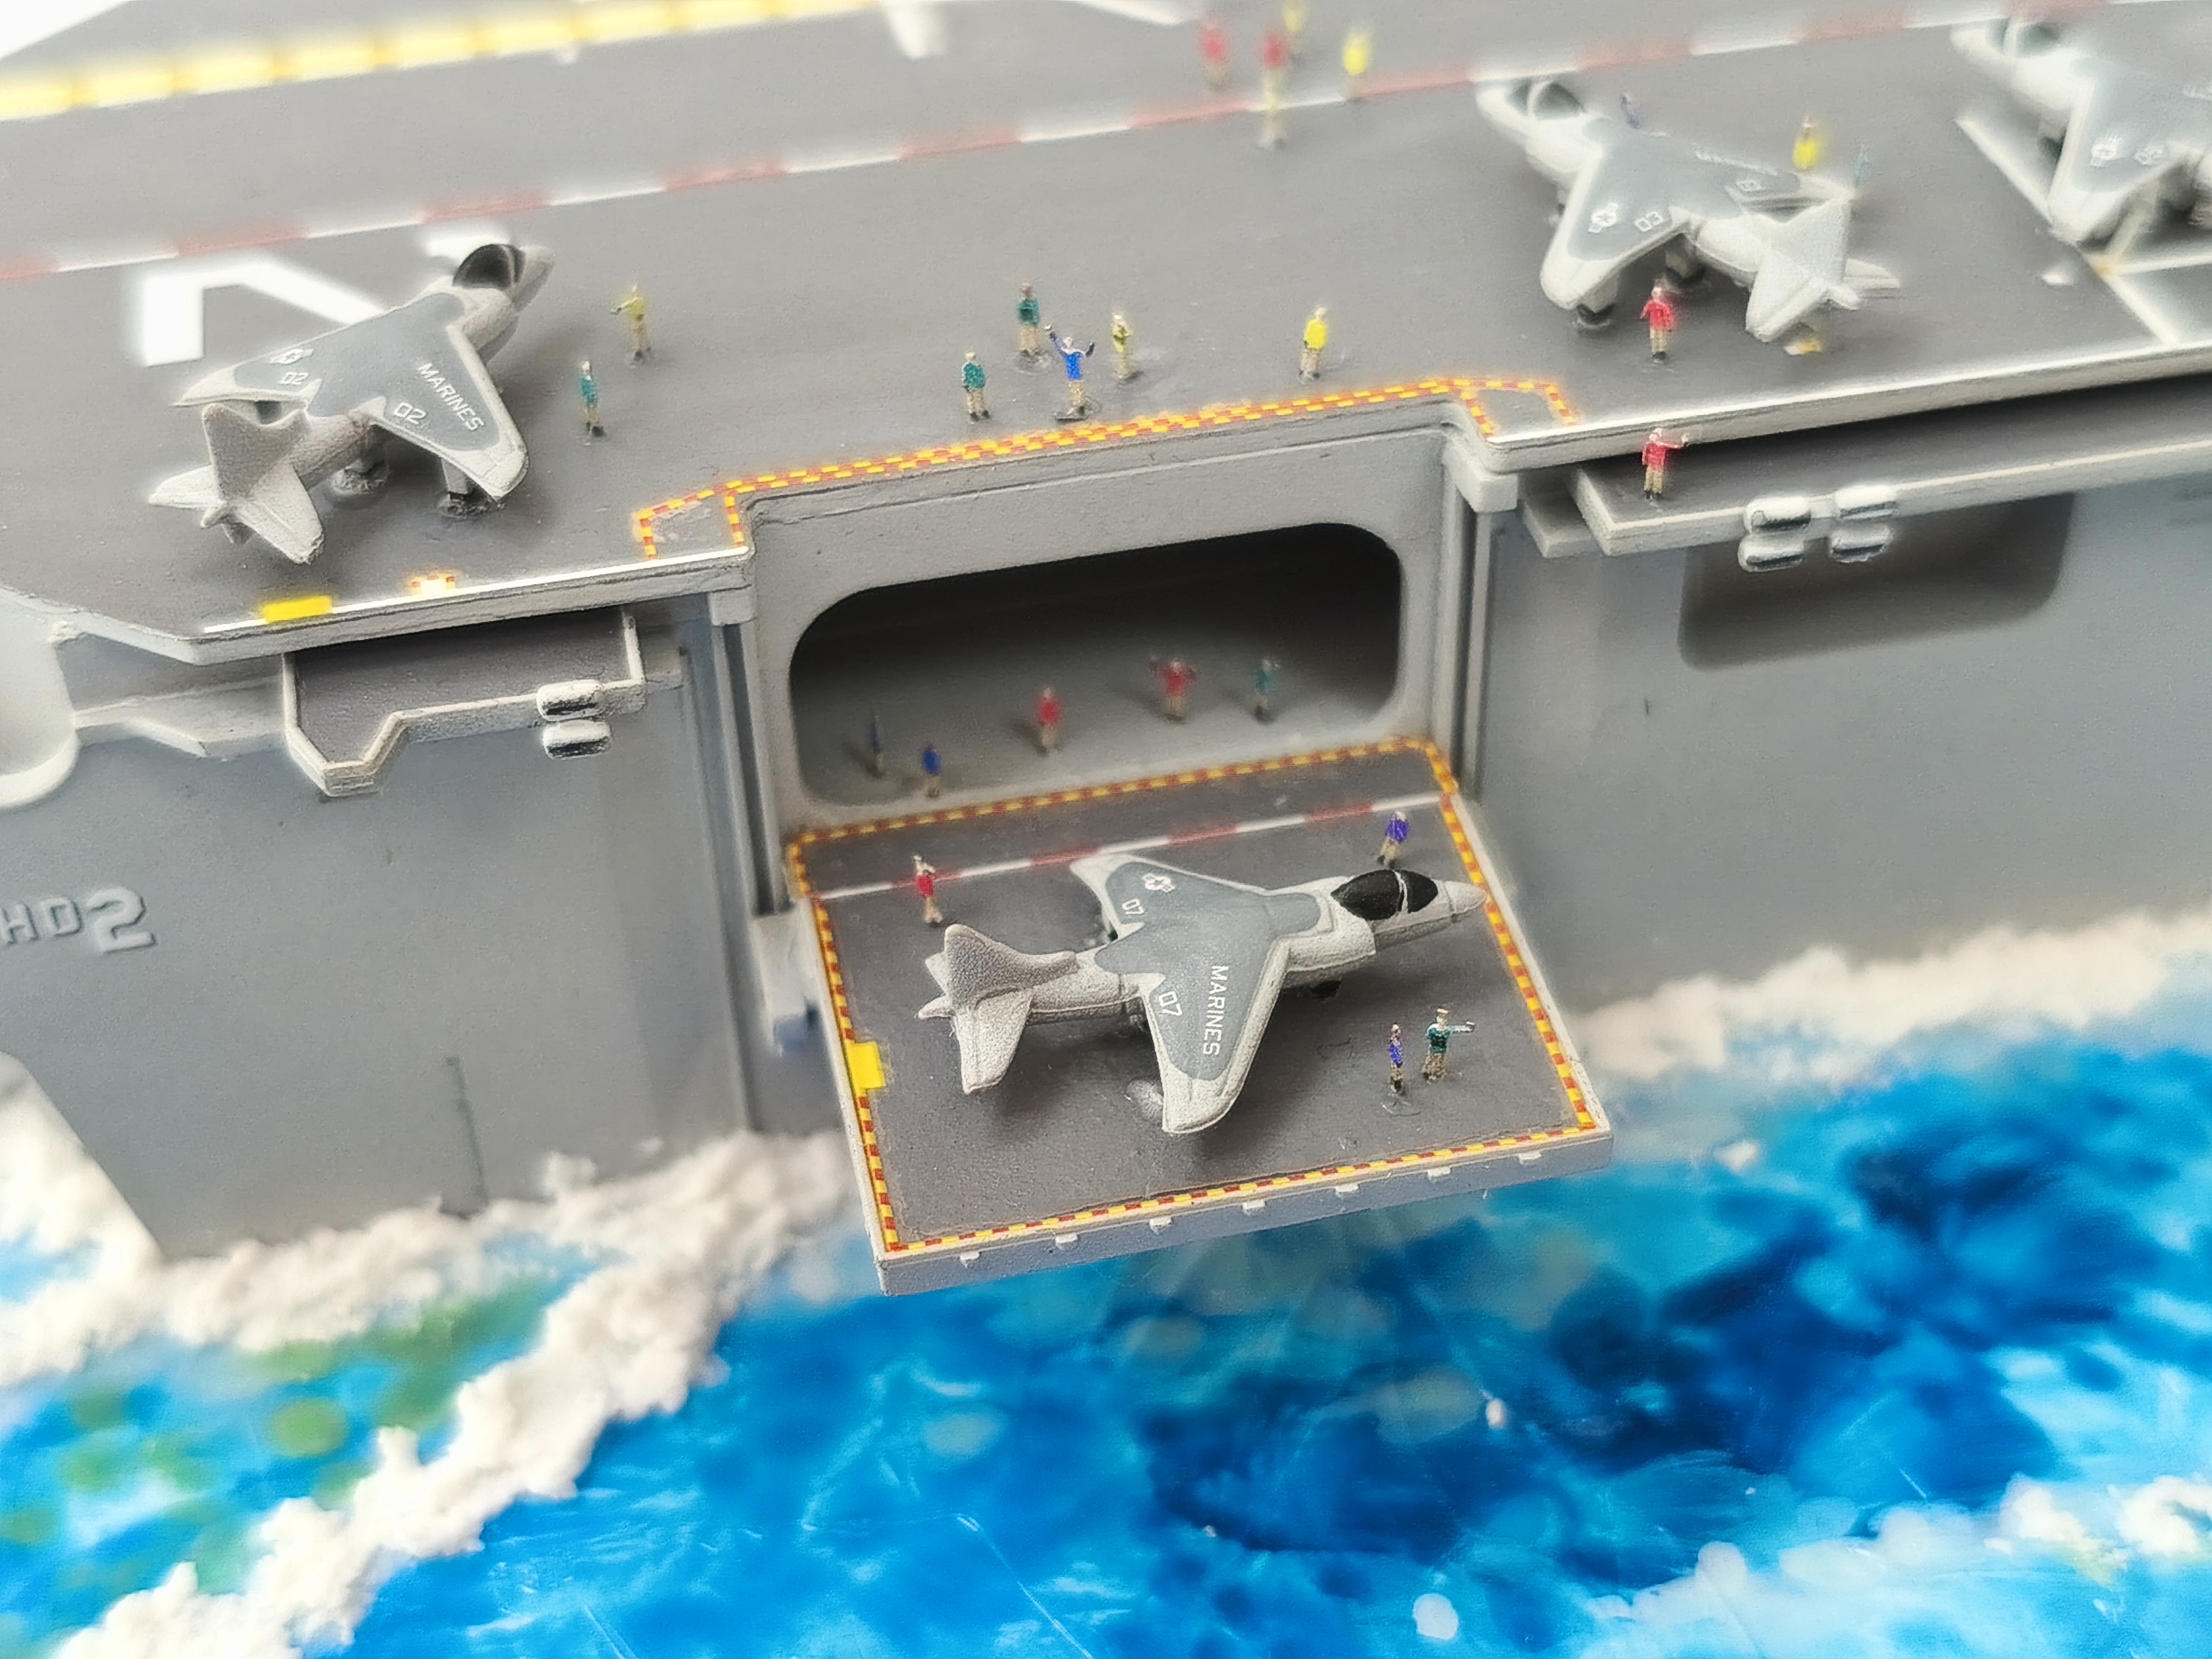
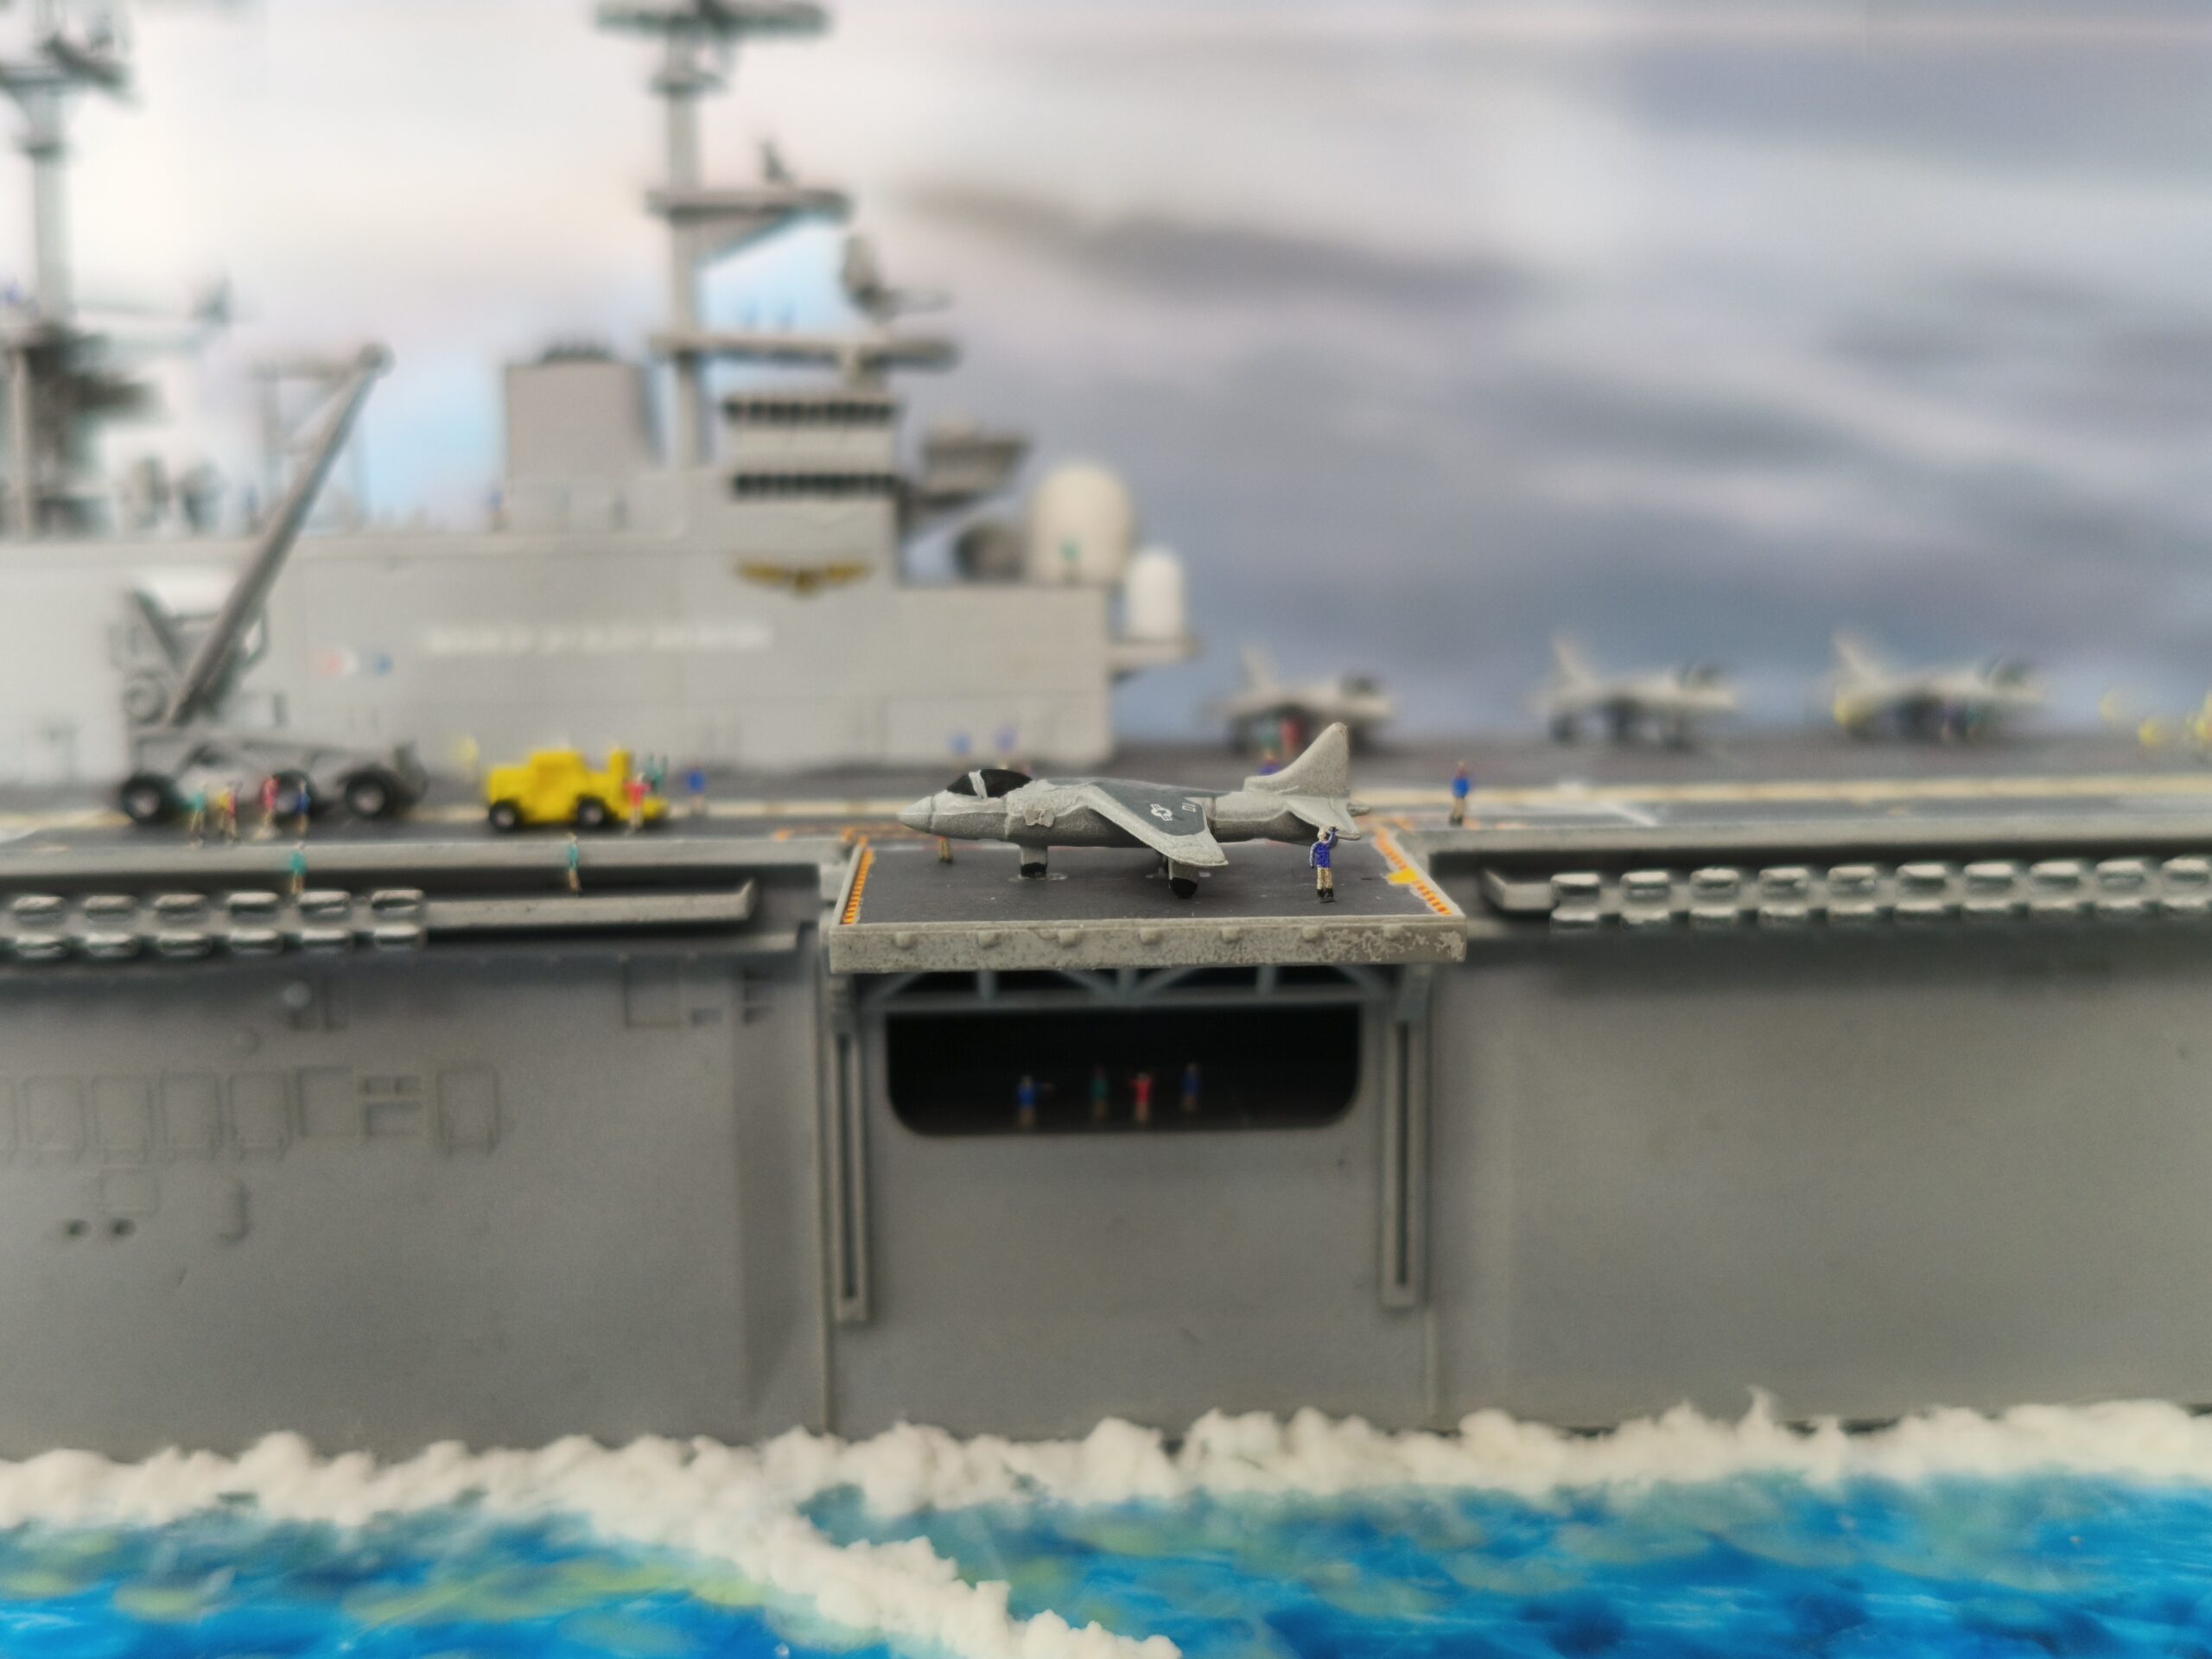
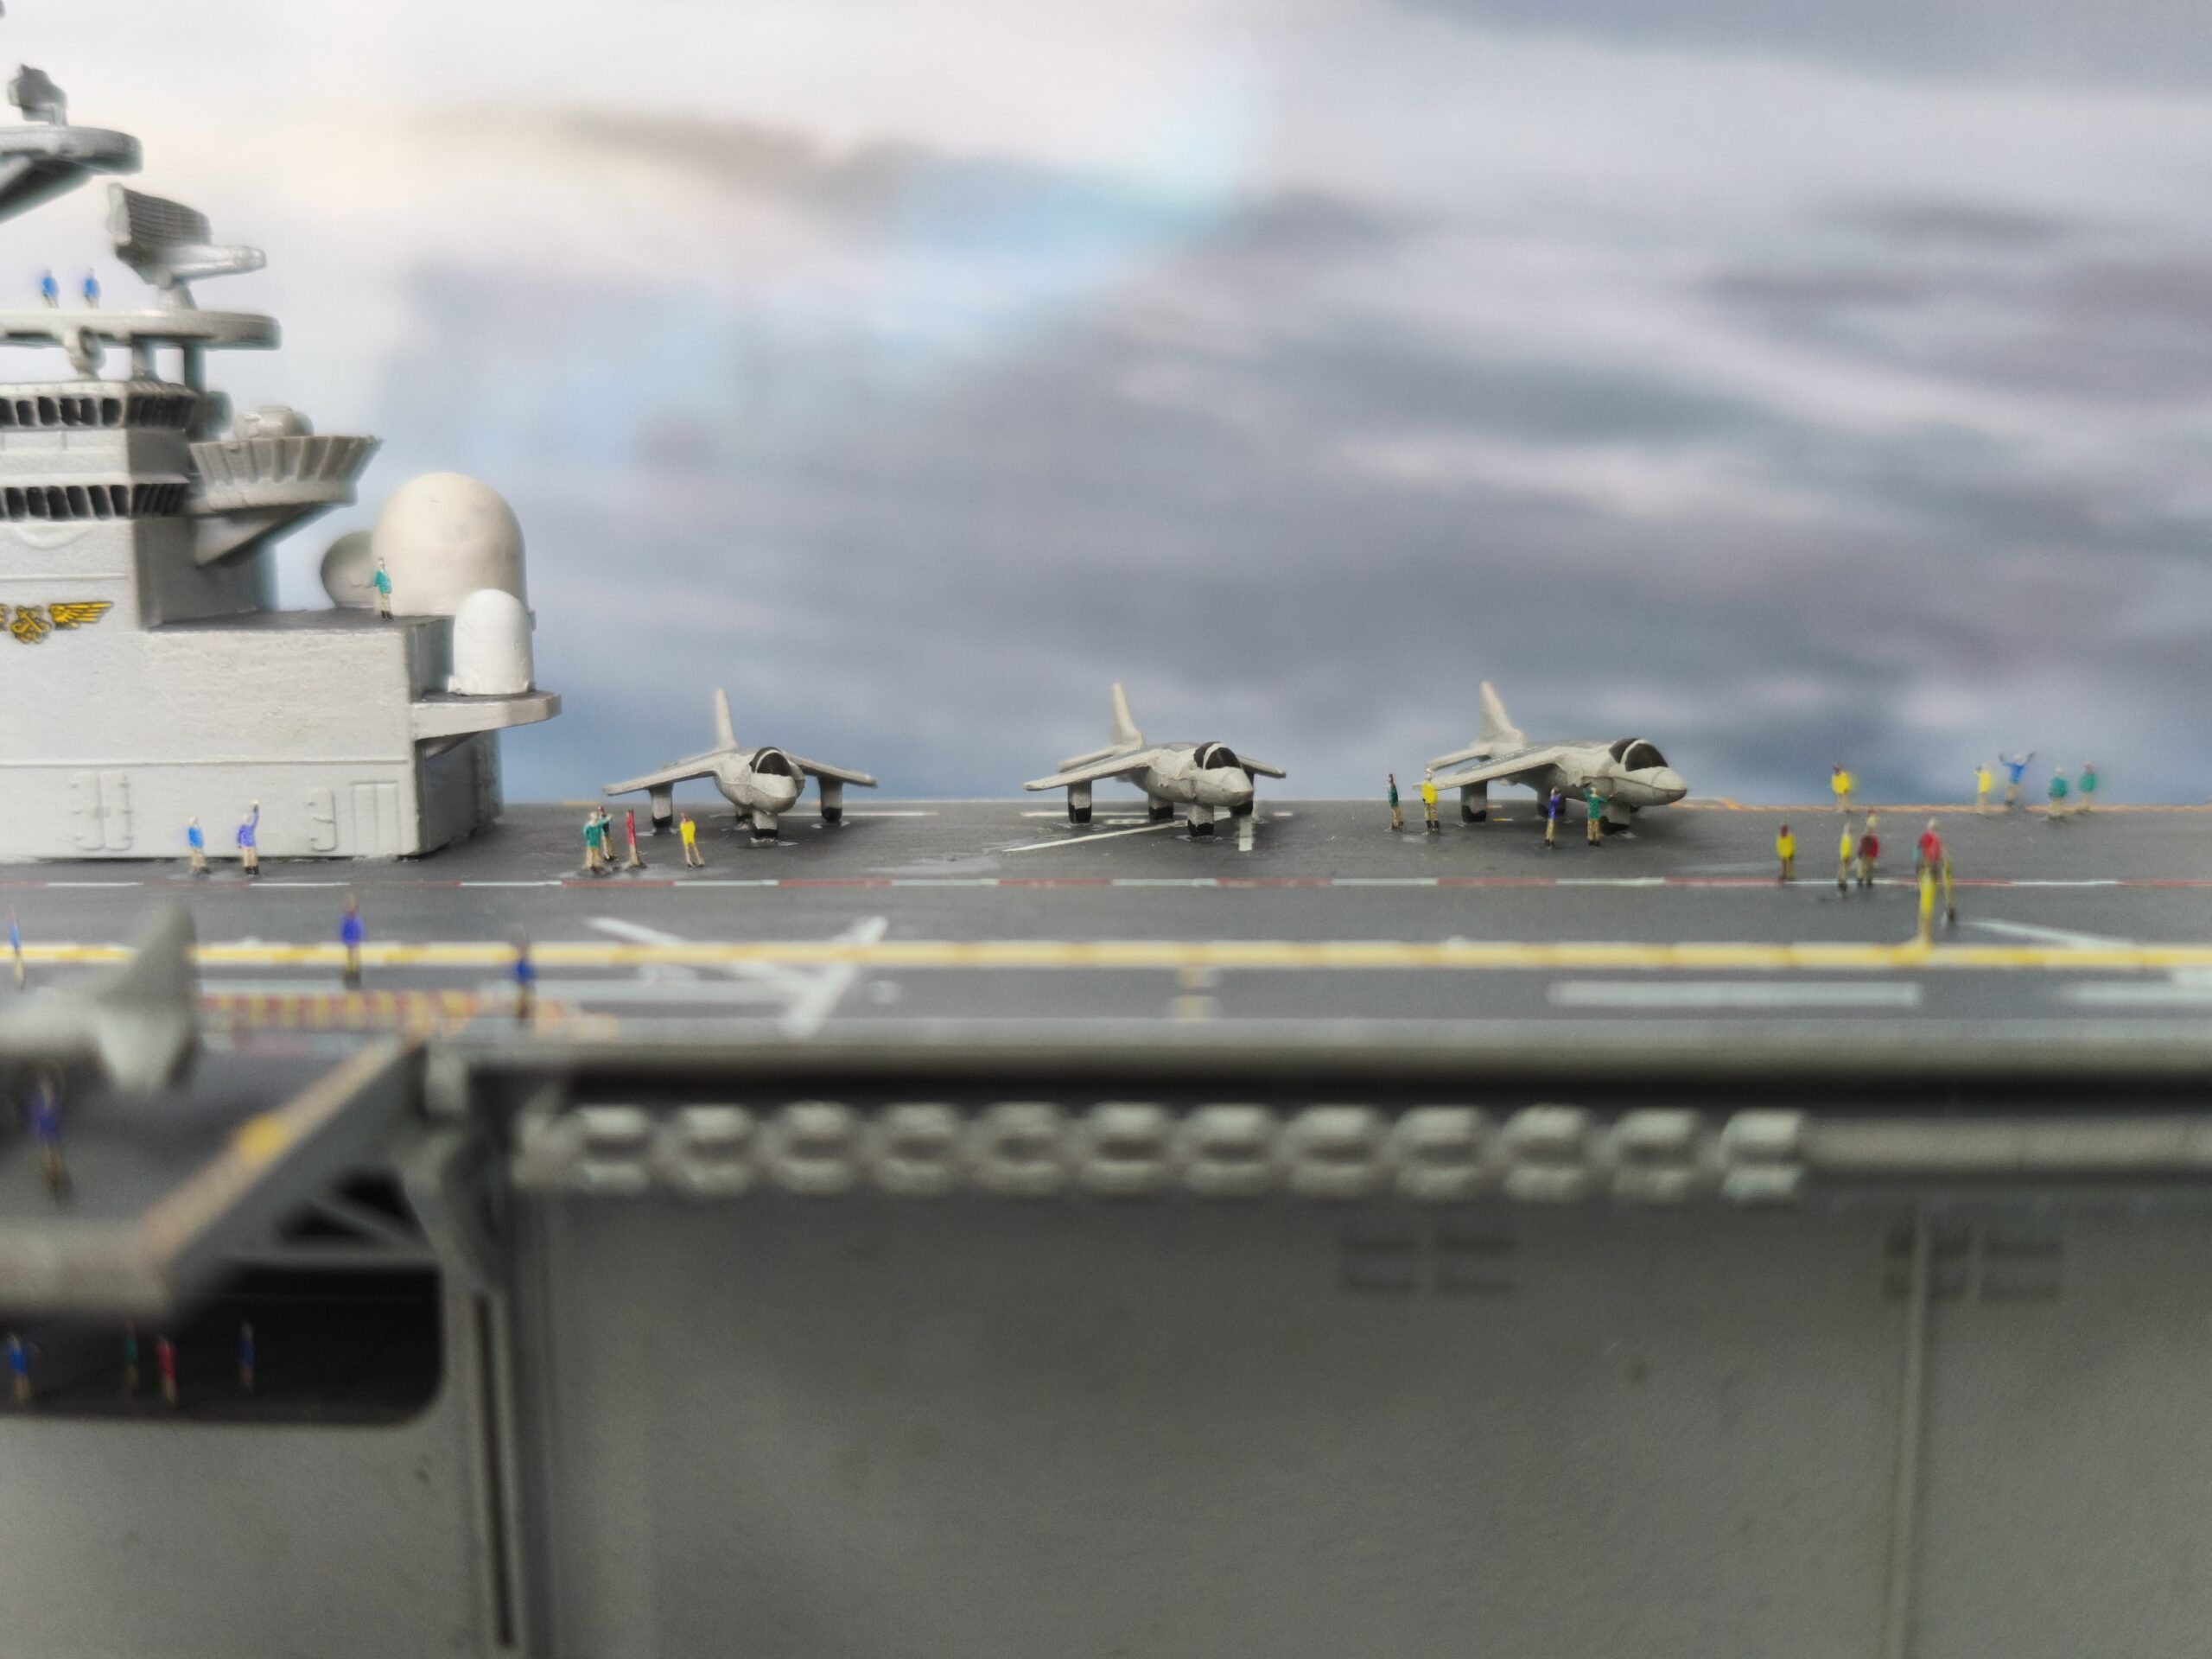
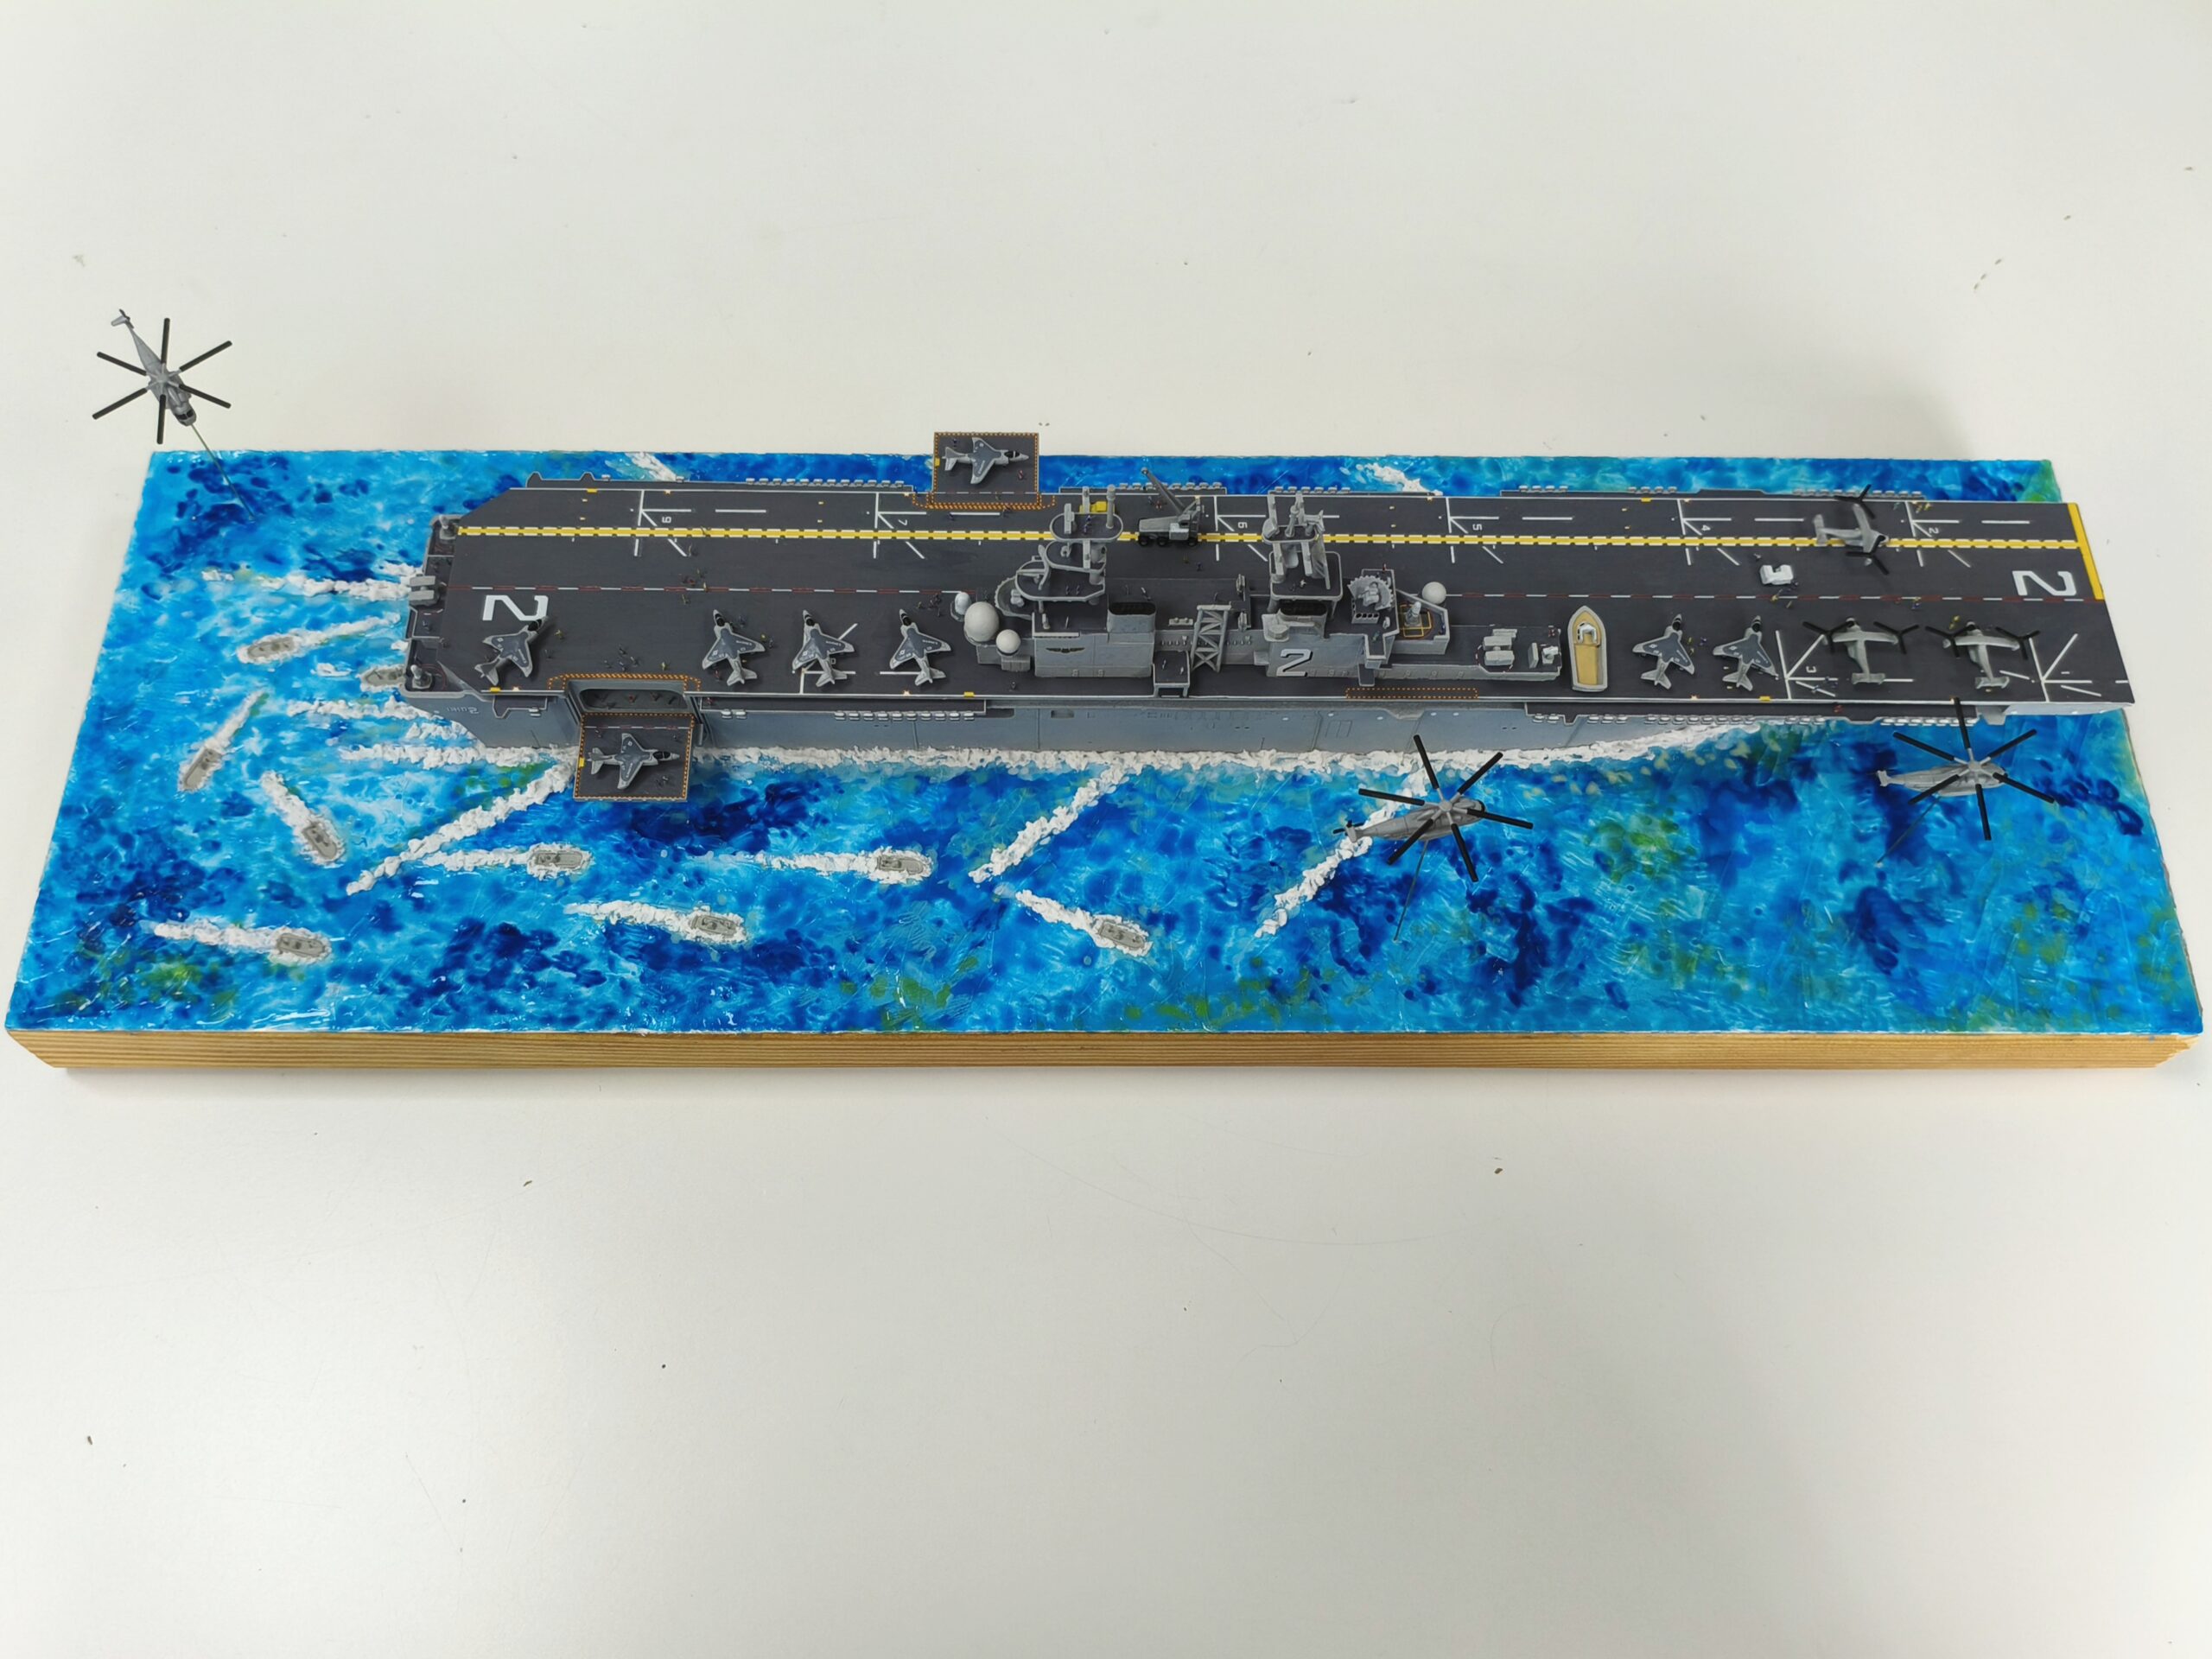
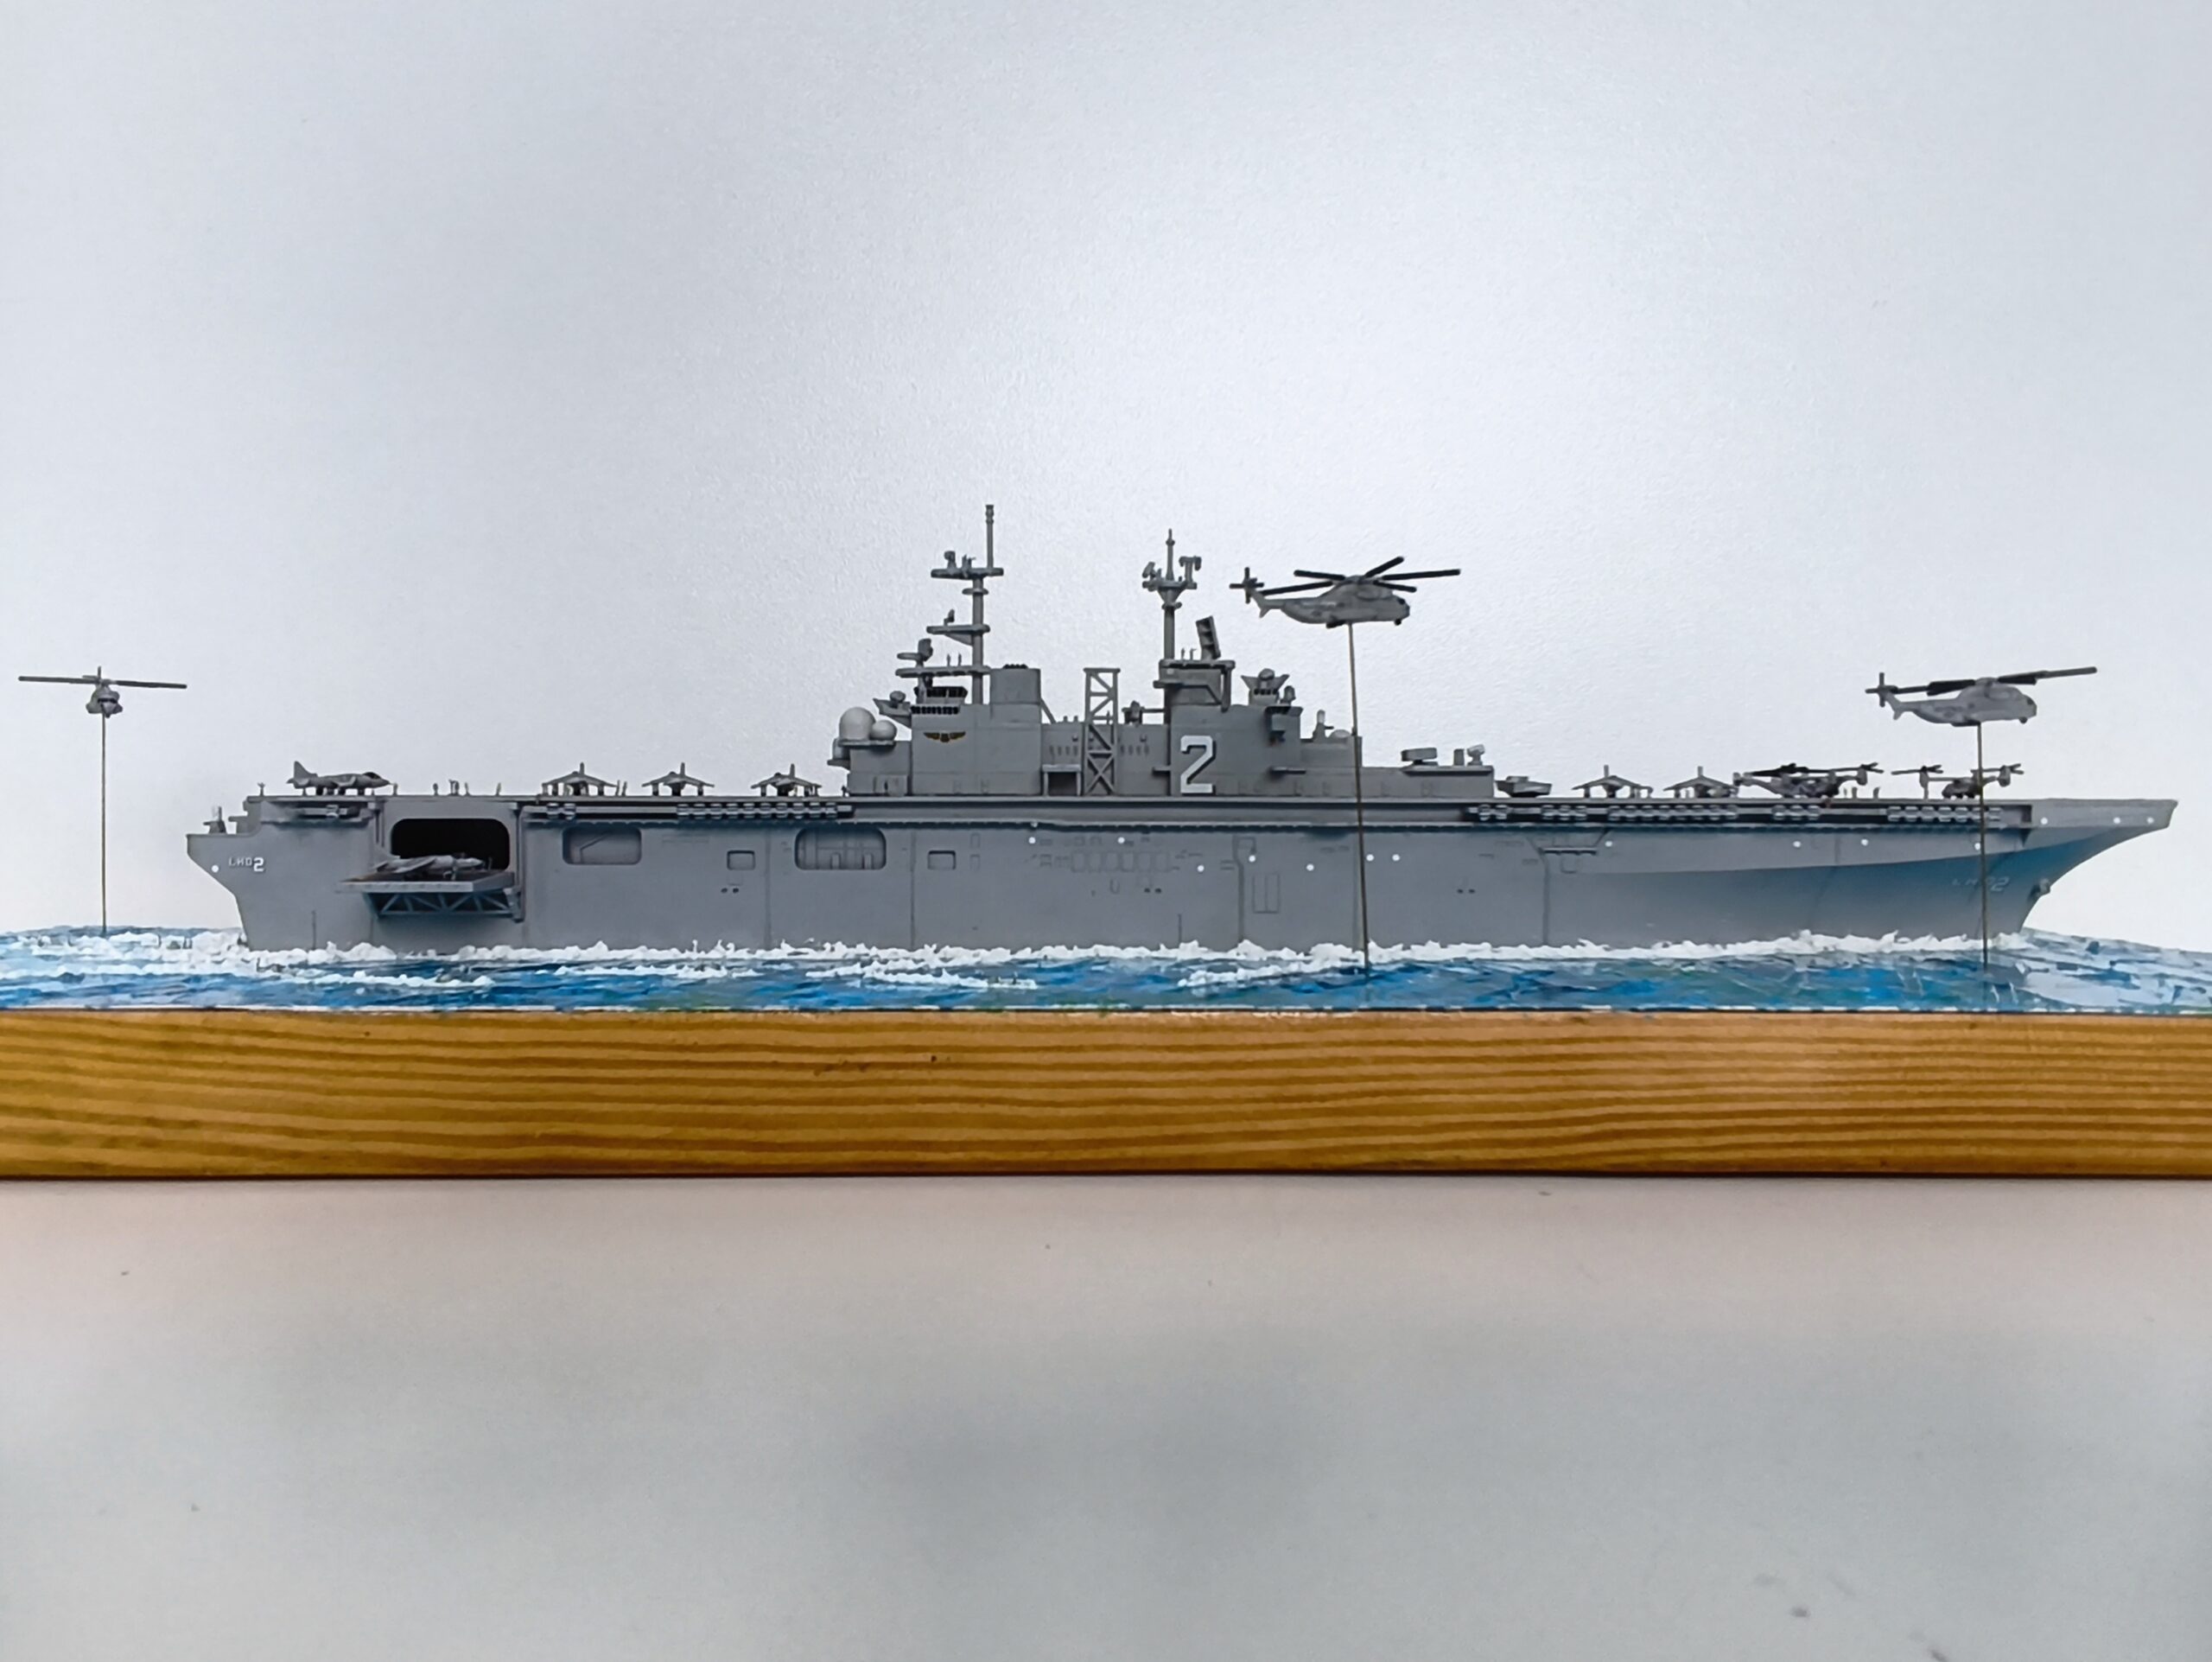
Included in this kit is a waterline USS Wasp Class ship.The superstructures, aircraft, boats, and vehicles.The decals provided.This kit does not come with any figures, so we supplied our own – Eduard 1/700 aircraft carrier figures.The majority of the ship will be light grey, with the deck being dark grey. As we build the ship, we are working out what could be glued together and what to leave part to make the painting a little easier later on.Here are the parts prepped for airbrushing.Some of the larger, angular parts are held with crocodile clips.The model was first airbrushed in light grey, and then the deck was hand-painted in dark grey.Next, the super-structure was built.Once the main ship was completed, the decals were added. This kit came with some large decals. It may be easier to cut them into smaller sections rather than attempting the entire piece in one go.Unfortunately the large decals trapped air underneath it resulting in some silvering.To fix it, we simple painted over the silvering. Another method to fix this is to apply Tamiya Extra Thin Cement or Mr Color Leveling Thinner.The aircraft and vehicles were positioned on the deck ready for gluing.With the model paintwork completed, we moved on to the diorama. First, we pestered a family member to cut out a wooden base. Then on card stock (watercolour paper would be ideal), we drawn and cut out where the boats will be sitting.The card stock was glued onto the base and we painted the sea with acrylic paints.We applied water gel. The gel dried surprisingly quick, so work fast to score the sea texture.Once the water dried, we glued the boats and aircraft in place.Texture snow paint was applied to create the sea foam.Finally, the figures were glued on with superglue.
When we opened the shop, a few years ago, we imagined stocking radio controls one day. It was an aspiration that remained an aspiration for so long because we just didn’t know where to begin! Little did we know in 2025 a customer would bring in a R/C kit and the rest is history.
We’re starting our R/C collection with a classic Tamiya kit – the Lunch Box monster truck!
This kit comes with everything to build the car (the body, chassis, wheels and typres). To make it move, you will need in addition: a two-channel radio, steering servo, and a 7.2volt battery pack with a compatible charger.The body is made of ABS plastic. It can be coloured with any Tamiya TS sprays.The wheels and trims are pre-coloured.The gearbox, battery holder, and front arms are all in black plastic, which can be easily wiped clean after each use.The smaller parts (screw, bearings, and washers etc) are packed in several bags (labelled A, B, C, D). The kit came with many screws of different shapes and sizes – keeping them in these labelled bags makes it a lot easier to locate them.In the kit are also sticker markings, an electronics speed controller (ESC), and the motor. The motor has snap connectors – no soldering required!As mentioned, we do need some extra equipment to make the R/C car move. For this project we used the Carson stick transmitter set that contains all the other things we needed.This box comes with a stick transmitter, a battery pack, a USB charger, a steering servo, and AA batteries for the transmitter.With the battery charged, we connect the electronic parts together and test the equipment. This is an important first step – you don’t want to build everything only to find the motor doesn’t work.To identify the correct parts to use, refer the side column in the instruction. BC means bag ‘C’. Pull out the part from the bag and align it to the image on the instruction. The images are life size – right down to the number of threads on the screws. You will have some screw left over, keep them safe for repair work down the line.The servo-saver is attached to the steering servo.The body mount and the steering servo is added to the chassis.The on-off switch (receiver switch) couldn’t be screw-attached because the screw holes are in the wrong position. This was also the case with the Rising Sun kit we built previously.To solve this, we used some of the double sided tape and stuck it in postion. We’ve not had any problem with it so far.The receiver and ESC are also mounted with double sided tape.The on-off sticker is added on the chassis.The gearbox is assembled – make sure you apply plenty of grease!We secured the wires using the large nylon band provided and then positioned the pinion gear and secured with a grub screw.Attached the motor and wheelie bar to the gearbox.Here we are assembling the axle holder. The screw in the centre holds the spring down for the gearbox attachment. Remeber to remove it again once it is attached.Gearbox attached to the chassis.Motor cables connected.Attached rear dampers.Assembled the front arms.Secured the front arms and attached the front bumper.Attached the front dampers and battery holder.Fitted the tyres onto the wheels. Check the rotation direction so you have a right and a left for both front and back wheel.Attached the wheels – again, remeber to apply plenty of grease.Installed the battery pack and connected the connectors.Next, we sprayed the car body. The instructions recommended using TS16 Yellow. We wanted something brighter, so we went with Tamiya TS47 chrome yellow instead.The small areas were hand painted. Here we used an acrylic black marker (DSPIAE Pure Black) for the windows.We used masking tape to paint this straight edge.Result!The sticker markings are added.Last but not least – we attached the body to the chassis.