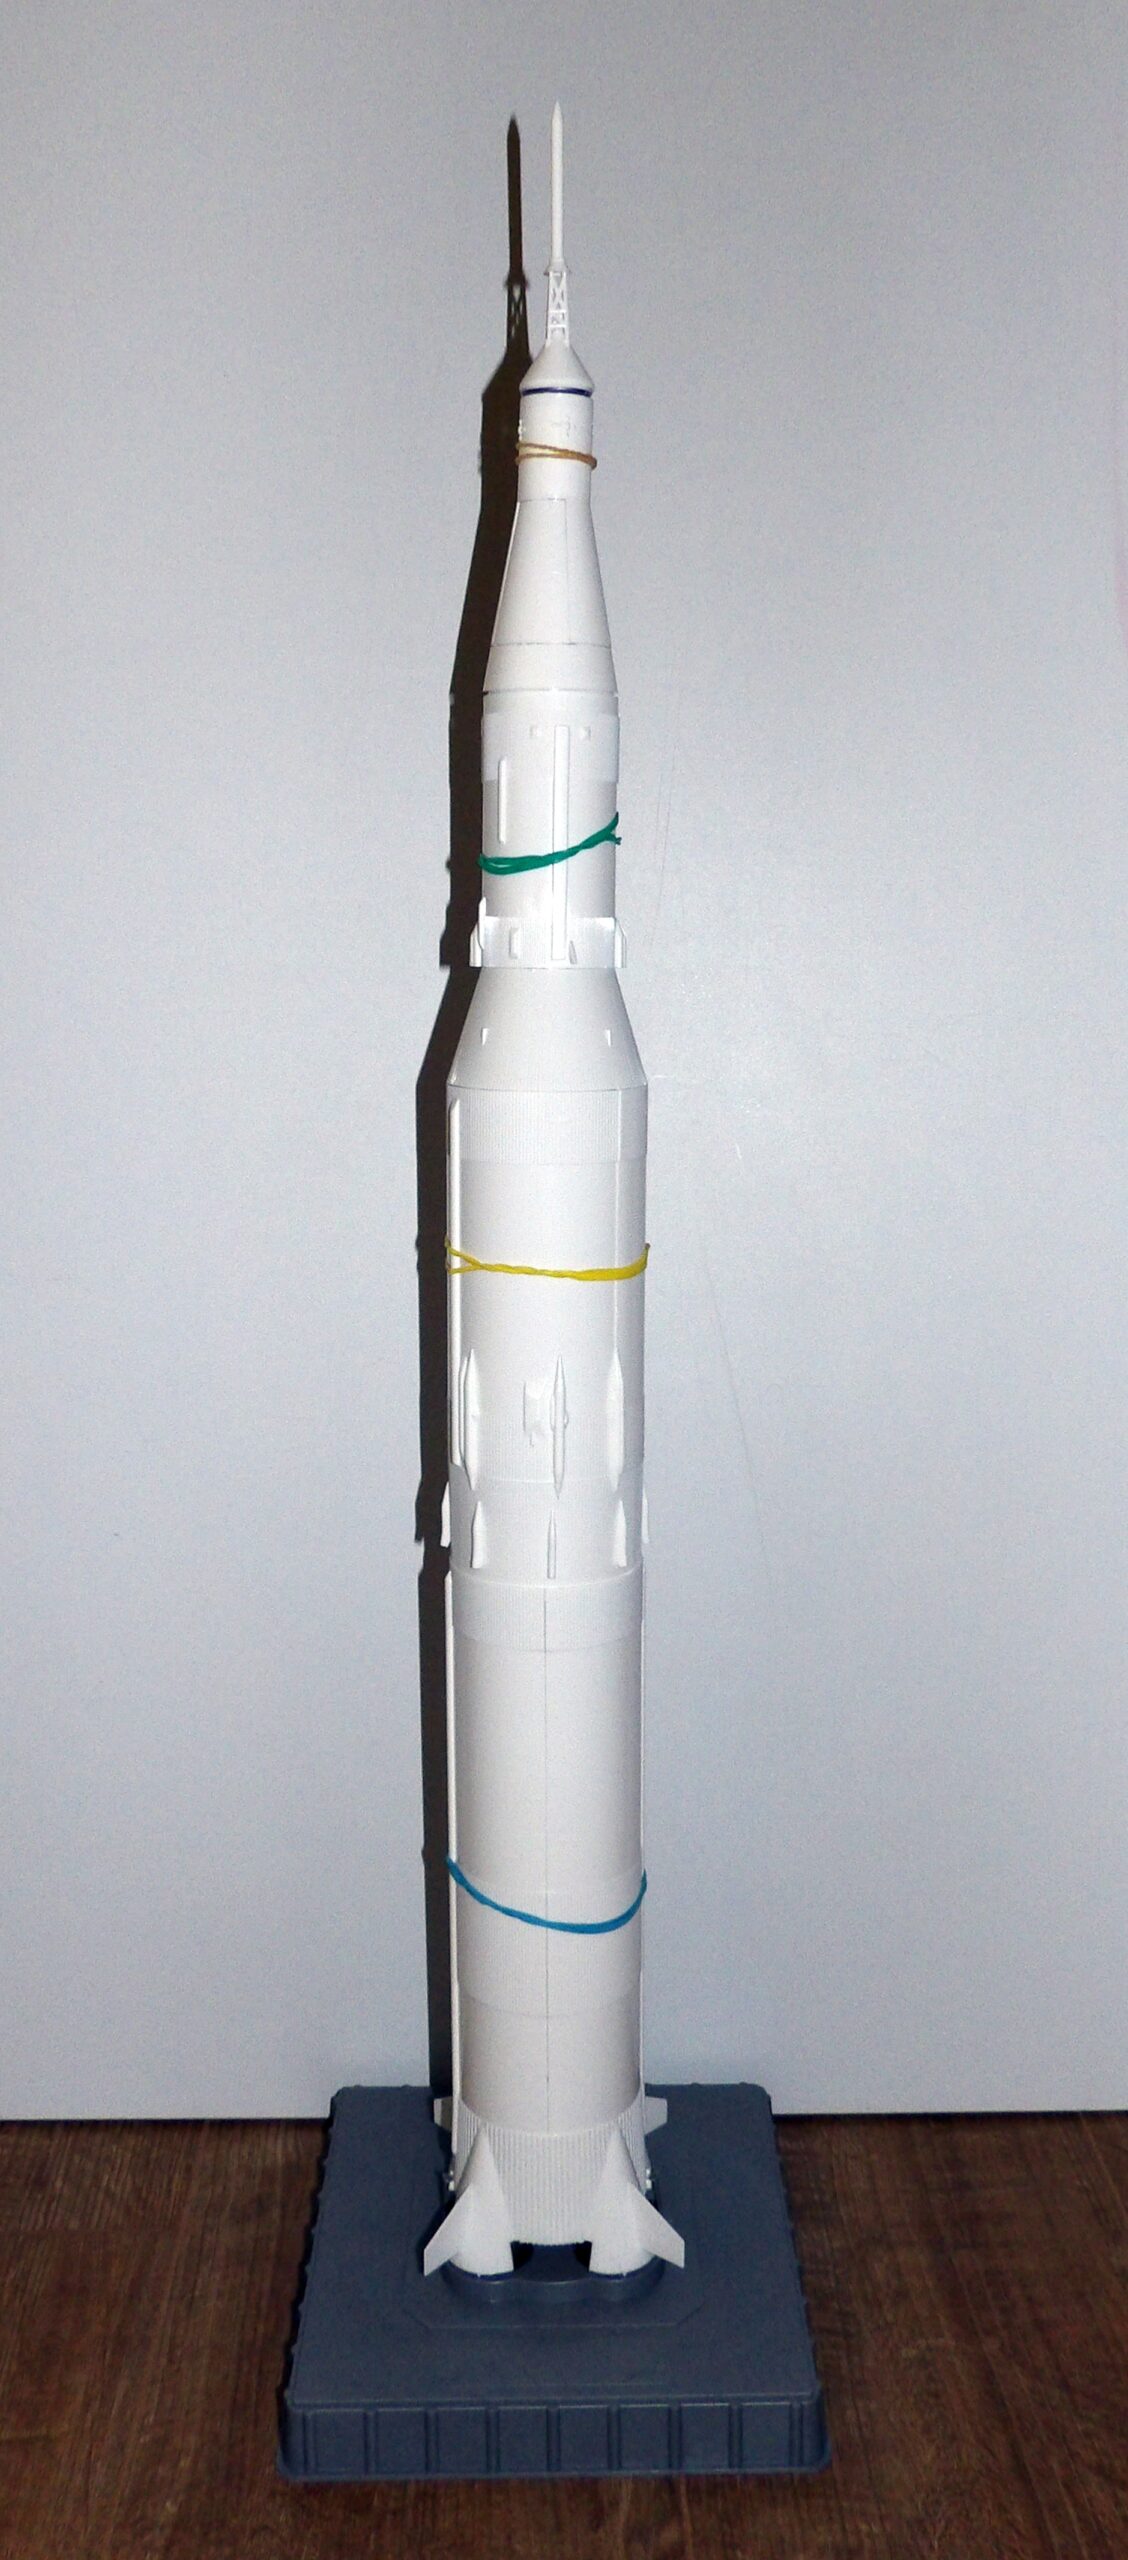
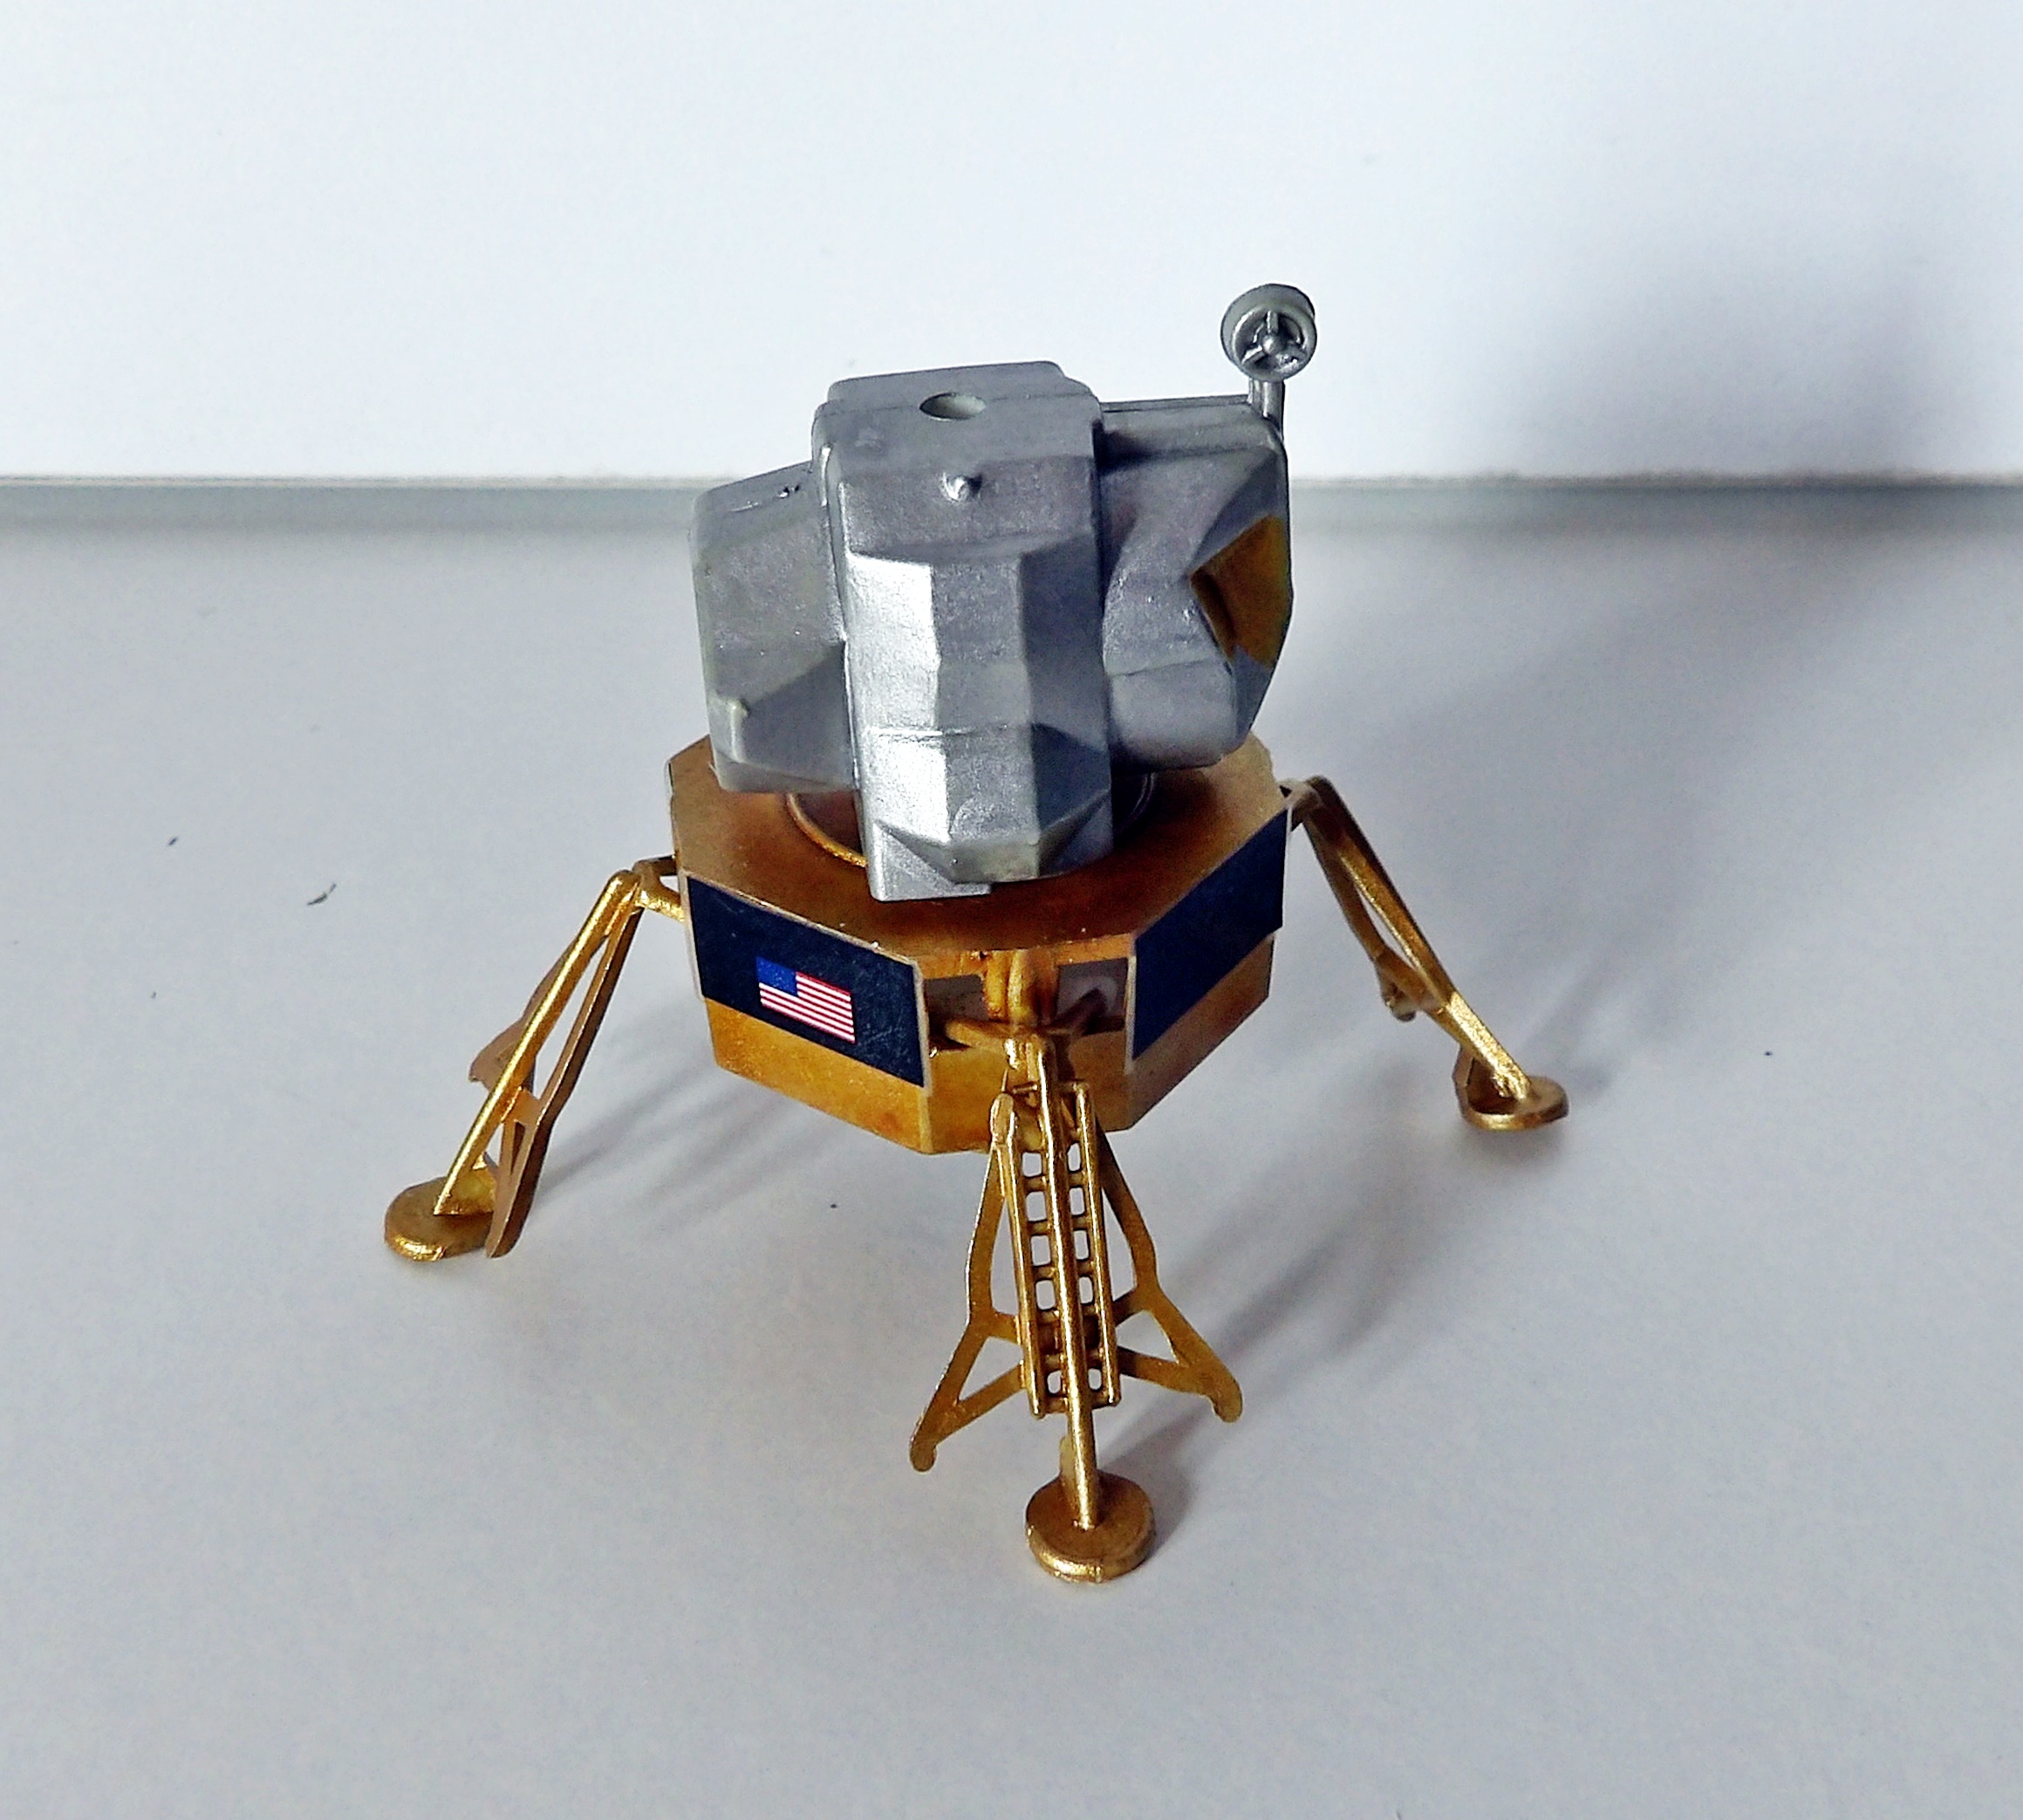
In this project, we have gone big with the Apollo Saturn V Rocket – the space vehicle that transported the first man to the Moon! The real thing was 110m high. We worked on a 1:144 model, which has an impressive height of 77.5cm.
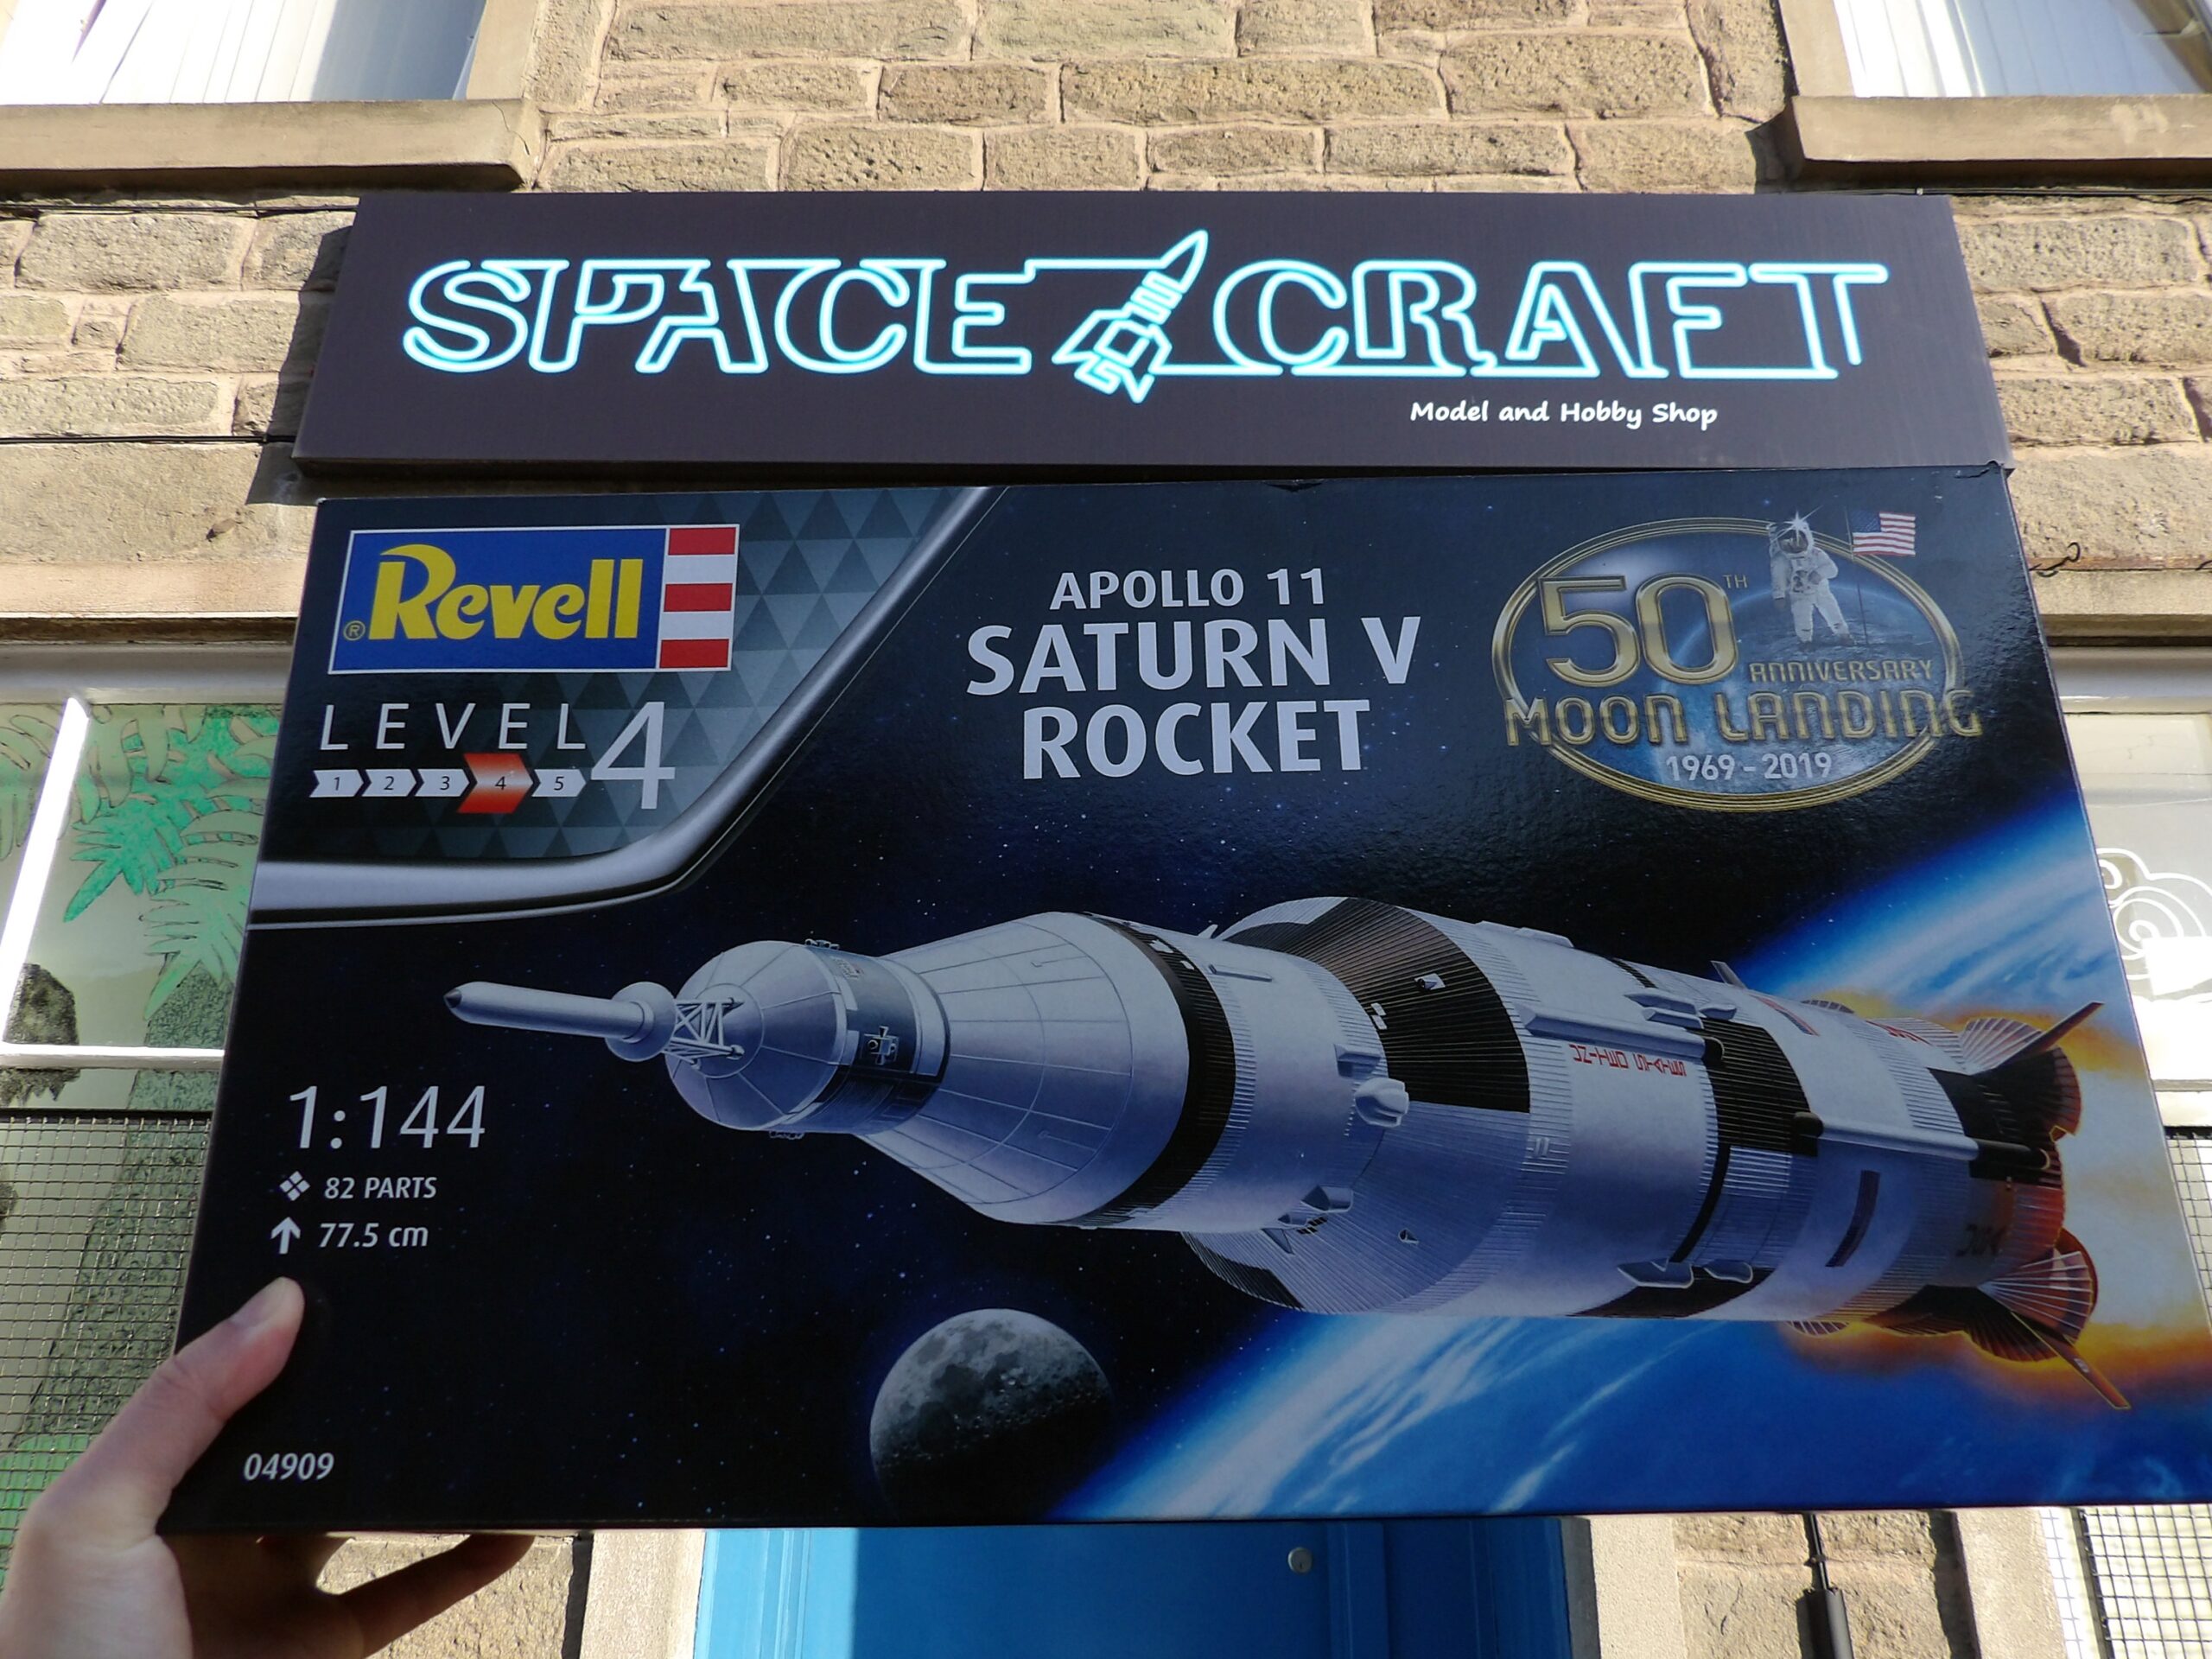


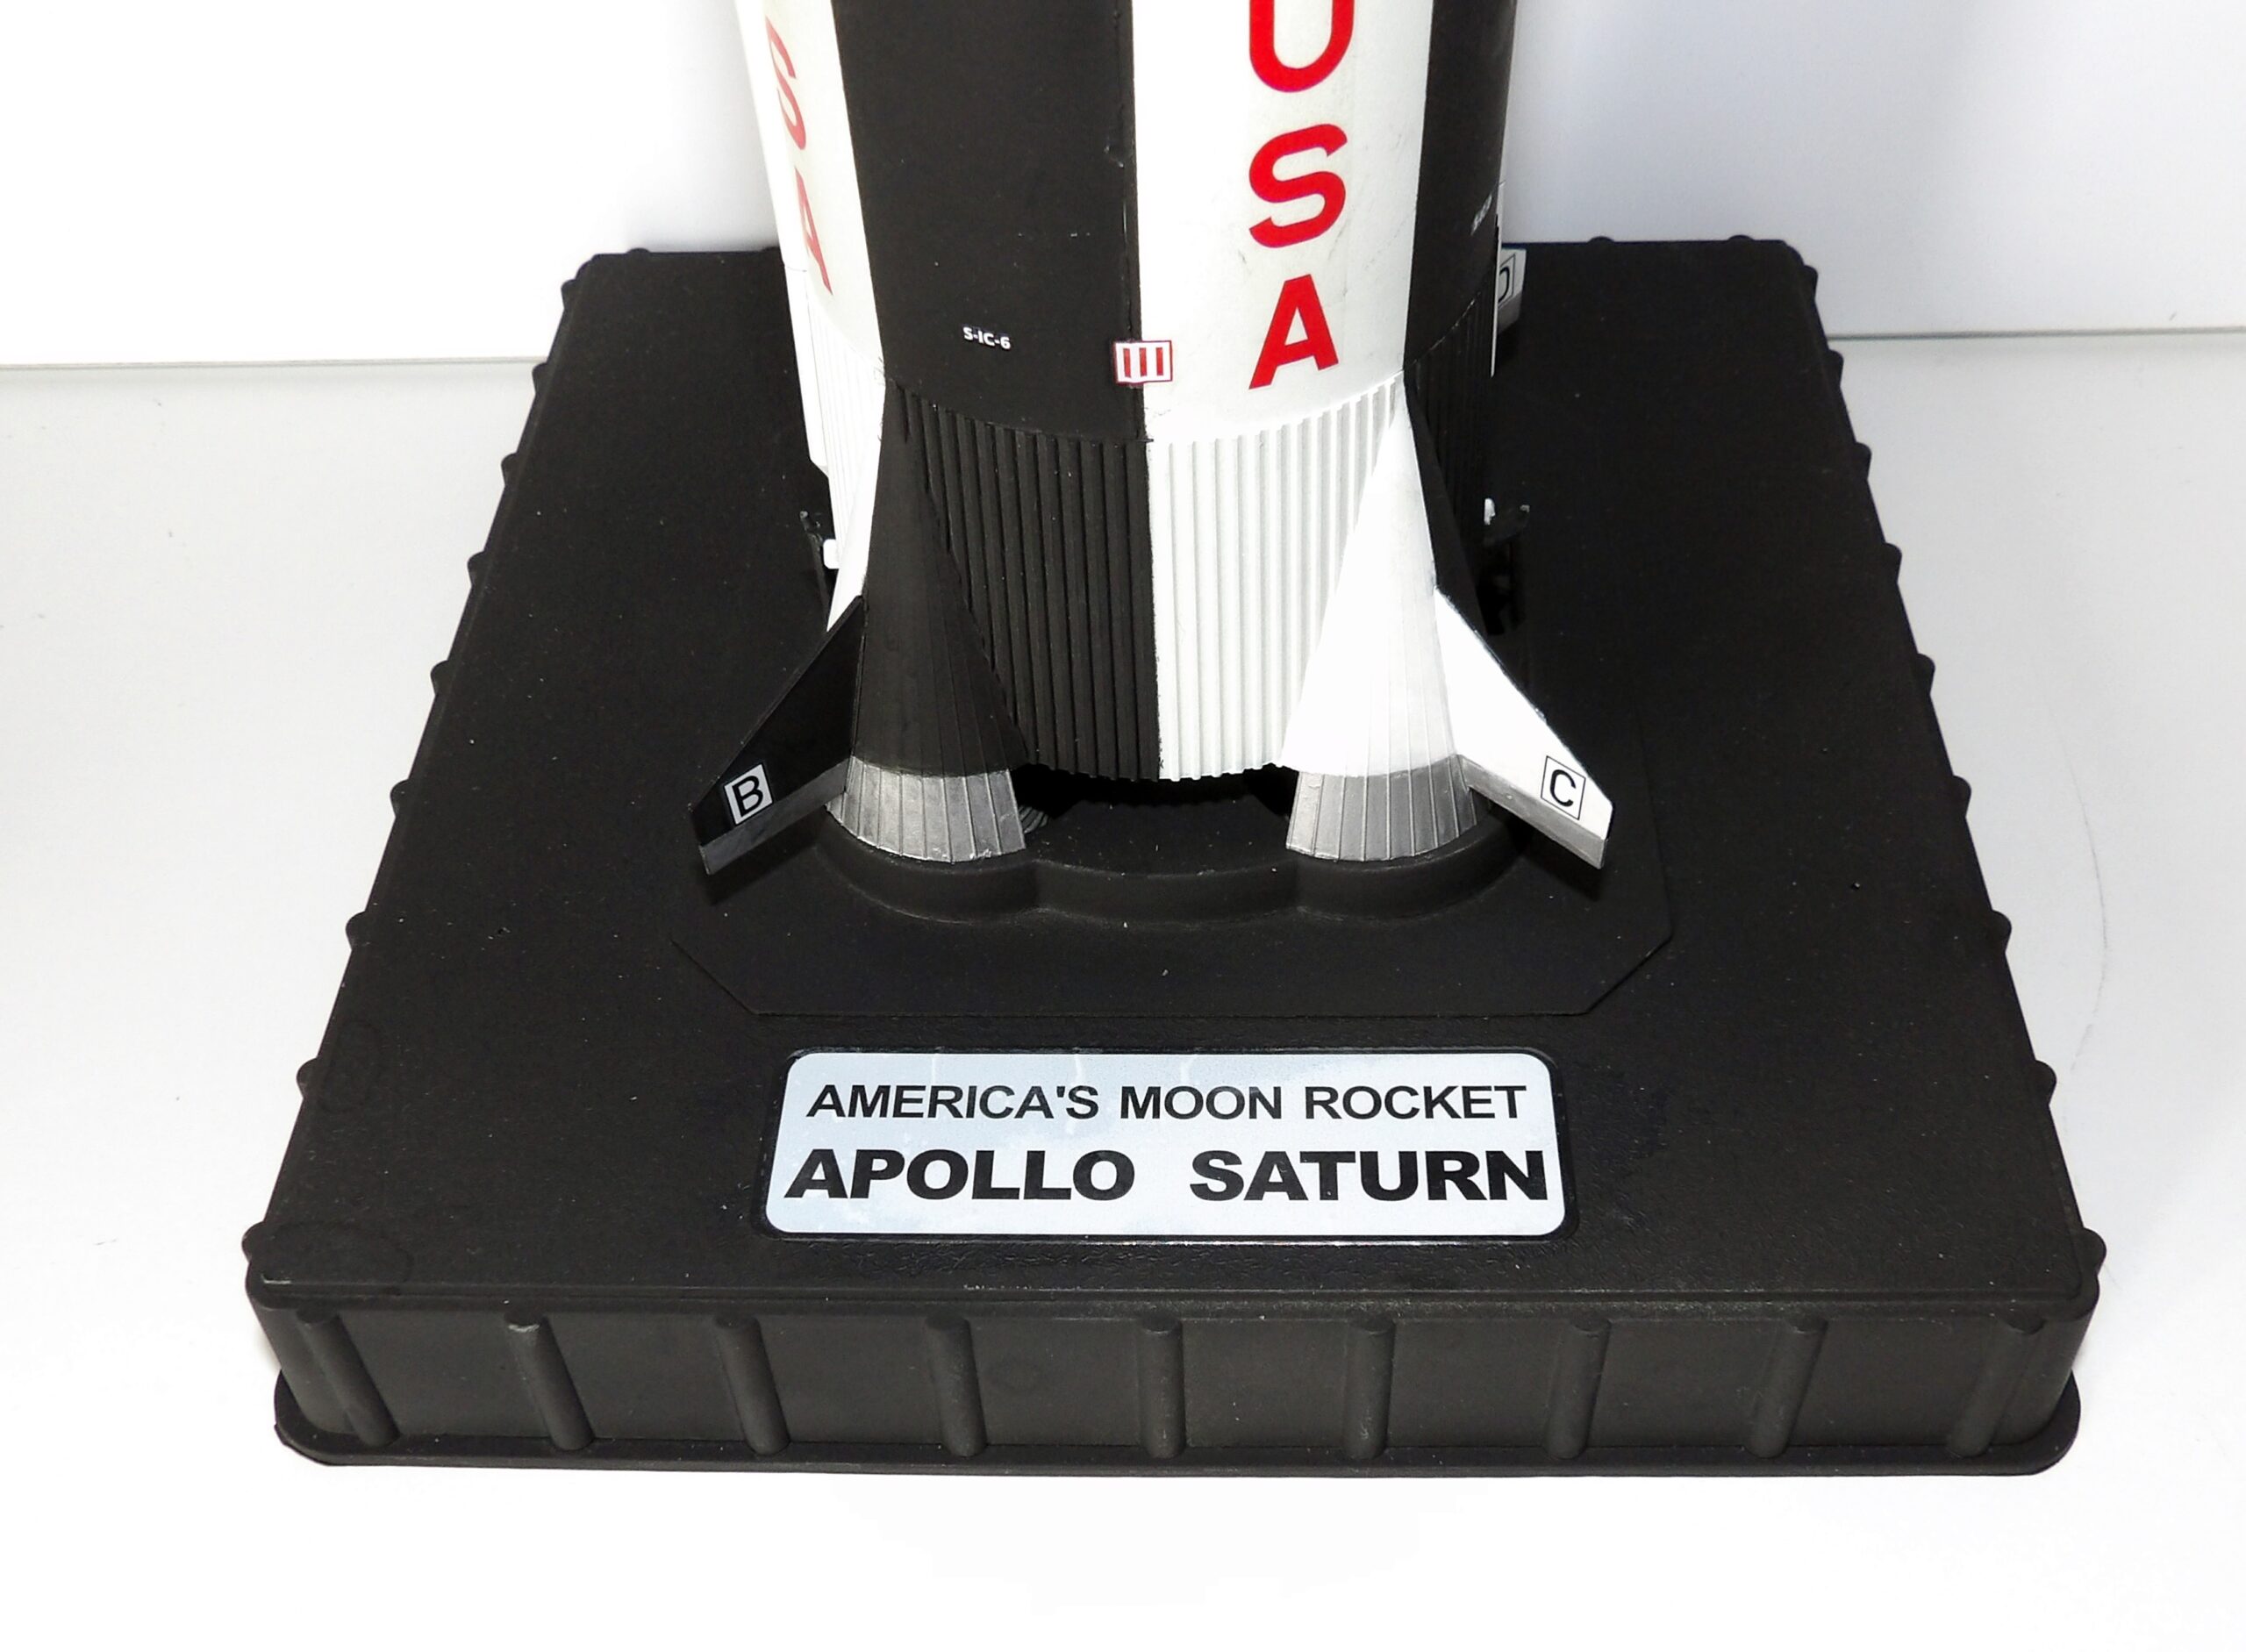

Model and Hobby Shop in Broughty Ferry, Dundee
In this project, we have gone big with the Apollo Saturn V Rocket – the space vehicle that transported the first man to the Moon! The real thing was 110m high. We worked on a 1:144 model, which has an impressive height of 77.5cm.
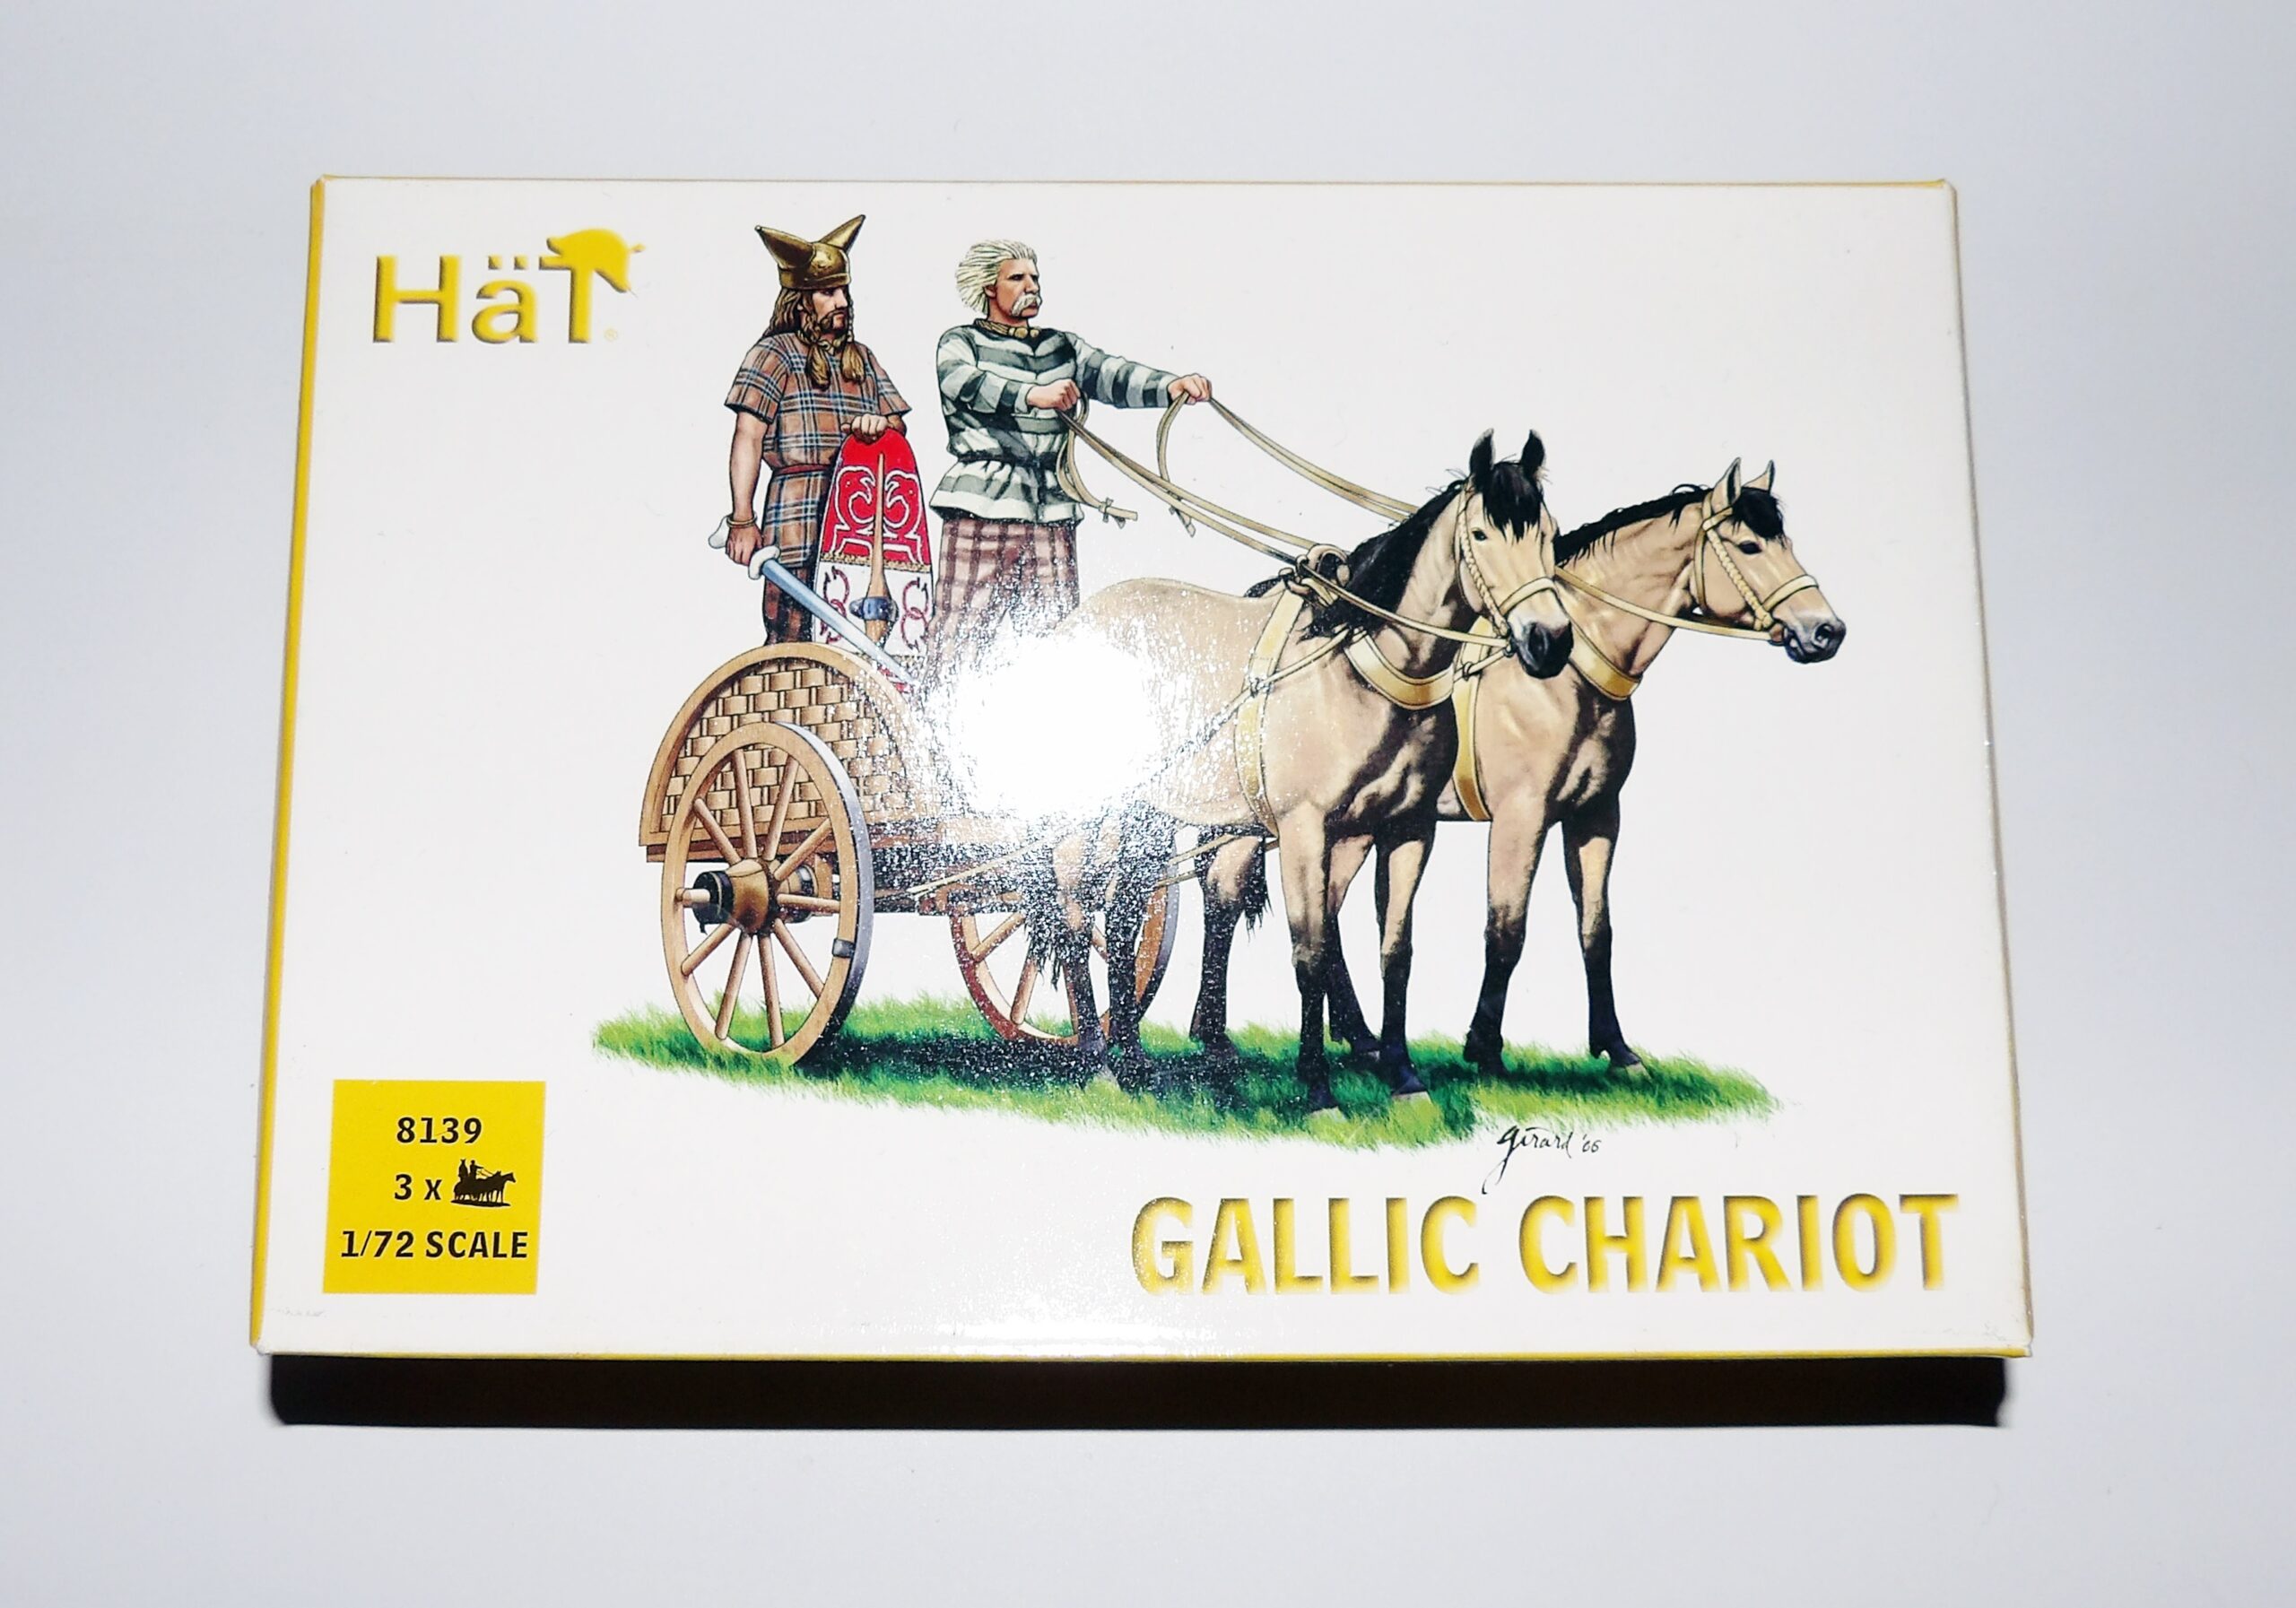
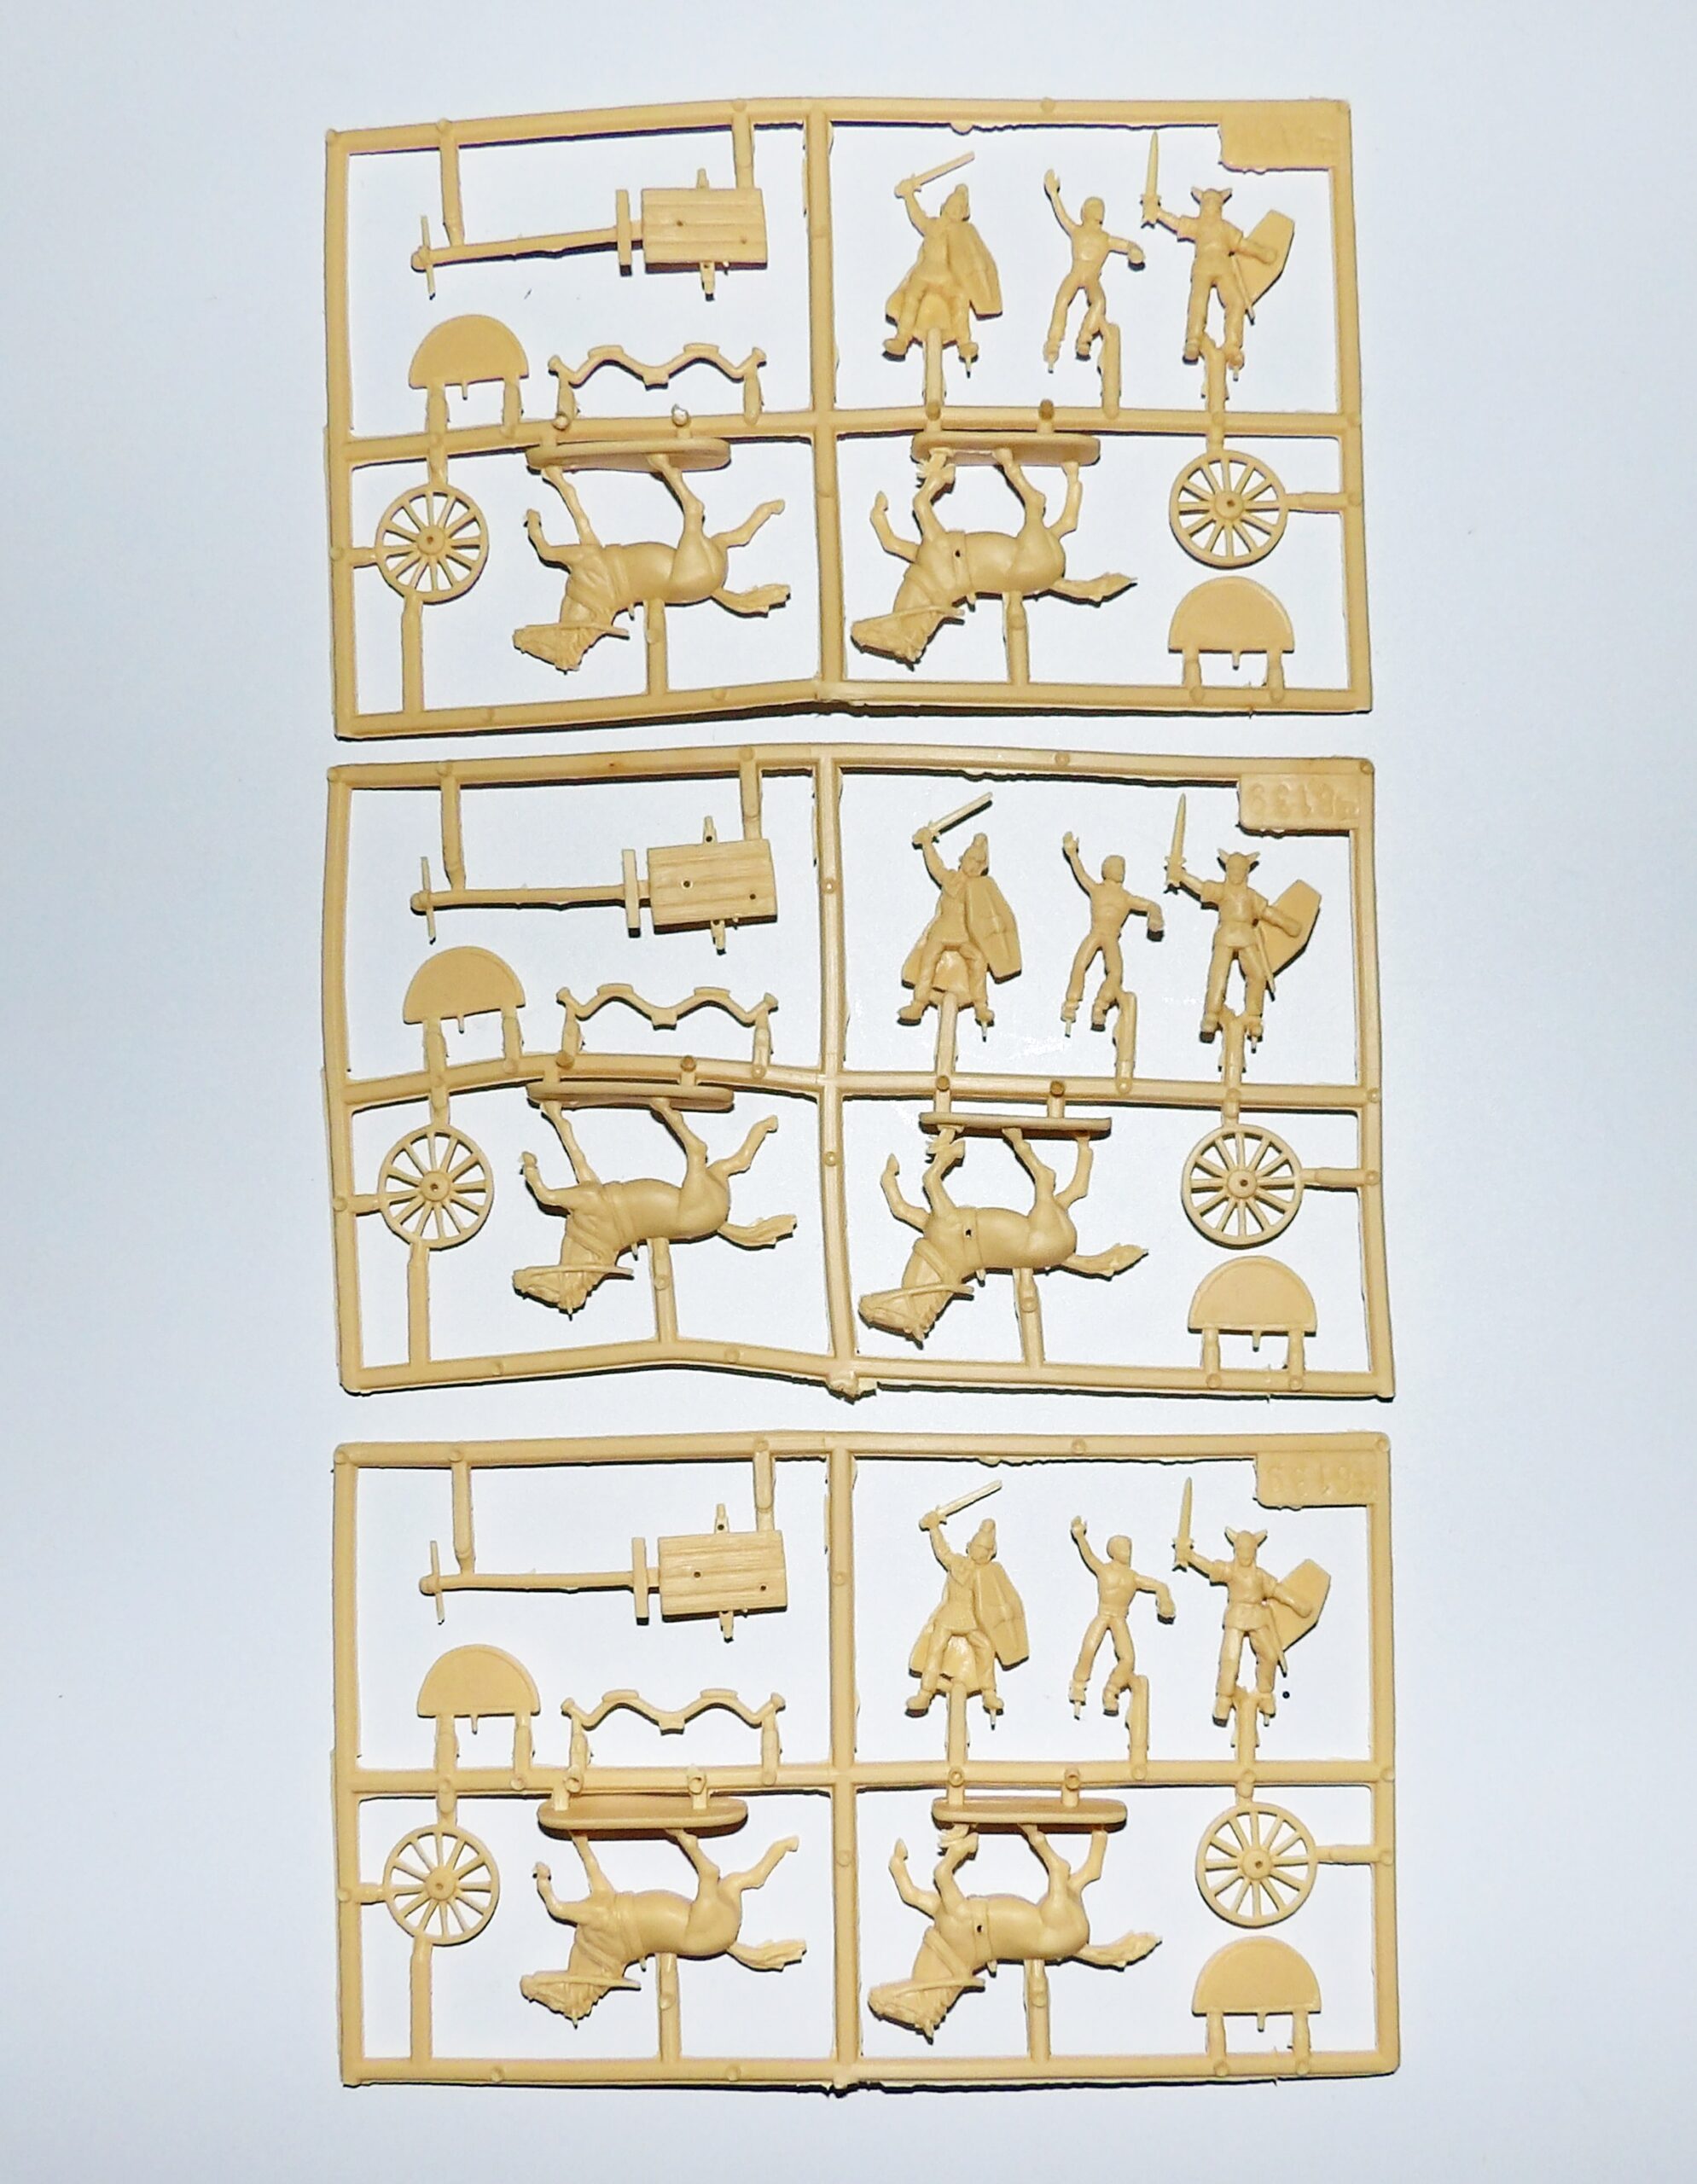
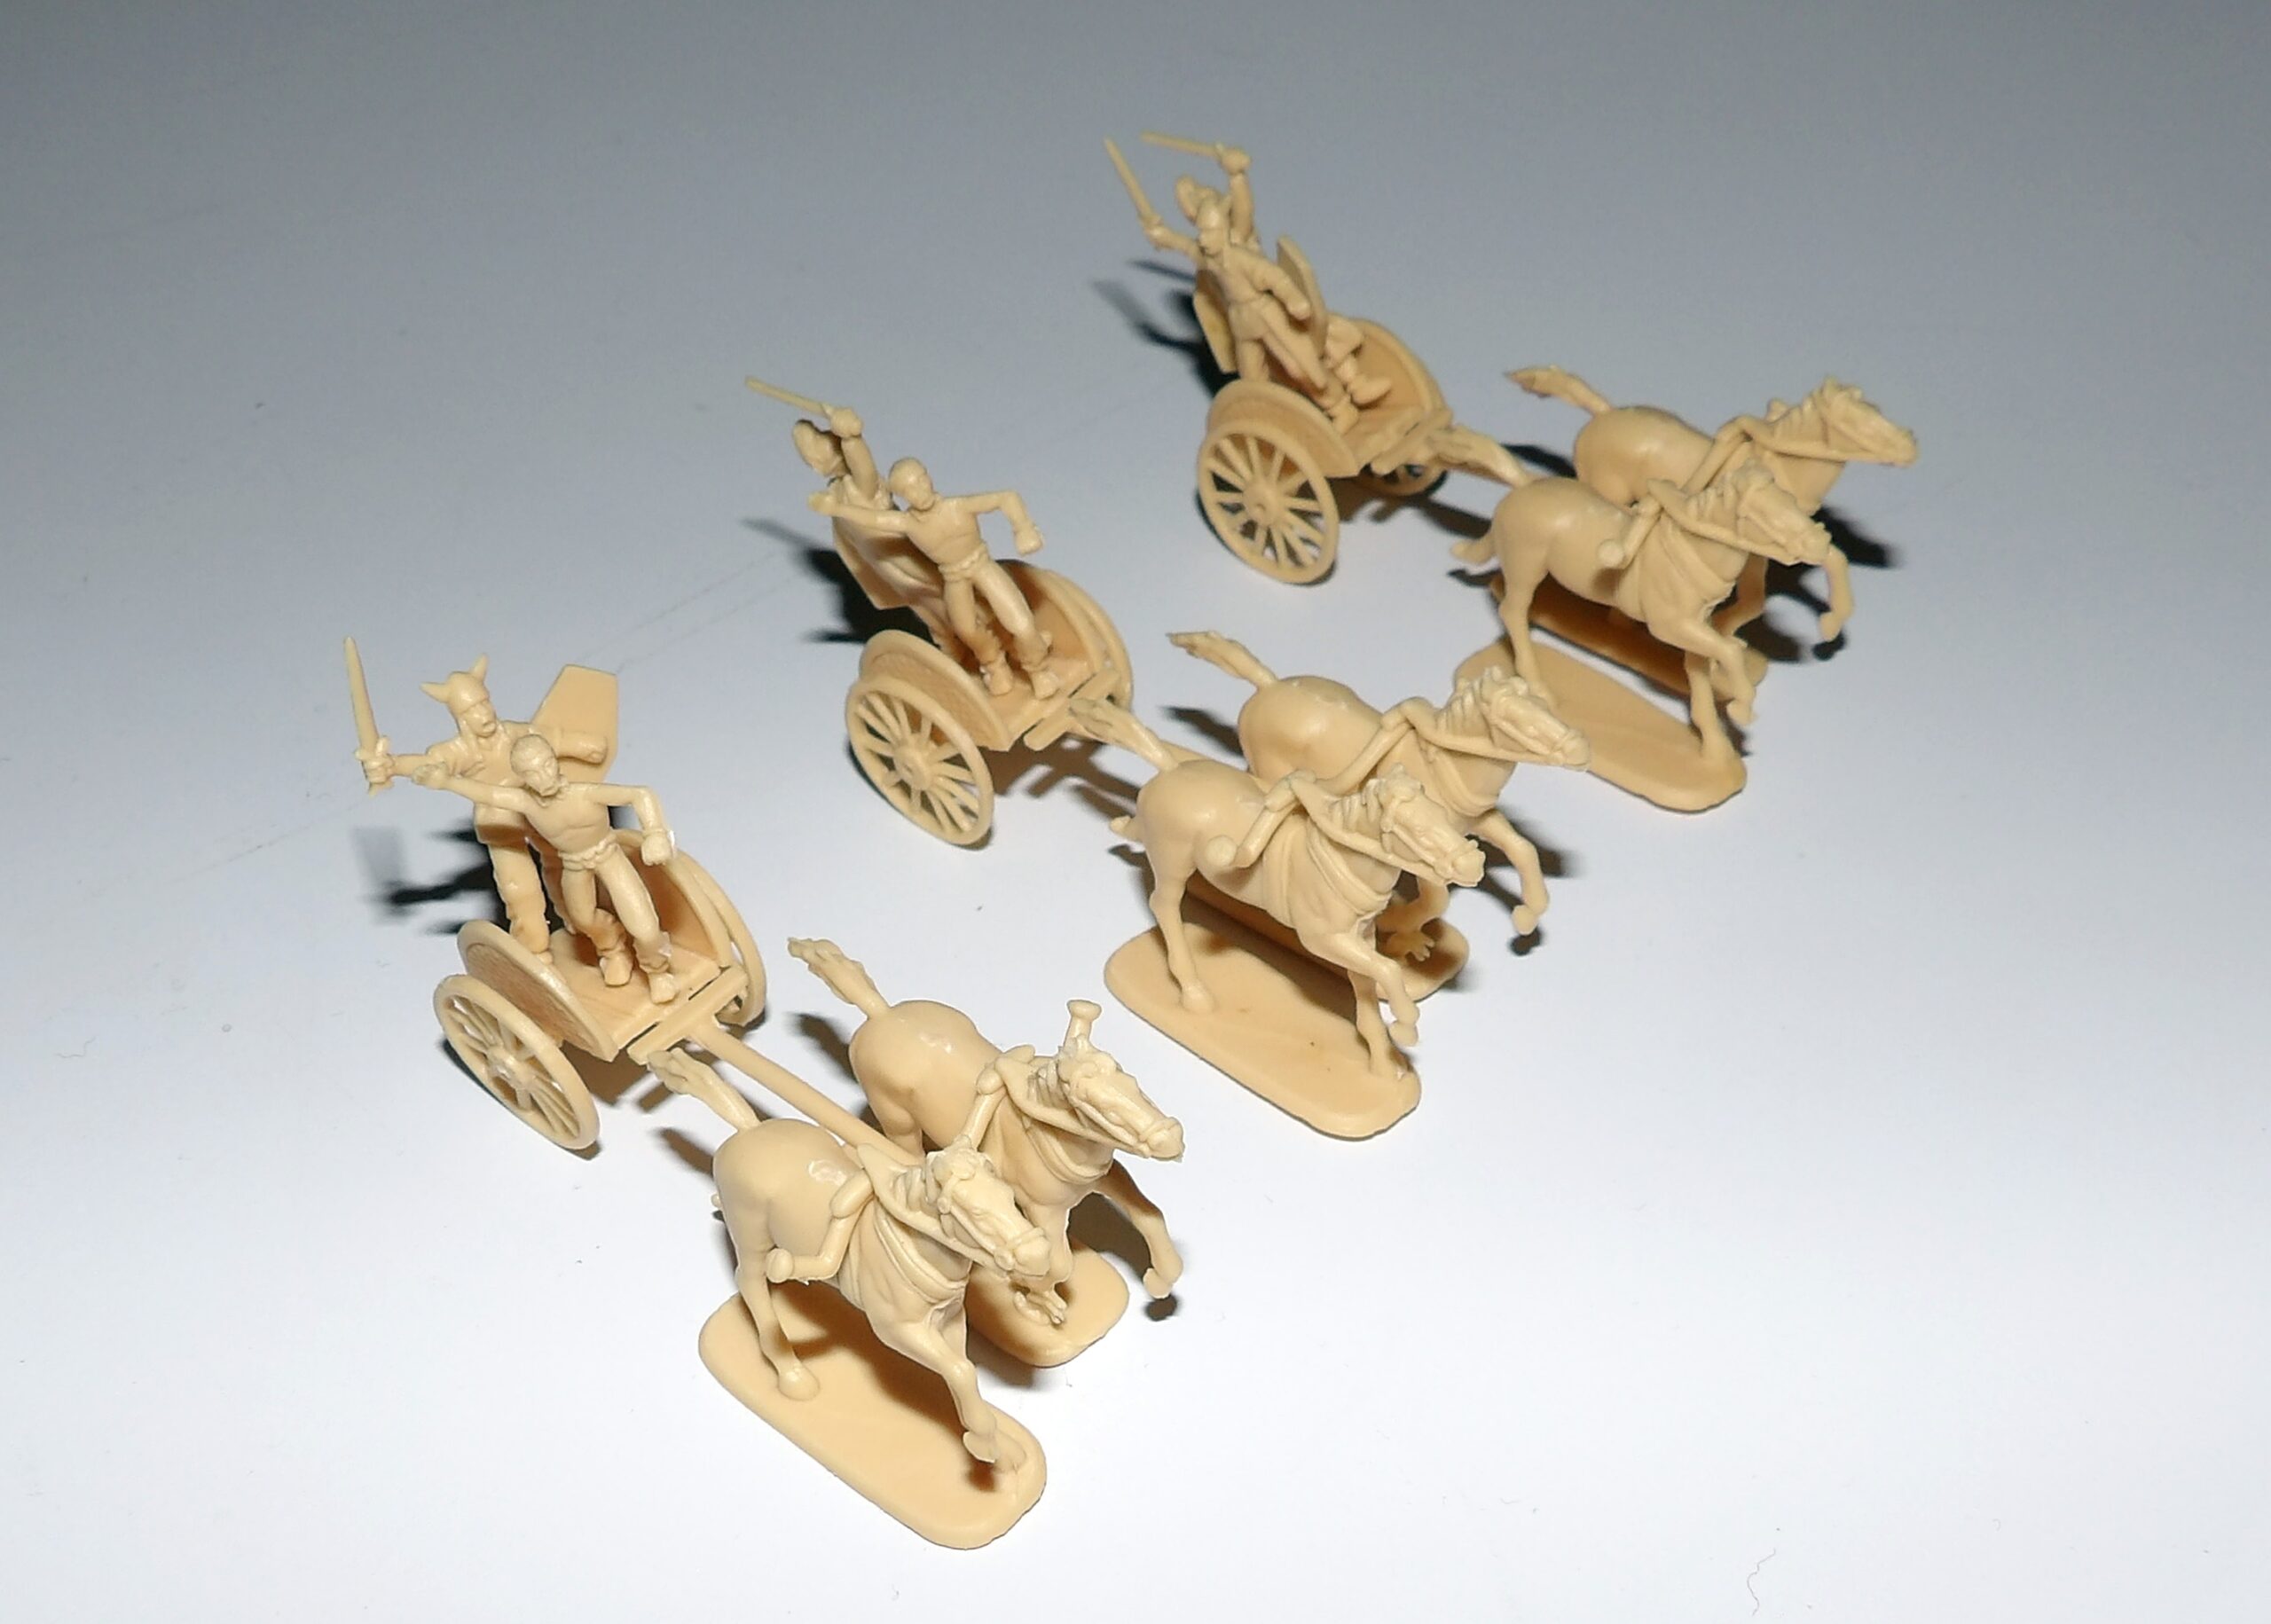
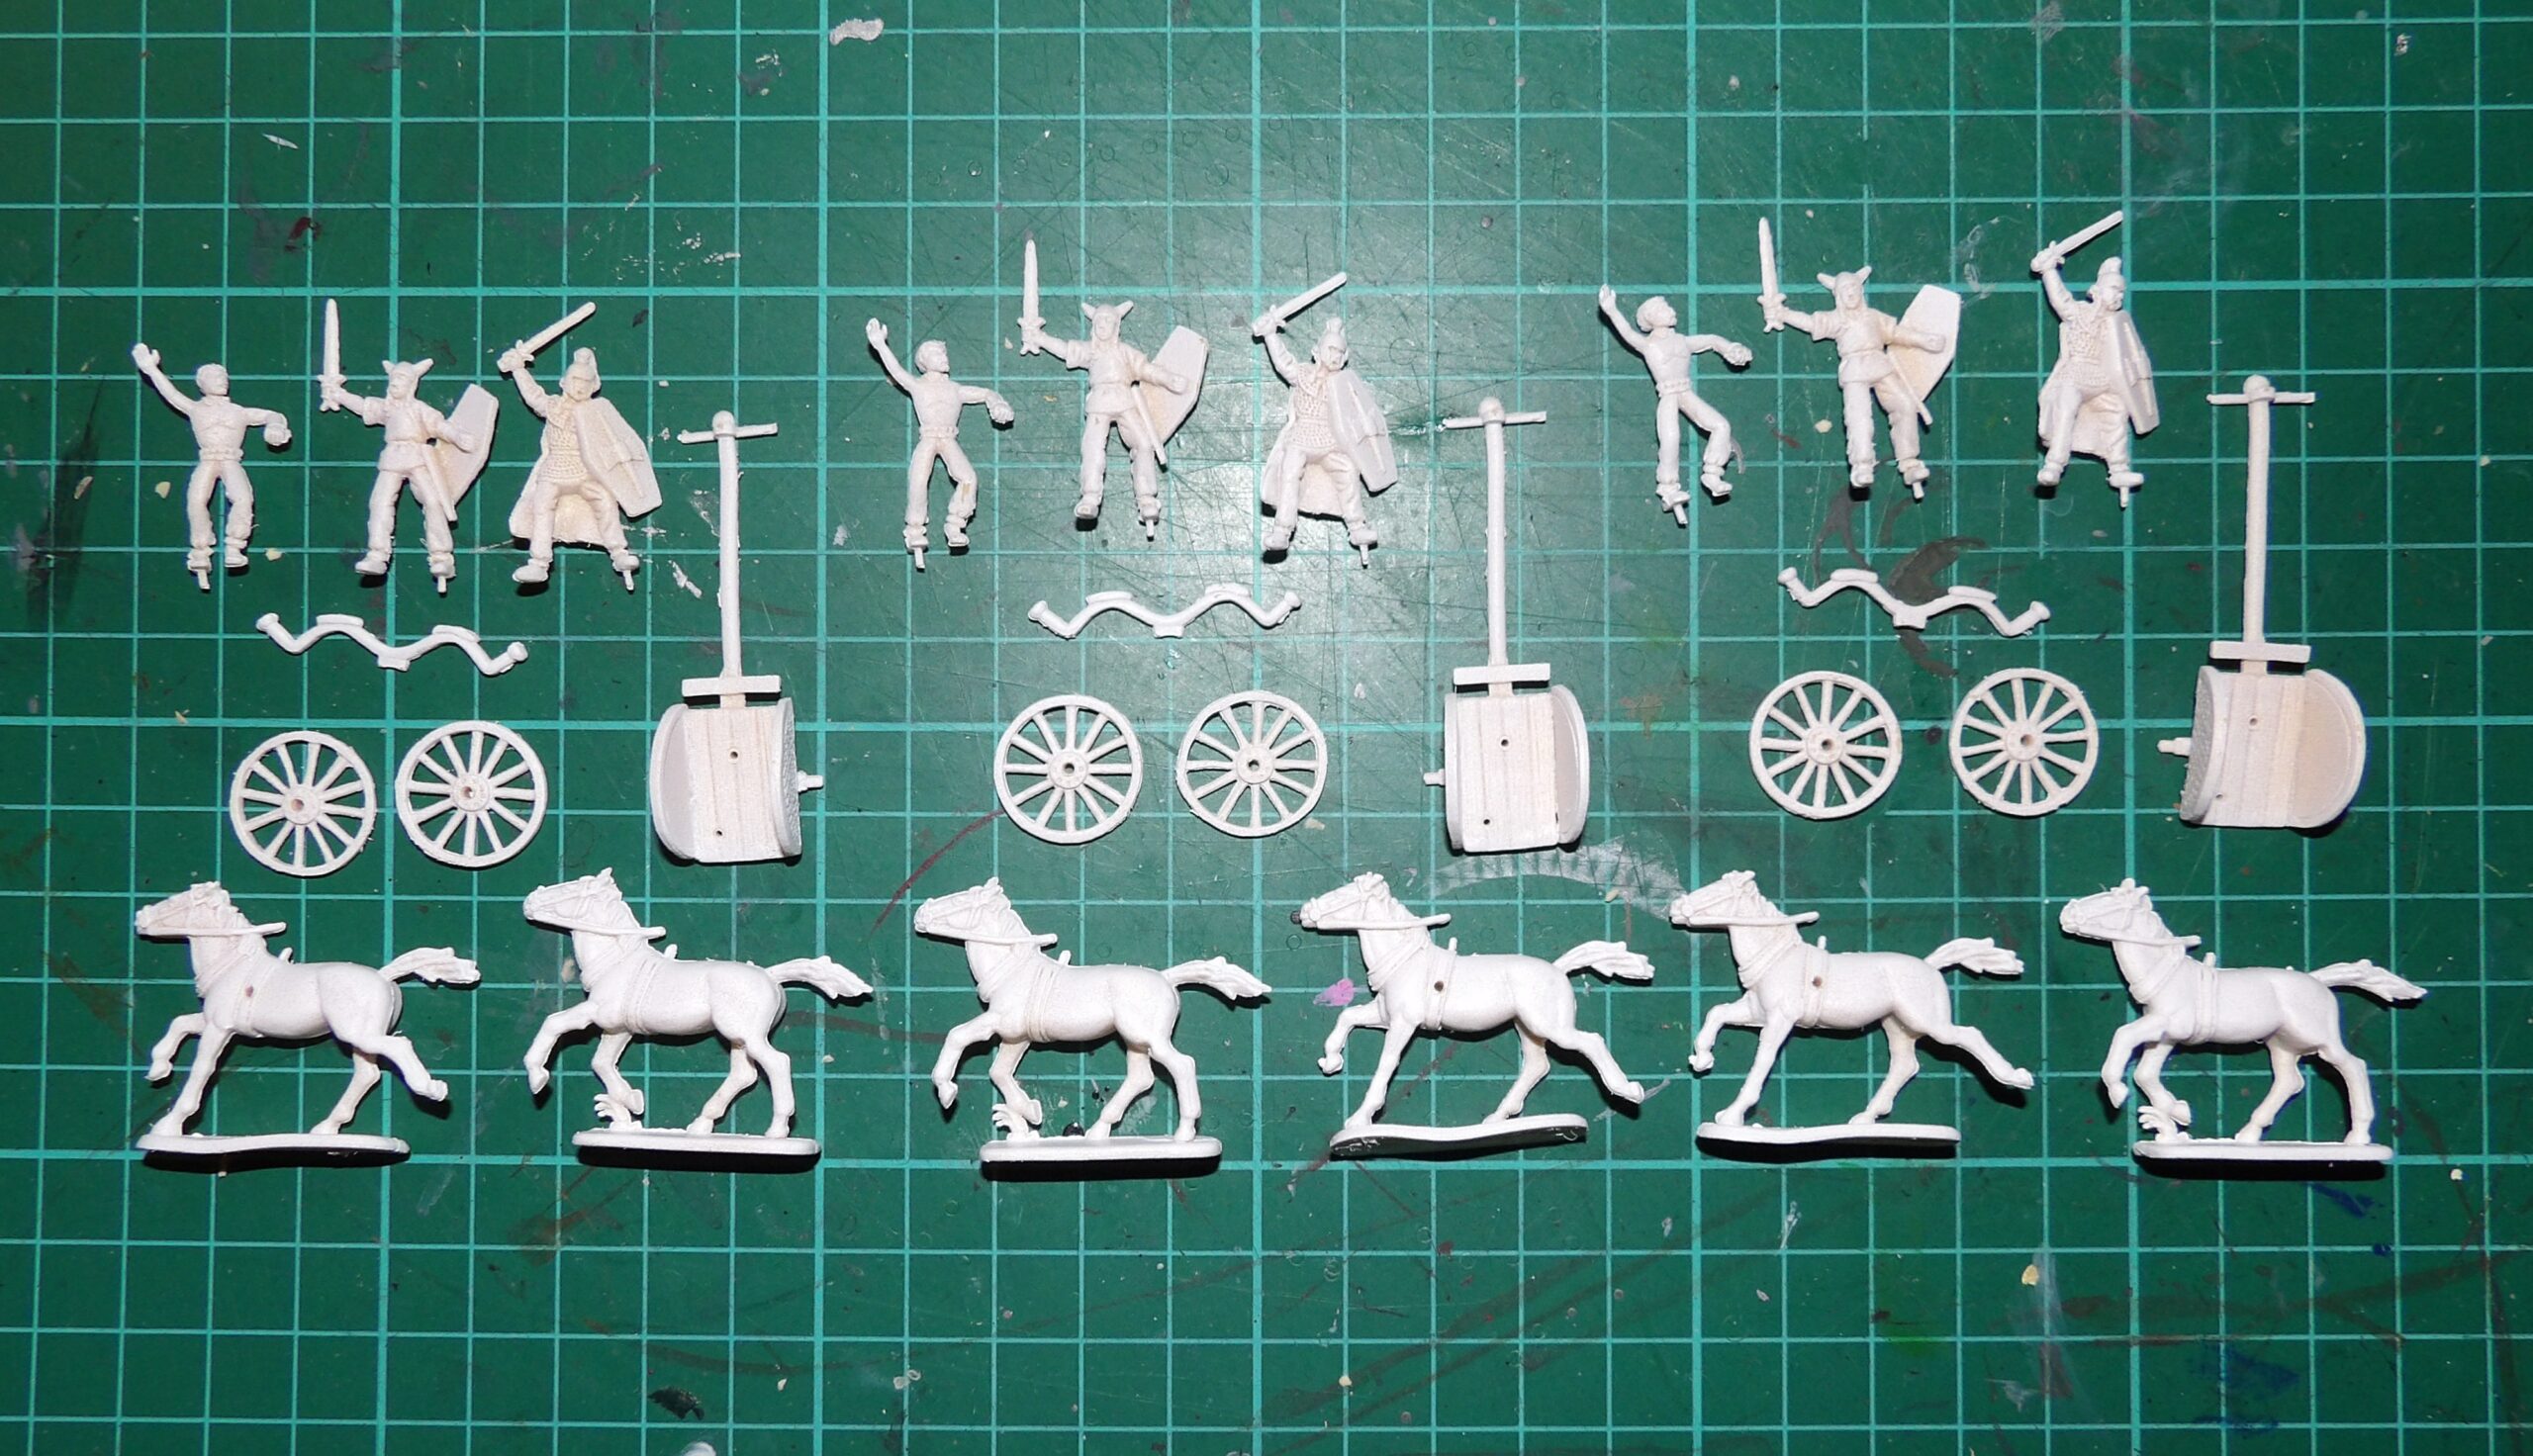
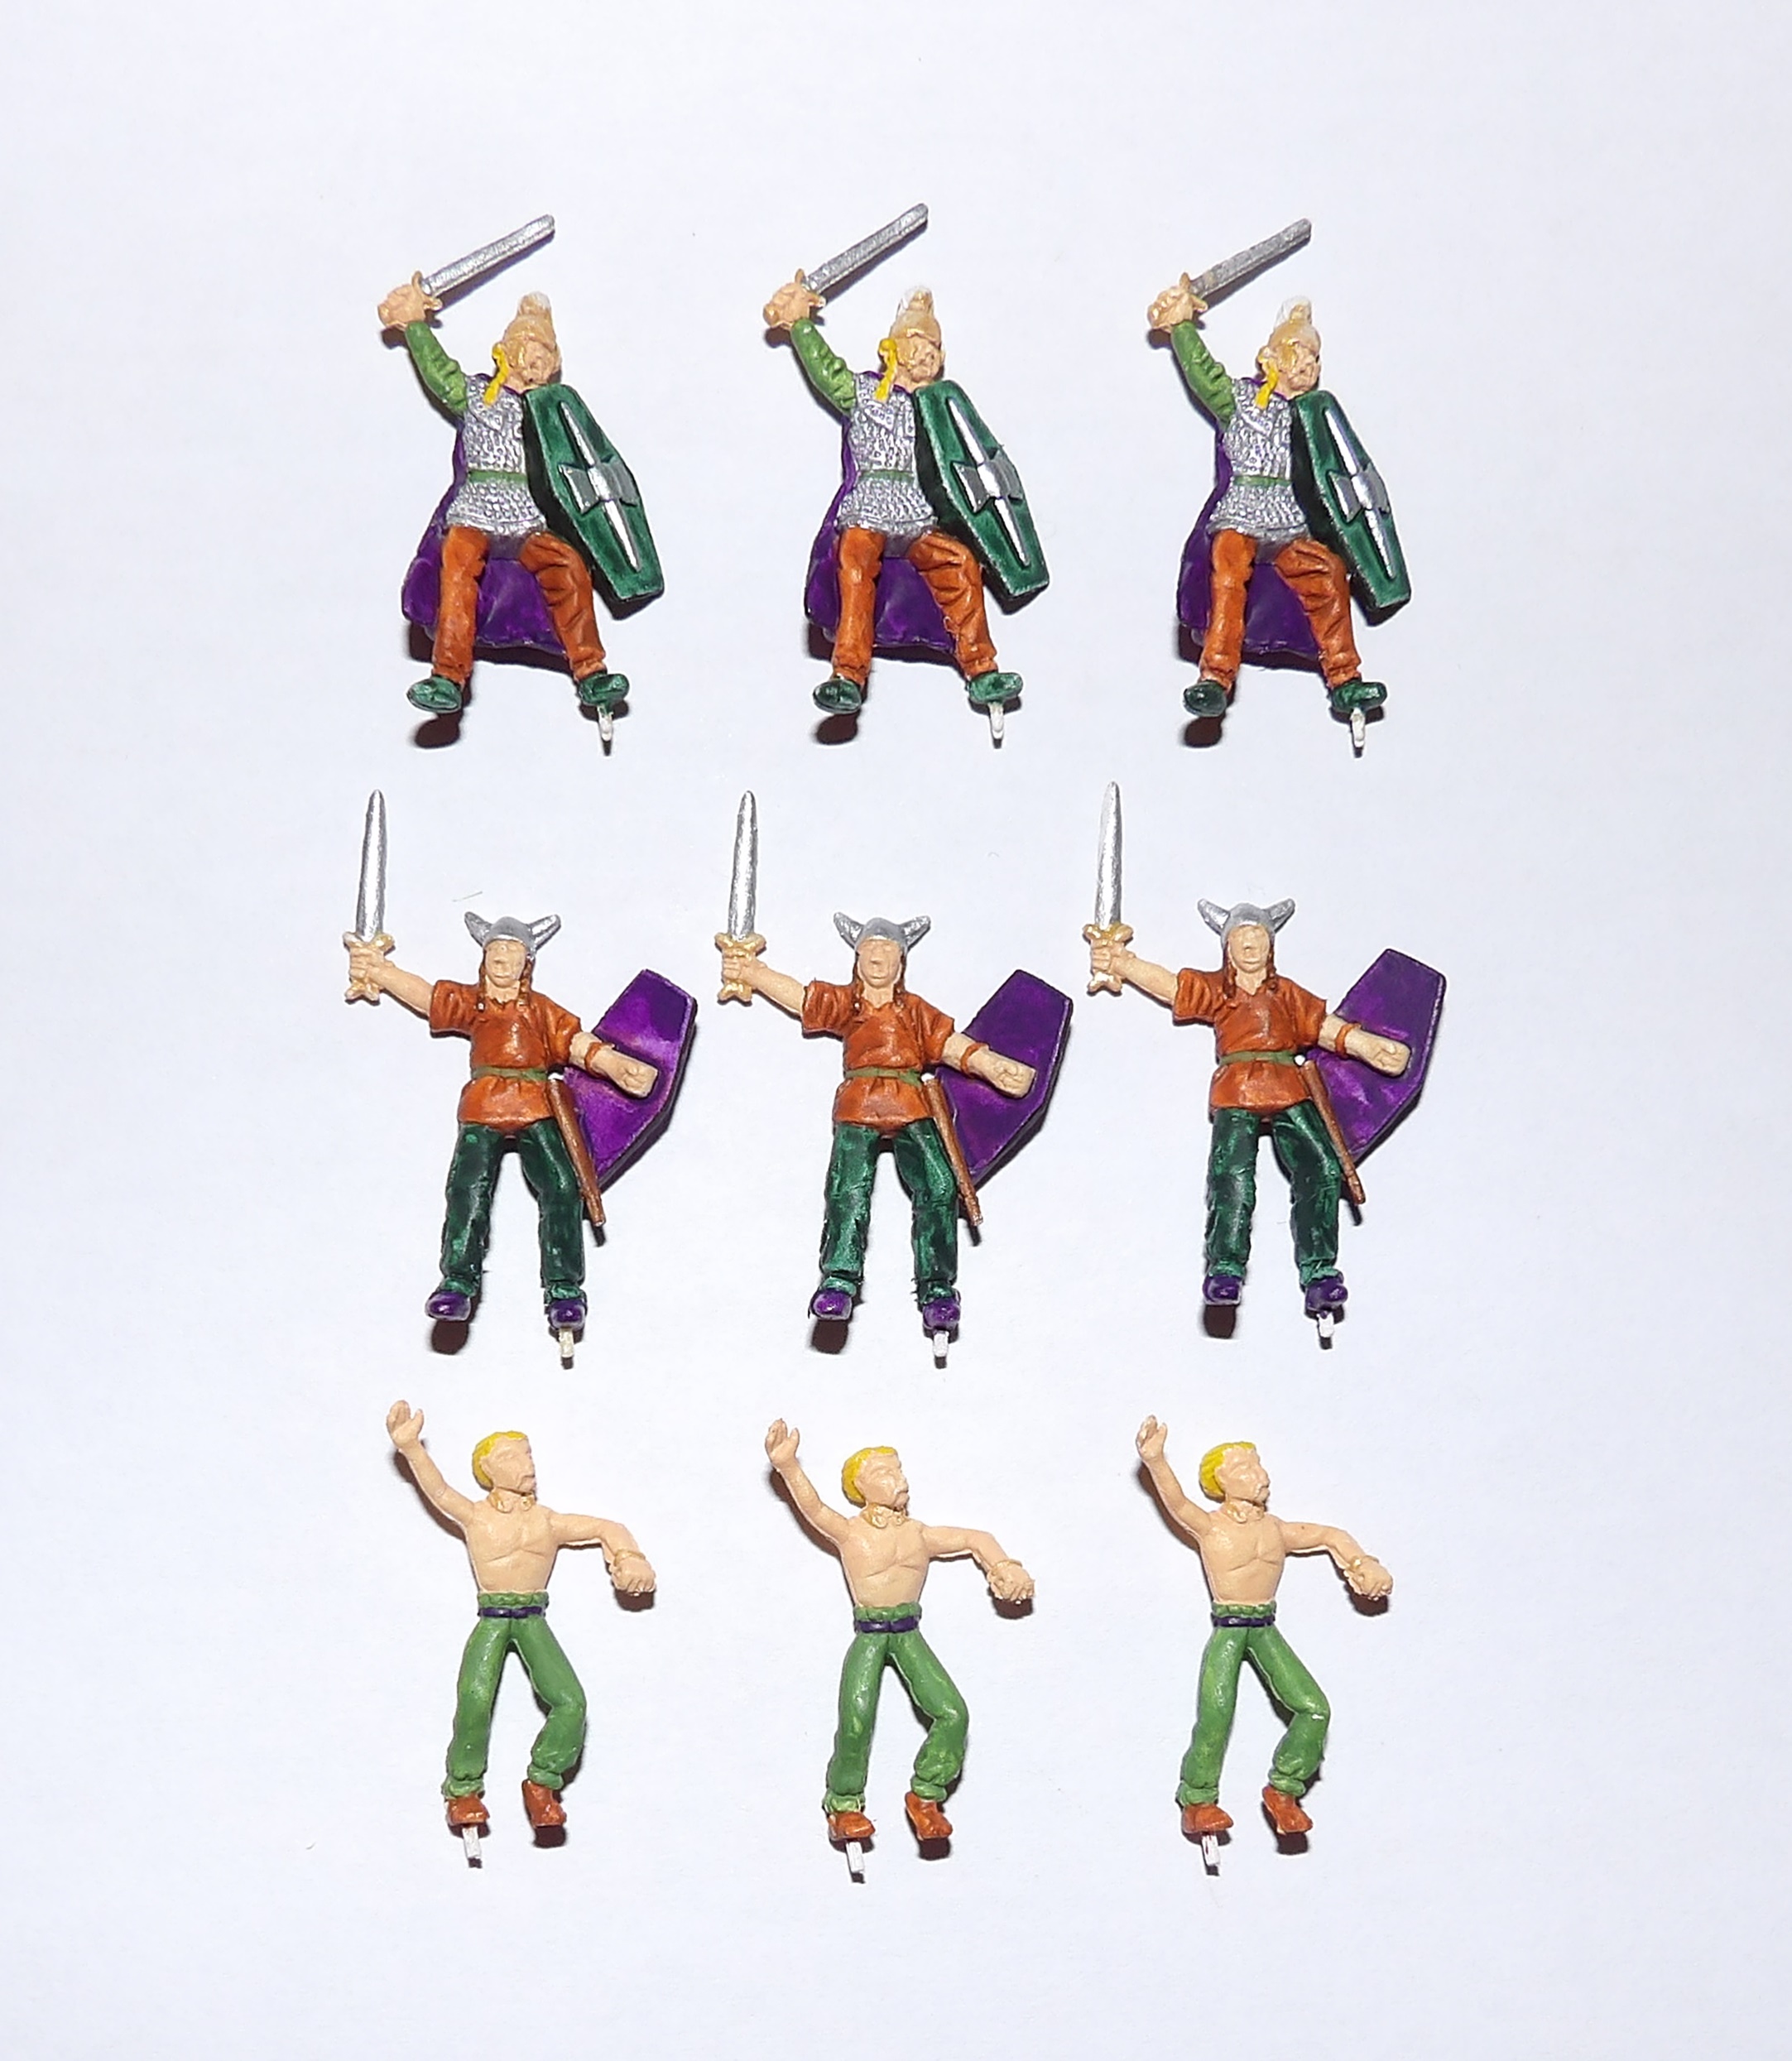
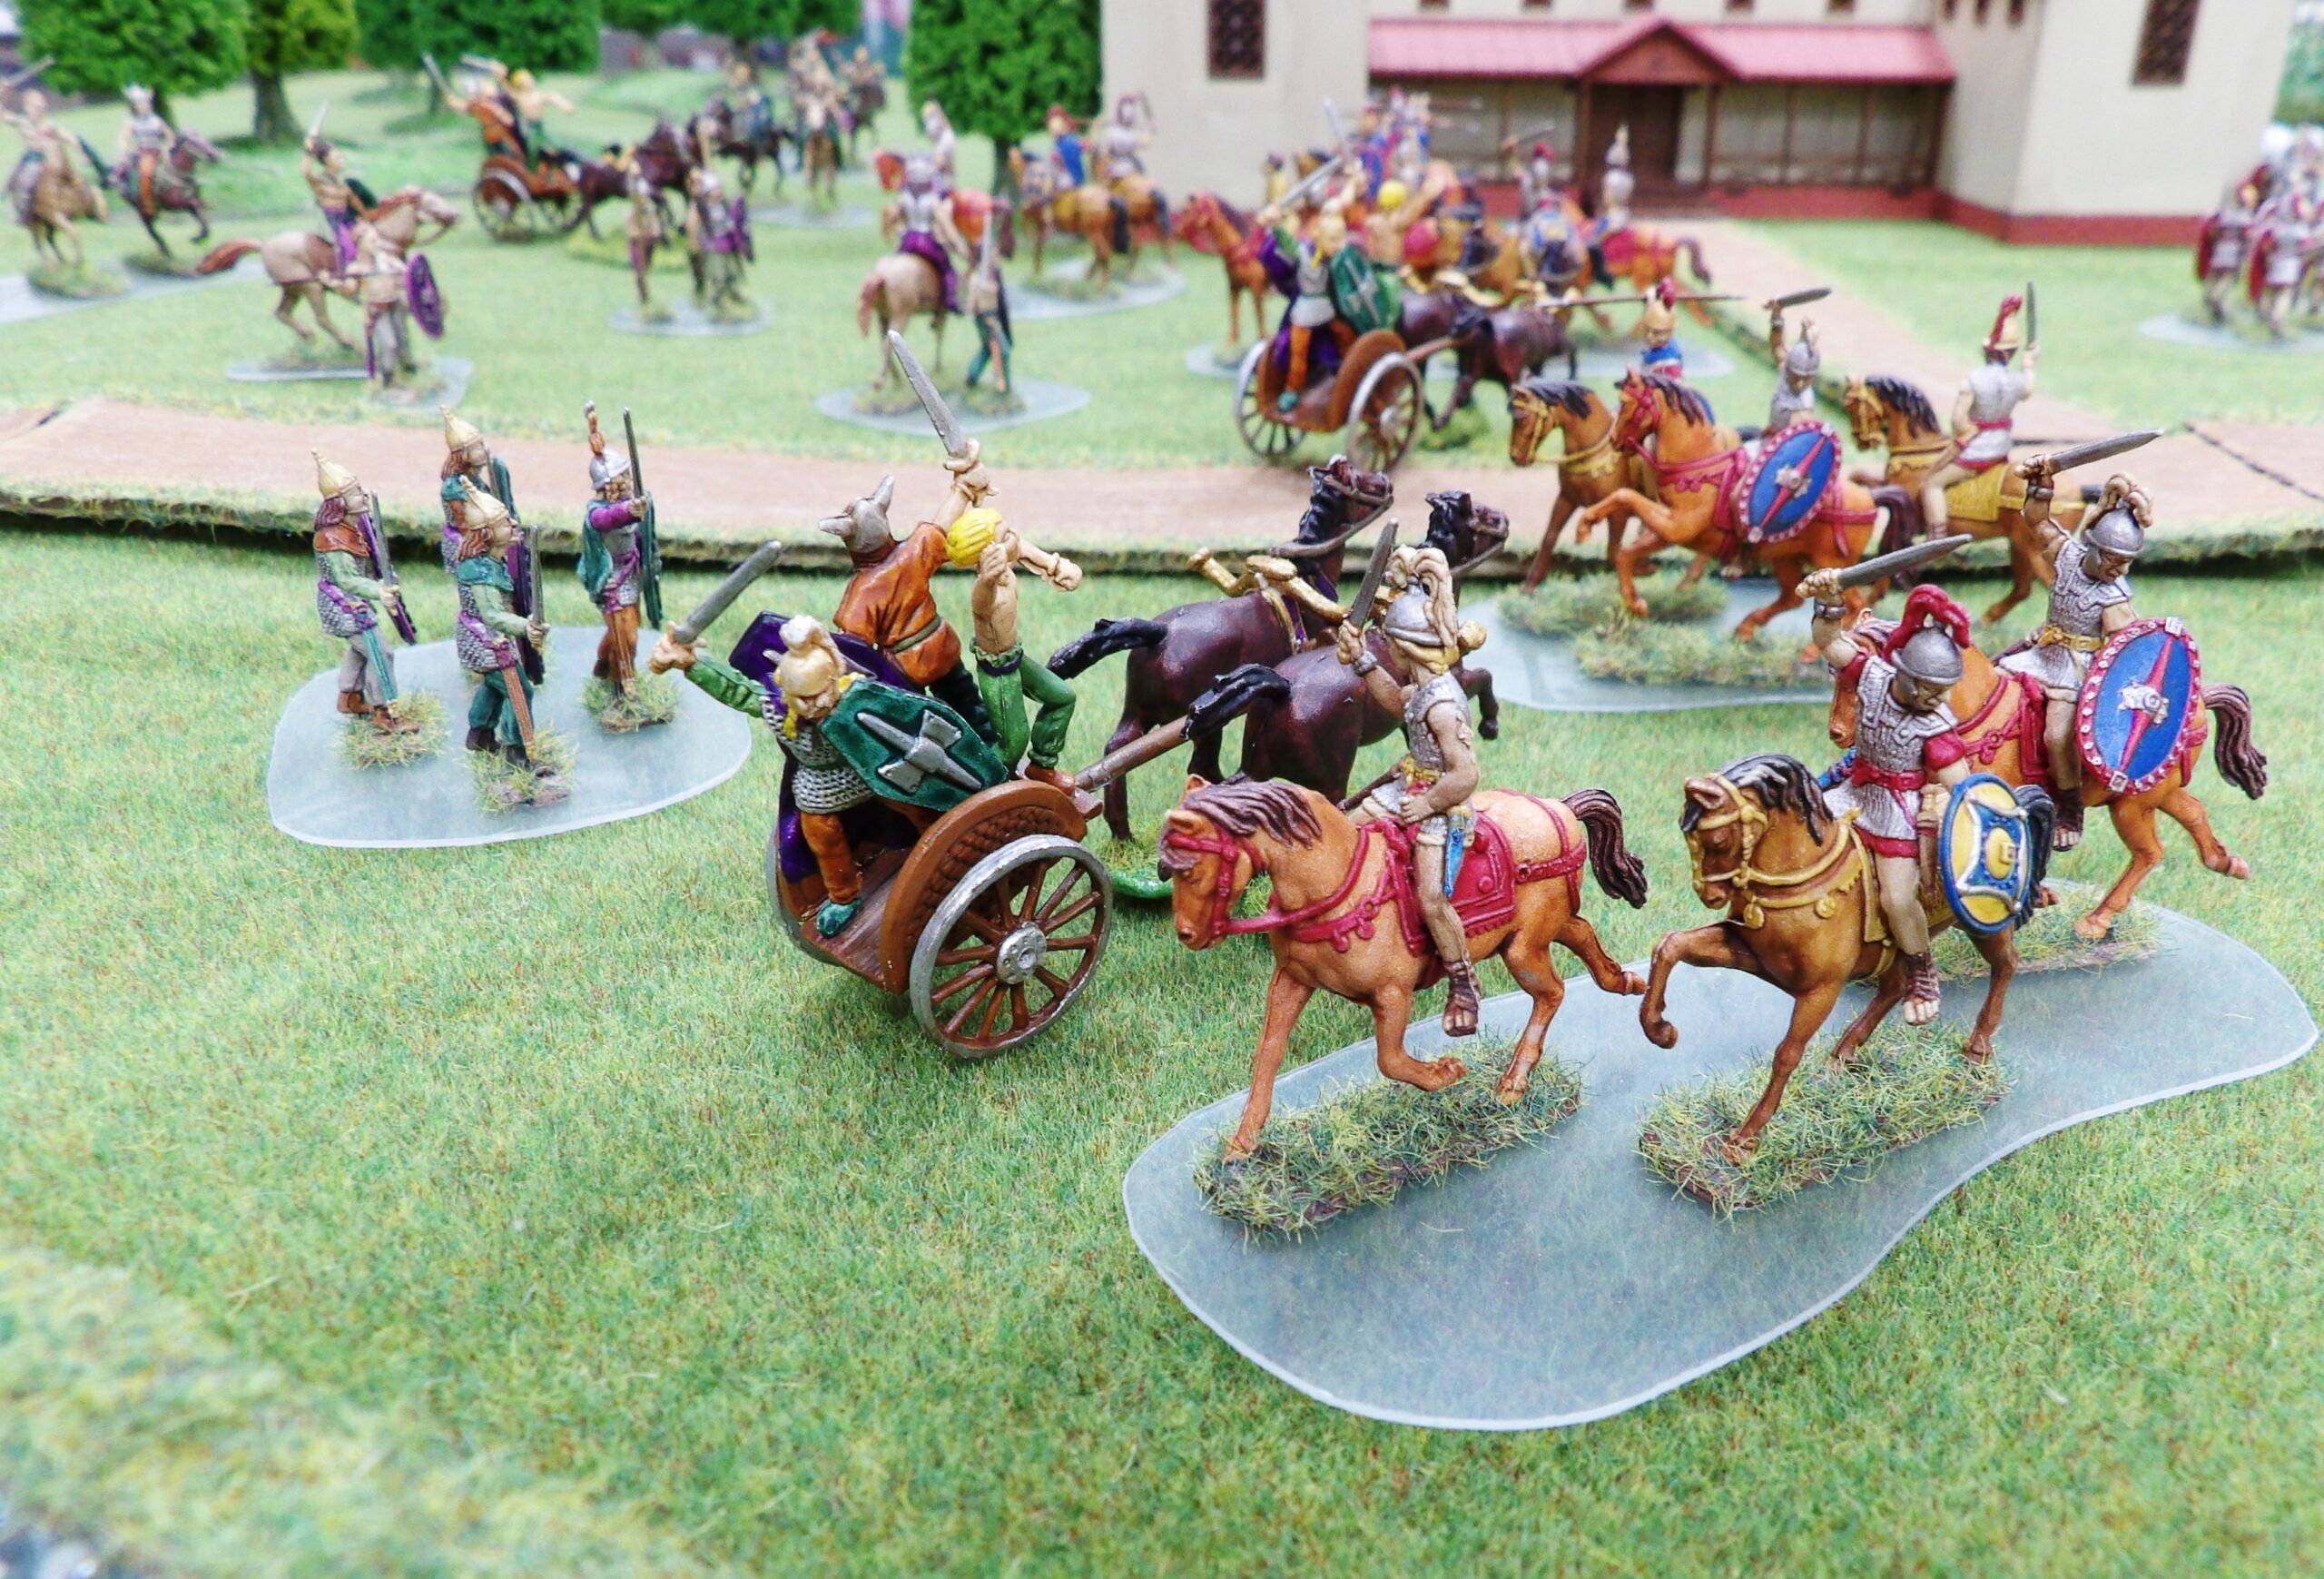
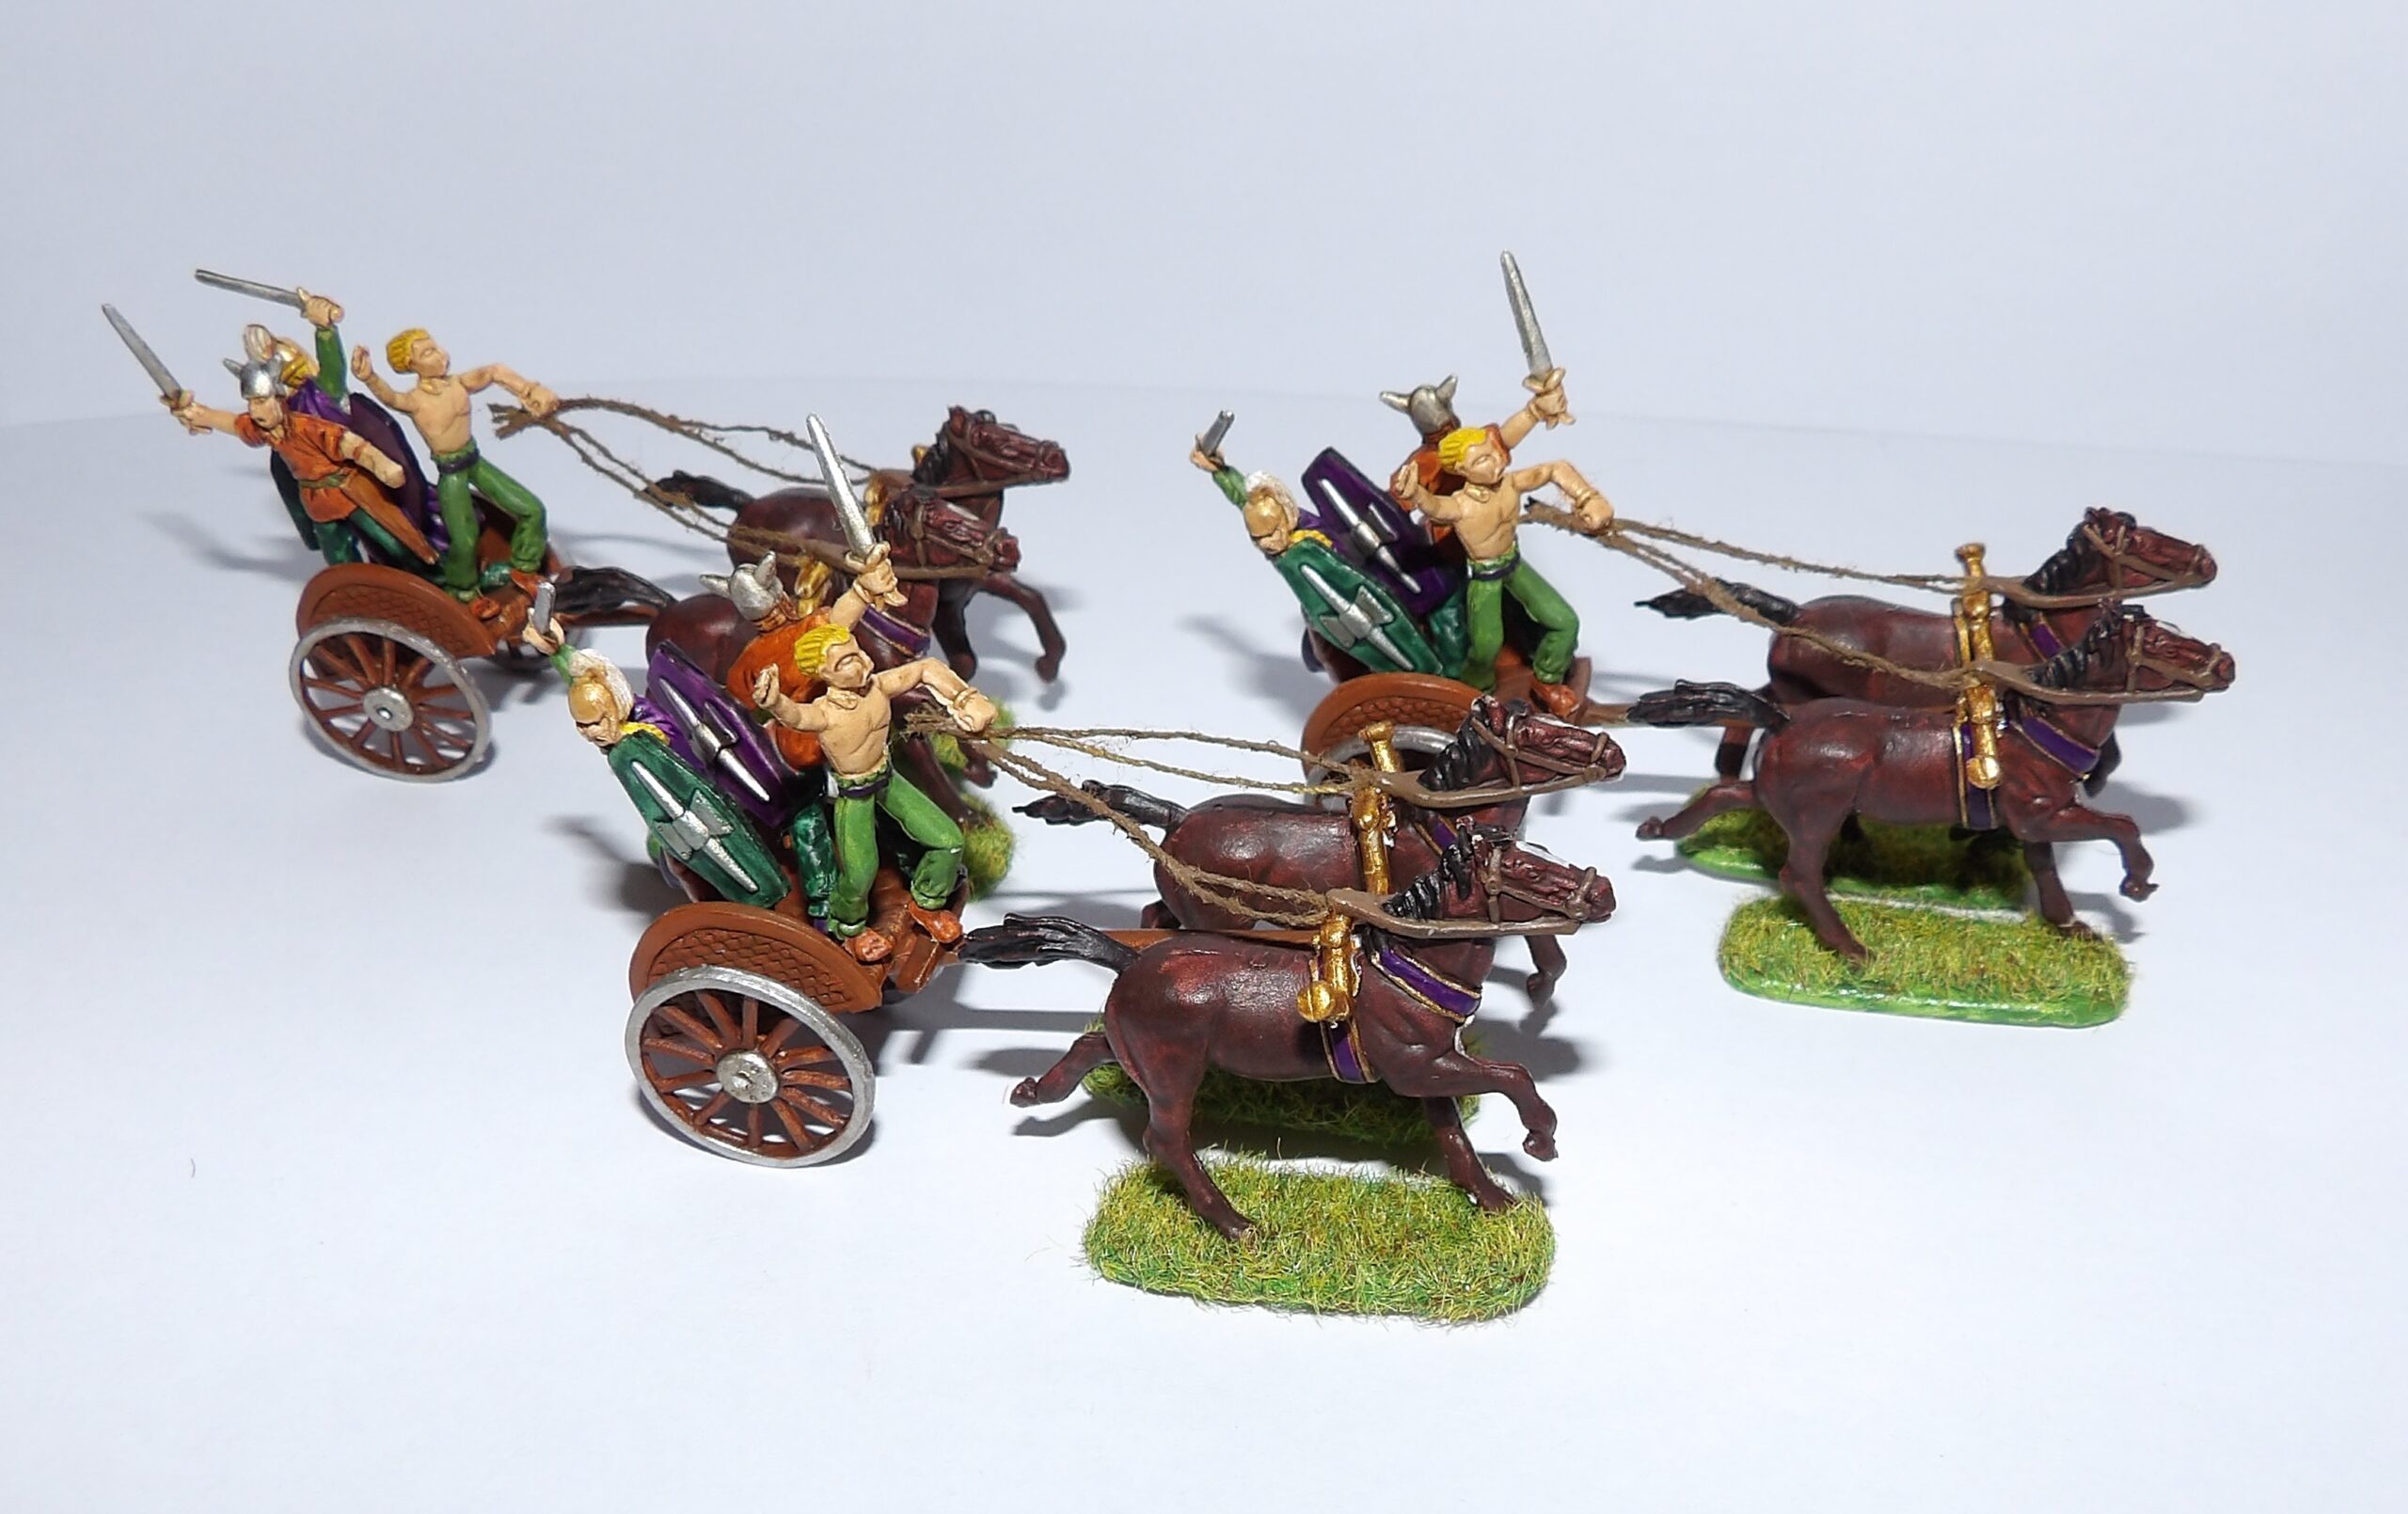
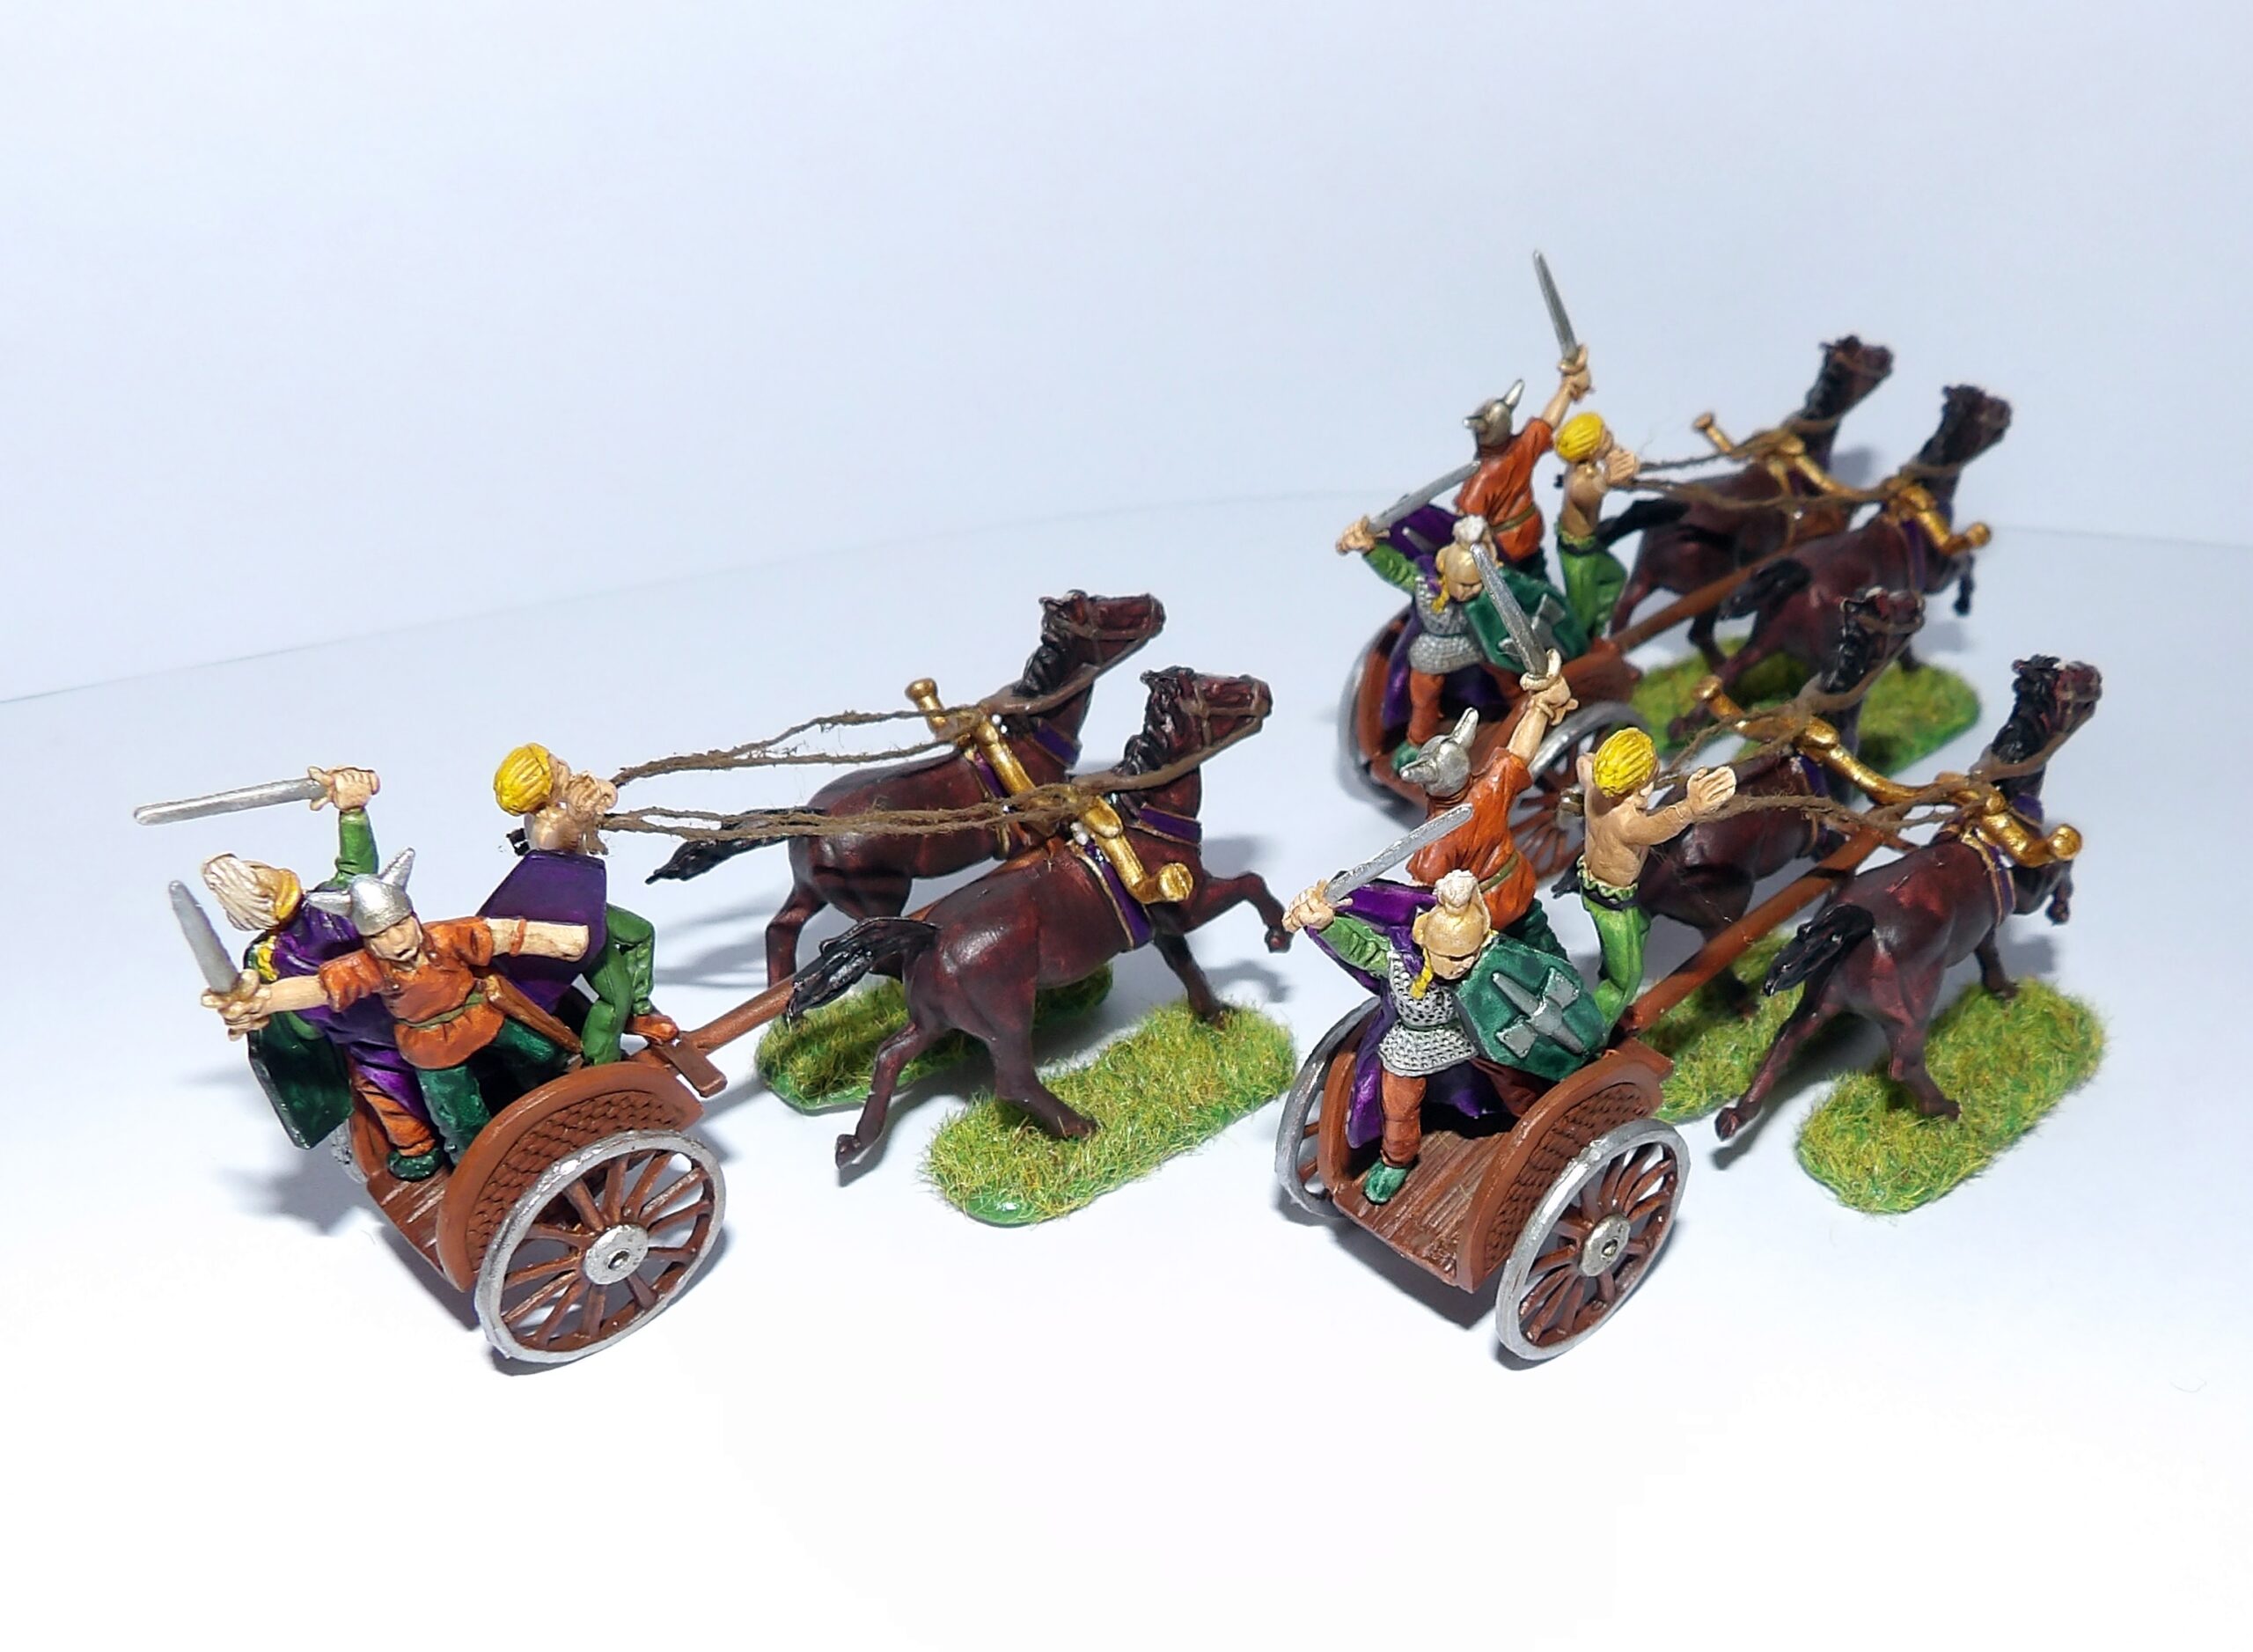
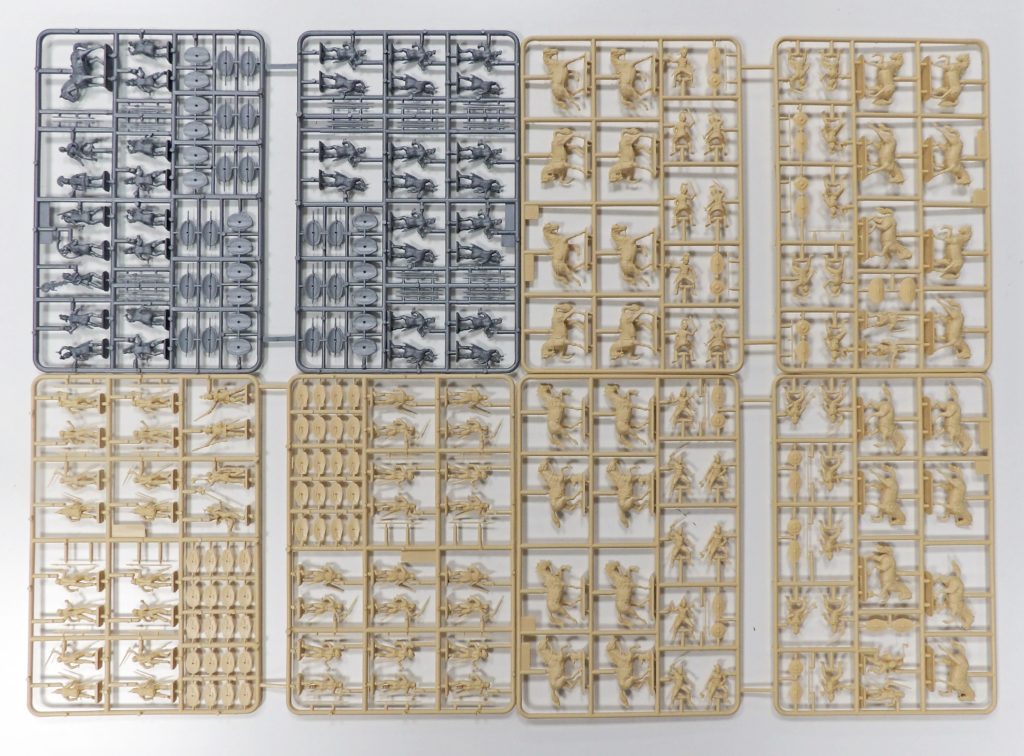
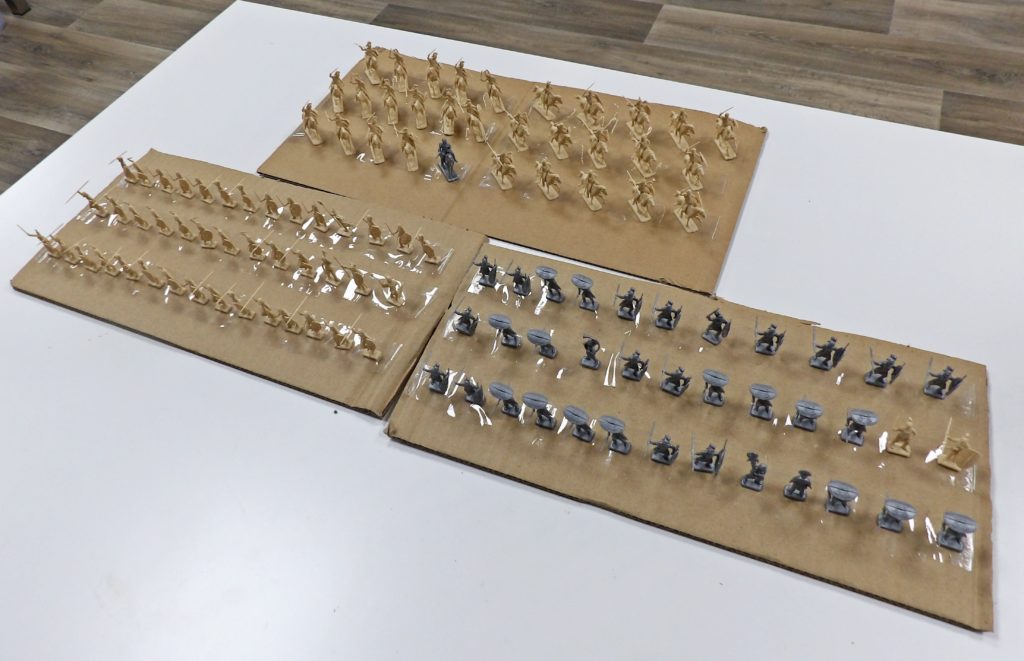
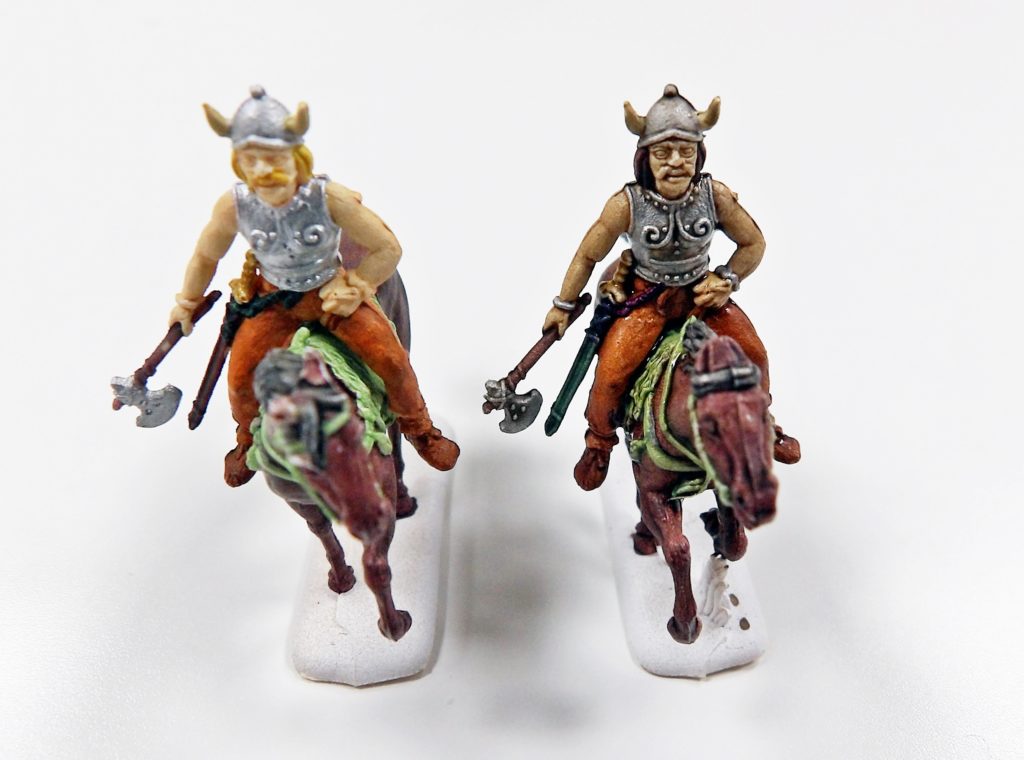
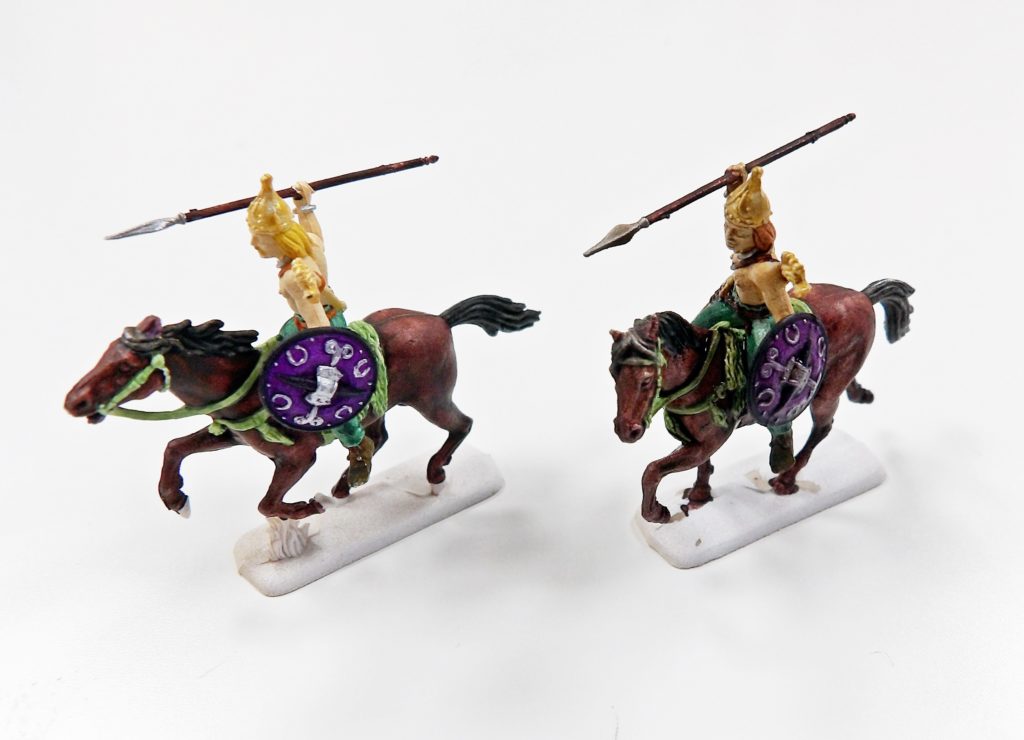
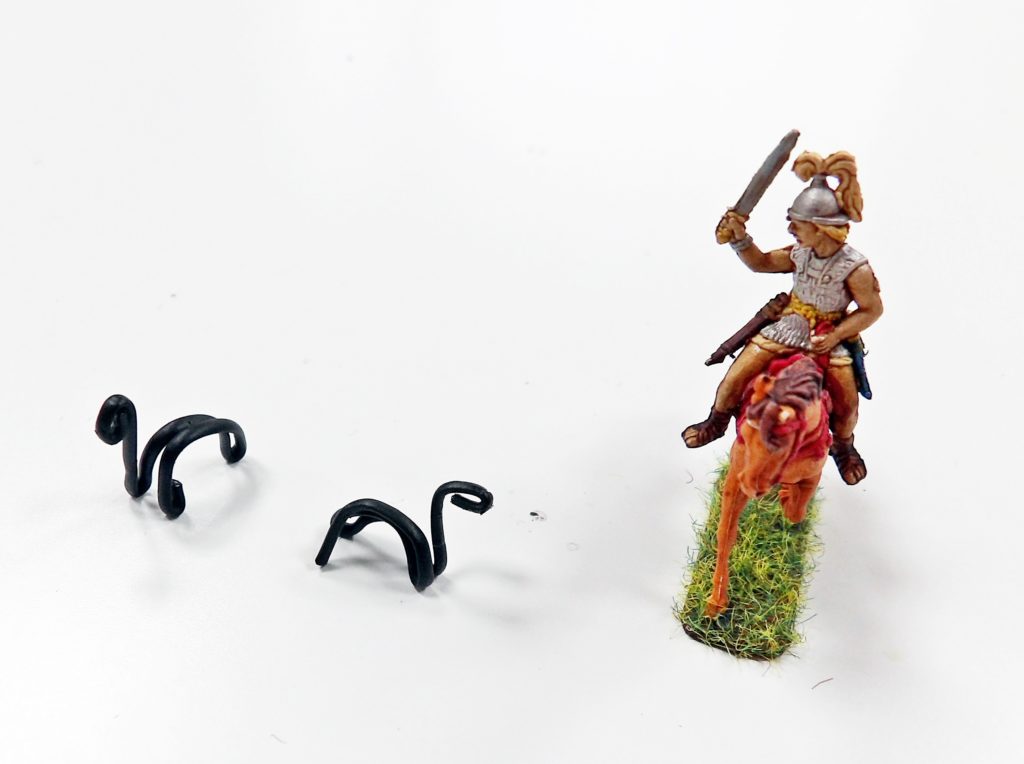
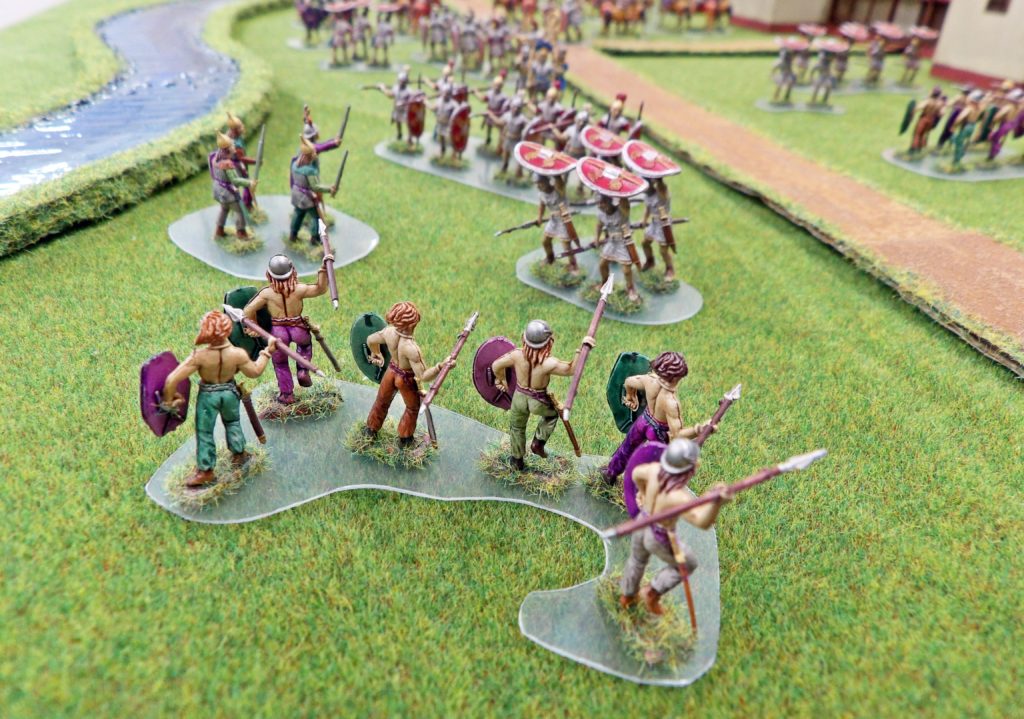
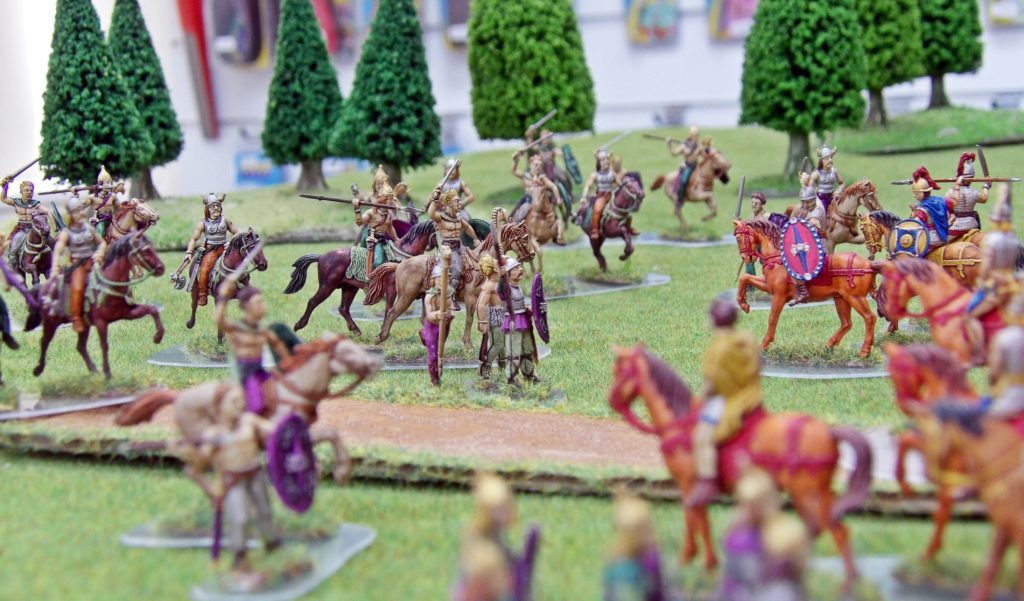
Building on our new found passion for the Classical Period, we have added some Gallic chariots to our collection.

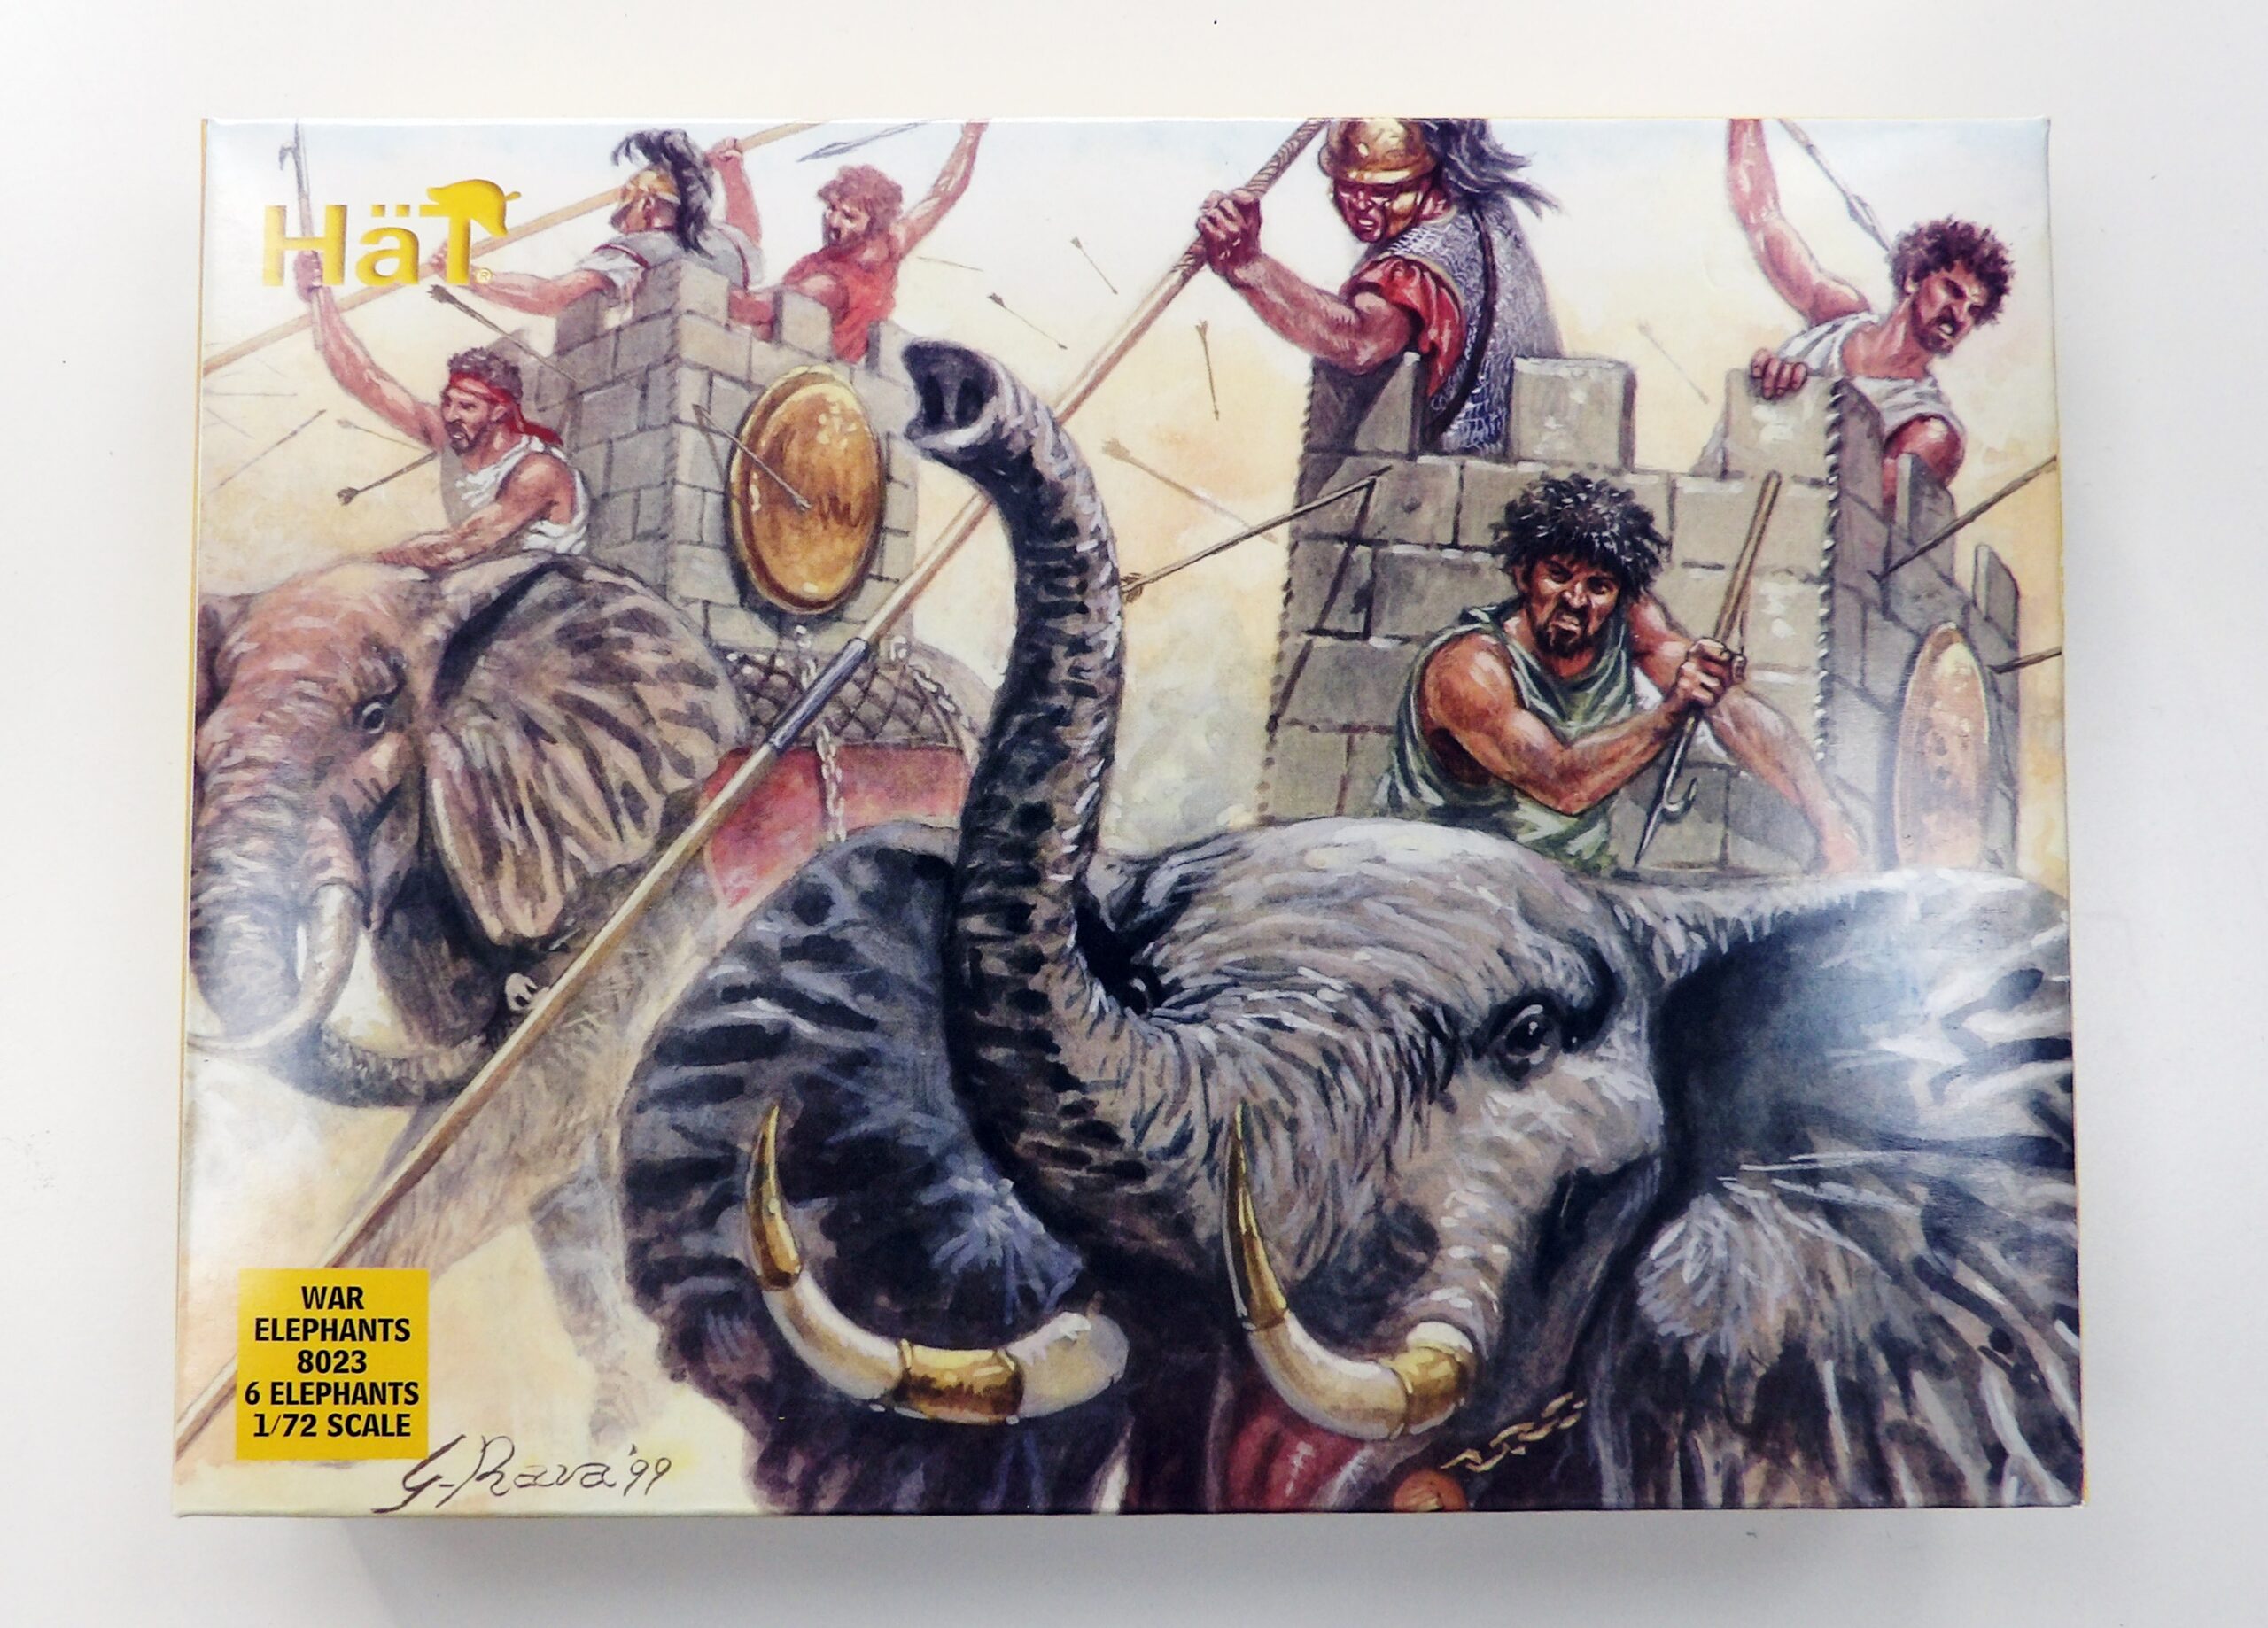
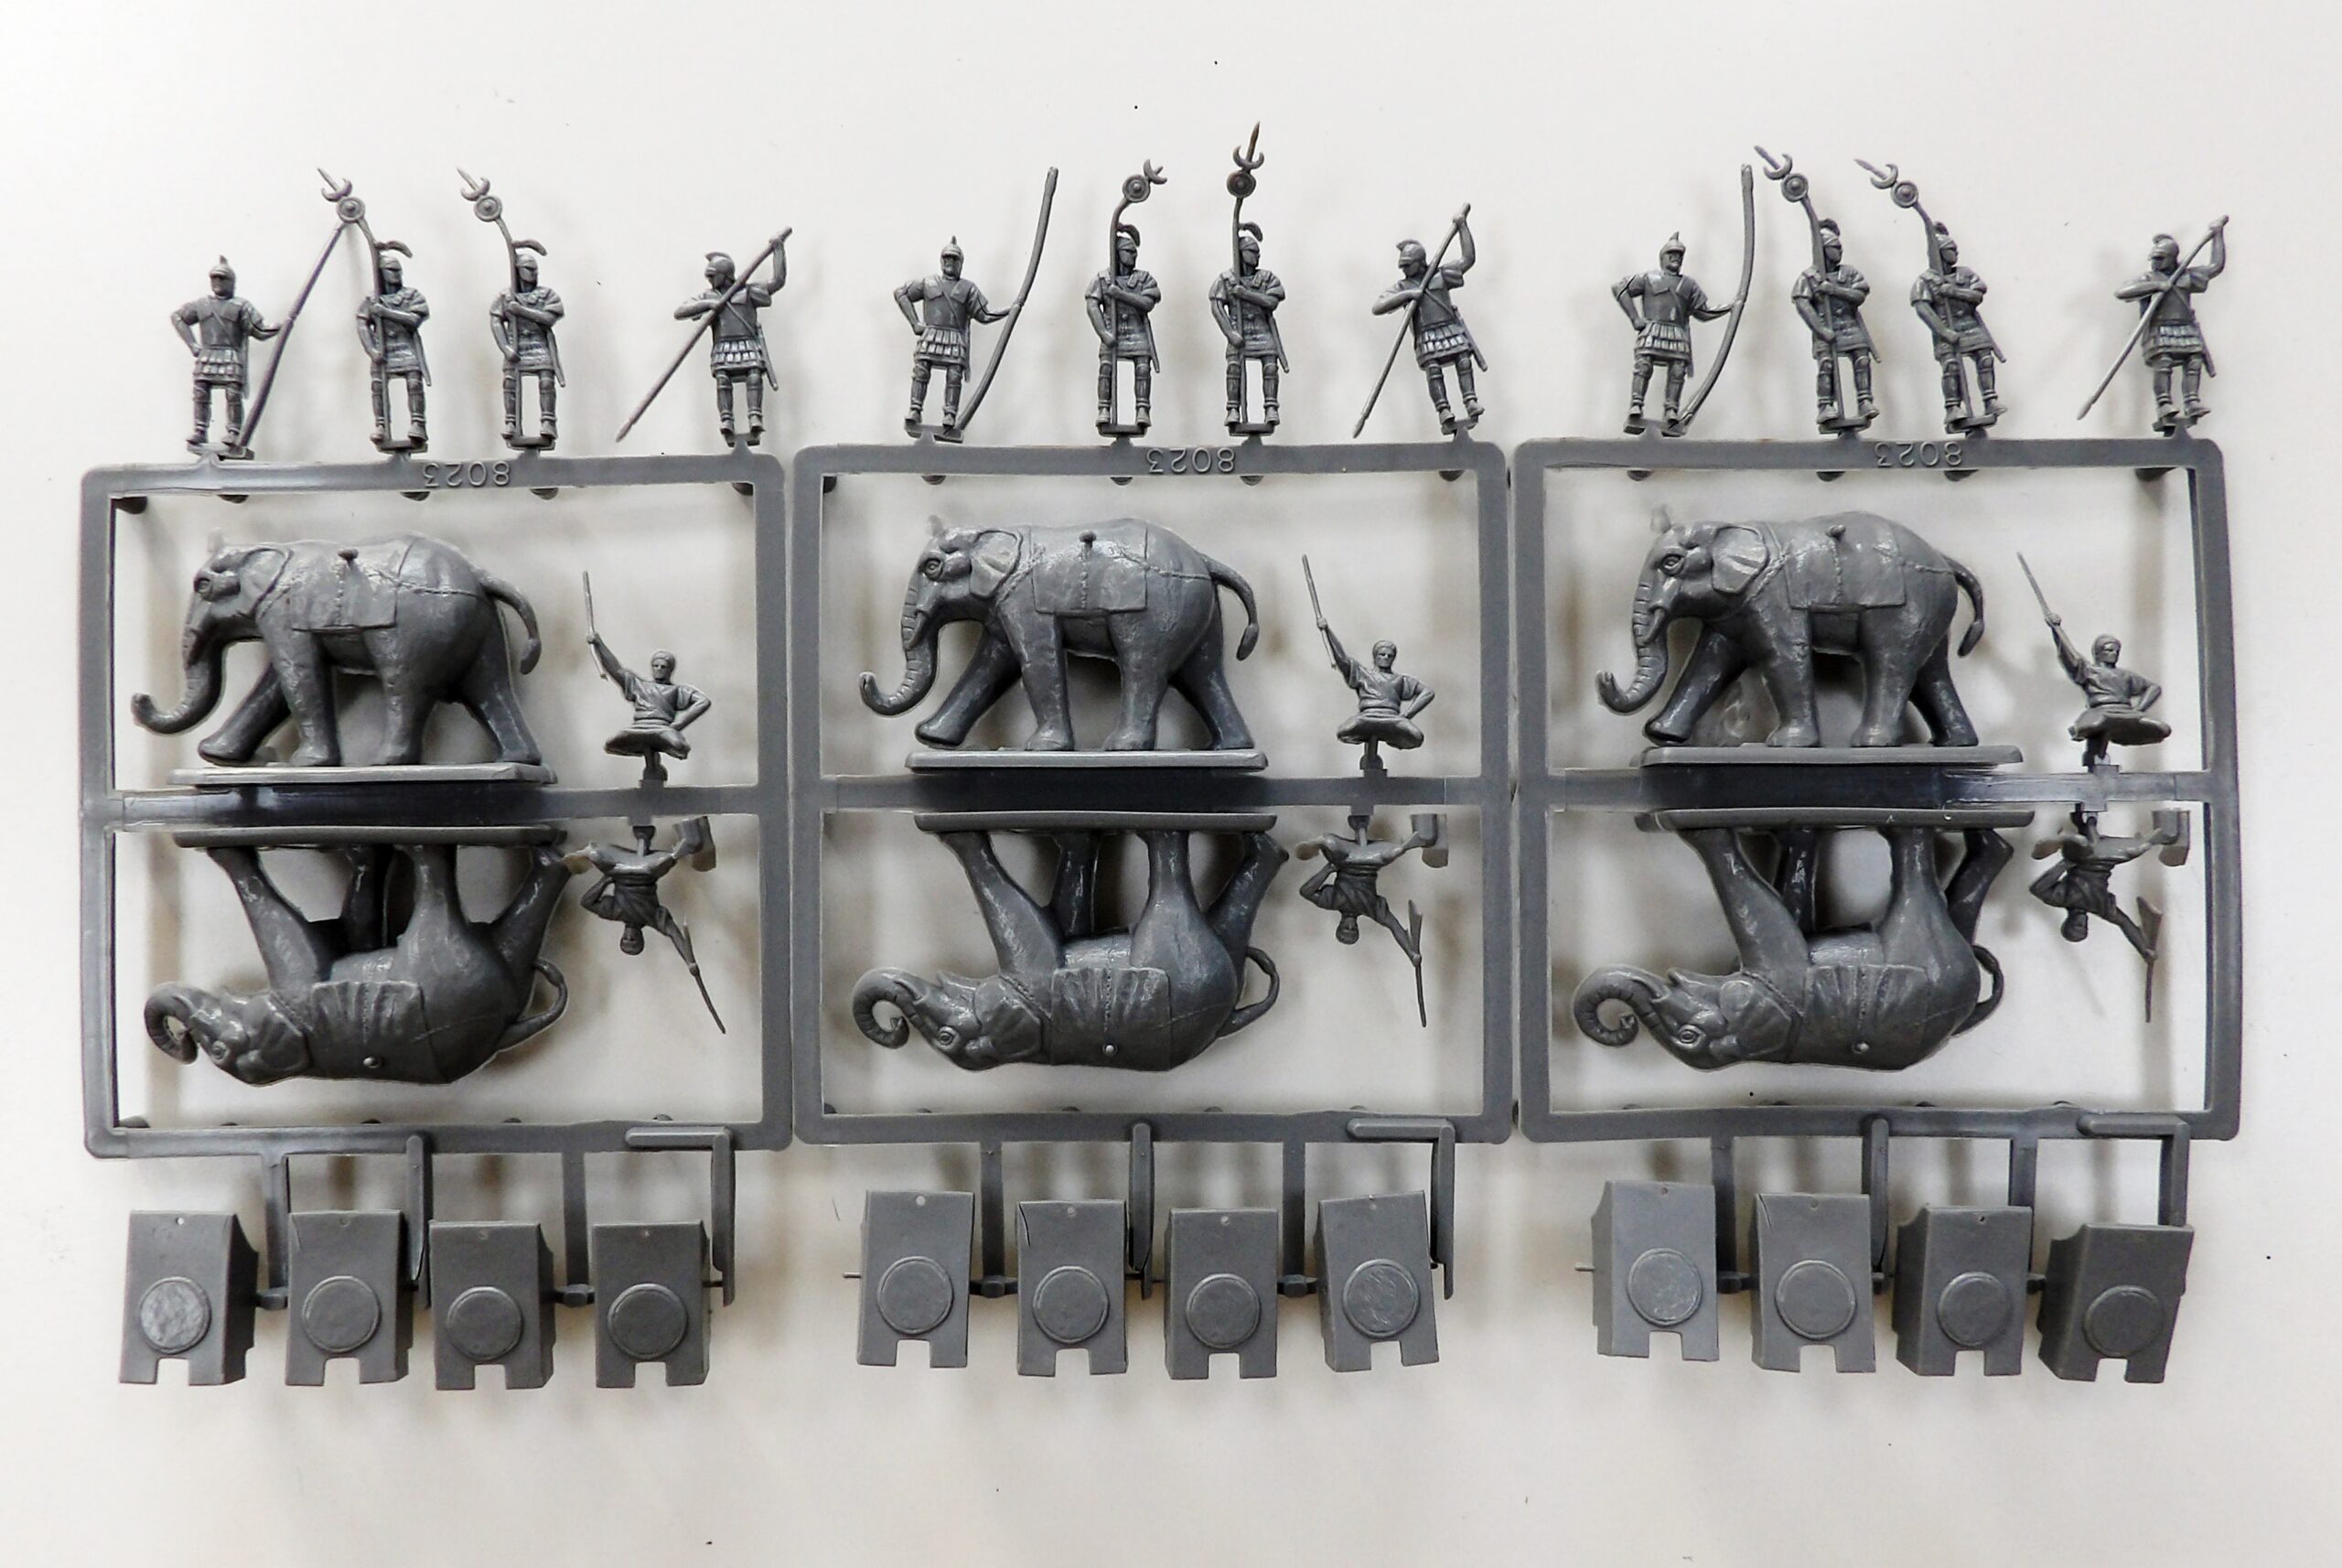
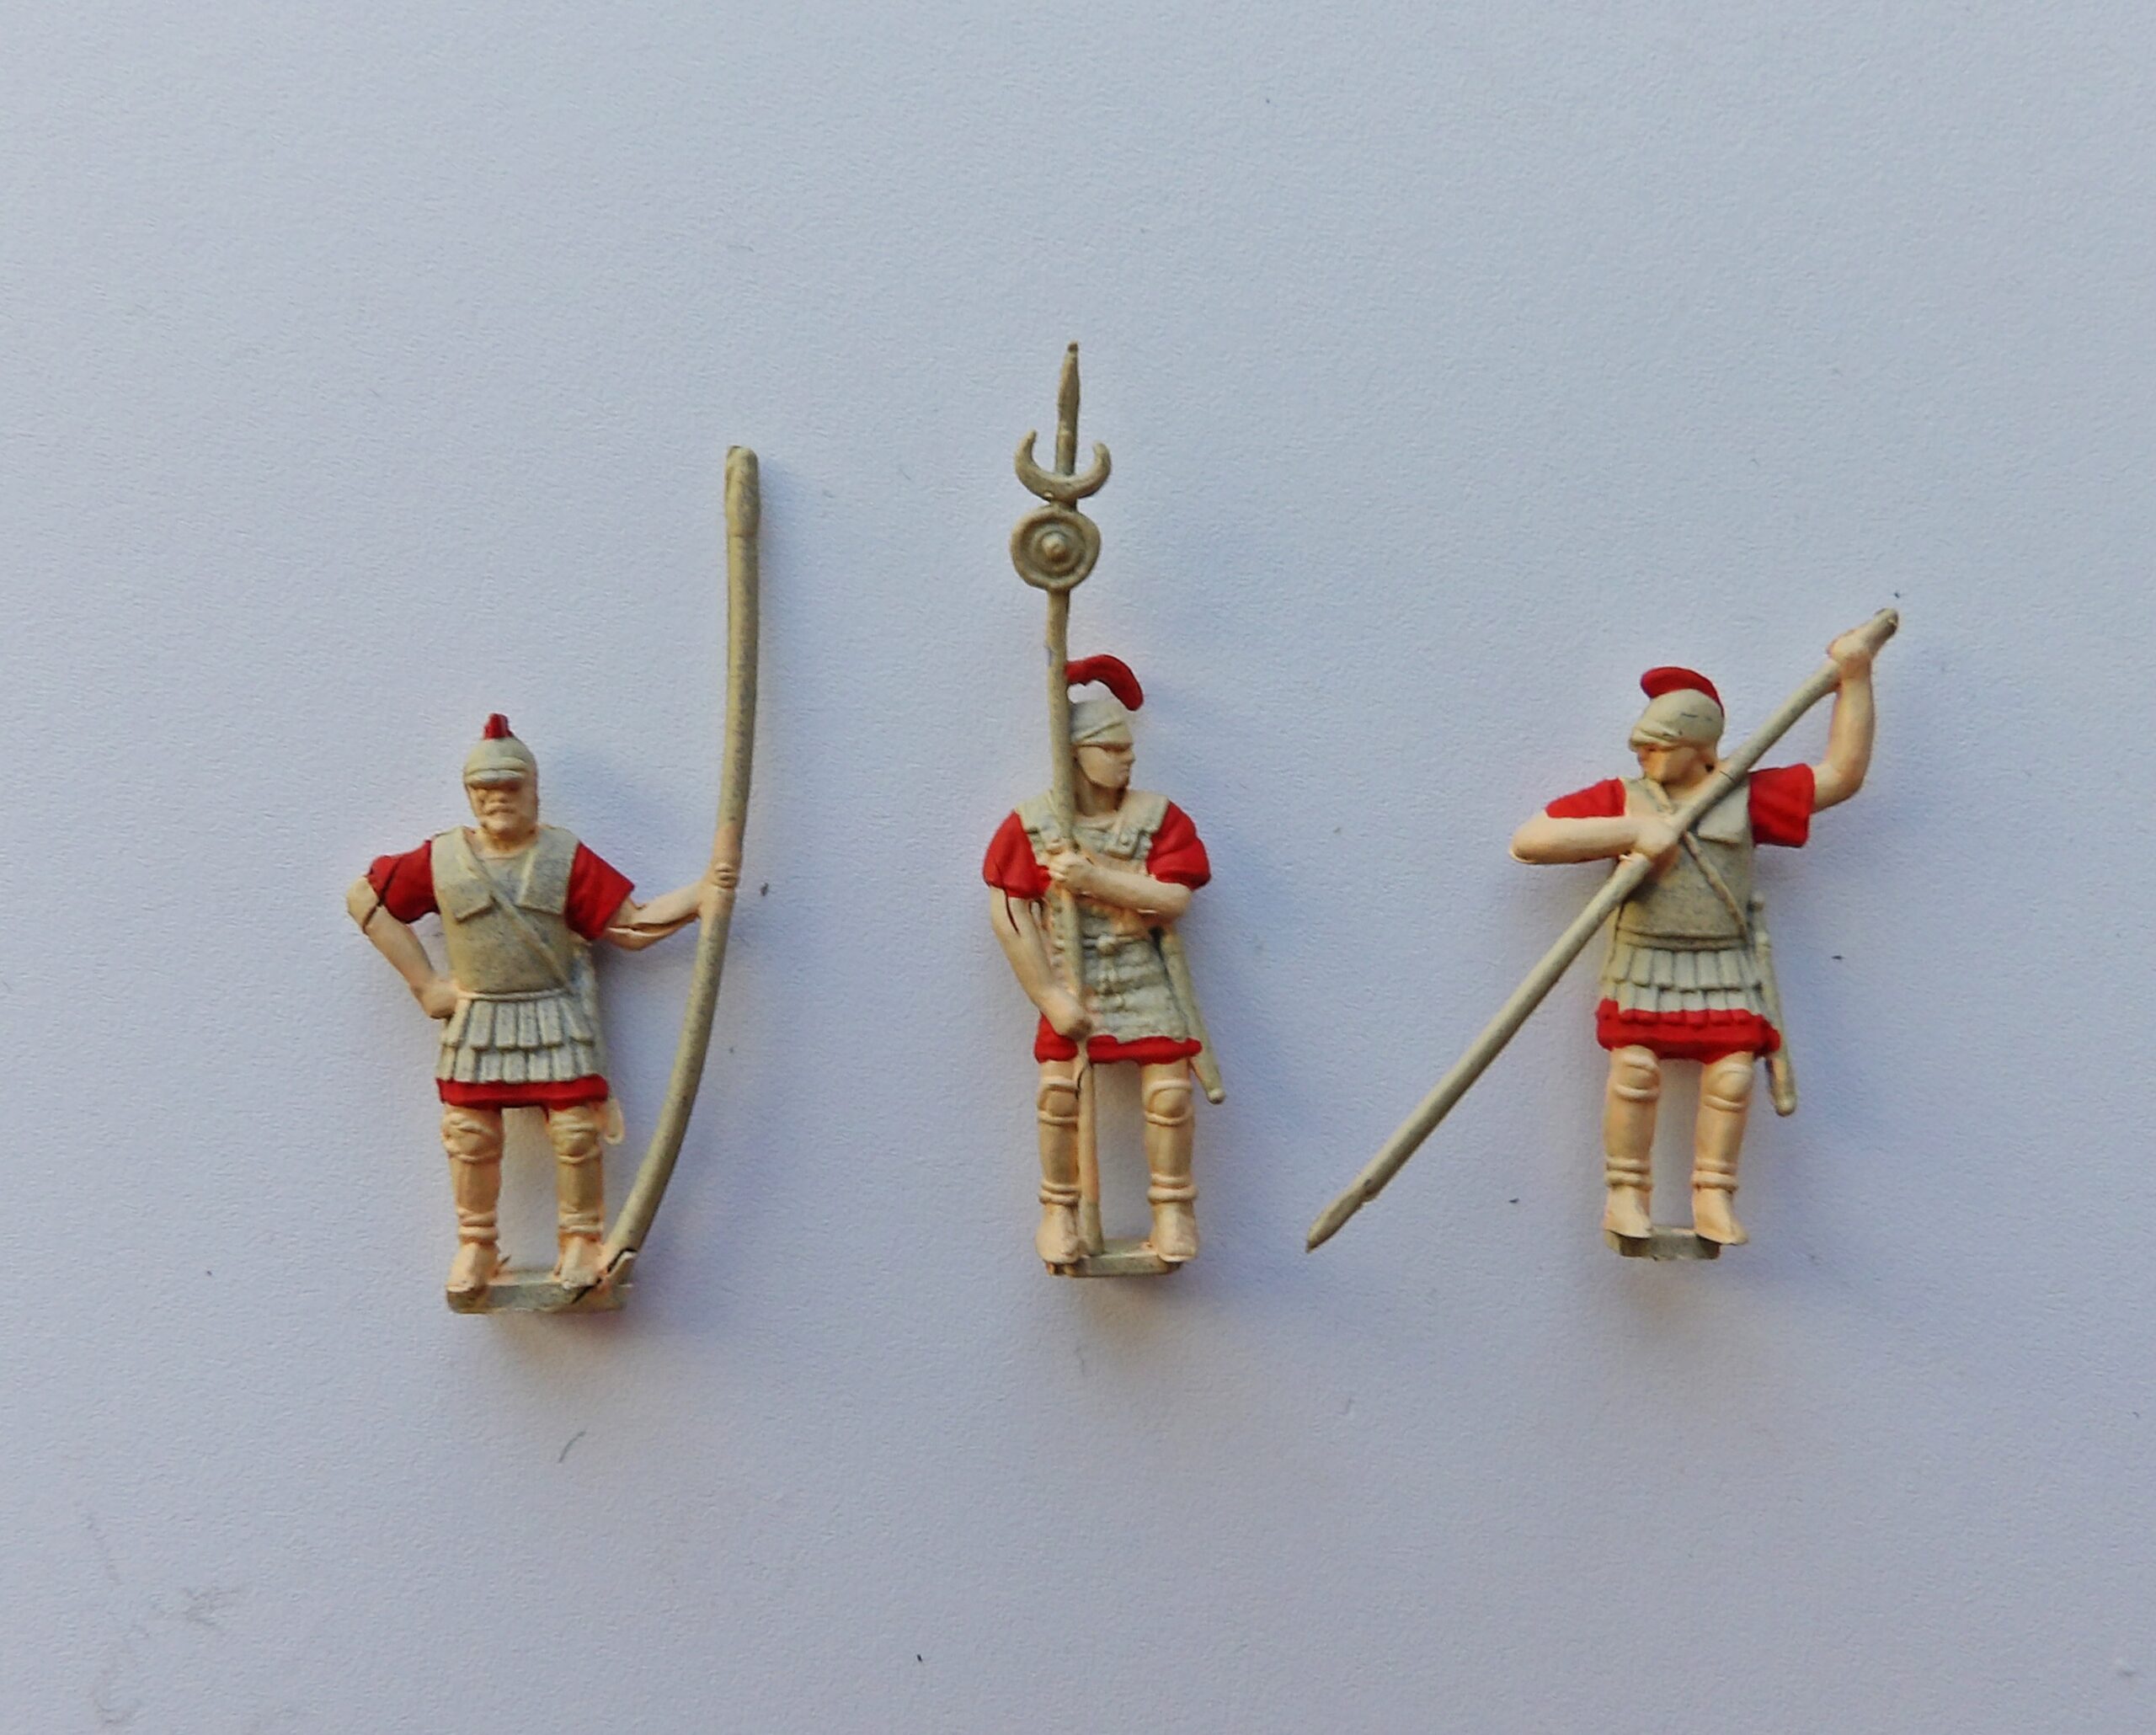
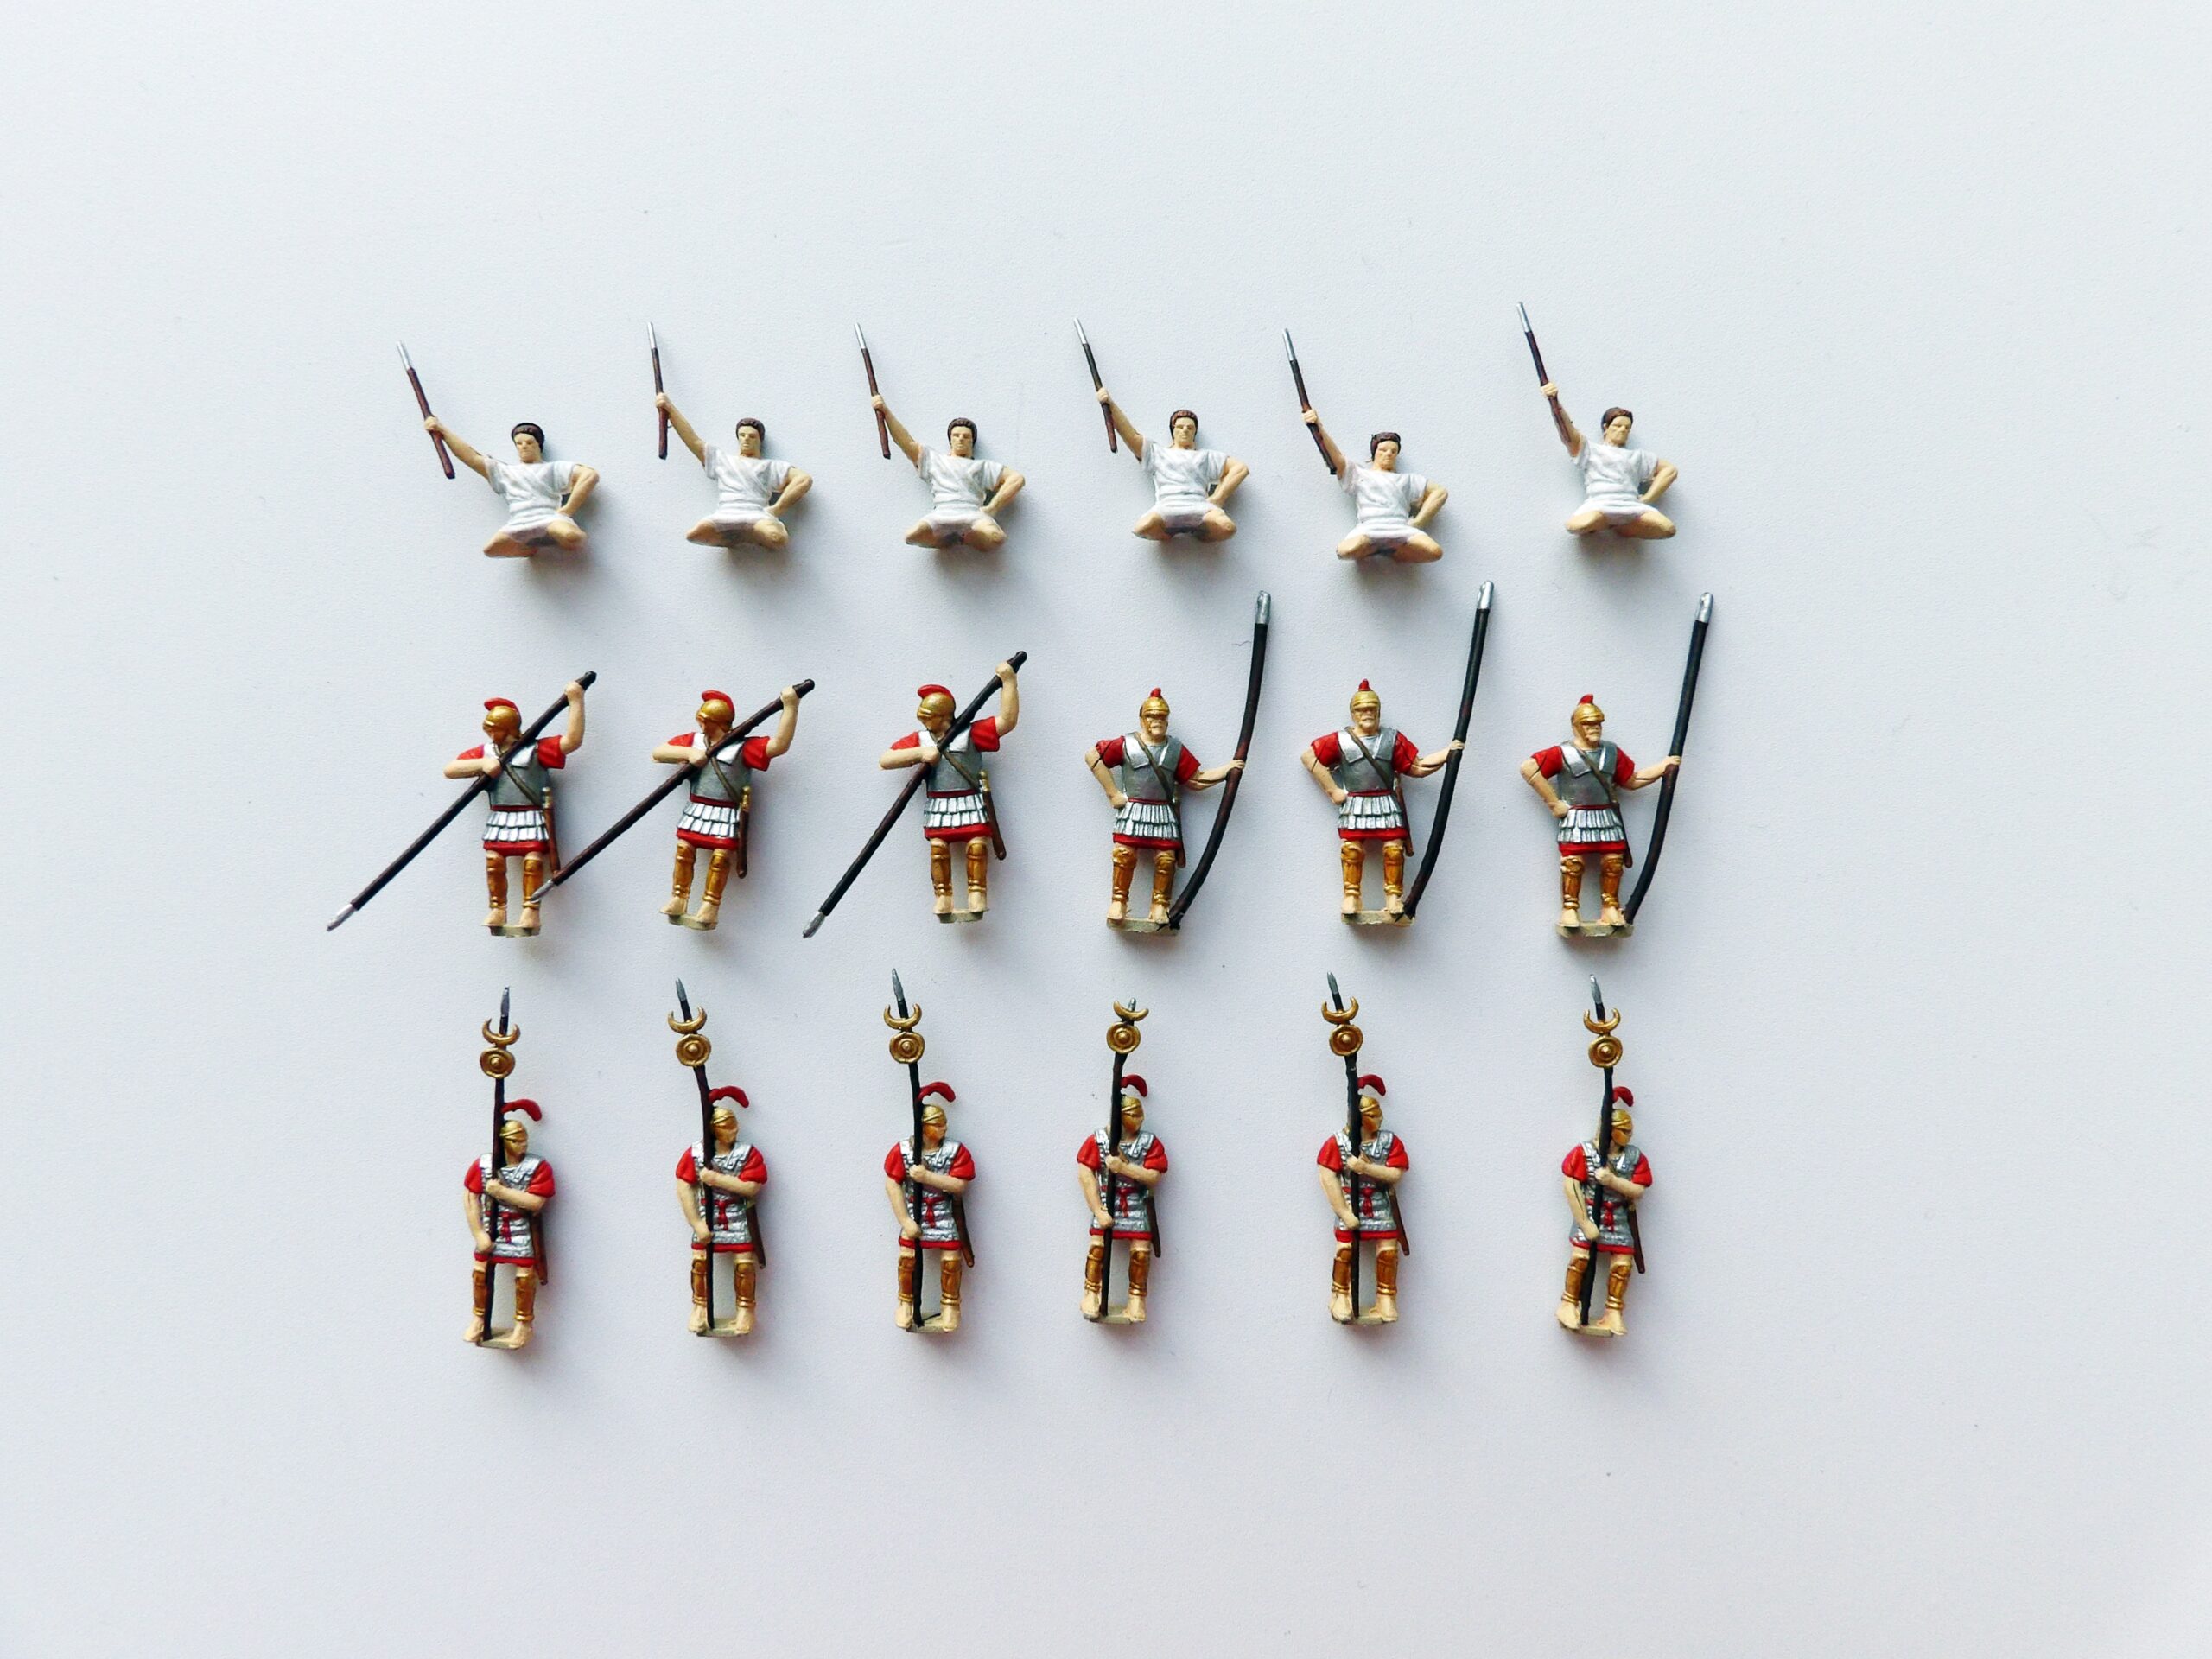
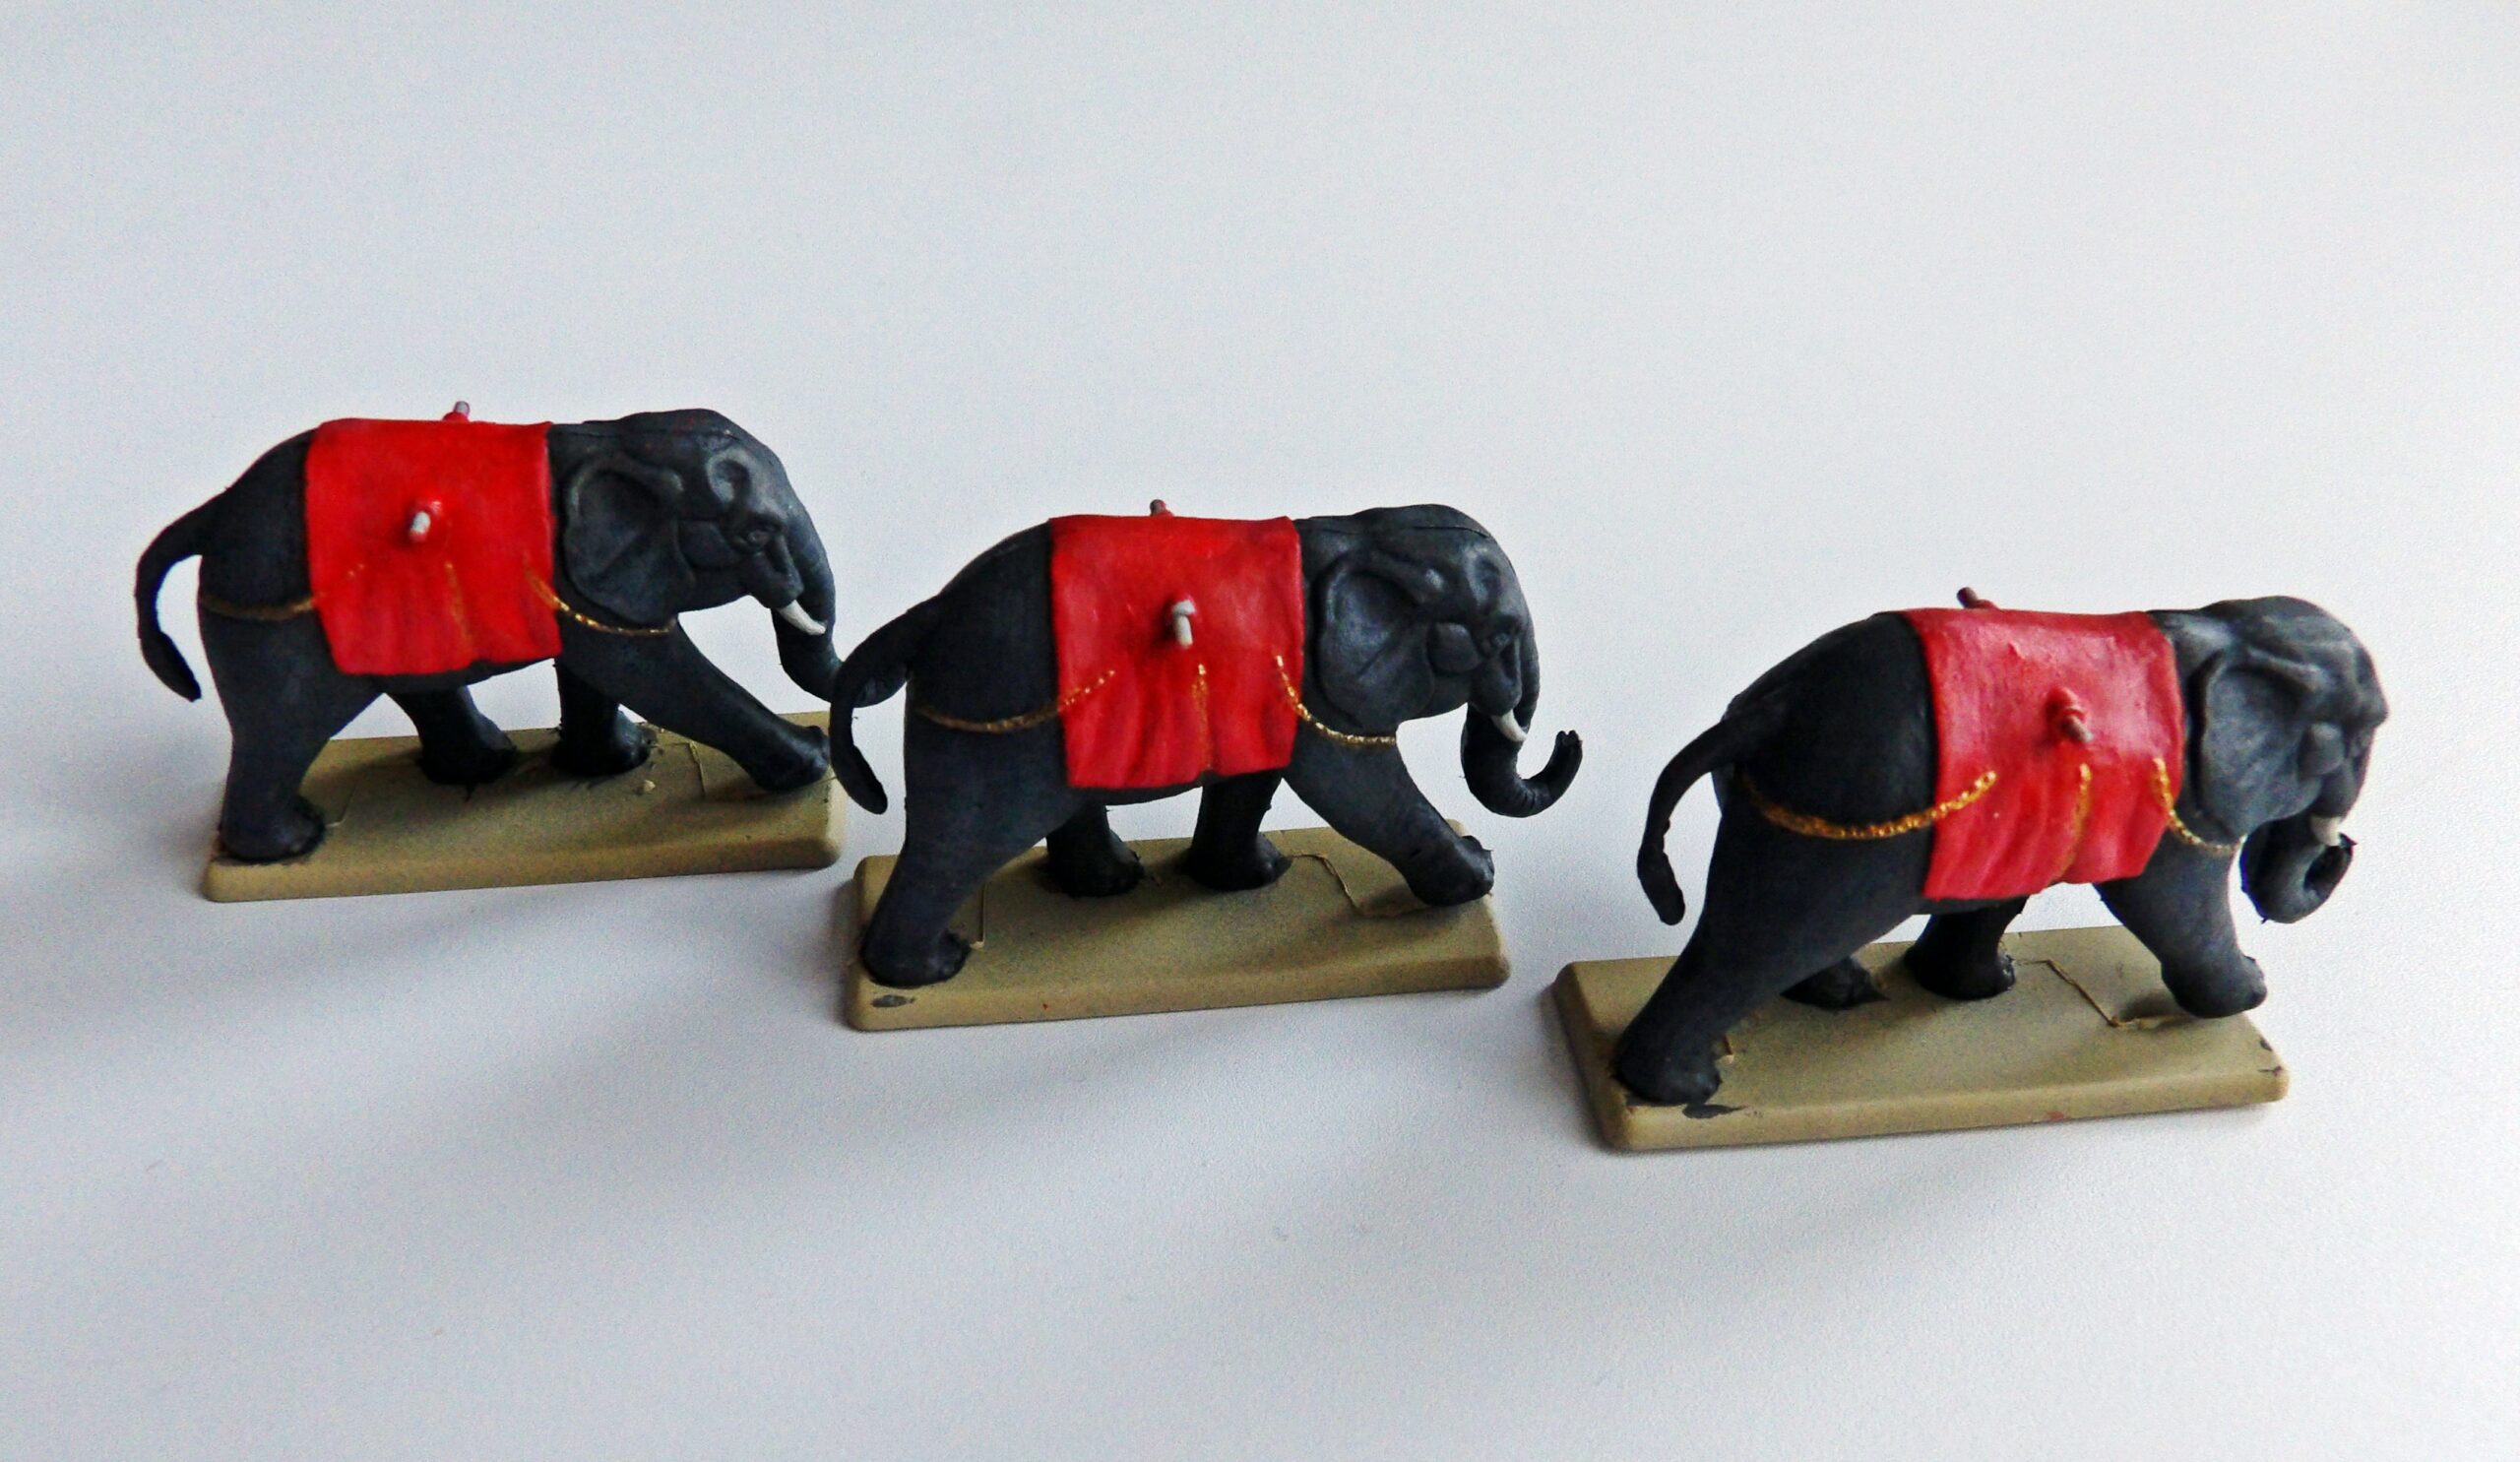
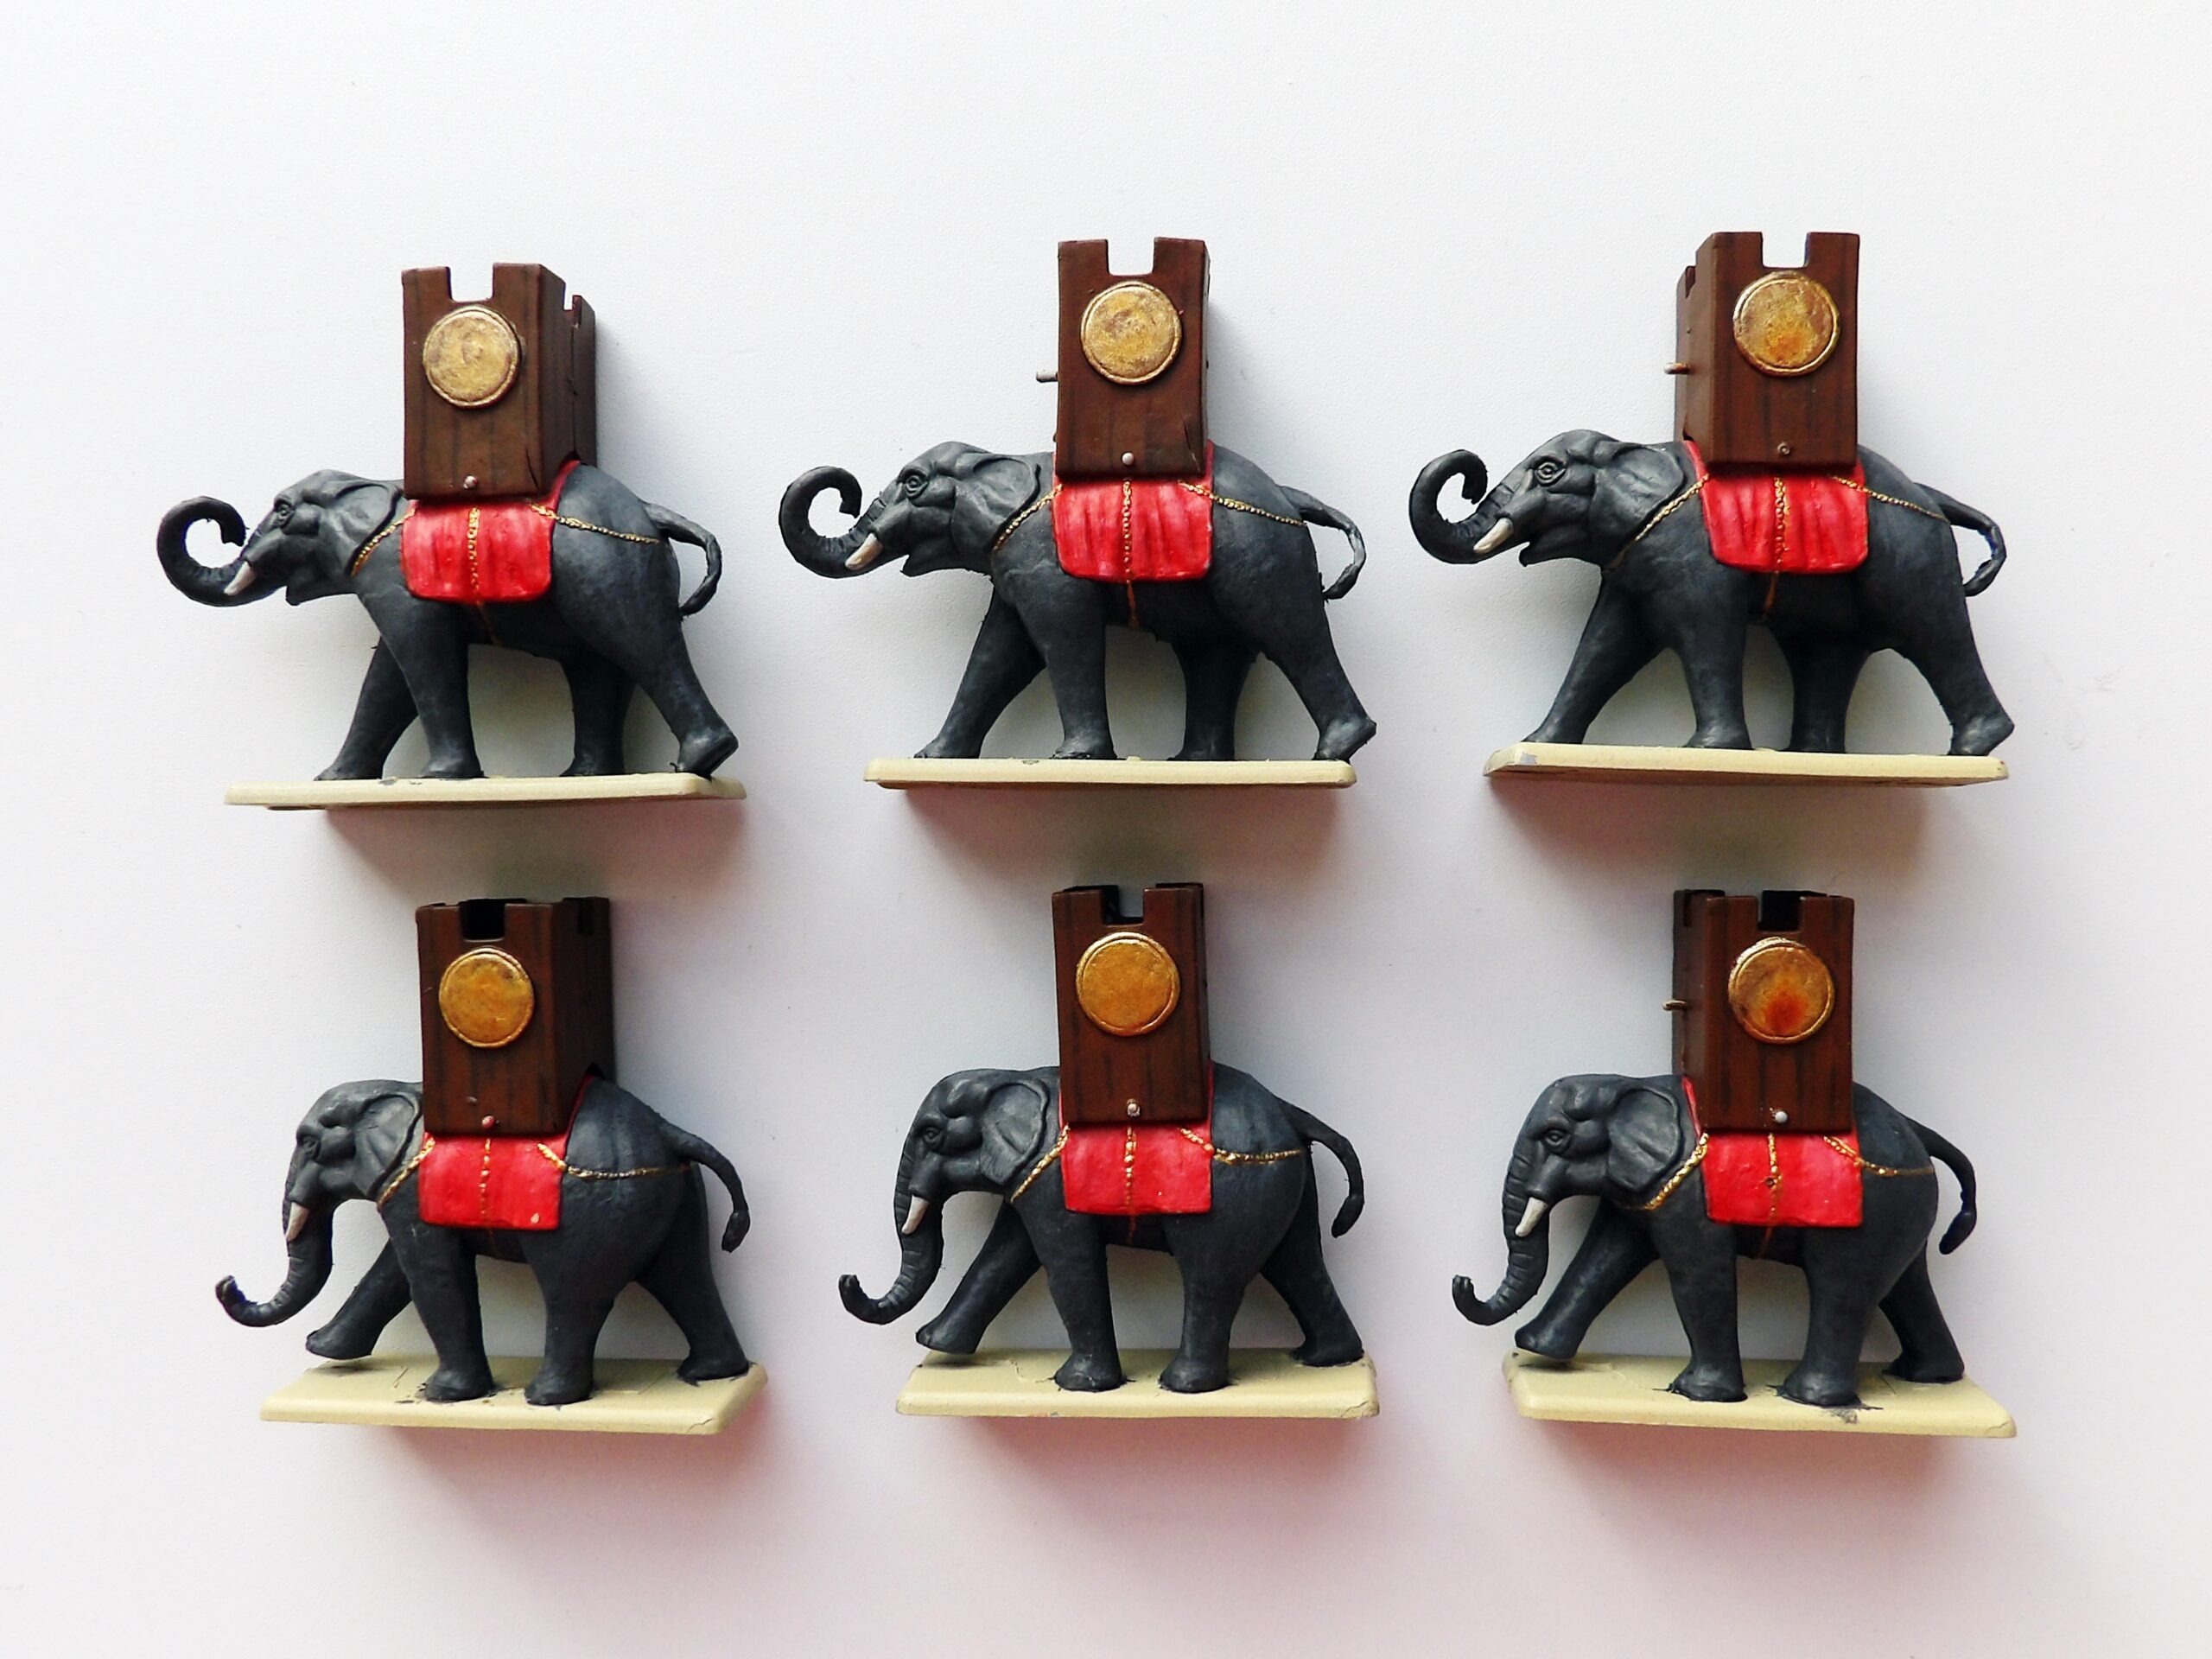
Working our way through the “started-but-probably-never-going-to-be-finished stash”, we have finally completed our Carthaginian War Elephants!

So…Christmas was a little different from what we expected. With tons of spare time and nowhere to go, we ended up racing through this model in just one week!


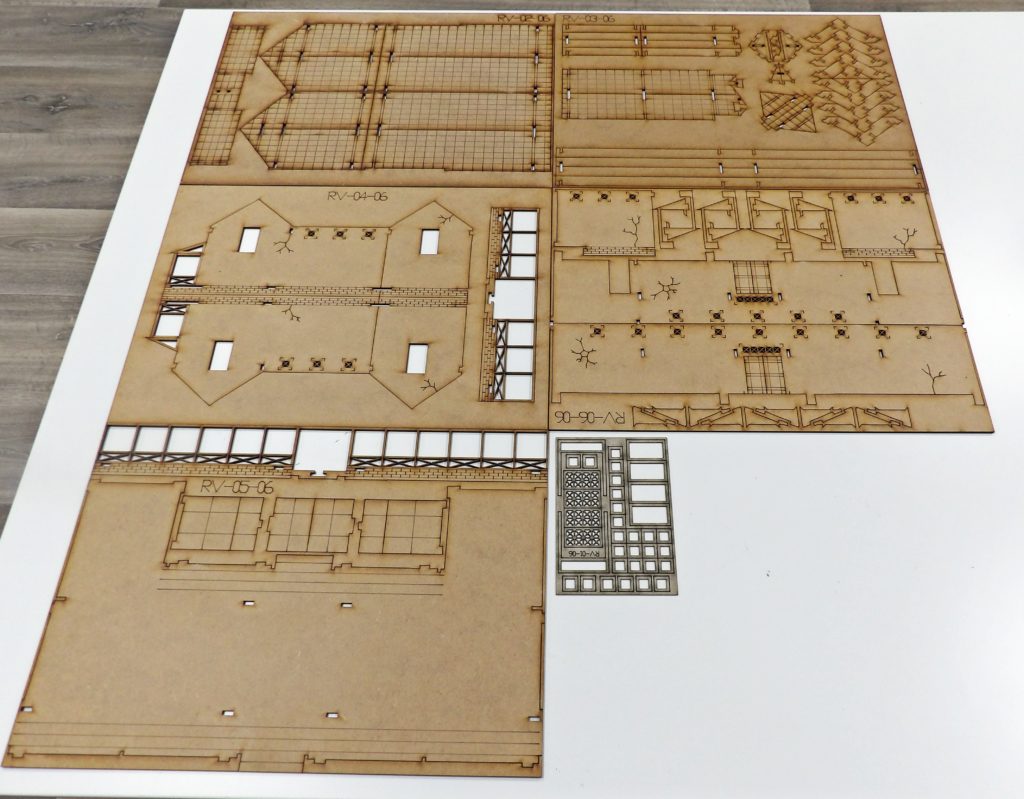
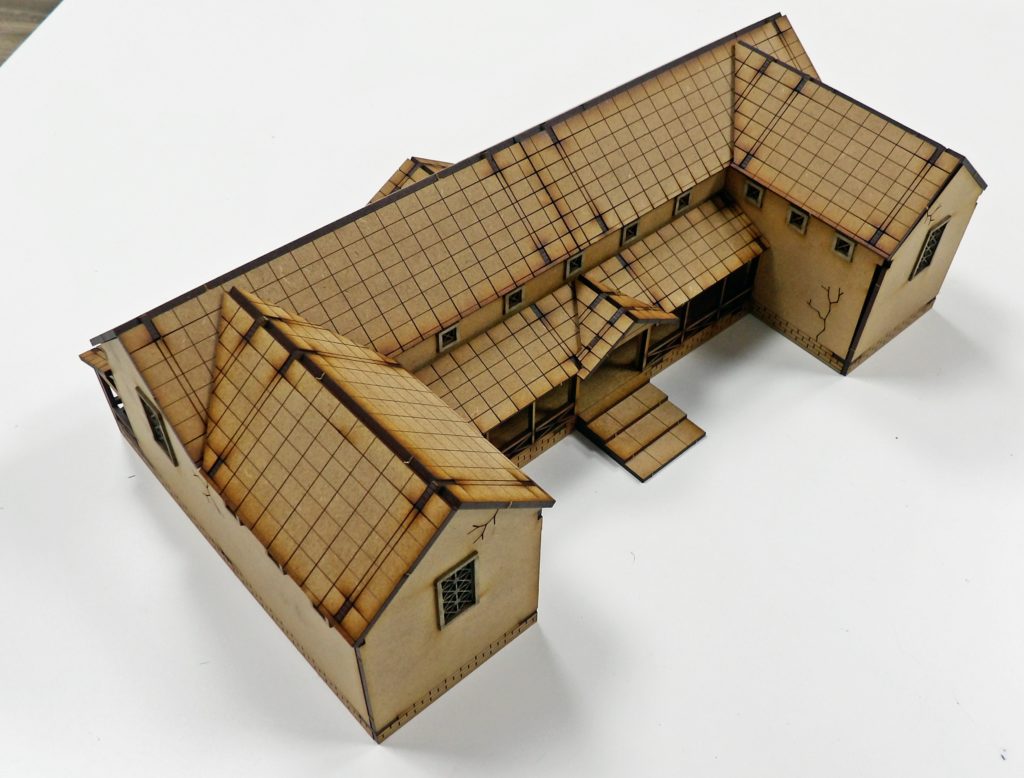
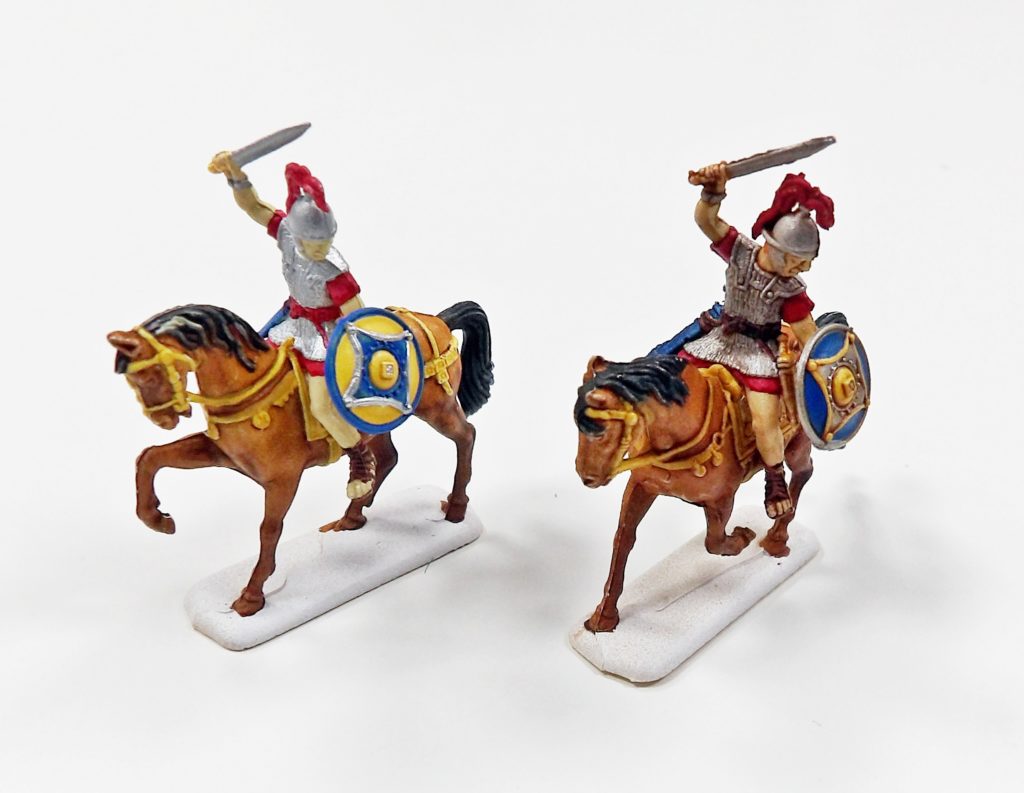
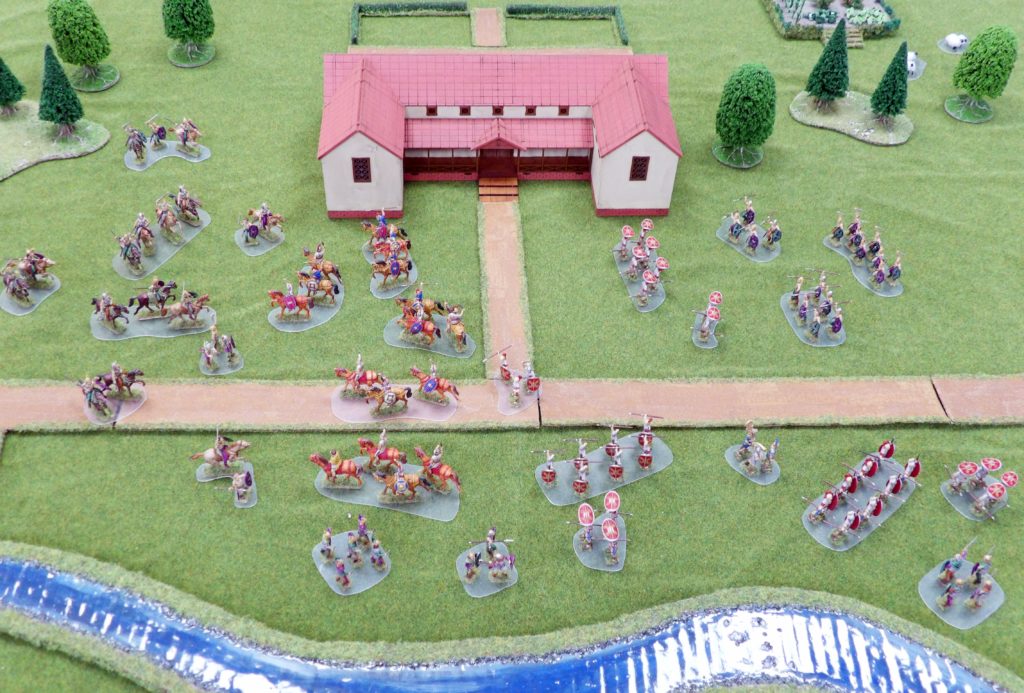
We started this project towards the end of 2018. And yes, it has taken us over a year to finish!
“Well, what took you so long?” we hear an intrigued reader asks. We’re not sure either, but you see Rome wasn’t built in a day.
“Of course not! But you’re not building Rome, are you?” You must be the smartest person we’ve spoken with today because, yes, we have been building Rome!

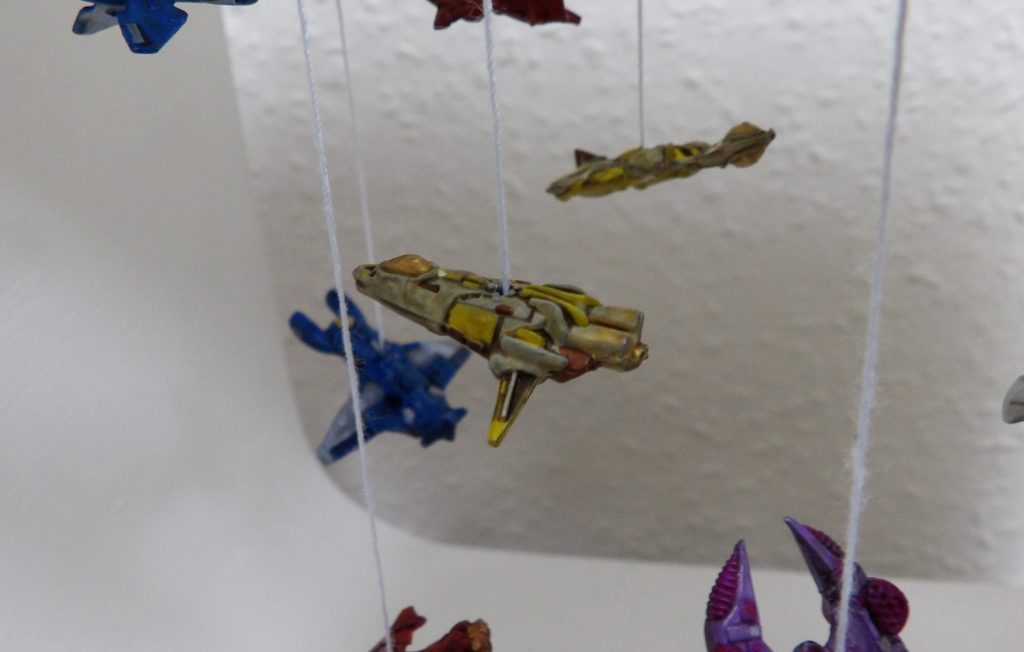
In the search for a quick and simple project, we set our sights on EM-4 Miniatures’ Universal Spacecraft.

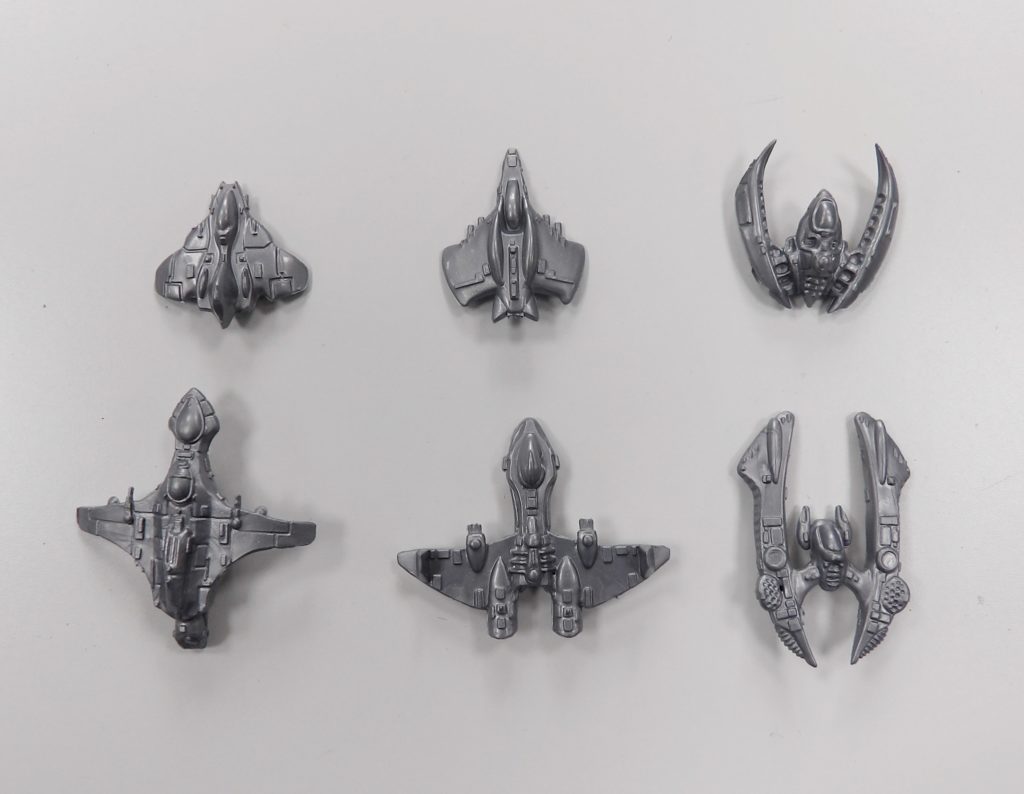
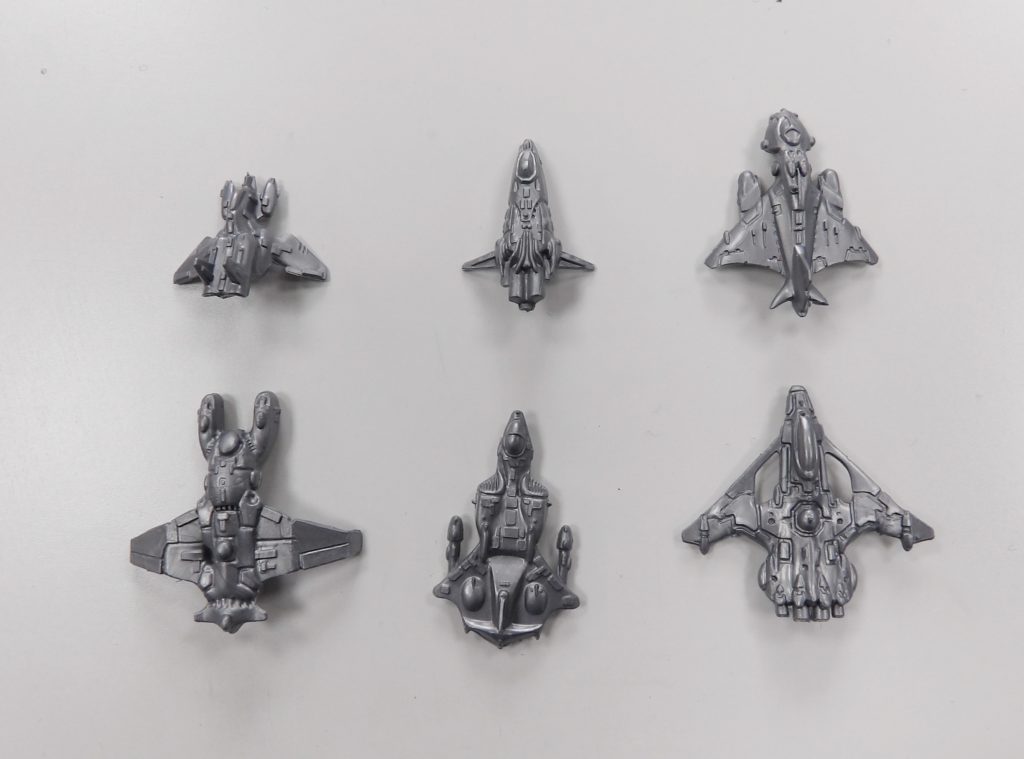
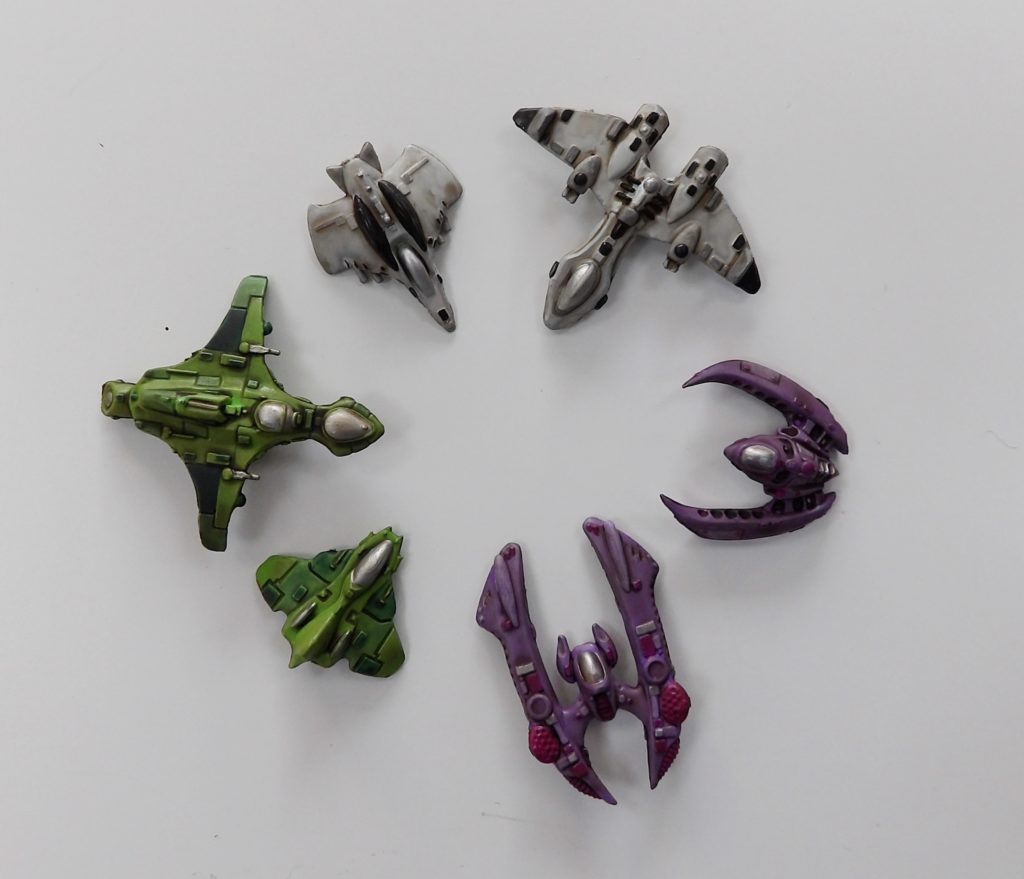
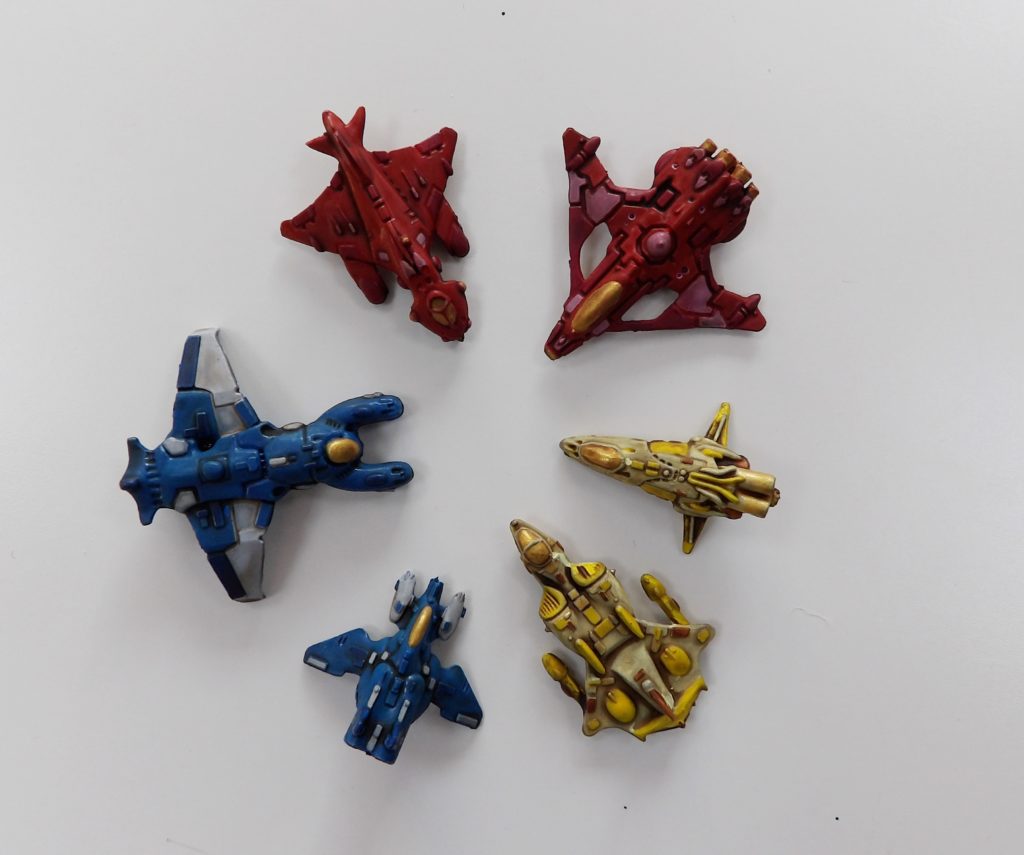
2) For our project, we split the spaceships into six groups. Each group was painted with its own colour scheme.
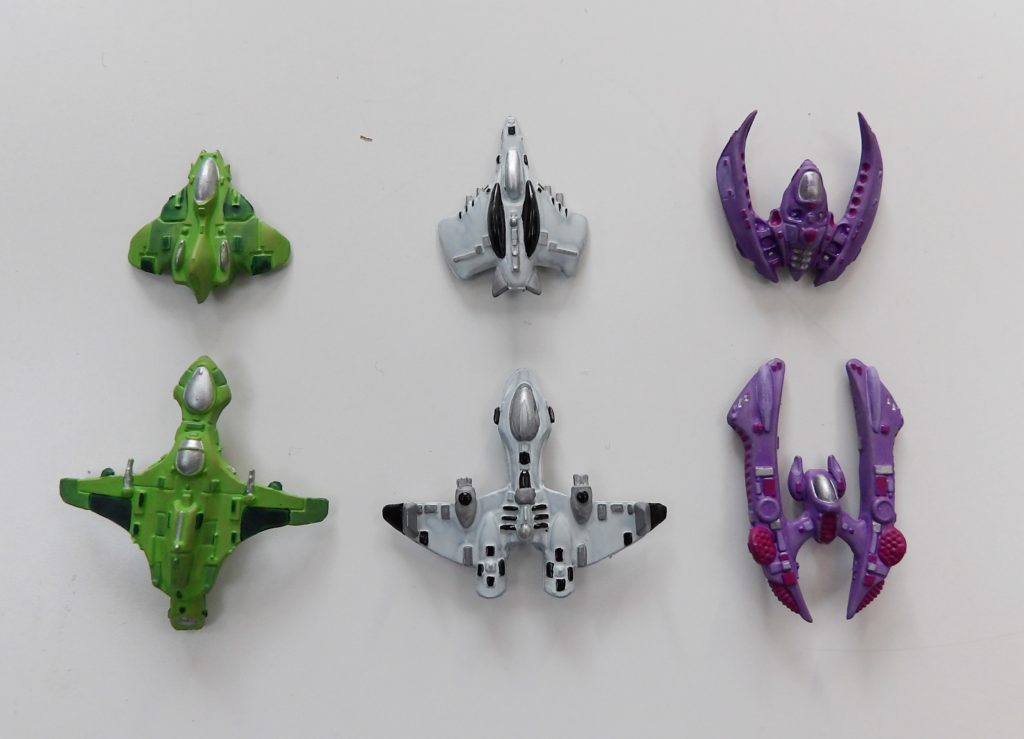
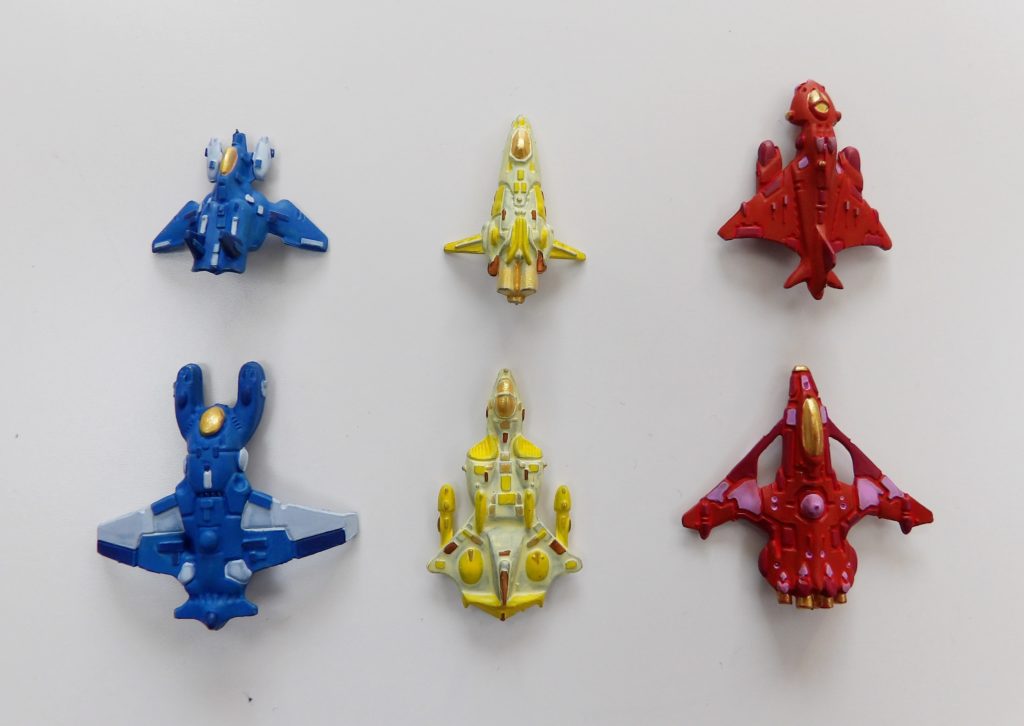
3) Once painted, the models were vanished with a layer of dark wash to enhance the details of the ships.
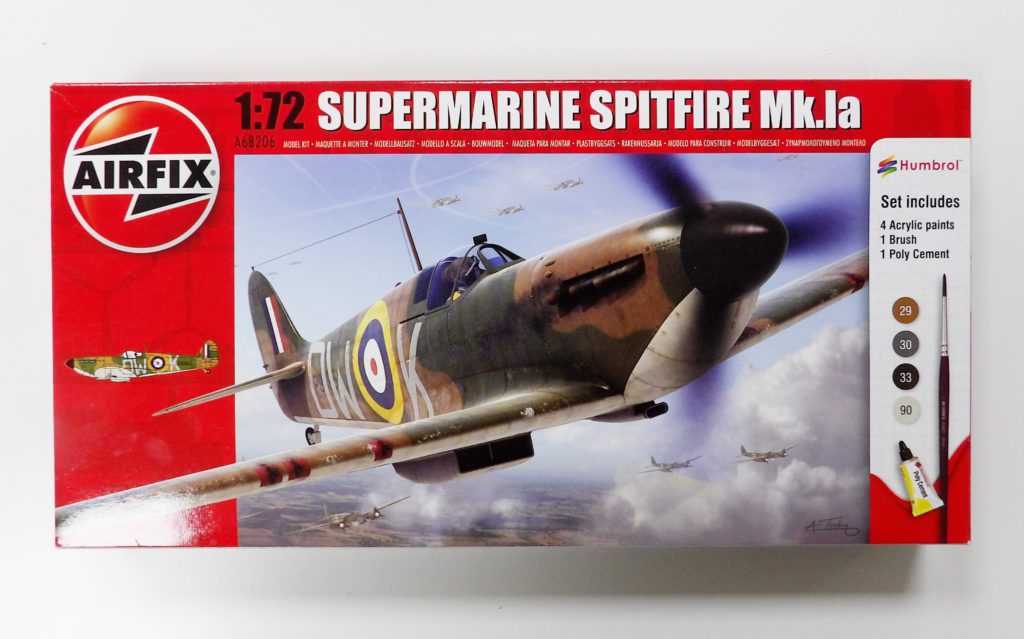
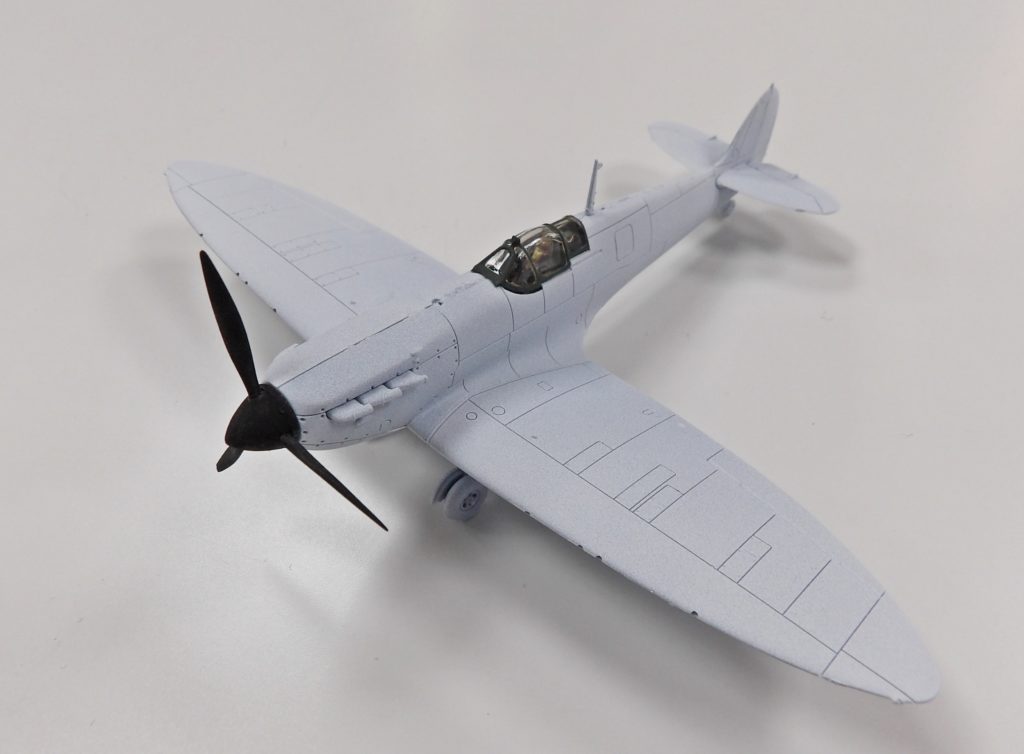
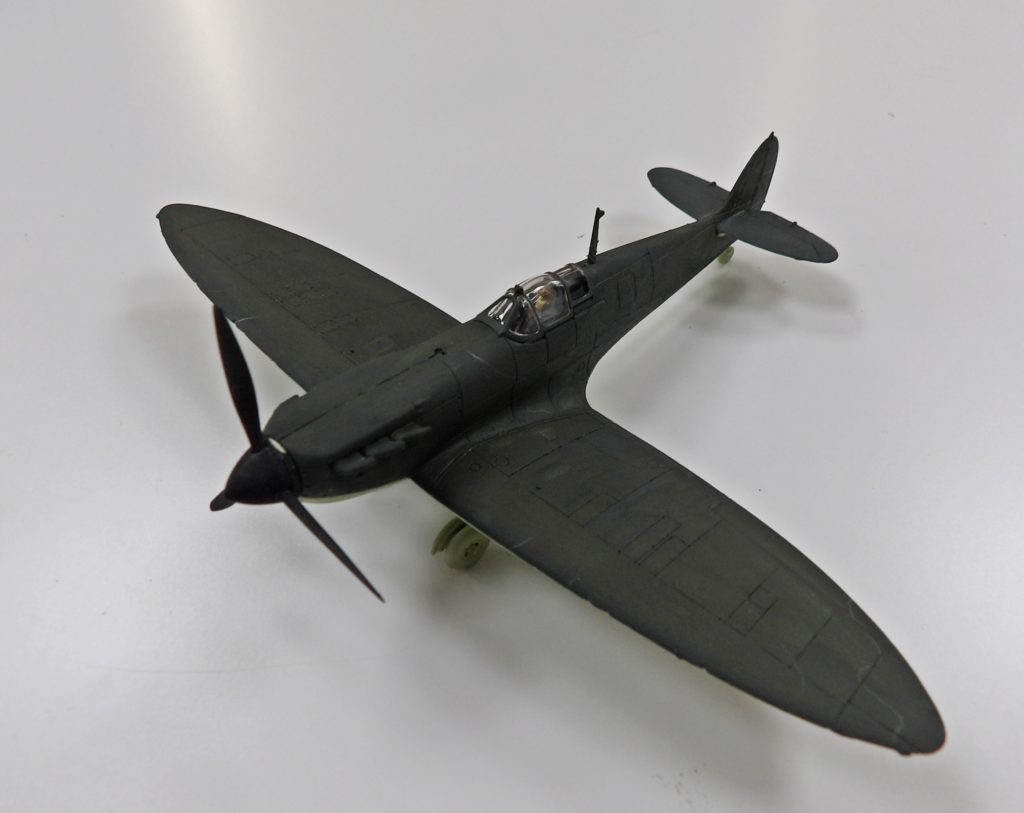
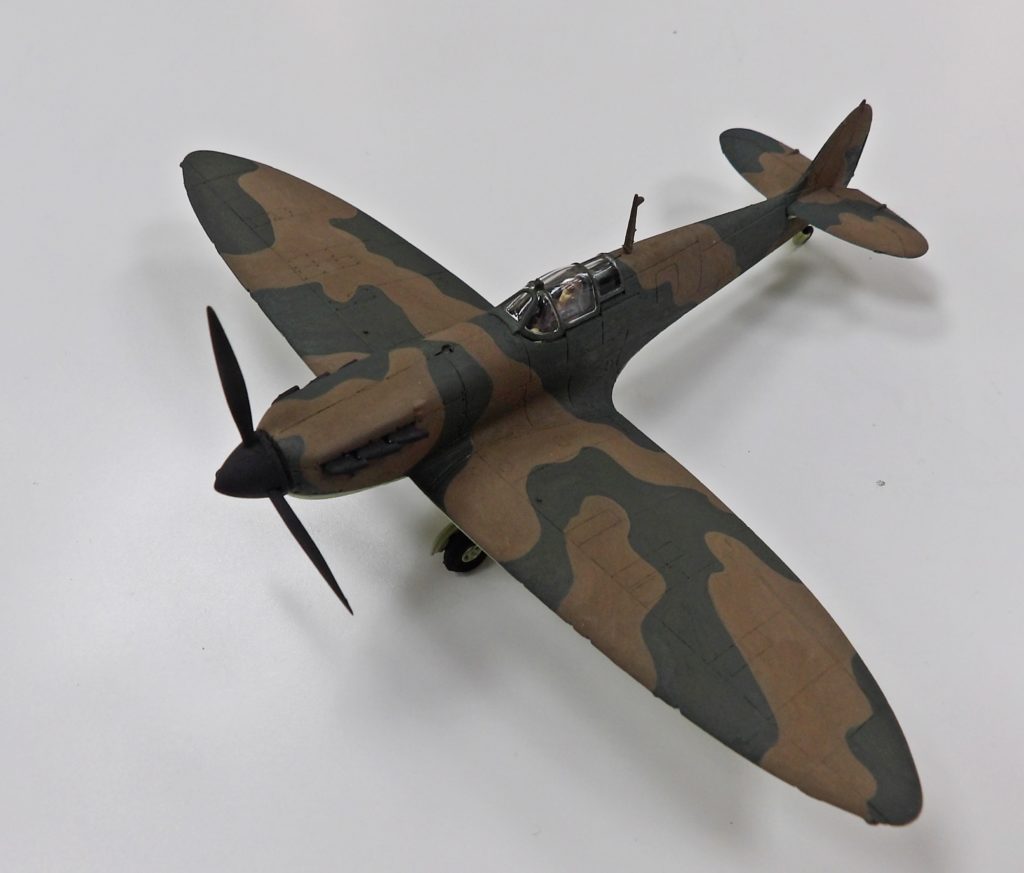
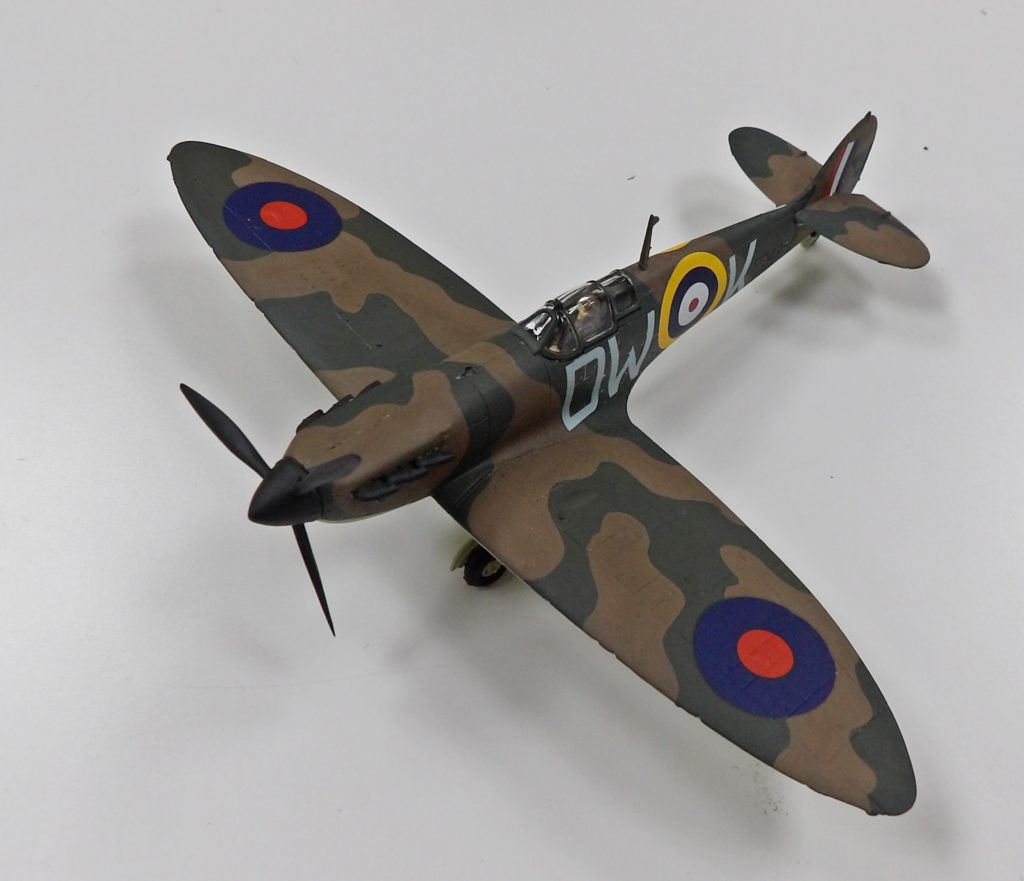
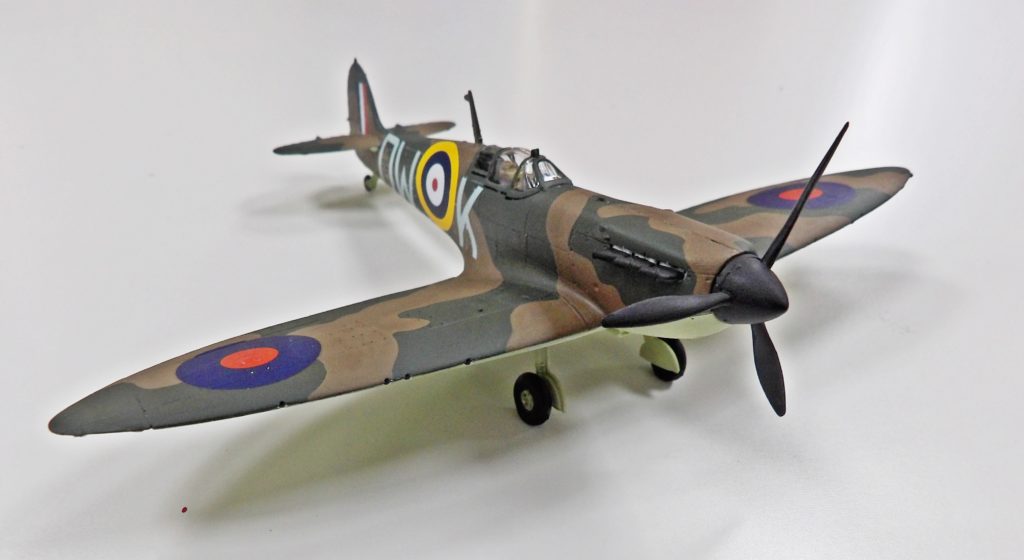
Taking a welcome break from painting millions of minute Roman figures, we are building a Spitfire!
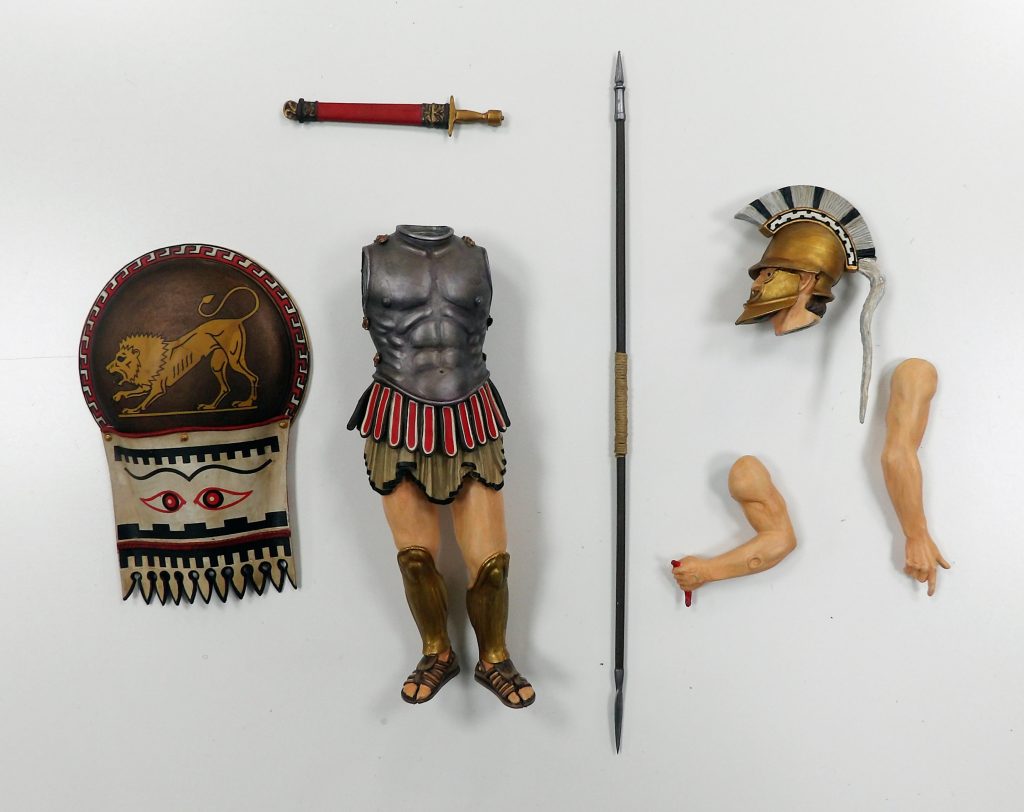
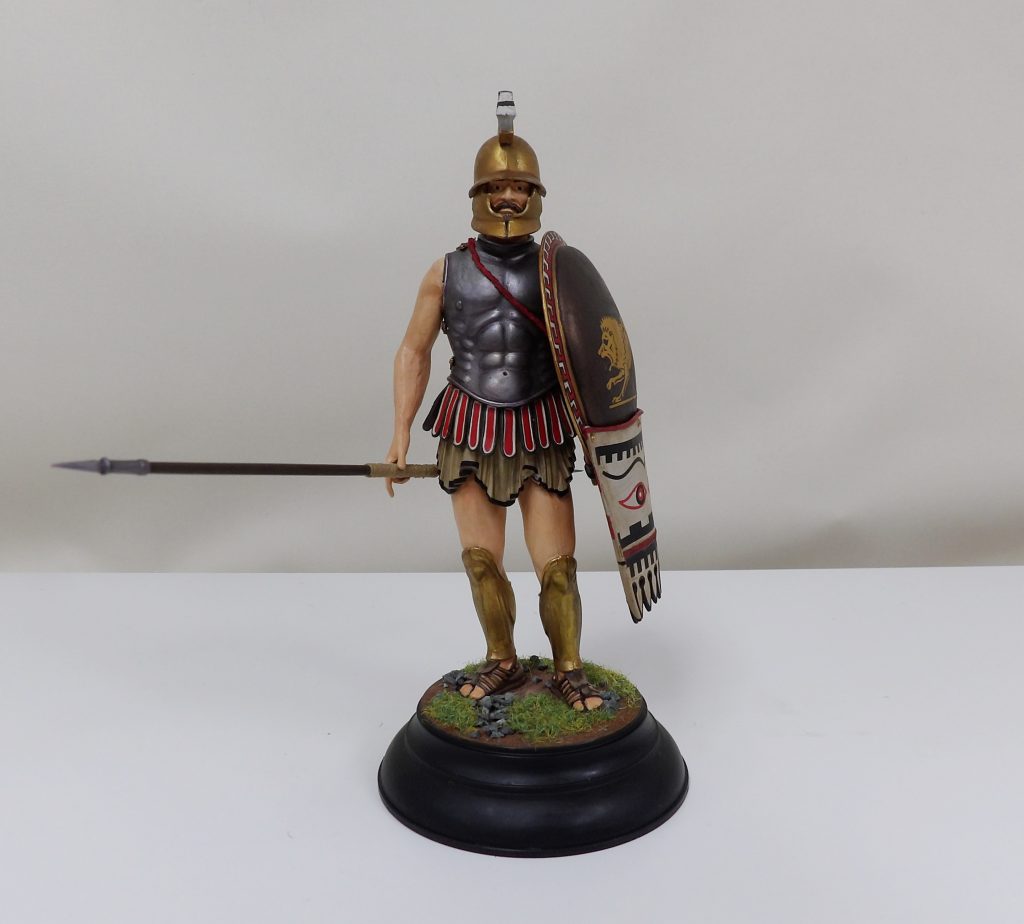
Our latest completed model is the Greek Hoplite – a common citizen-soldiers that can quickly take up arms to go to war. They are typically armed with a spear, shield, and sword.
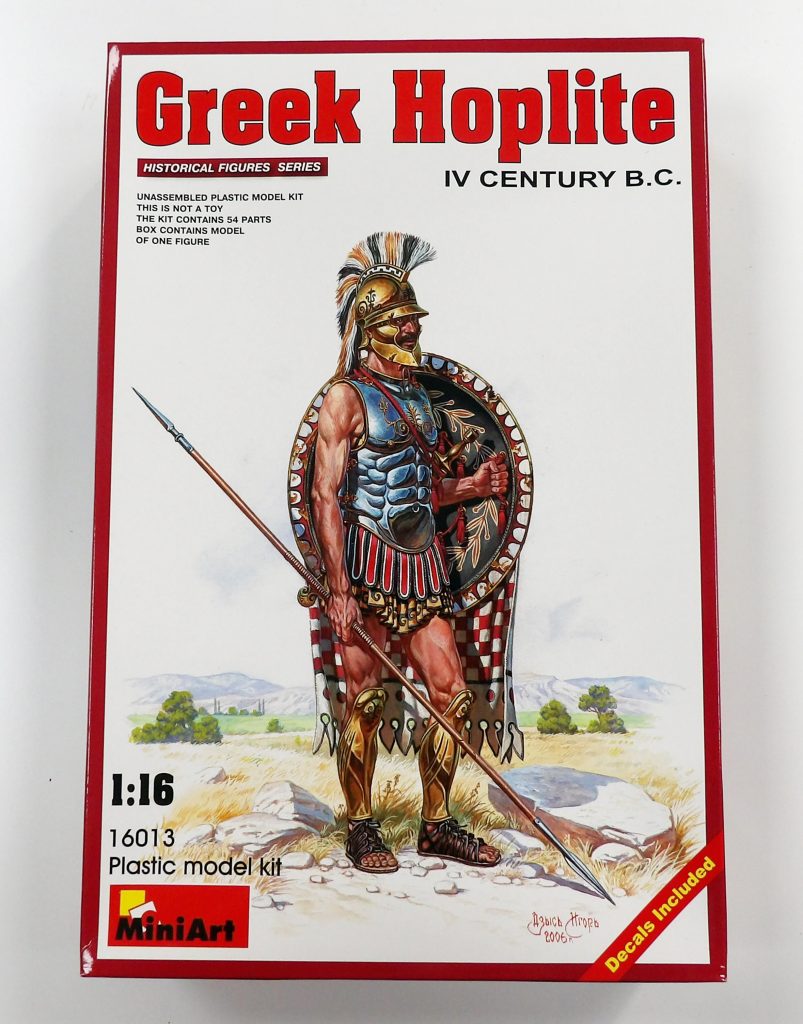
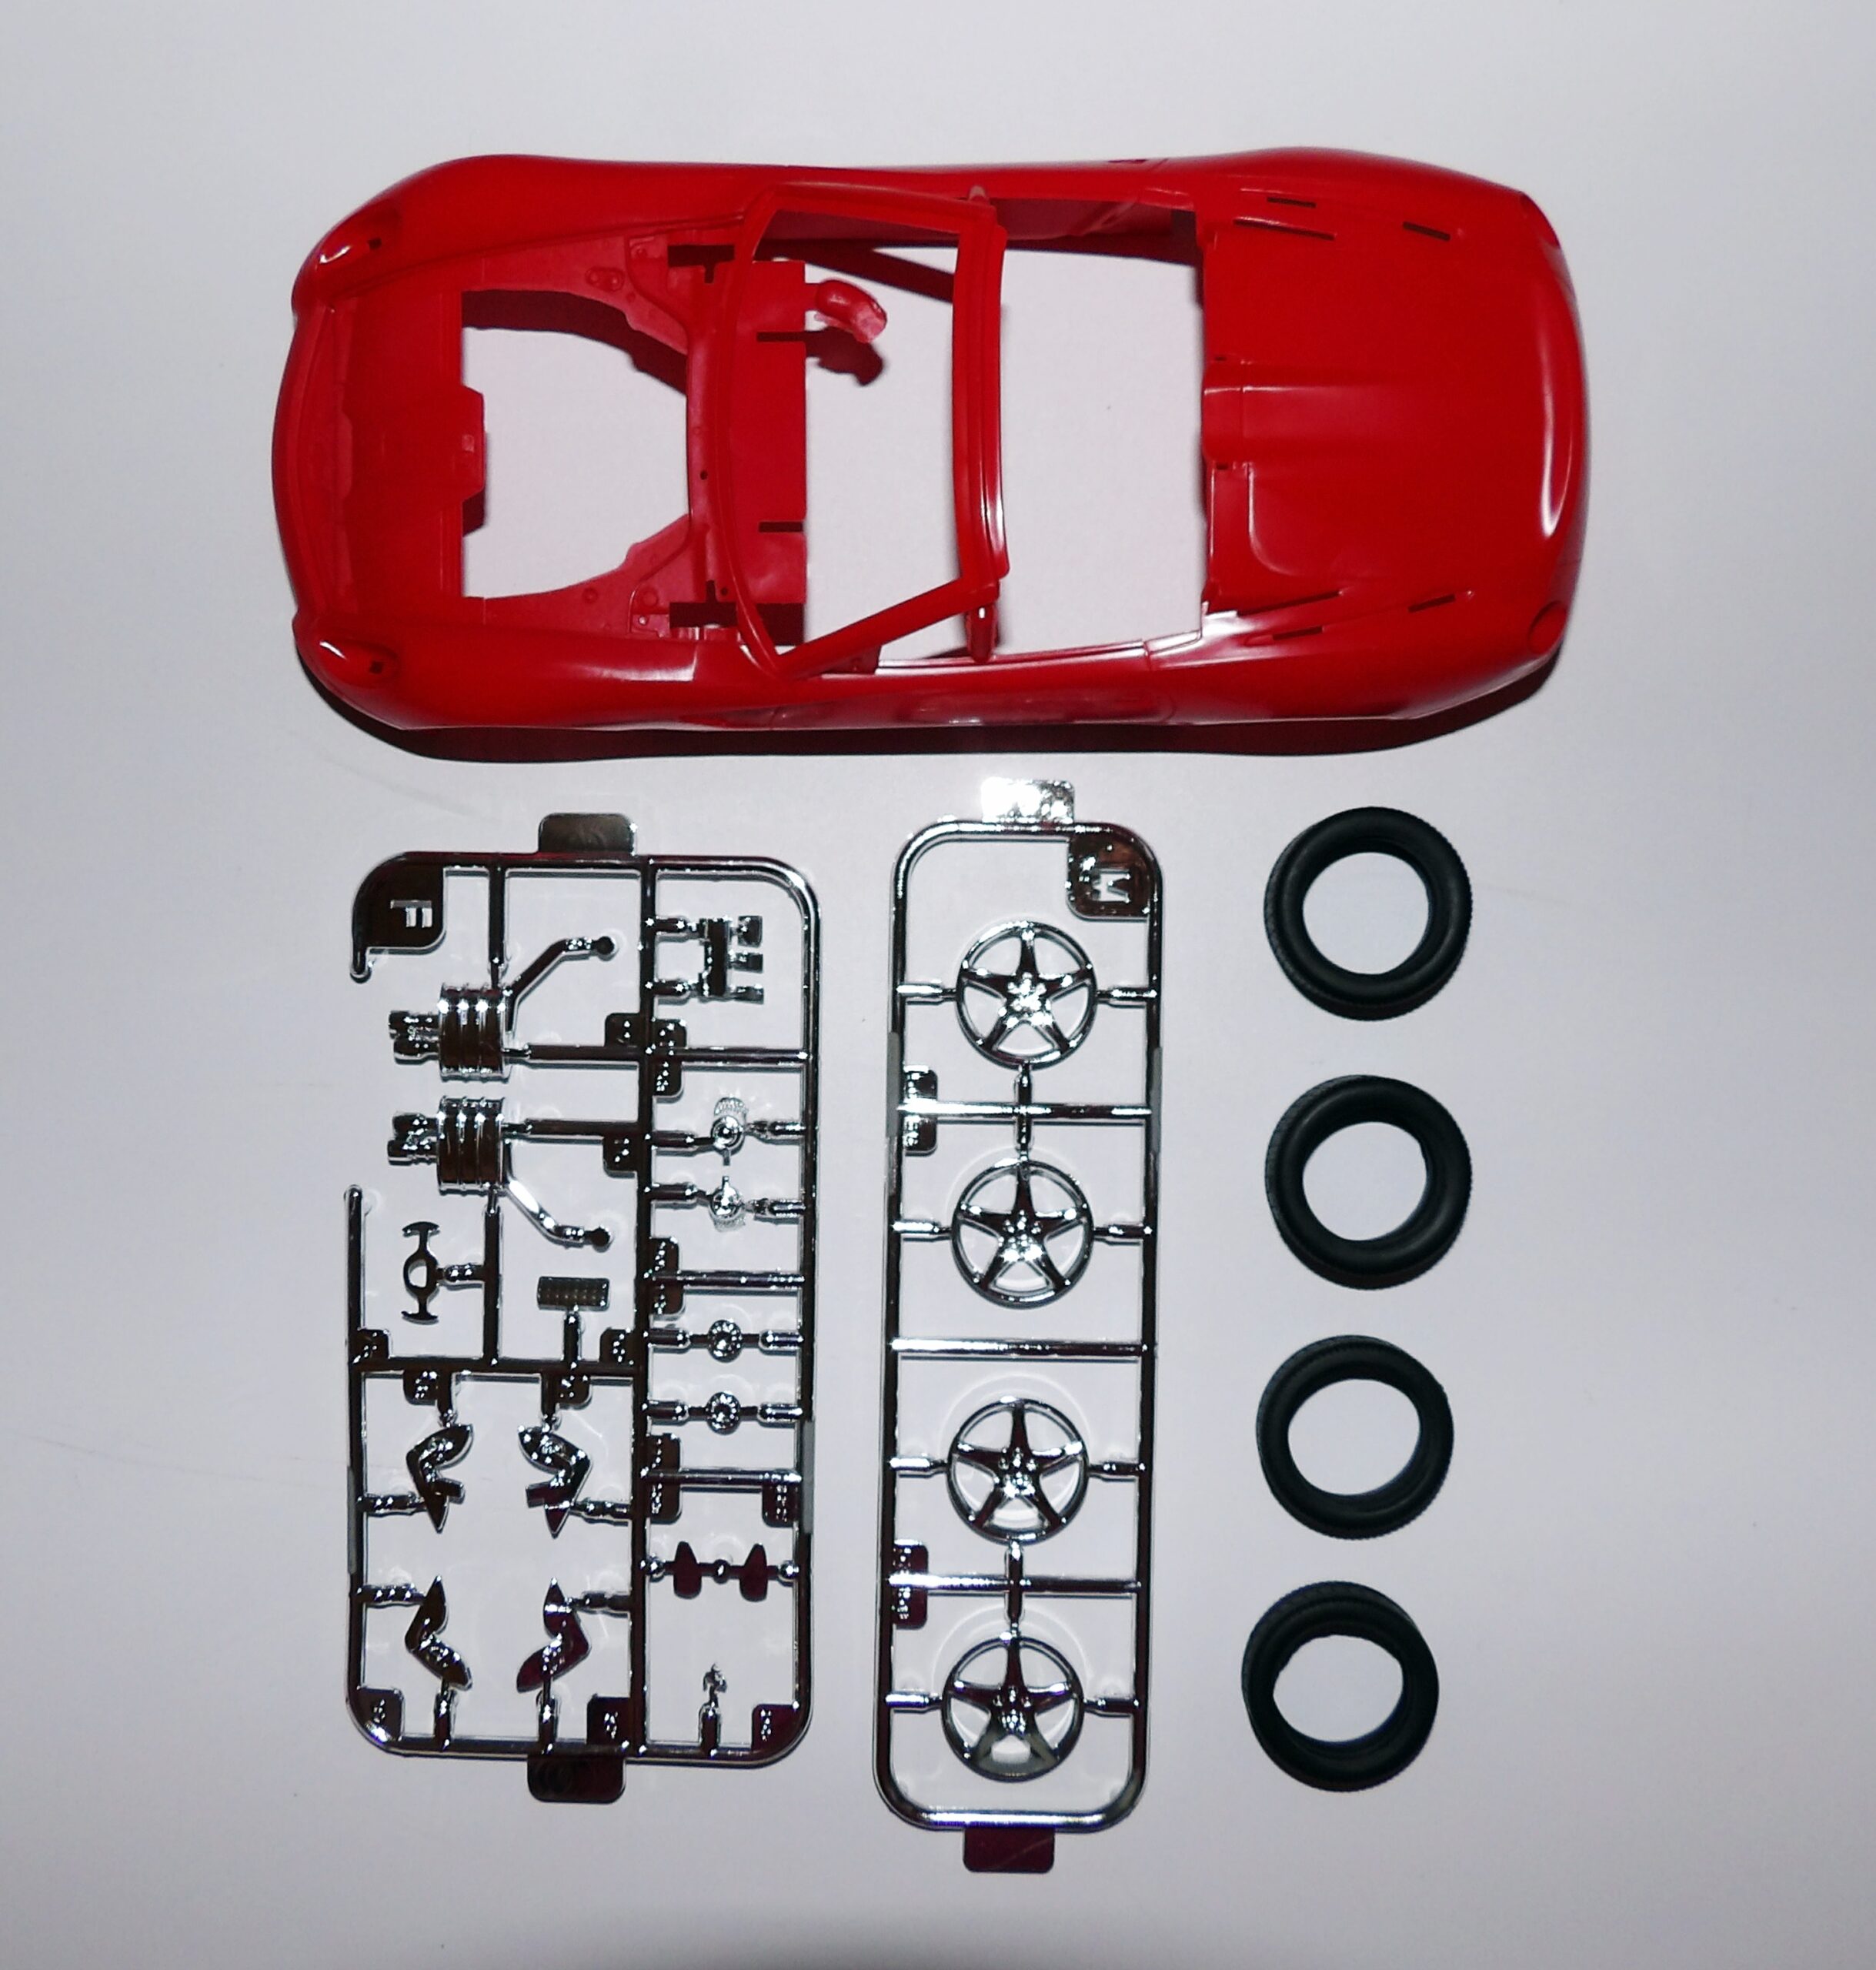
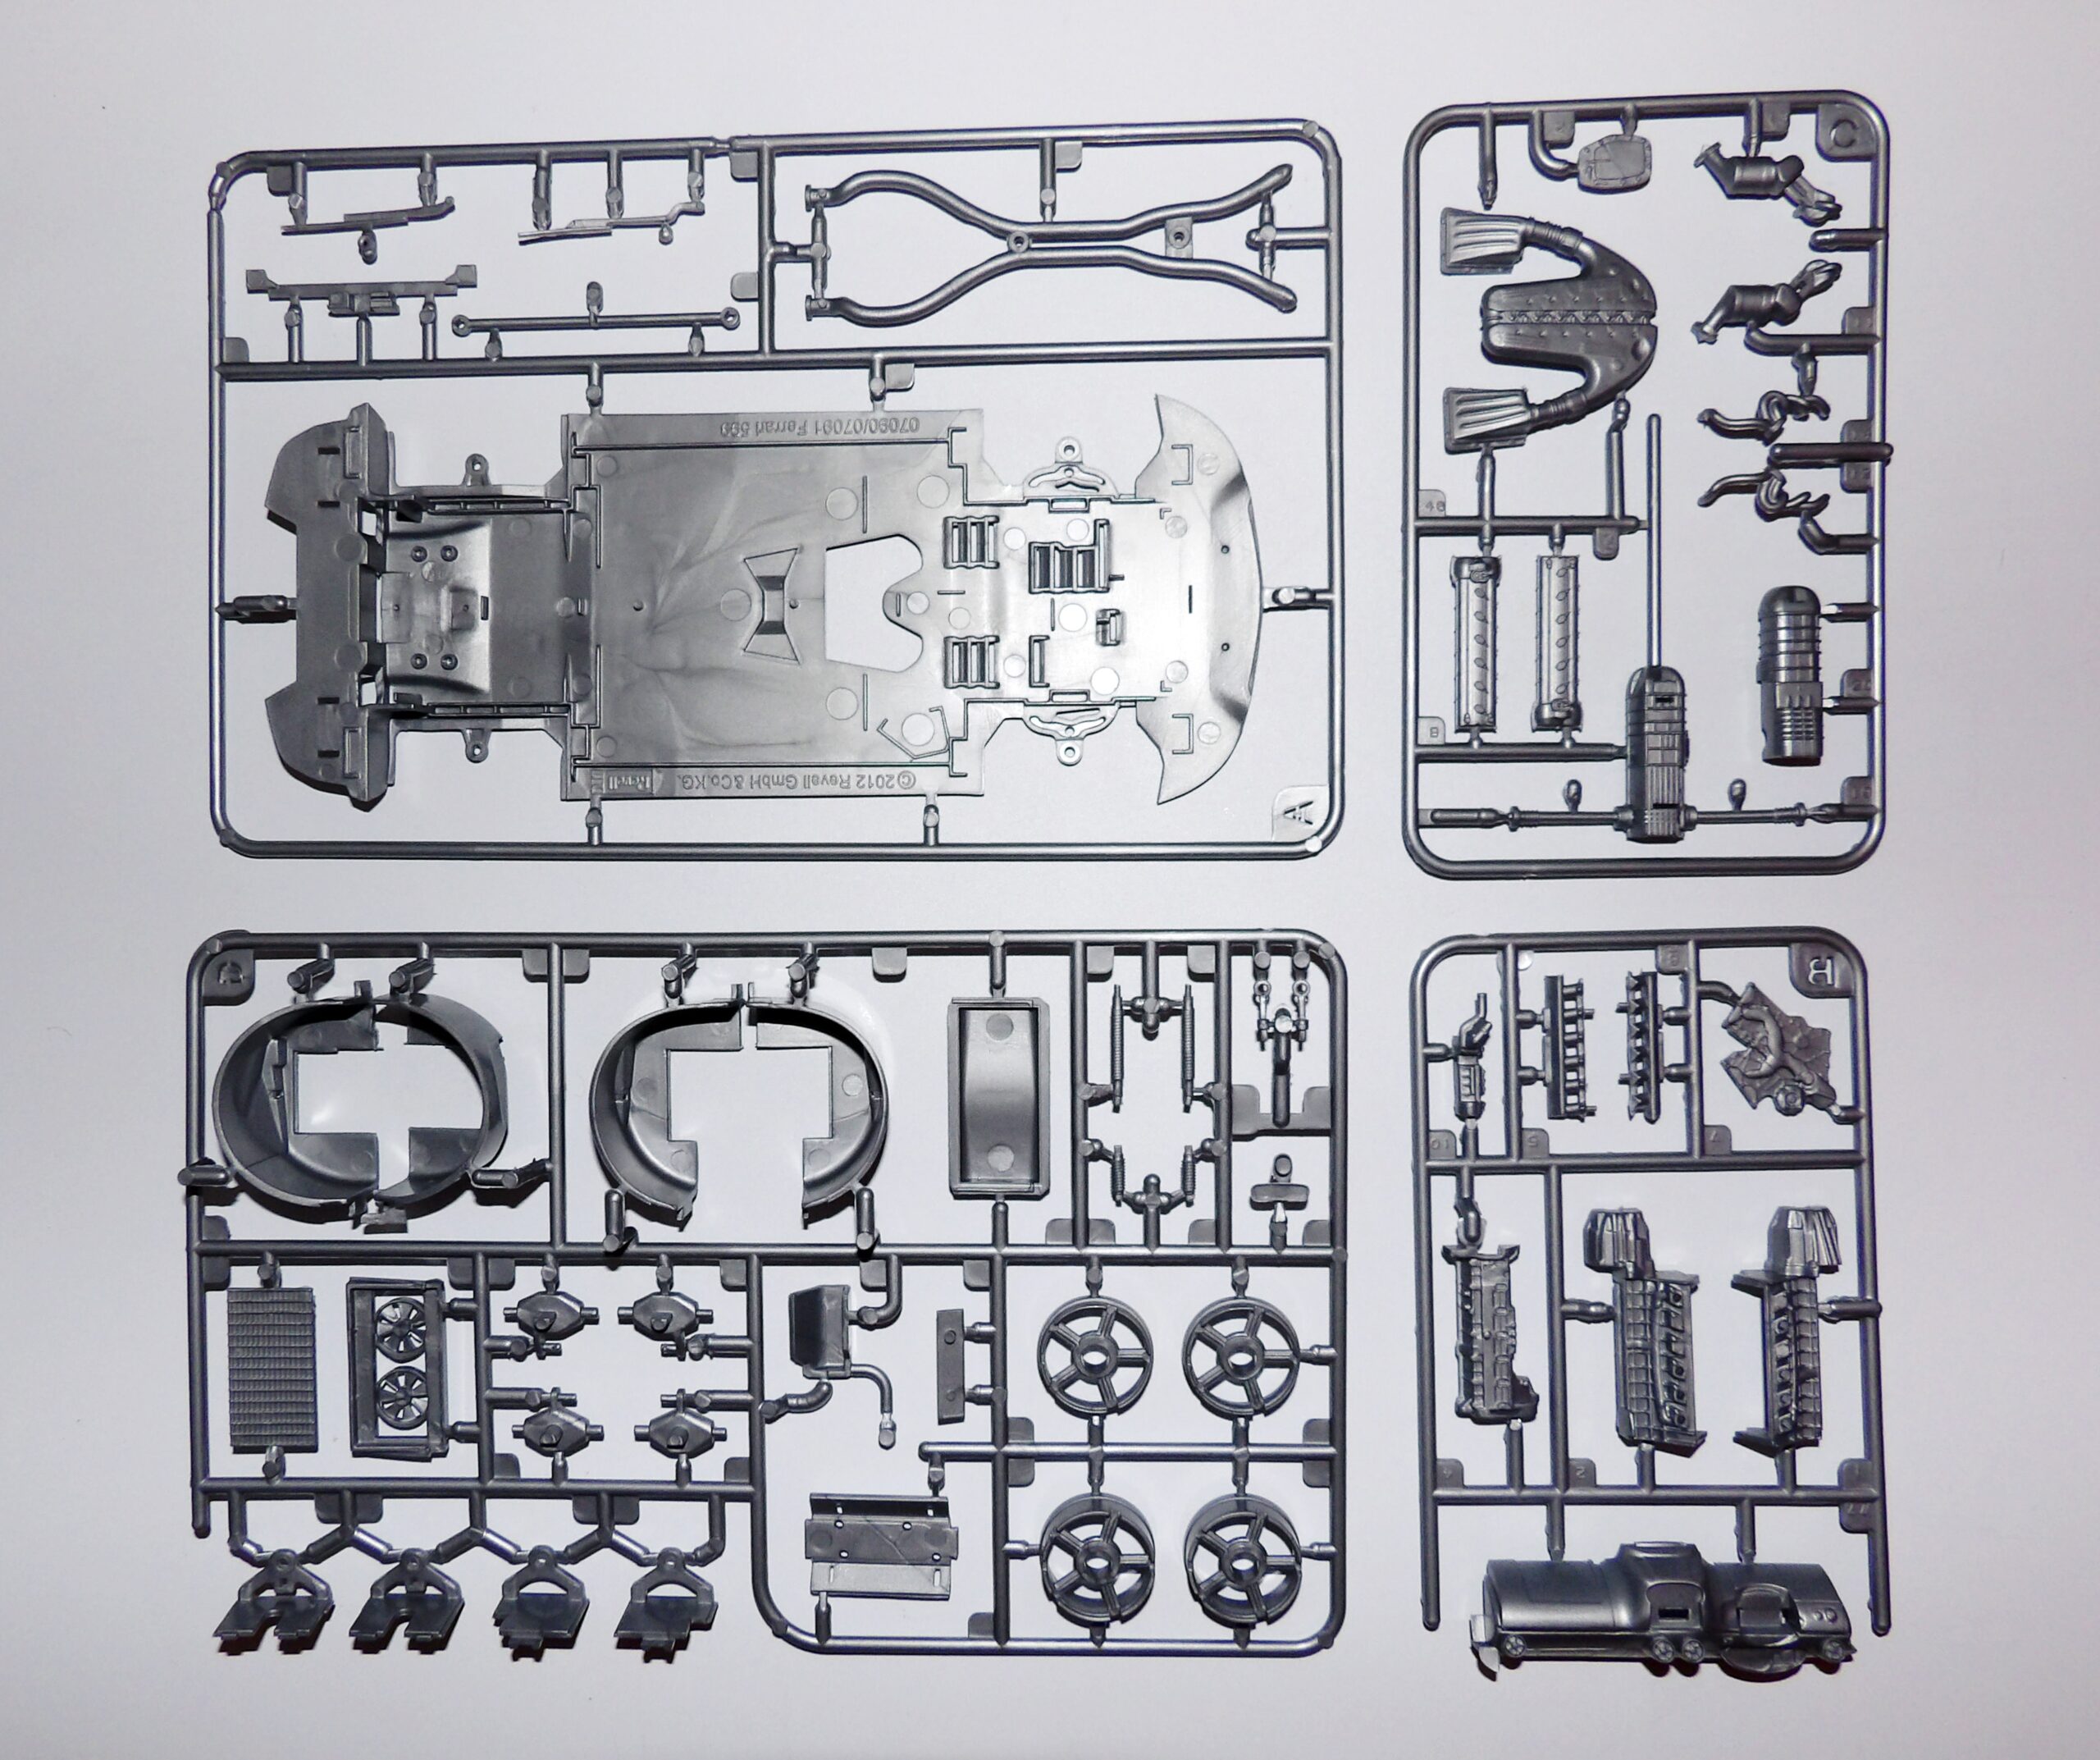
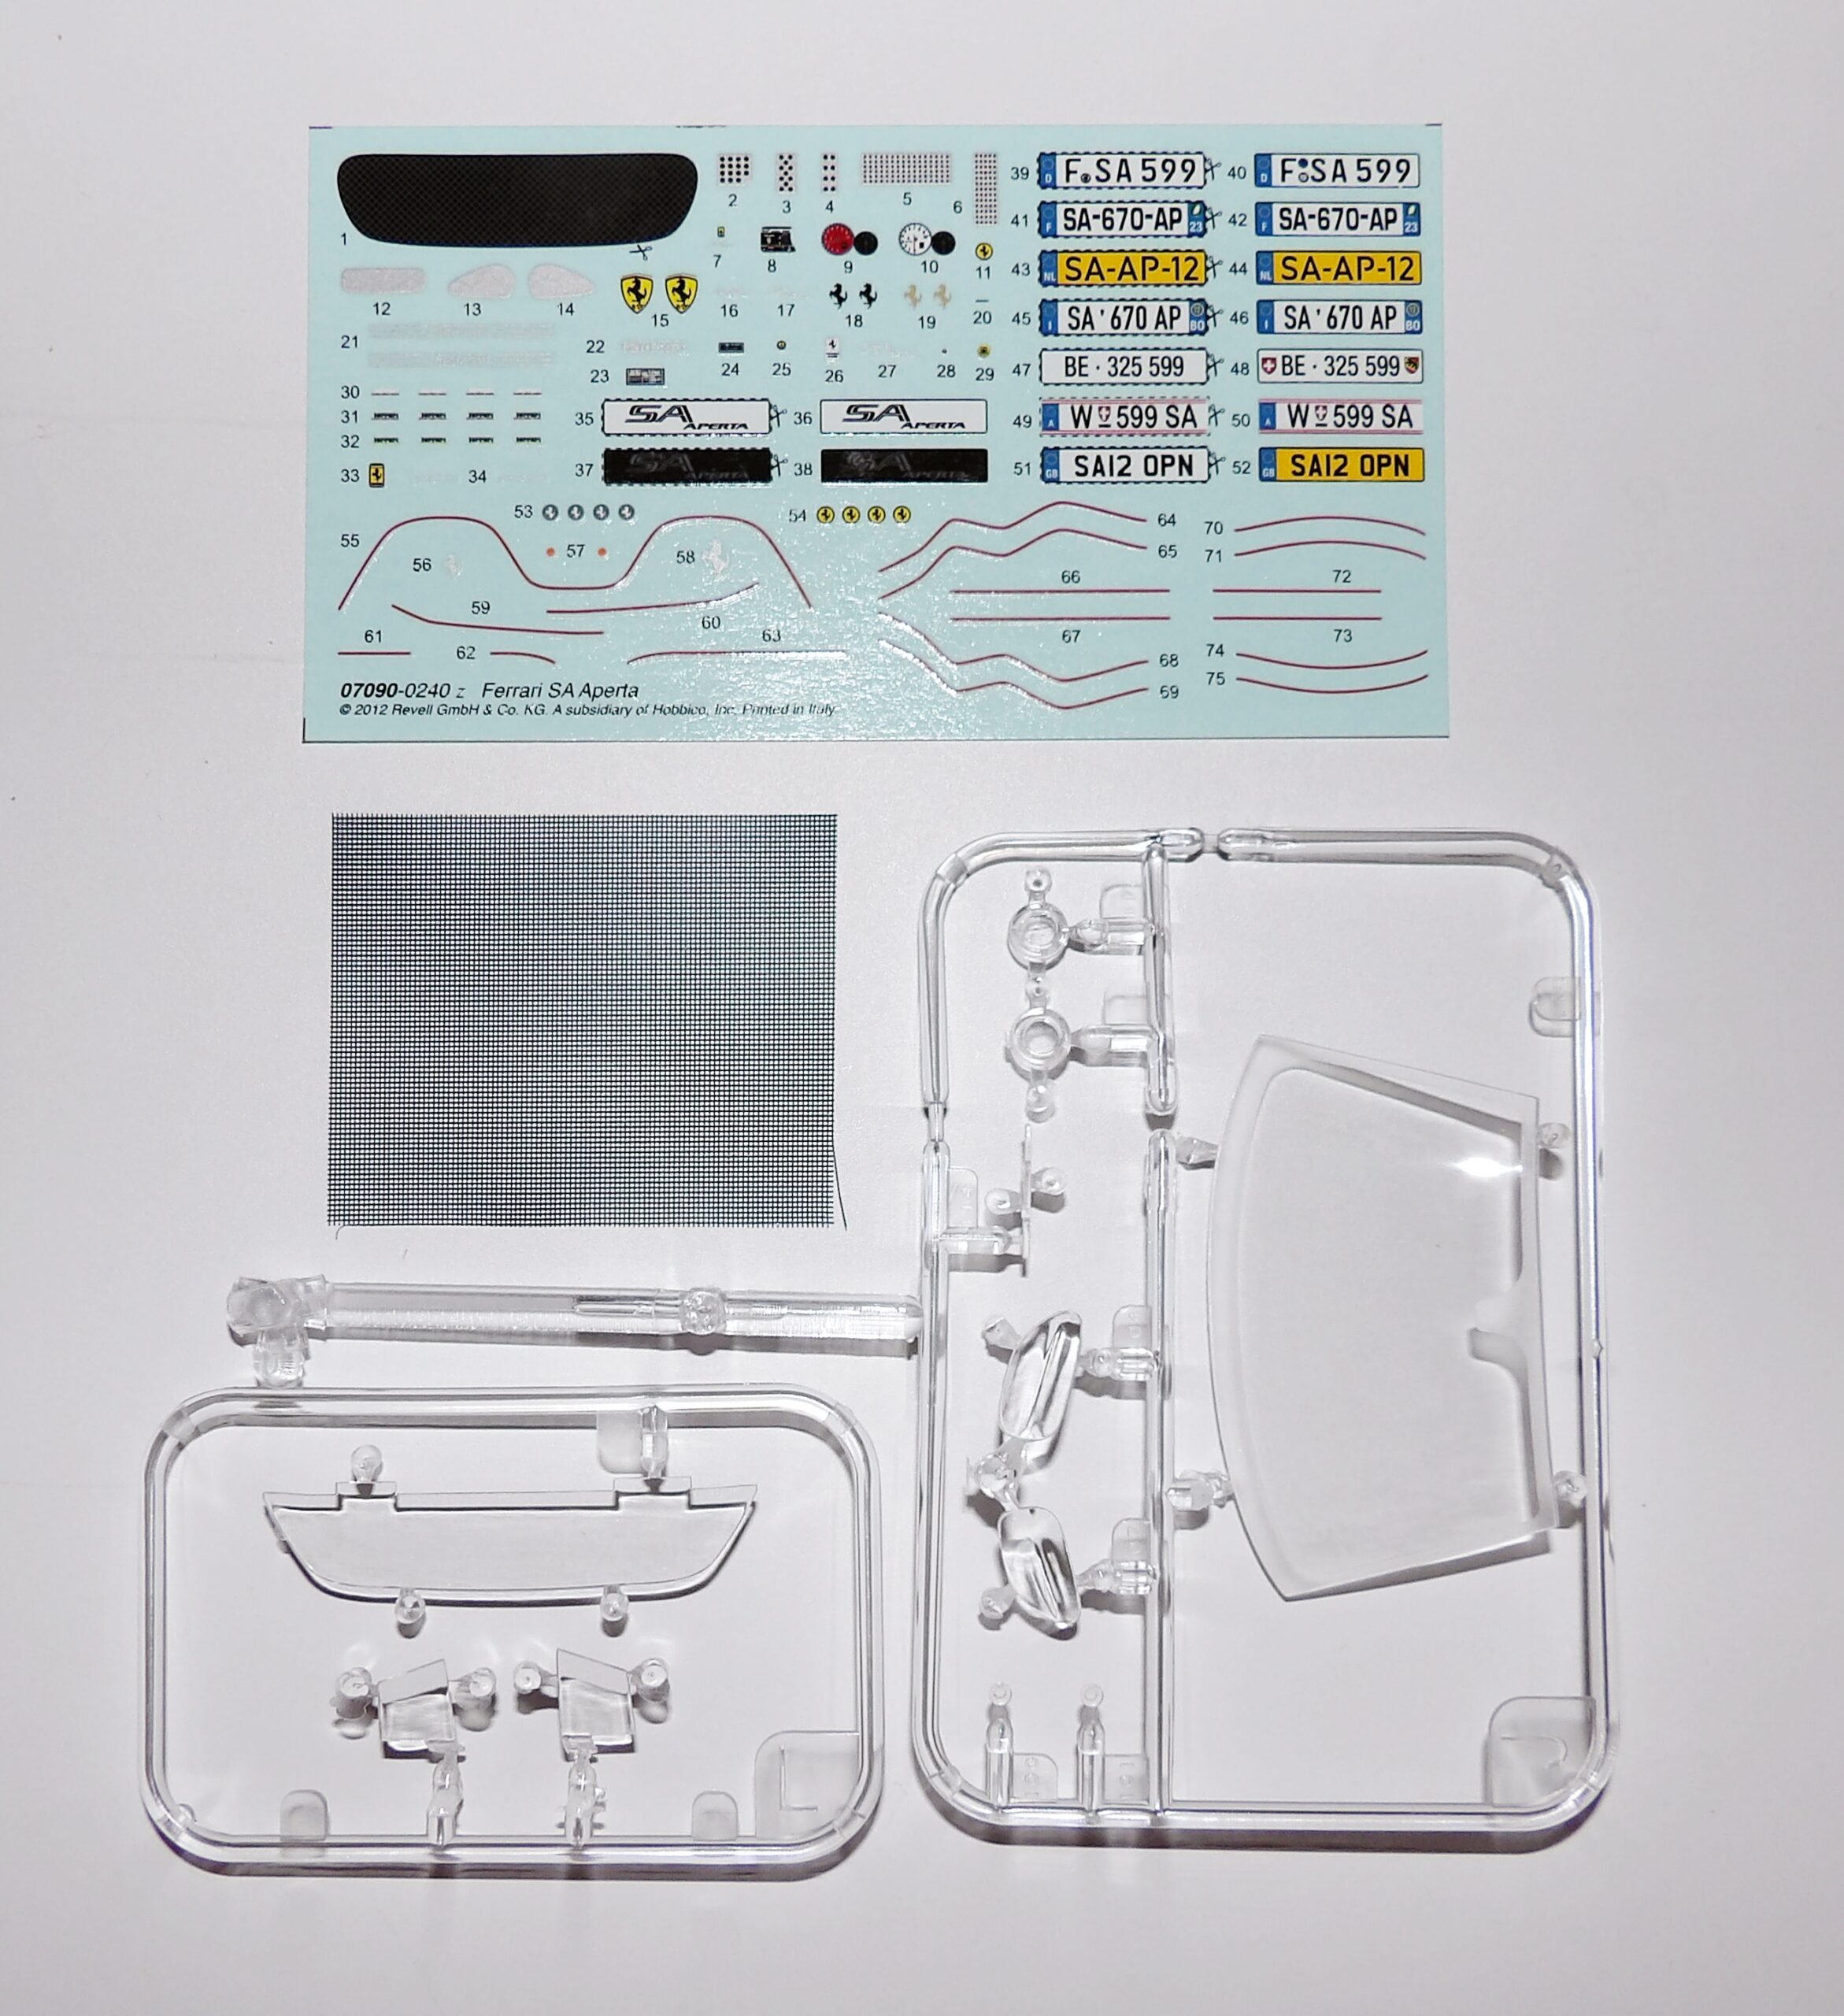
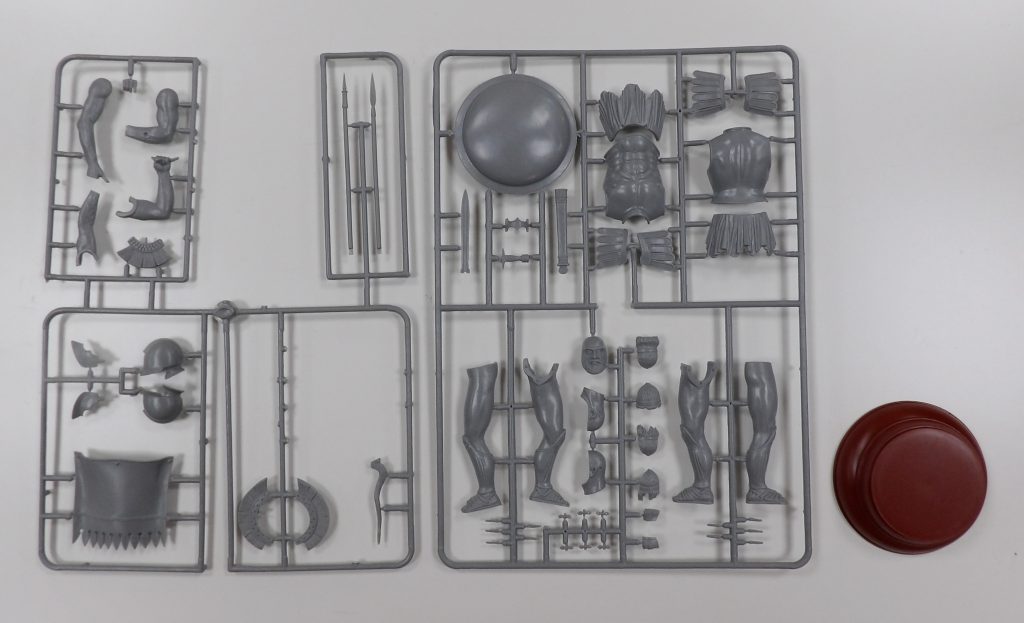
1) Included in the kit are the sprues for the 1:16 figure, armour, weapons, decals and a base.
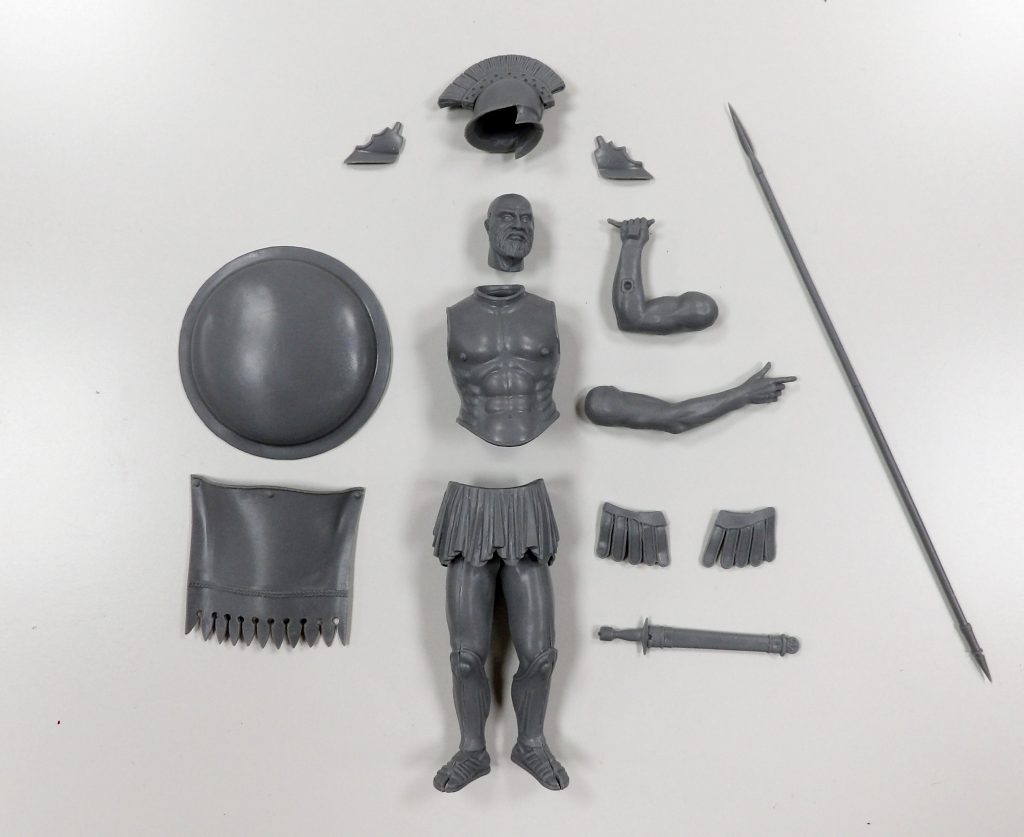
2) Here is the partially assembled model ready for priming.
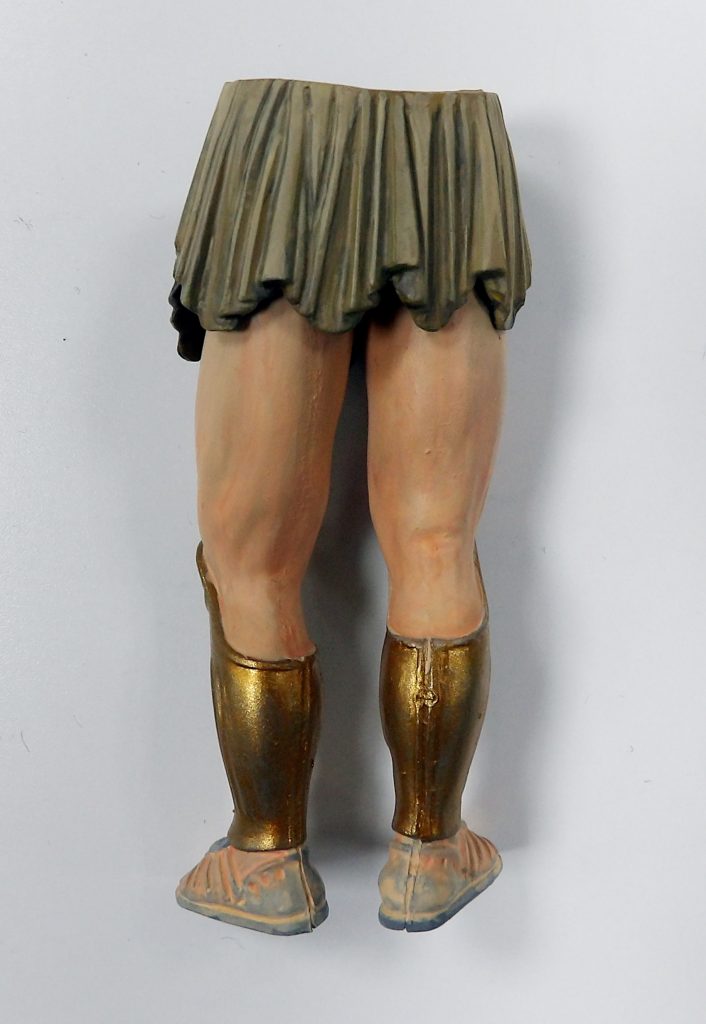
3) The skirt was shaded with three colours, here is the finished outcome that we are particularly proud of.
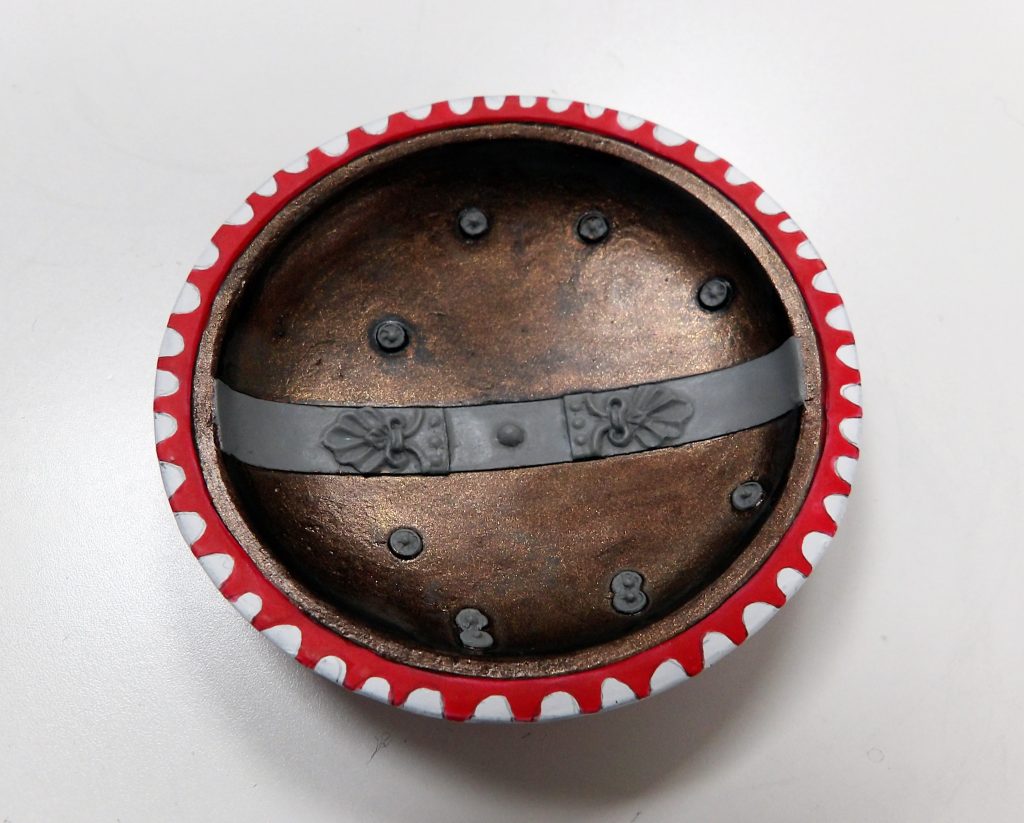
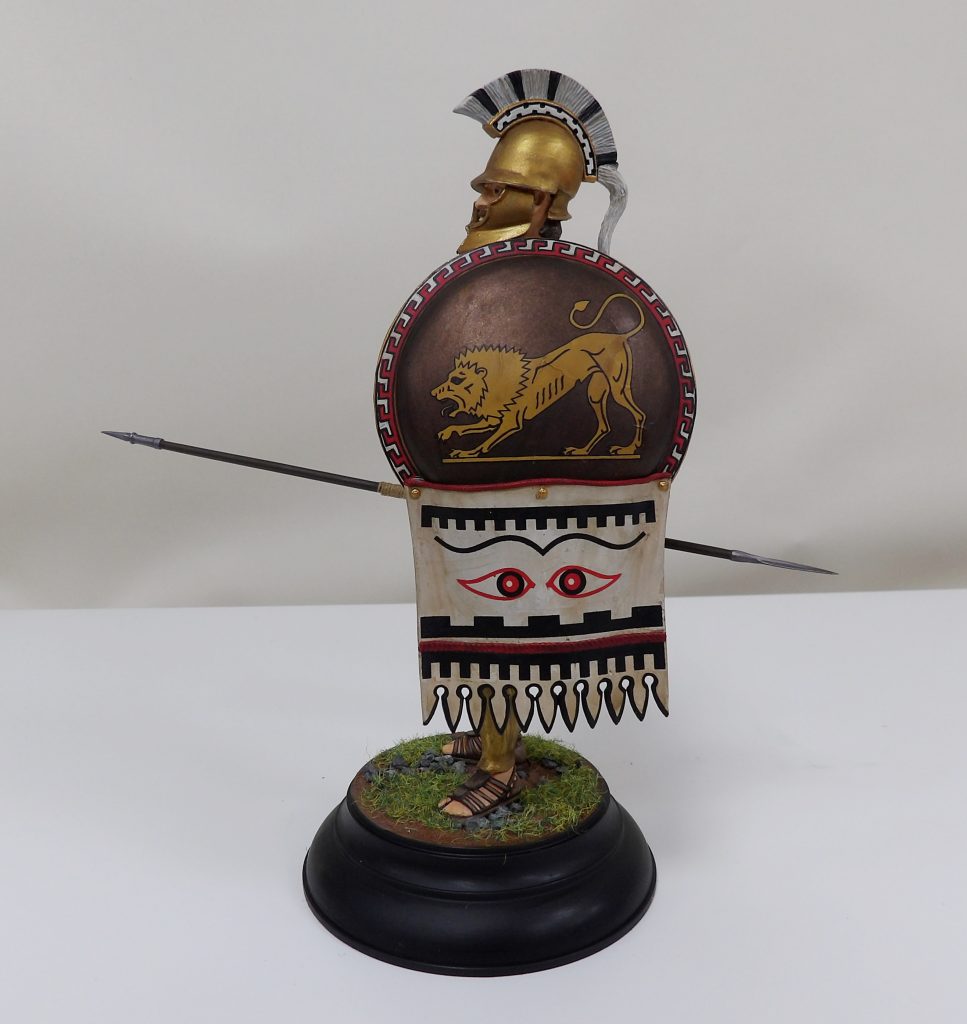
4) This model came with some decals for the shield, but some details on the artwork are missing. For example the edge of the shield had to be drawn on and painted by hand.
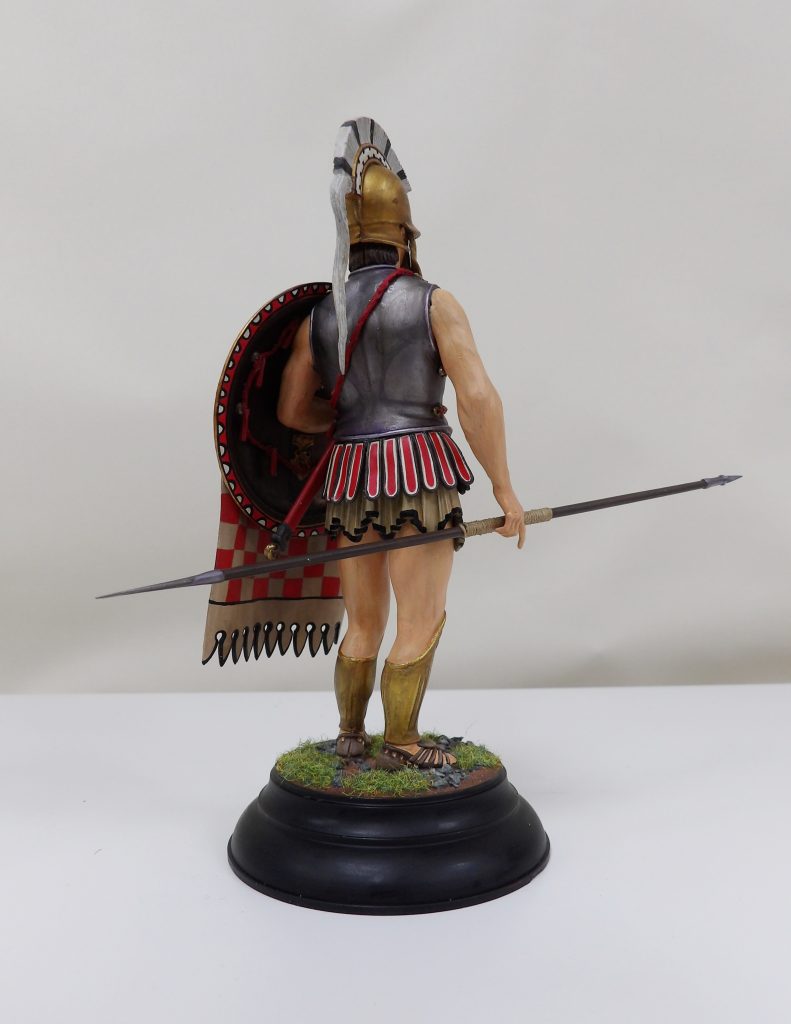
5) Once all the parts were painted, they were varnished with a wash. Various shades were applied, for example, a flesh tone was applied to the skin and a purple/blue tone to the armour.
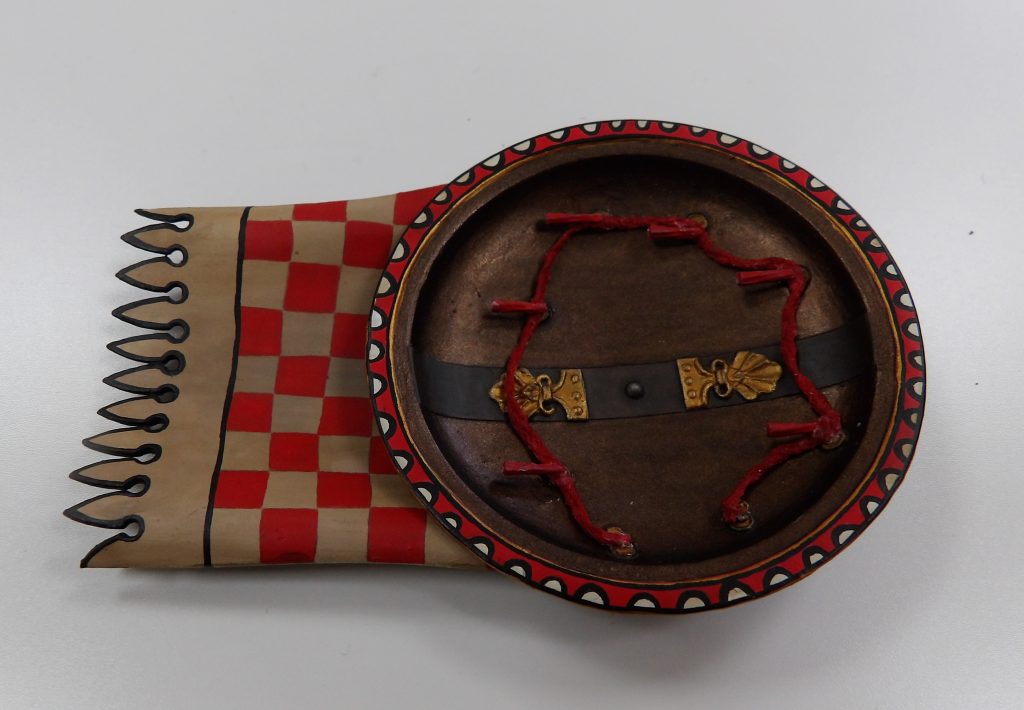
6) Another detail that was not included were the ropes inside the shield, lining the spear, and attached to the sword. To make the rope, we plaited together three threads (to add thickness) and glued onto the various parts using superglue.
7) Finally, we stuck the figure on to the base and added vegetation.
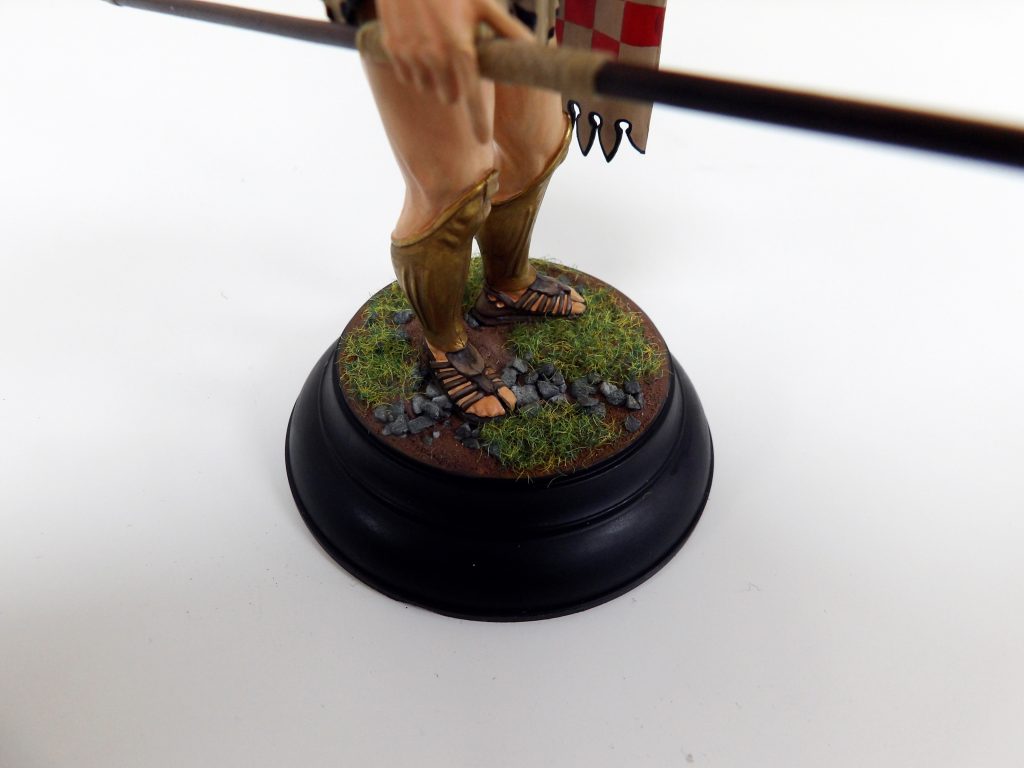
8) Here is our finished model:
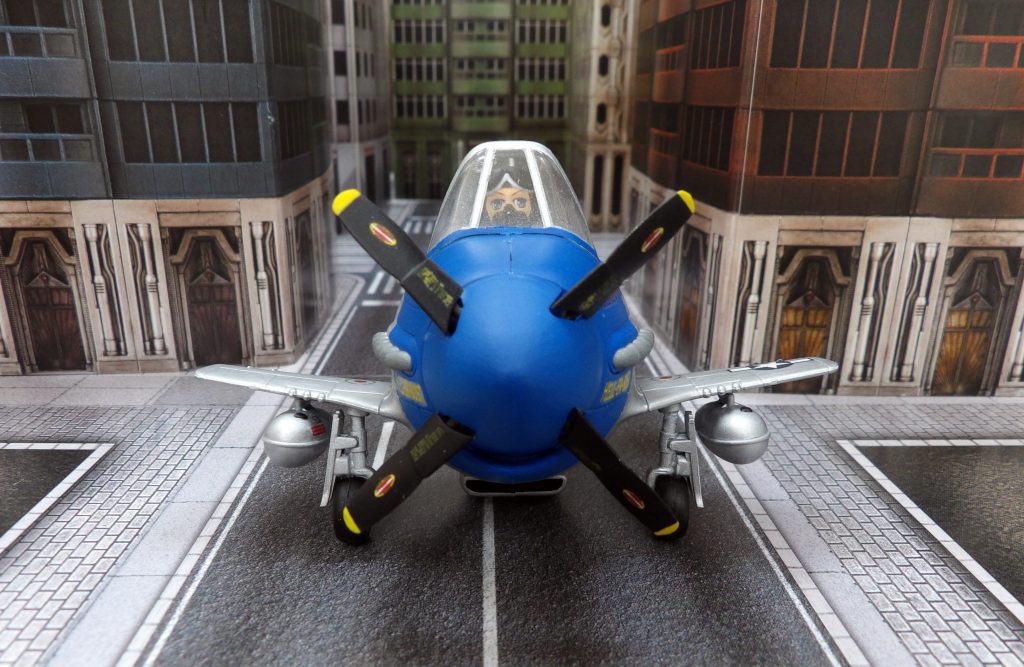
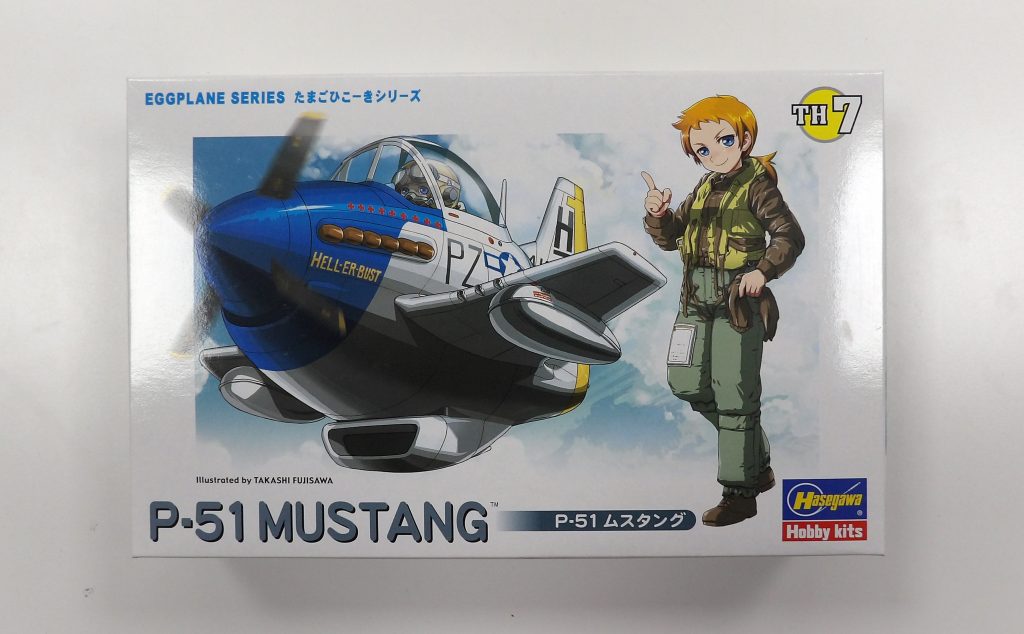
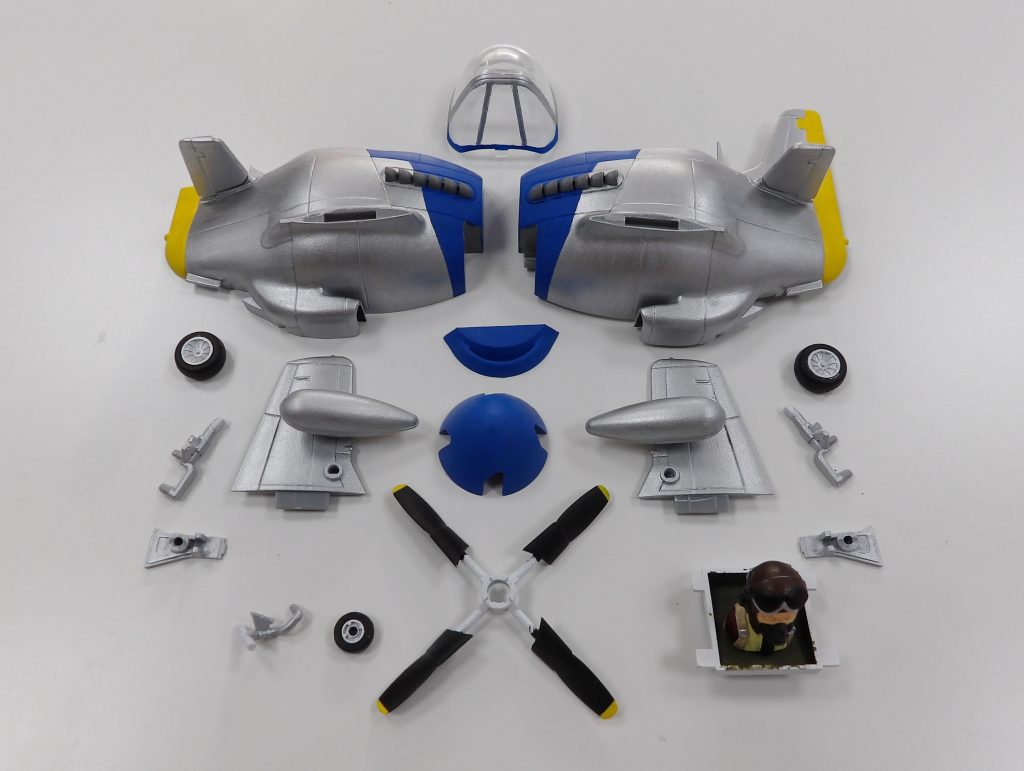
Ladies and gentlemen, brace yourselves for some chibi cuteness. For in this project we are building an eggplane!
“Eggplane? You mean something that is edible and can be flown in?”
Well no….
“A vehicle that transports poultry away from the cruelty of mankind?”
What…? No!
“Please don’t tell me it’s just an egg-shaped plane?”
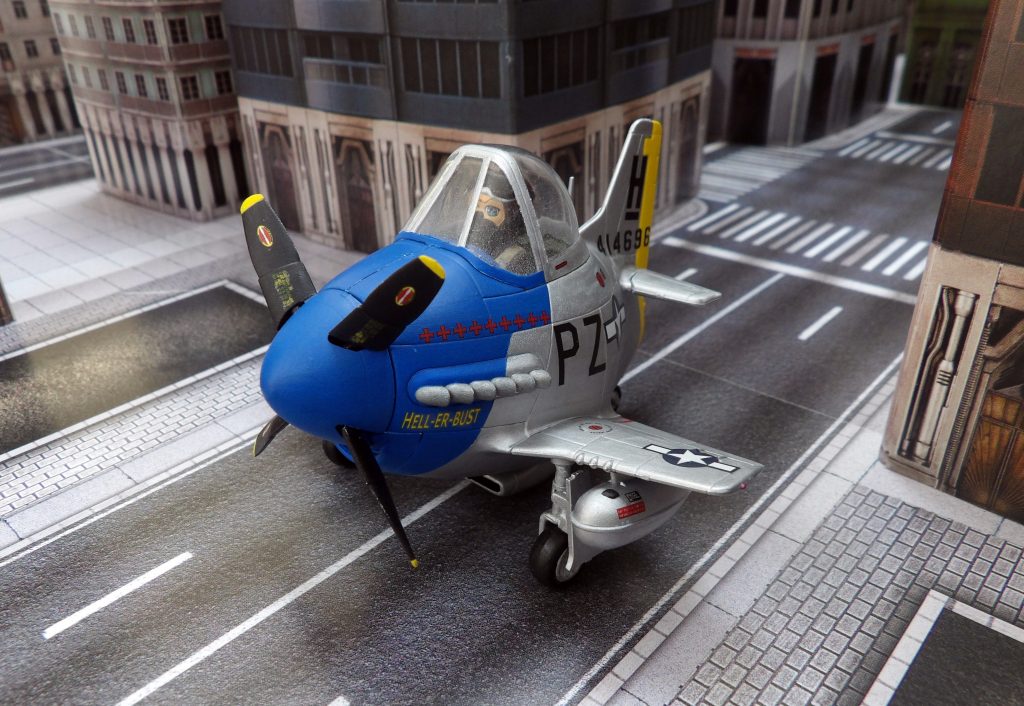
Without further ado, here is how we built our egg-shaped Mustang:
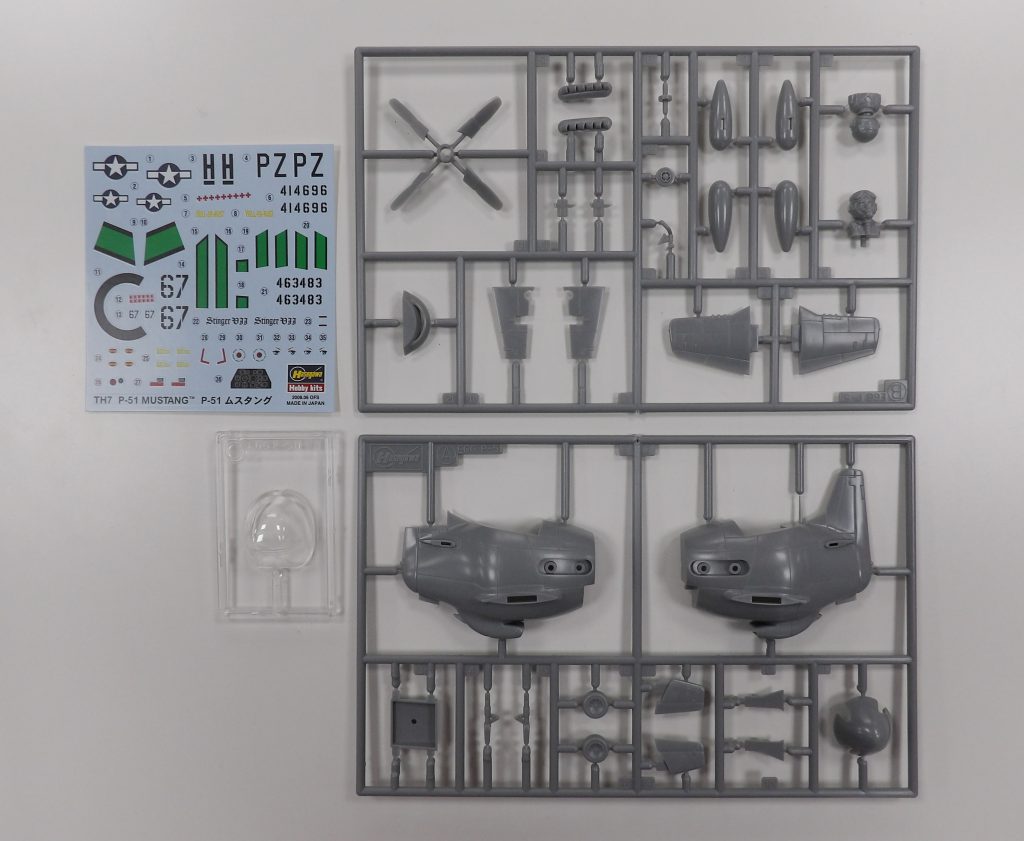
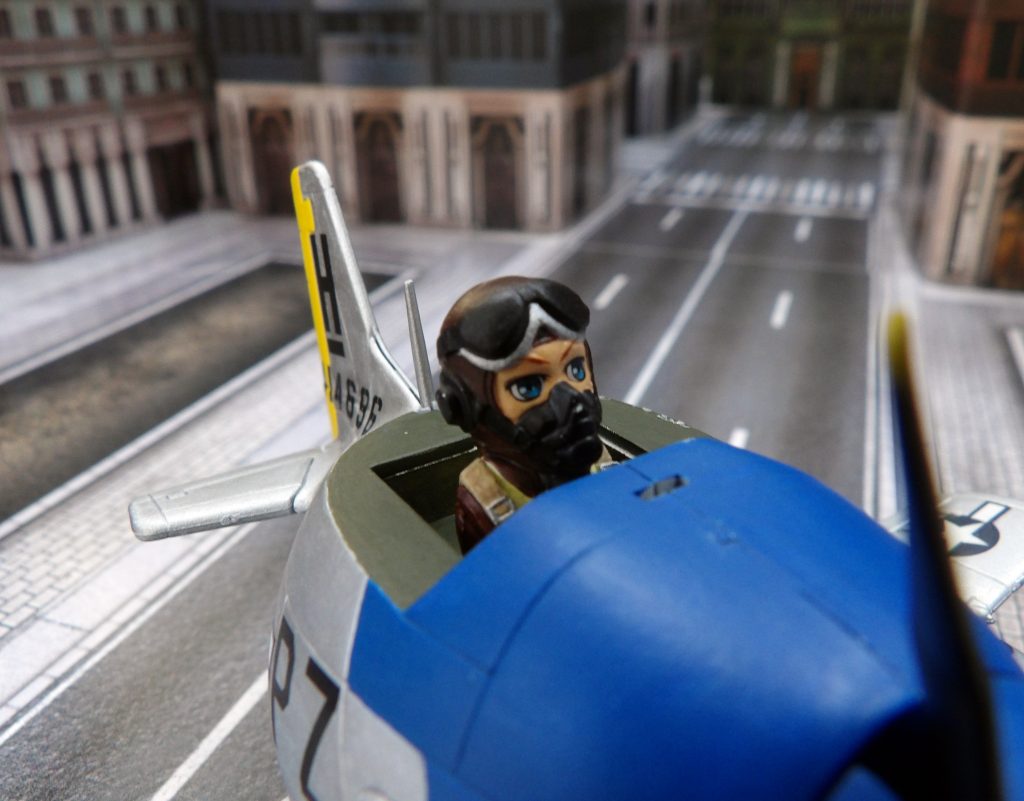
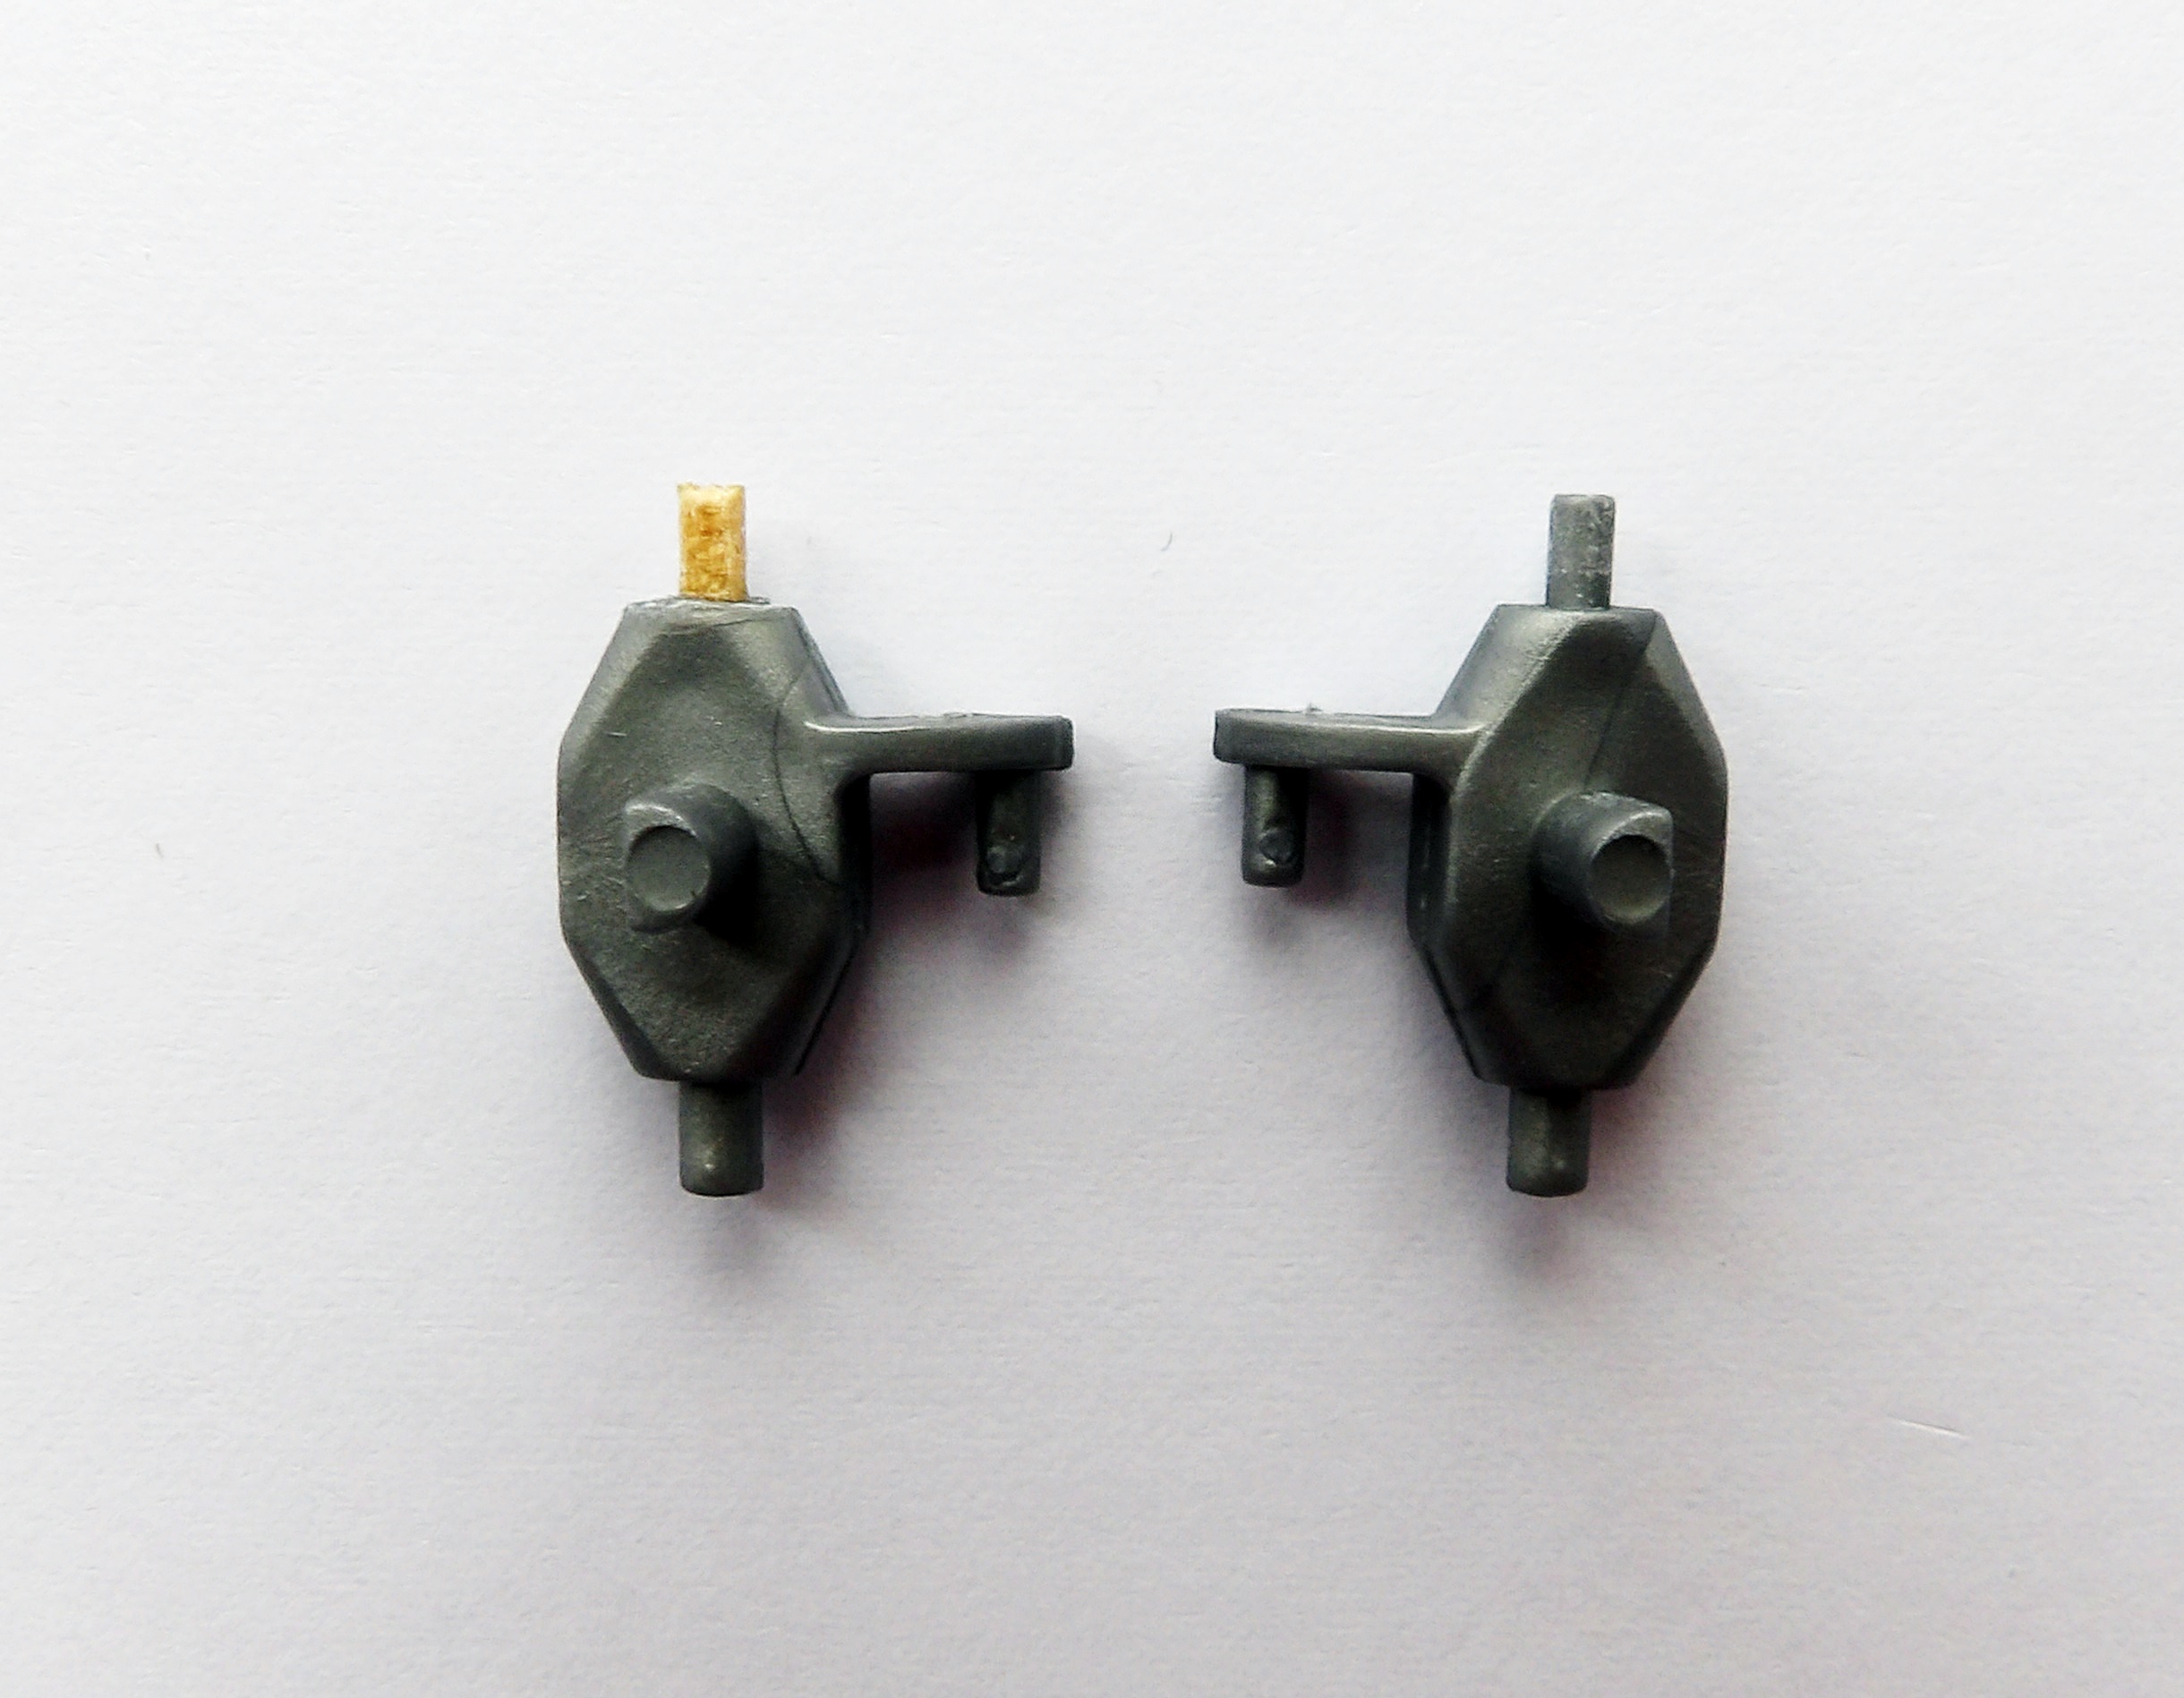
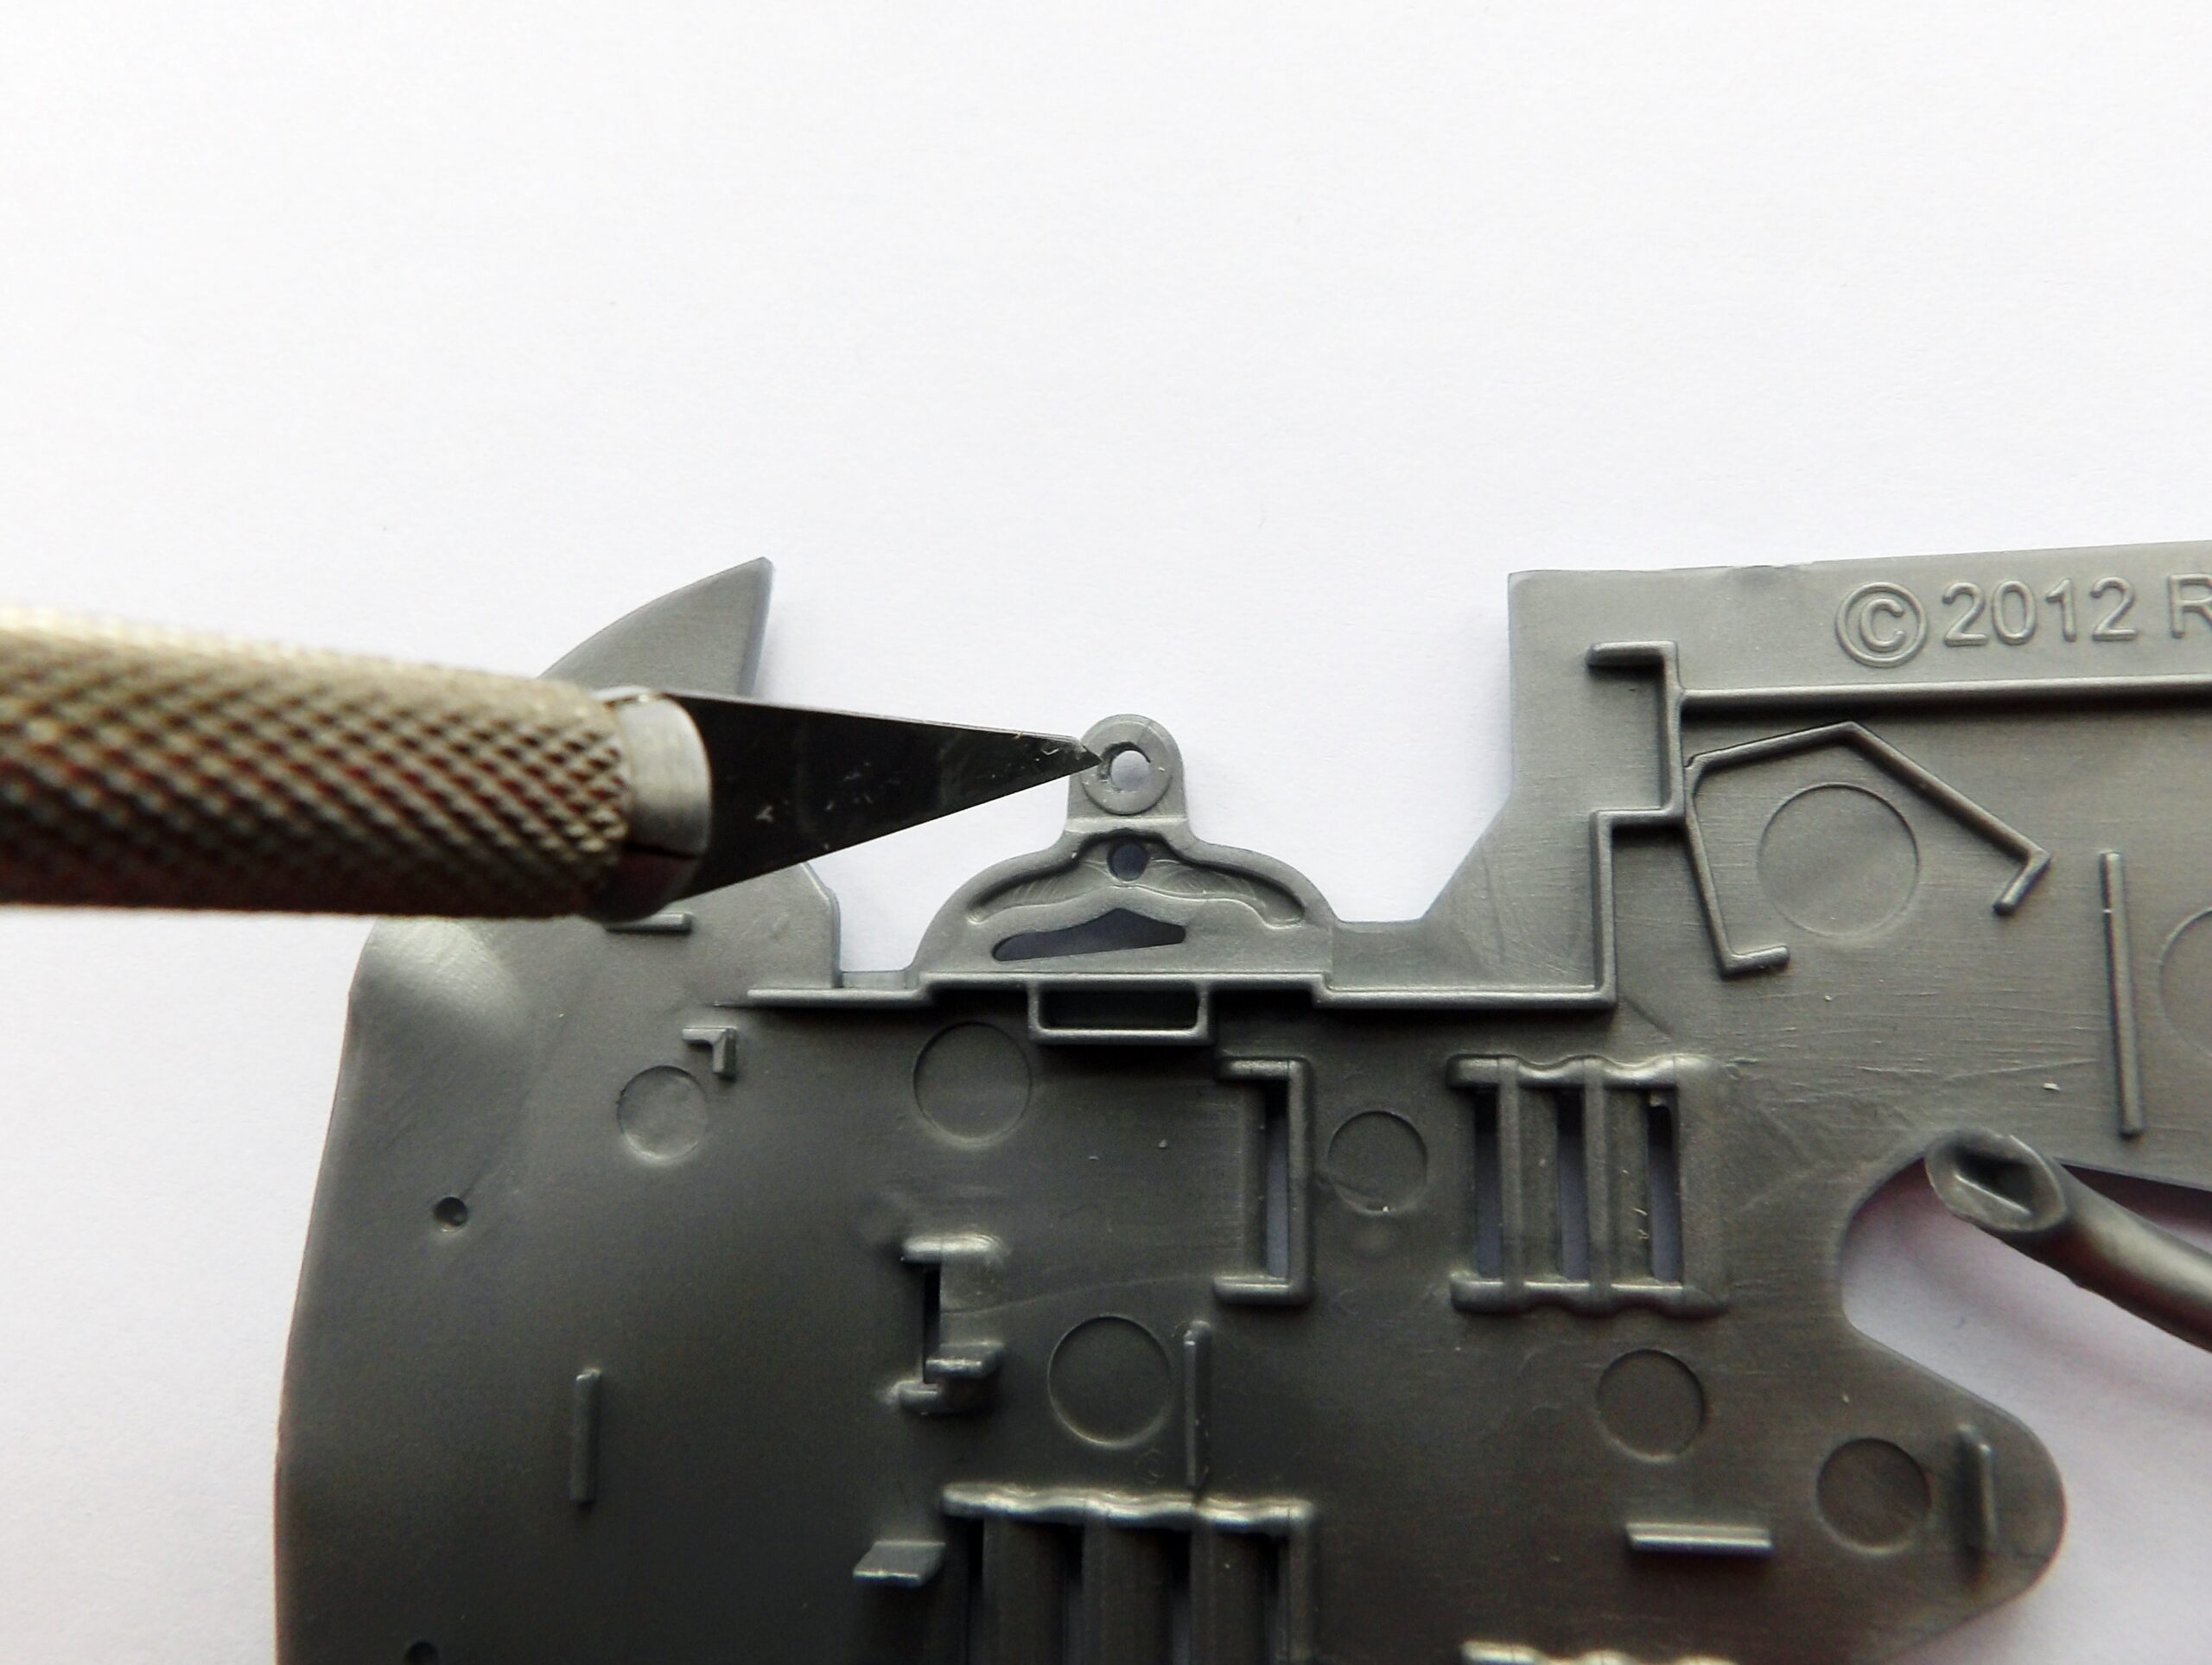
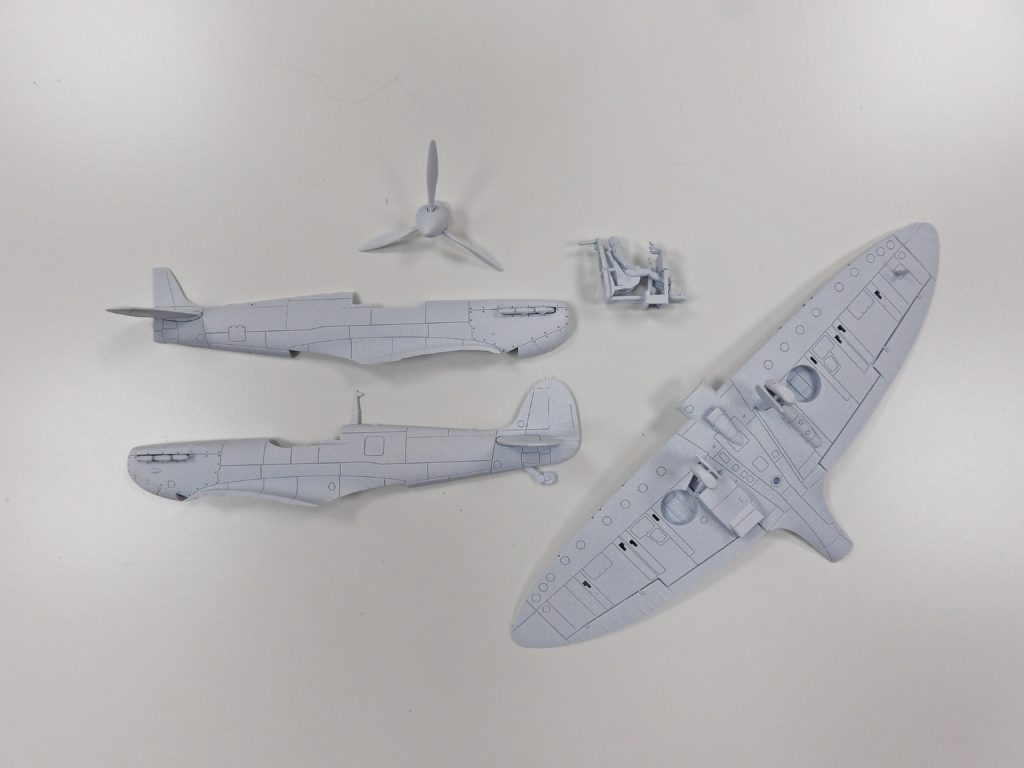
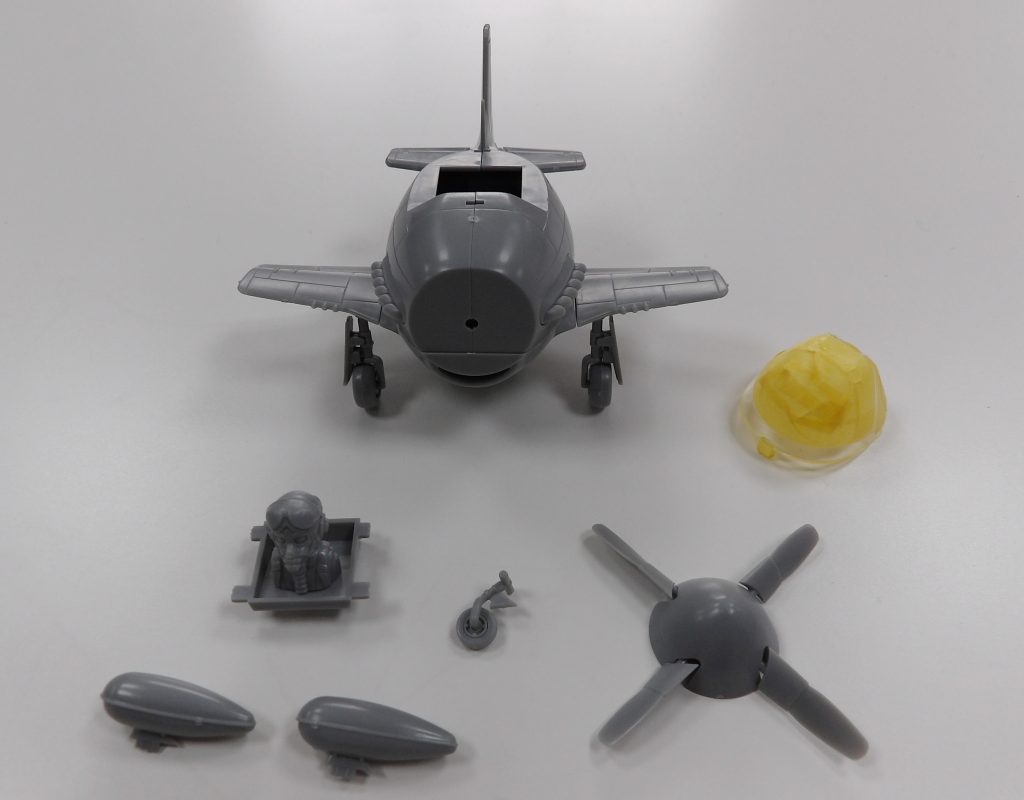
2) The parts were cut out from the sprues and pieced together. We masked the canopy ready for priming.
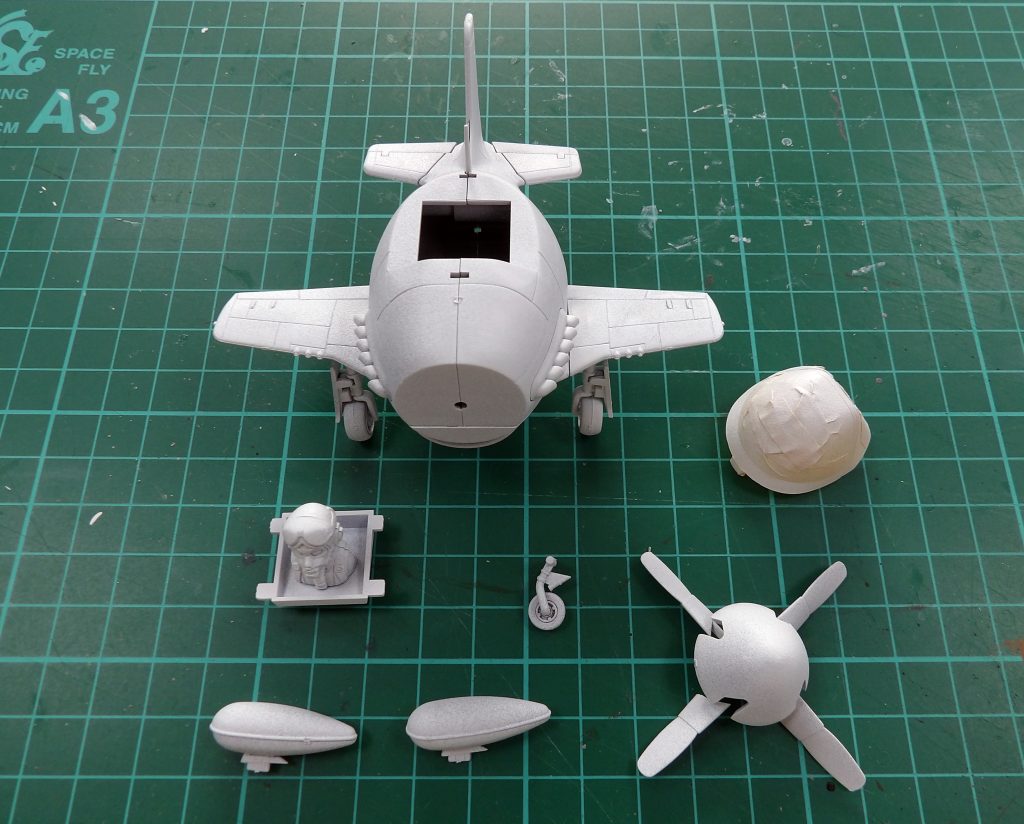
3) We sprayed on an even coat of primer before we started painting.
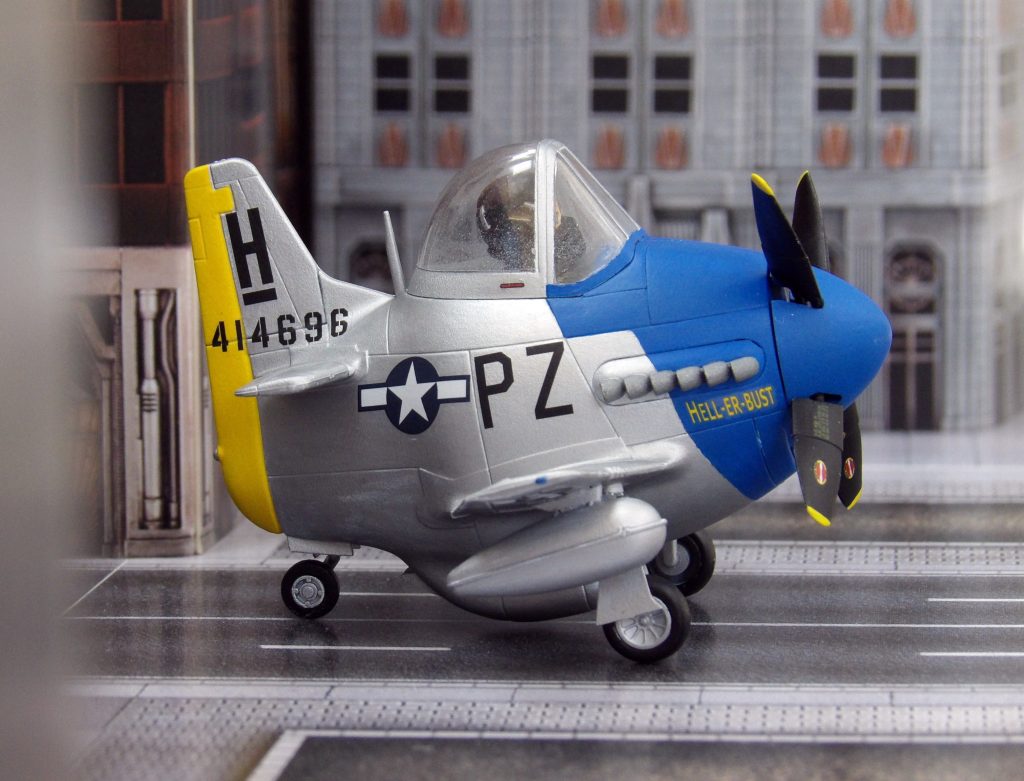
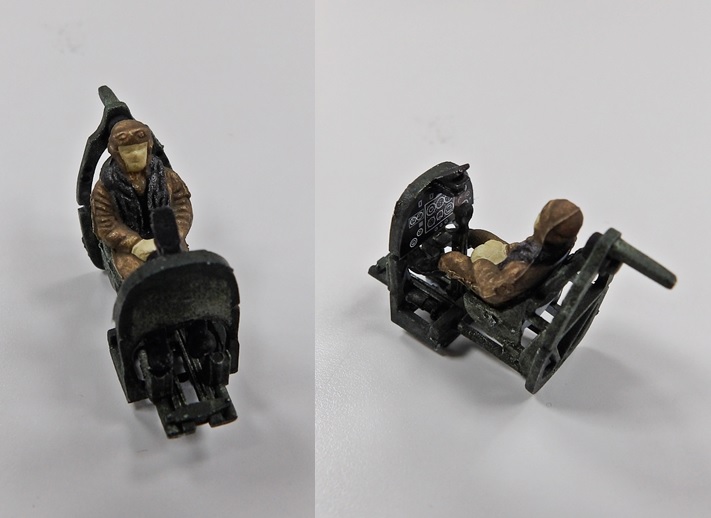
4) Carefully we separated and painted the individual parts. Once all our parts were painted, we glued it back together and applied the decals.
5) Finally, the paint was sealed with a layer of varnish and our eggplane is ready to roll!